When doing enlarging of silver gelatin prints, it is often a prerequisite to a finished print that you do some burning and dodging to get the finished image exactly the way you envisioned it. And to compound the challenge, the area you want to burn or dodge is seldom neatly covered by an out-of-the-box tool like an oval, circle, or a straight line. That’s when you have to get creative and make some custom burn cards. This image I made was a perfect example. In a straight print, the sky is merely gray, and has a wisp of cloud on the right side that unless burned in looks like a bad printing mistake. 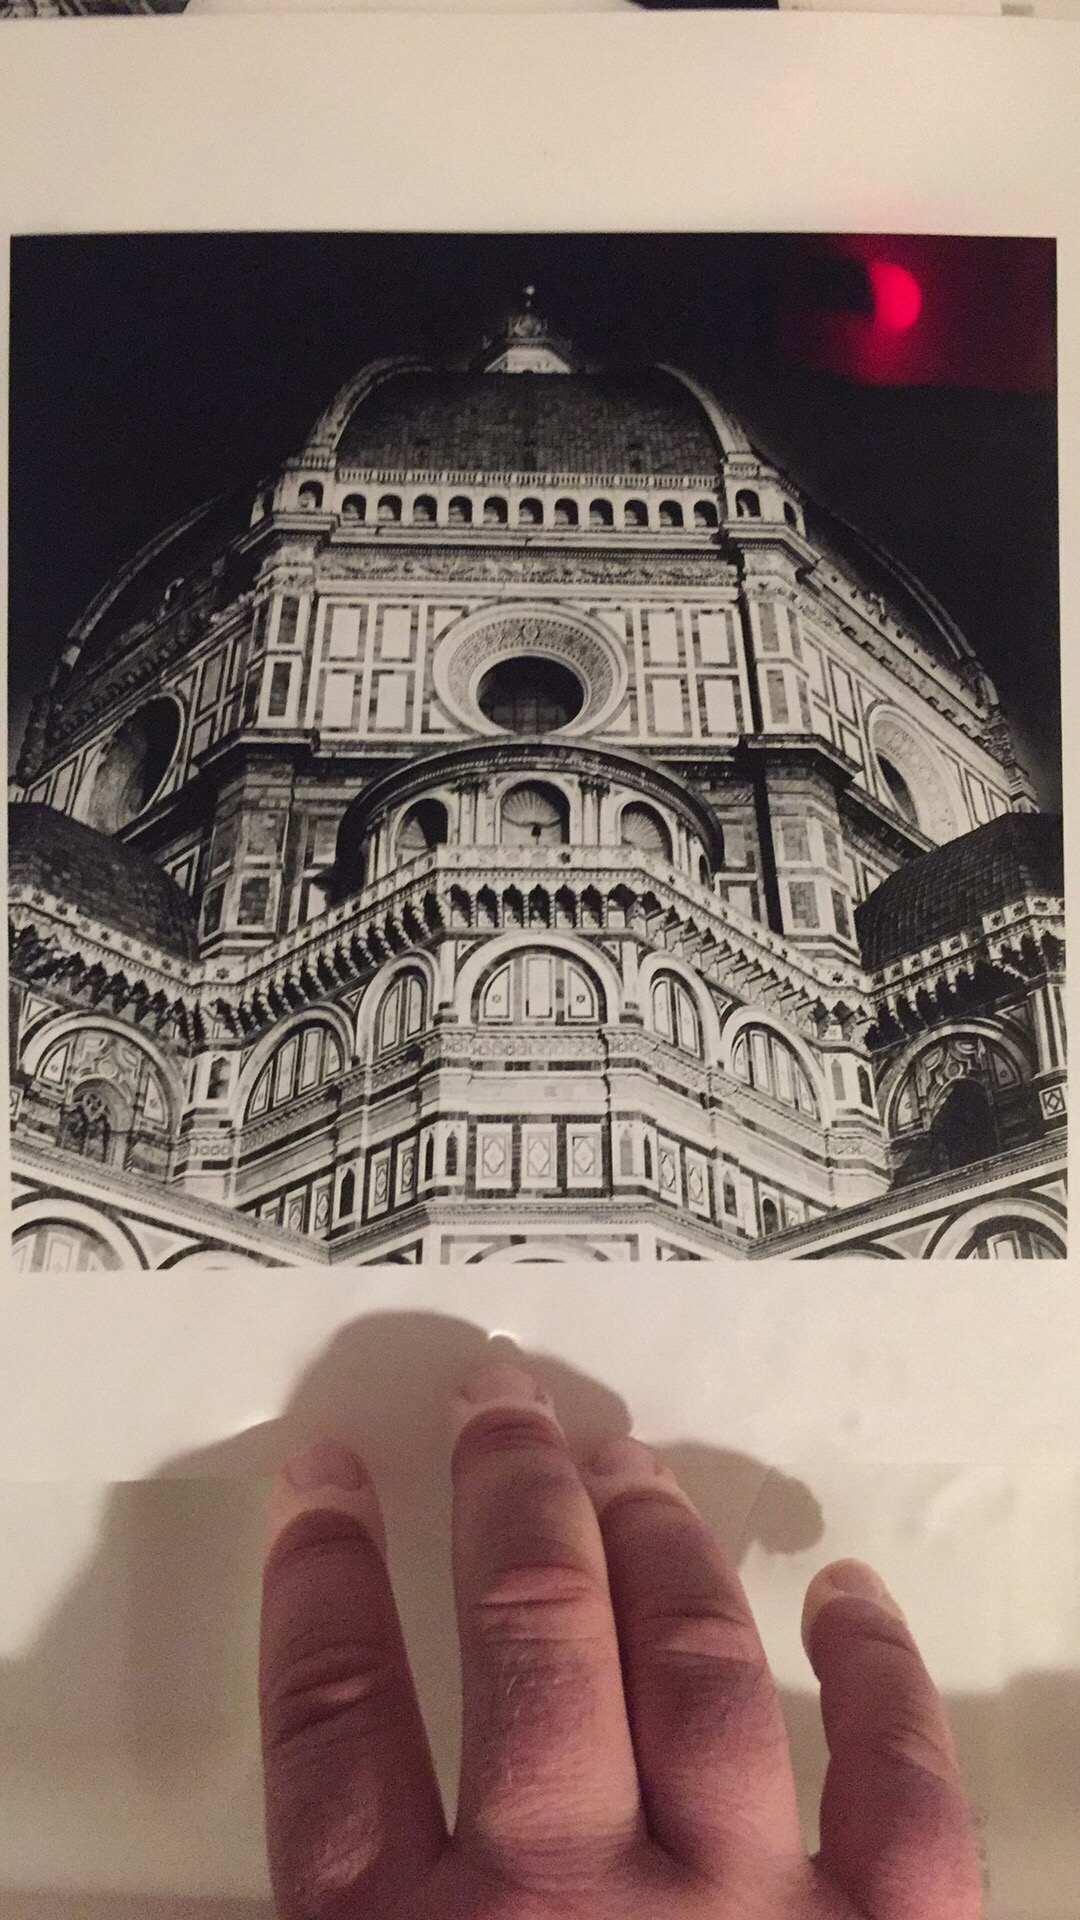
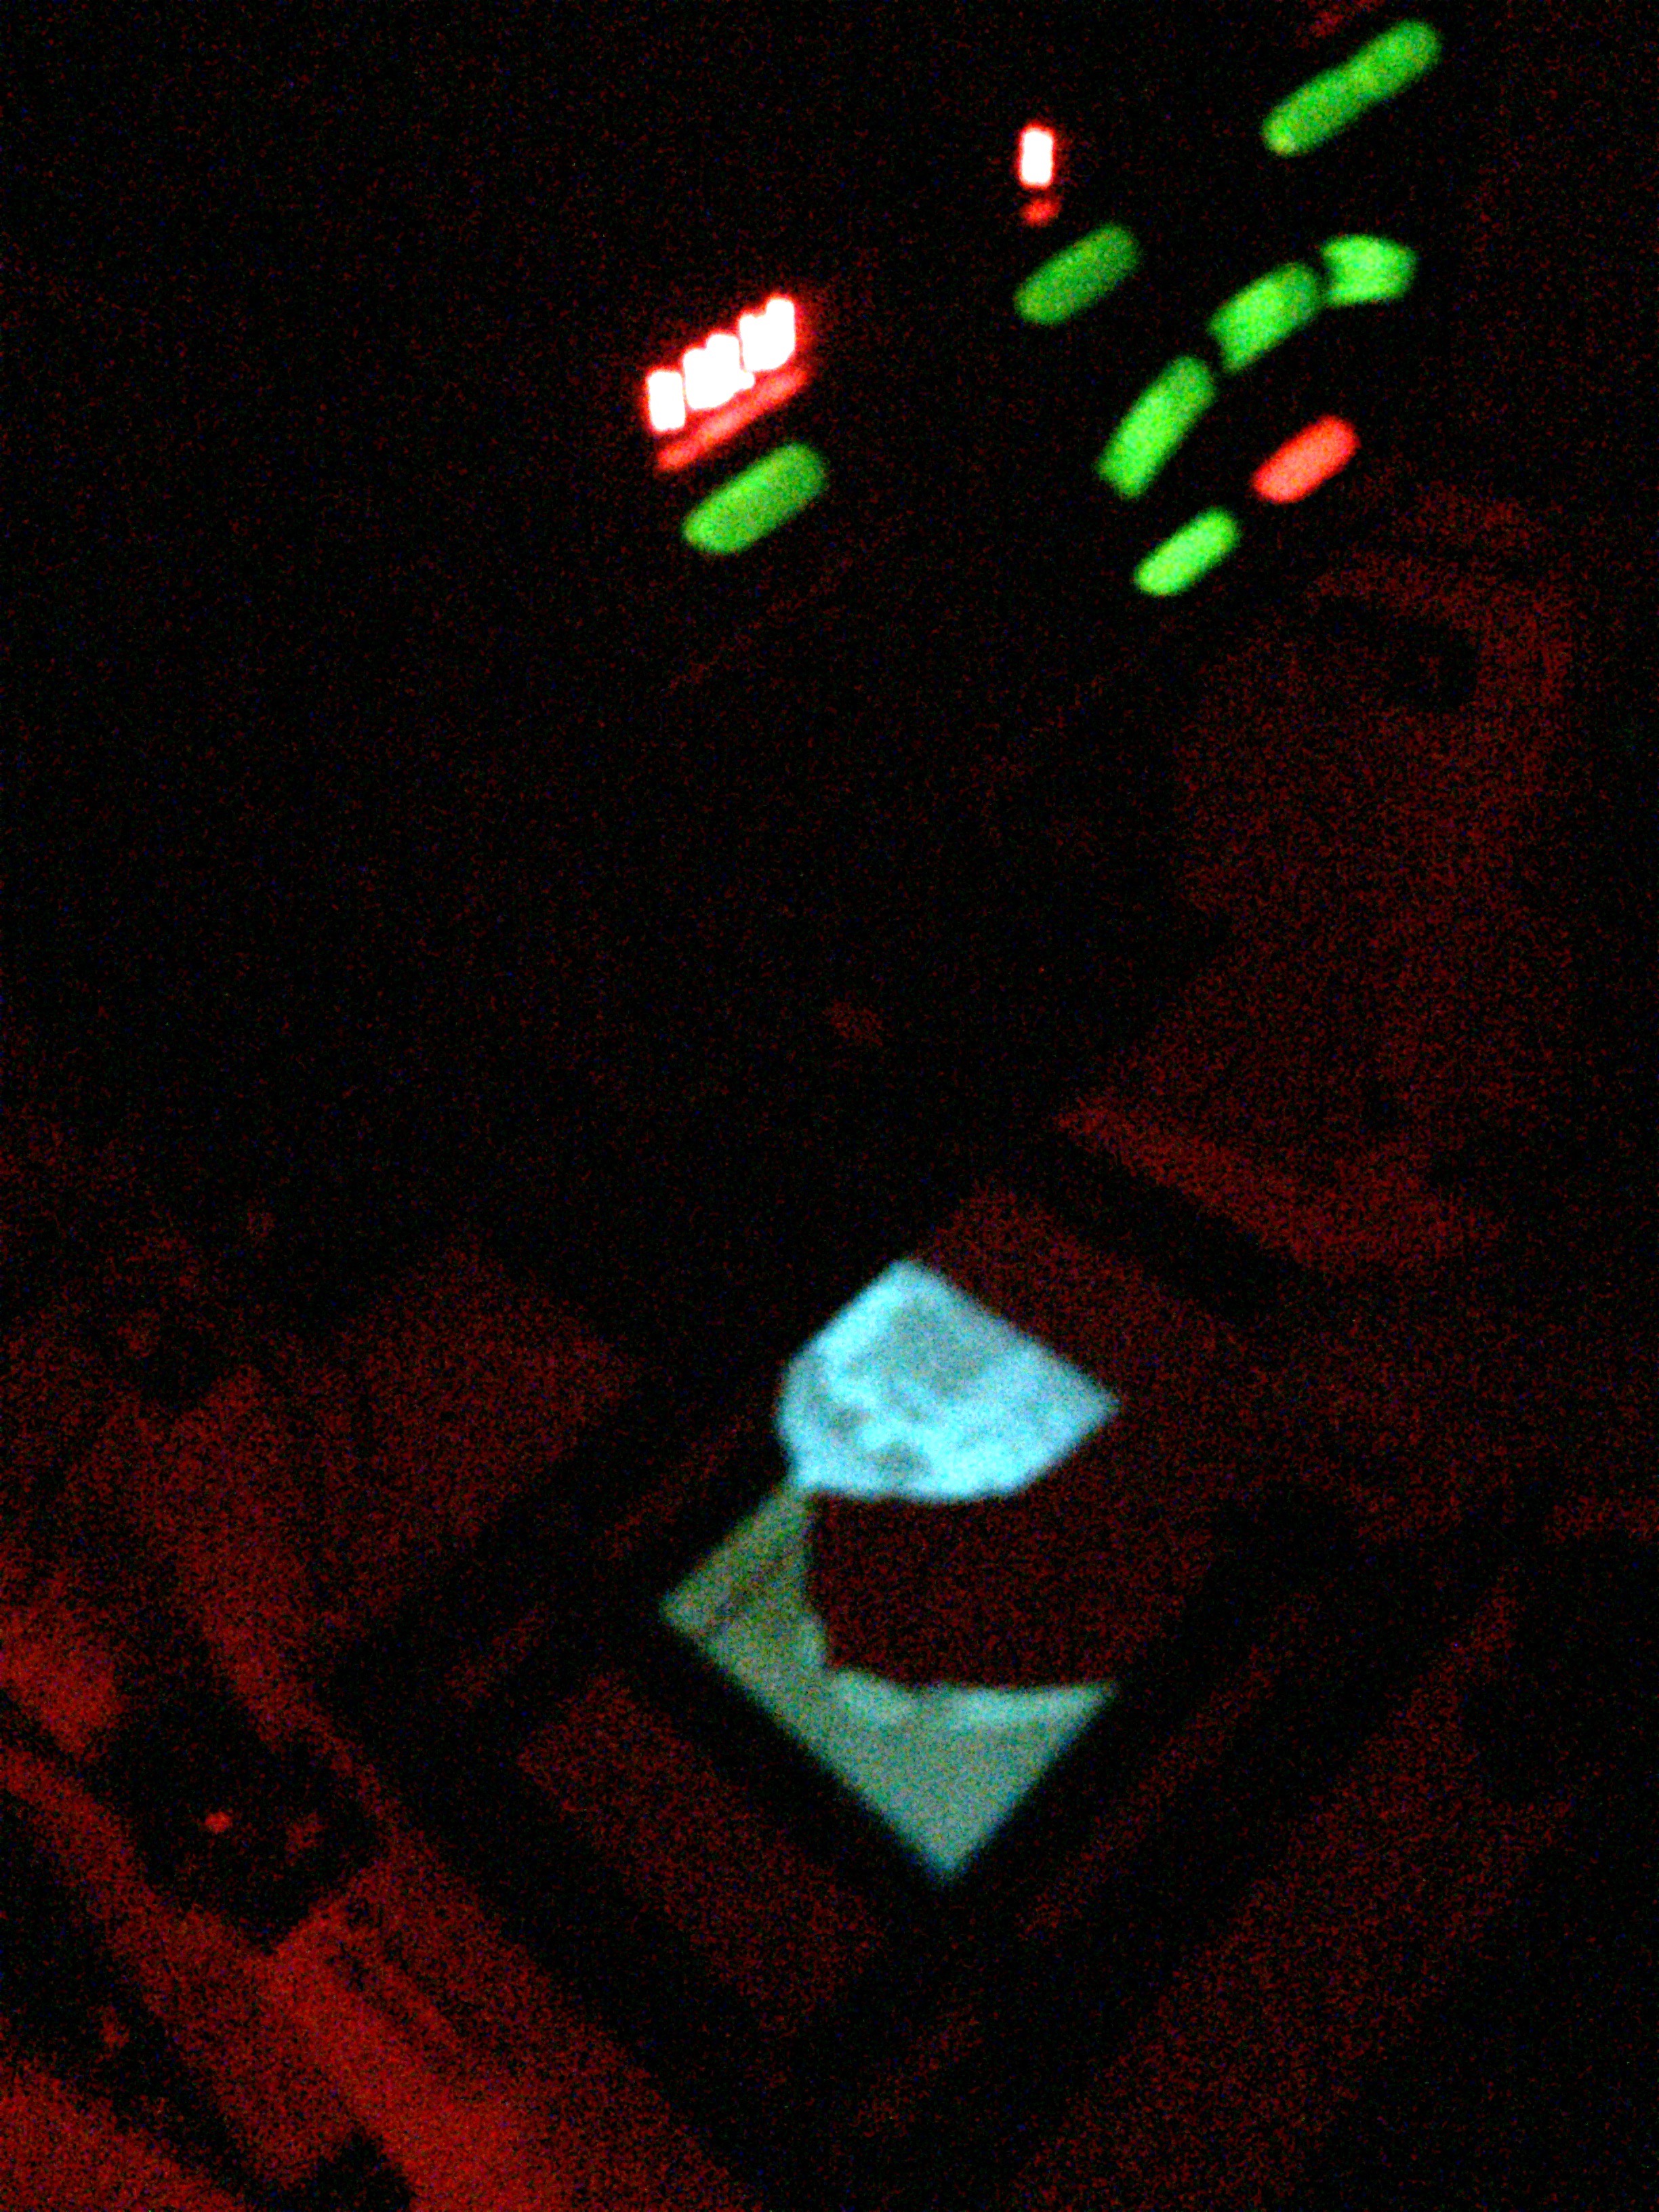
To get the sky burned in, without losing details in the roof, I had to make a custom burn card. I took a stack of paper boxes, placed them on the easel, then my burn card on top. I projected the negative onto the card, traced my outline, then cut it out. When doing my burning passes, I held the card at approximately the same height as it was when I cut it. You can see it in the second photo in action. The only way to get more precise with burning and dodging is to make a contrast mask and sandwich it with the negative in the carrier during exposure. That technique presents a whole new set of challenges because you have to get the mask in absolute register with the negative, and deal with dust on four surfaces, not to mention the possibility of newton rings.