Show dates and times: Saturday June 22- Sunday August 18, 2024. Opening reception June 22 at 6pm. Artists Talk June 25th at 5pm (I will be participating in the artists’ talk and showing some additional work from my portfolio).
Geografía del Cuerpo is at the Museo Archivo de la Fotografía, and runs from June 26 to July 18. The opening reception is July 26 from 7-9pm, and is limited to 100 persons in attendance. I will be there as well (In case you’re wondering, I’m the one in the hat with the gray beard and glasses).
I’ve been doing a LOT of printing lately, in preparation for the shows in Mexico City. I did some serious darkroom cleaning too, getting my print washers disassembled and scrubbed clean of all the mineral deposits that accumulate from using DC city water, and got all the stuff out of the sink that was cluttering it up so I could print big. I’ll be doing some copy photos of the big prints I did shortly, and have them posted here. But all that work inspired me to not only do more printing, but to be adventurous in my artistic endeavors, and push out of my comfort zone.
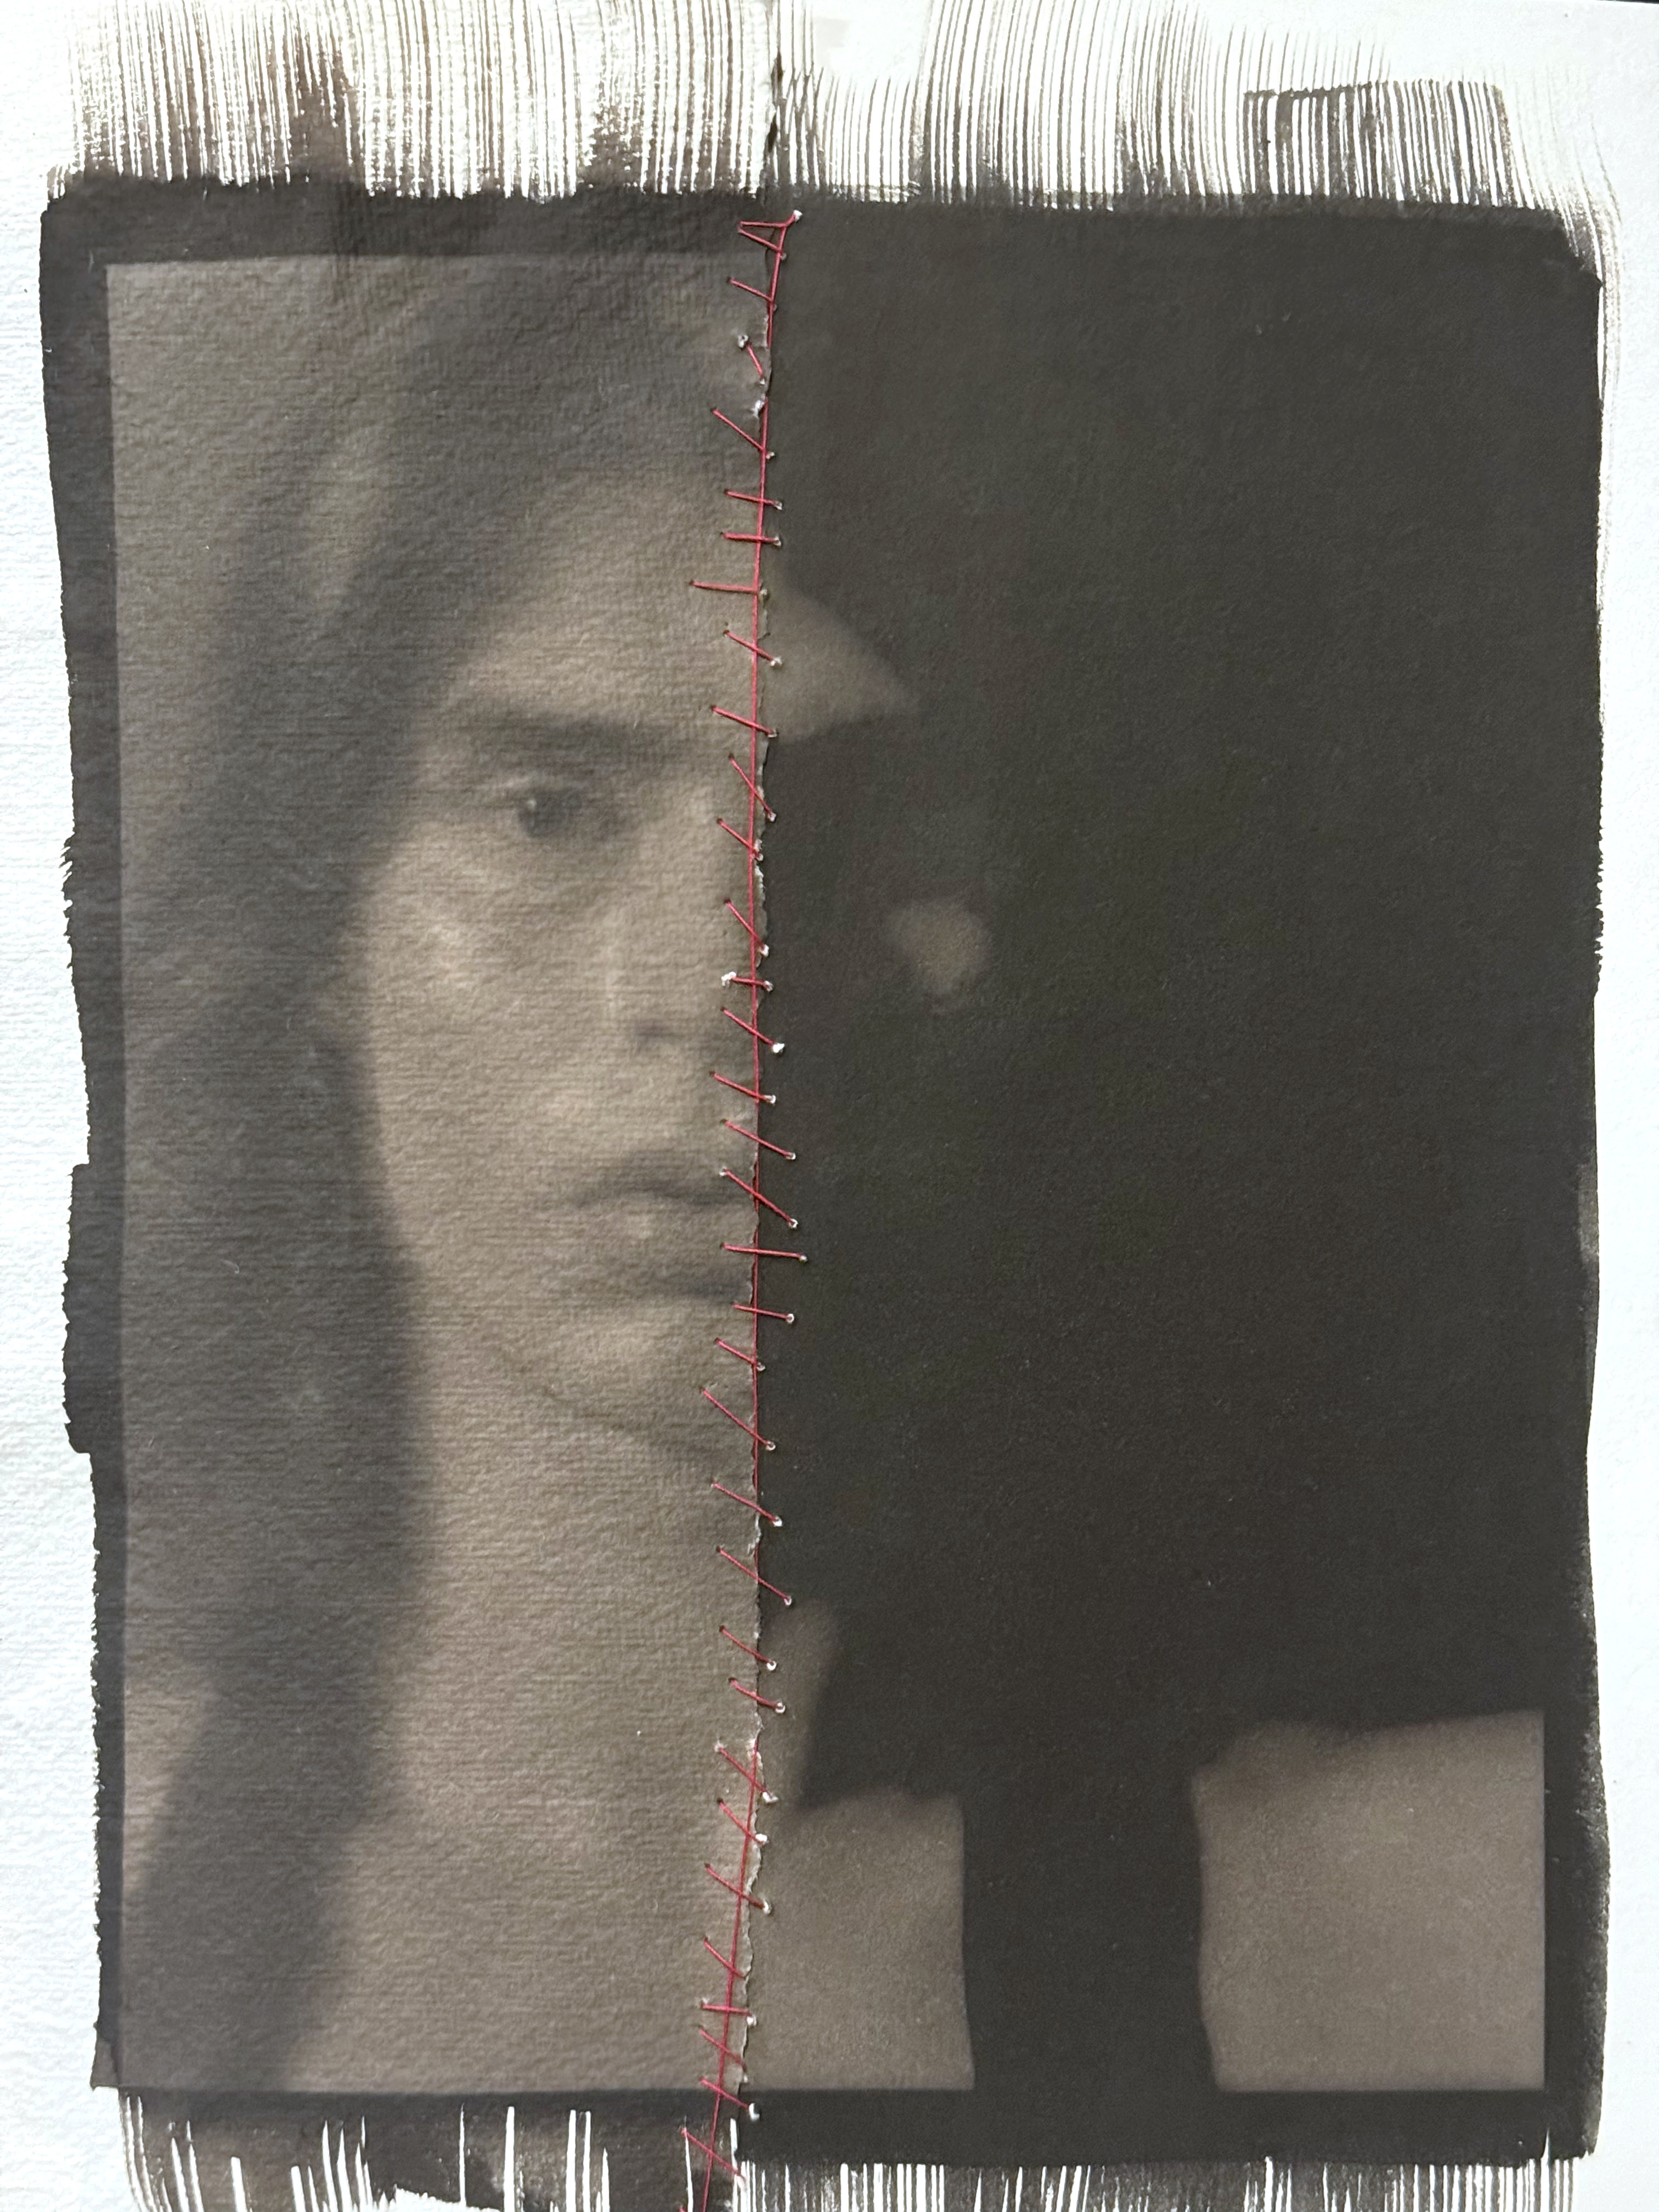
I have thought for quite some time about trying this, and thanks to a little push from my friend Jeremy Moore who lives down in Texas, I took the plunge last night and did some interventions on my prints that many would consider heretical. I made two different digital negatives from the same image, one with high contrast and one with normal contrast. The one with normal contrast I printed on Velke Losiny Prague, which is a light-weight cold-press paper with lots of texture. The high-contrast/dark print is on Revere Platinum, which is a heavy-weight hot press smooth paper. I then tore the print on the Velke Losiny paper in half, and then stitched the two prints together with red thread.
This is an exciting change for me, getting more experimental and risk-taking with my photographs. I’m going to do a lot more with the “destructive/reconstructive” mode of working – I think it opens up the work to being less literal and more visually and psychologically explorative.
Being a photographer who teaches, I have a lot of friends who are themselves photographers. It gives me lots of opportunities to photograph them, often with their cameras. It can get rather meta-referential, but that’s part of the fun.
This is Mari Calai, one of the members of the Handmade Photography Group at Glen Echo Photoworks. She’s also the current Artist-In-Residence at Photoworks.
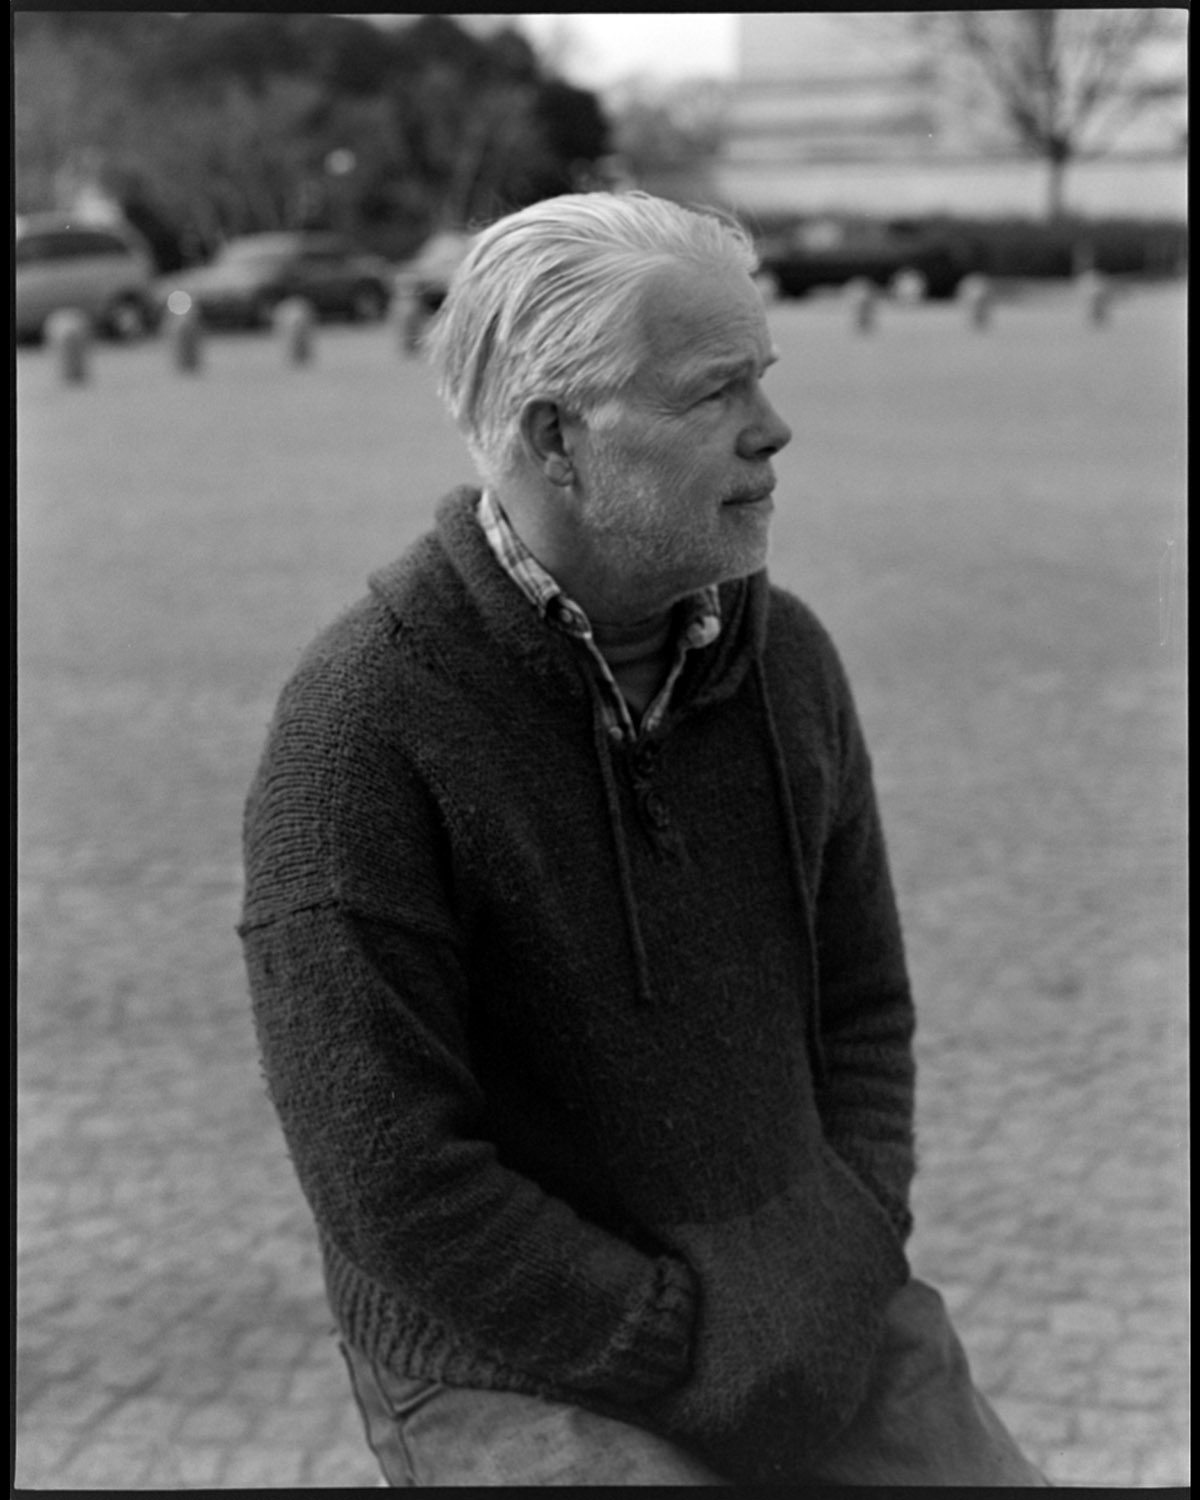
Colin Gore waiting around for one of the other photographers in the Handmade group to do his portrait in Wet Plate Collodion. The group did an outing in February to the National Gallery of Art and then brunch afterwards.
Paige Billin-Frye, another group member and fellow instructor – she does amazing hand-colored and toned cyanotype work. It was interesting to see how many of the group members were using small (meaning medium format film or smaller) cameras on that outing. I was the only one shooting 6×7 (my new-to-me Pentax 67) – everyone else was shooting 6×6 square (mostly Rolleiflexes) or 35mm/full frame digital, except Mac who was shooting 5×7 wet plate.
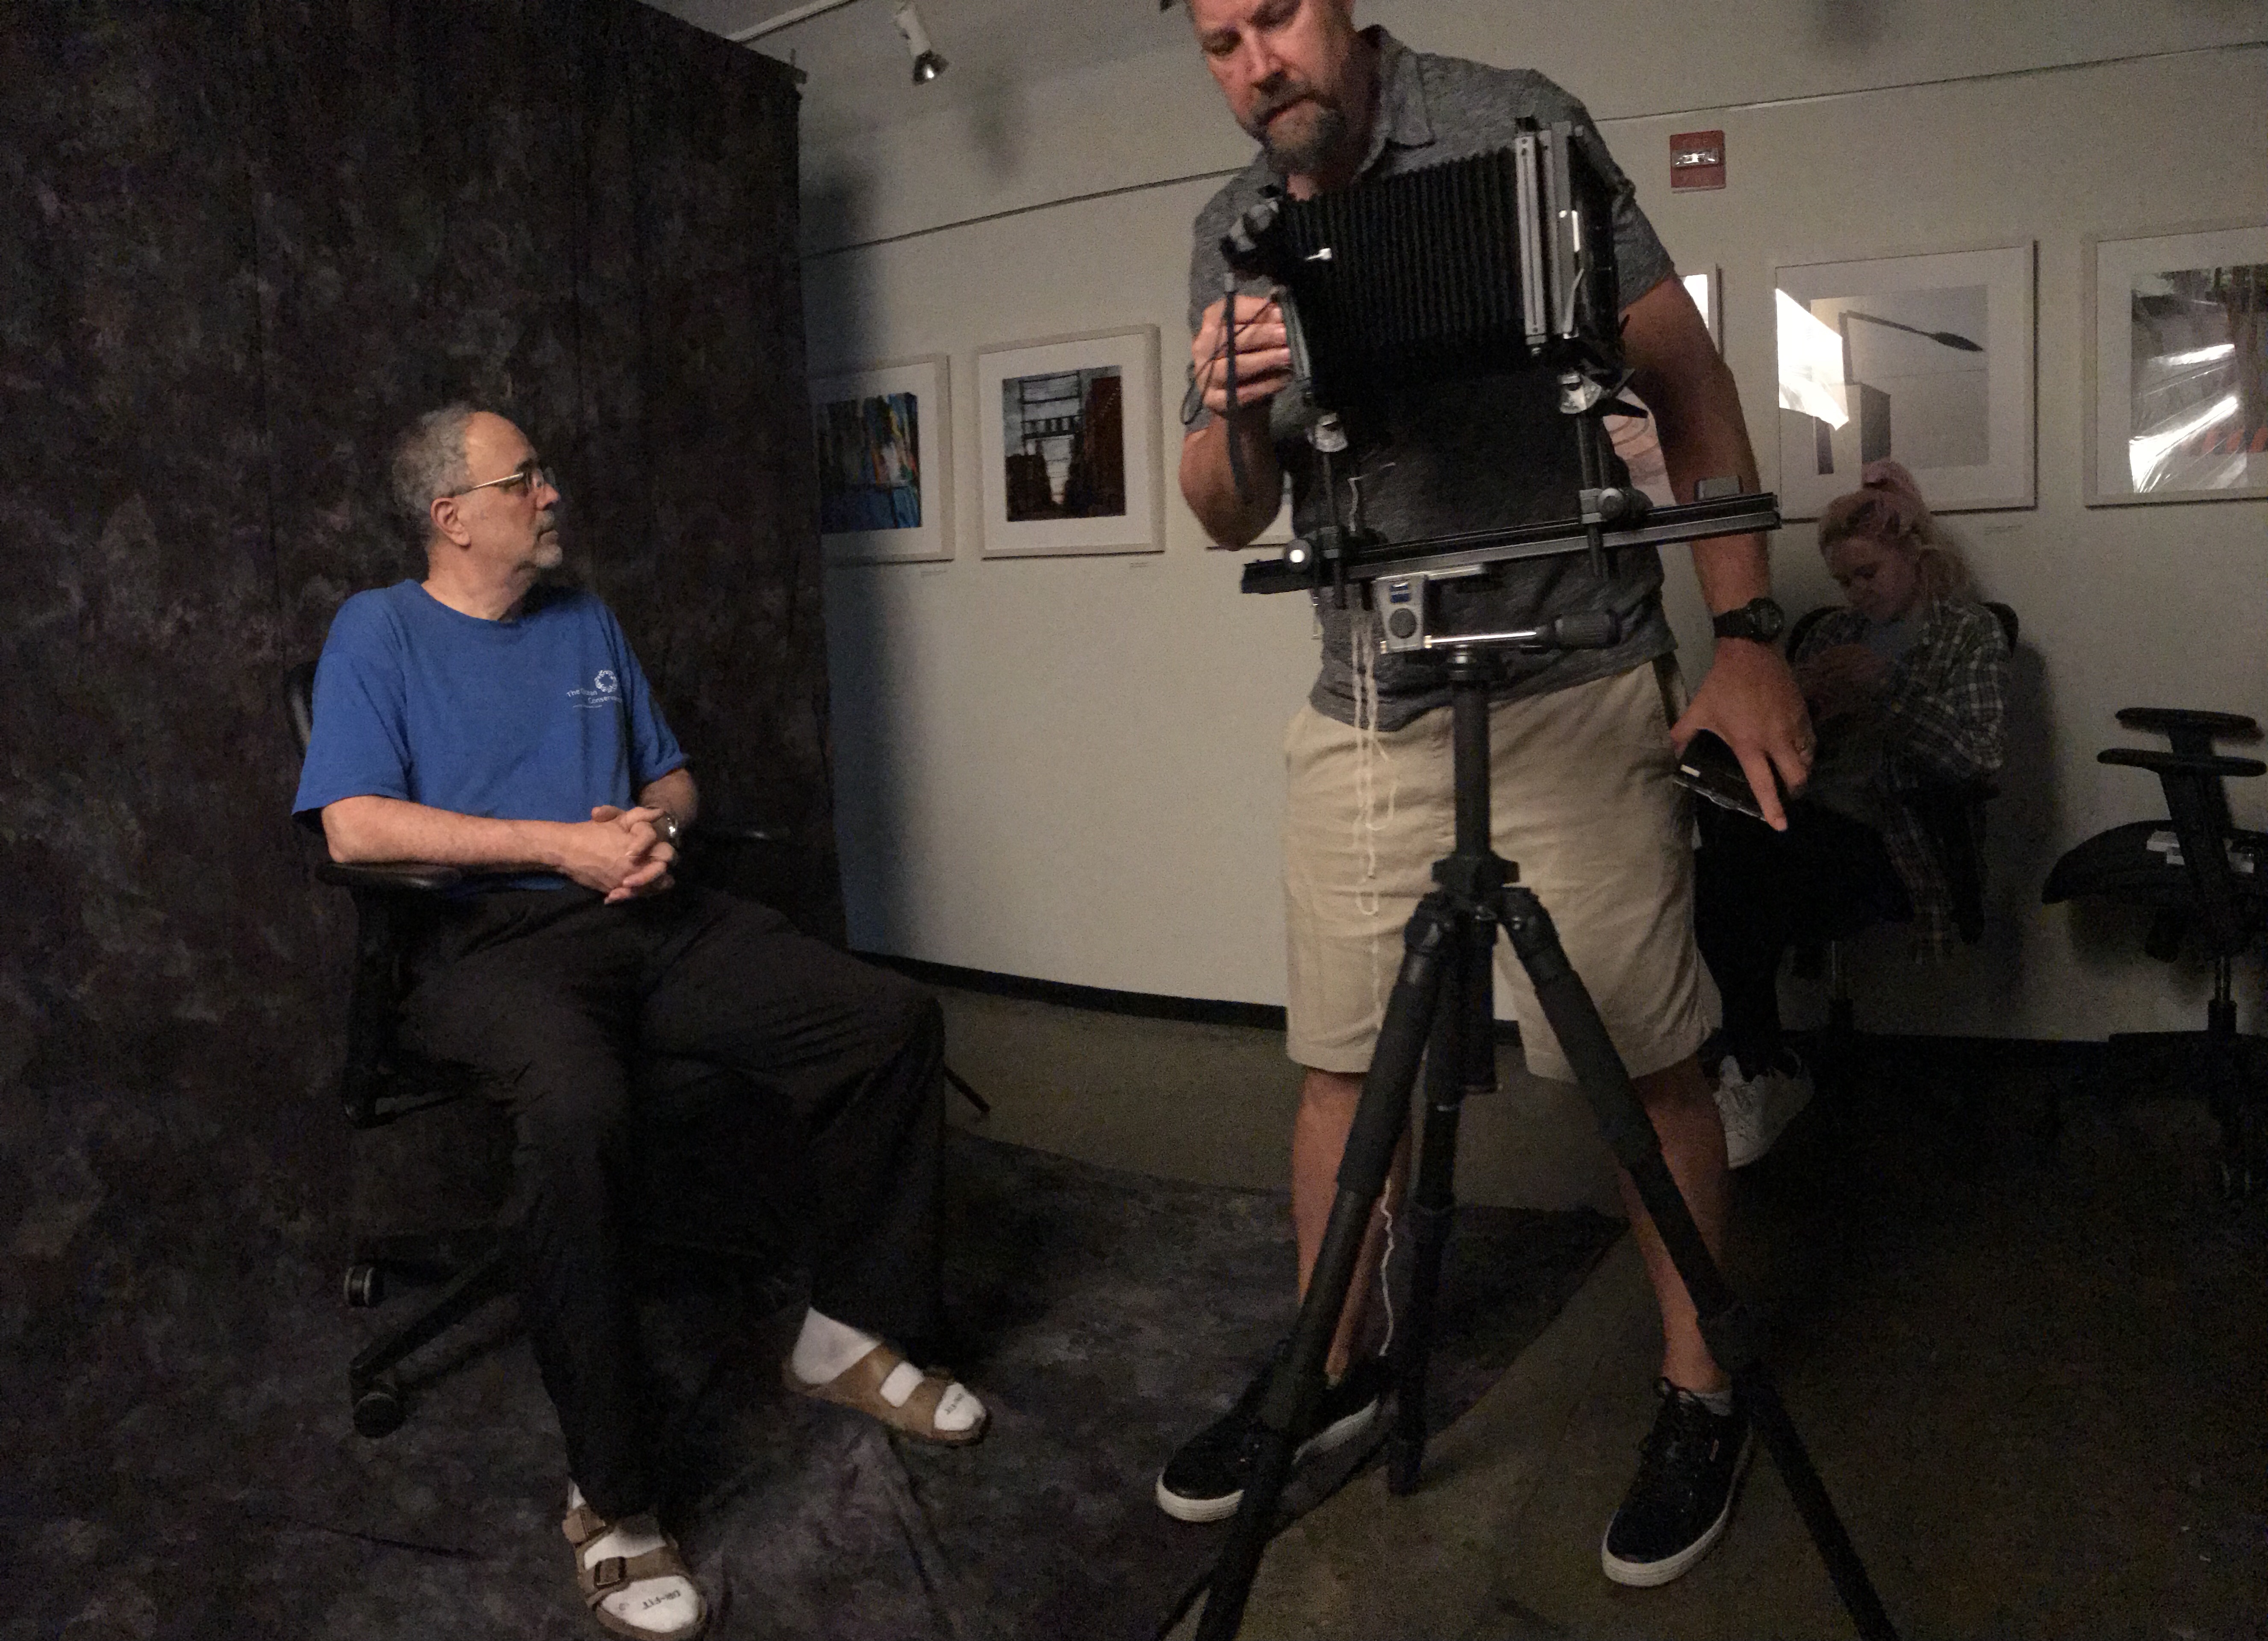
Speaking of, there Mac is in action, shooting his portrait of Mari.
The man, the myth, the legend, not buried under a barkcloth. It was February, it was 45 degrees farenheit, and he was wearing sandals without socks.
Chris Gumm, who coincidentally practices gum bichromate printing, posing with his Rolleiflex.
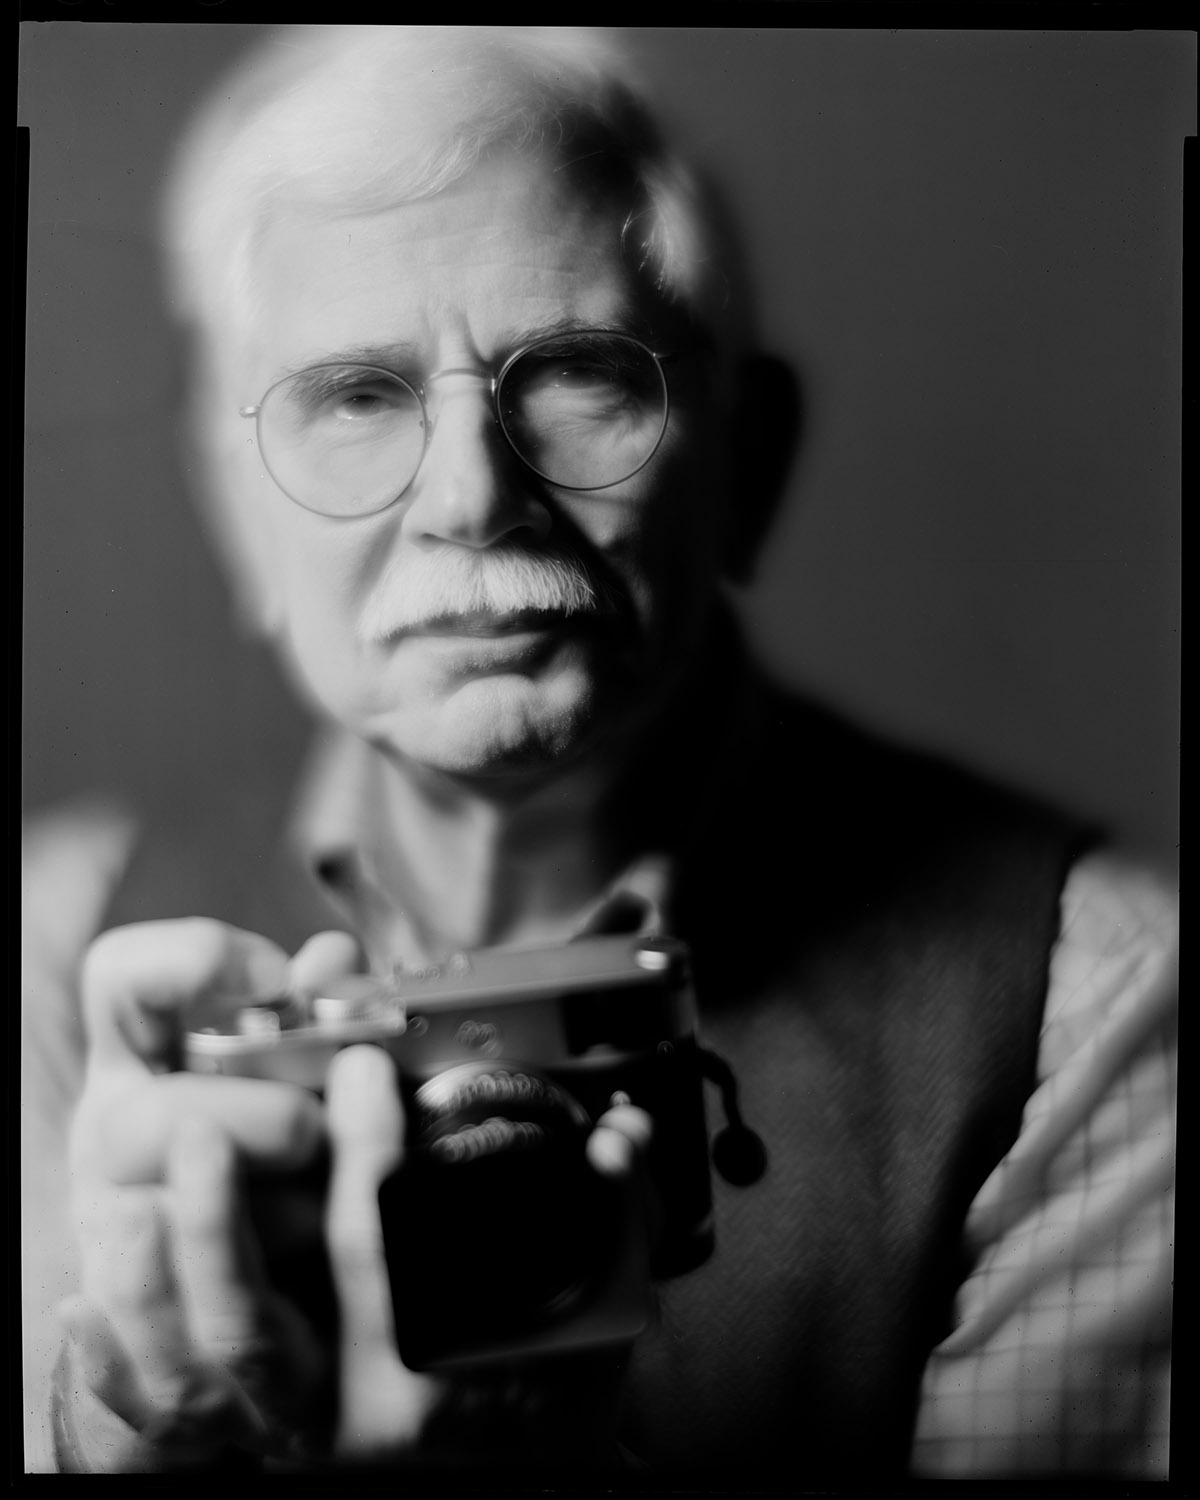
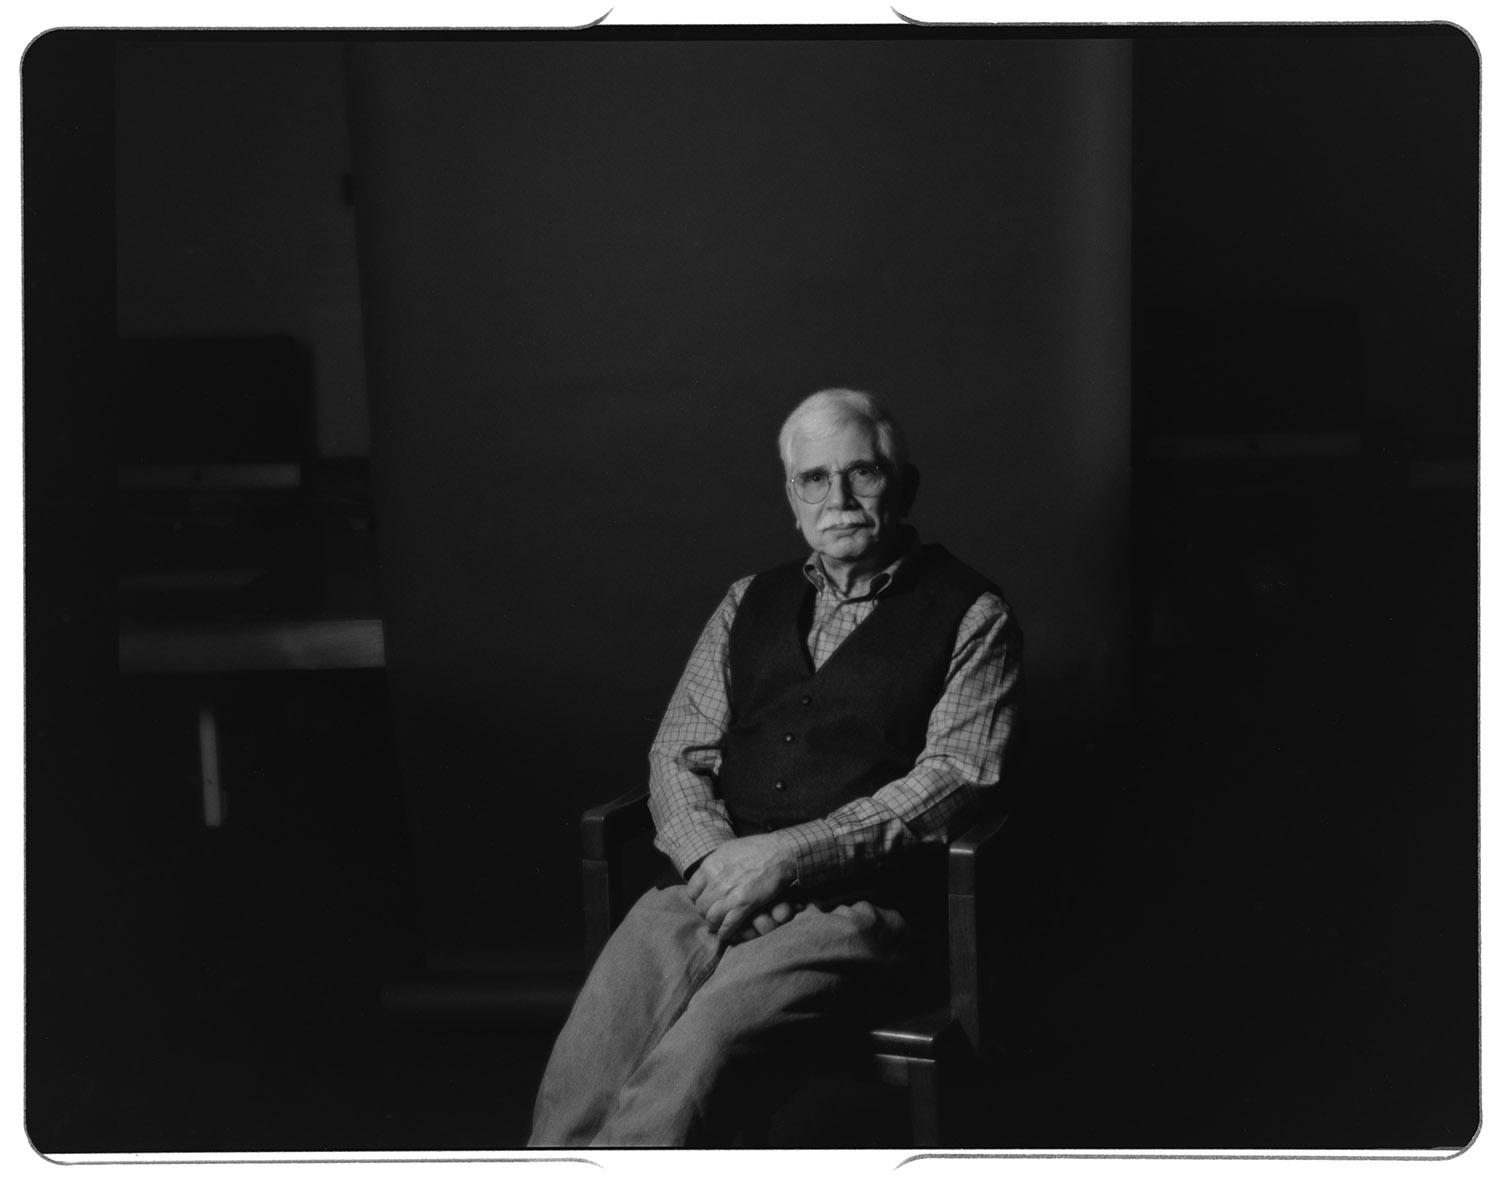
Switching gears somewhat, Steve Greenberg is another one of the Photoworks people, but not part of the Handmade group. This was from a commissioned portrait sitting we did, this time with my 8×10 Century Master studio portrait camera and the Kodak 405mm Portrait lens.
A different take on Steve, with a different camera and lens – still a soft focus portrait lens, but this time the Pentax 67 120mm soft focus portrait lens. It’s a lens that surprised me – I picked it up because I liked the soft focus effect I was getting on the Kodak Portrait and with some of the smaller soft-focus lenses I have (the Hermagis Eidoscope, a Seneca Whole Plate aka Wollensak Vesta, and my Cooke Series II, which isn’t technically a soft focus lens but has really creamy out-of-focus rendering especially wide open). I wanted to see how good it would be for this effect on a small format. It’s going to stay in my arsenal of lenses, and actually stay in my camera bag unless I KNOW I won’t need it for a particular trip. It requires careful use to get the best out of it – you control the soft focus through the use of the aperture, where wide open is the fuzziest/glowiest, and once you get below f/8, it’s mostly tack sharp. Best used in the studio, where you can control the amount of light you feed it, especially with how relatively fast modern films are.
One parting shot, very meta-referential, as it’s a photographer in a photo studio, showing the fact that it’s a photo studio.
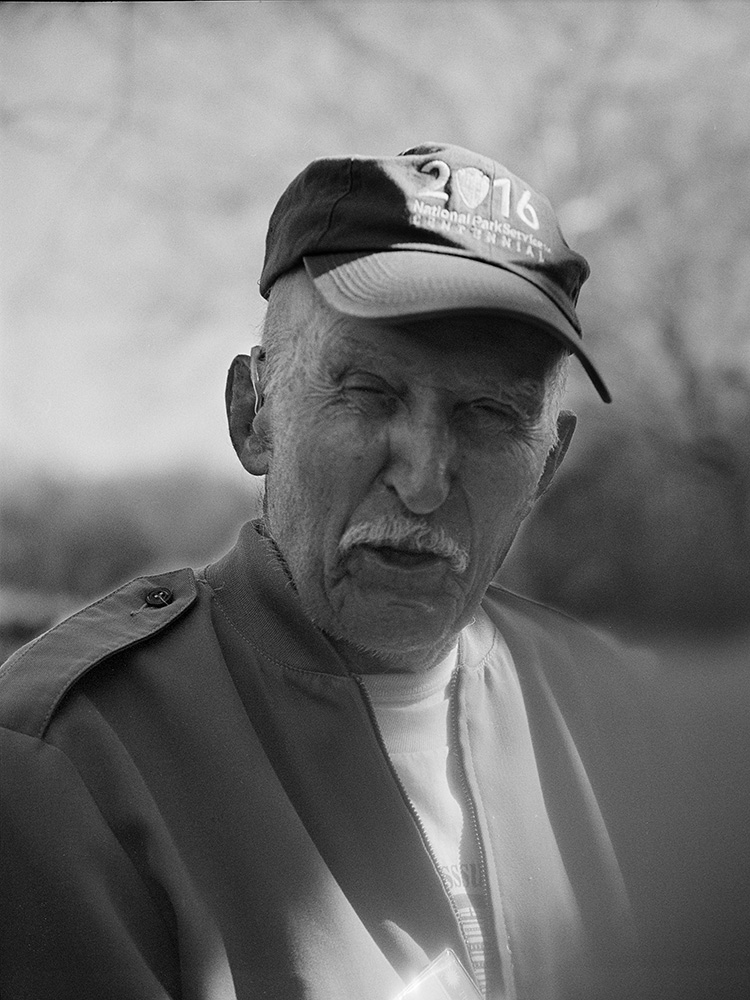
Some of my more dedicated readers might remember my fondness for Ed Bearss and taking his history tours through the Smithsonian, exploring Civil War battlefields. Ed passed away on September 16 at the ripe age of 97. I remember seeing him speaking in public and taking that tour with him in 2017 when at the age of 94, he was still leading groups with more energy than many people I know half his age. He used that microphone and mini-speaker he had not because his voice was weak but because his crowds of groupies on his tours would regularly number over 50 people, and he needed the boost so the folks in the back could hear. I can still hear the echoes of his narration in my head… “And, MISTER Lincoln… “. Semper Fi, Ed, and know that you’ll never be forgotten. I have linked to his obituary
Having a little fun with the panoramic function on my iPhone in class today. Took this picture of two of my Large Format students doing studio portraits with a 4×5. I dug into the vaults and found some of my remaining stash of Polaroid Type 55 and let the students burn a couple sheets. I was more than pleasantly surprised with how well it worked- my Type 55 has to be a decade out of date by now, but the pods still processed nicely. I’d post some results but my students ran off with the negatives before I could copy any of them.
This was also my first test of my PocketWizard wireless flash sync setup on large format, and it worked very well. I got a little clamp from B&H photo that locks onto the front standard of my camera, and attached a hot shoe to PC adapter to the clamp. The PC cord connected the shoe to the sync on the shutter, and the PocketWizard sat in the shoe.
The other PW unit was connected to my Calumet Travelite monolight. This setup let me use my Sekonic L358 meter which has a PocketWizard trigger module, so I could meter wirelessly. That’s a big boon even when doing still life, and an even bigger one when shooting portraits, because that’s one less wire for you OR your sitter to trip over. If you look carefully at the front standard of the camera, you can see the PocketWizard module sticking out of the side in the photo.
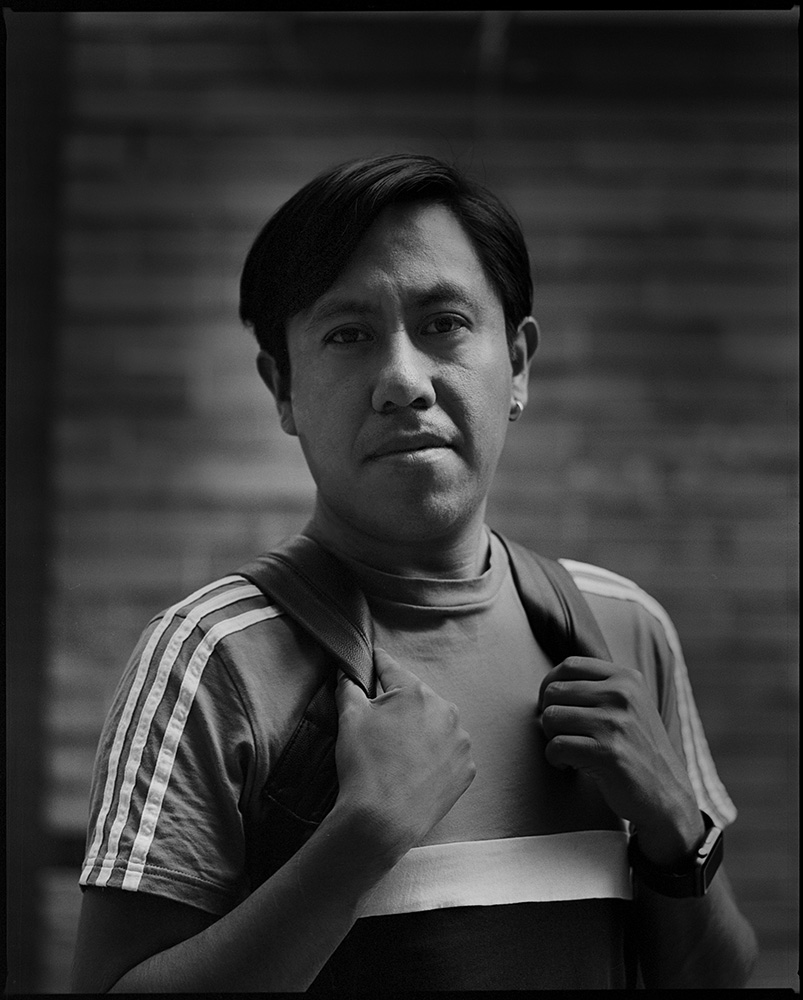
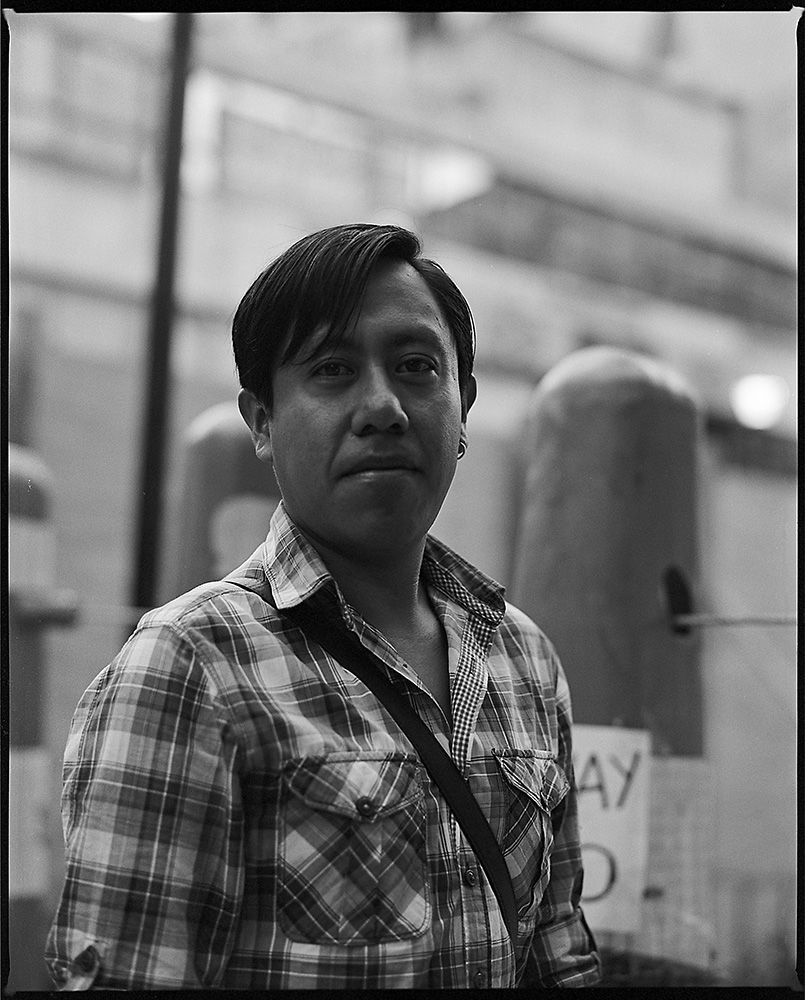
Part of the reason for my trip to Mexico City was to see Victor. It’s a developing thing – we haven’t placed a label on it but whatever it is, it’s good. And he’s a willing subject for the camera, which is a nice change of pace from my ex.
It was also an opportunity to test out the portrait lens on my Mamiya RZ67 (the camera is new to me, but the lens’ quality is known far and wide – I just needed to see for myself what it would do and if I liked it. I do).
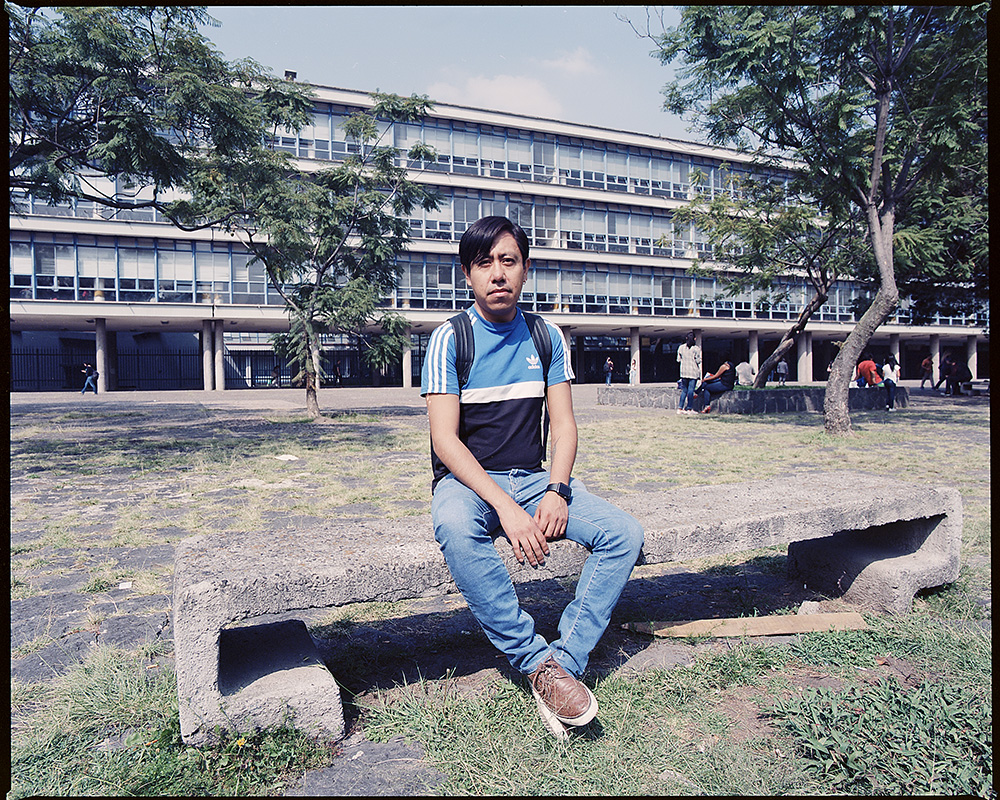
We spent an afternoon wandering around the UNAM (National Autonomous University of Mexico) campus when I shot these.
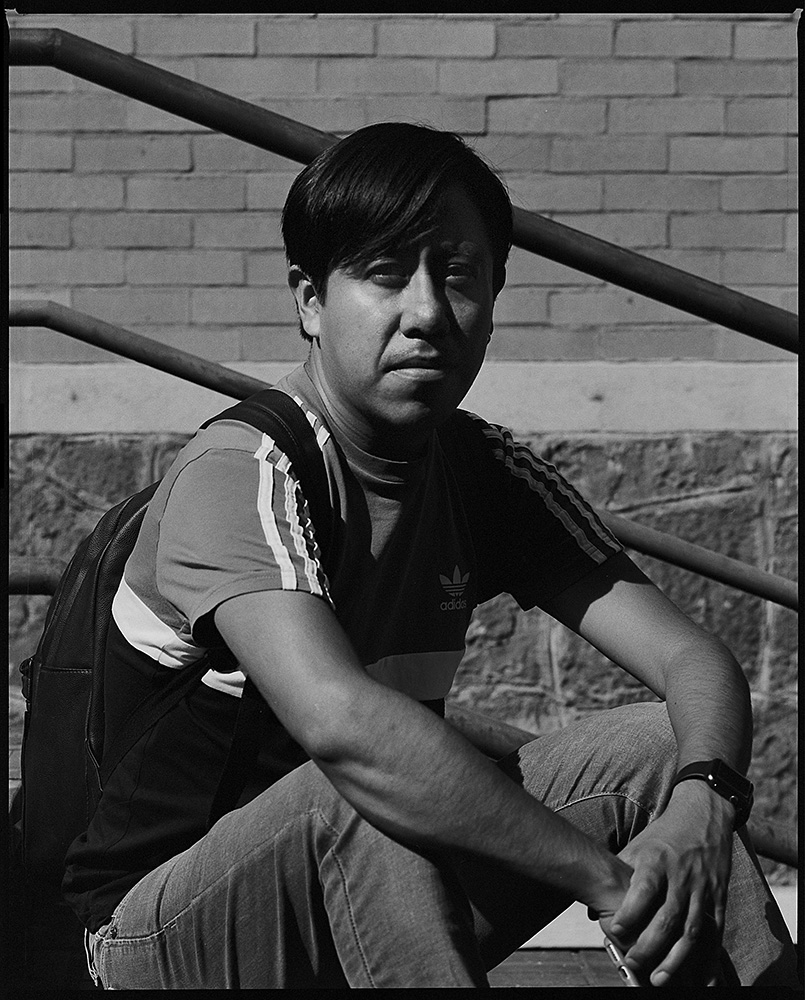
This last one was taken with the 110mm f2.8 lens. It’s an equally good lens for portraits when you need something that gives a bit more background and/or a closer working distance, like this shot.
All images made on Kodak Tri-X 400. I really like Tri-X for the tonality it has, and the just-a-little-bit of tooth.
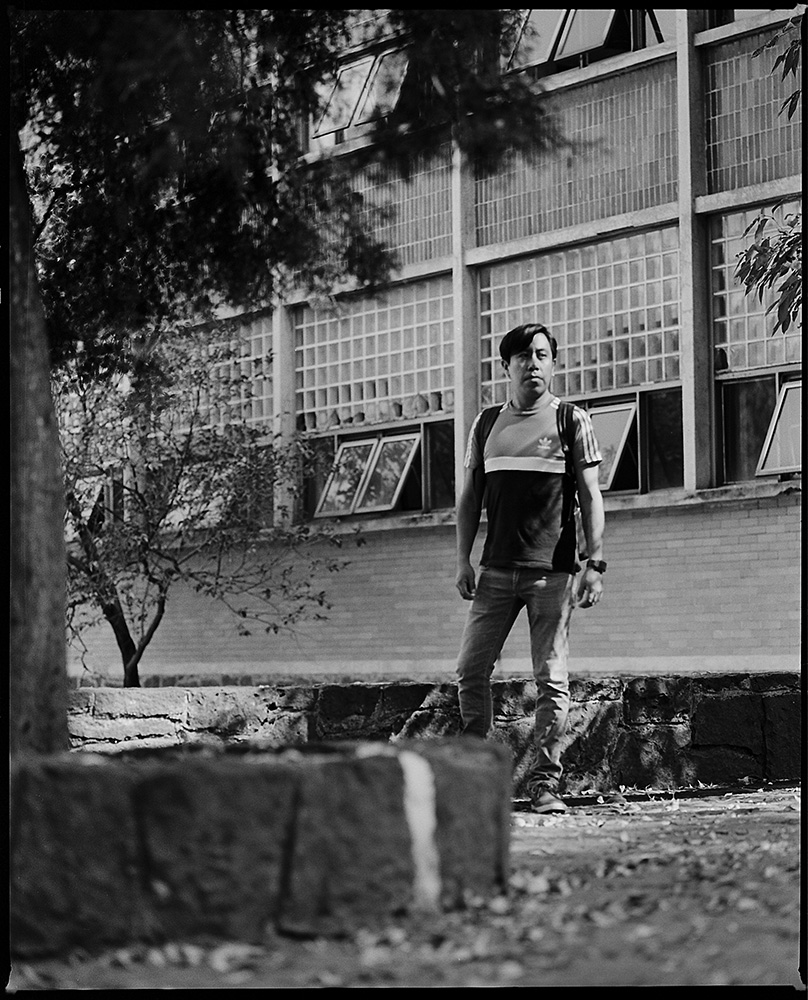
This very last image was made with the 50mm lens as an example of environmental portraiture. The film was Kodak Ektar 100, which I love for the color saturation and sharpness.
I just had an image of mine published in Hallowed Ground, the journal of the Civil War Trust. It’s a photo I took of Ed Bearss on one of his battlefield tours through the Smithsonian. The theme of the issue is “30 years of battlefield preservation”, and Ed is, rightfully, the star, as he has been one of the greatest champions of historic preservation over the last sixty years.
Reading the article clipping below, along with my image (see credit at the bottom), you can get a sense of Ed’s larger-than-life personality. I’m very happy that my image is the one being used to depict and honor Ed.
The photo of Ed was taken at the Balls’ Bluff battlefield site, which he was involved in helping secure and preserve against development. Were it not for his work, all that remained would have been the smallest military cemetery in the United States surrounded by townhouses. Instead, thanks to his work and the efforts of a local/state public/private partnership, we have an exceptionally authentic battlefield to walk and understand how the events of the day played out.
You can find out more about the Civil War Trust on their website: CivilWar.org
For those who care about such things, the image was made with Kodak Tri-X in my Rolleiflex.
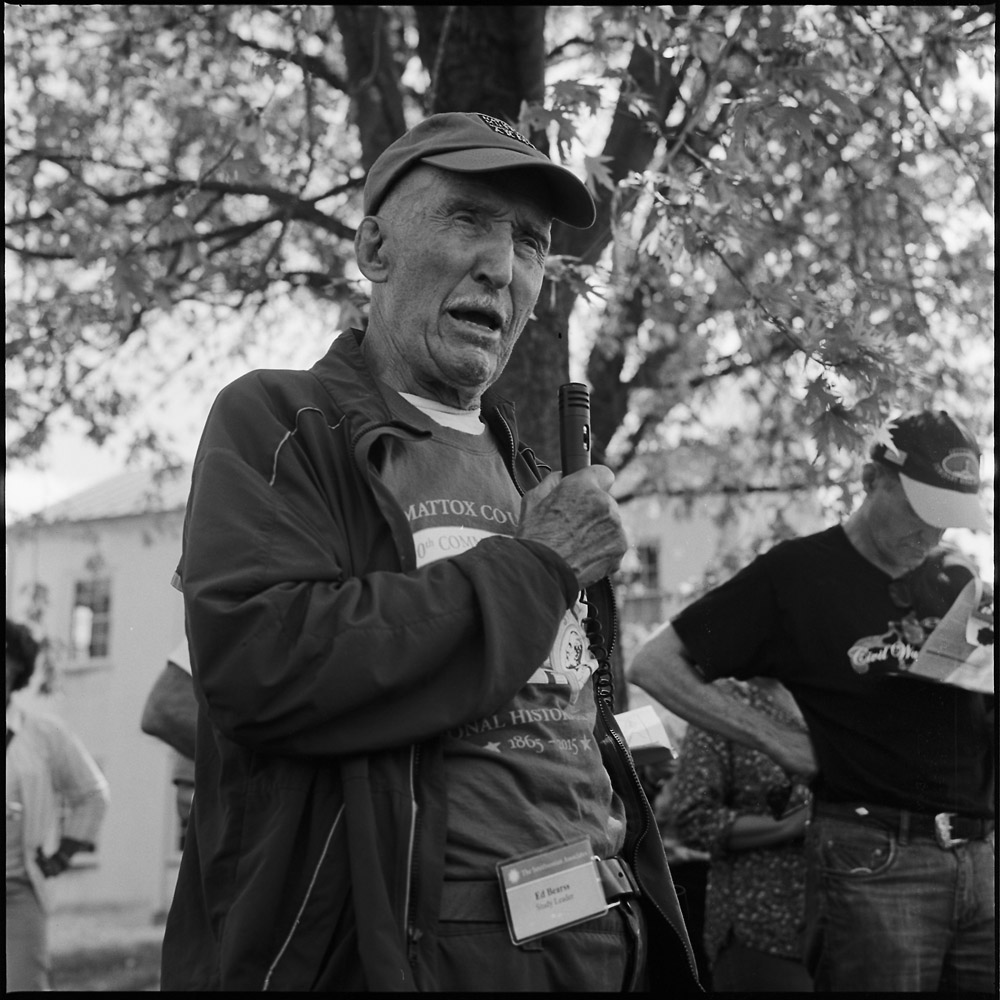
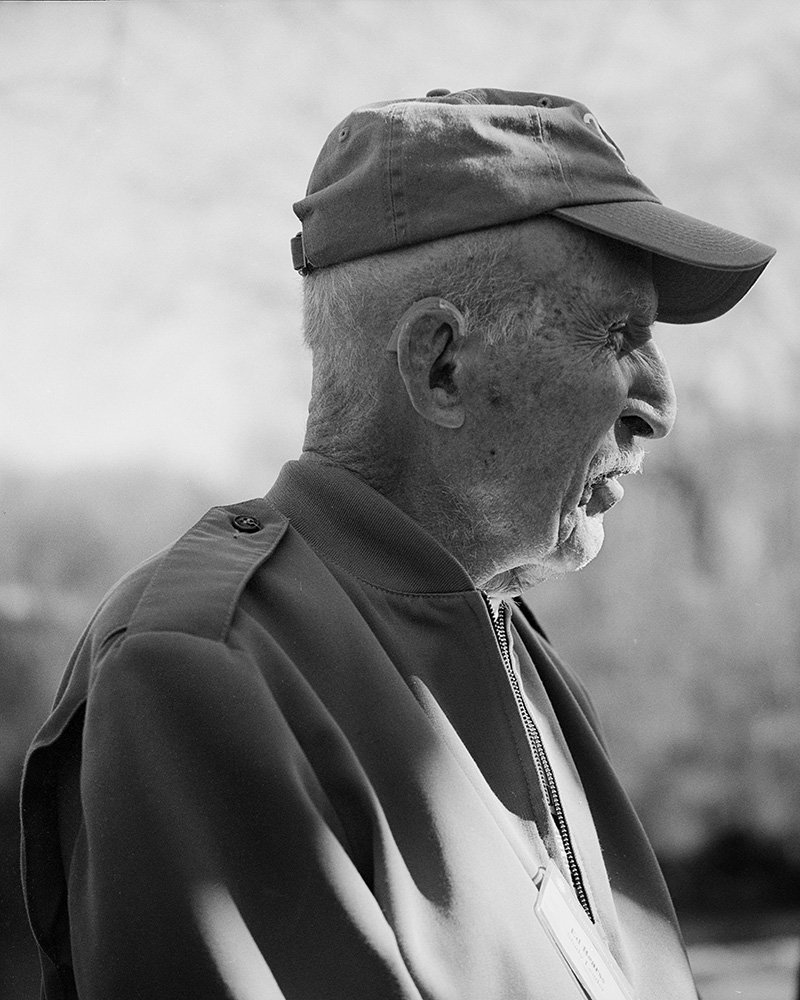
If you’ve been following along and paying attention to my blog, you know I’m a huge history fan, especially with regards to the US Civil War. I have had the great opportunity and privilege to attend perhaps a dozen tours through the Smithsonian Associates program led by Ed Bearss. Ed is the Chief Historian Emeritus of the United States Park Service, a combat-wounded World War 2 veteran, and even today at 93 he is still leading history tours over 160 days a year. He has an inimitable speaking style, a beyond encyclopedic knowledge of US history (especially military history), and a boundless energy rarely found in people less than half his age.
The trip where I took these photos was in the early spring of this year, to visit a lesser-known early battle of the Civil War, known as Kelly’s Ford. The battlefield is just down the road from Brandy Station, where JEB Stuart faced off against a now-competitive Union cavalry, and Robert E. Lee’s son Rooney was injured in the leg.
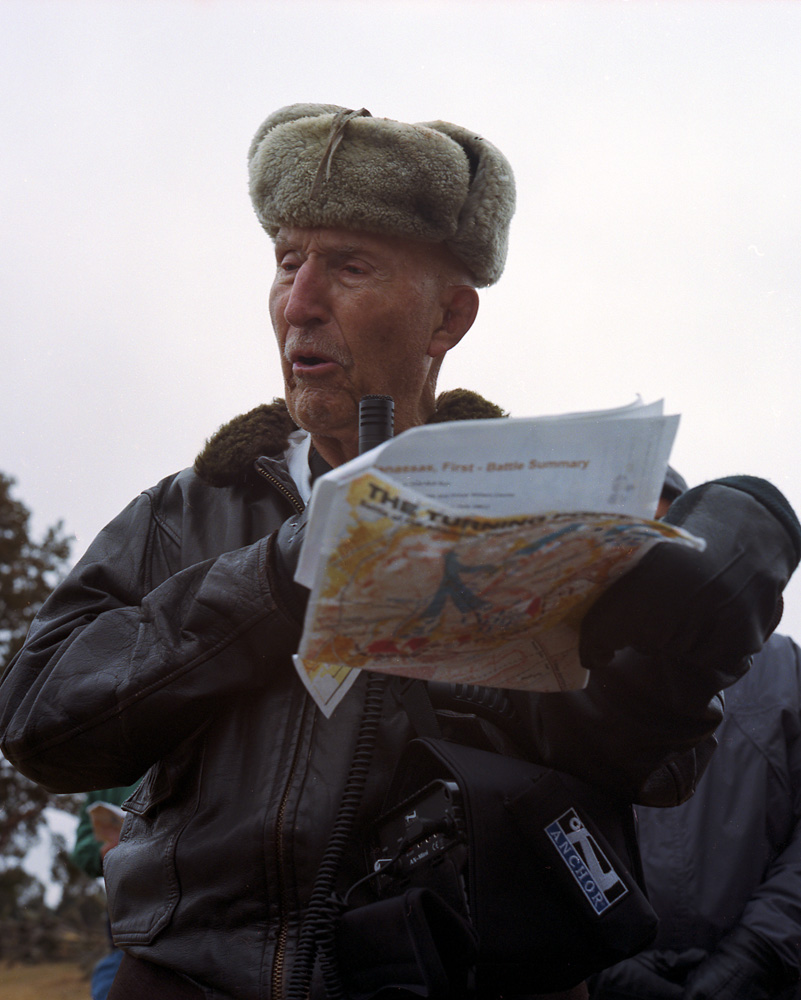
Kelly’s Ford was a smaller engagement and marked the beginning of the rise of Union cavalry, where previously Confederate cavalry had utterly dominated the field. Despite the relative minor character of the engagement, Ed, with his signature presentation and his admonition “if you want to understand the battle, you have to walk the battlefield”, manages to make such minor events and historical footnotes compelling.
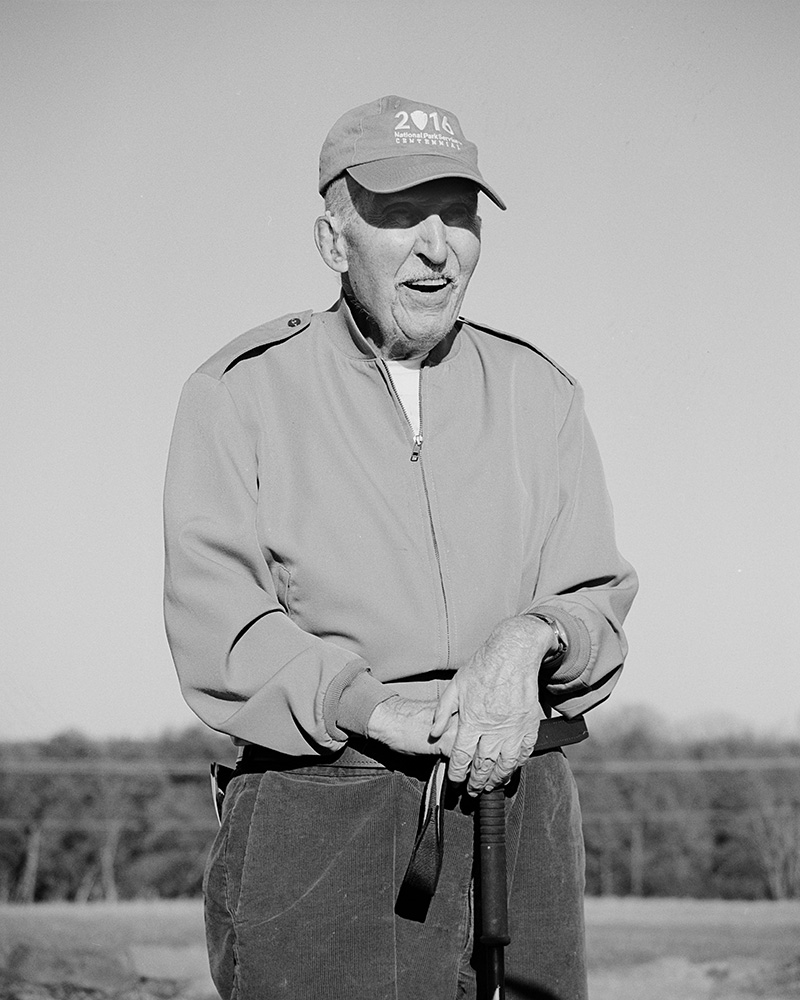
I love this last photo of Ed as it really captures his spirit and personality.
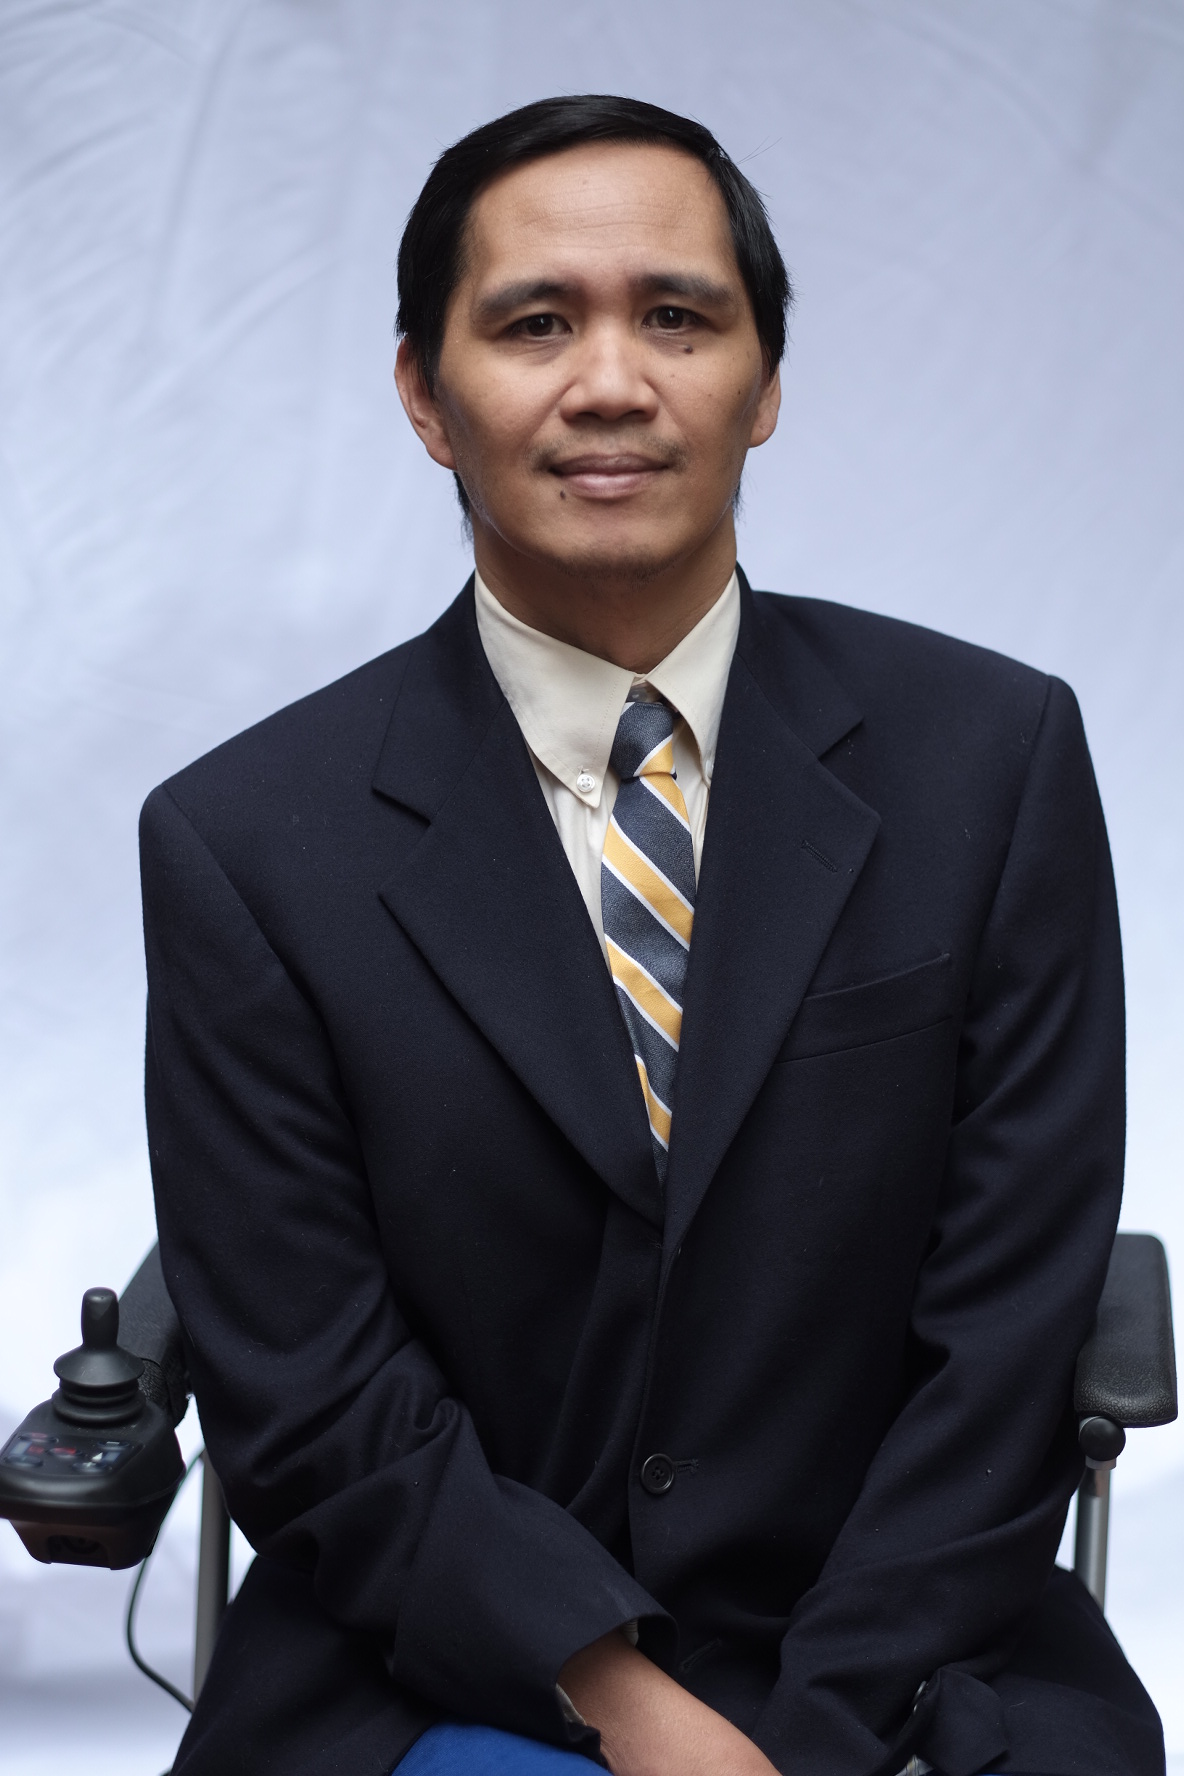
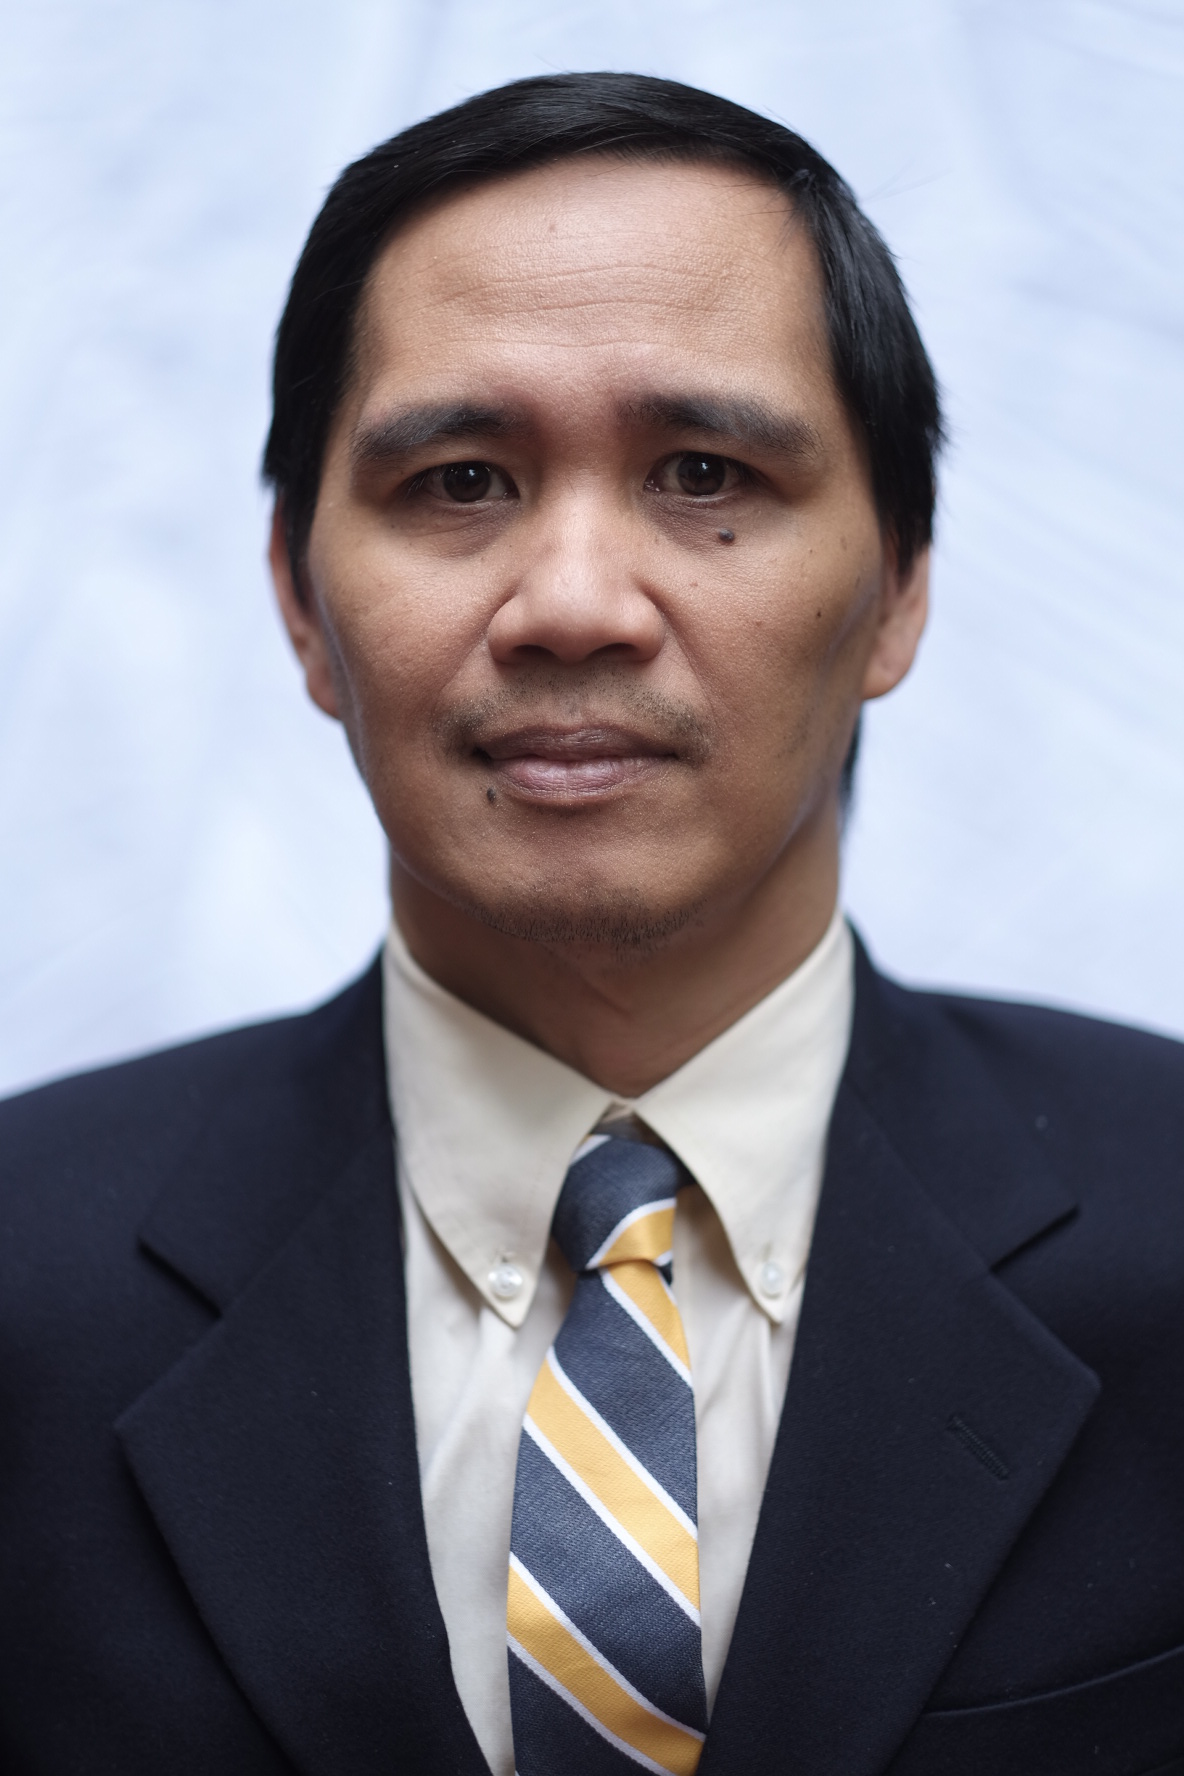
Last weekend I had the opportunity to take some portraits for a friend. I consider it quite the honor to have had the opportunity to take these portraits. It’s not often that you get to take pictures that really make a difference for someone, and aren’t just a vanity project. My friend, Arnel, needed some new photos for work, and for his blog. Arnel has ALS, and while not in Stephen Hawking’s condition, he is confined to a wheelchair, and has side-effects from the medication he takes. Despite it all, he keeps on working, and maintains an upbeat attitude. These two portraits are my favorites of the bunch.
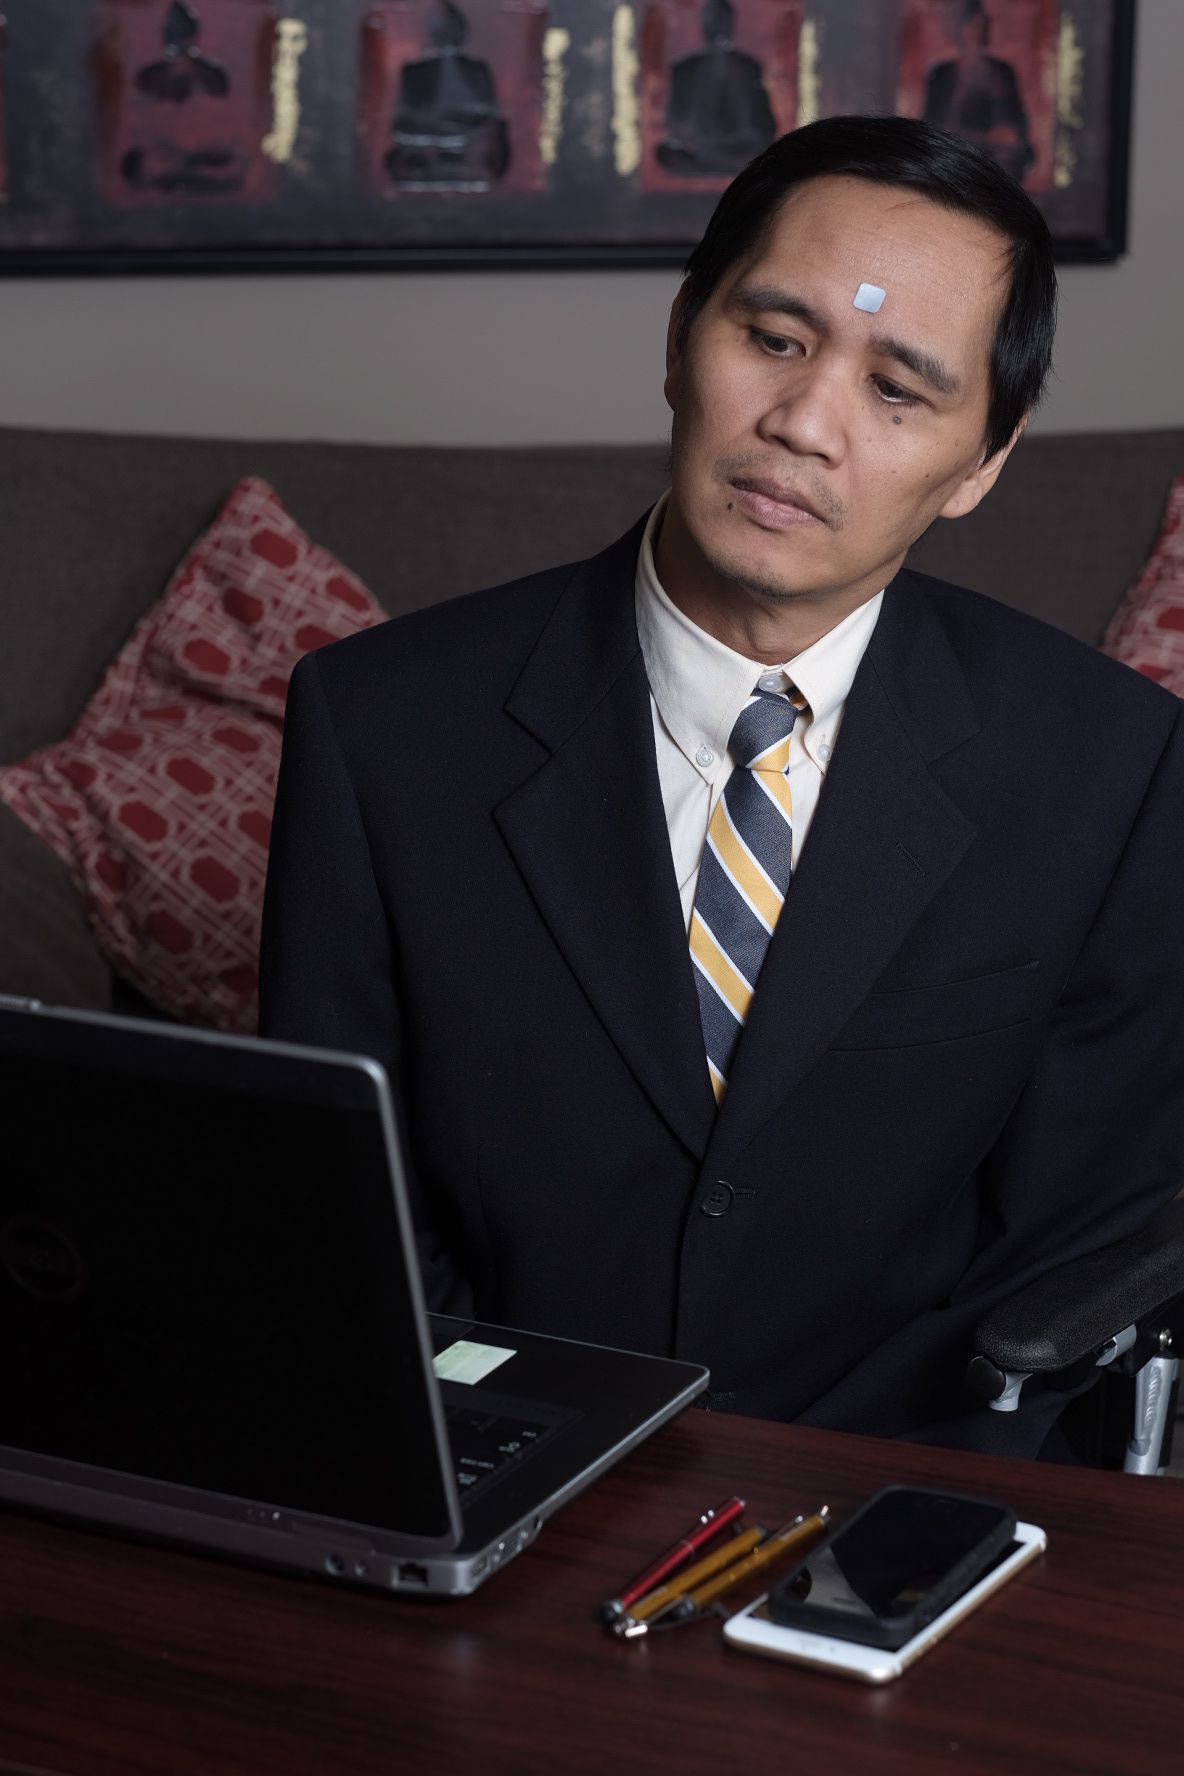
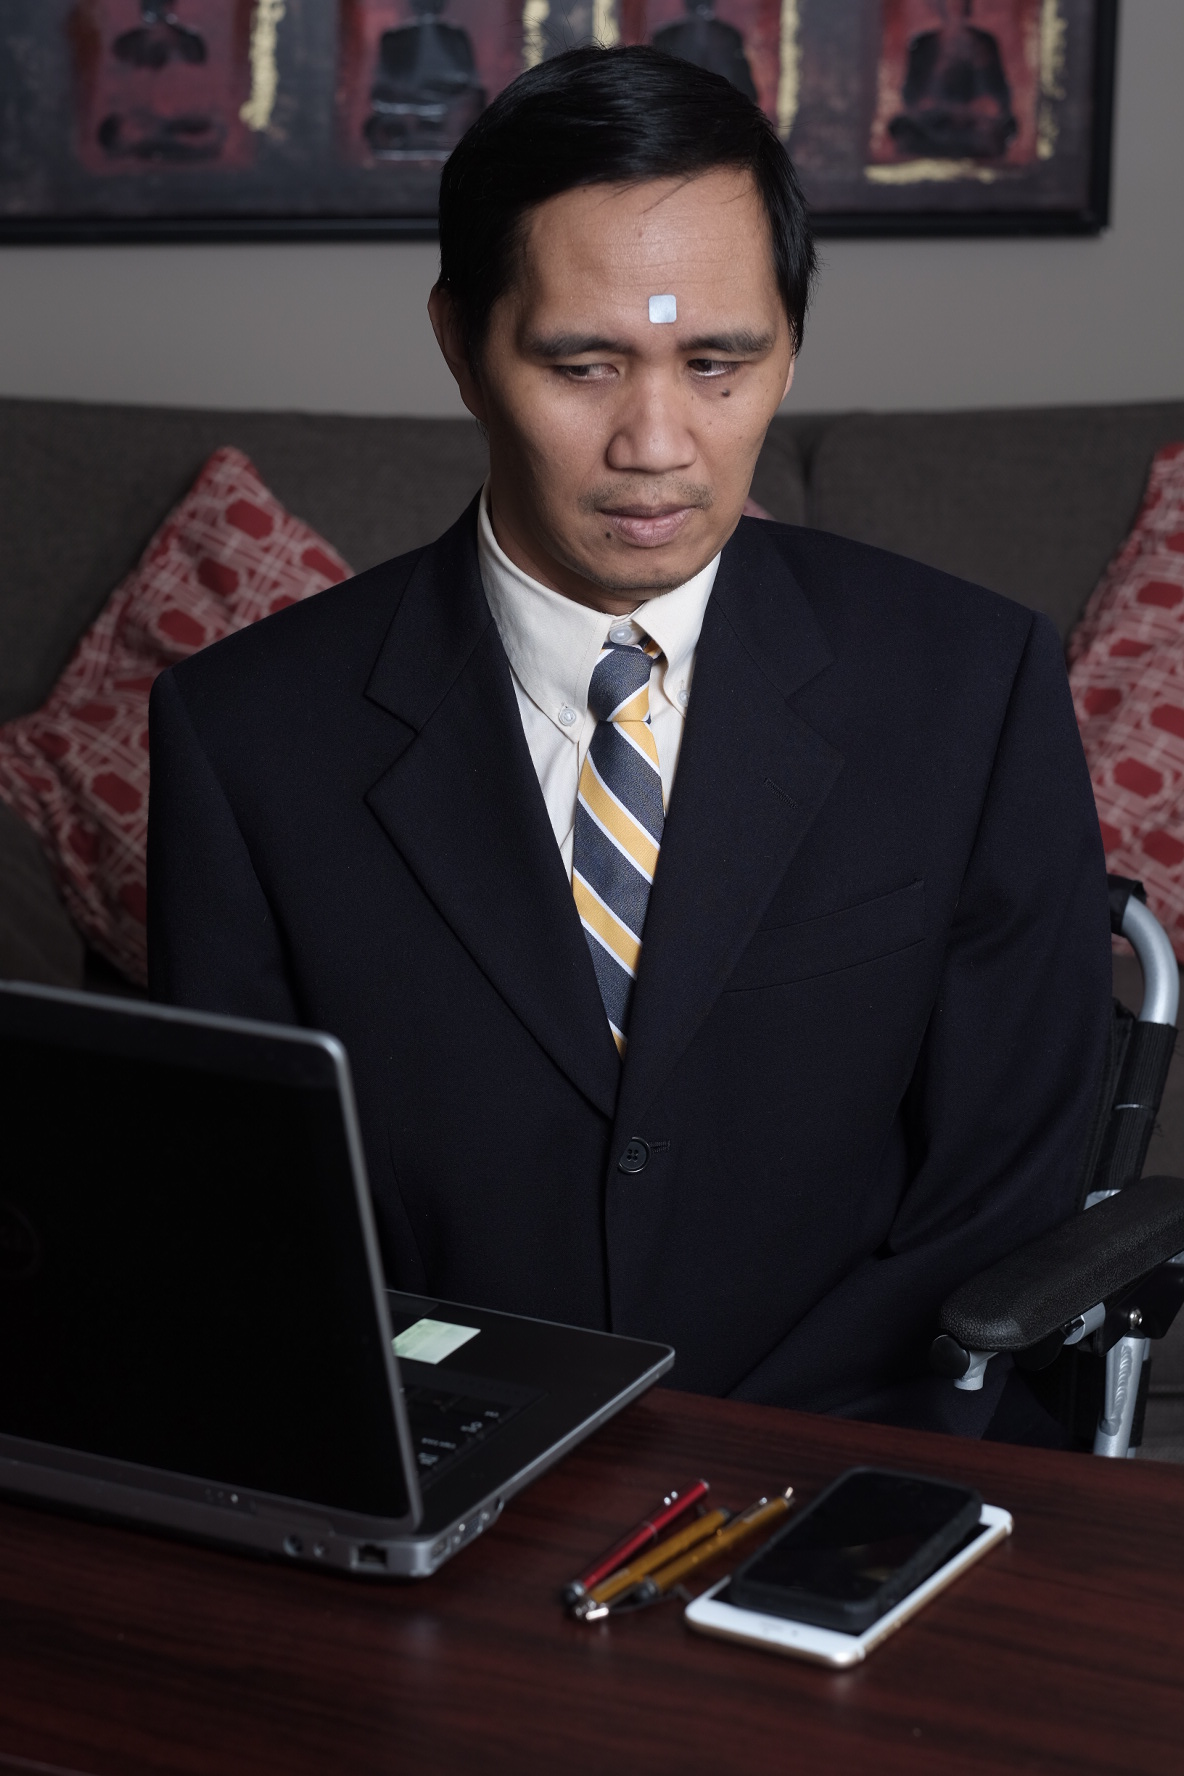
I particularly like the one that shows his wheelchair because it’s there, it reminds you that he’s not ordinary, but it also doesn’t pull you away from his essential dignity and presence. It presents his disability as just a small part of who he is, rather than defining him by it.
We did these last two photos for his blog – he writes about his experience as someone with a disability, and what he does to overcome it. Here he’s demonstrating how to use a head mouse – there’s a sensor that mounts to the top of his laptop screen and looks at his head, and it reads the movement of the little silver square and translates that into clicks on the screen. He can type with it, too.
We did these shots in his living room which he has set up as an office. I brought along some portable battery-powered studio lights and used them to illuminate him working because unlike the portraits, which were taken outdoors (we were extremely lucky that we had high overcast clouds providing a beautiful natural softbox effect), the work area was quite dim and lit with overhead recessed lights which would have been terribly unflattering in addition to being too dim to get good exposures.
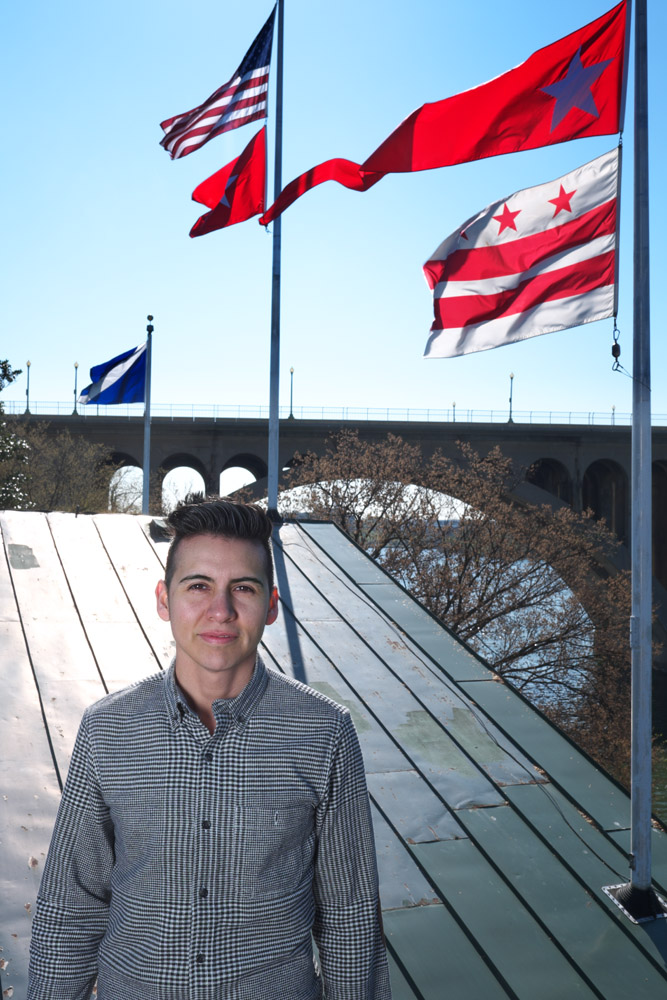
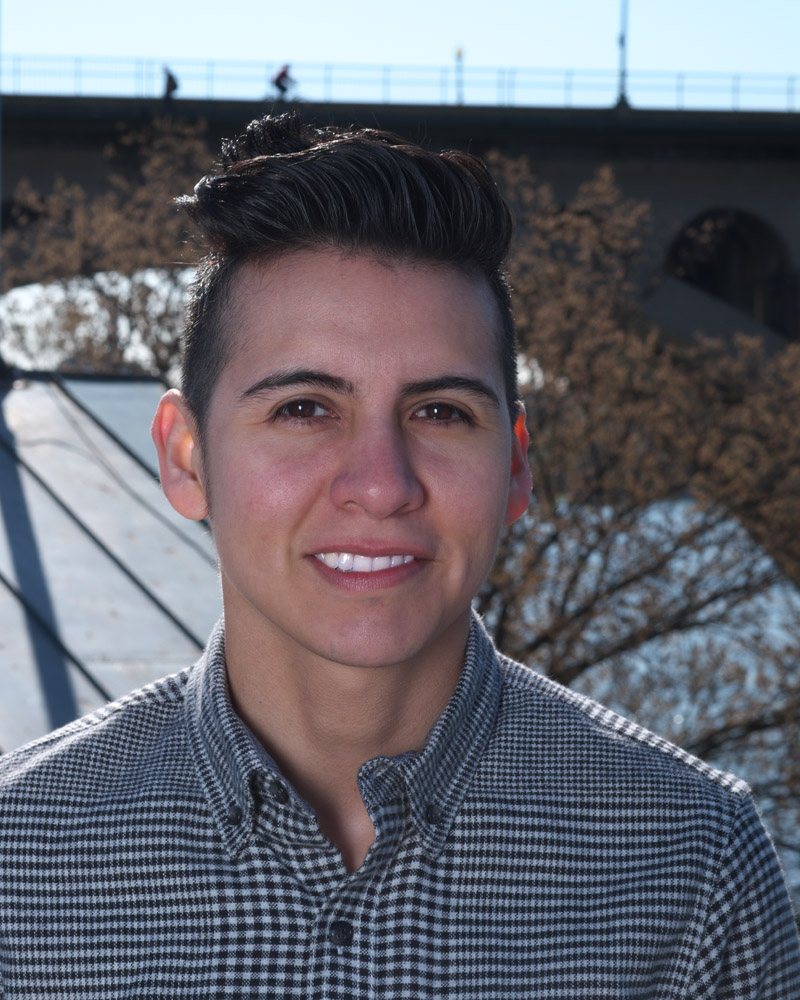
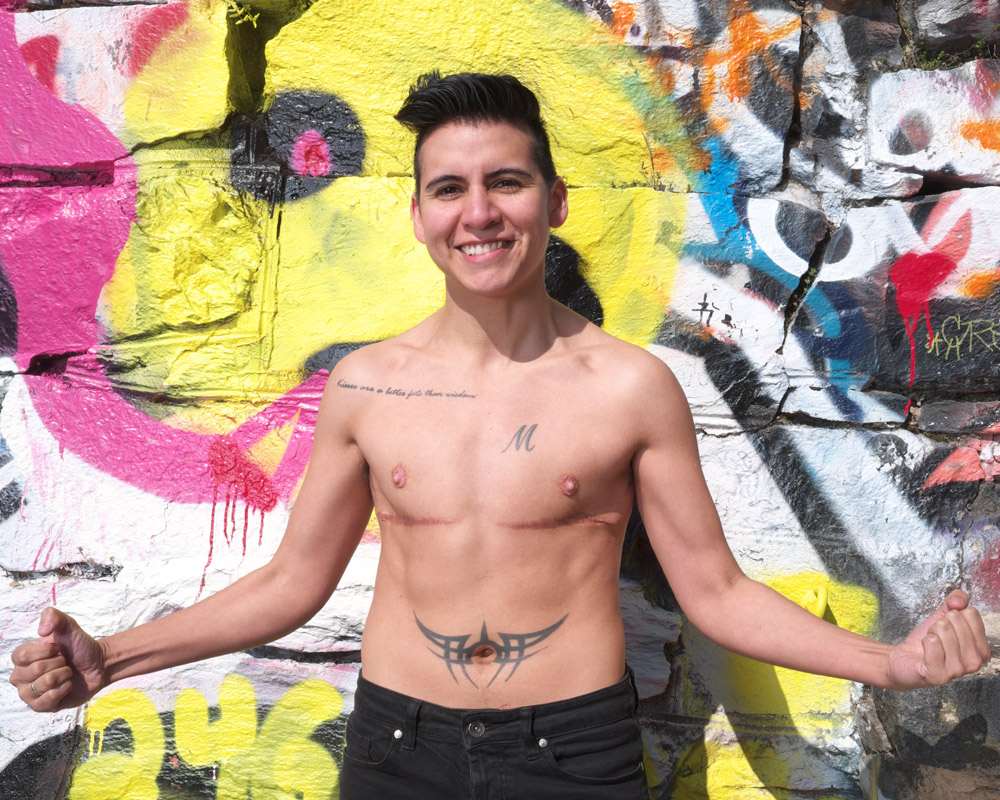
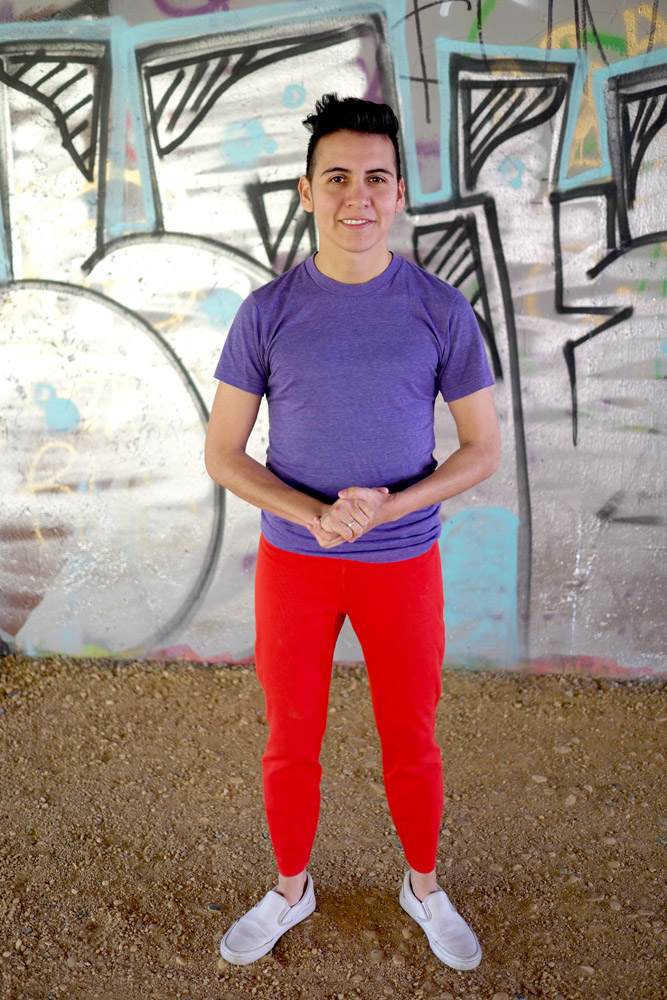
These are some portraits I took of my friend Alexander last weekend out in Georgetown. We went out to create some work for a fundraiser benefit in Toronto for Sprott House, a youth shelter run by the YMCA specifically aimed at providing housing for gay, lesbian, bisexual, transgender and two-spirit (the native American term for LGBTQ) teens and young adults. Alexander is a Latino trans man and open and proud, and I thought some portraits of someone living an out, proud life as transgender would be inspiring for kids struggling to deal with their own identities and the impact of being “other” on their futures.
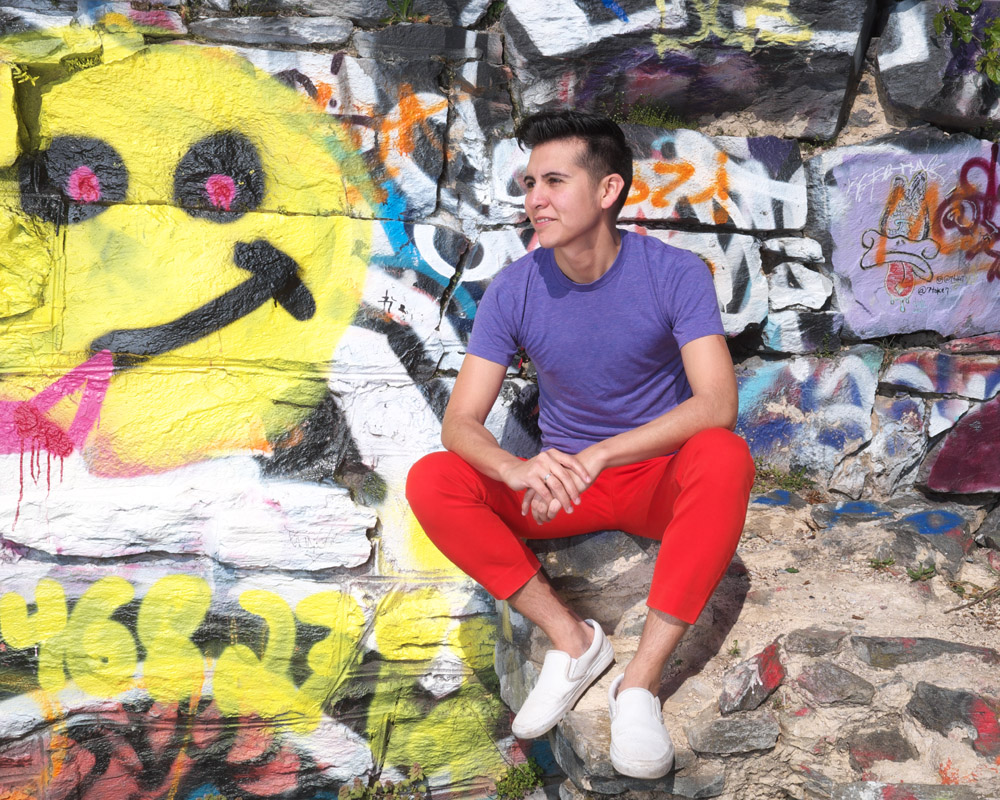
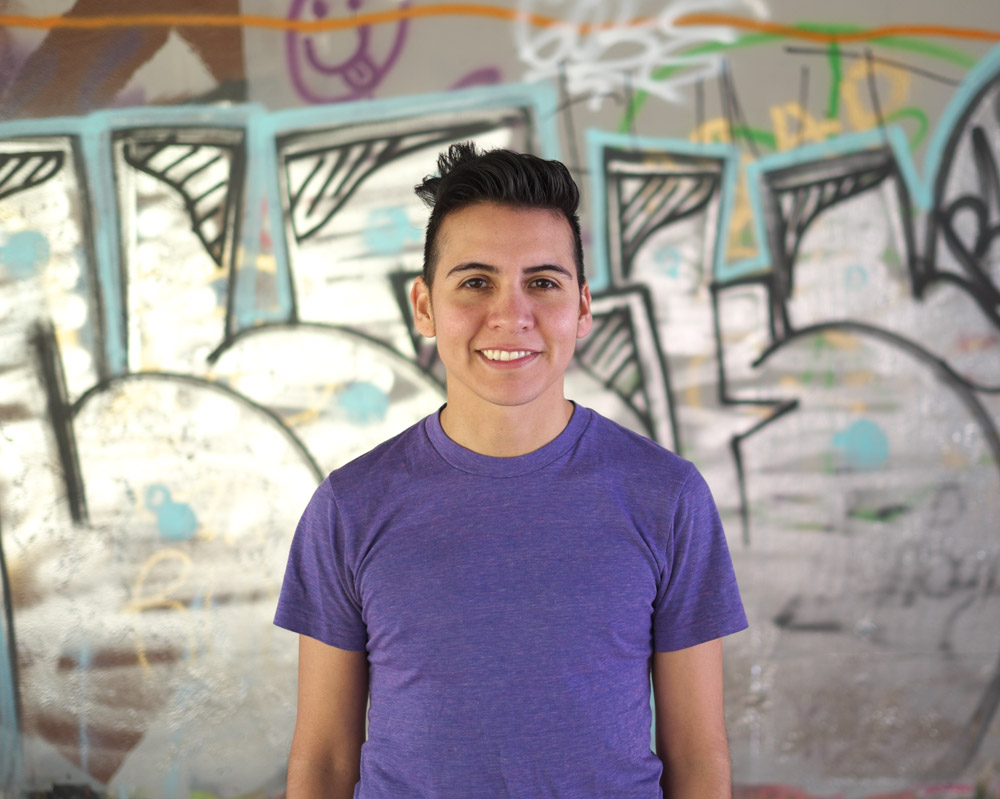
The first couple images are pretty serious and straight images (pardon the pun).
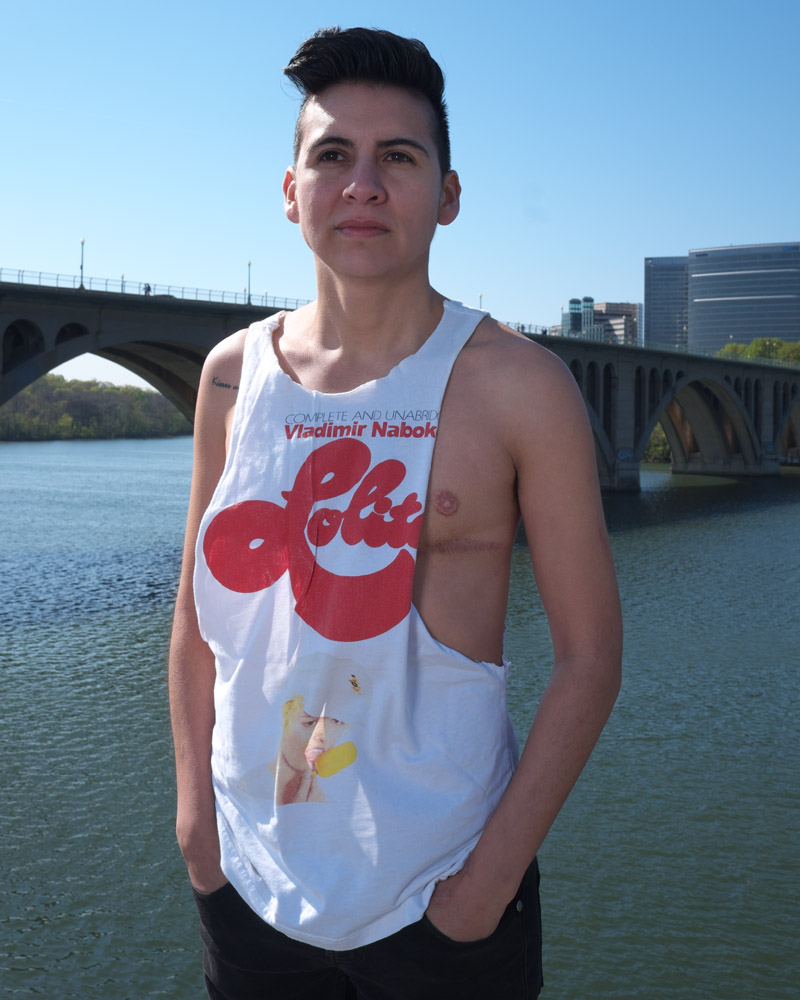
A little bit of humor – this is Alexander’s club-hopping t-shirt. I teased him about the mixed message of serious literature on a clubbing shirt. But it is Lolita, so I guess it qualifies 🙂
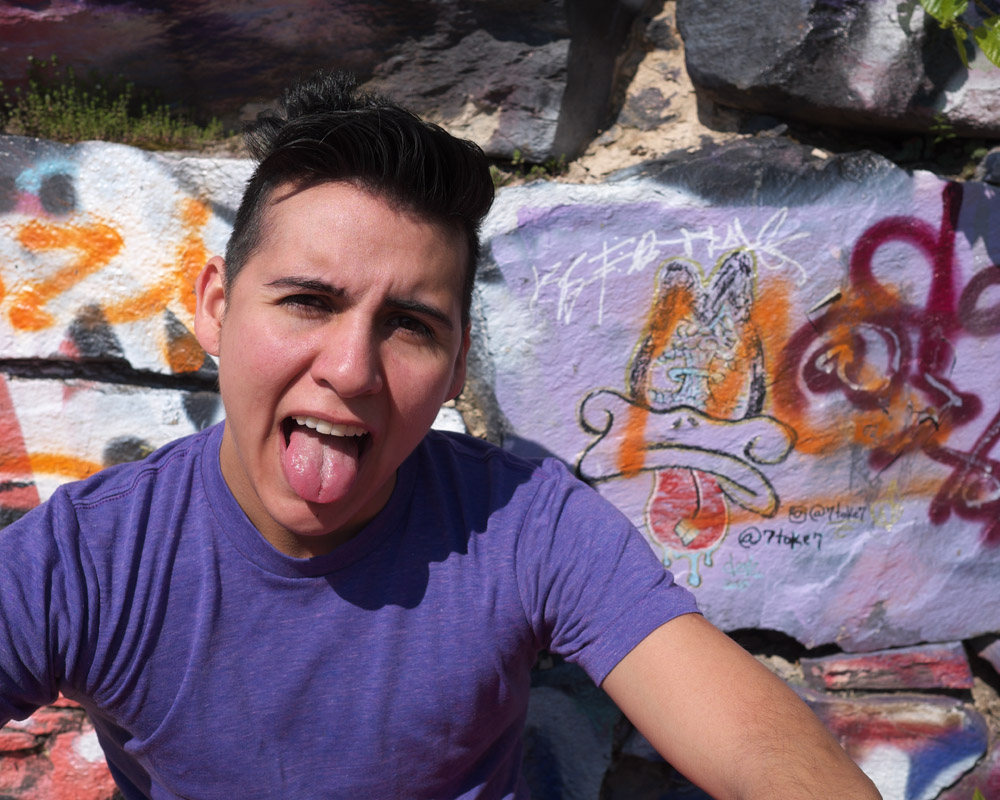
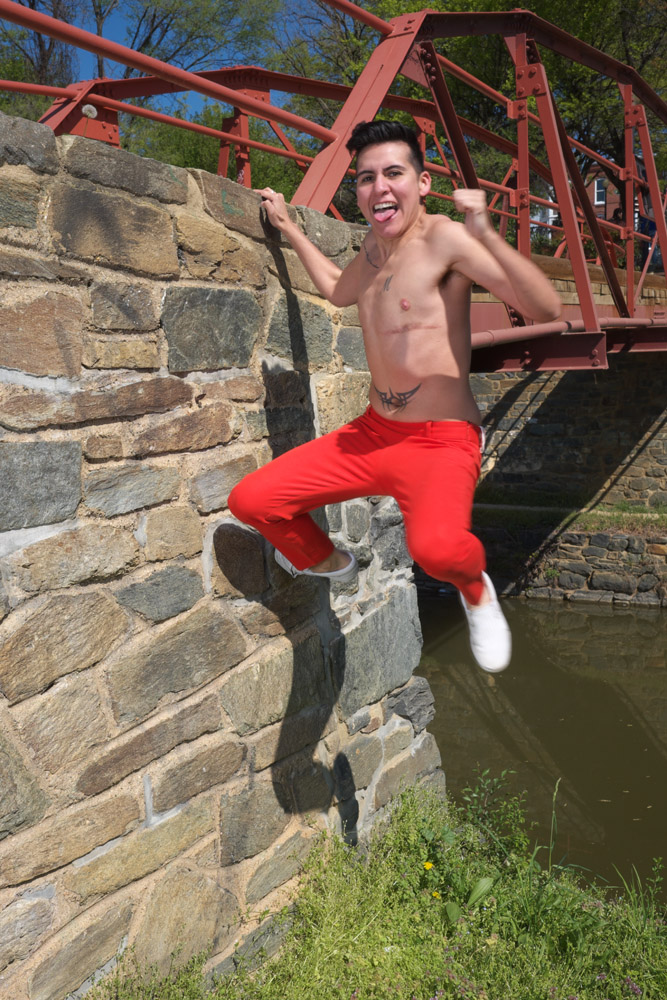
Just because a photo has a serious purpose and carries with it a political statement doesn’t mean it has to be serious. While I was posing Alexander in front of the wall of graffiti, he spotted the duck with its tongue sticking out and imitated it. It was a great spontaneous moment and shows his personality.
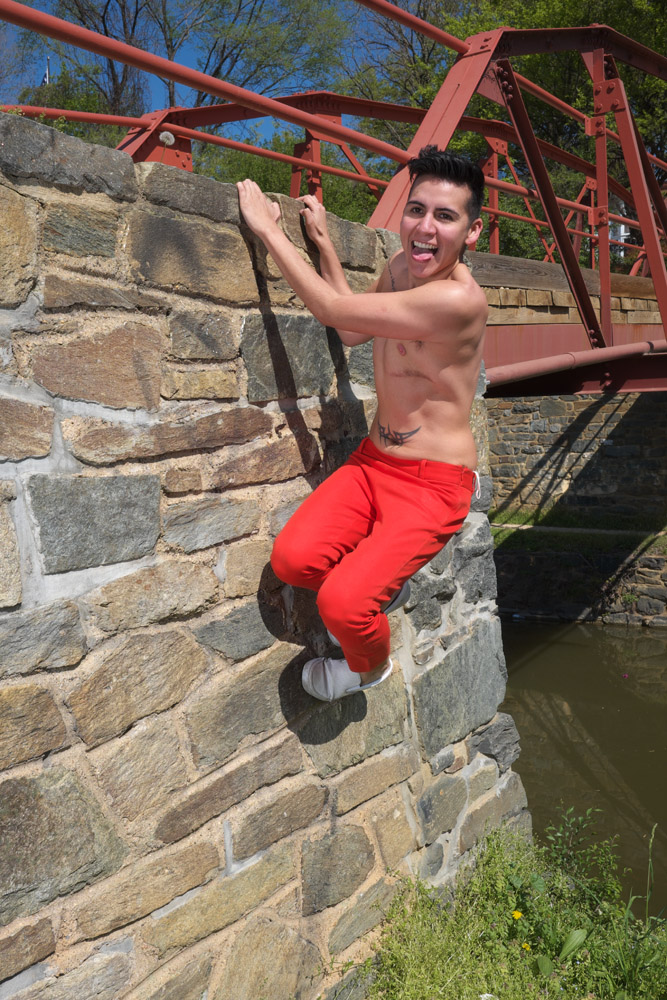
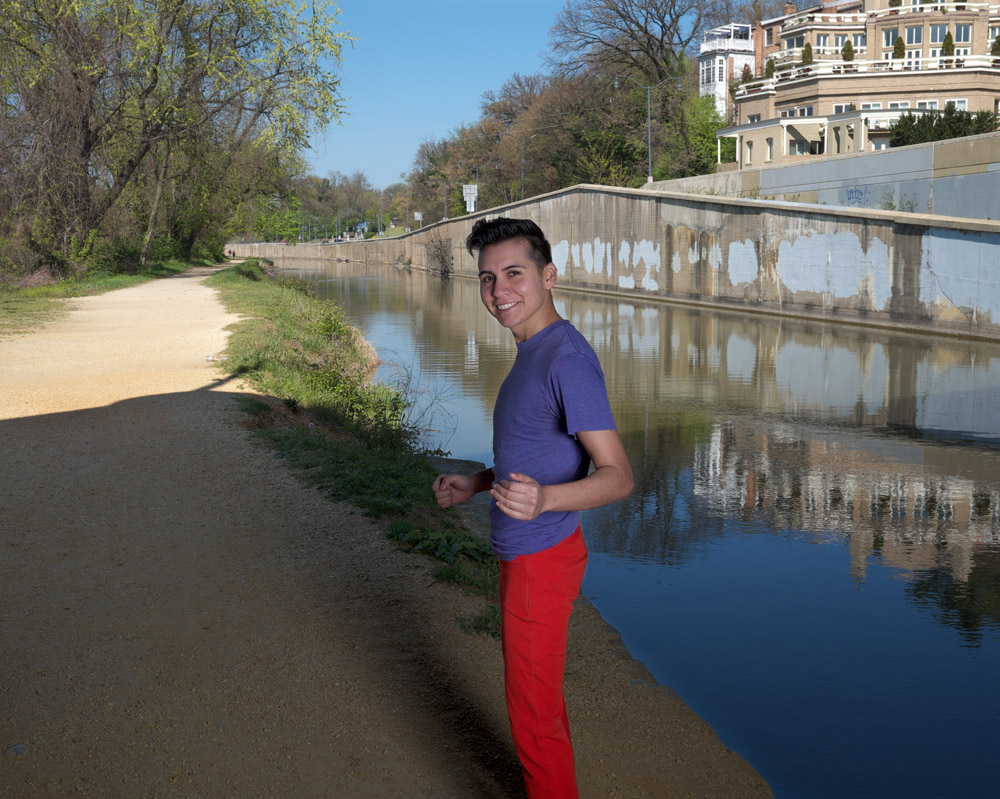
Alexander wanted to do some shots to show off his growing muscle definition, so he went and climbed the stone pier for the ramp over the canal…
And then jumped off of it…
His script tattoo says “it is better to have kisses than wisdom”. I haven’t made up my mind about whether I agree with the sentiment, but it definitely suits his personality.
Under the ramp to the freeway that passes over the C&O Canal there’s always some interesting graffiti, and right now it’s tagged with this beautiful silver metallic paint that really complemented Alexander’s red and purple outfit.
The last image I feel makes for a great closer for the series – Alexander’s gesture seems to be saying “come with me and we’ll have a fun time!”.