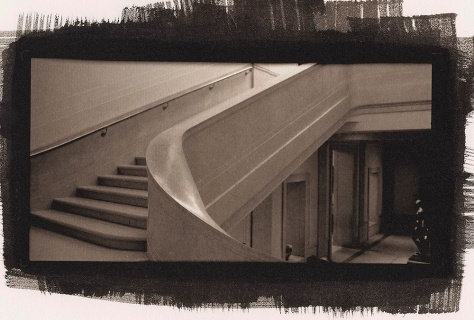
The last two weekends, I’ve been teaching an Intro to Platinum/Palladium Printing class. In the past, I’ve only taught it from film negatives, but this time I did it with a module on making digitally enlarged negatives as well. It was a rousing success- I had a great time teaching it, and I had some very enthusiastic students, all of whom were very seriously interested in continuing with the medium.
Last week, we started out learning basic coating technique, talked a bit about paper selection, and the importance of a good negative to work from. To expedite the process, I provided students with negatives that were already processed for platinum/palladium printing.


This week we covered making images from digitally enlarged negatives. I had students bring in a selection of images on thumb drives and we picked one or two to make negatives with. Here are my assembled students with finished prints from our digital negative printing session. The prints are much warmer in color in this photo than they are in real life because I took this on my iPhone in mixed lighting.

A better representation of some student prints. We also tried doing Ziatypes (a variation on palladium printing that is a printing-out process rather than a developing-out process, and by default has a much cooler, silvery tone to it than a pure palladium print does). The two images in the center row – left center and dead center – are Ziatype variations. The woman’s portrait was from a 40+ year old in-camera 8×10 negative not specifically developed for alt-process printing, but it worked quite well. The soft edges are from the fact that the negative was not processed archivally and is starting to silver out.


