This is long long long overdue, but better late than never. Especially since we are in the throes of planning the next iteration which will be in March of 2025!
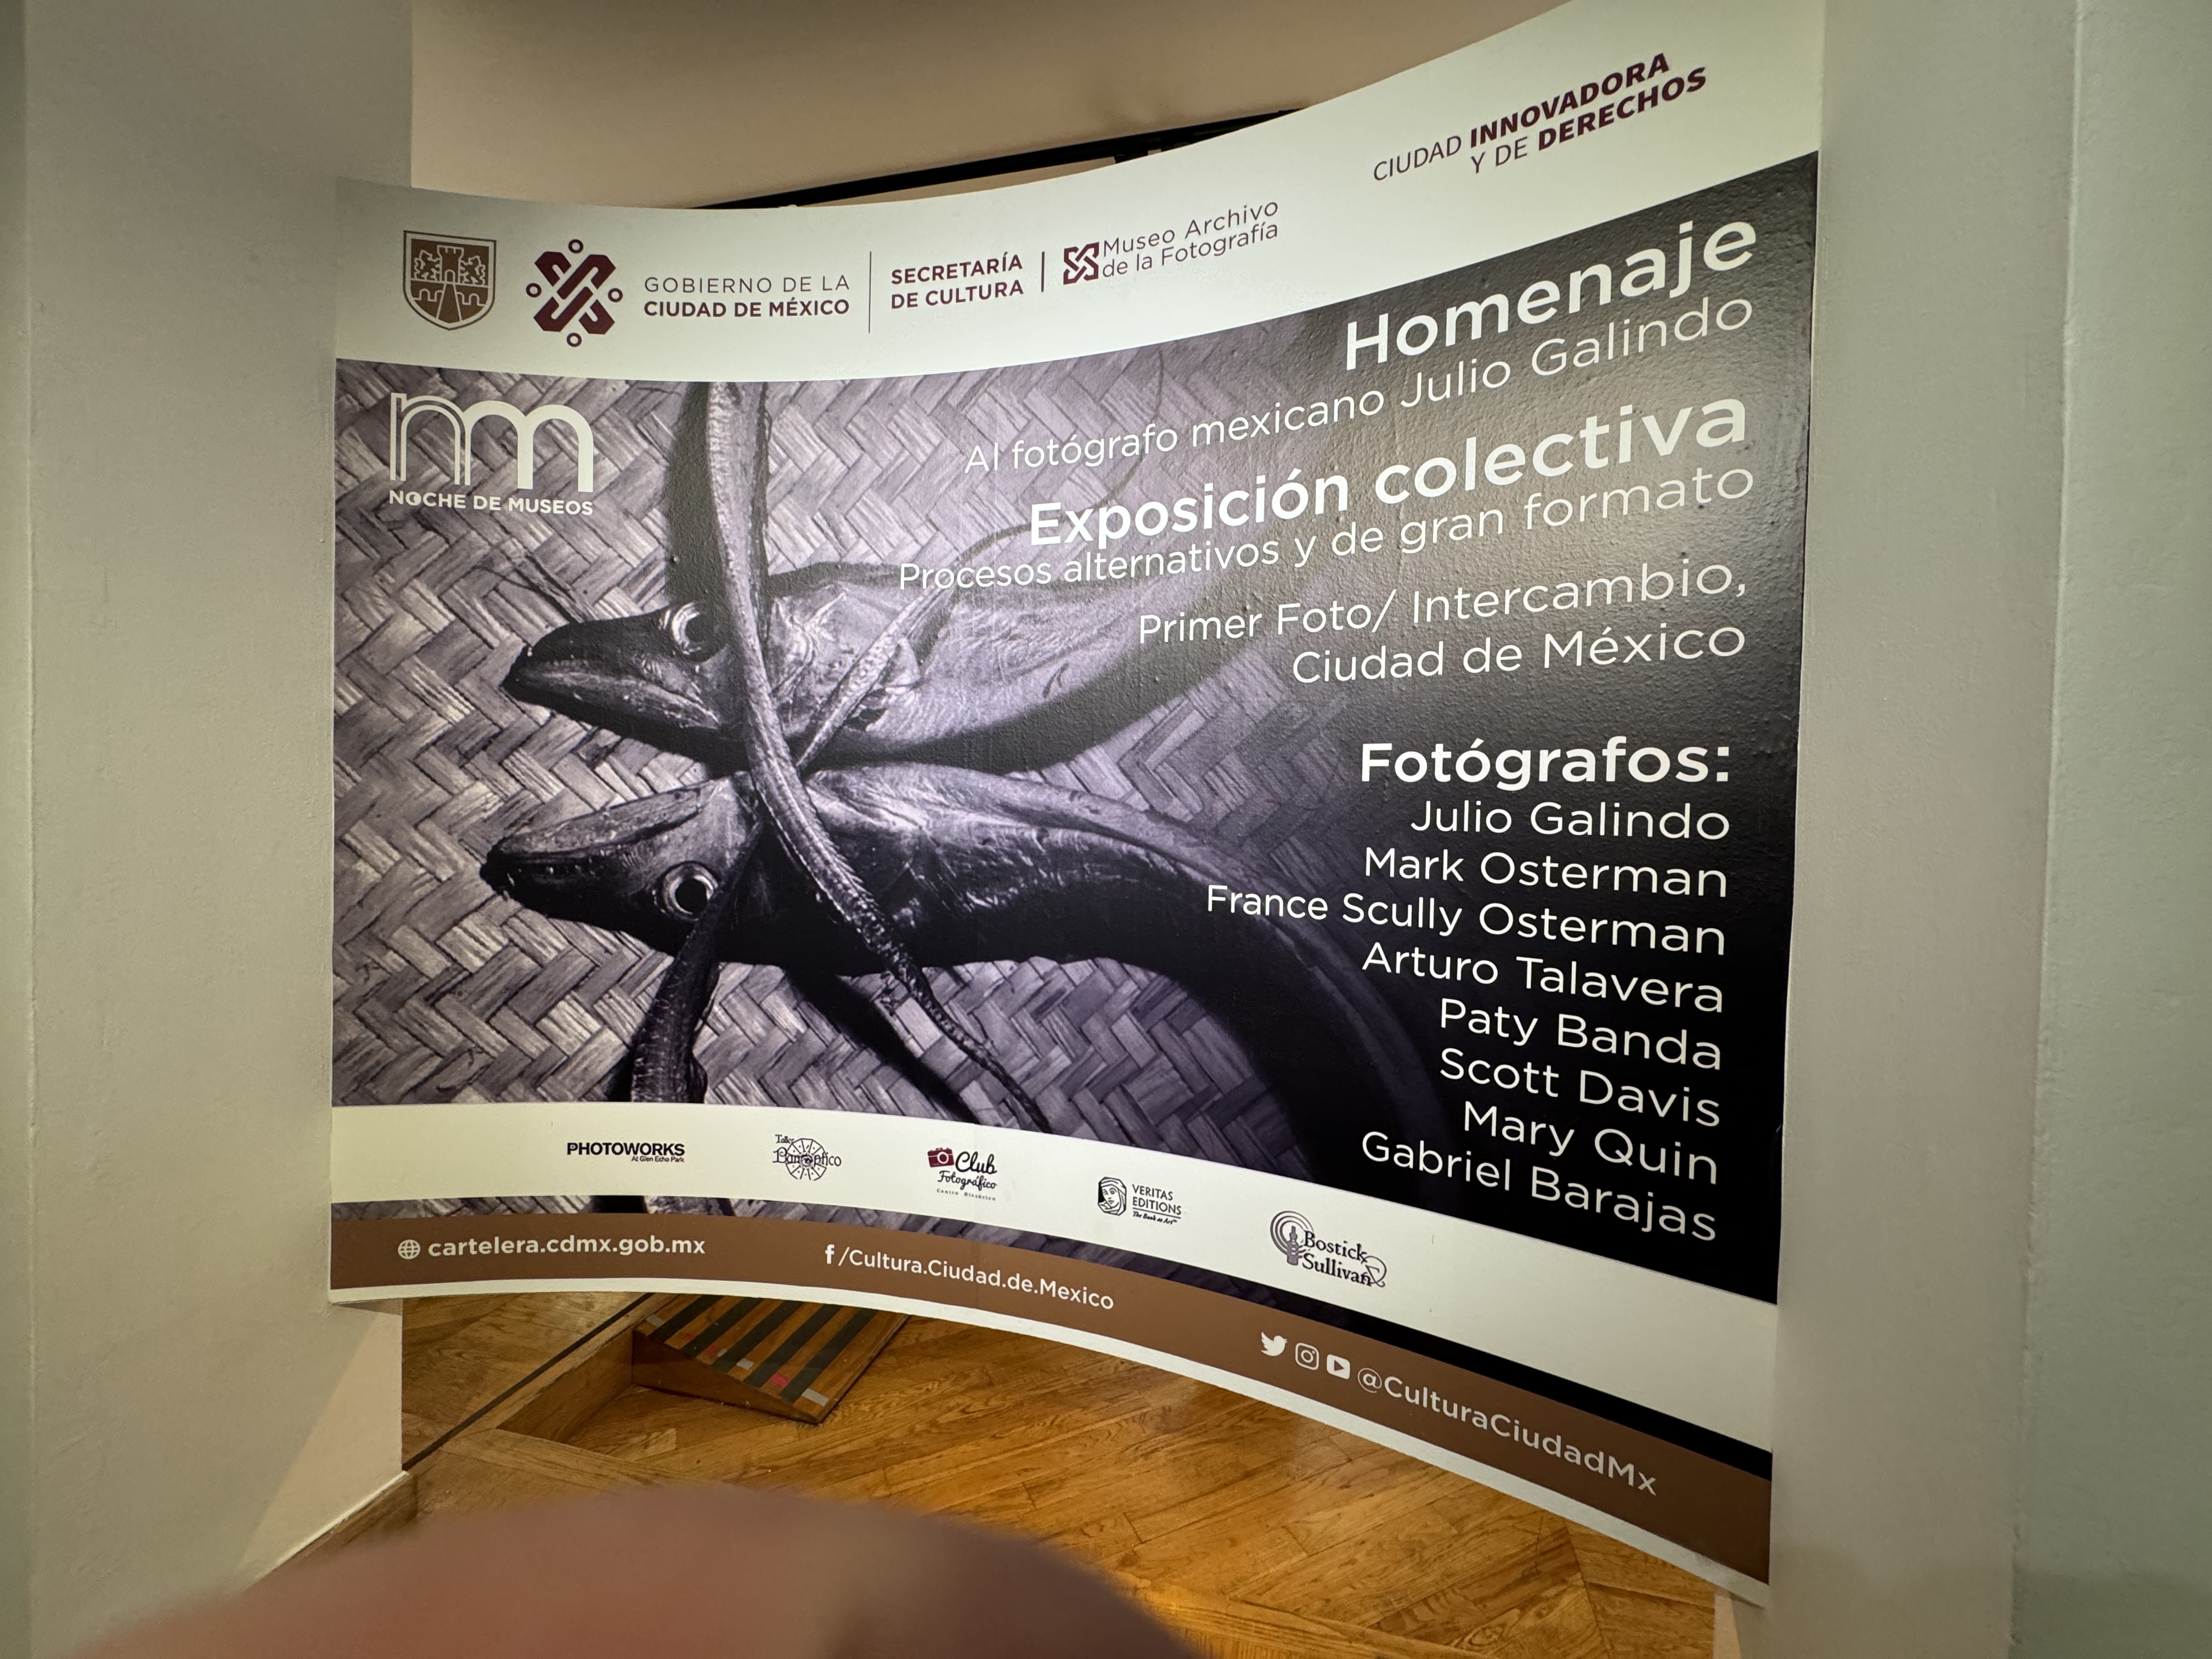
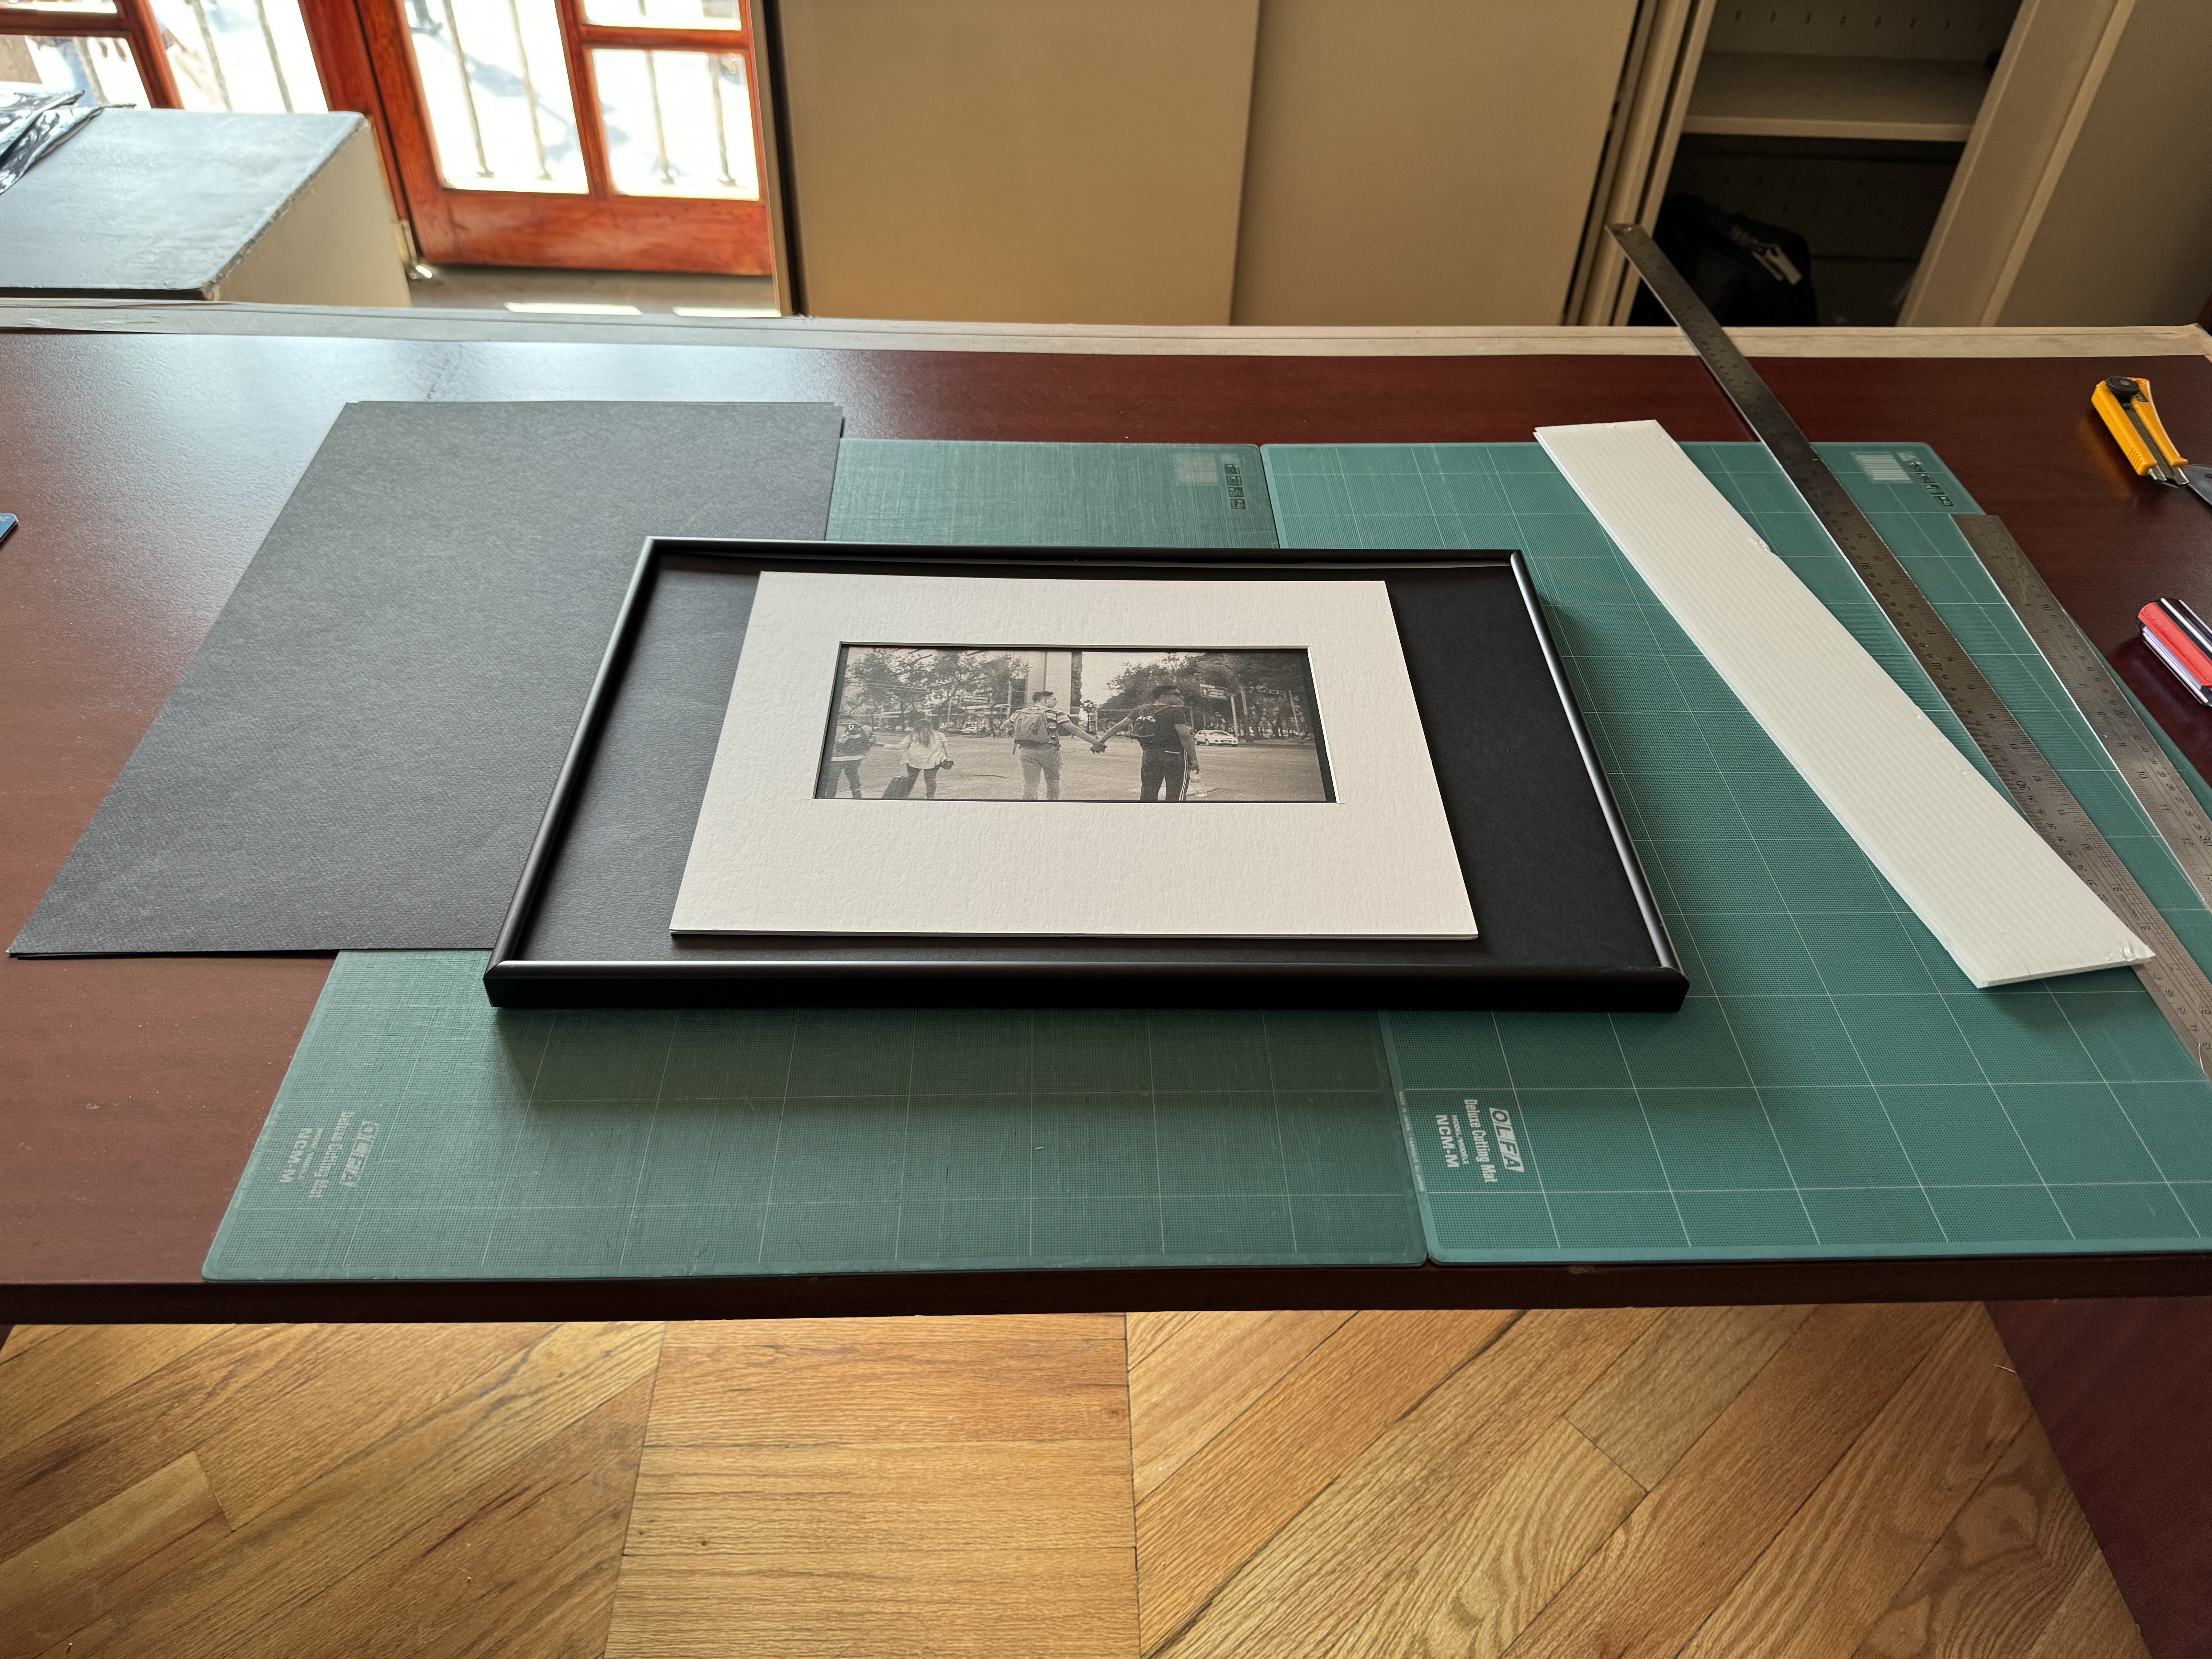
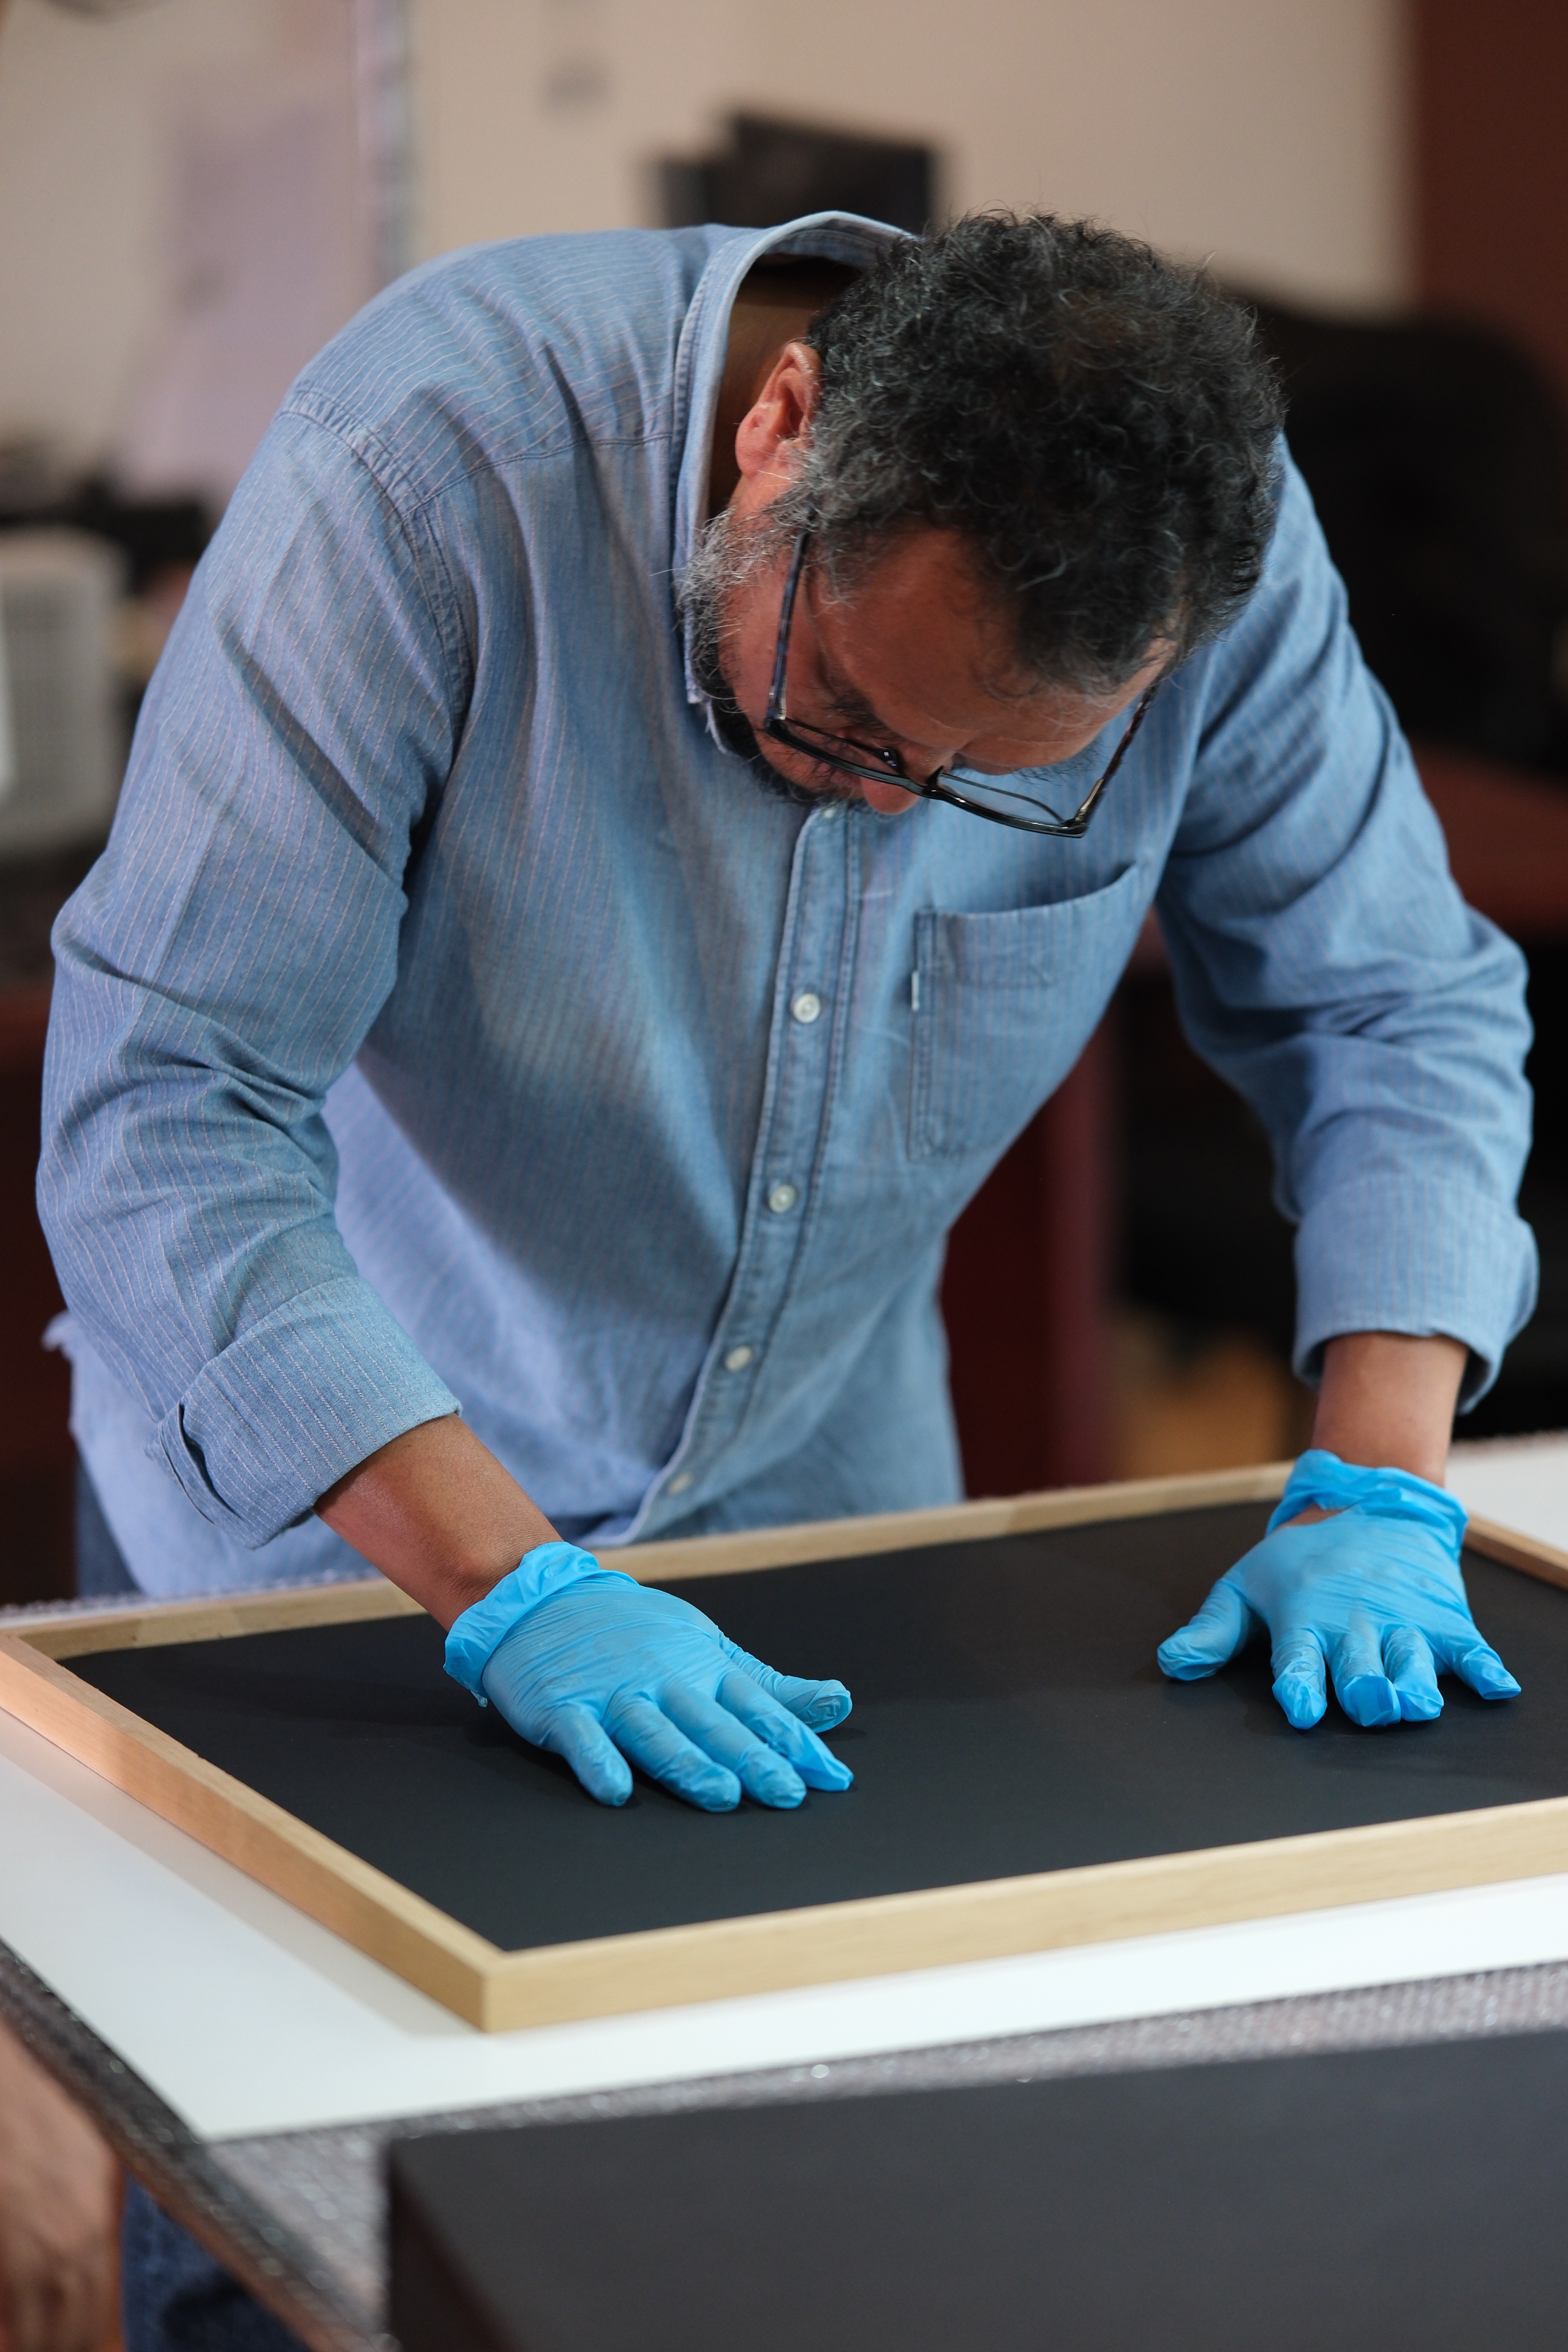
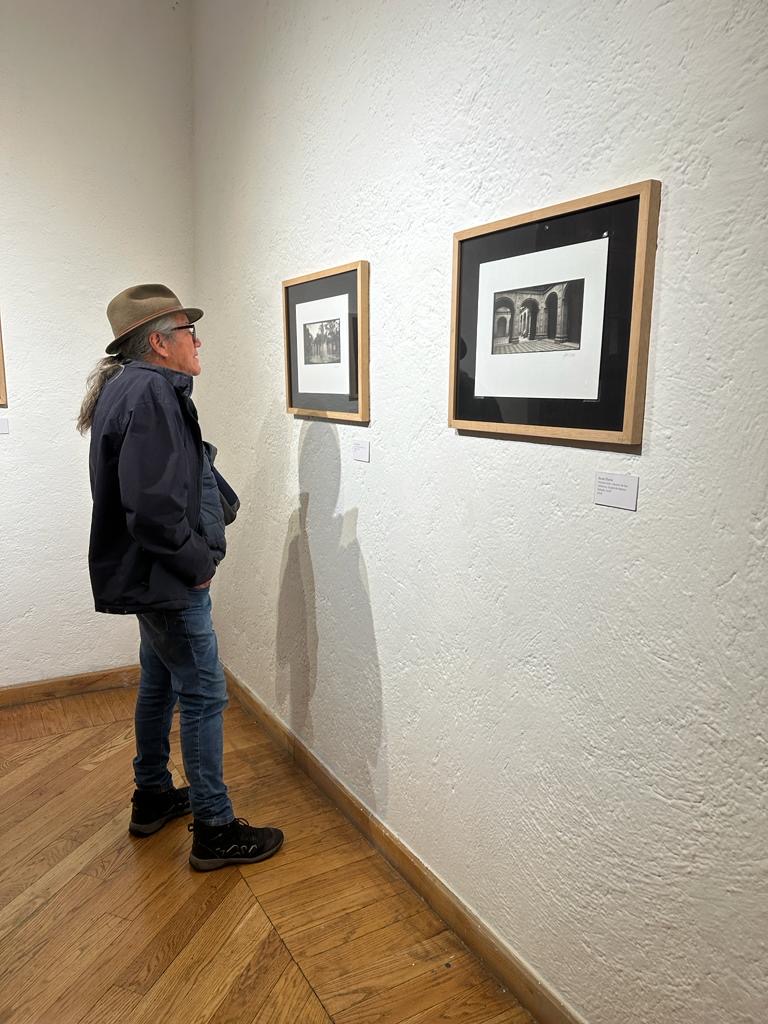
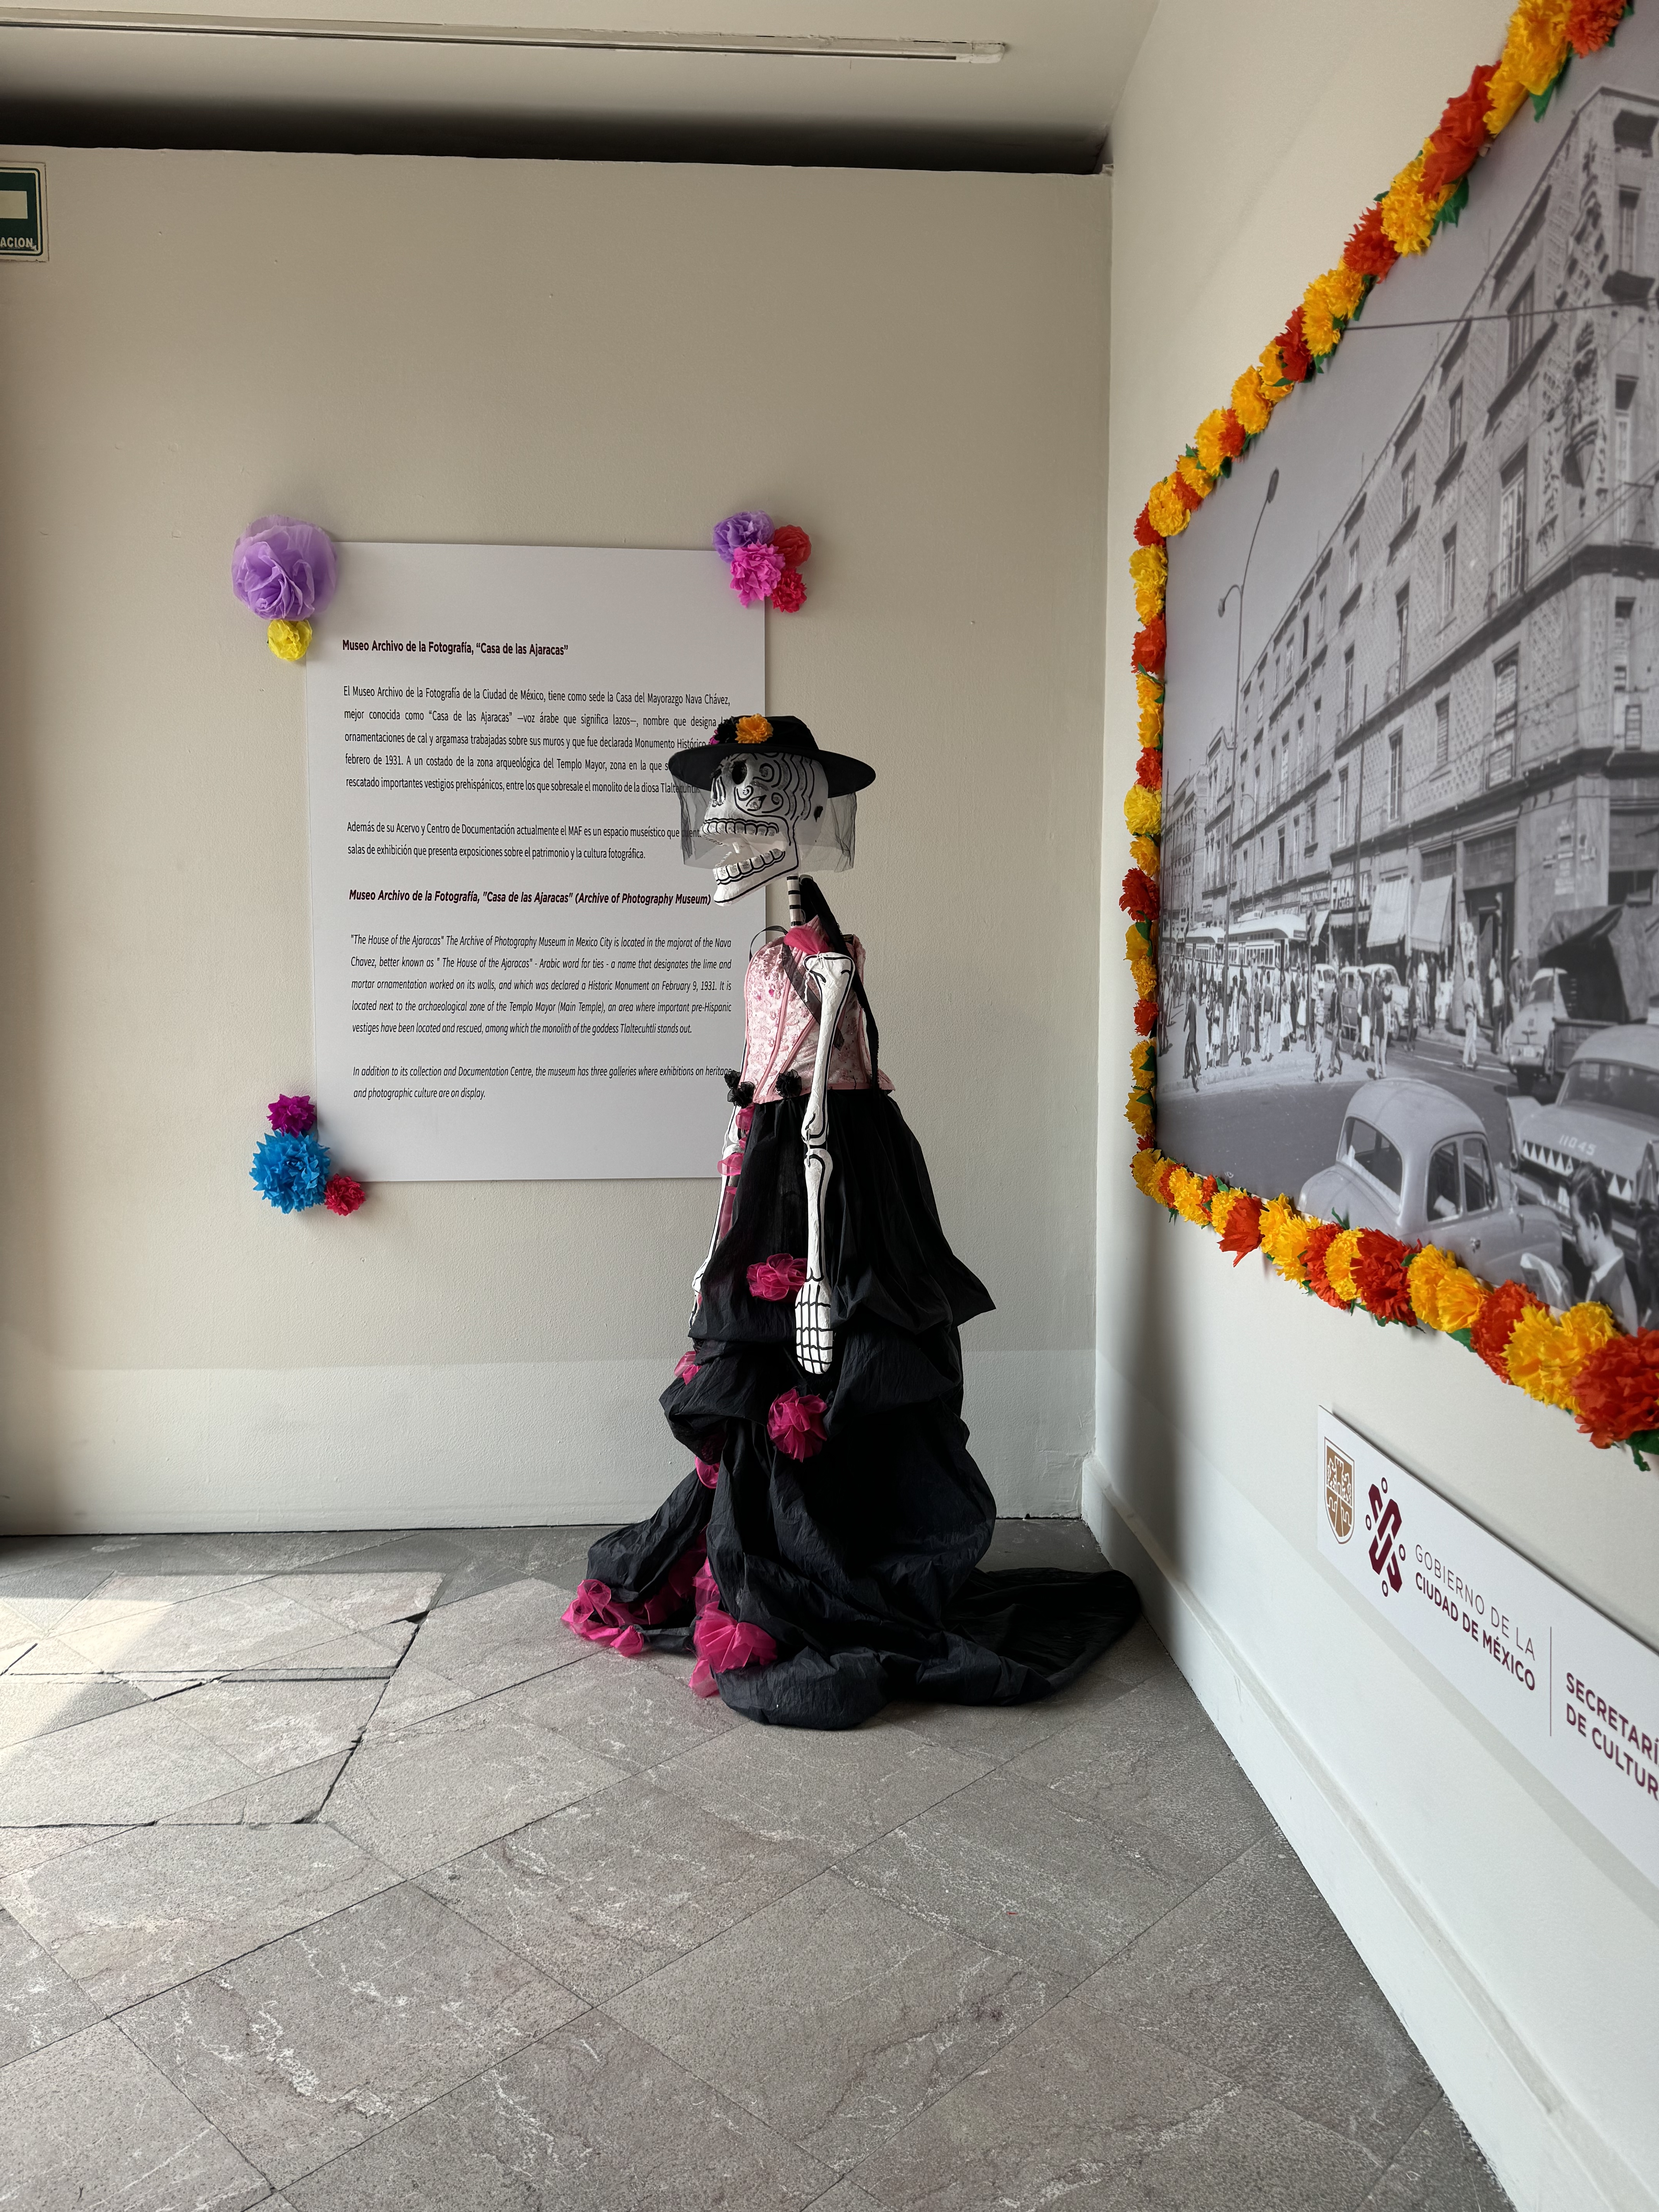
Over three days we had five seminars, two photo walks, a Day of the Dead environmental portrait shoot, two hands-on demos, and opening and closing keynote speeches, plus an exhibition of alternative process work at the Museo Archivo De La Fotografía, Mexico City’s official photography archive. Images displayed in the exhibit ranged from salted paper prints made with wet collodion negatives to daguerreotypes of Mexico City to palladium prints to a fine press book with hand-tipped prints. A lot of images were made, and new friendships formed.
I want to first offer my sincerest gratitude to Gabriel Barajas, my business partner in this venture, without whose initial inquiry back in 2018 this would never have happened. He invested a massive amount of energy and time into making this happen here. I also want to thank all the people of the Club Fotografico Centro Historico who helped pull this off- their volunteer efforts from manning the reception desk to shooting video footage to getting us bottled water made the whole thing run. I especially want to call out Veronica Mondragón for her tireless logistics management.
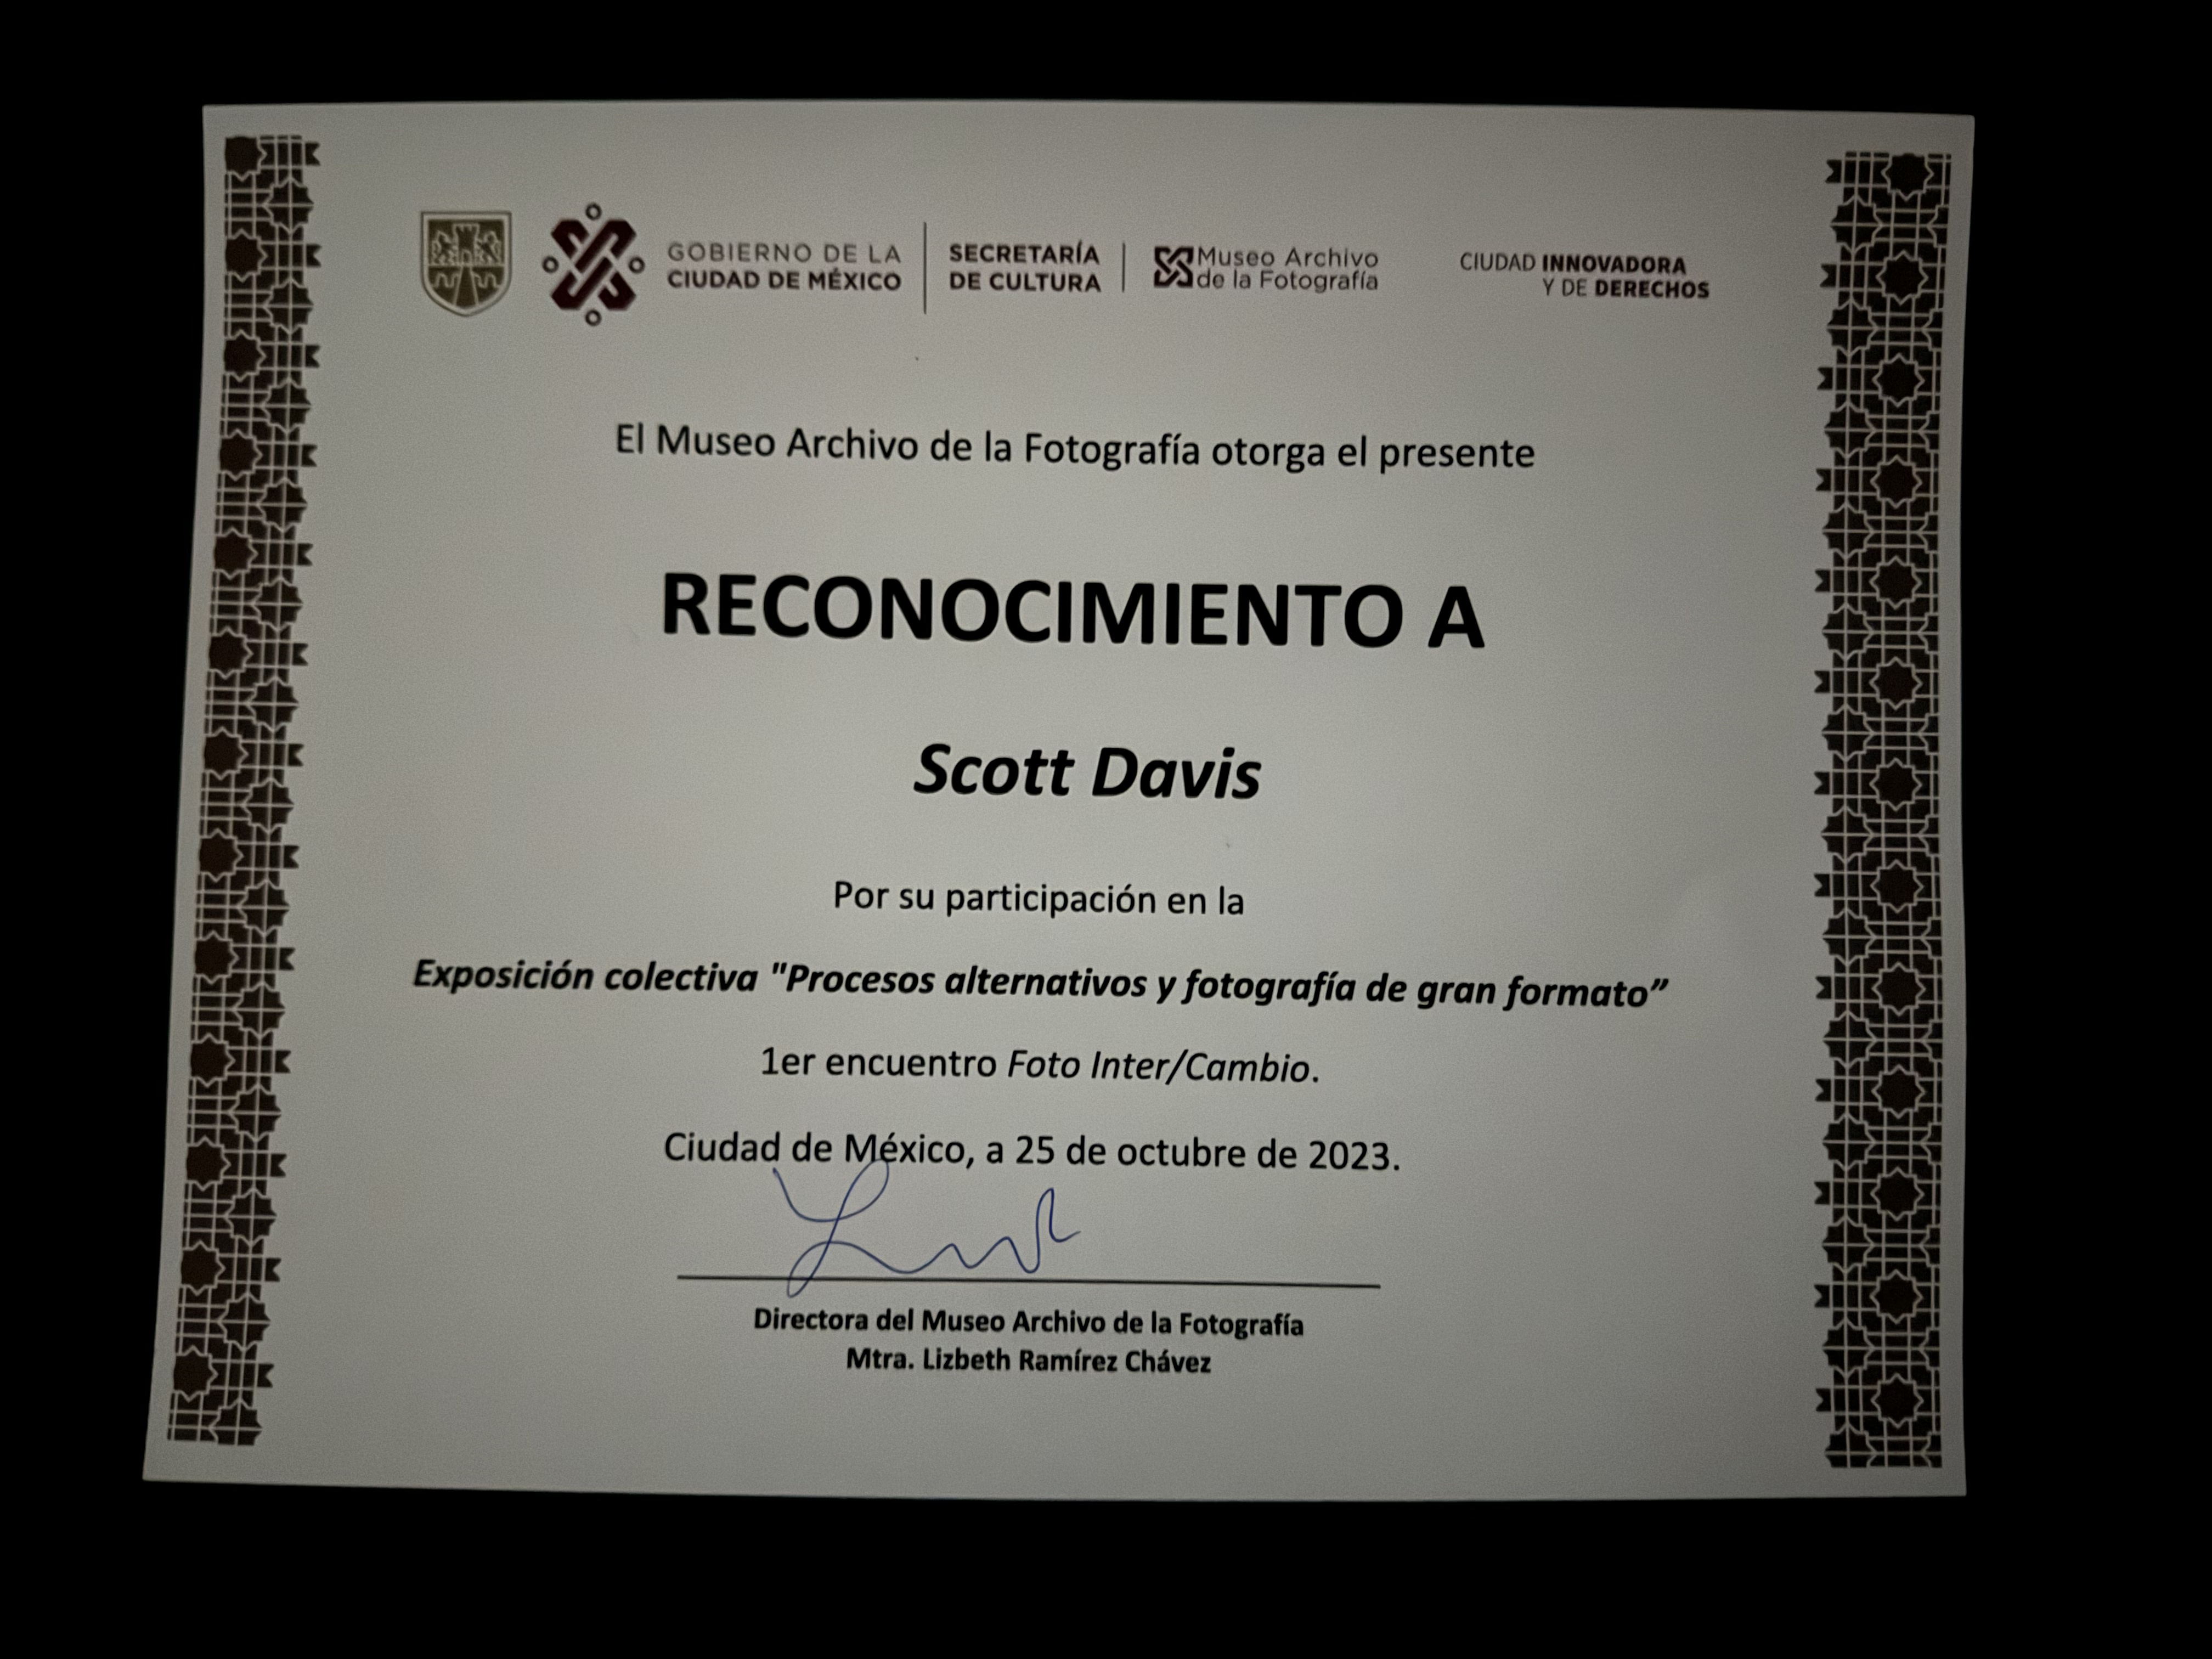
Another thank you goes to all the staff at the Museo Archivo De La Fotografía for their support. They provided us with a venue for our keynote events, and they expanded their offering of gallery space to turn what would have been a modest three-day pop-up show into a major, meaningful exhibition taking over an entire floor of the museum and running for two weeks. They also made me feel like a rock star – I got asked to participate in the ribbon-cutting to open the show, and received a certificate of recognition from the Secretary of Culture for Mexico City for my efforts. They’re also inviting me back to give a platinum/palladium printing workshop some time next year, and a show of my portrait and figure work.


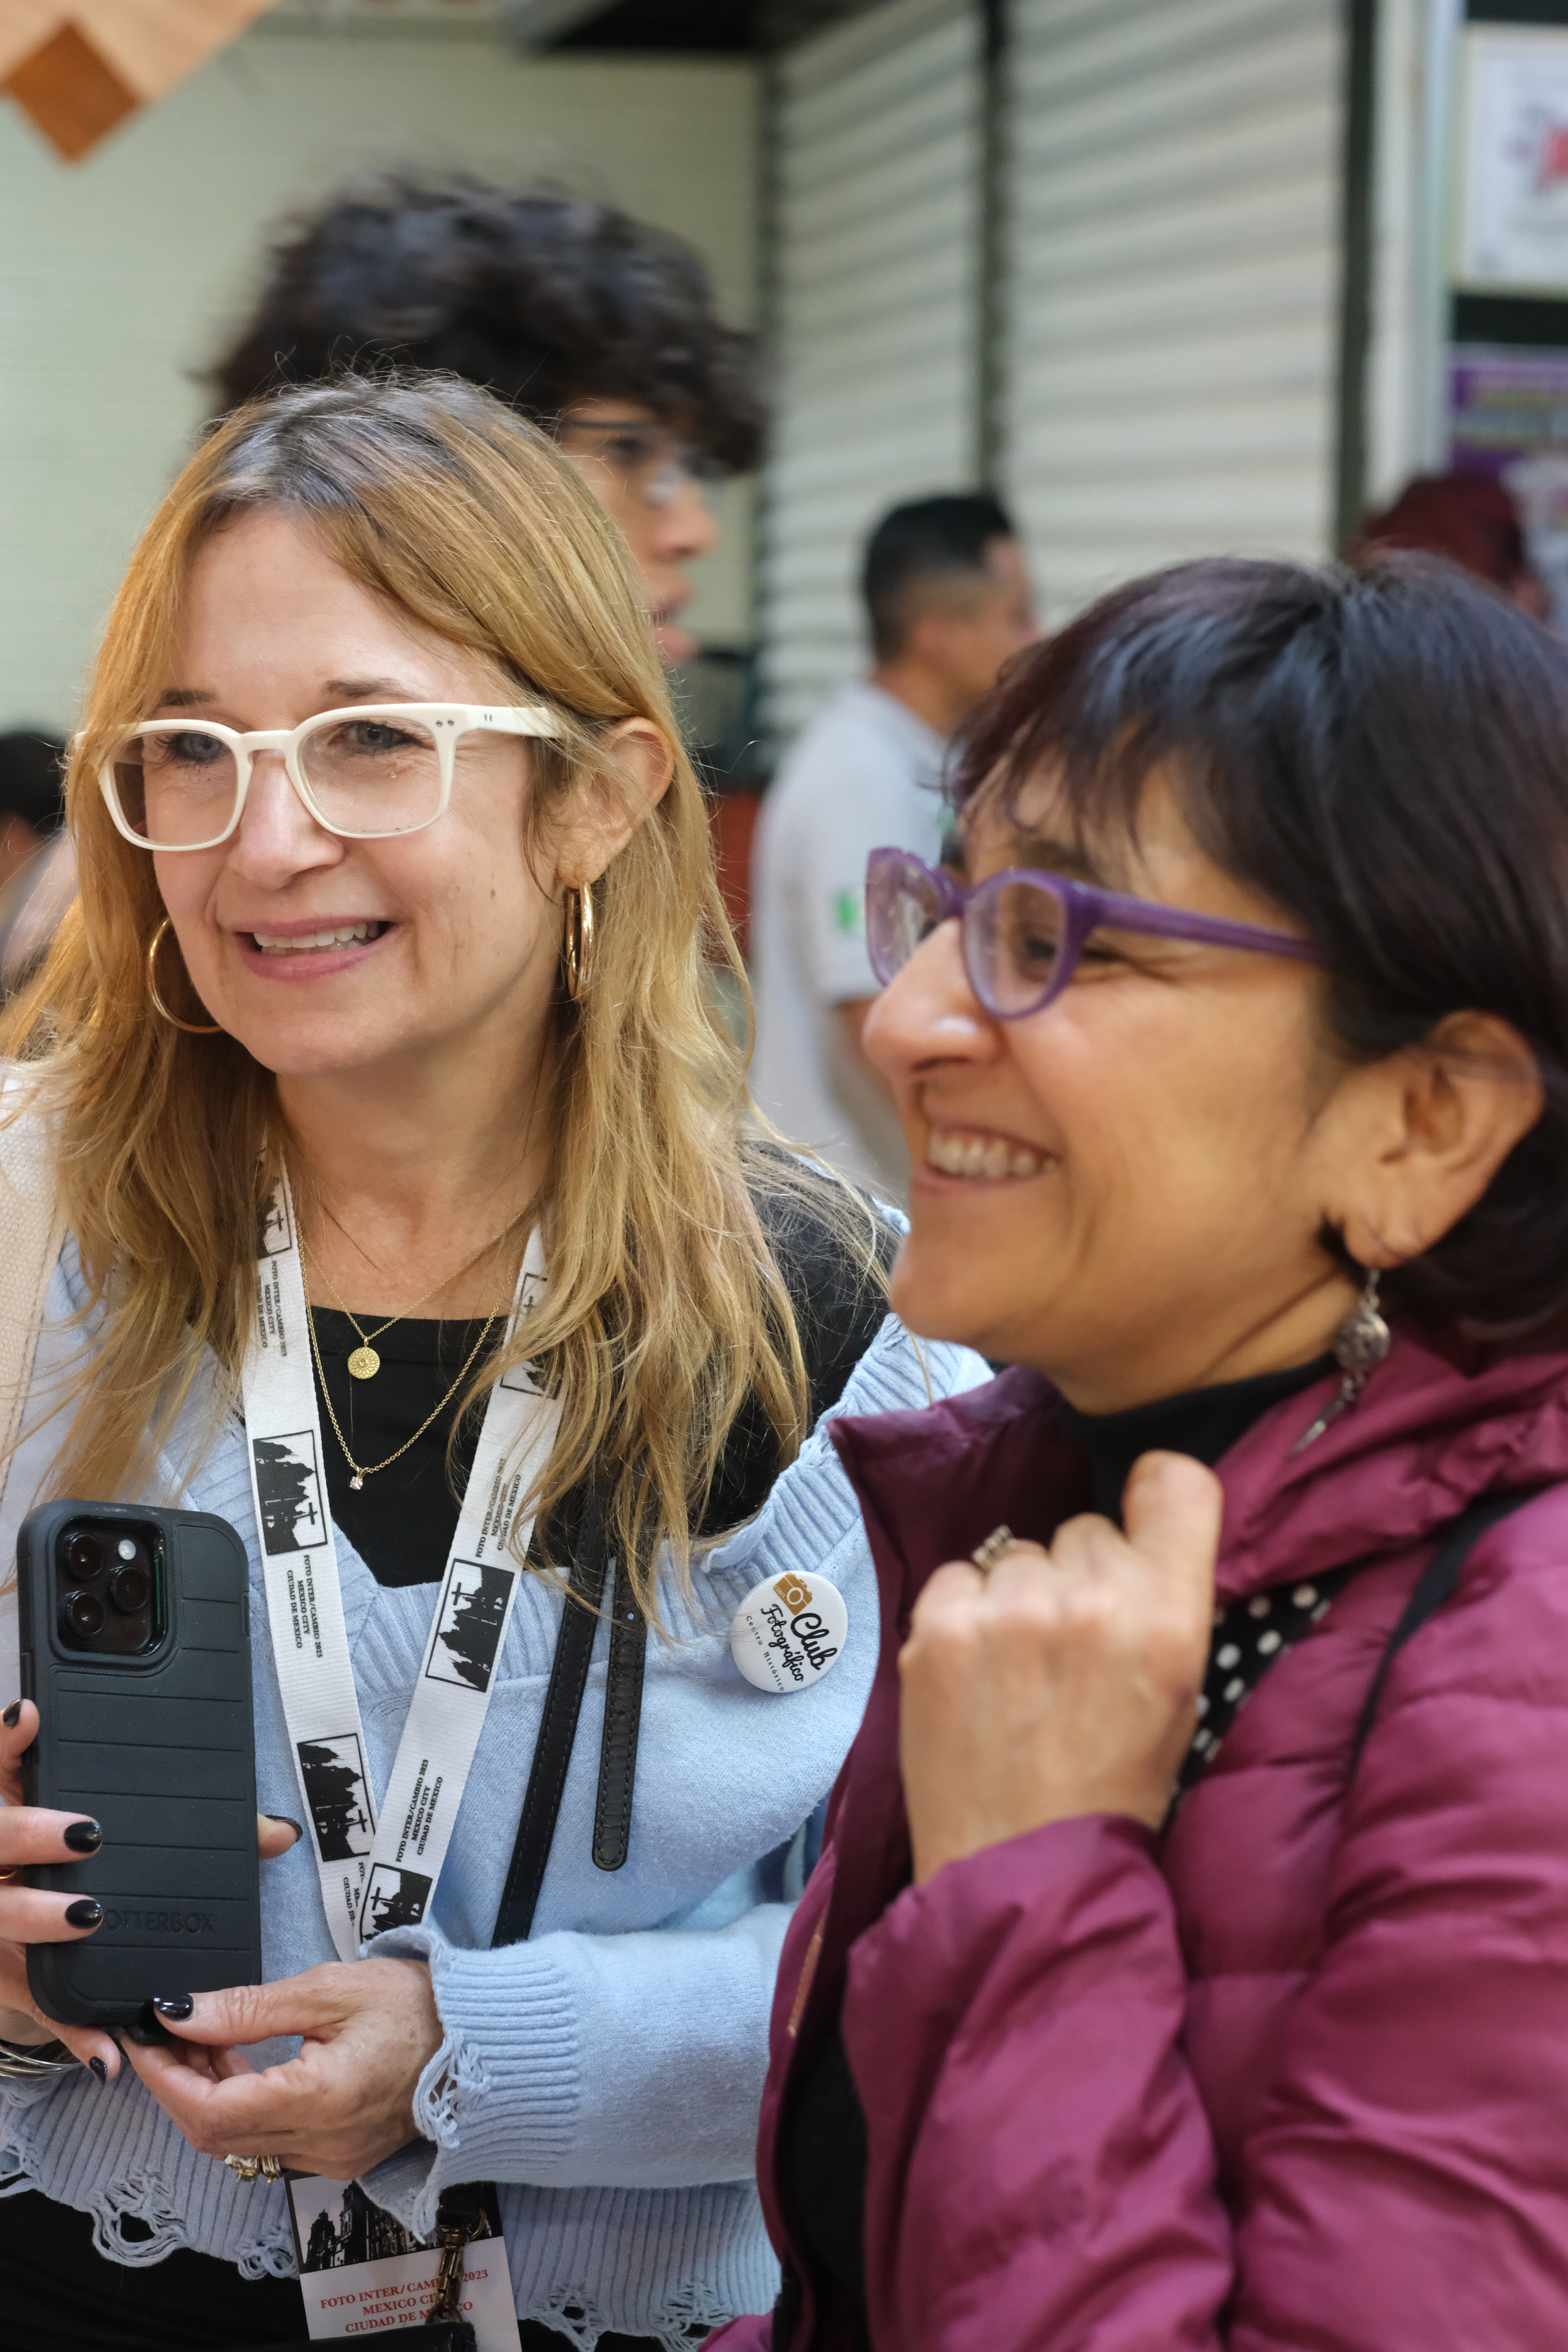
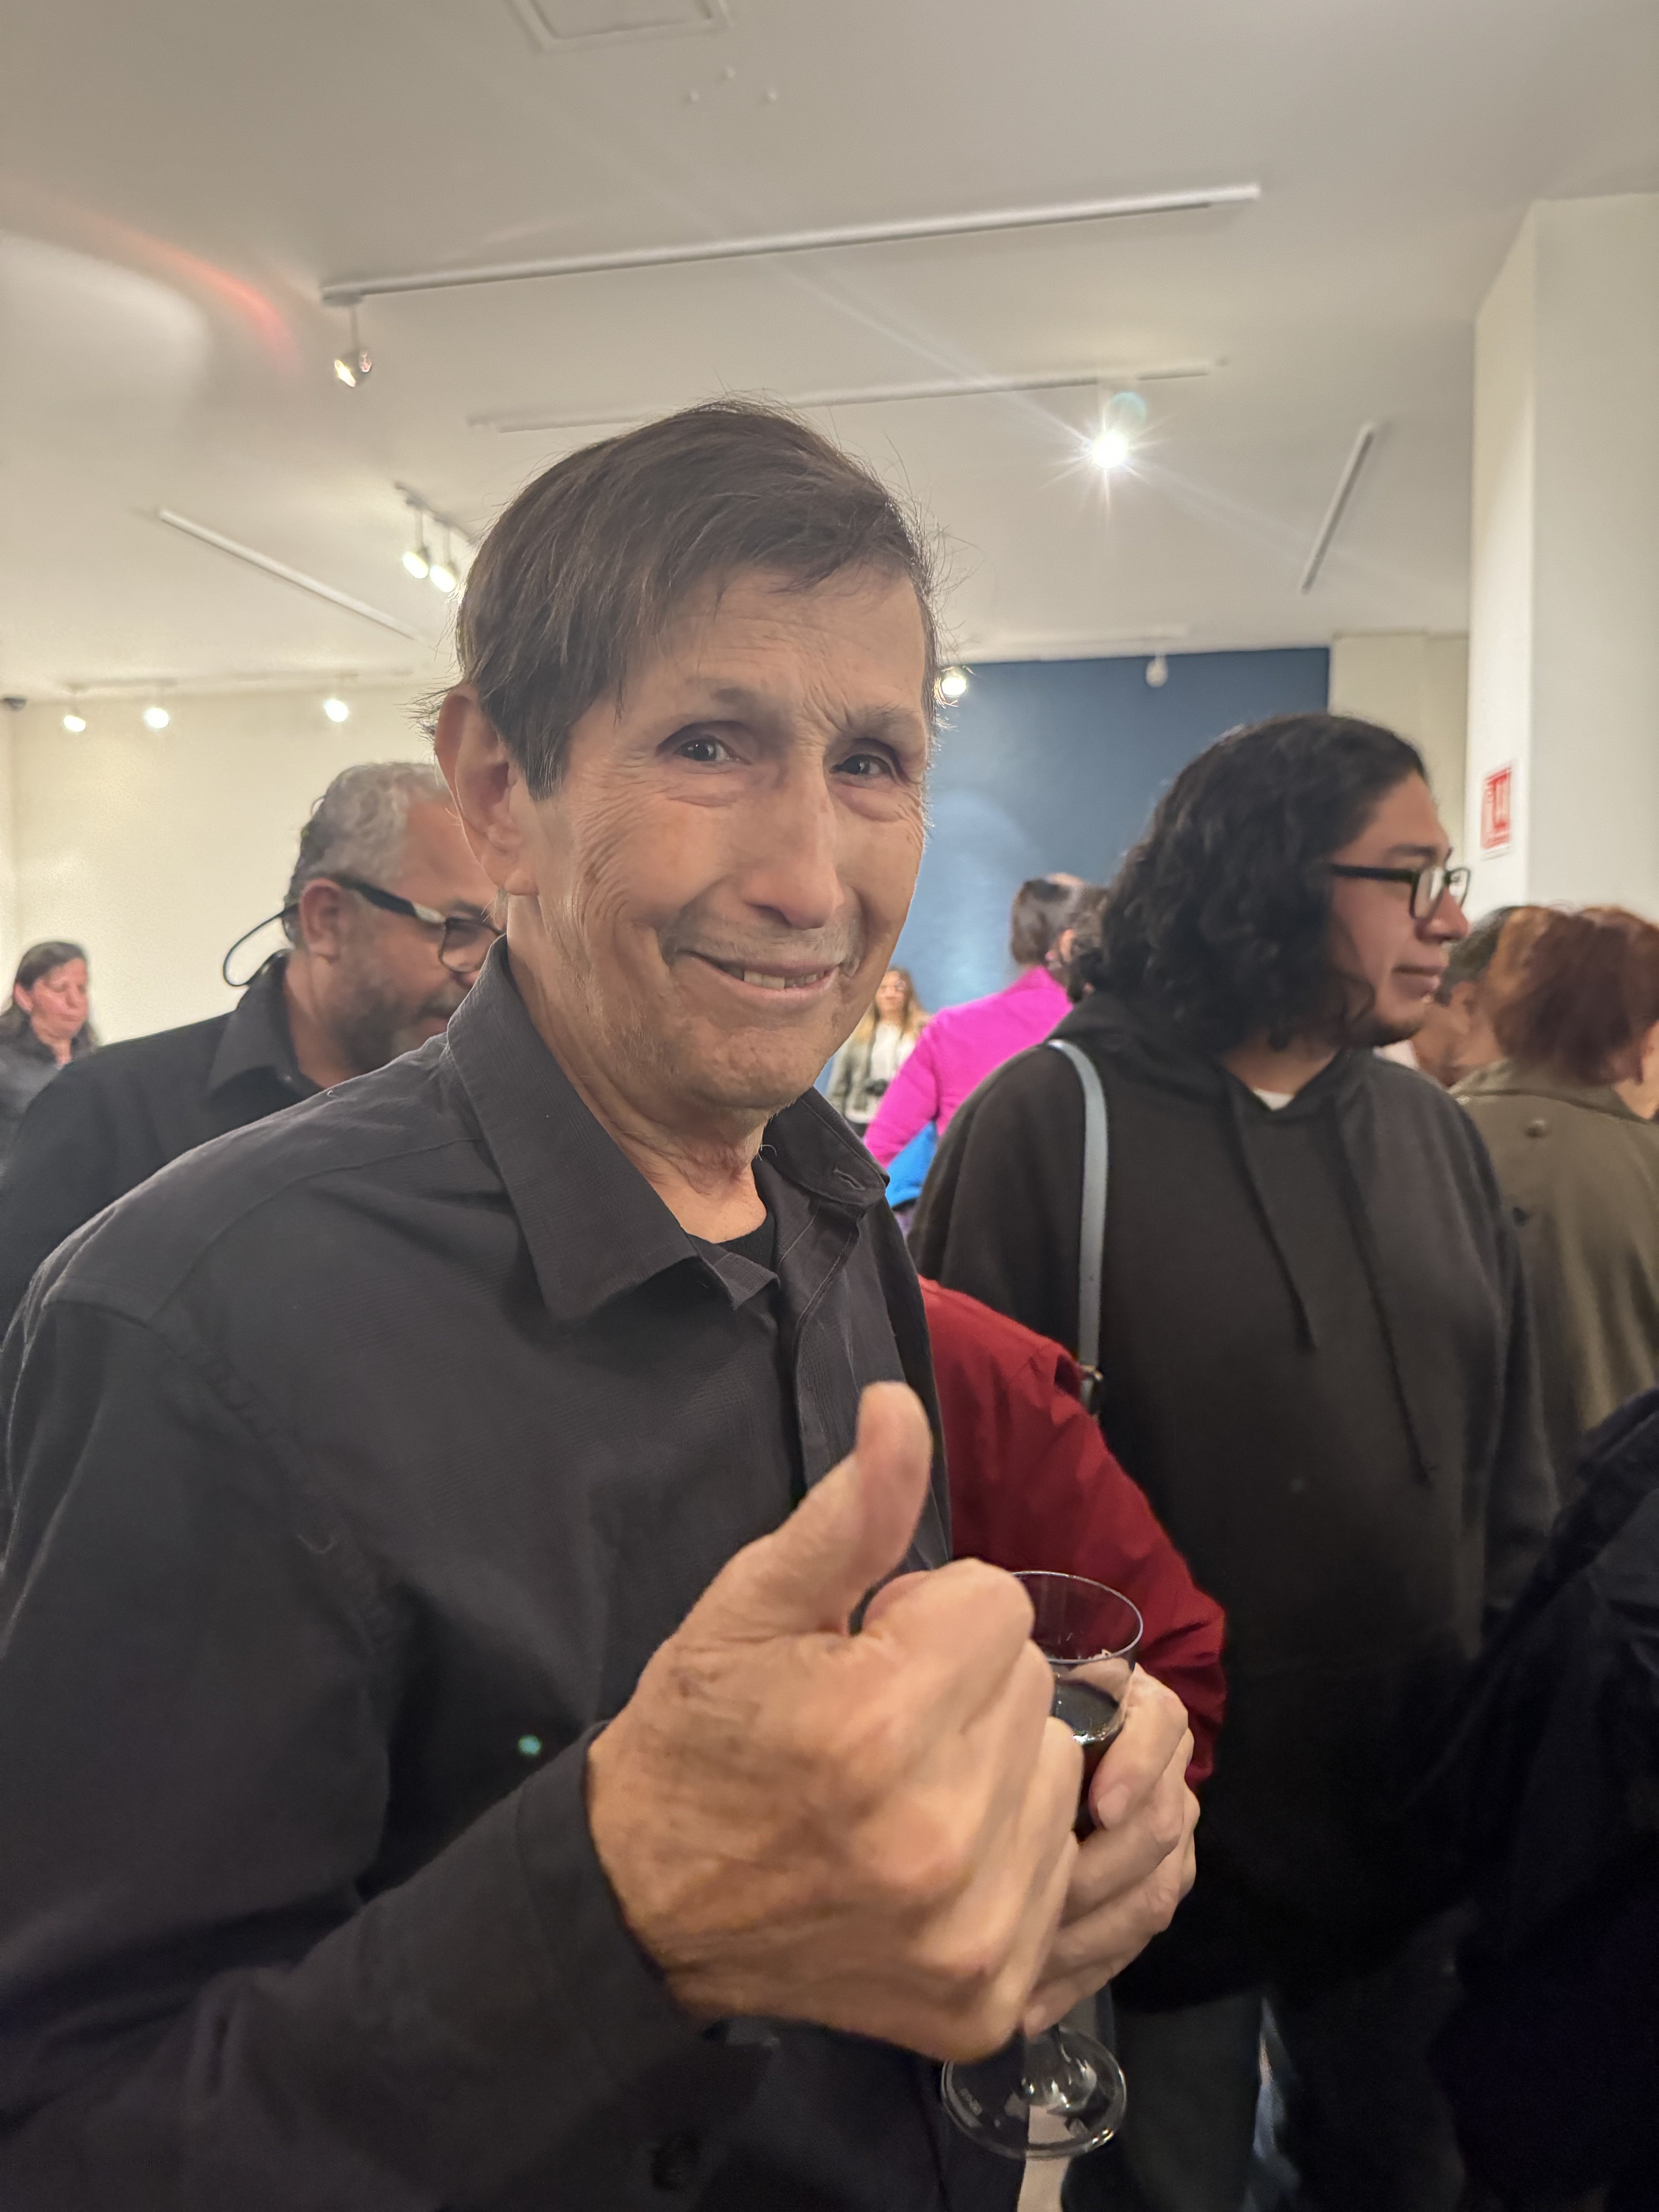
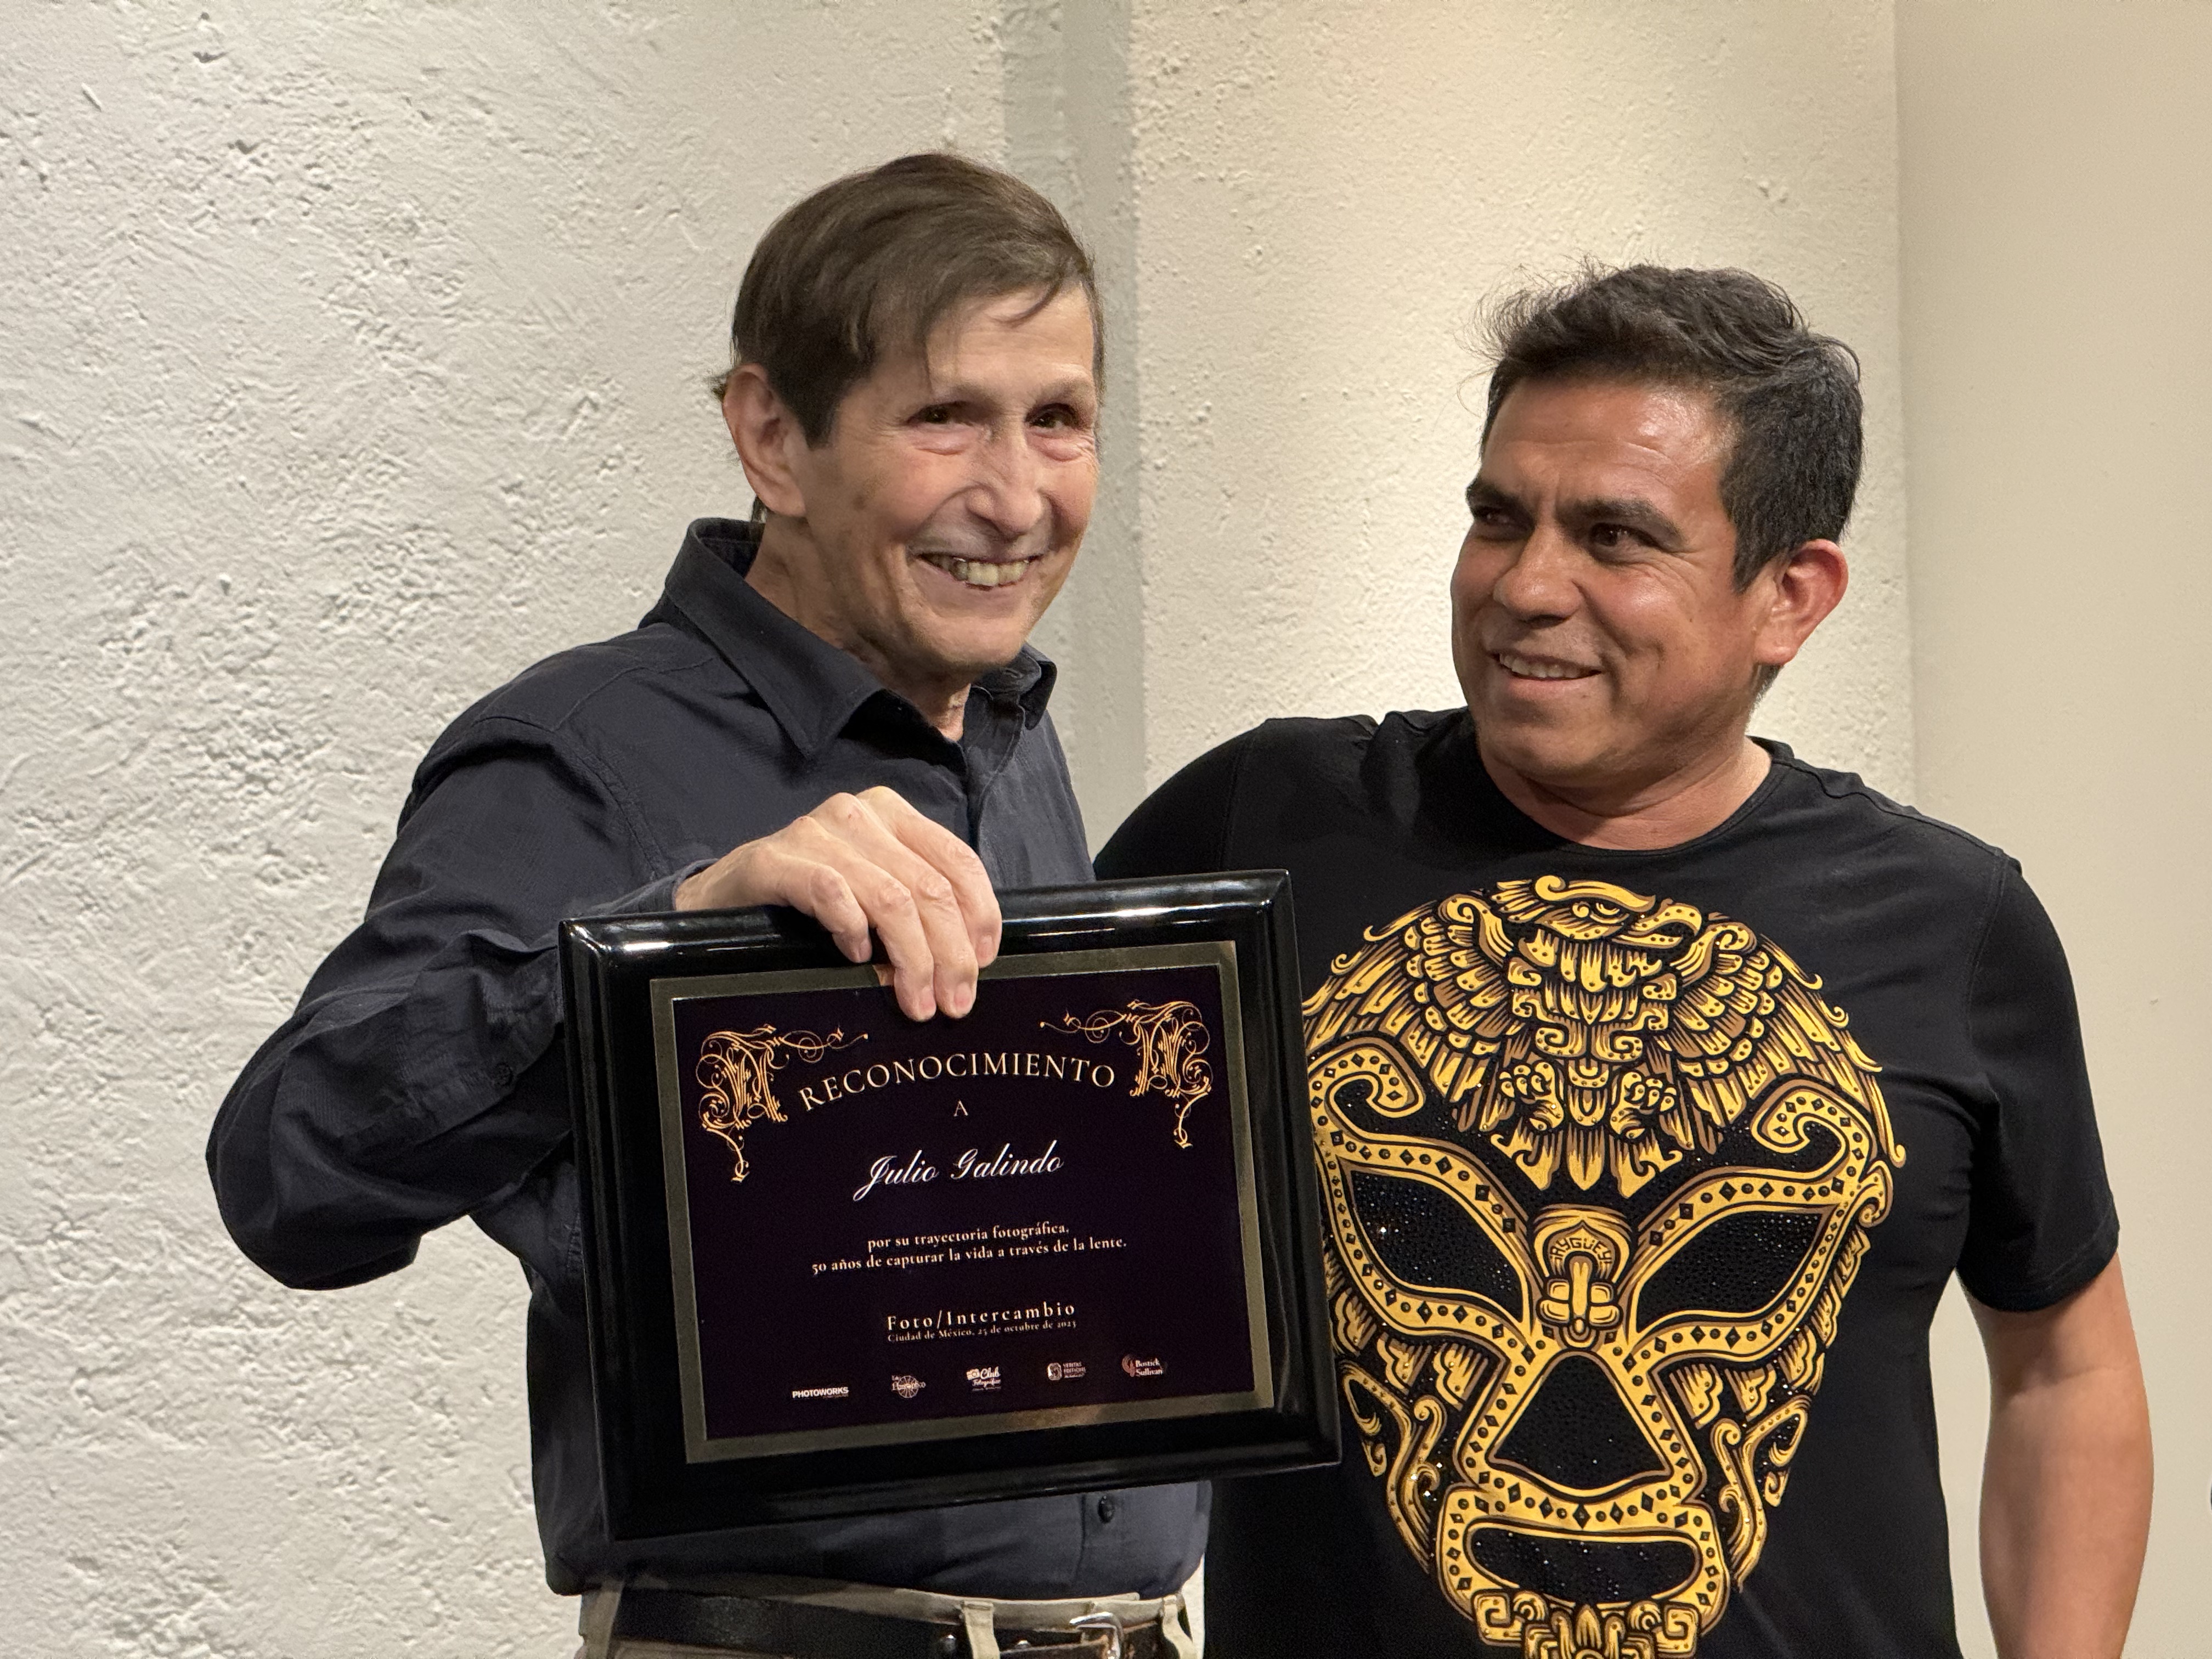
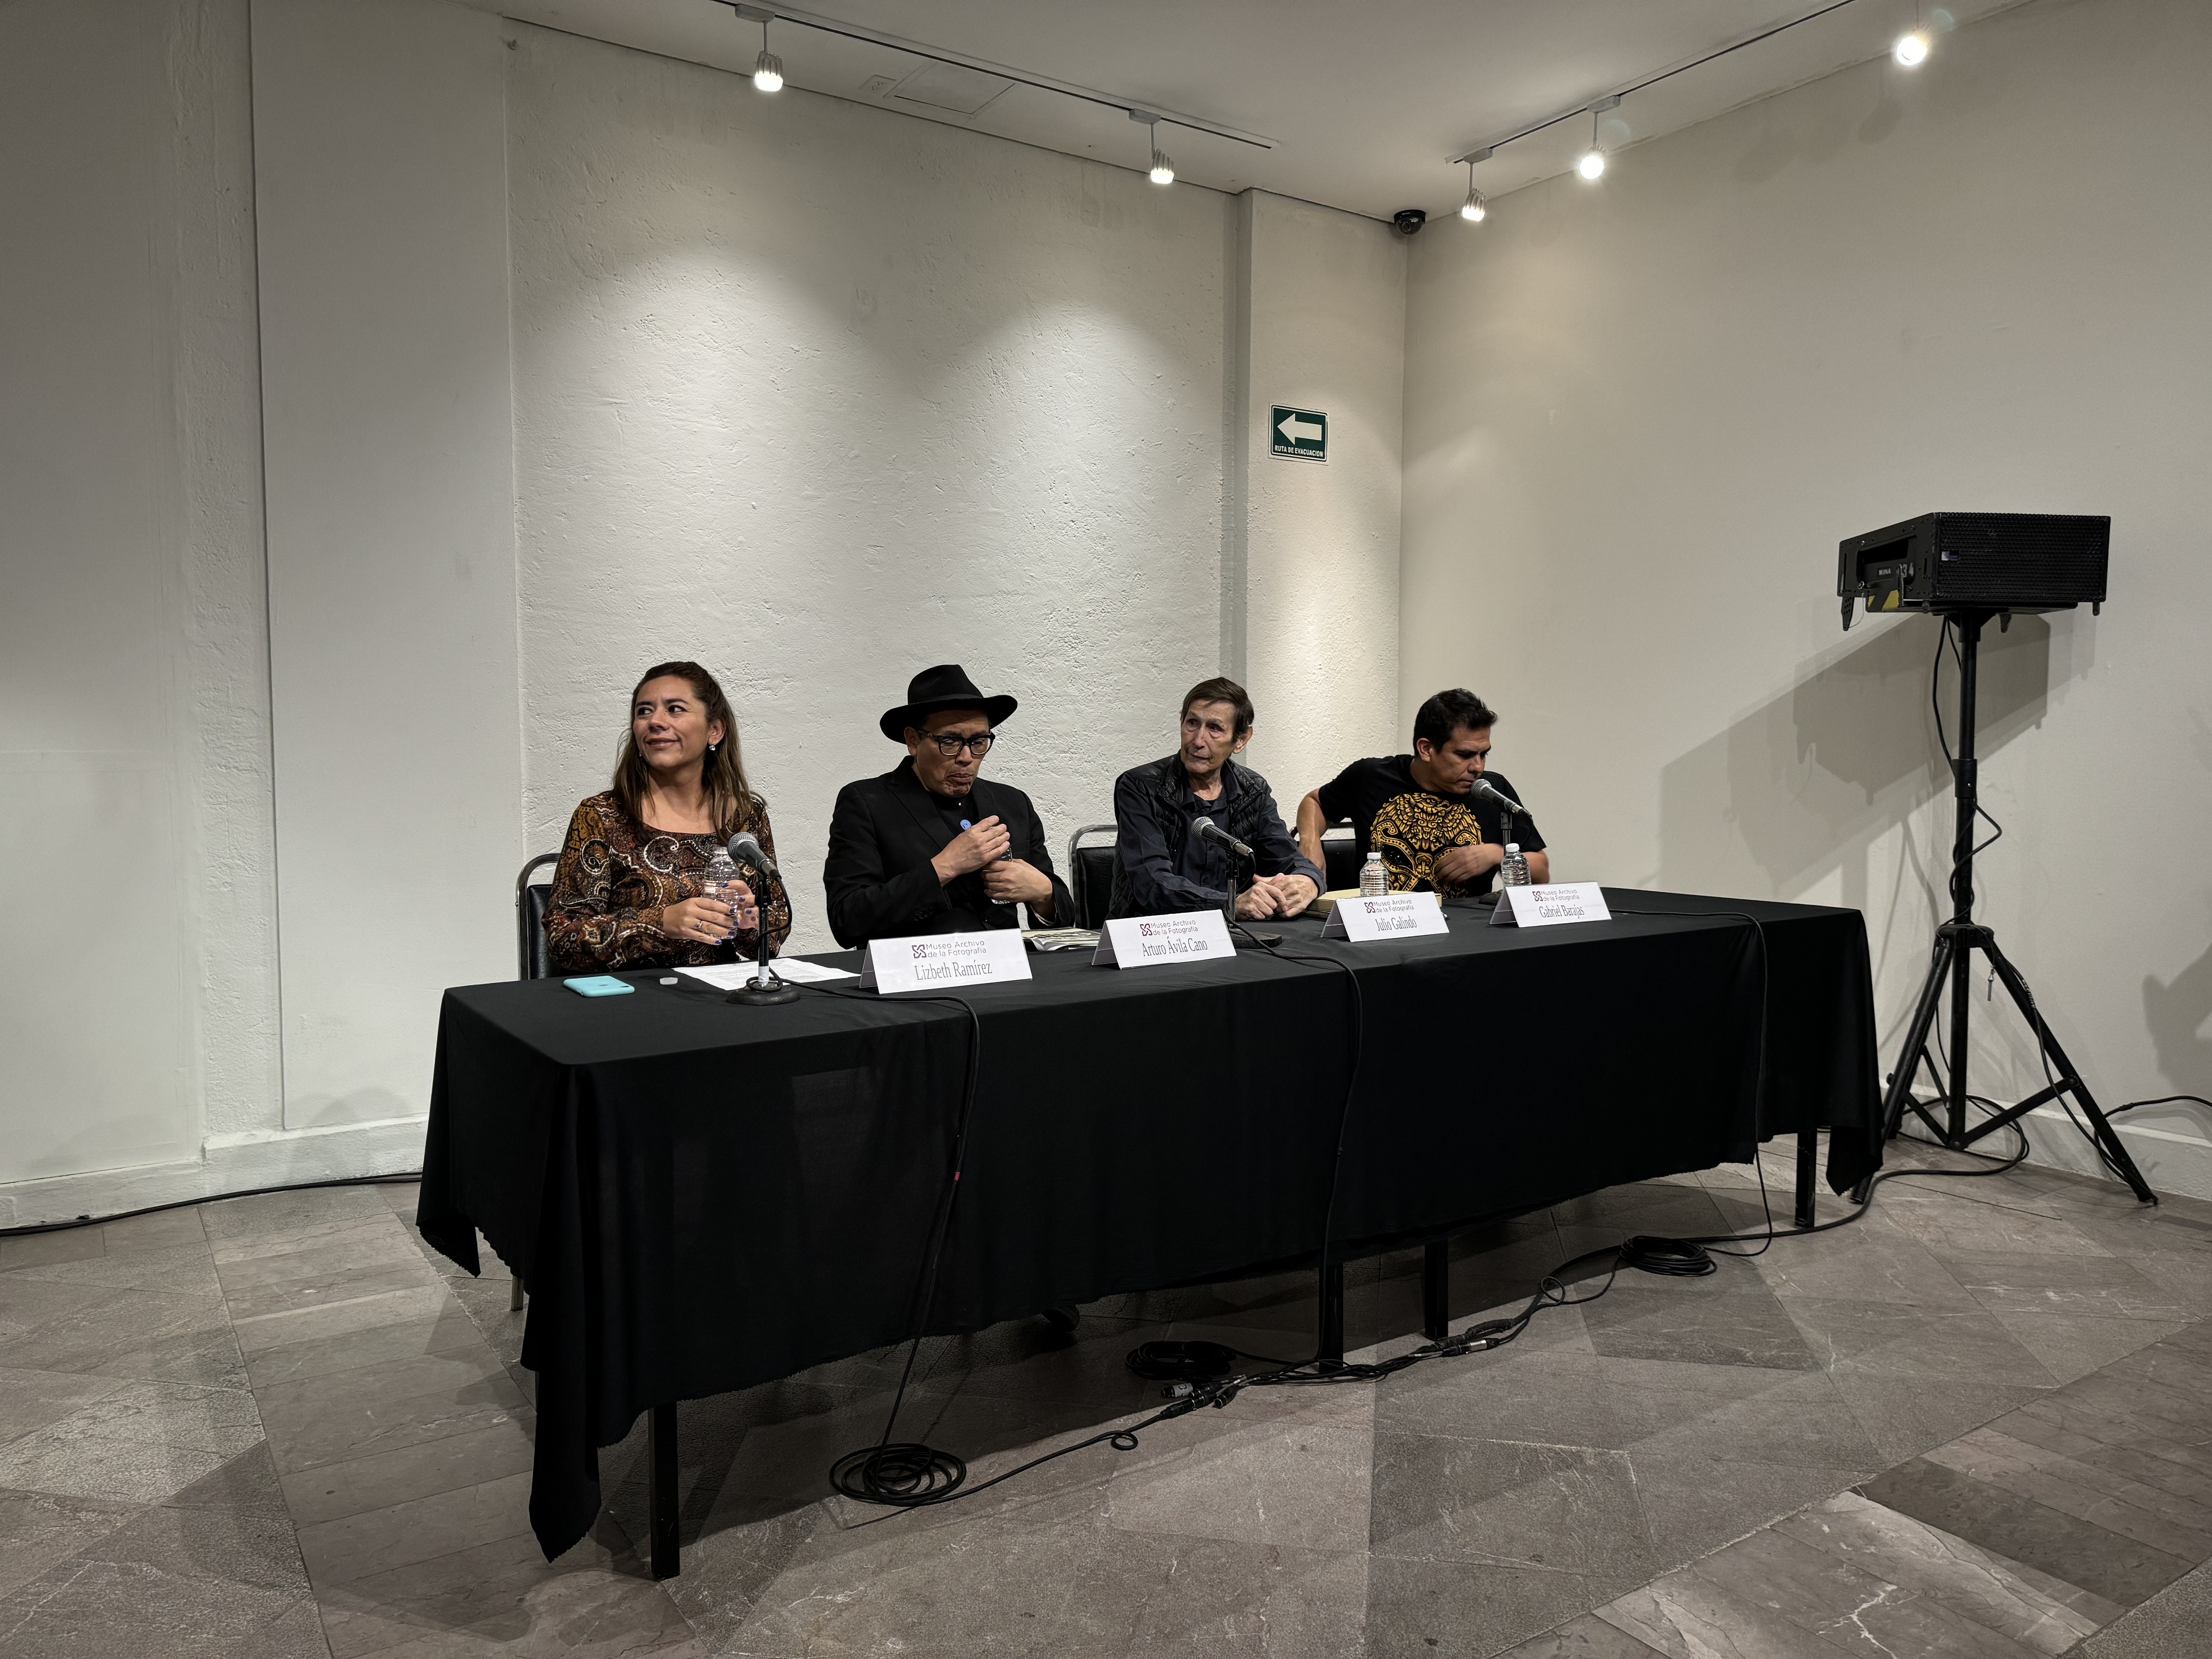
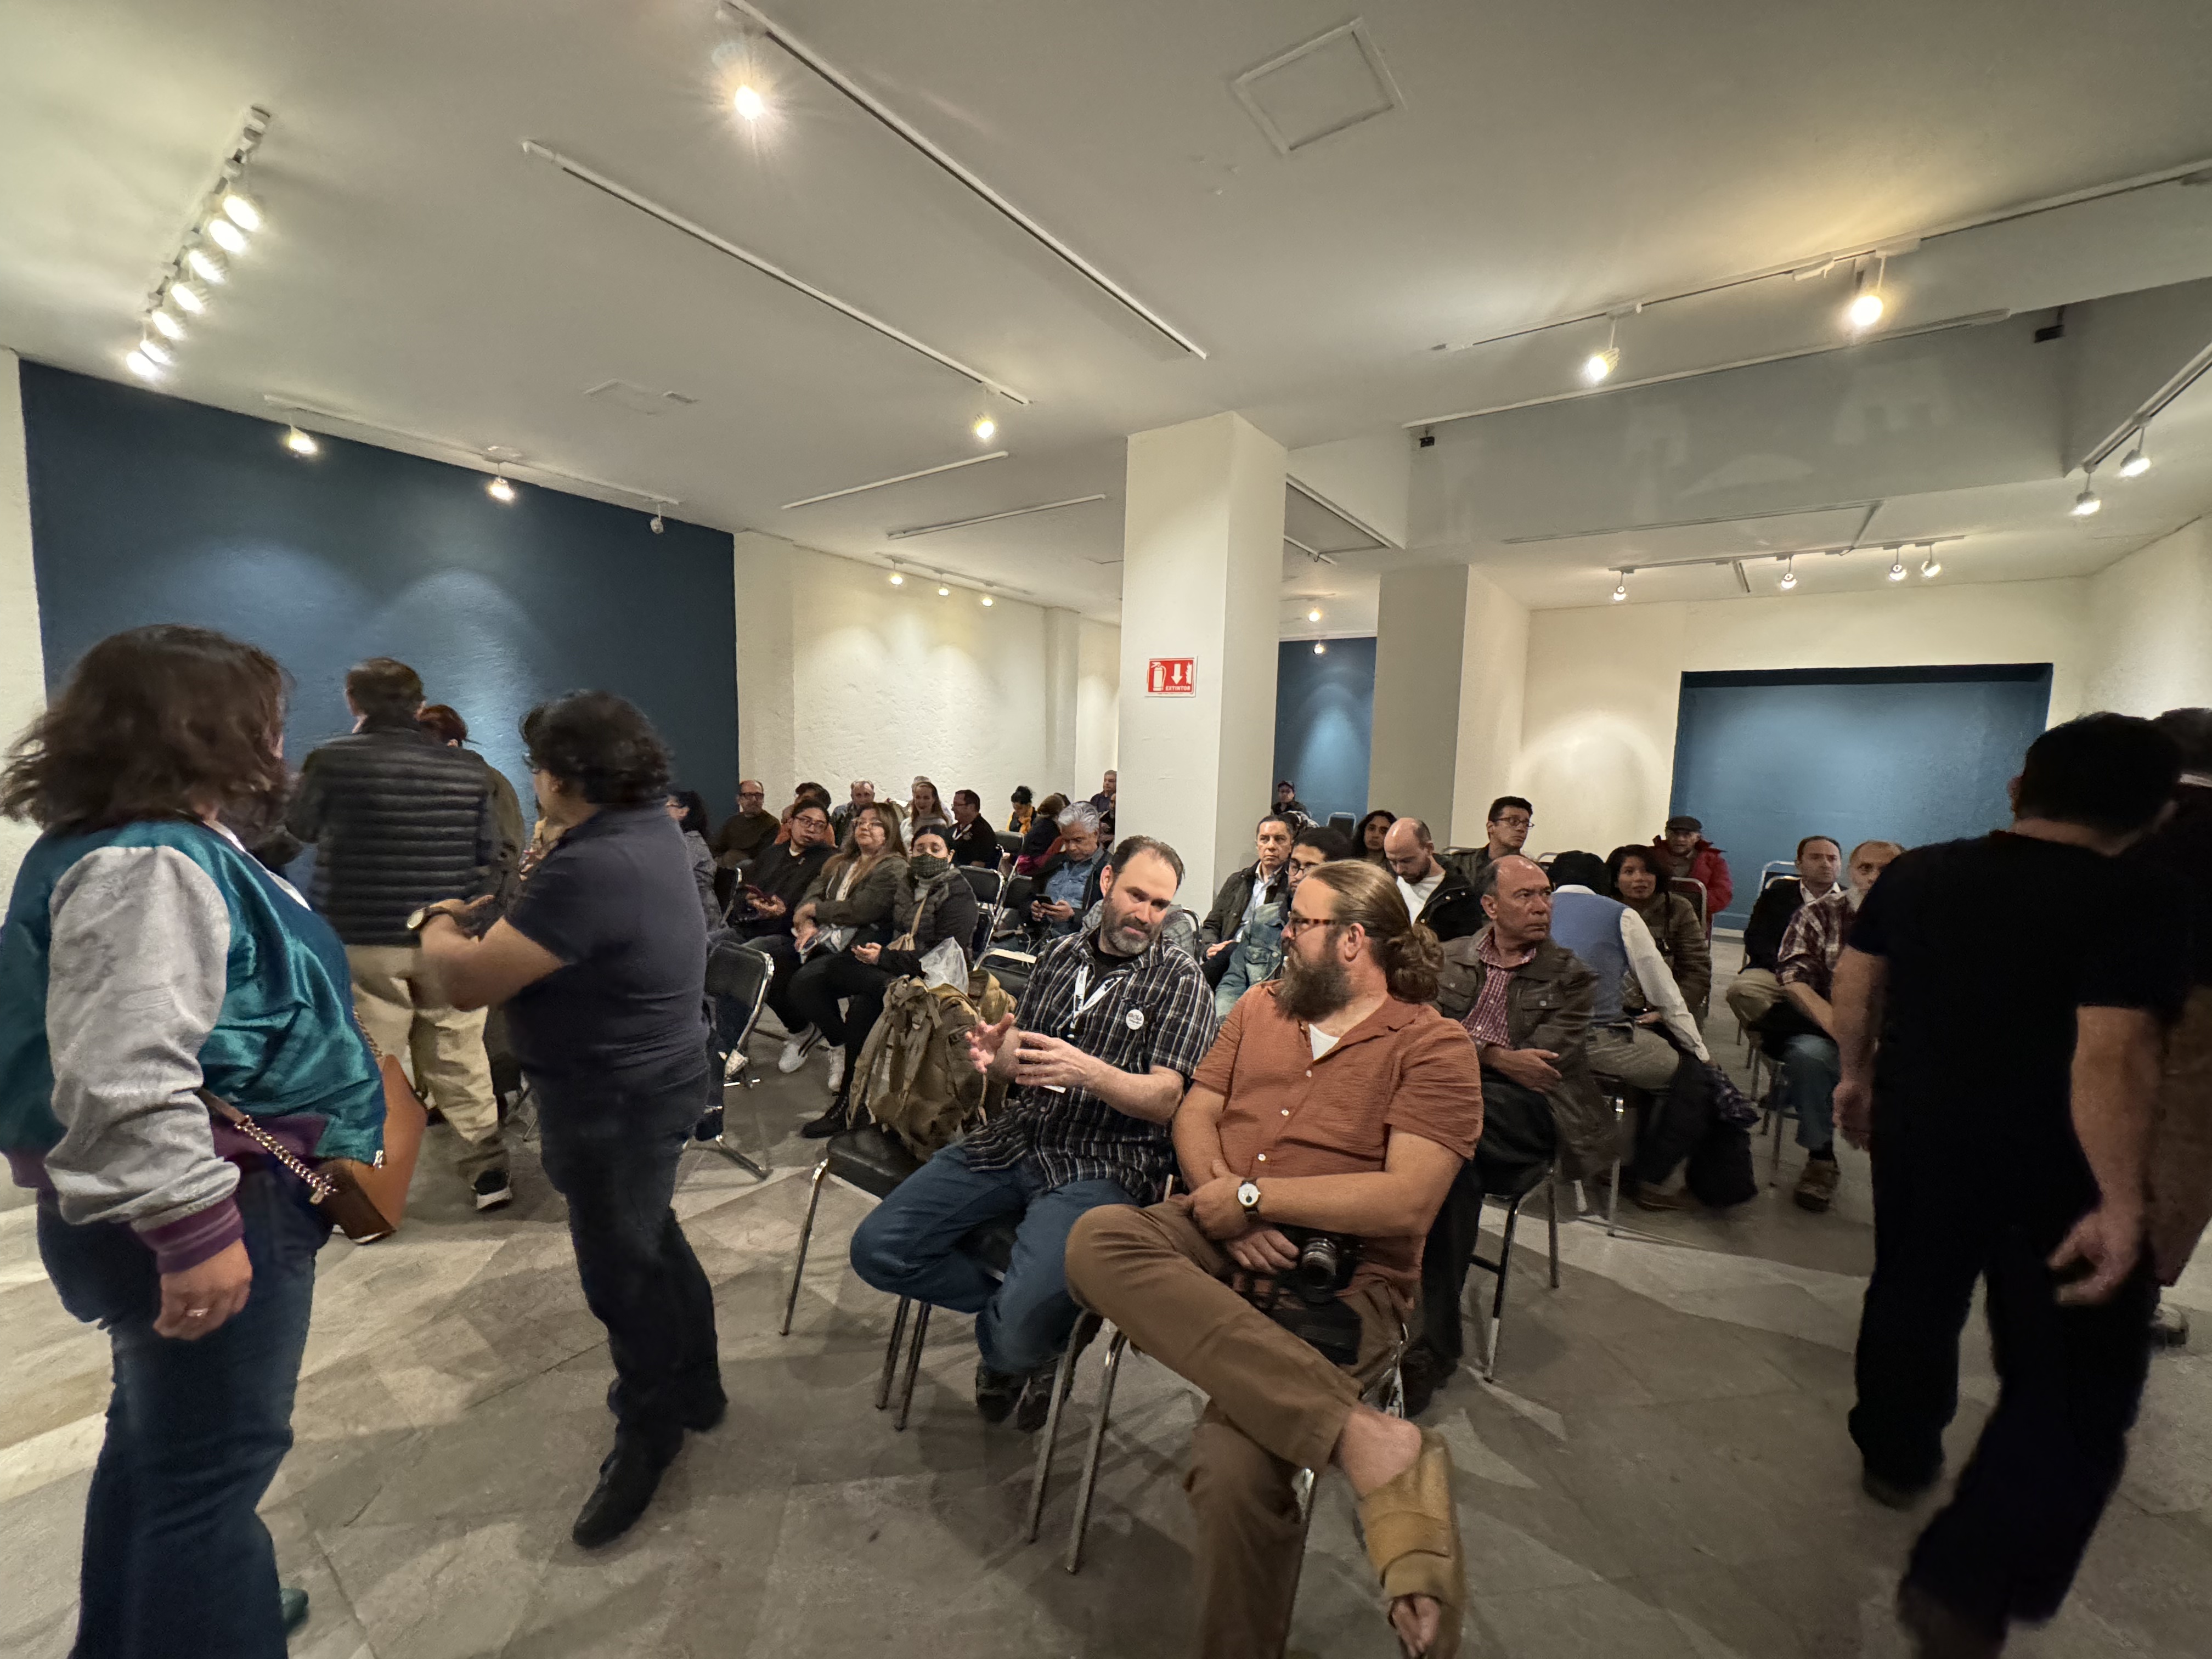
Some photos from the opening night reception at the Museo Archivo de la Fotografia, including the lifetime achievement award being presented to my friend Julio Galindo. As you can see from the last couple of images, we had a standing-room-only crowd. It was quite the evening, and I will never forget it.

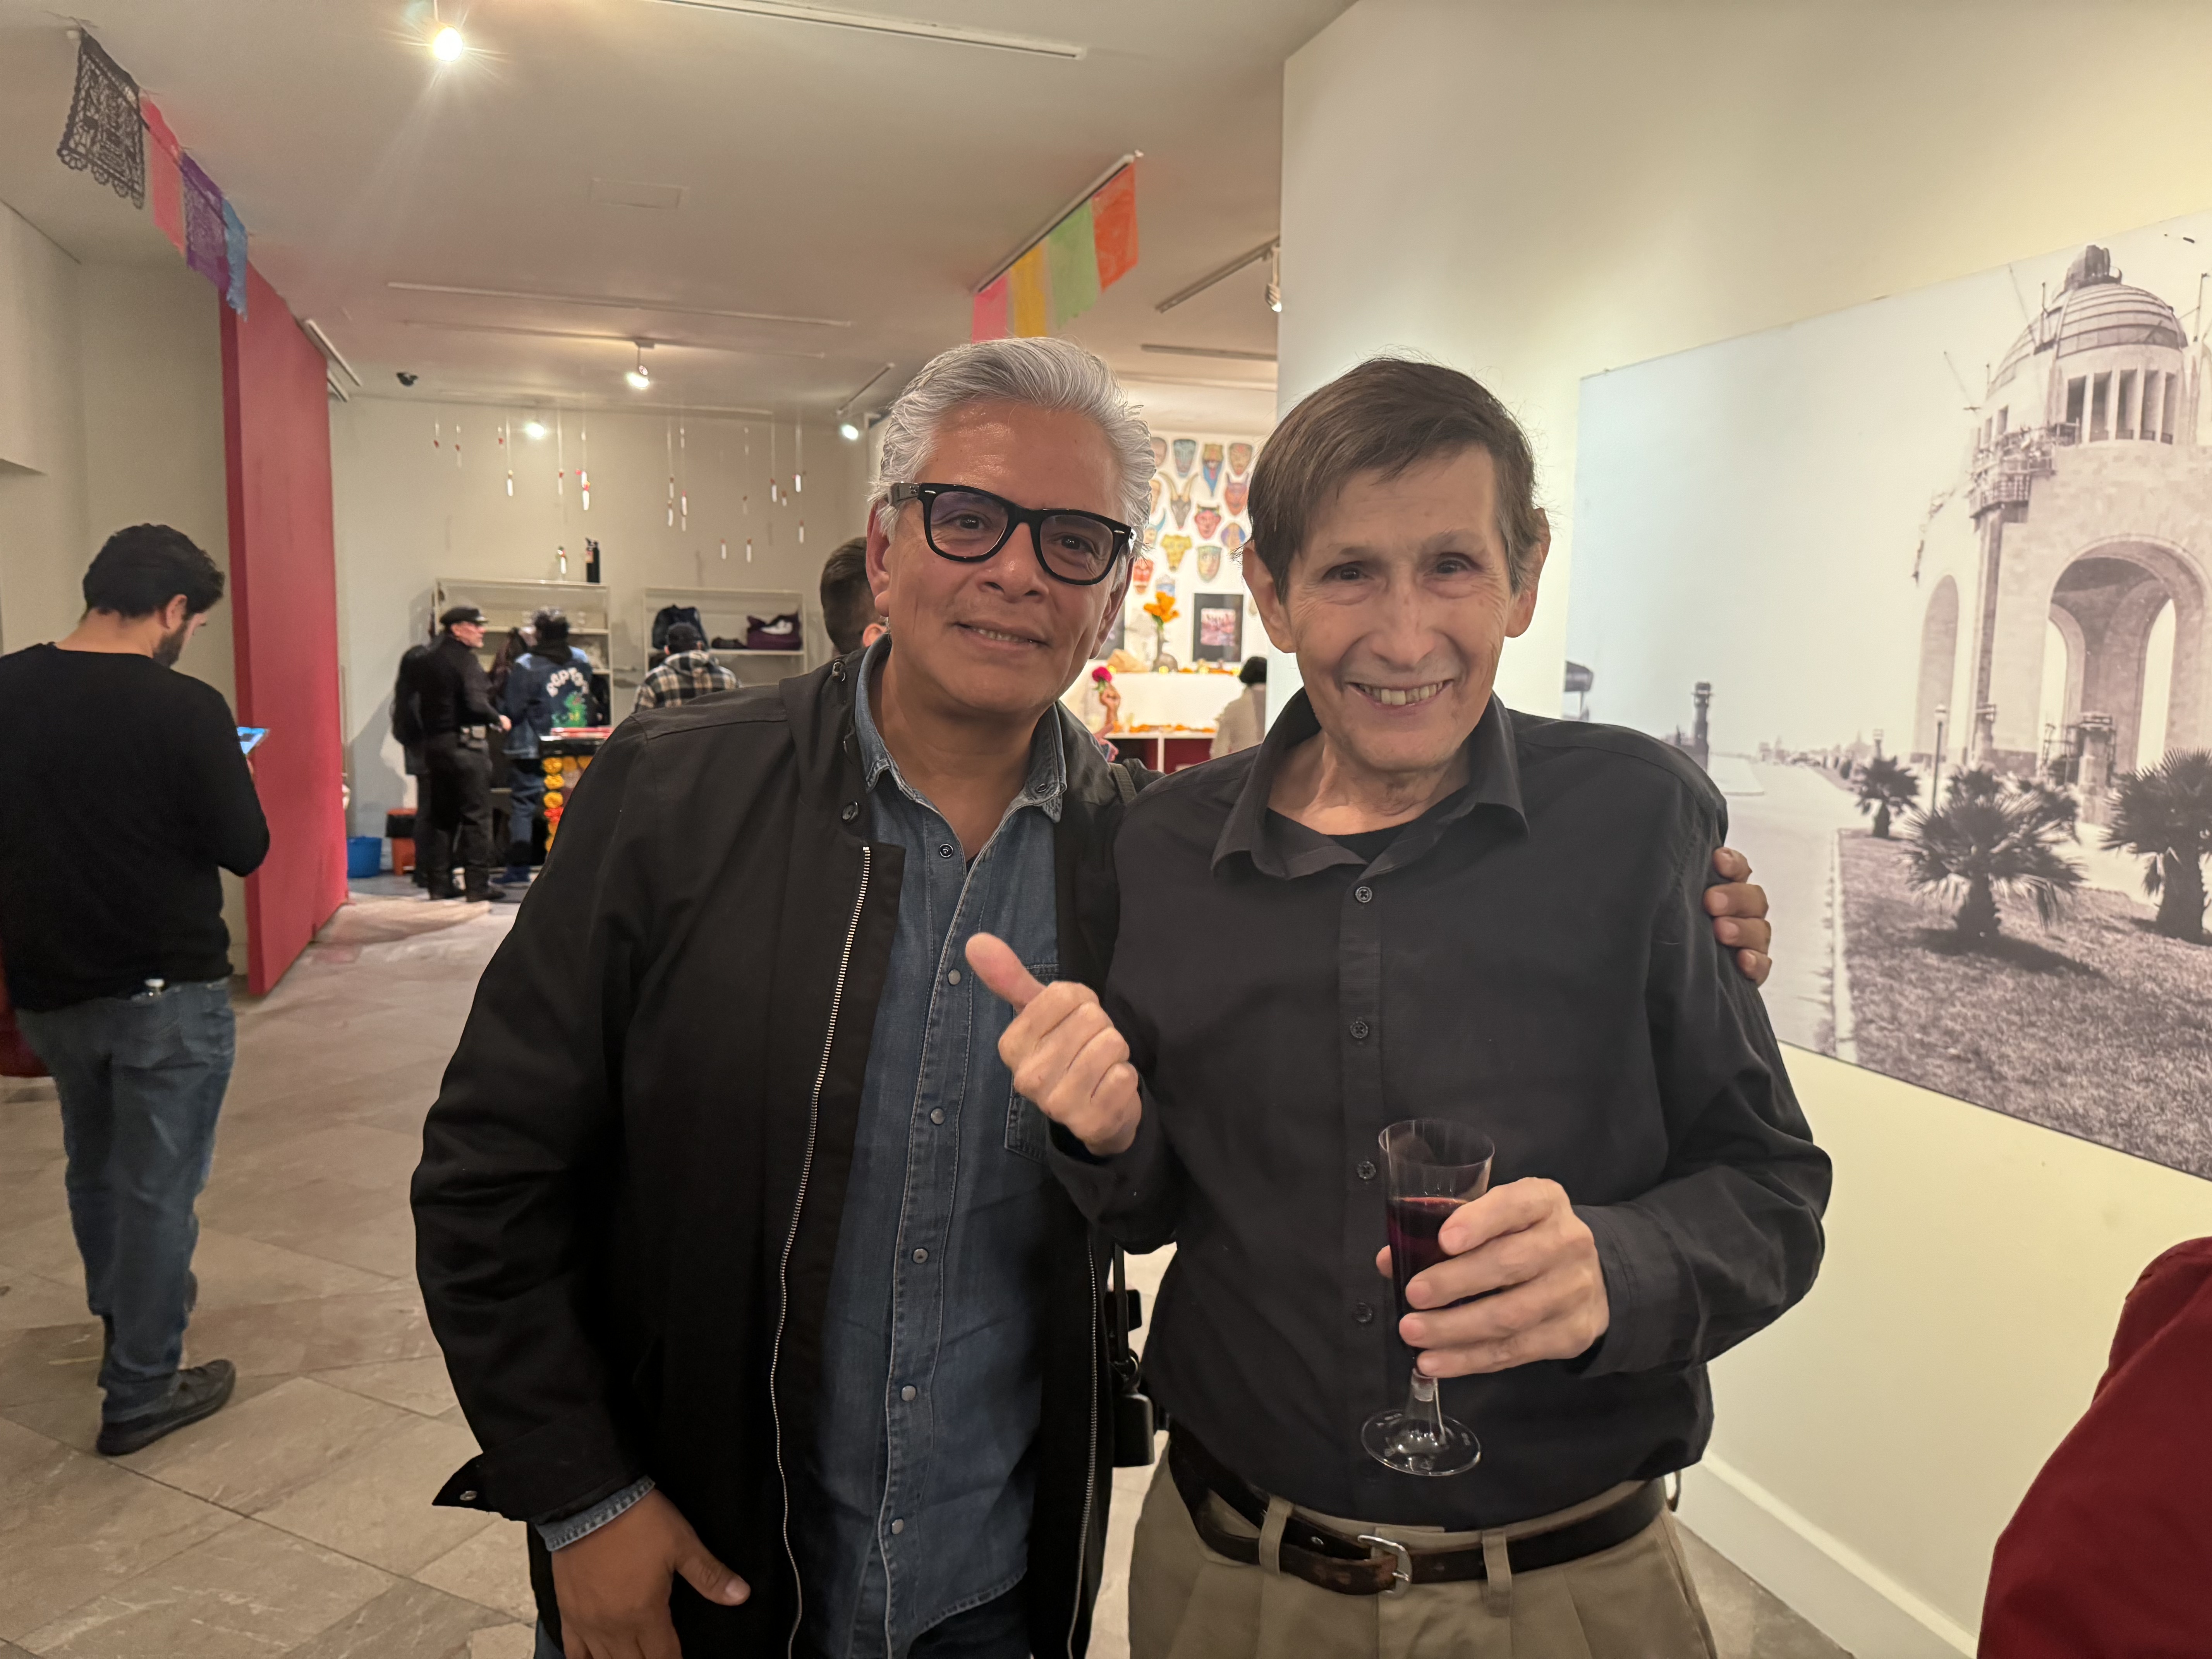
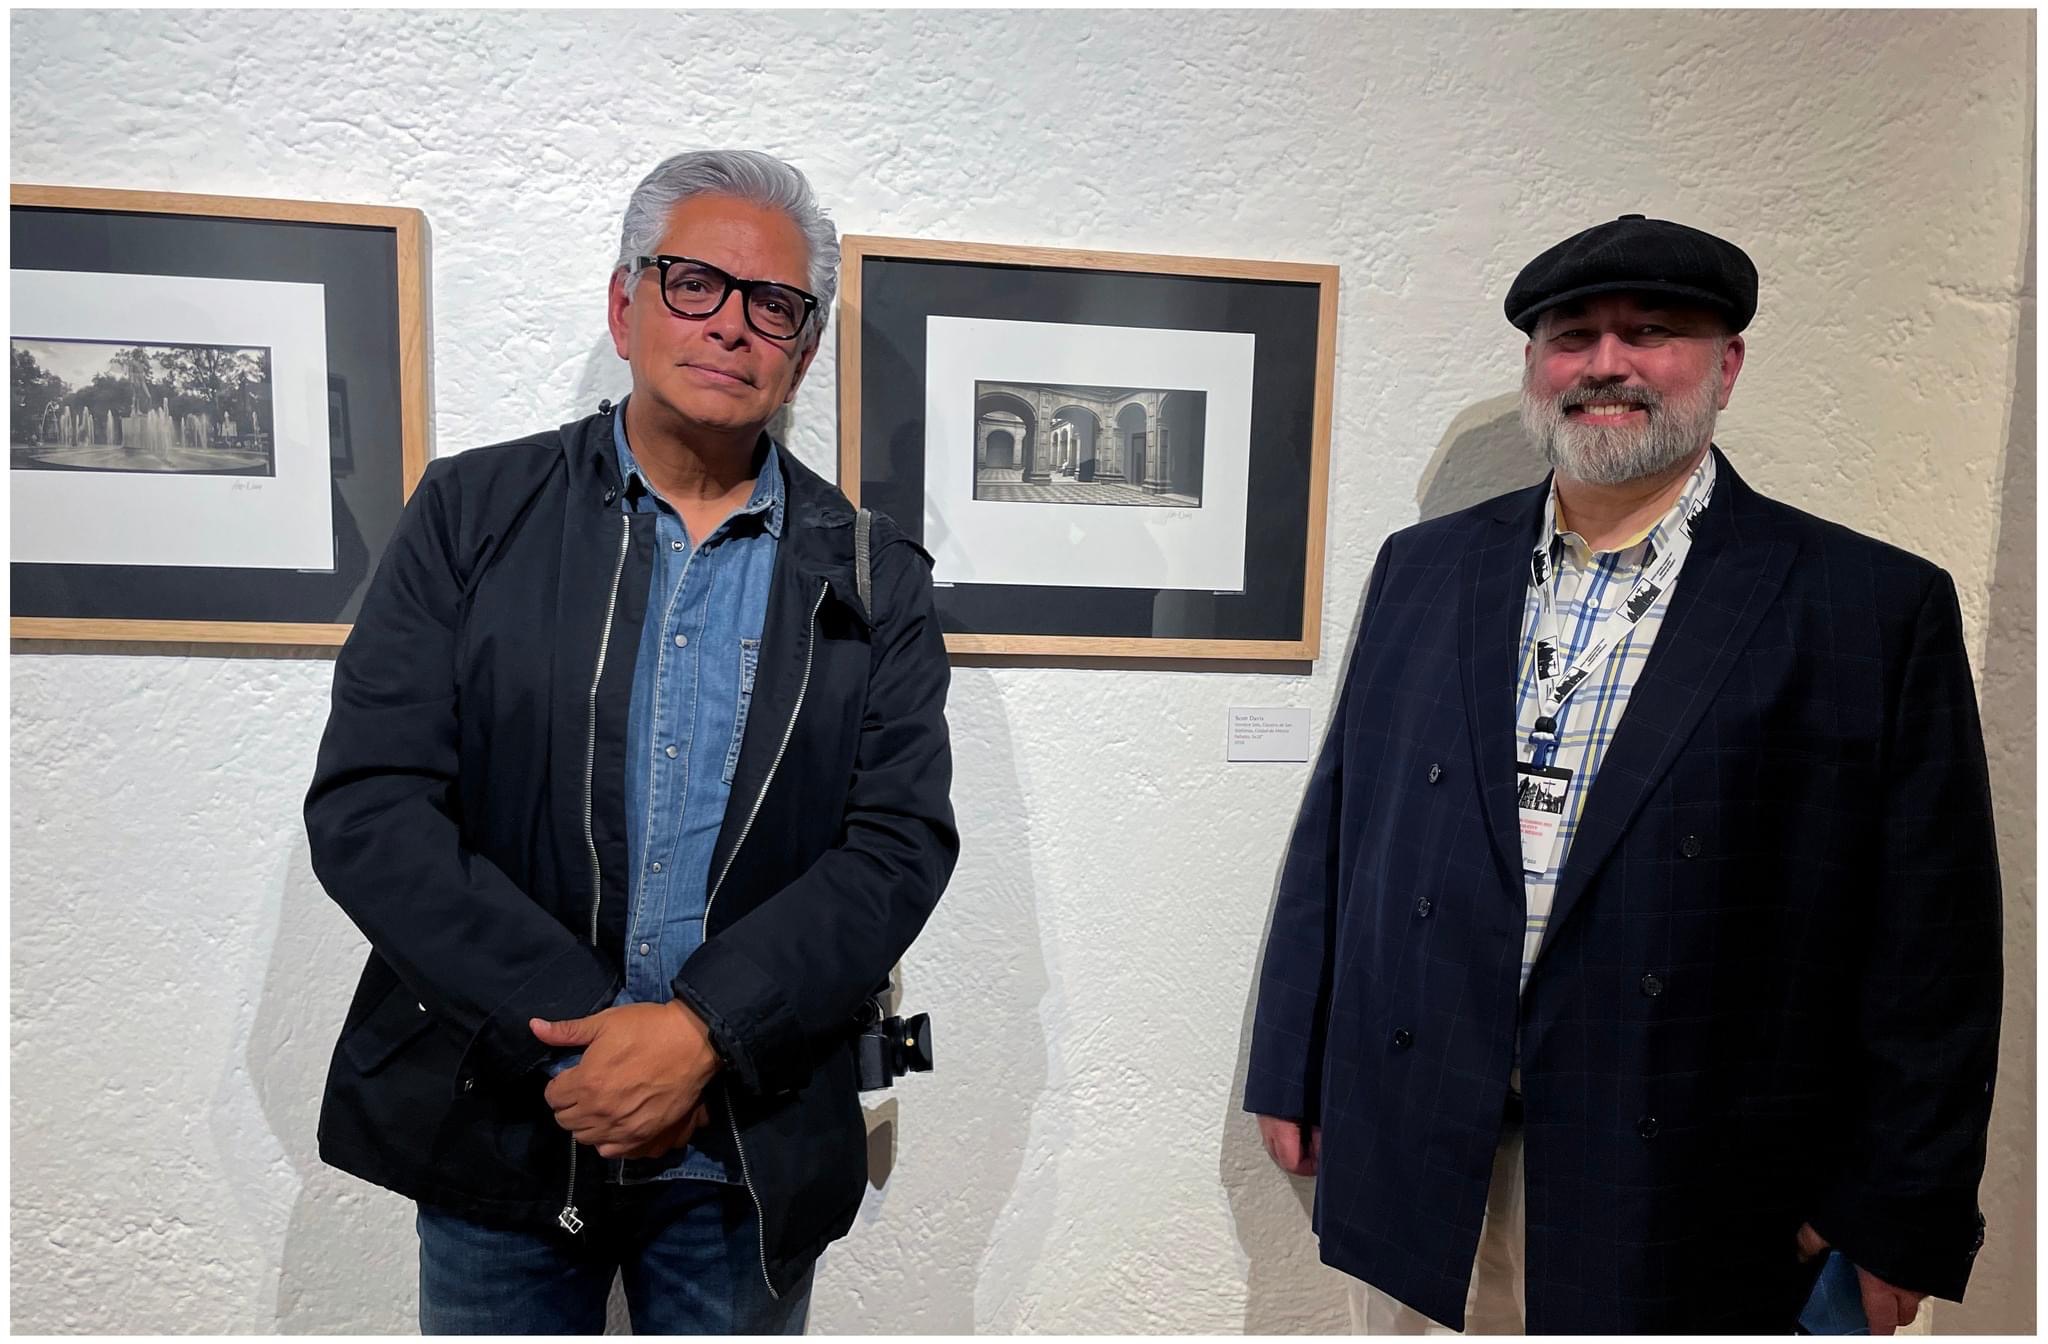


I don’t know of a bigger thrill for an artist than to have the director of a museum request you to give them a portfolio review, and then turn around and offer you a show and a workshop (funded by the museum!).
We had three days of activities and presentations. There were two main themes to the conference this year: Daguerreotypes and Book Arts. Carlos Gabriel Vertanessian, an Argentinian photo historian, gave a talk about the history of early photography in Mexico, focusing on the beginnings of the Daguerreotype in Mexico. Takashi Arai and Paty Banda gave a joint presentation (perhaps the most technically challenging presentation to pull off; Takashi was in Japan and calling in at 4AM his time, while Paty was also calling in from another location in Mexico City). They are both 21st century Daguerreotypists and talked about their personal work – Takashi with his interest in nuclear and environmental issues, and Paty with her rephotographic project doing 21st century daguerreotypes that re-created the earliest known photographs of Mexico City.
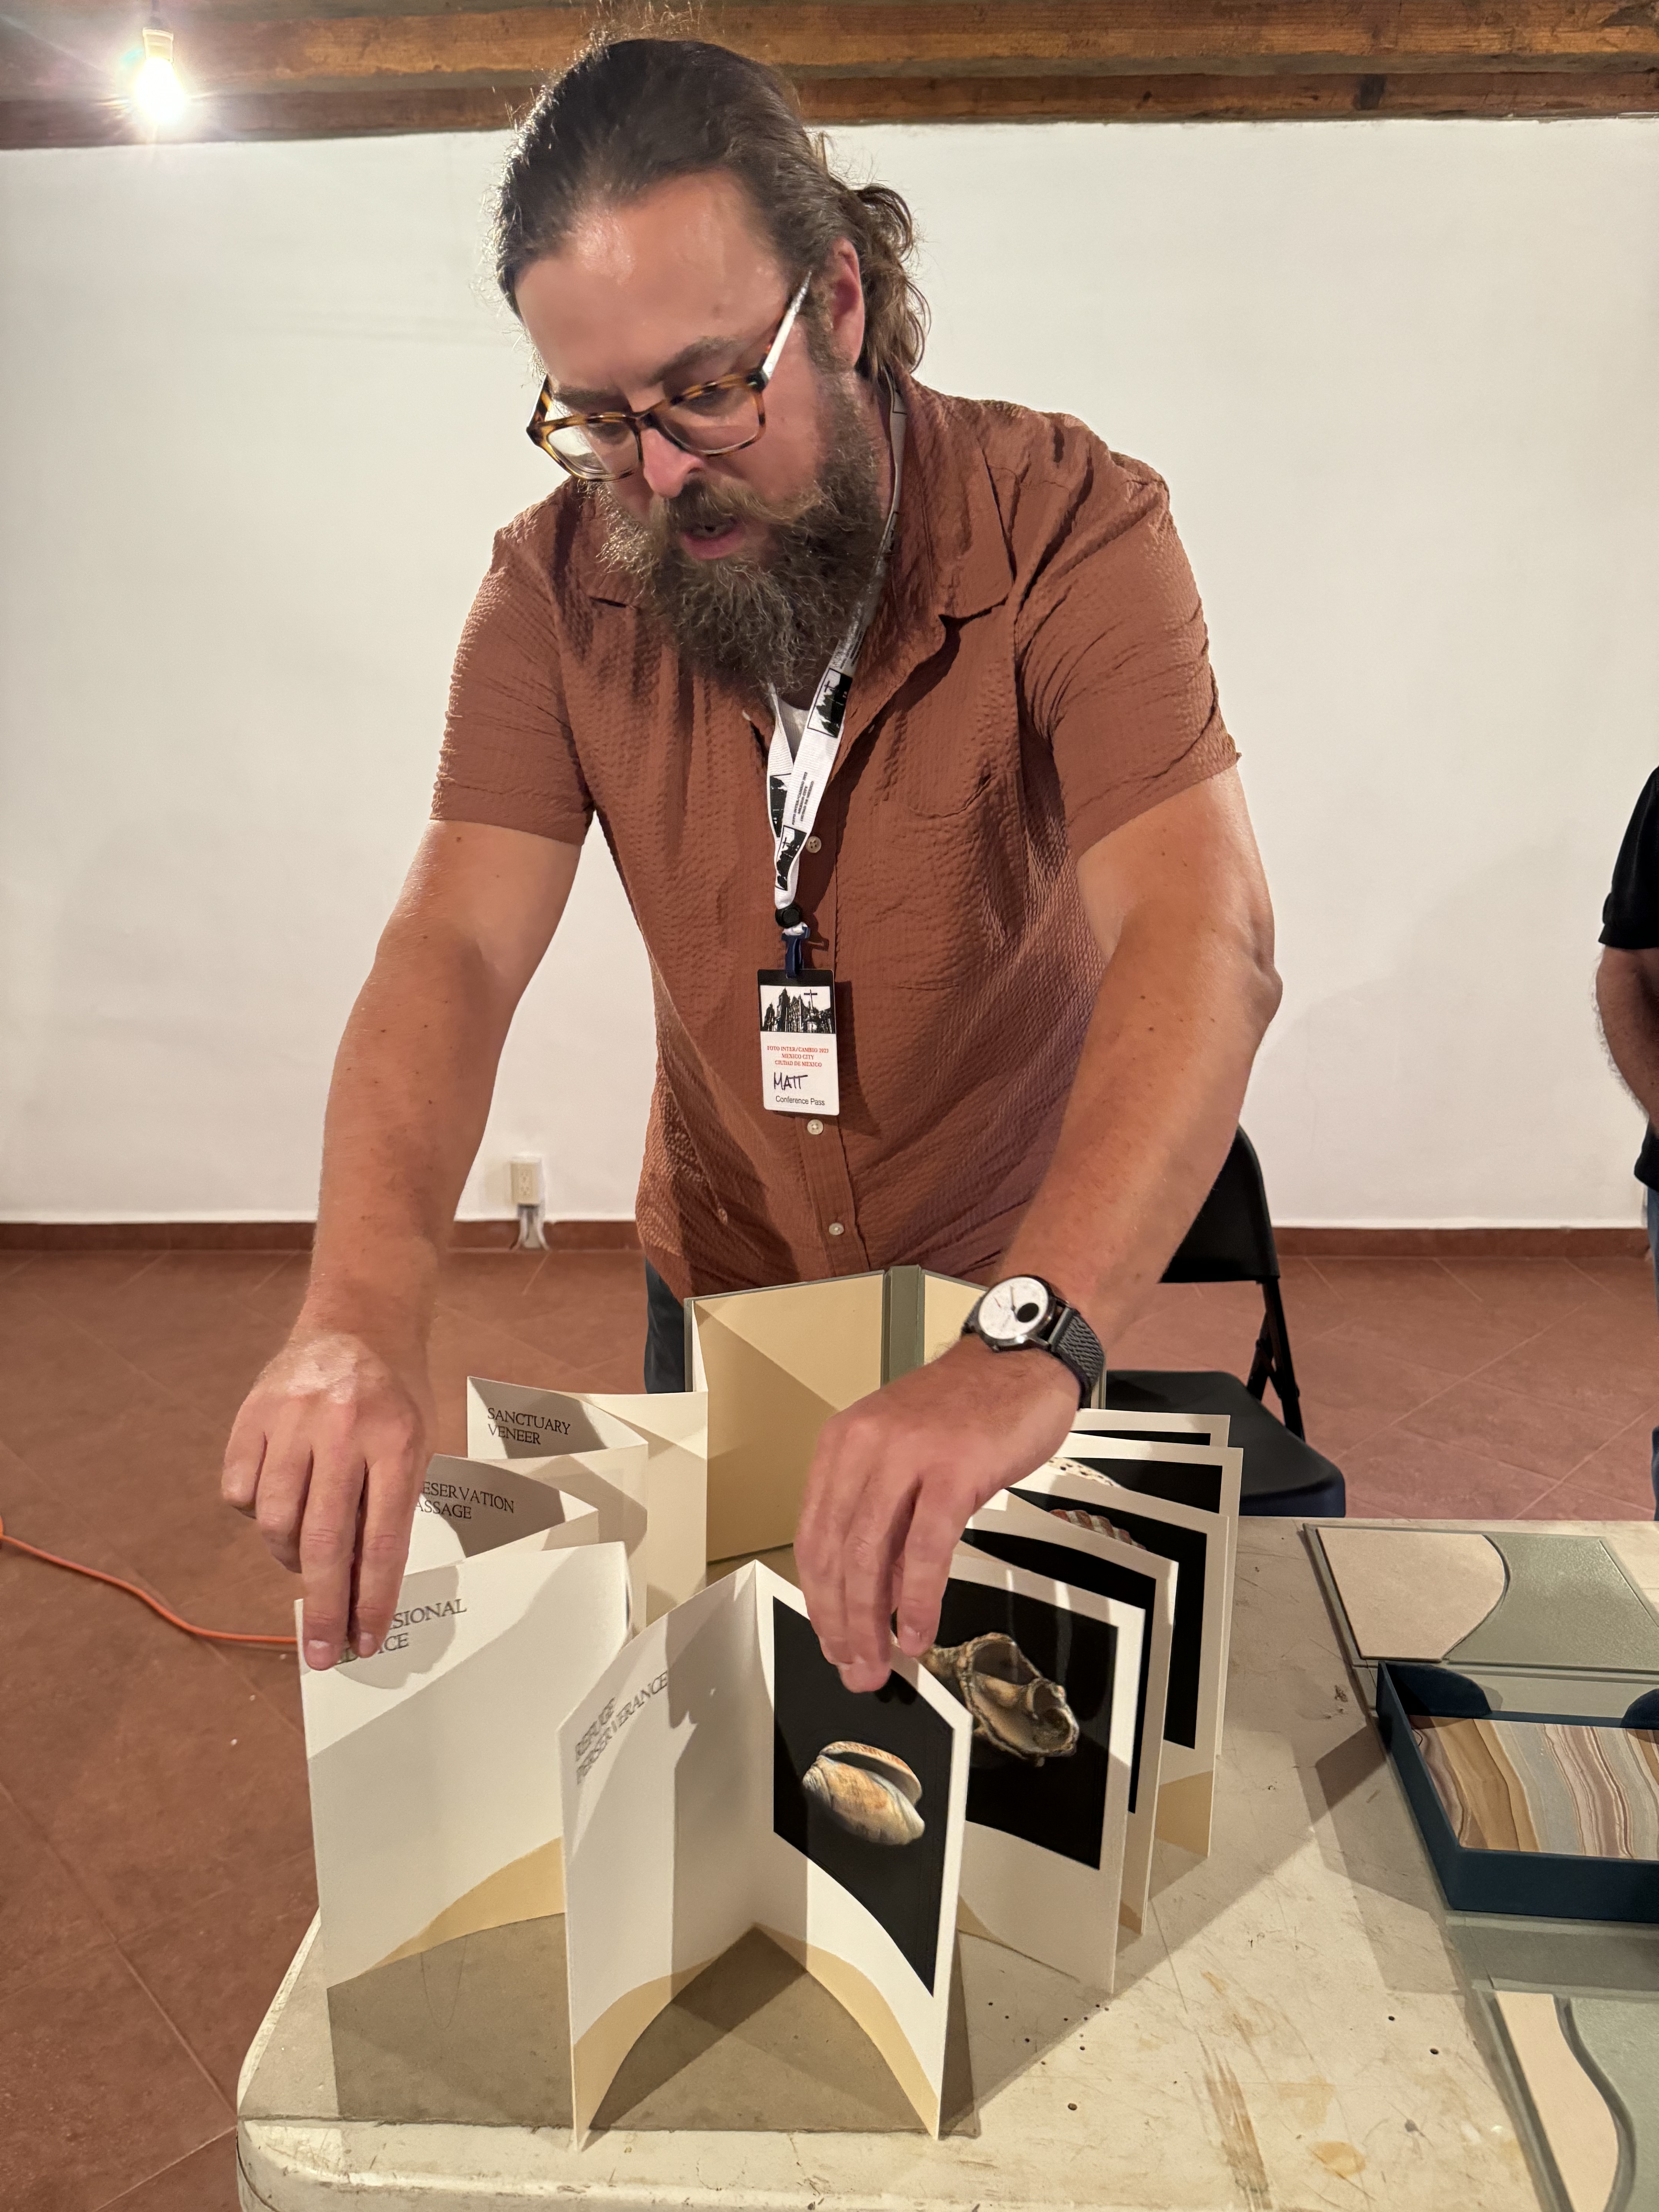
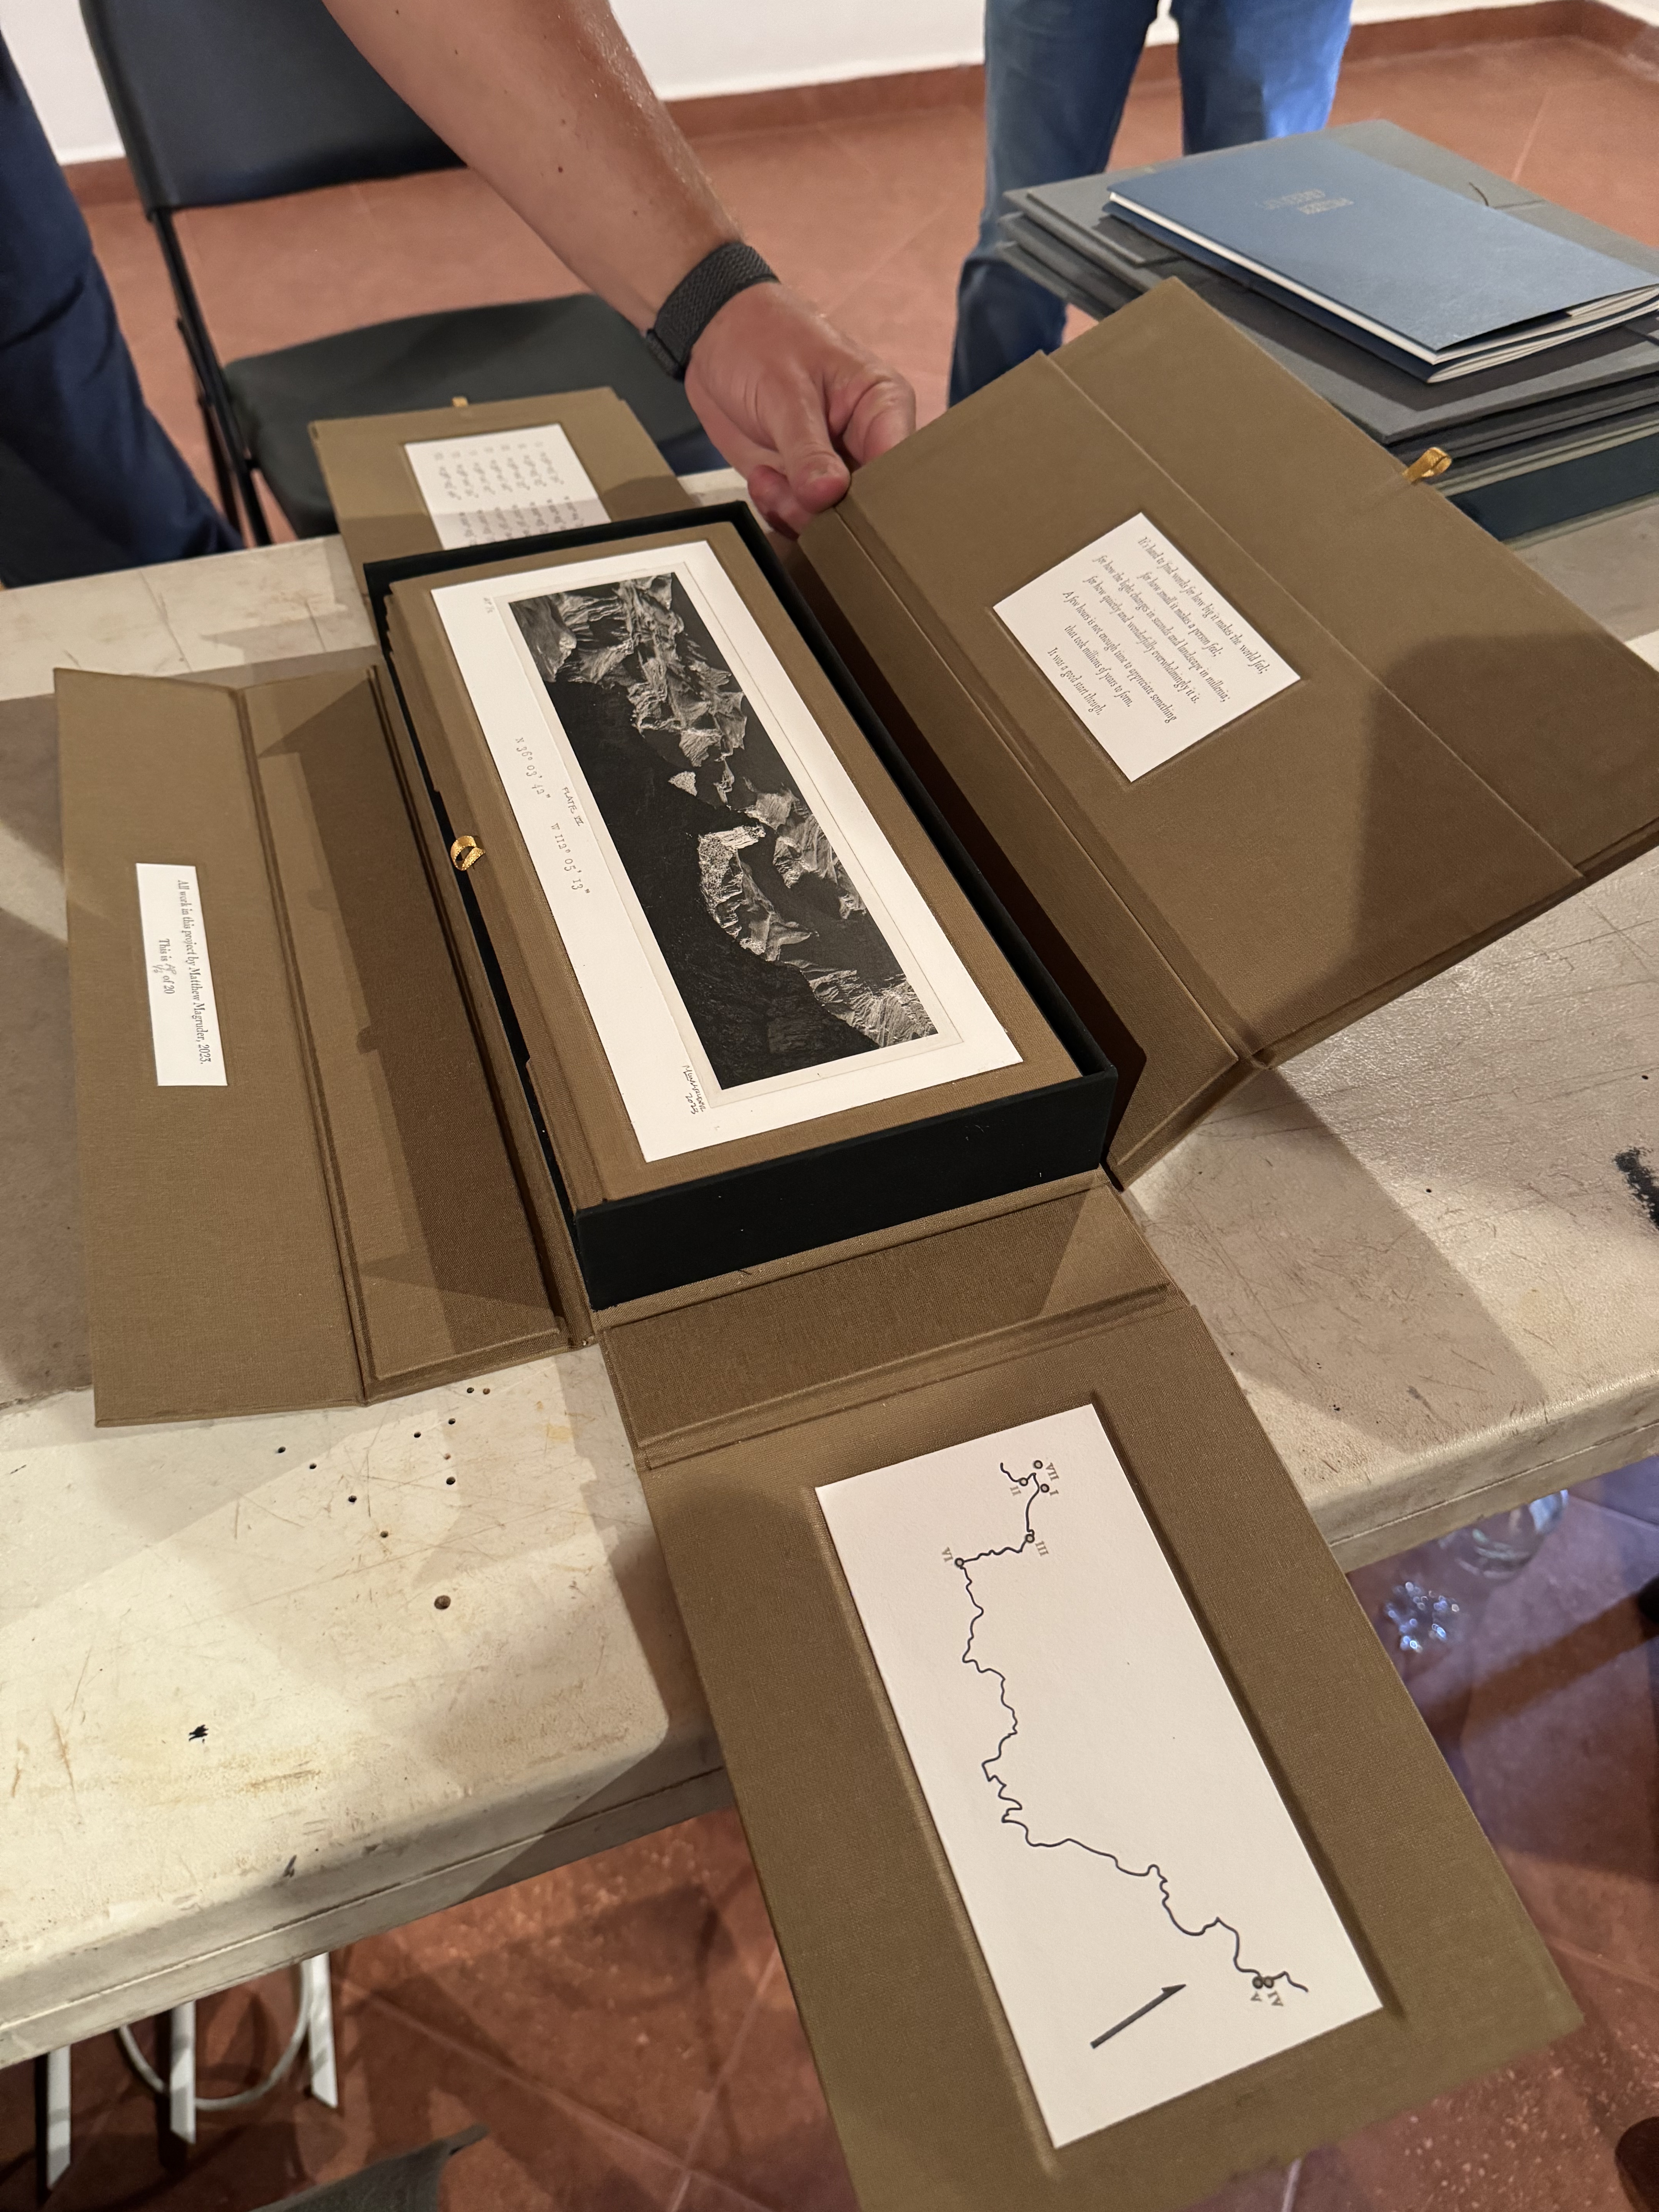
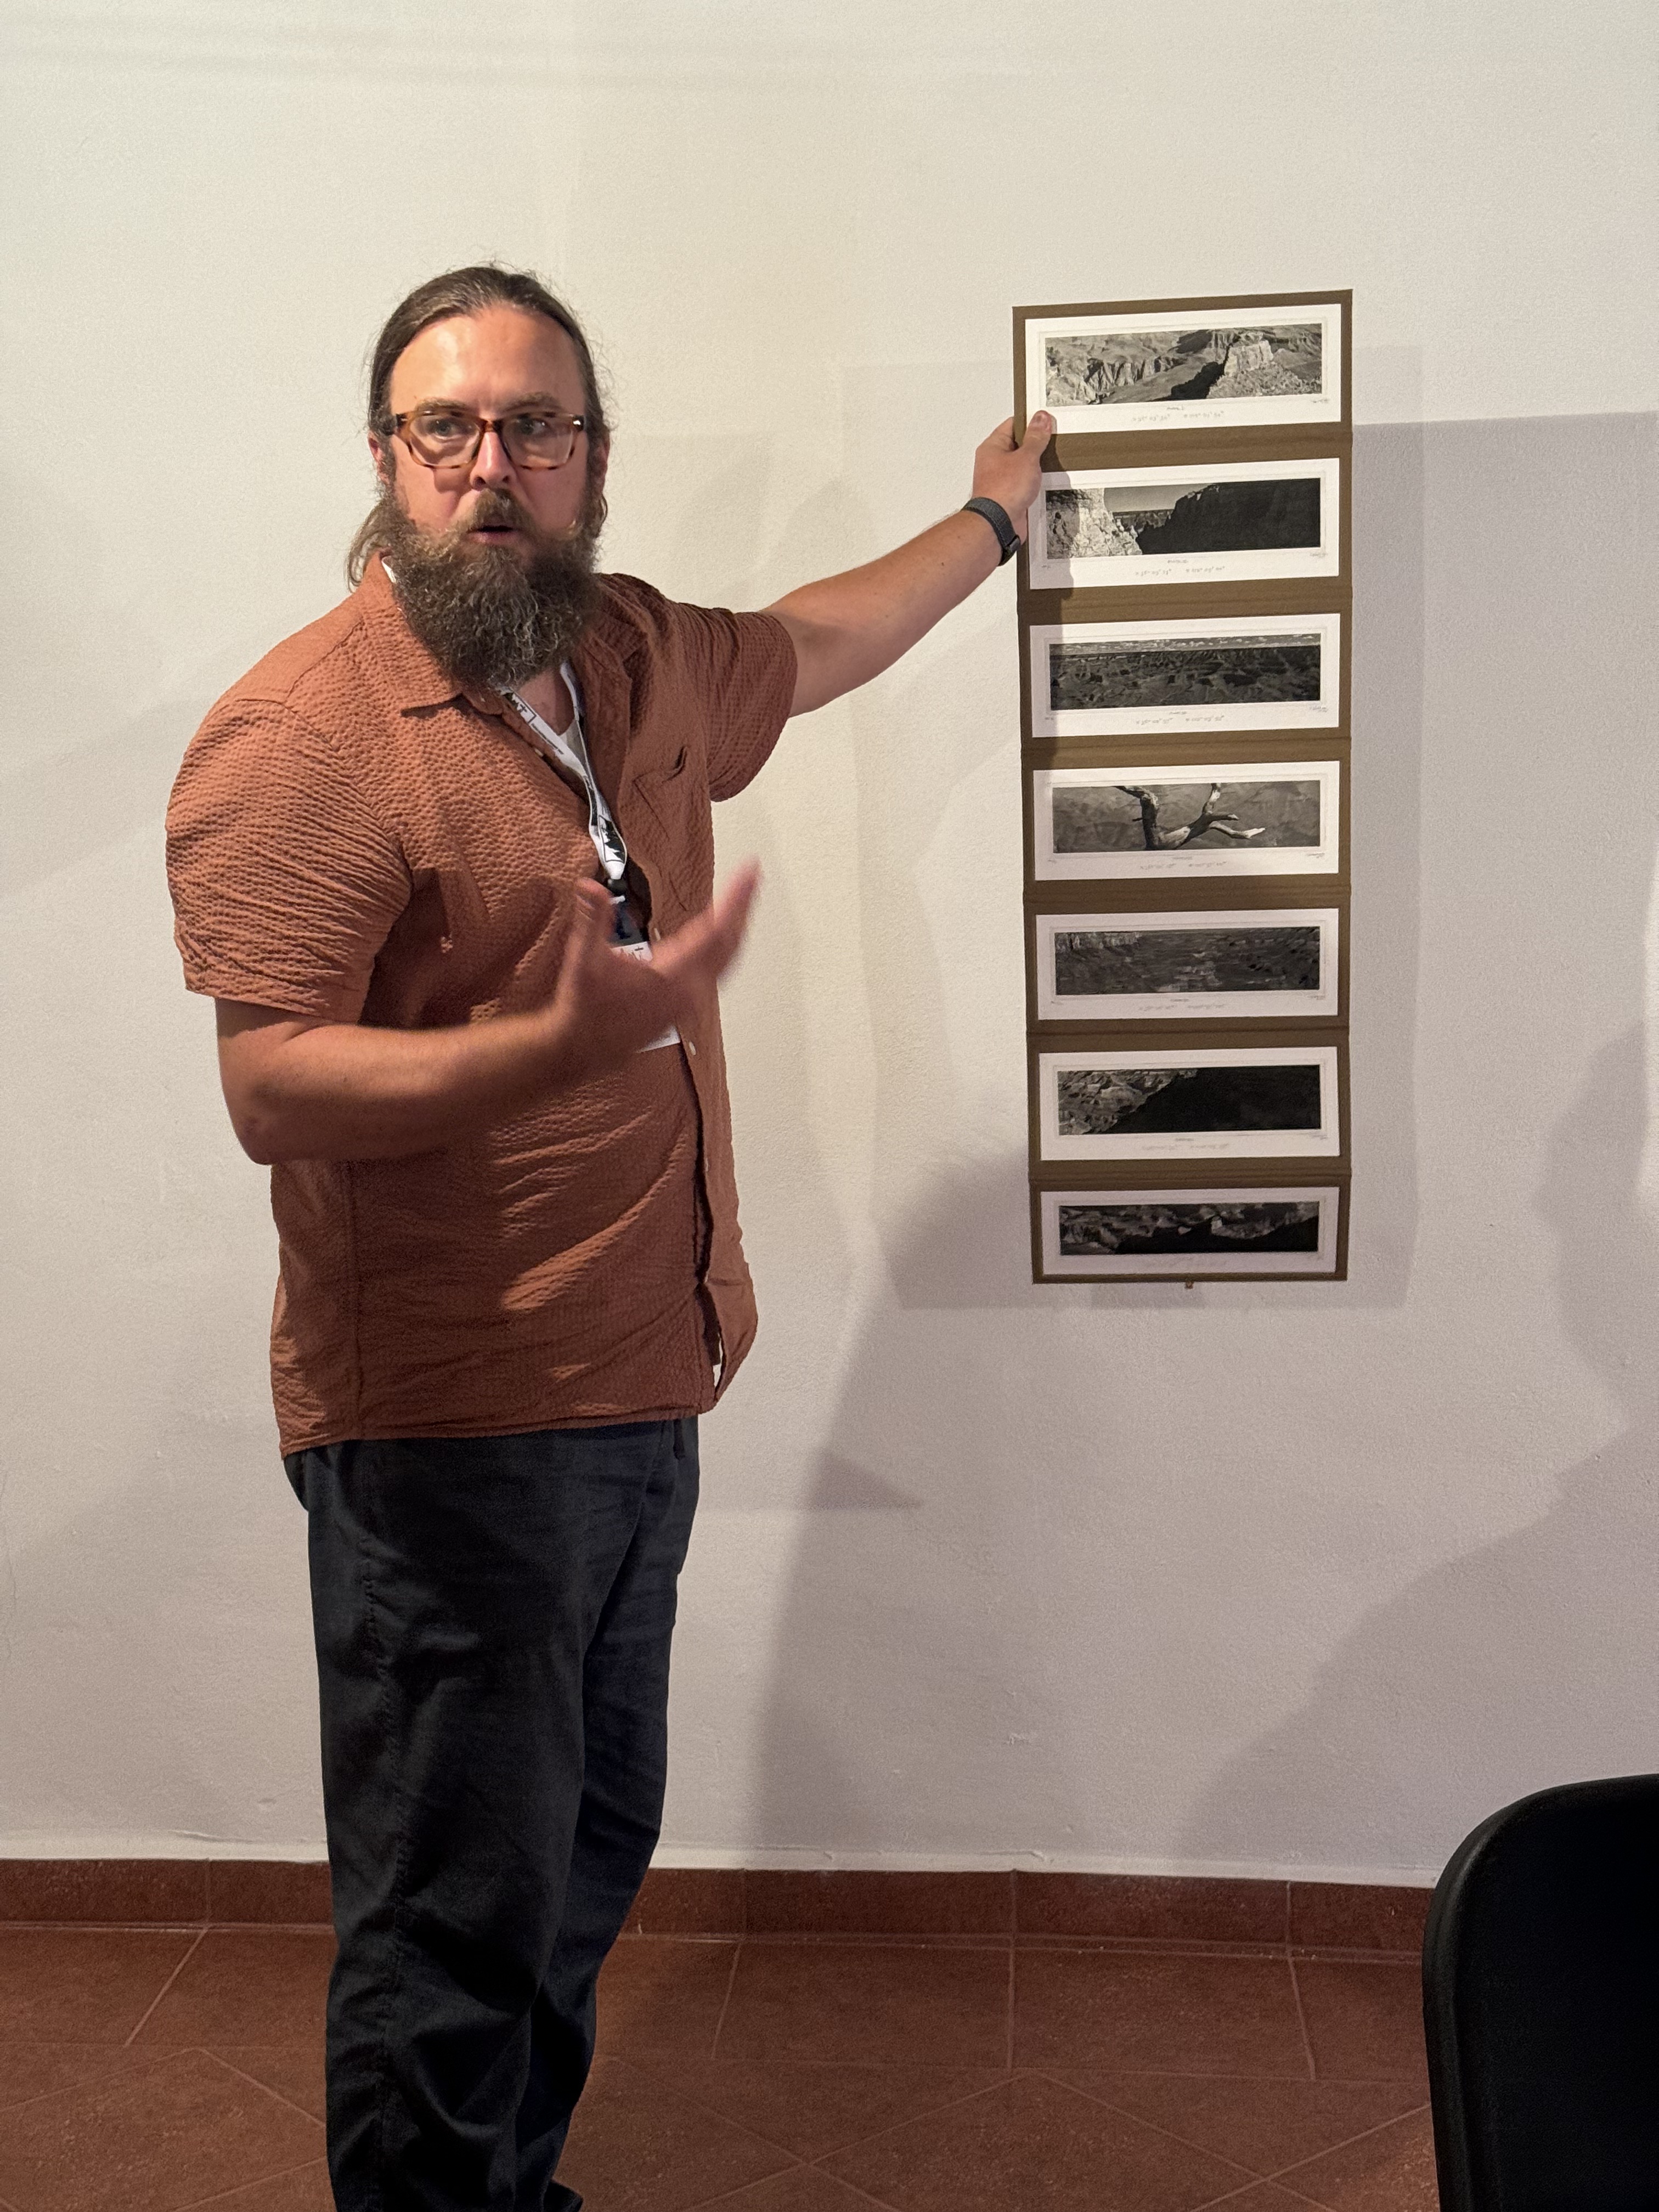
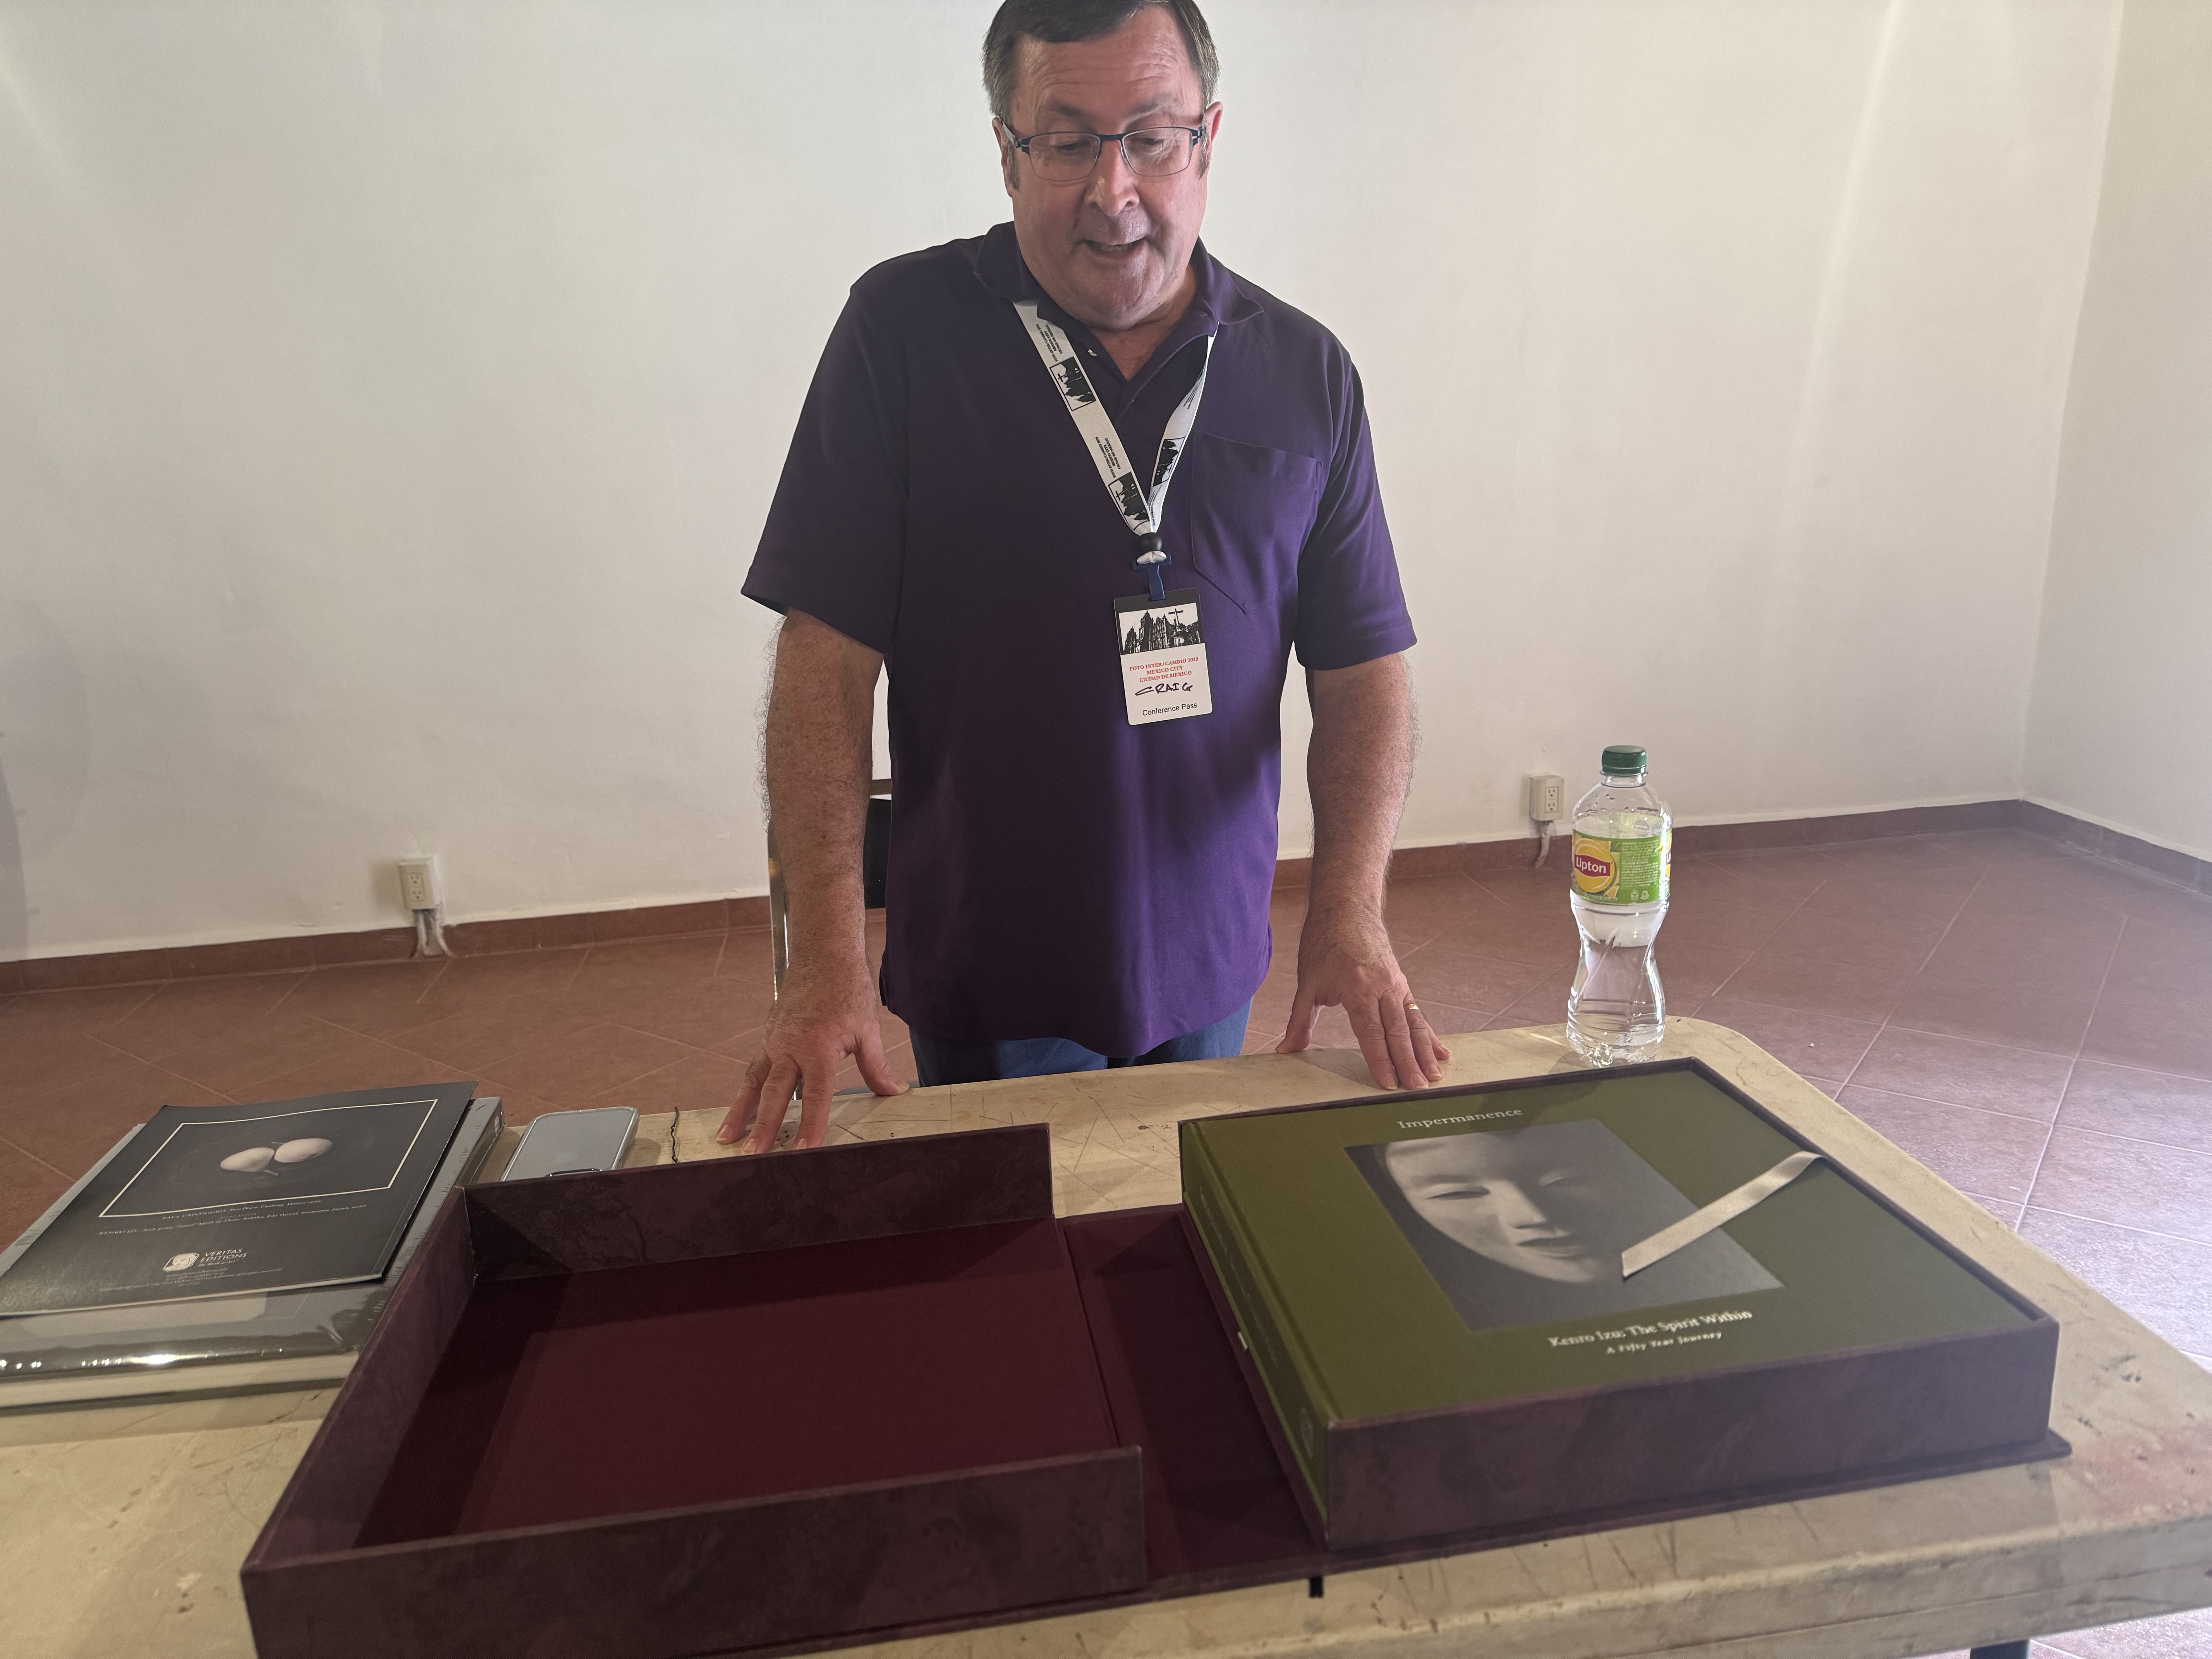
Matthew Magruder presented his work that spans multiple photographic disciplines; the work he presented centered on book arts and the handmade artists book. Craig Alan Huber (another person to whom I owe a great debt of thanks for his assistance in making this conference happen) gave a contrasting presentation on publishing fine art books, from “trade press” to the extremely limited edition fine-art volumes (usually cased in presentation boxes and accompanied by signed prints, etc). Craig is the owner and publisher of Veritas Editions, an award-winning press that specializes in high-end limited edition books.


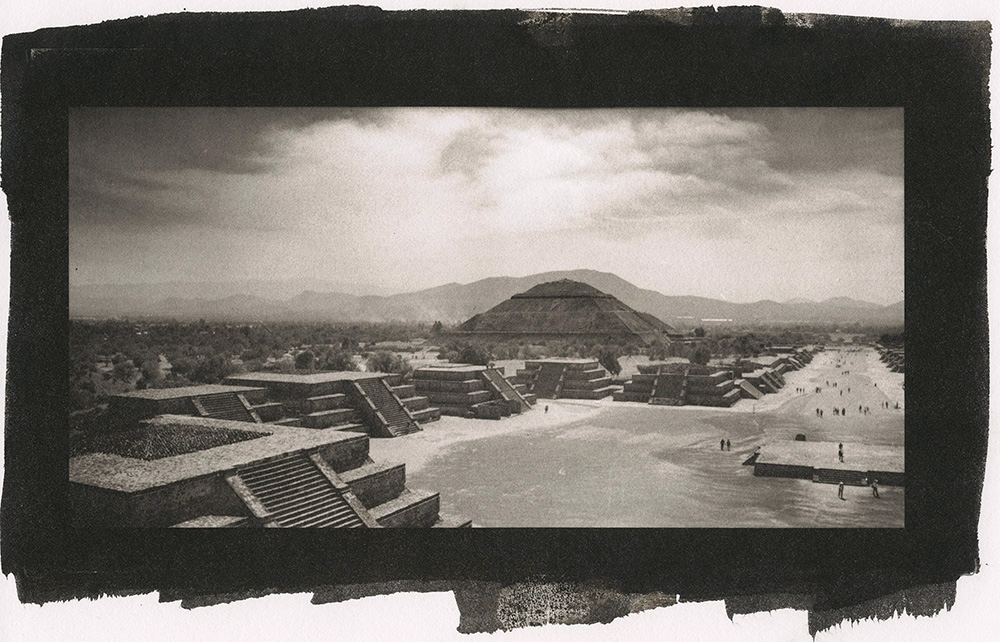
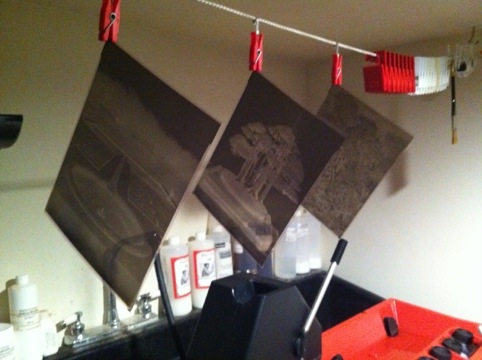
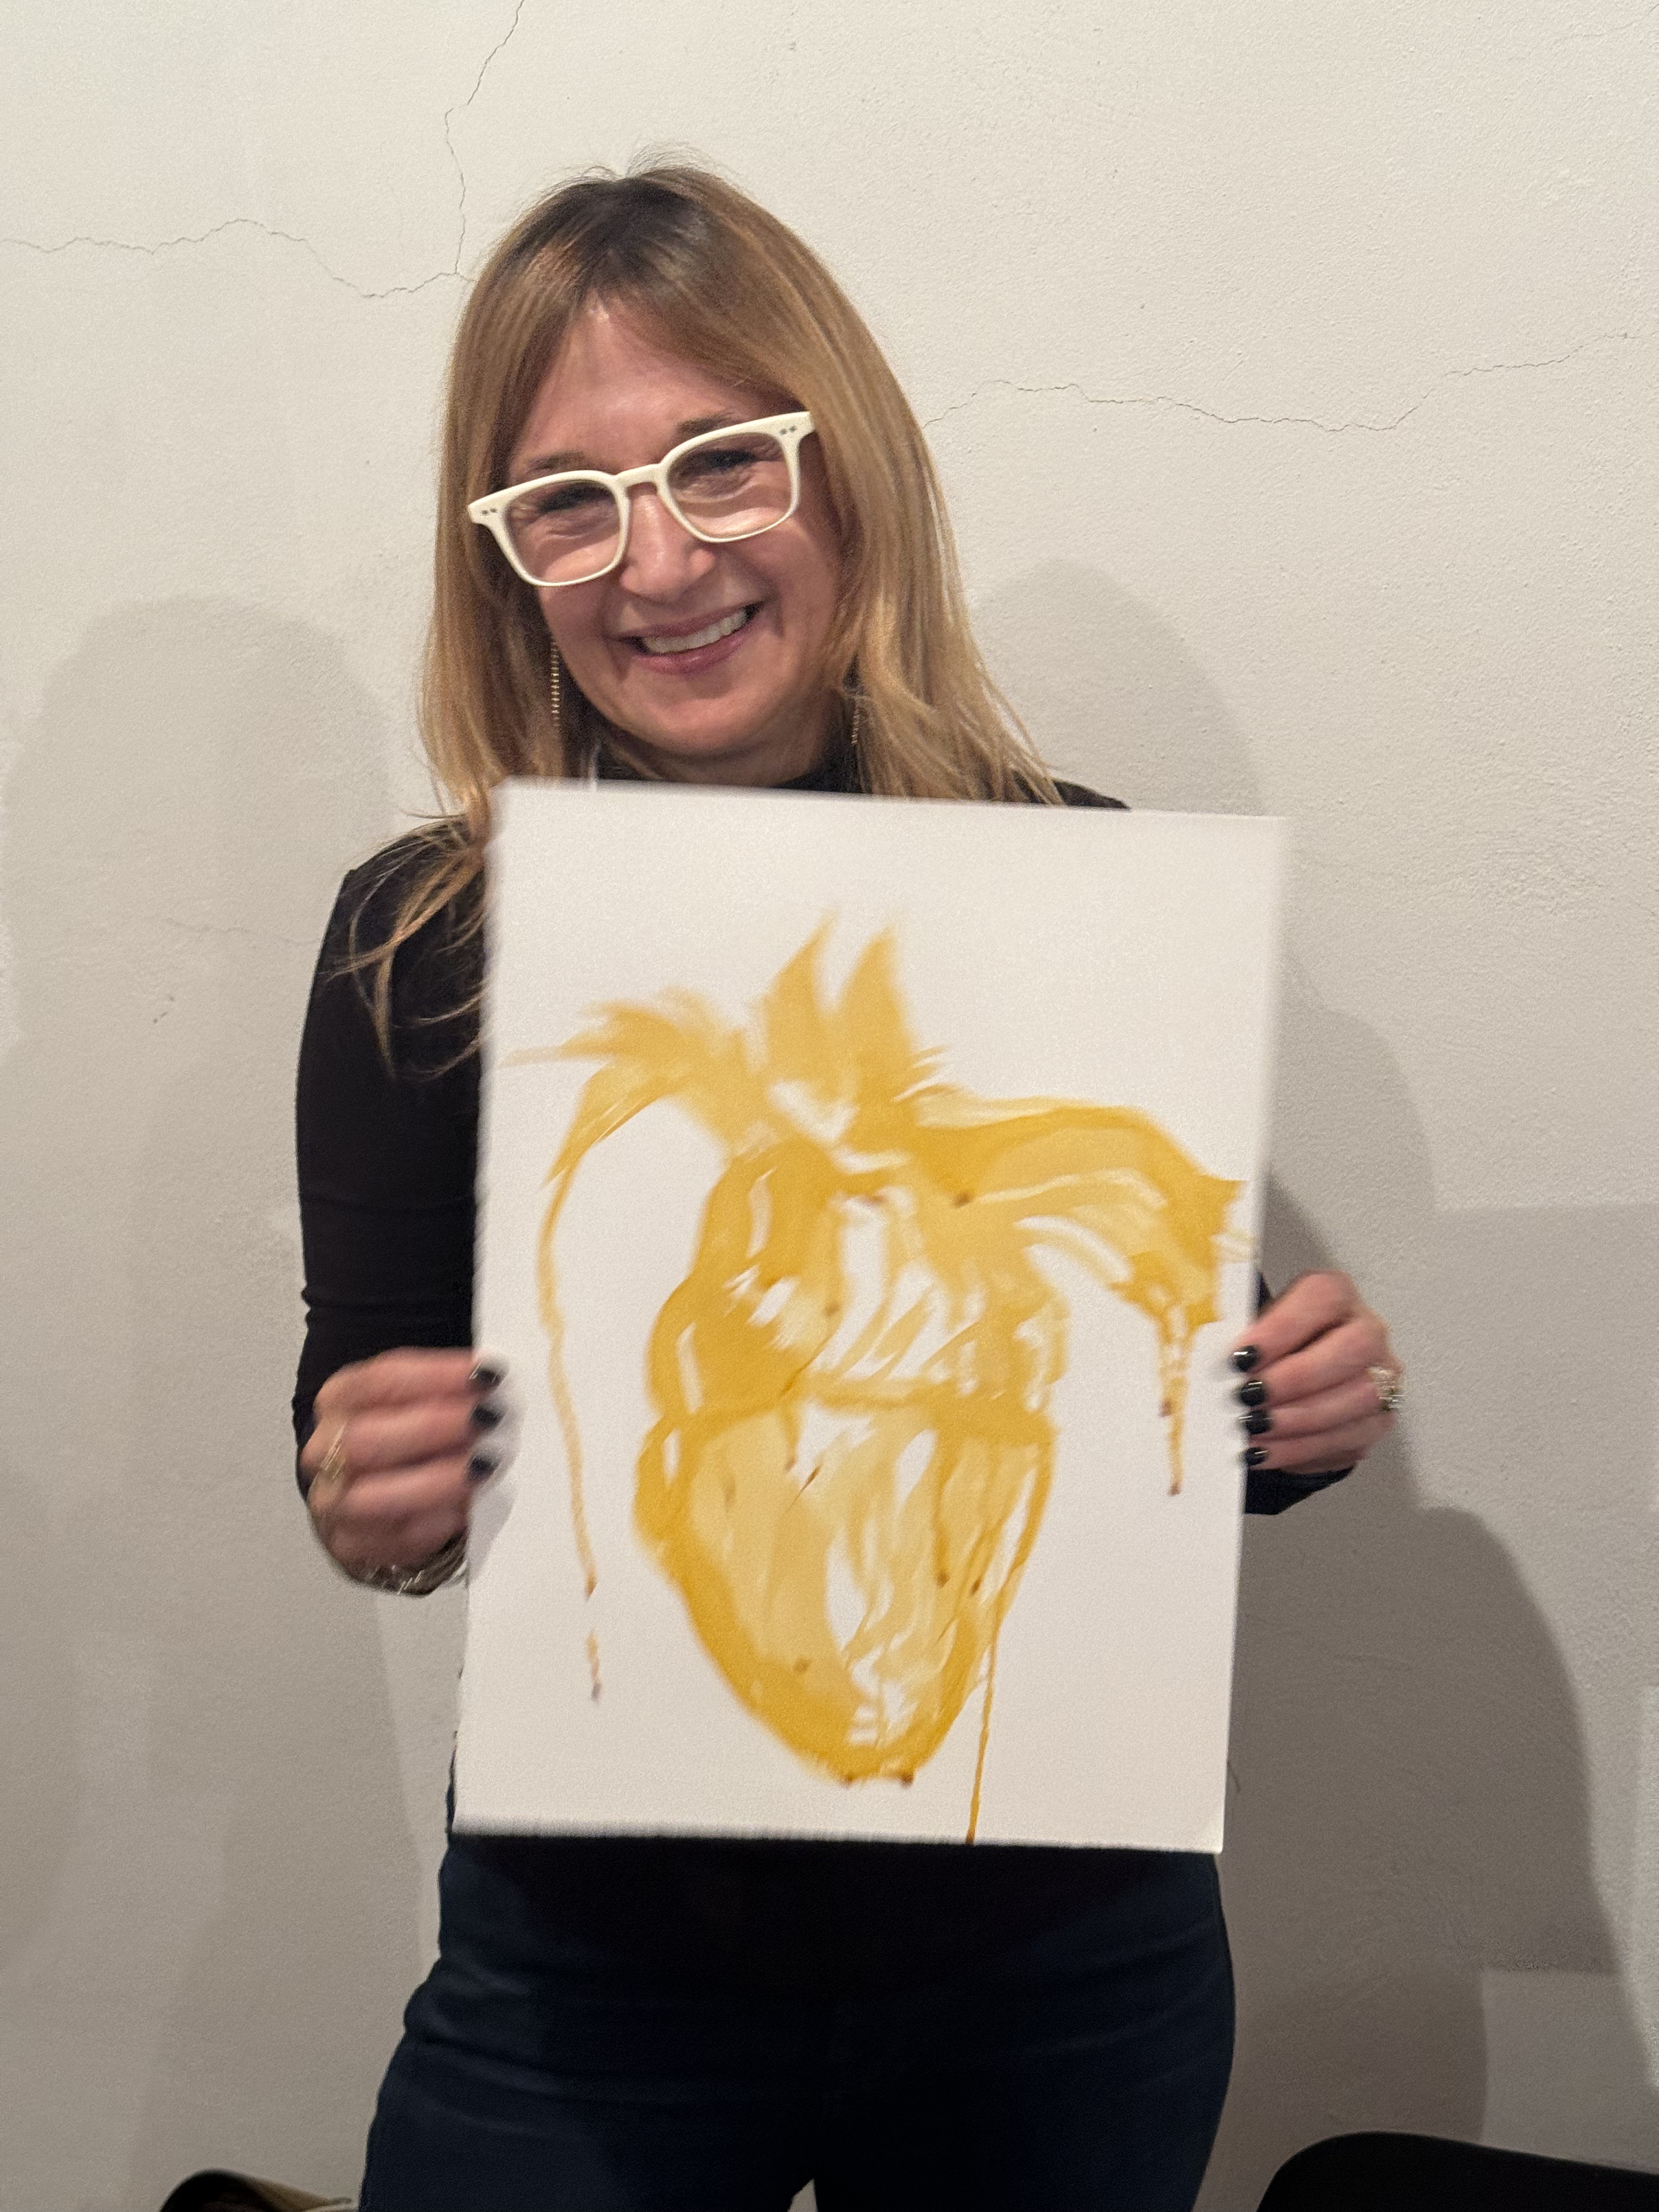
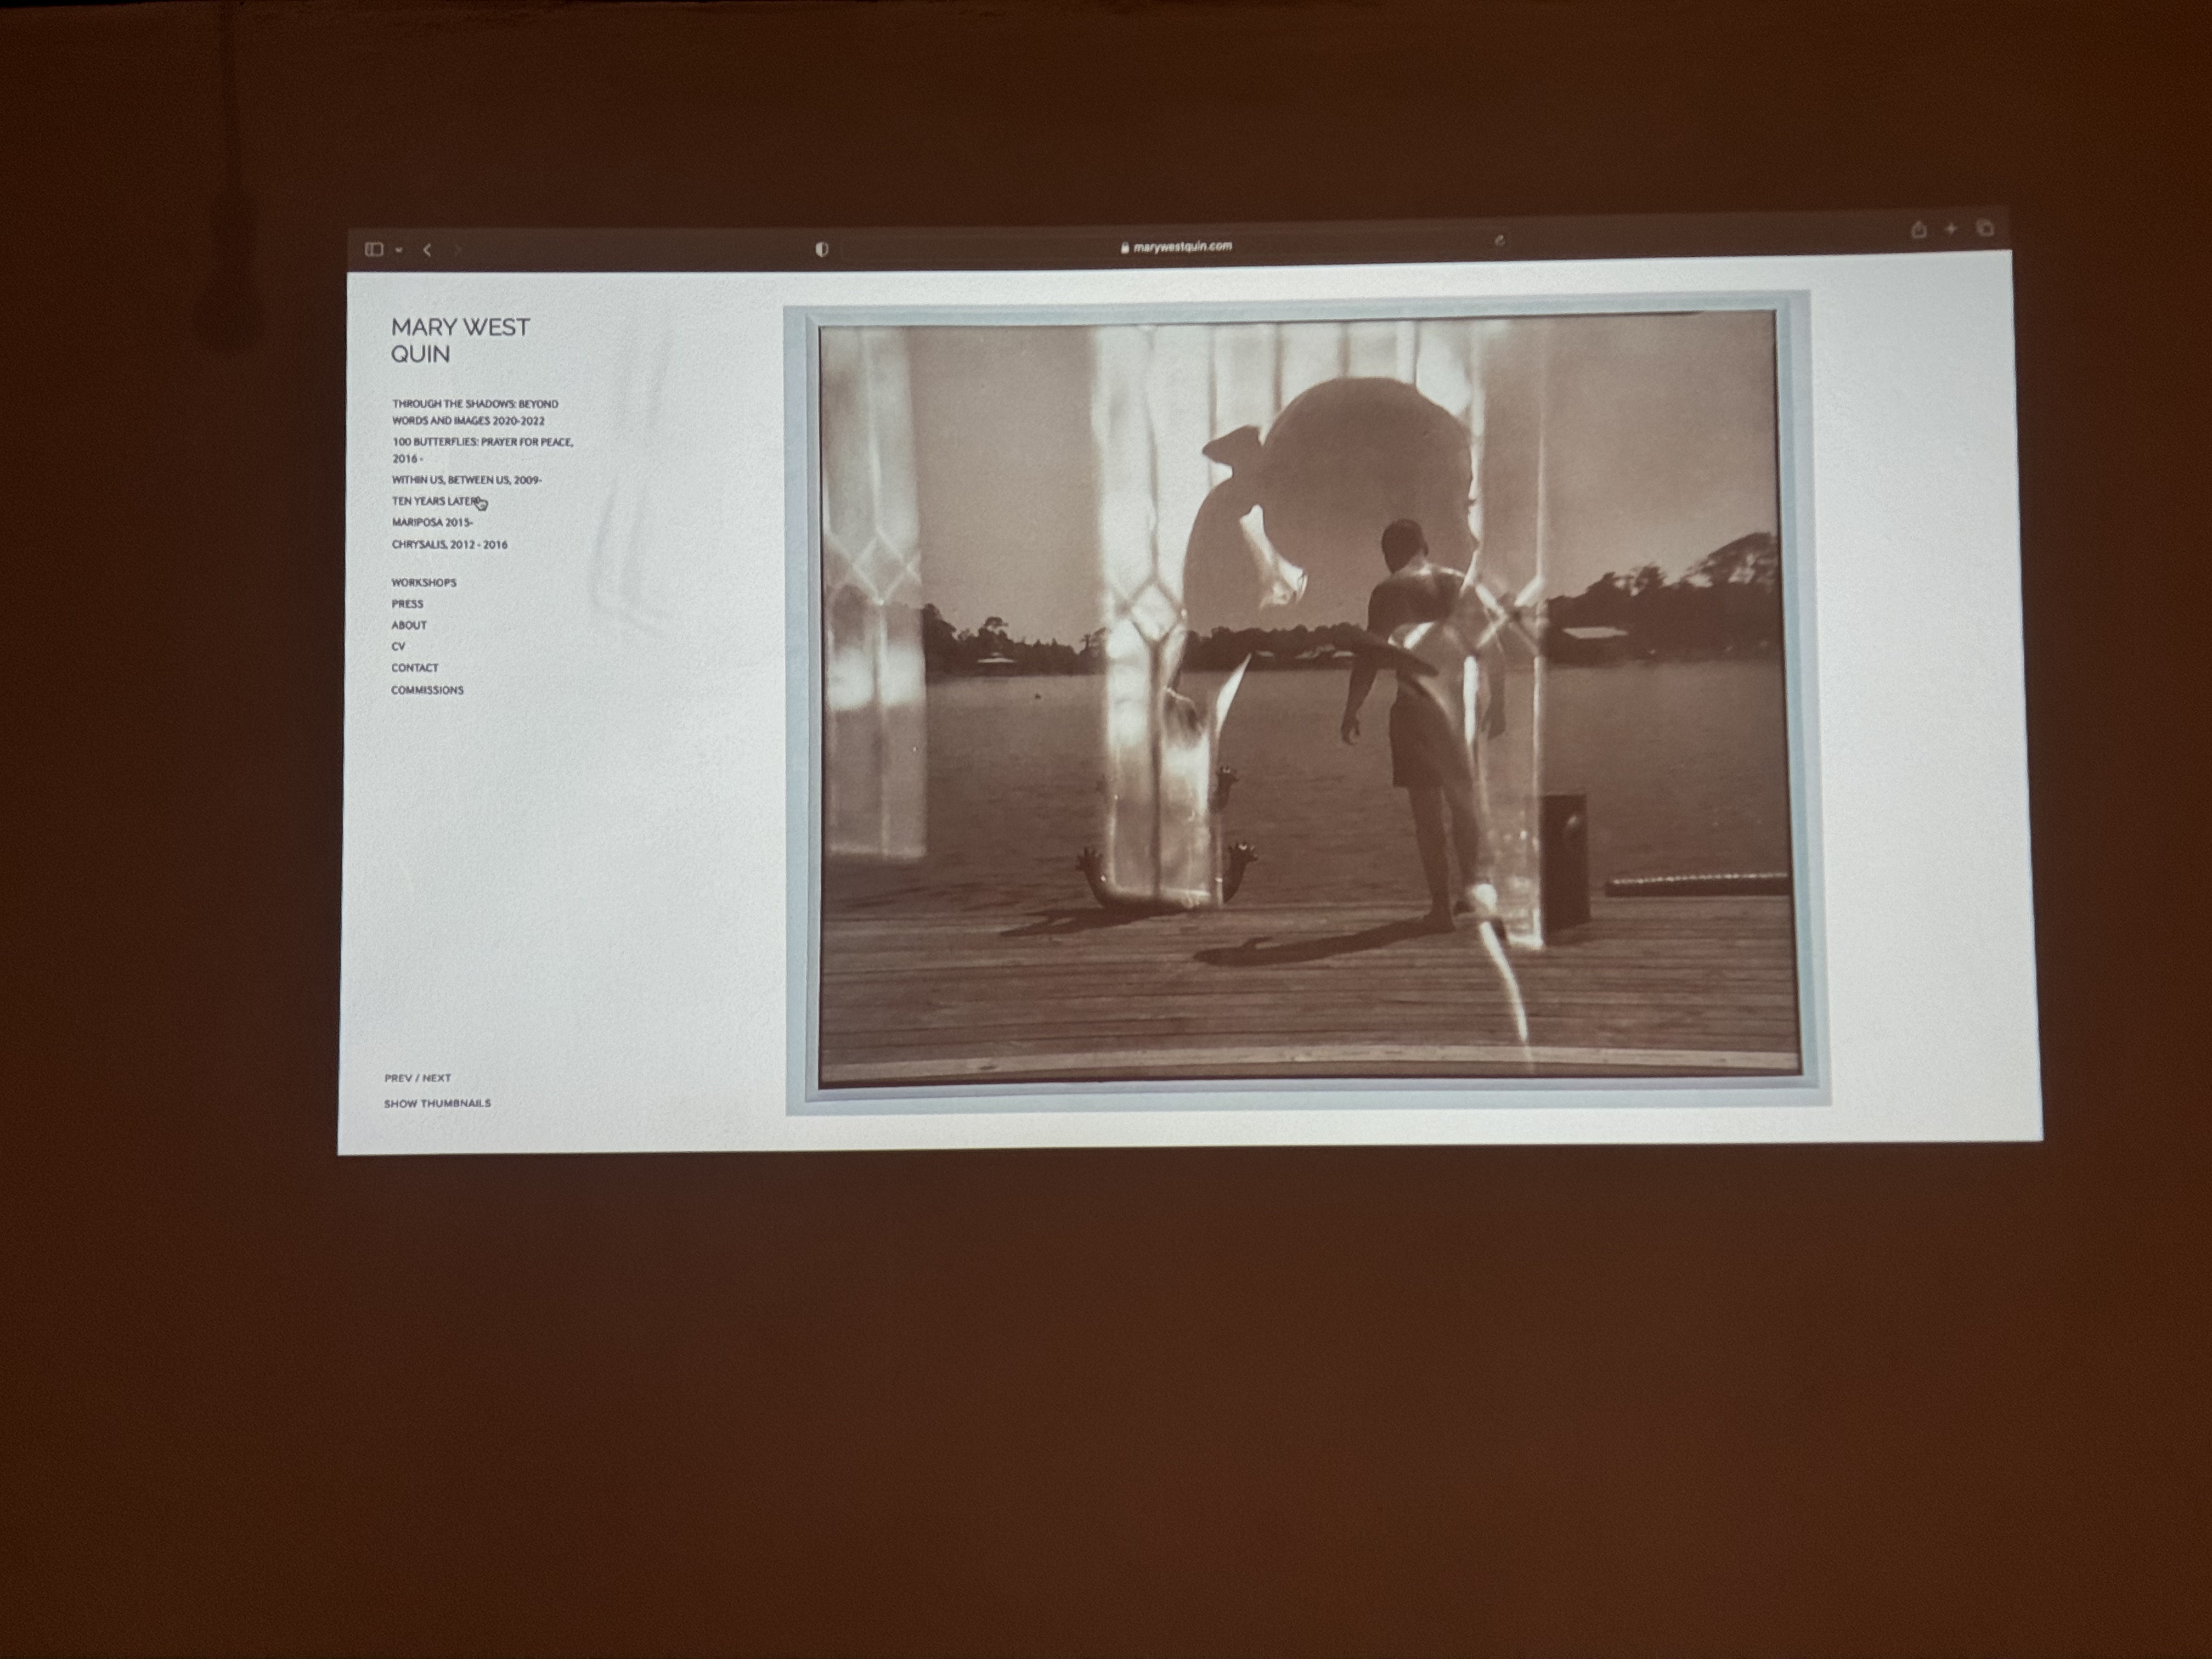
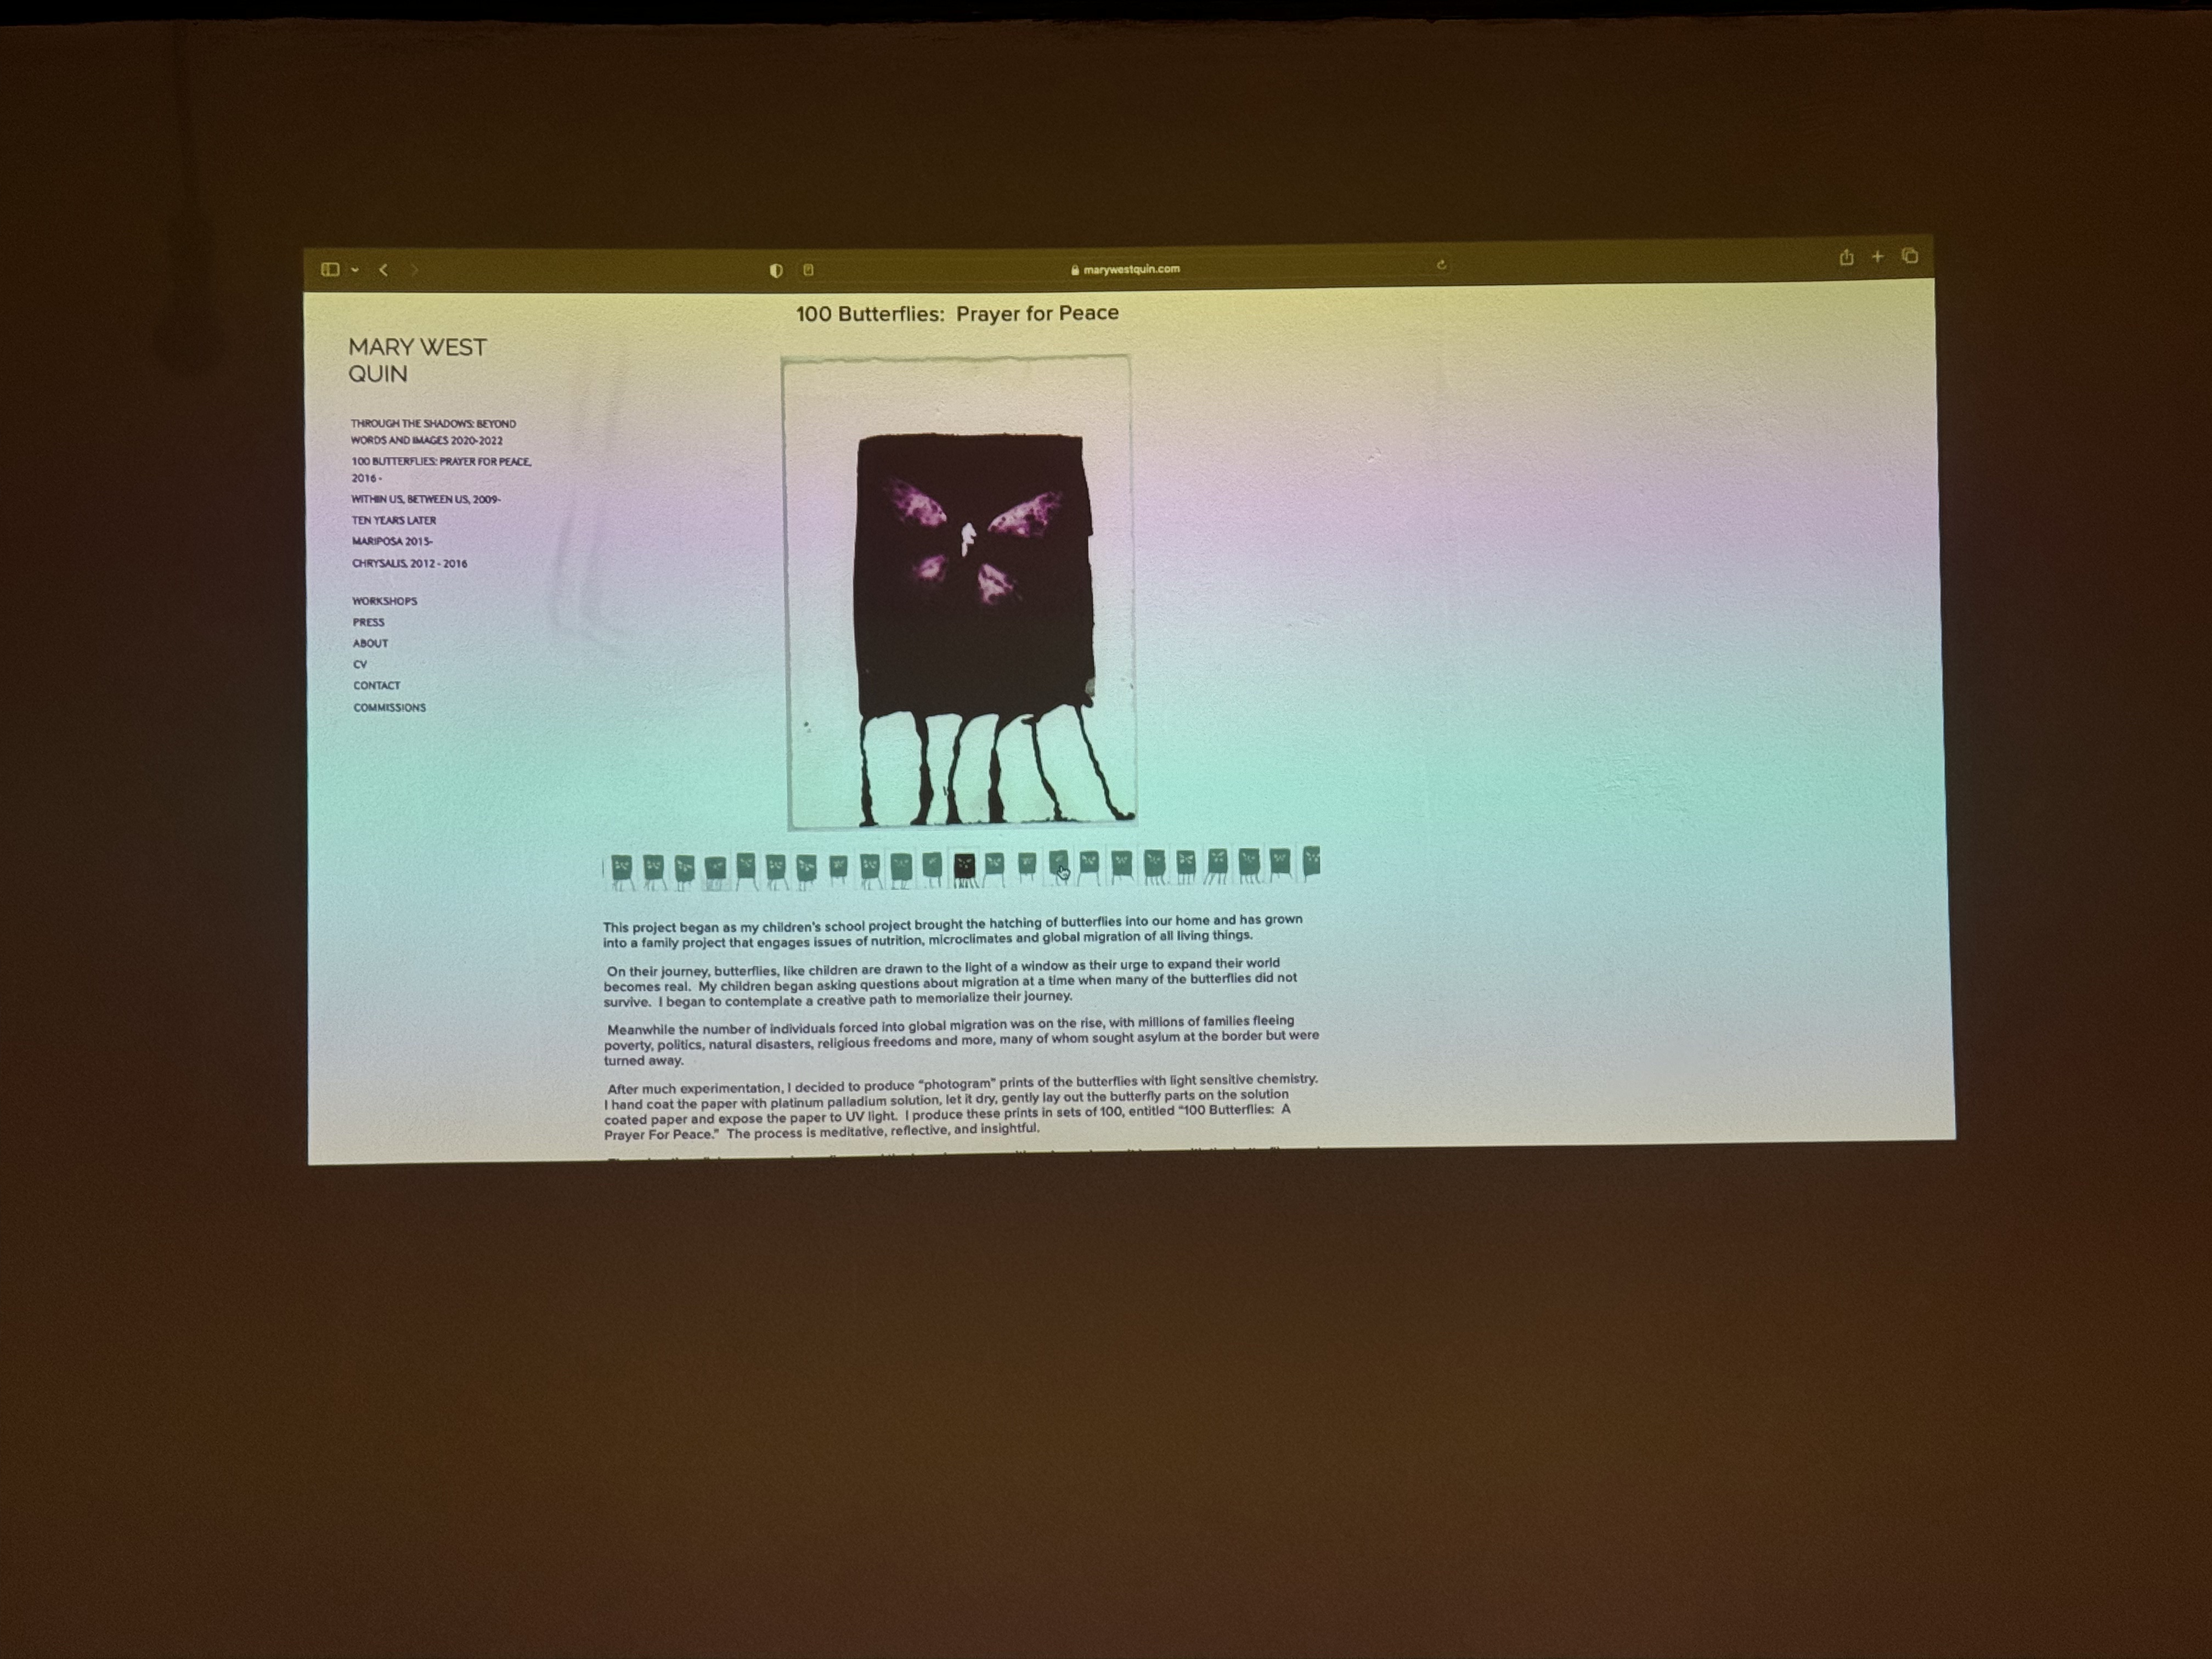
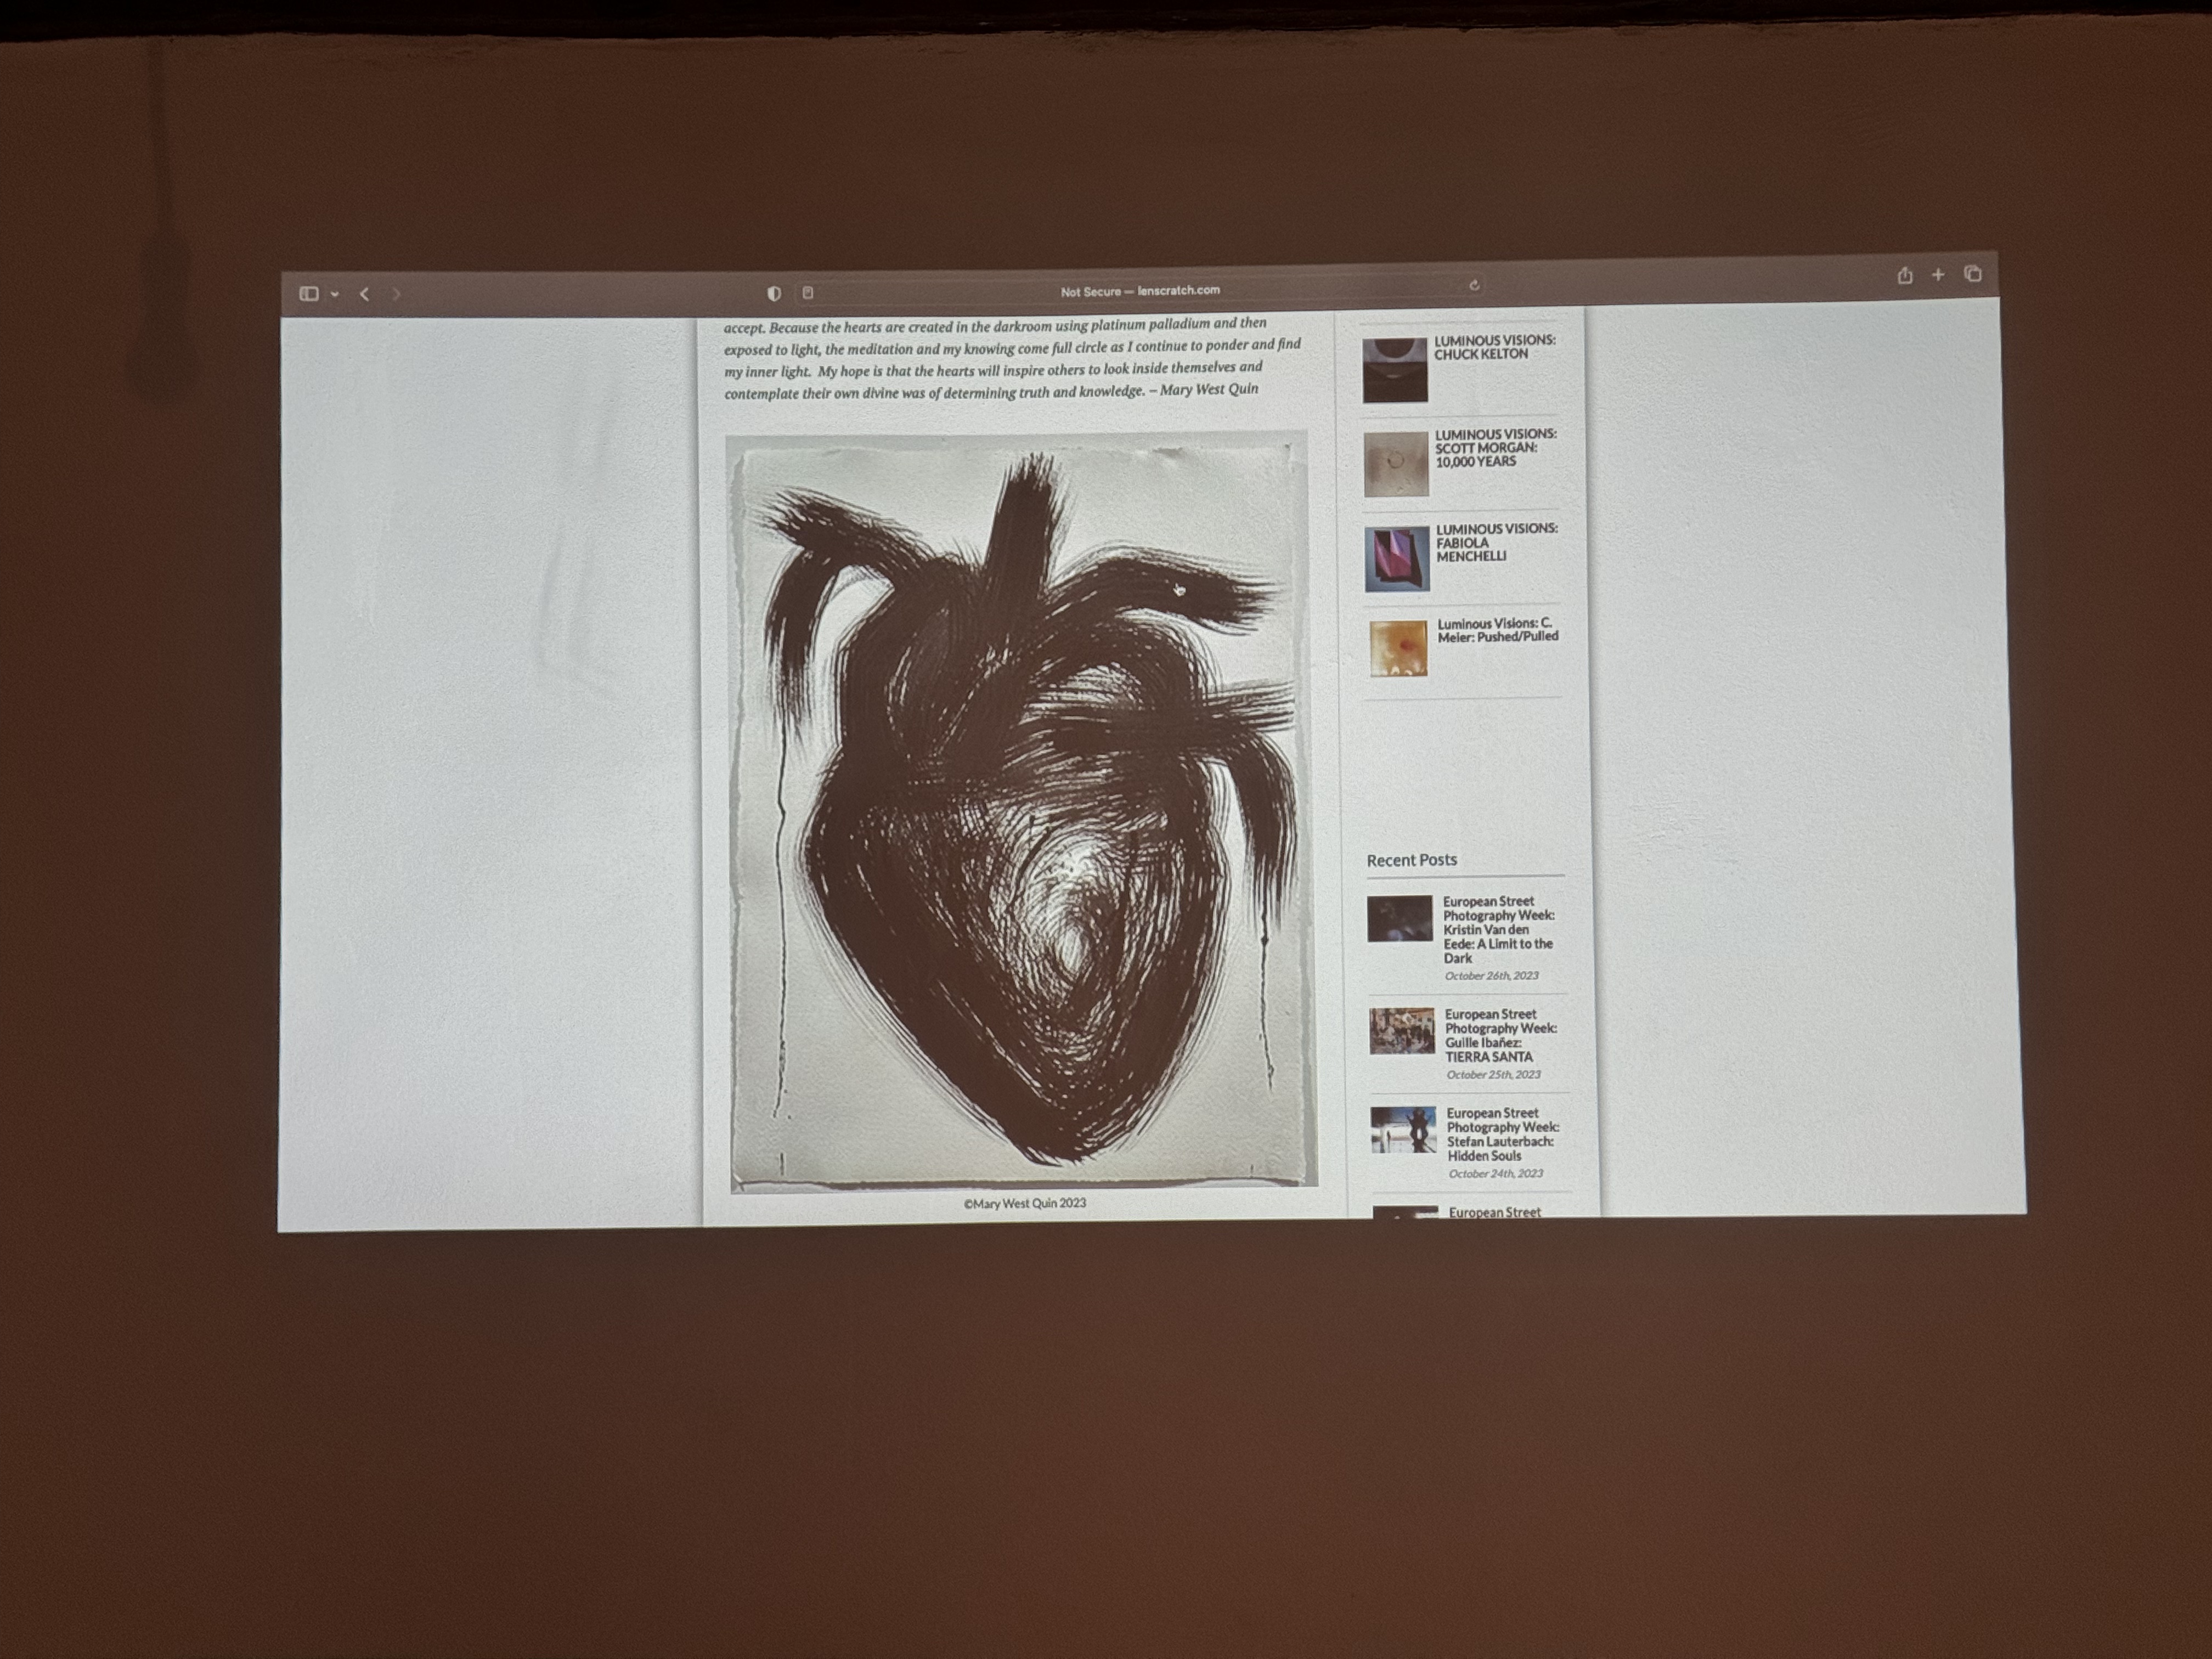
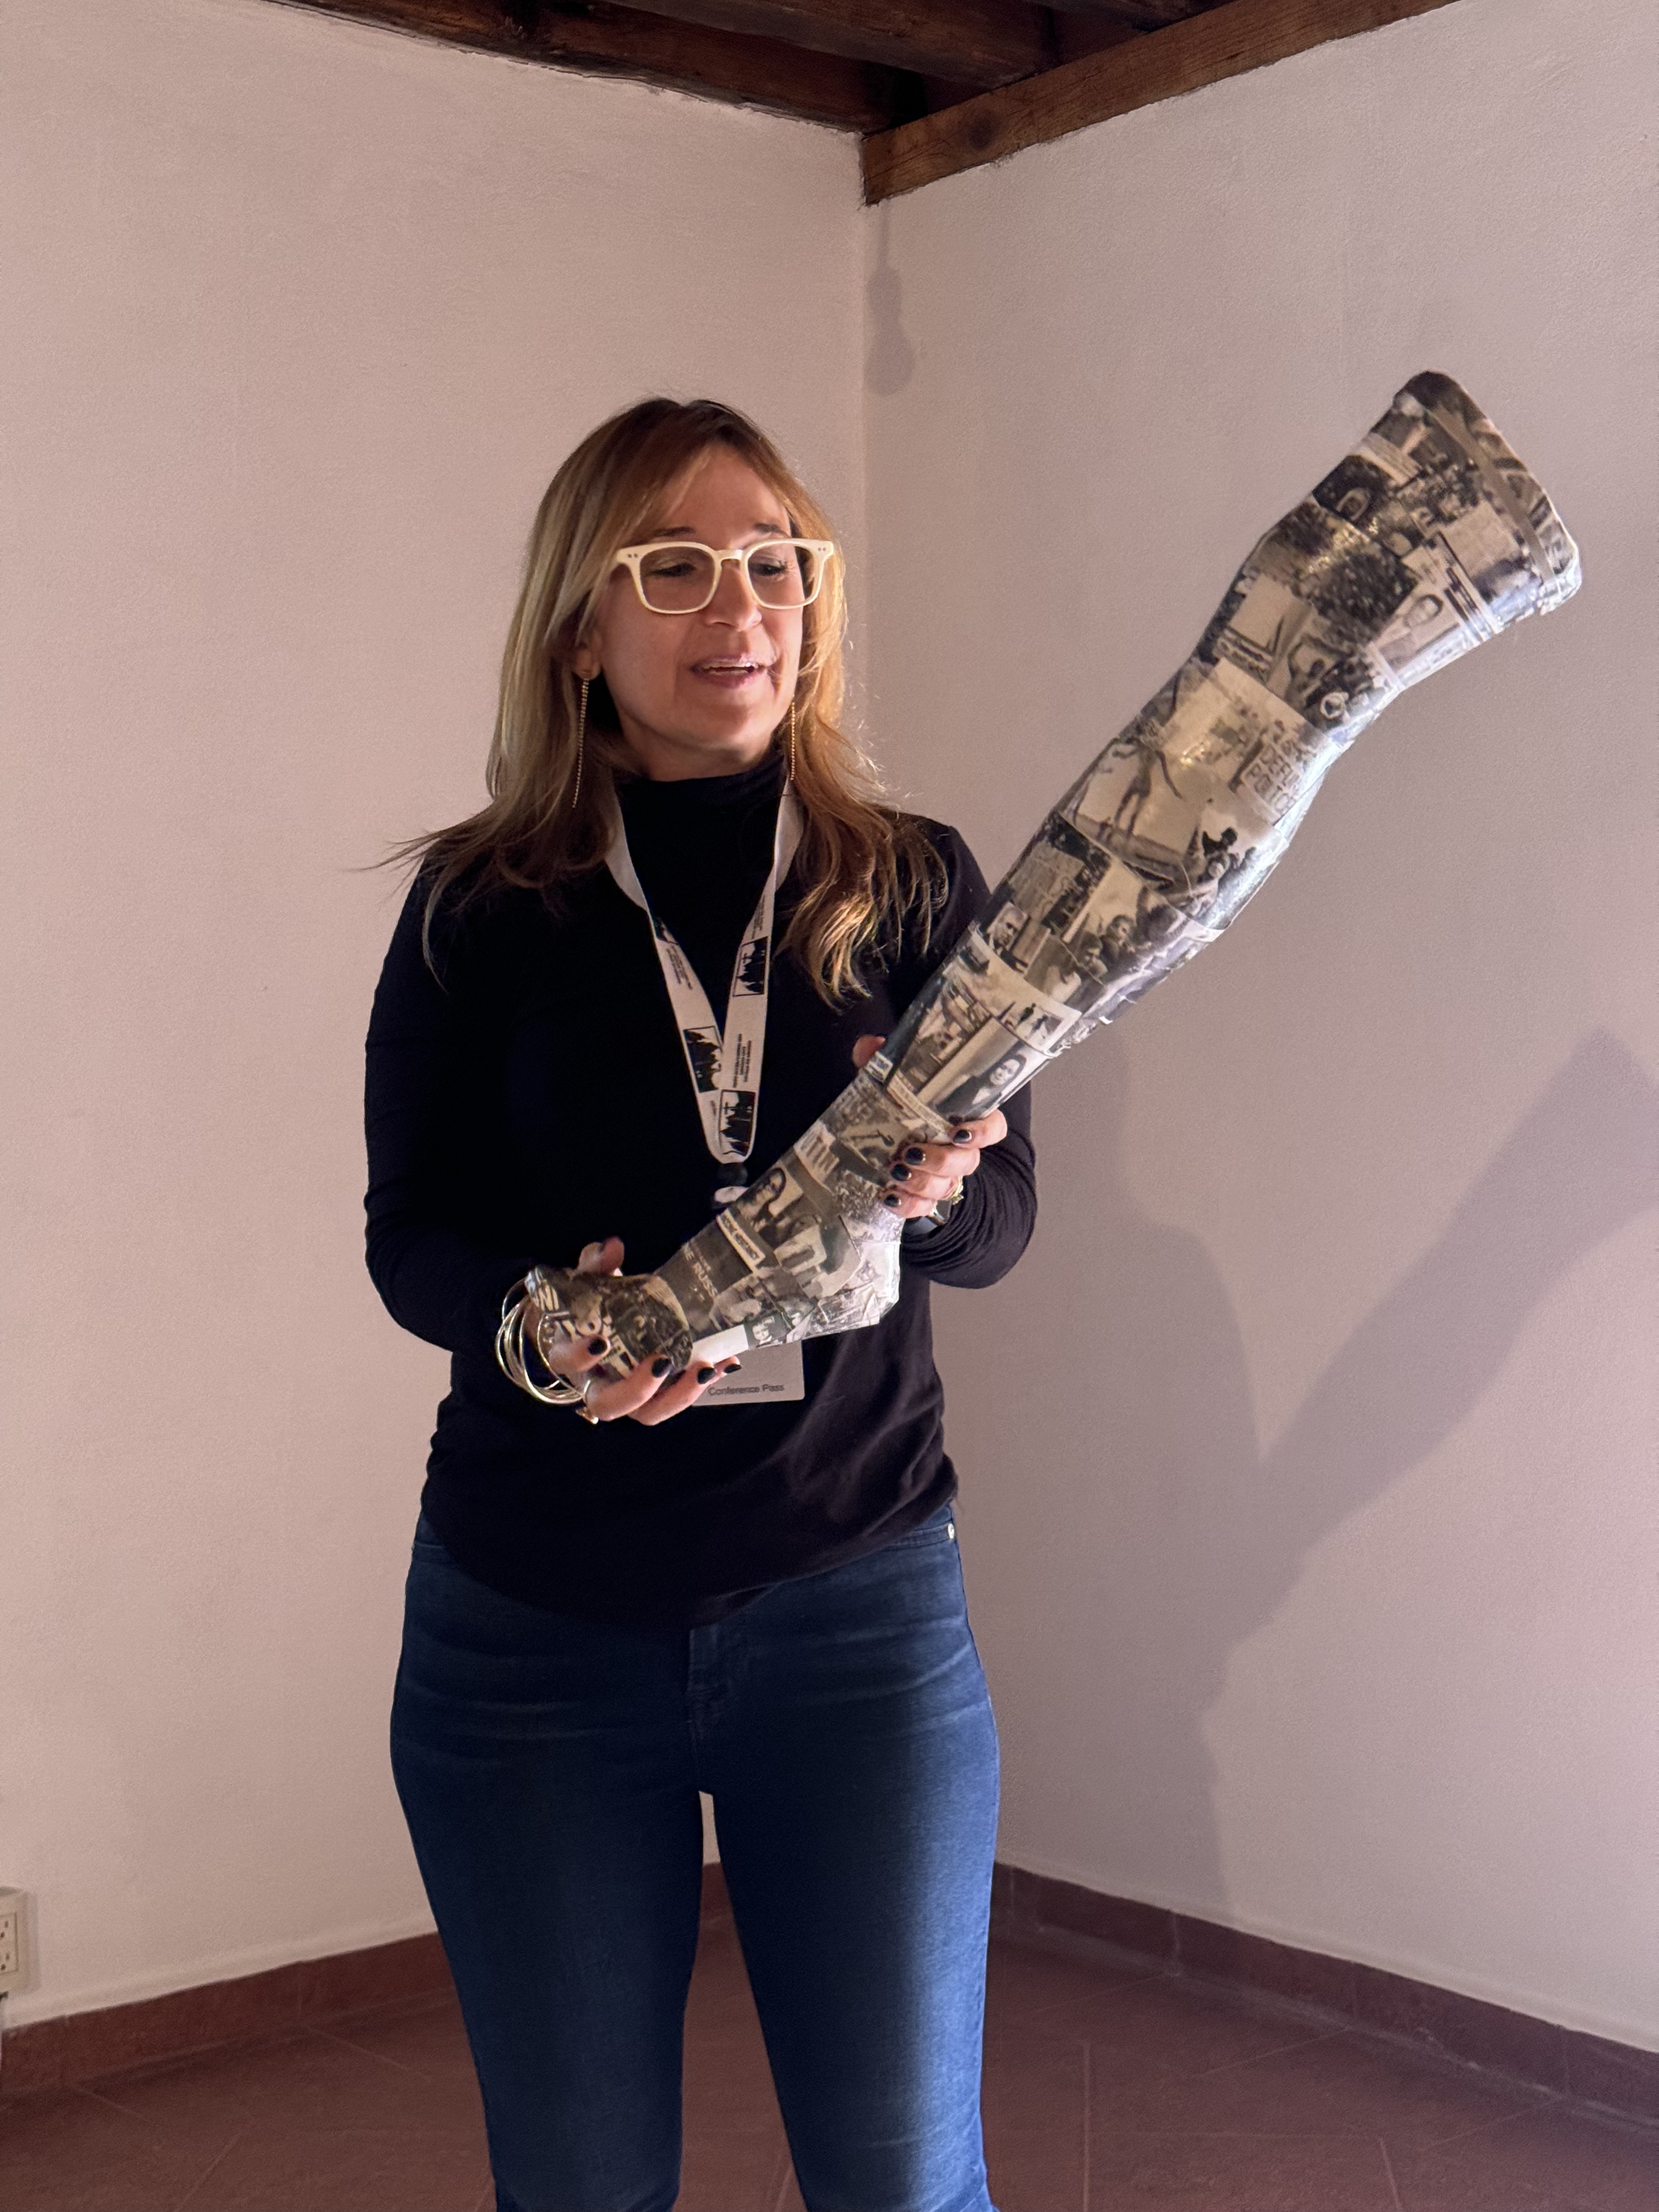
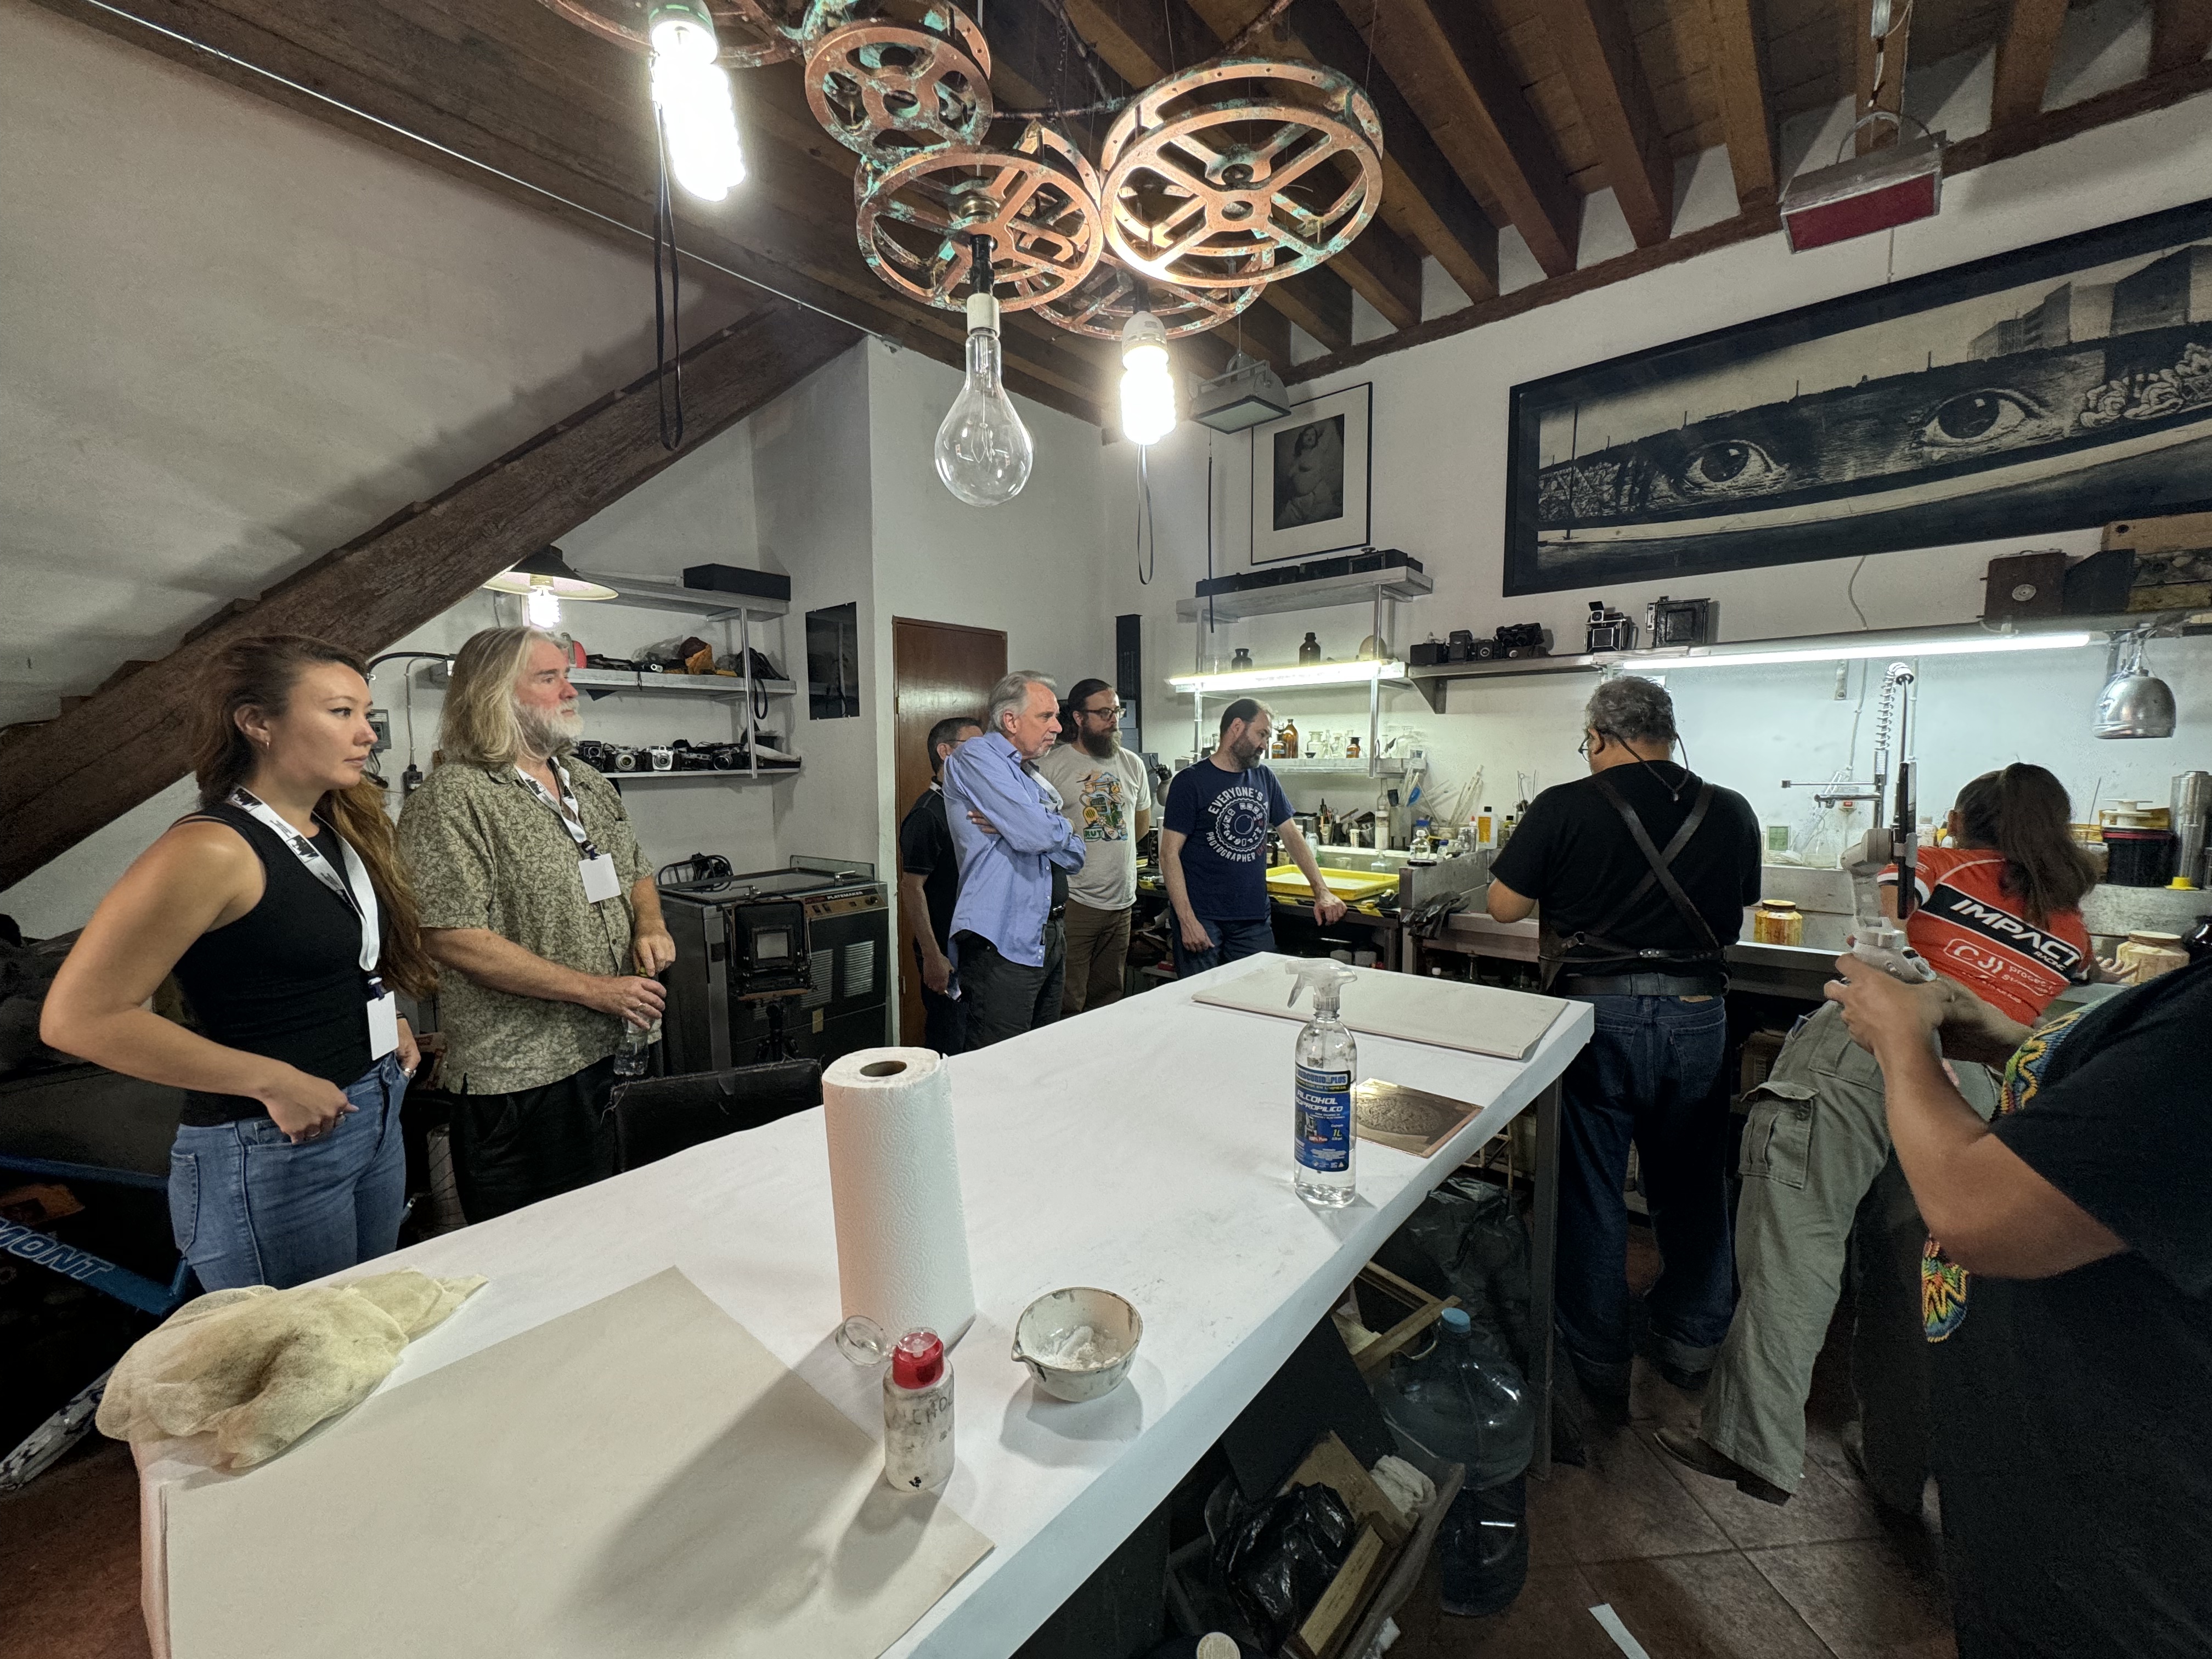
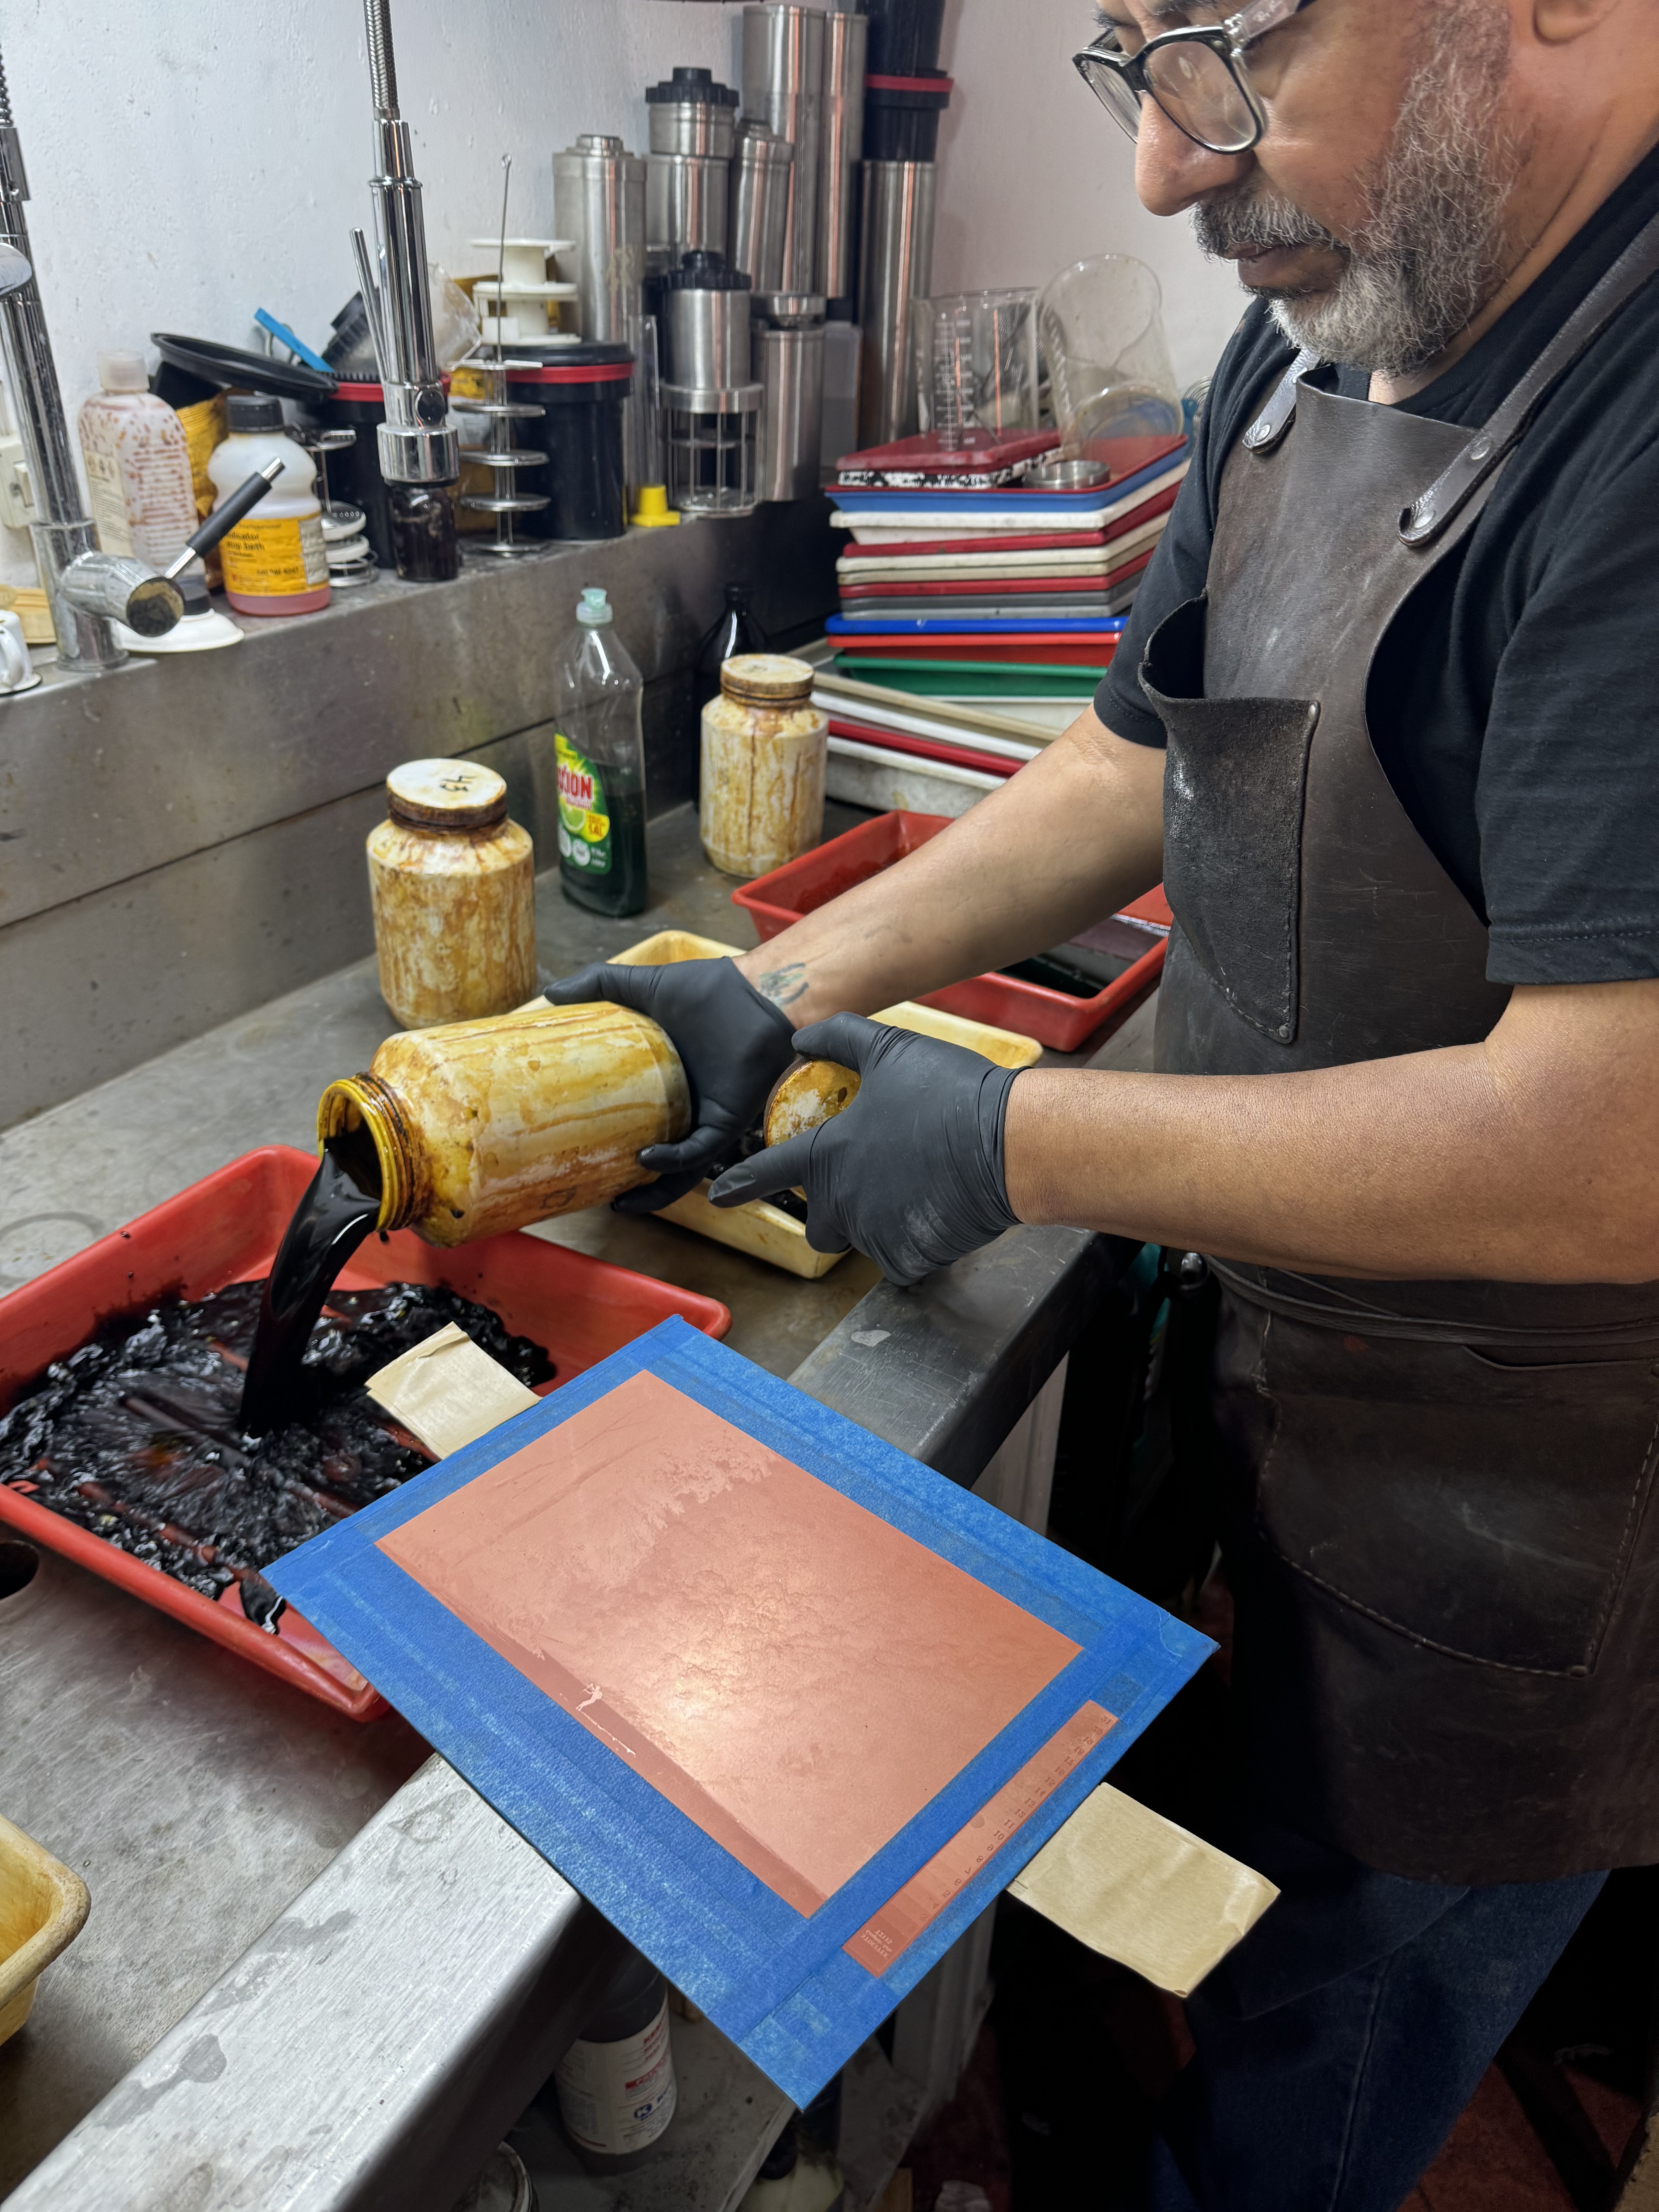
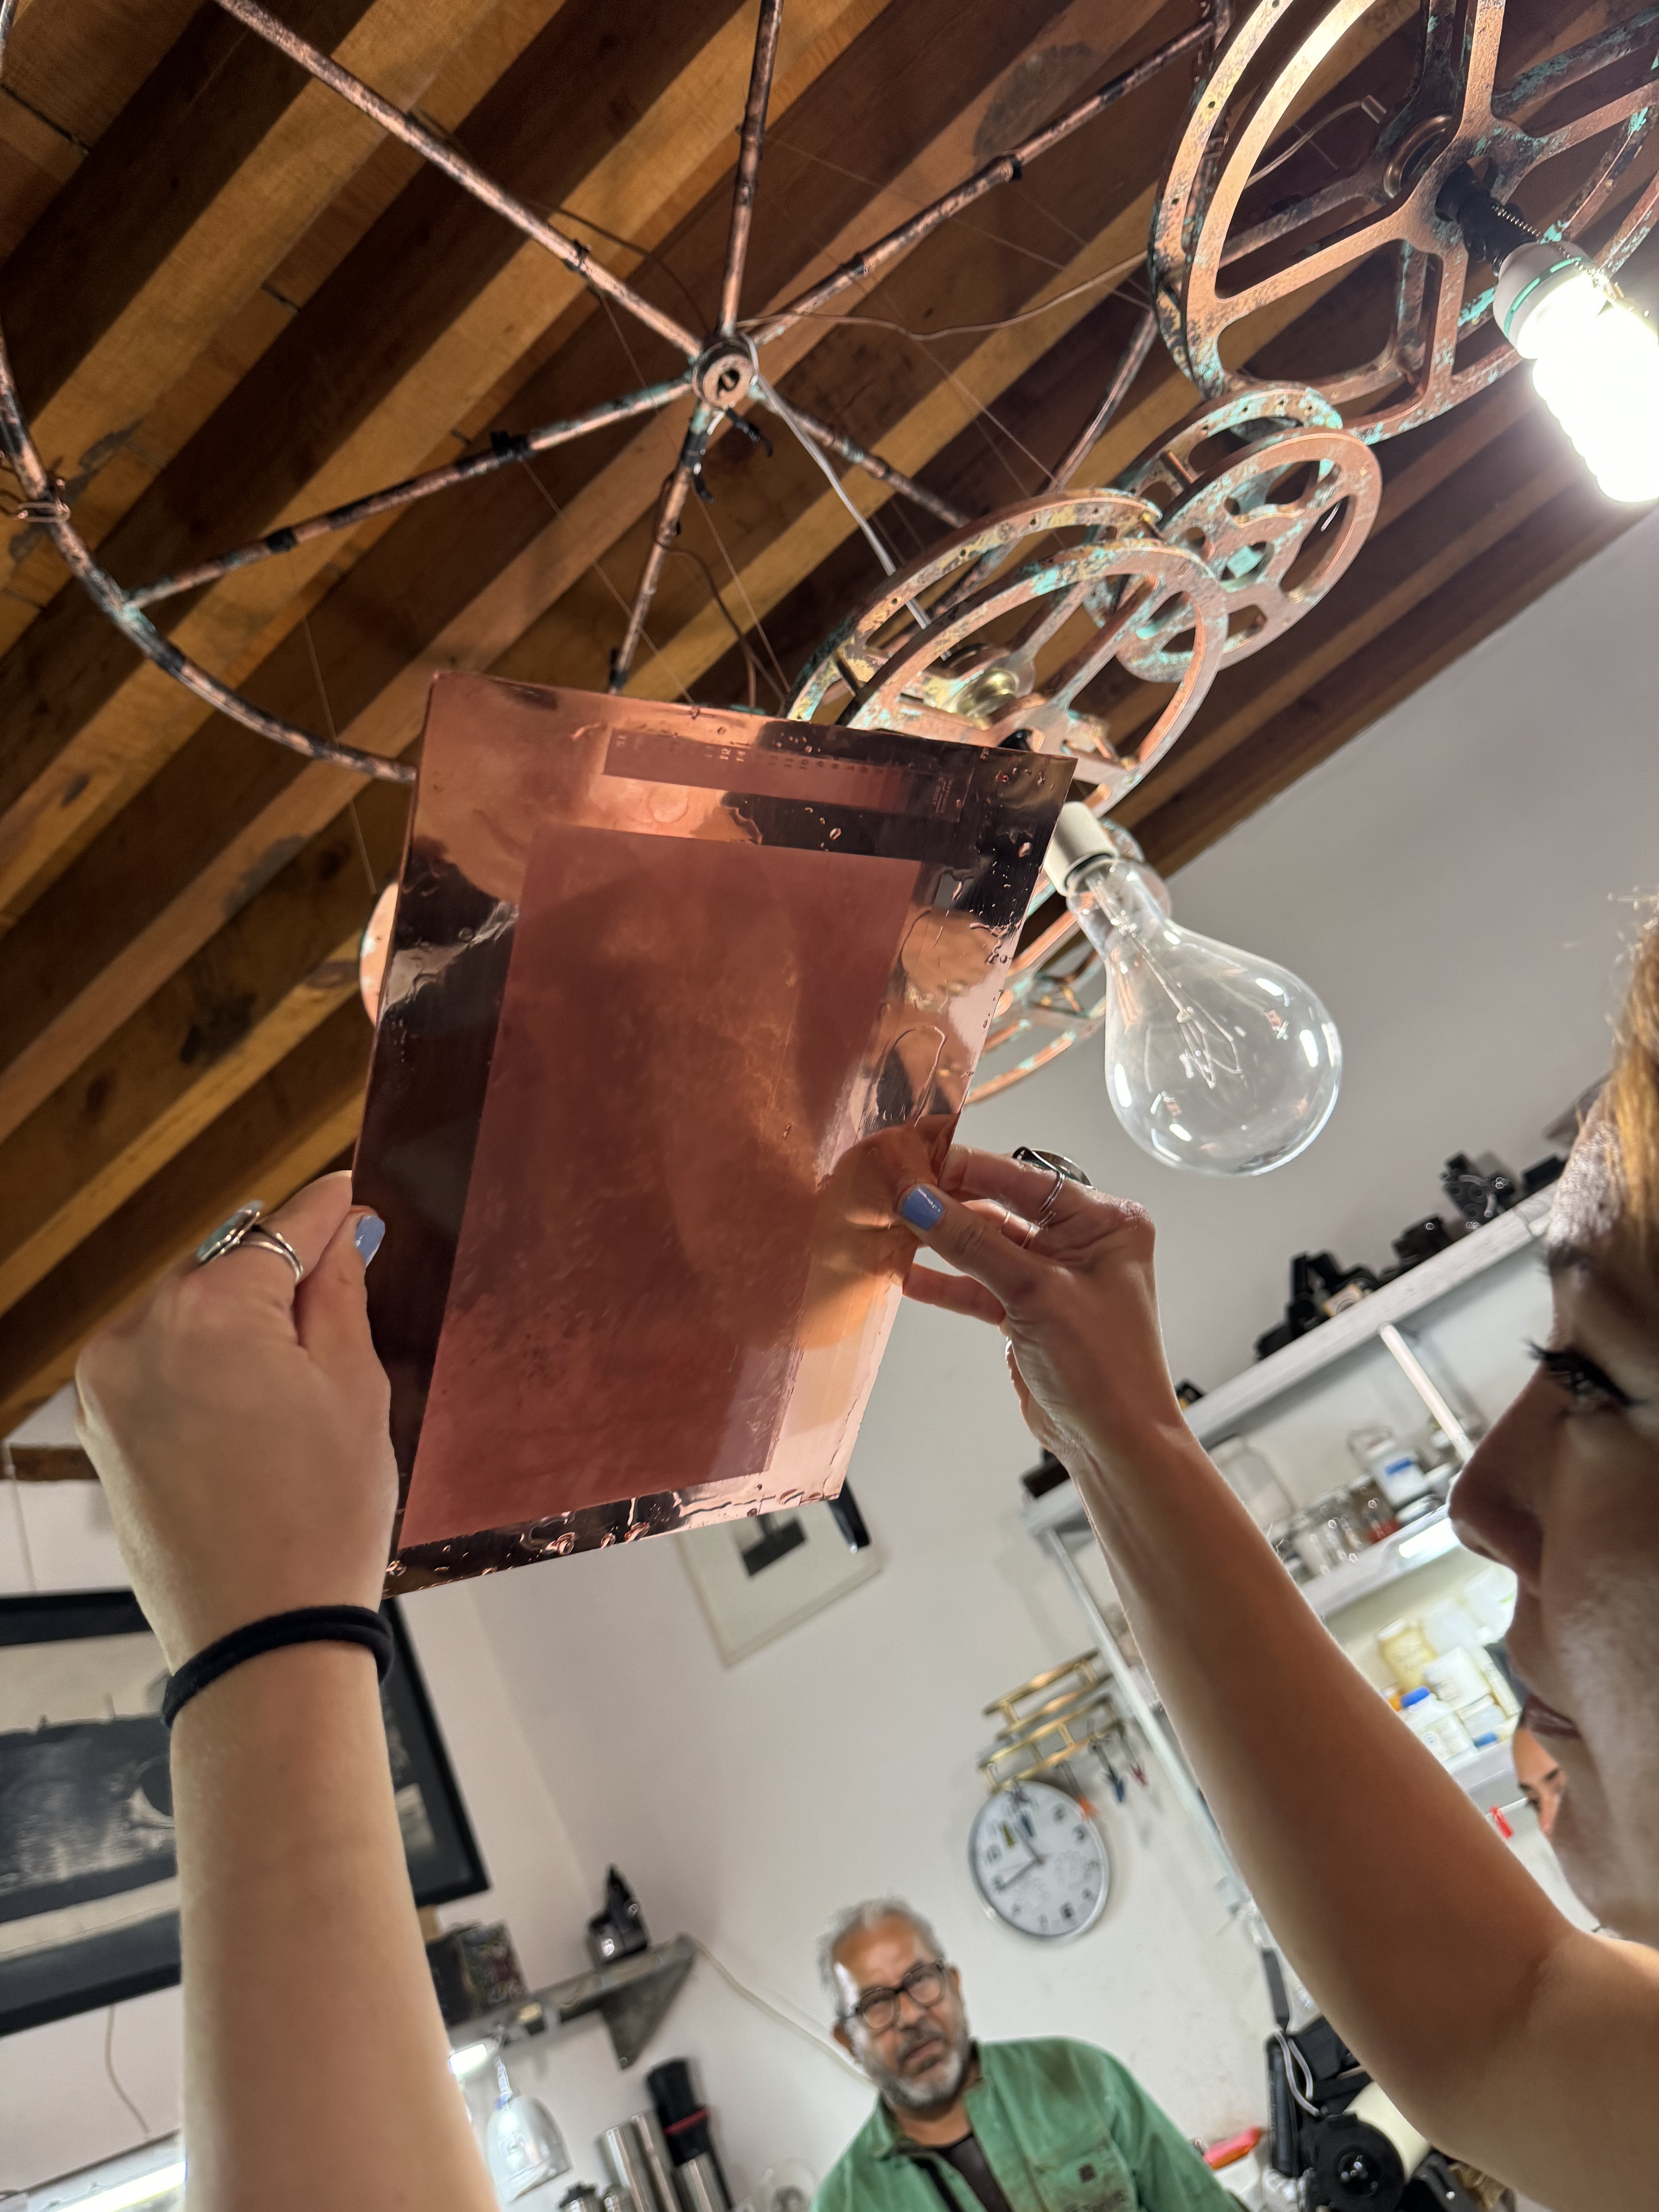
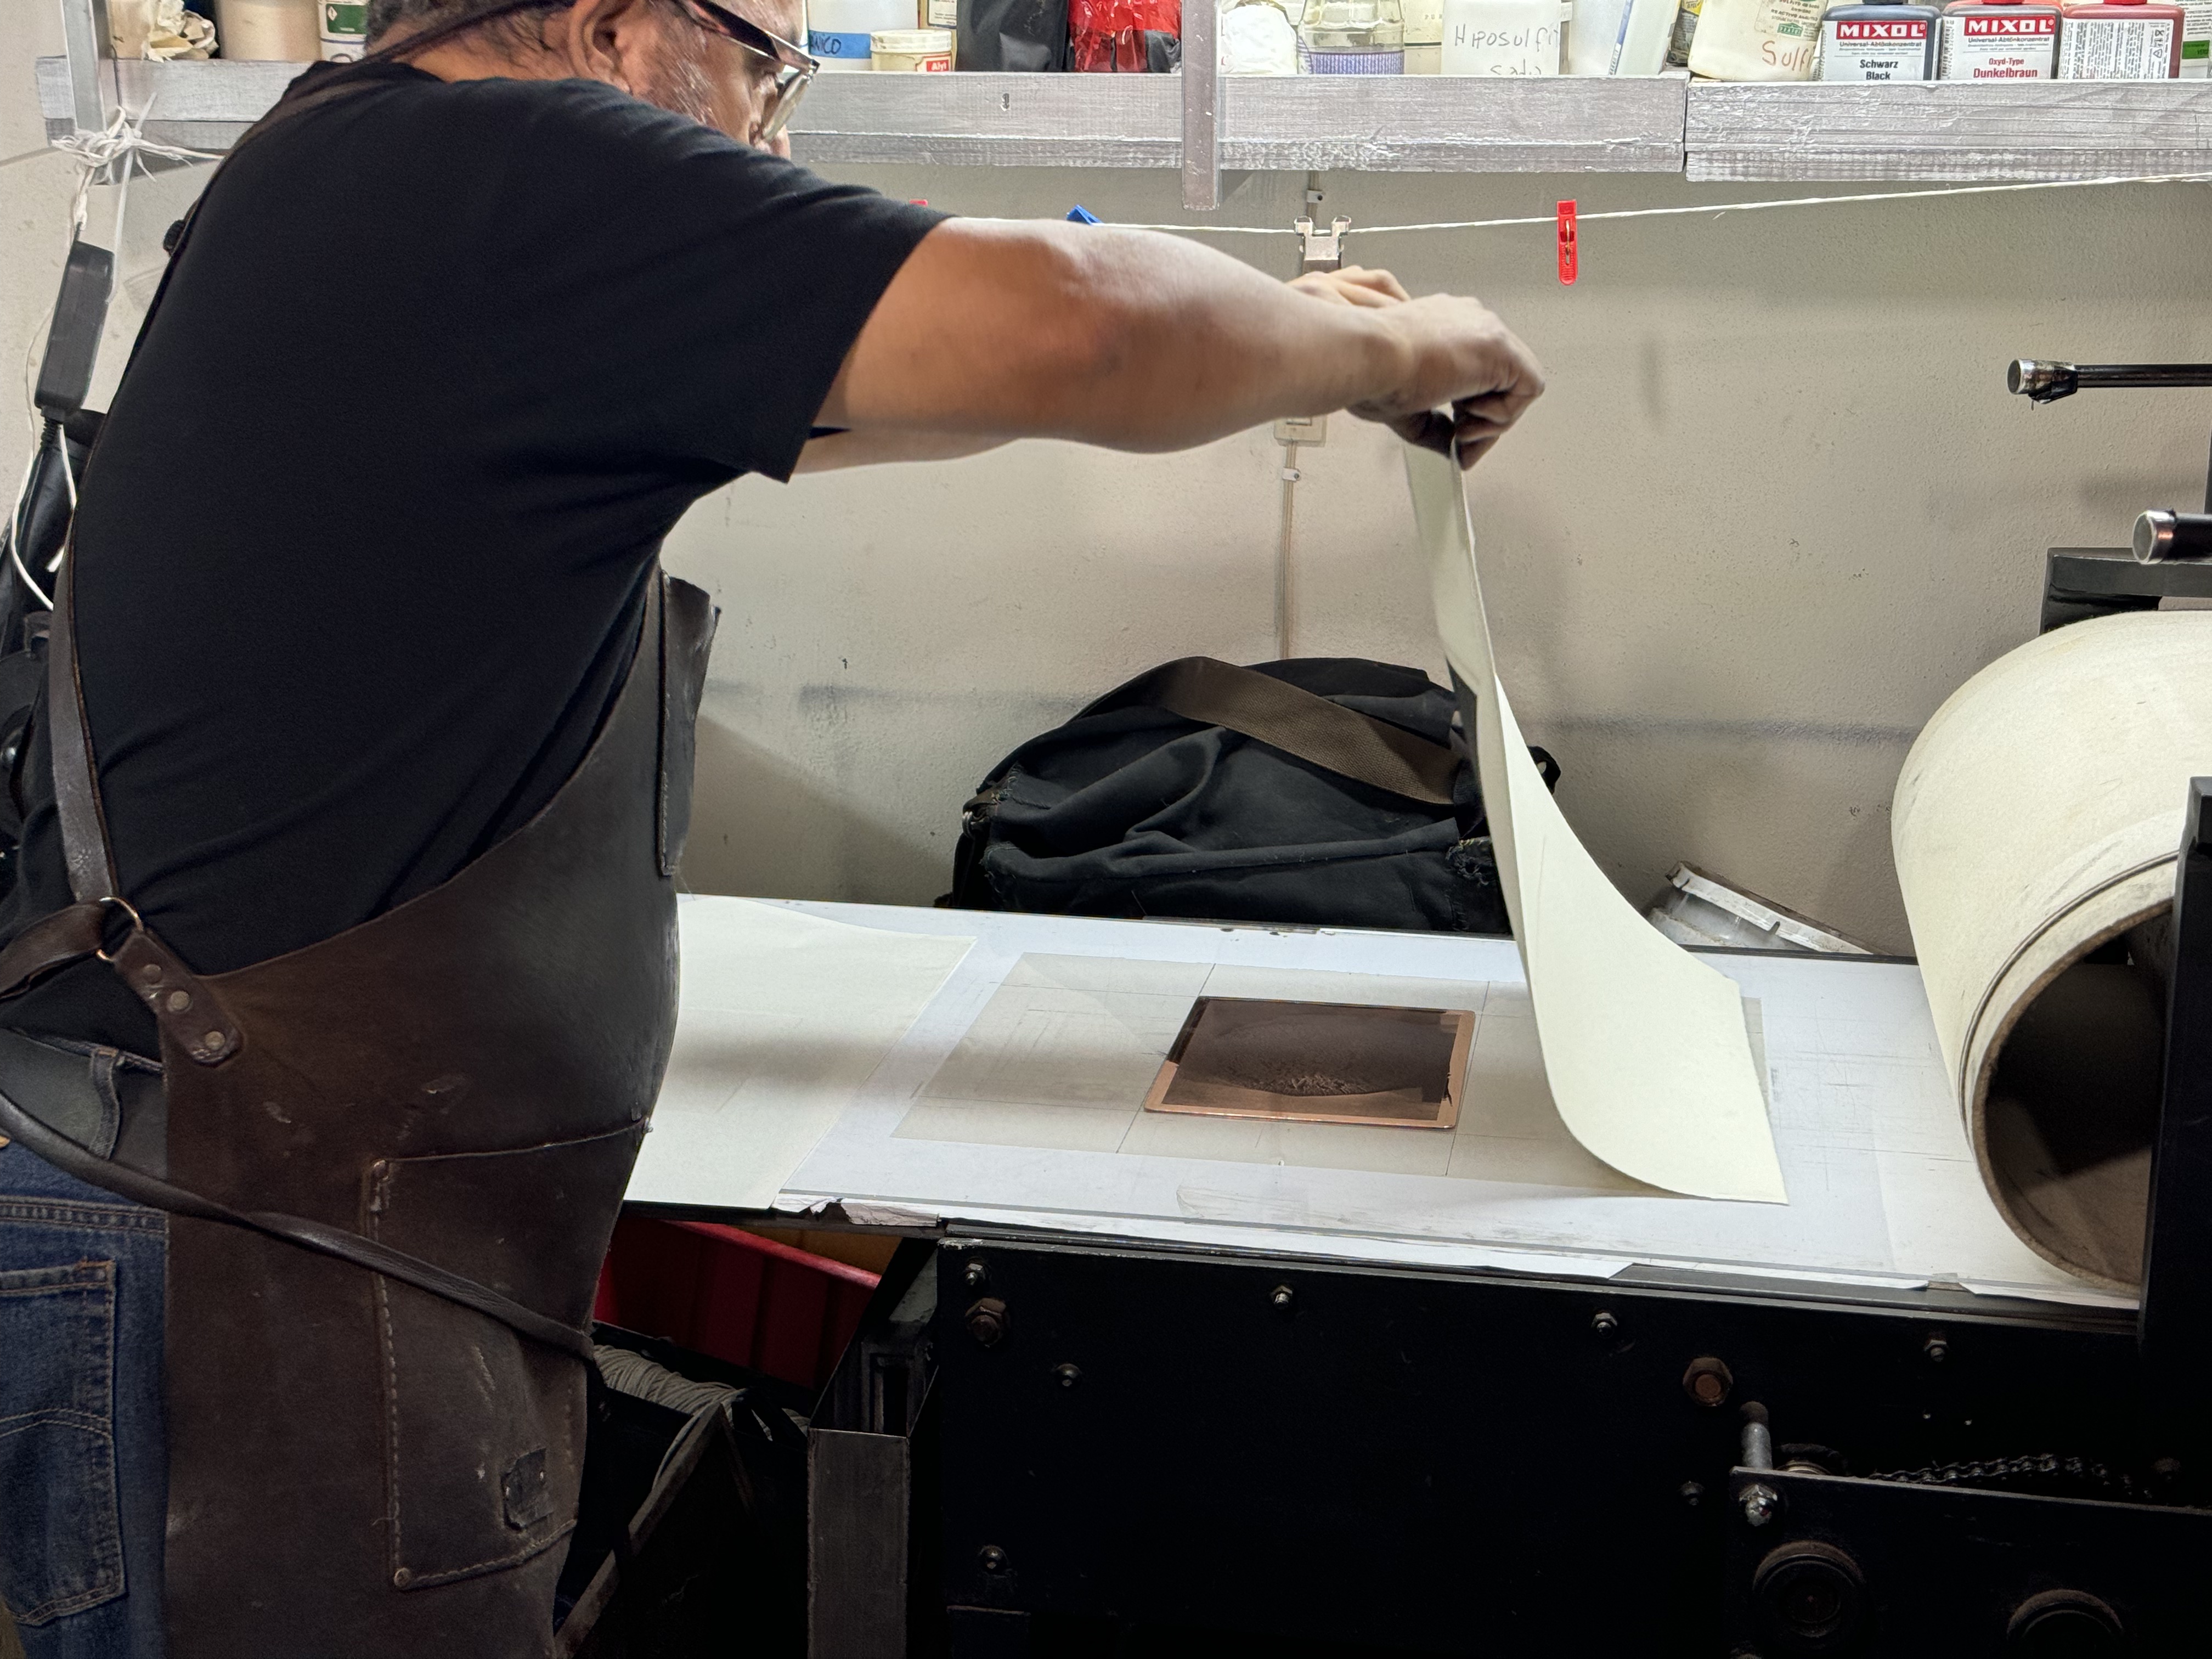
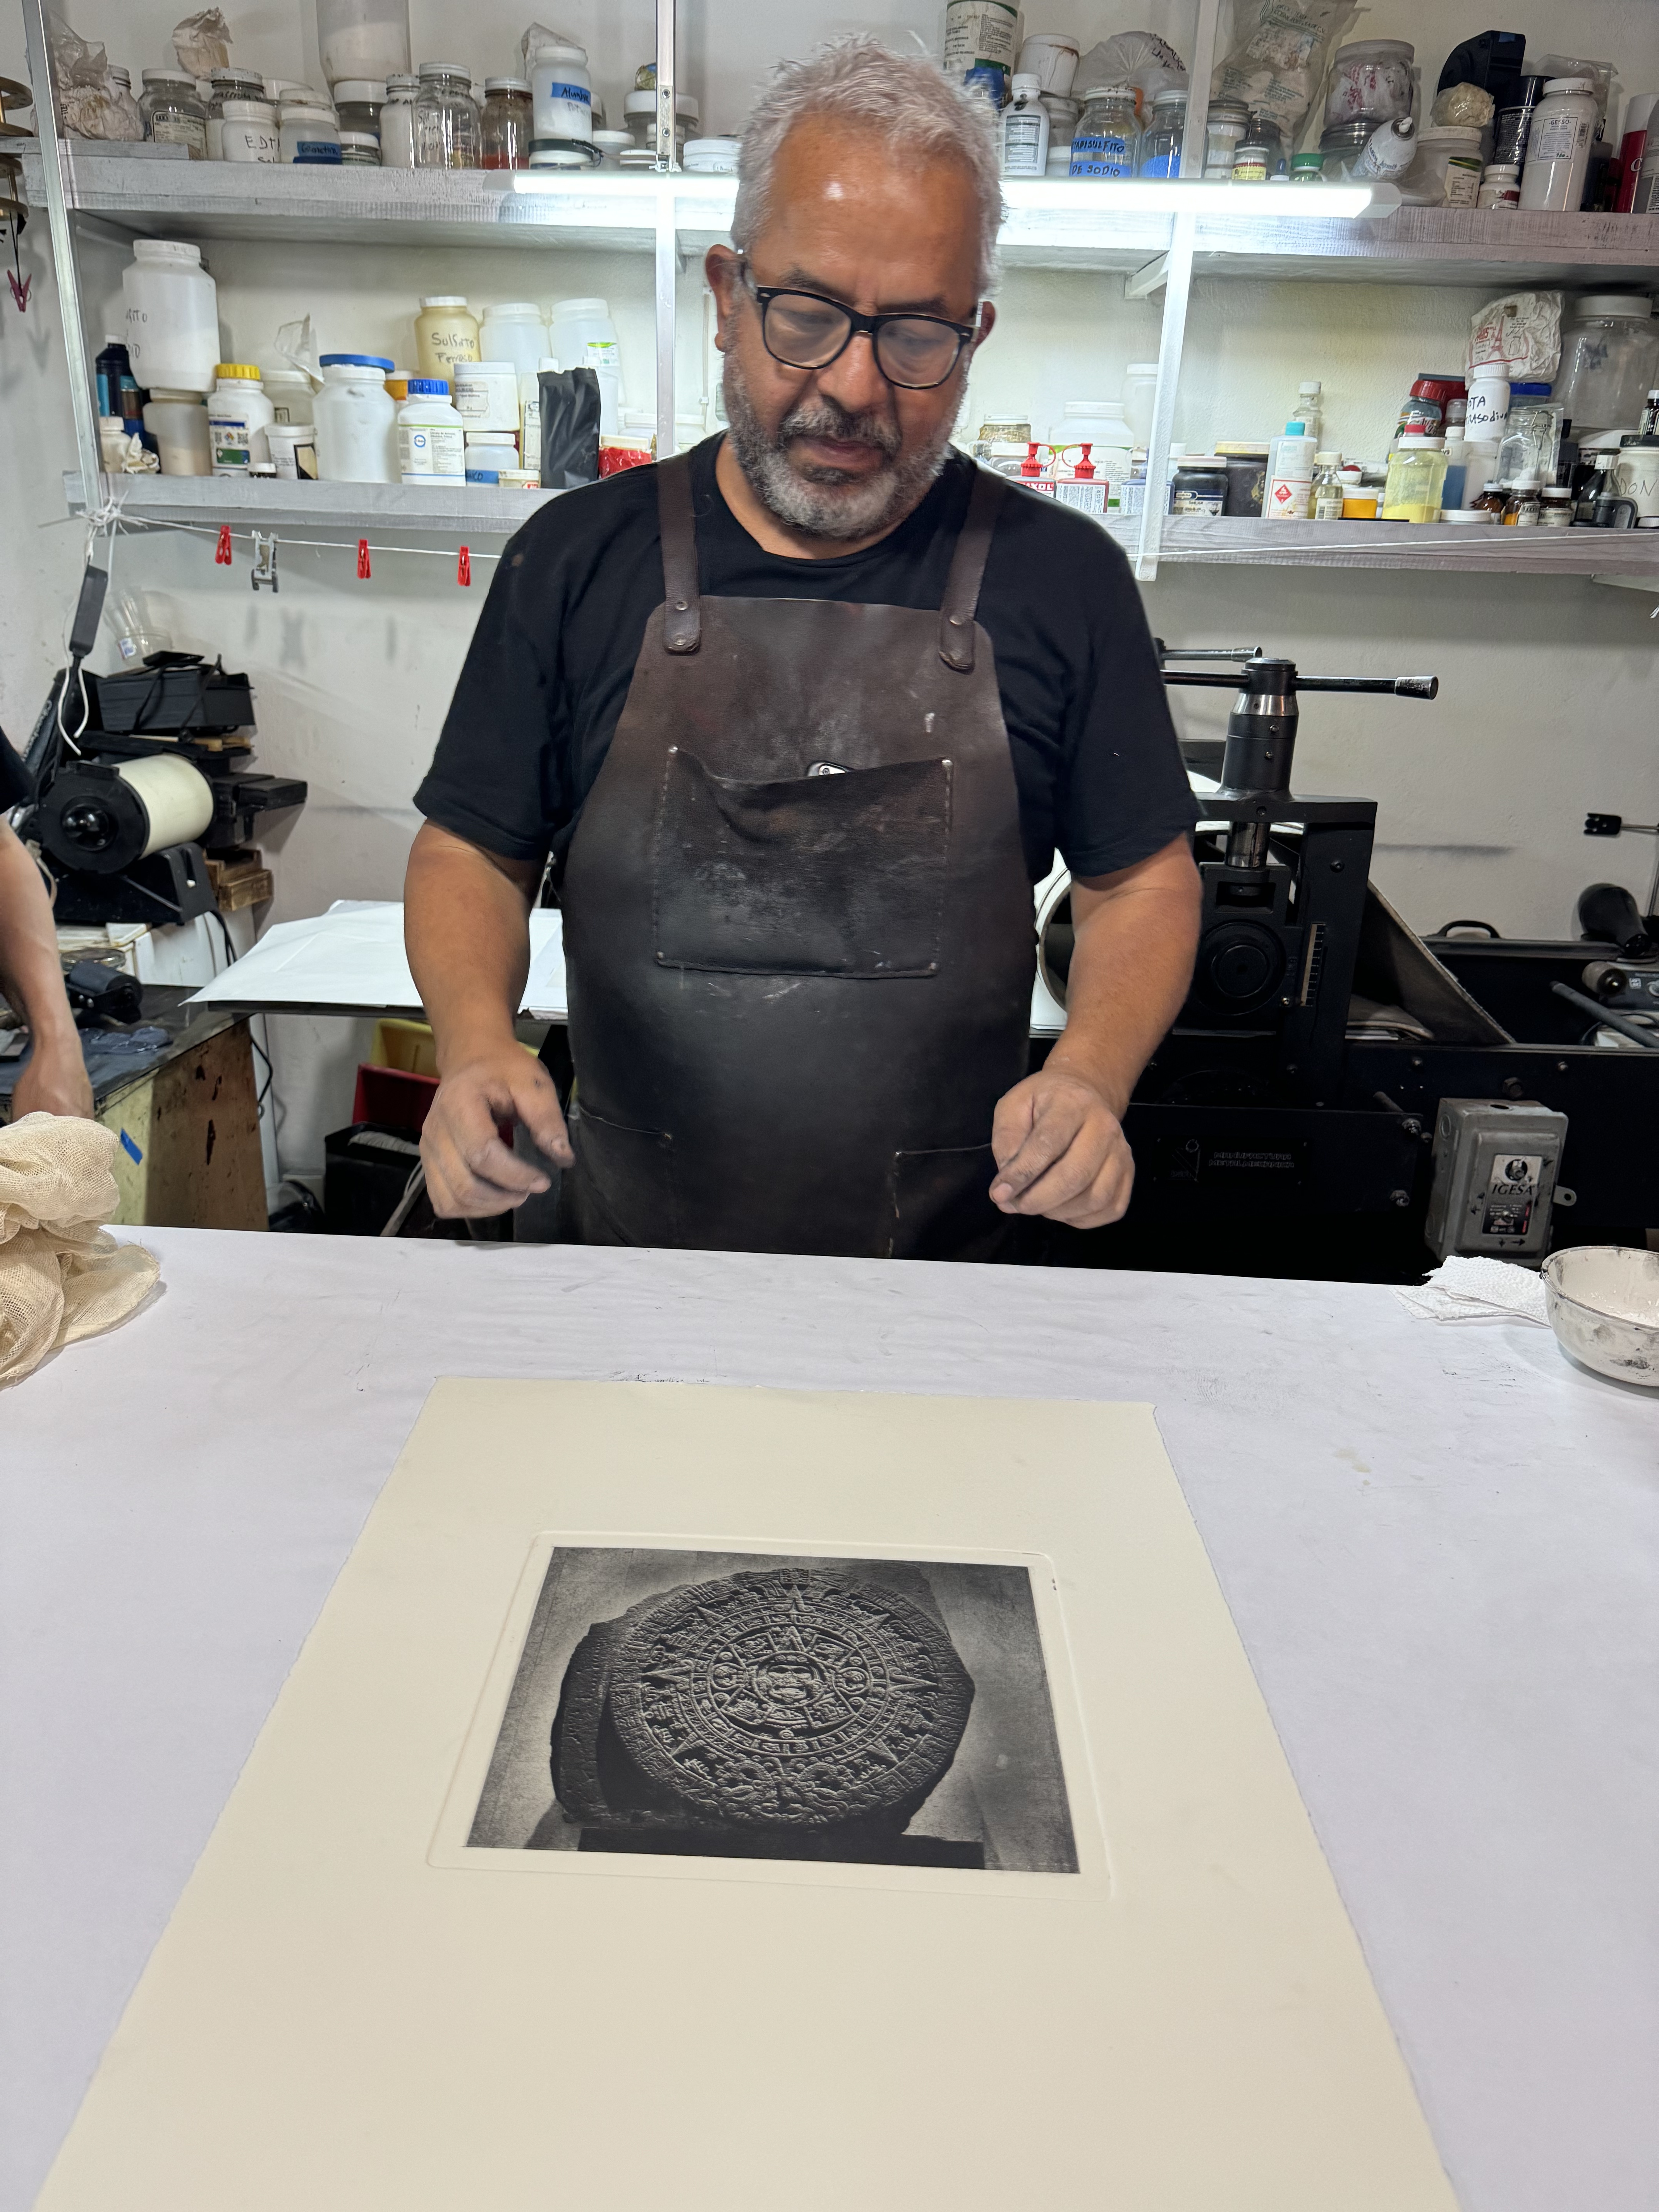
We also had presentations by Mary Quin and Arturo Talavera. Mary is an innovative artist from Alabama who began her photographic career working with large format cameras making traditional photographic images and has evolved into making “intuitive” images where she paints and drips photo chemistry onto paper to create images. Mary also gave a hands-on demo to the attendees of her technique. Arturo is a photographer from Mexico City and a master of multiple historic photo processes. Arturo hosted us for a morning in his studio where he demonstrated making a copper-plate photogravure image of the Aztec “Sun Stone” housed in the Anthropology Museum; his original plate from which he created the gravure was a whole plate size Daguerreotype!


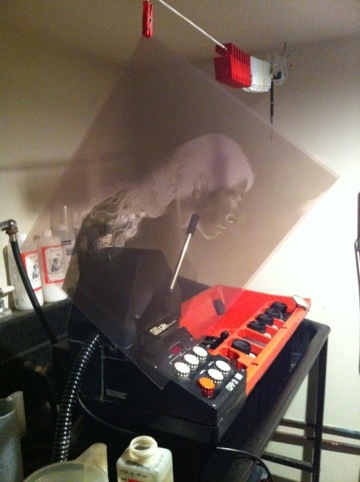
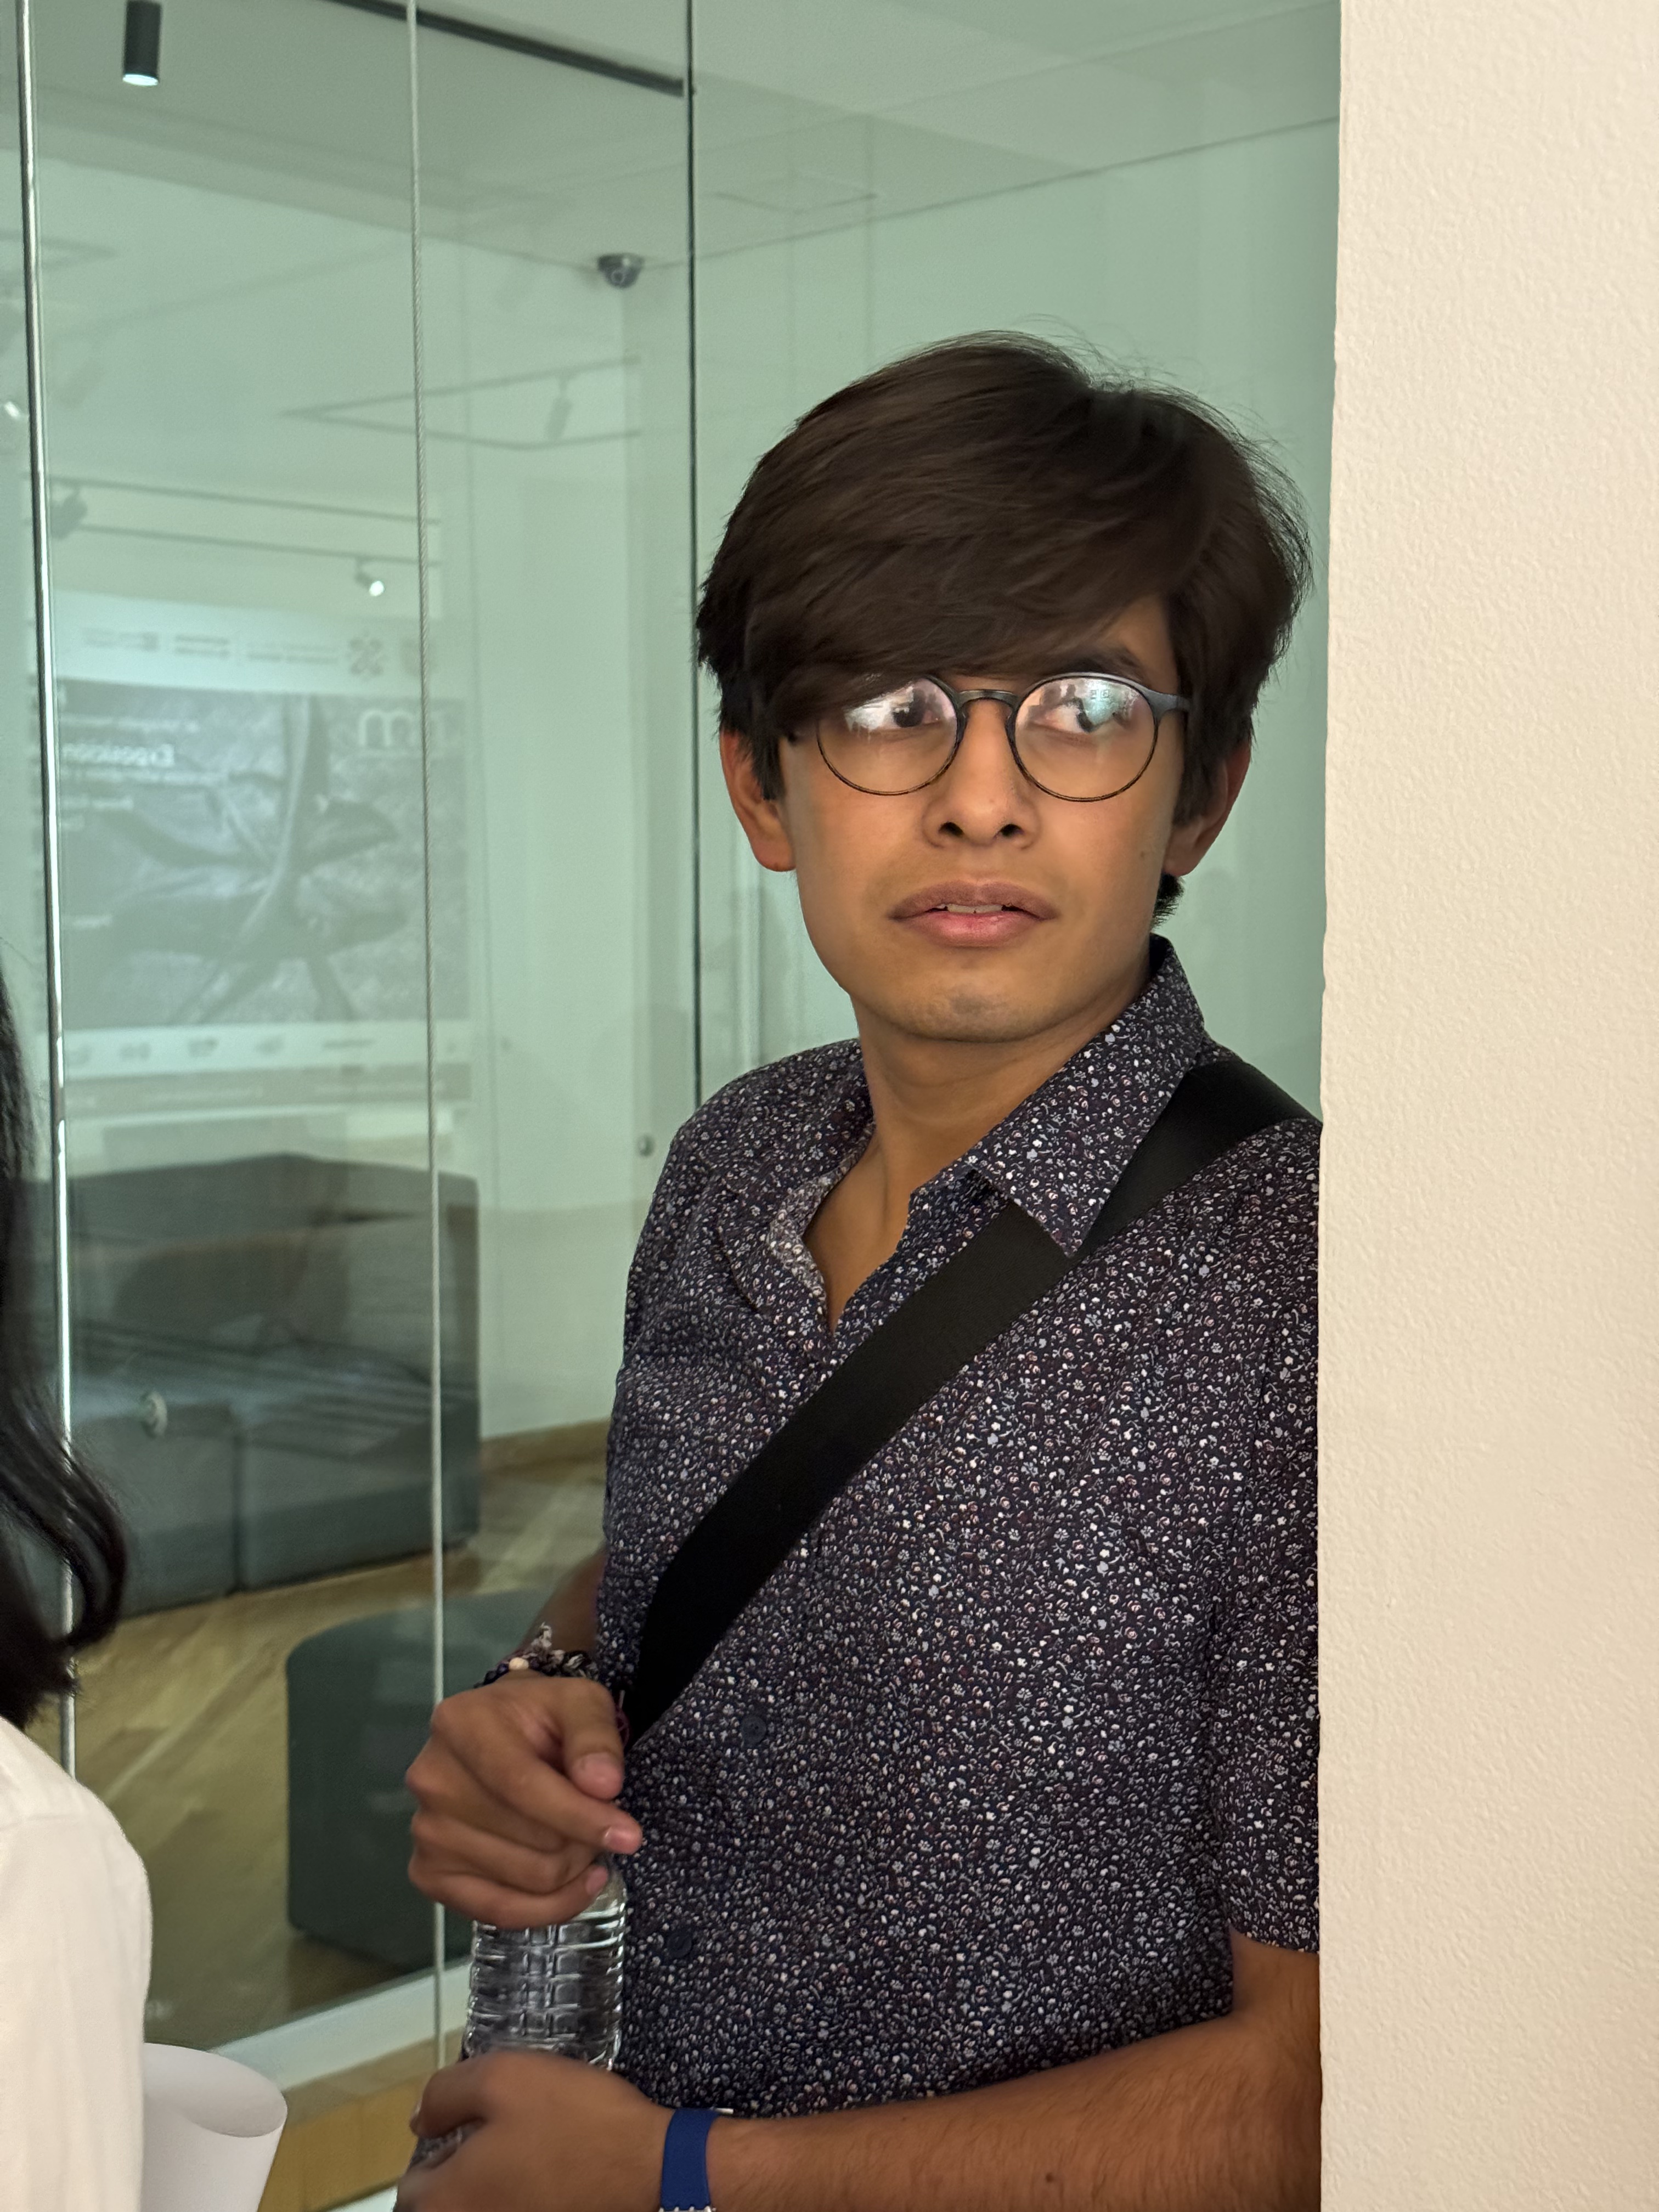
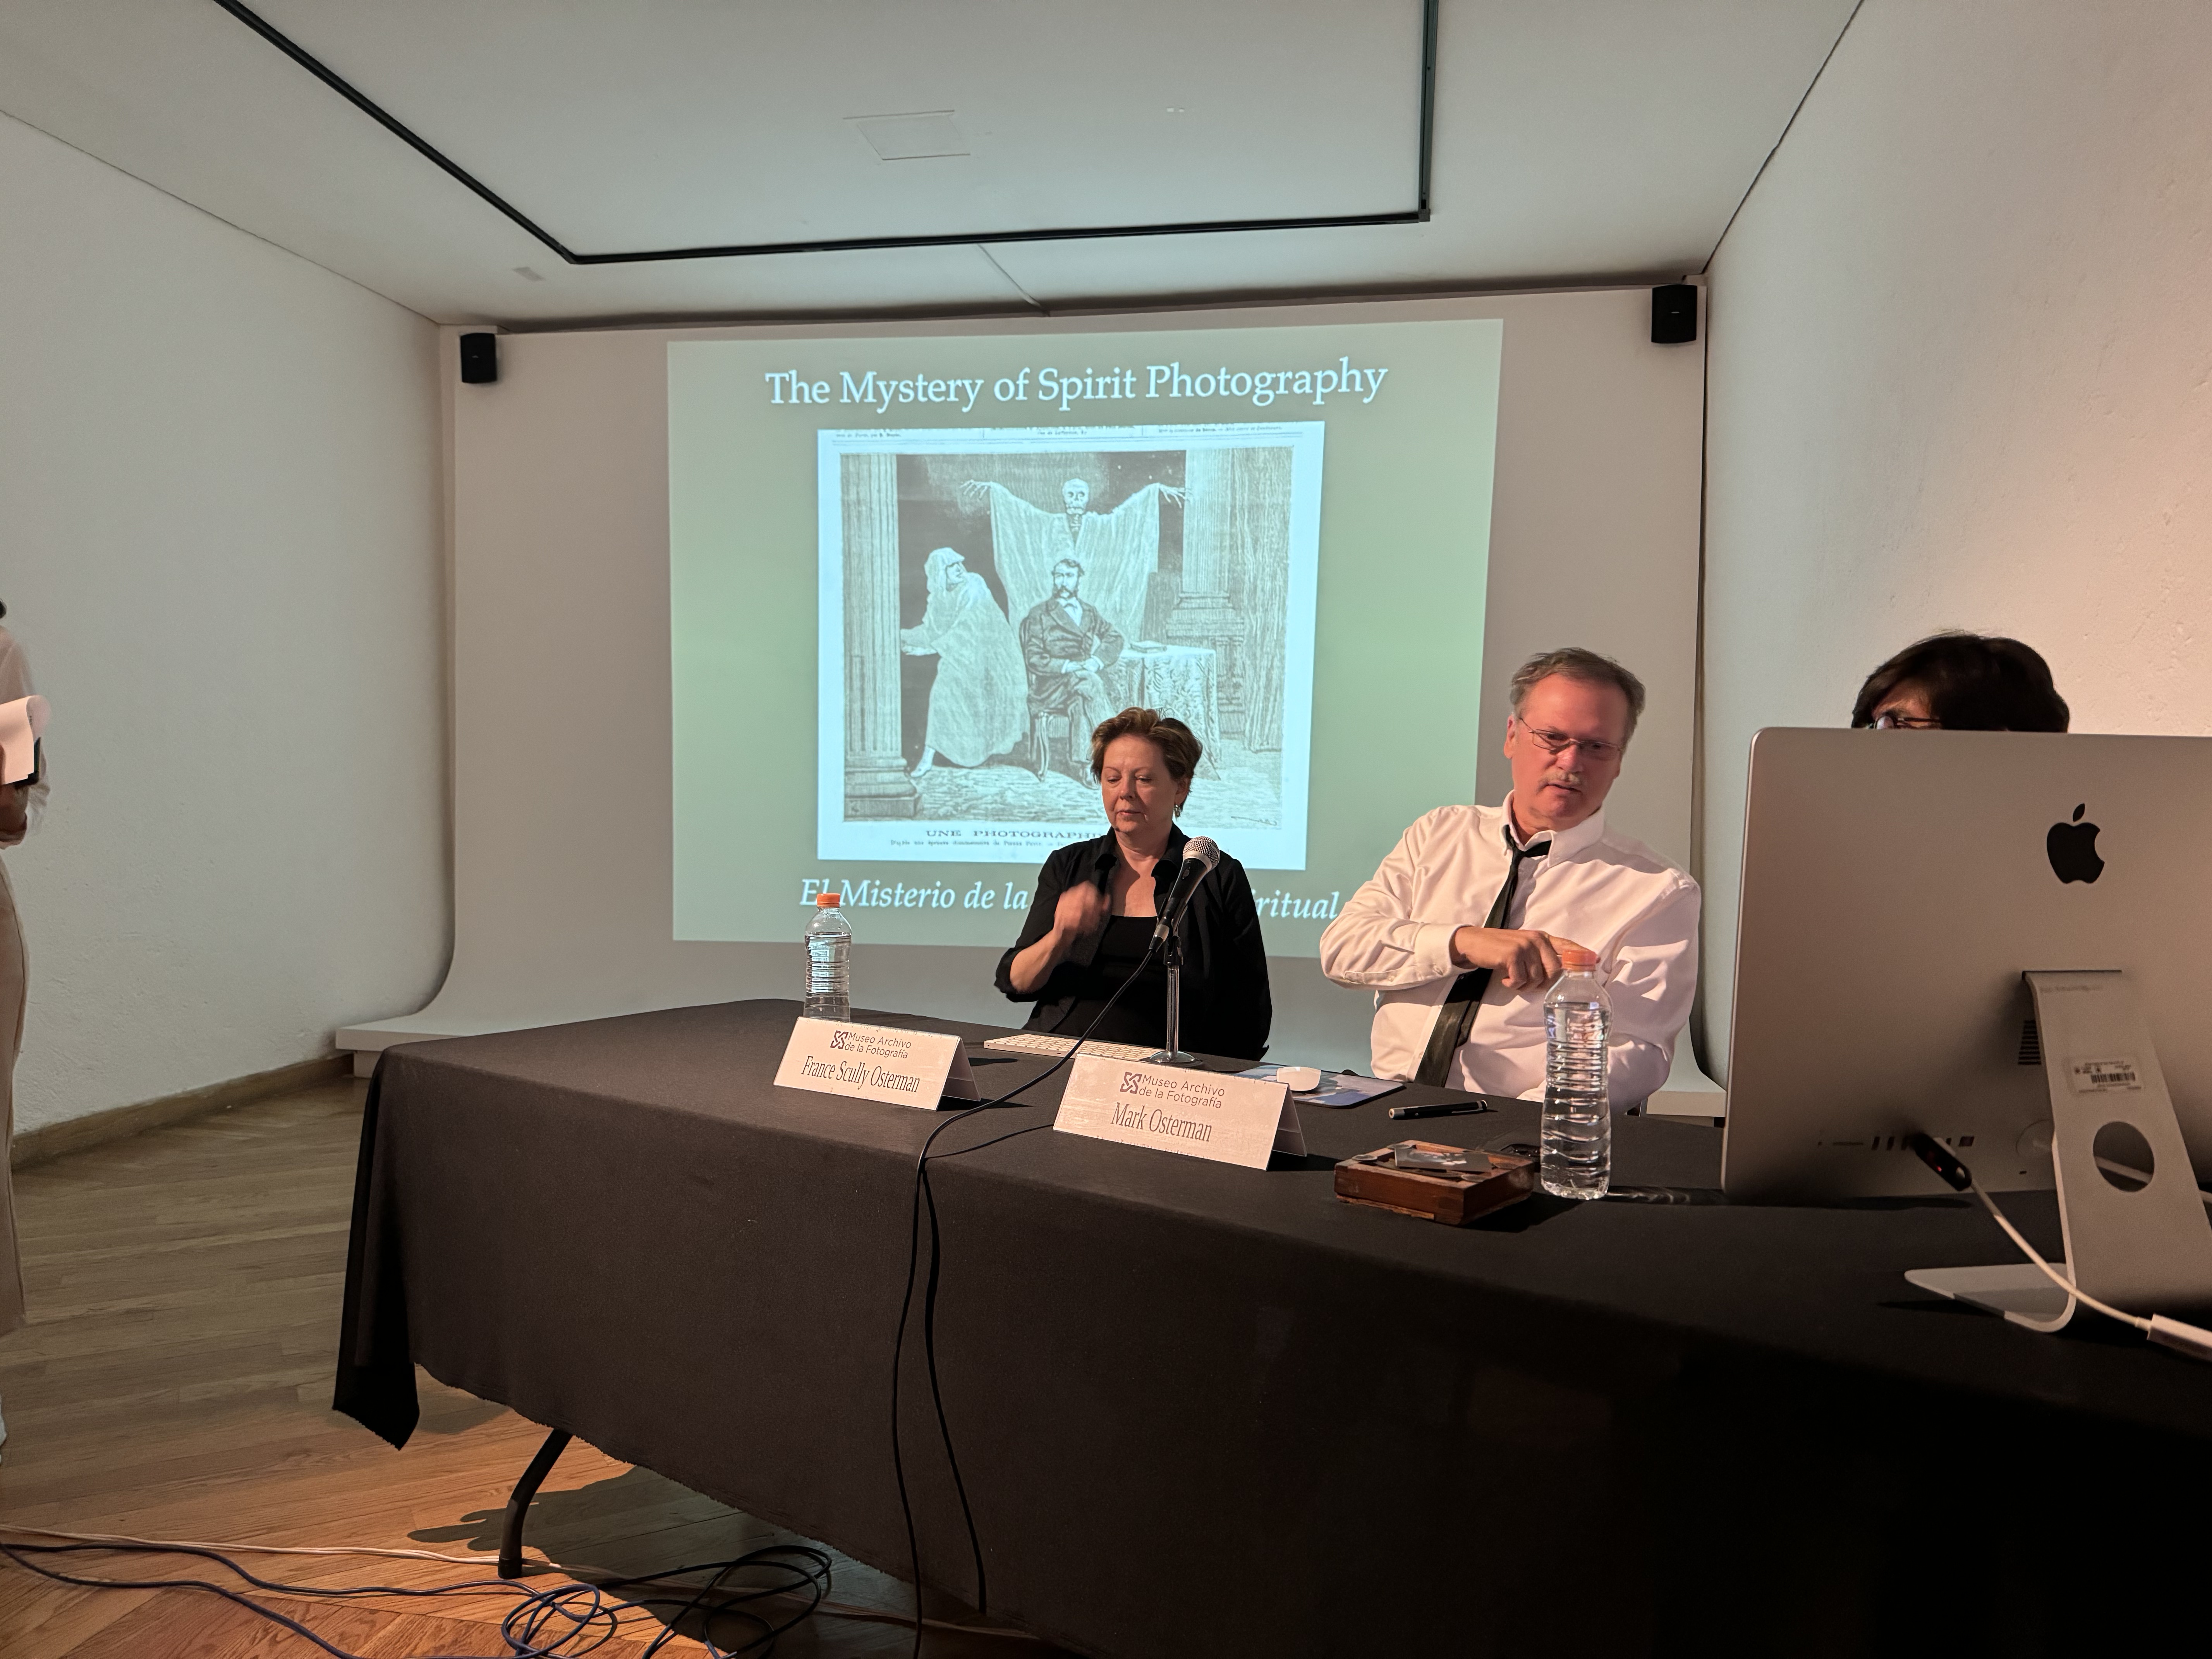
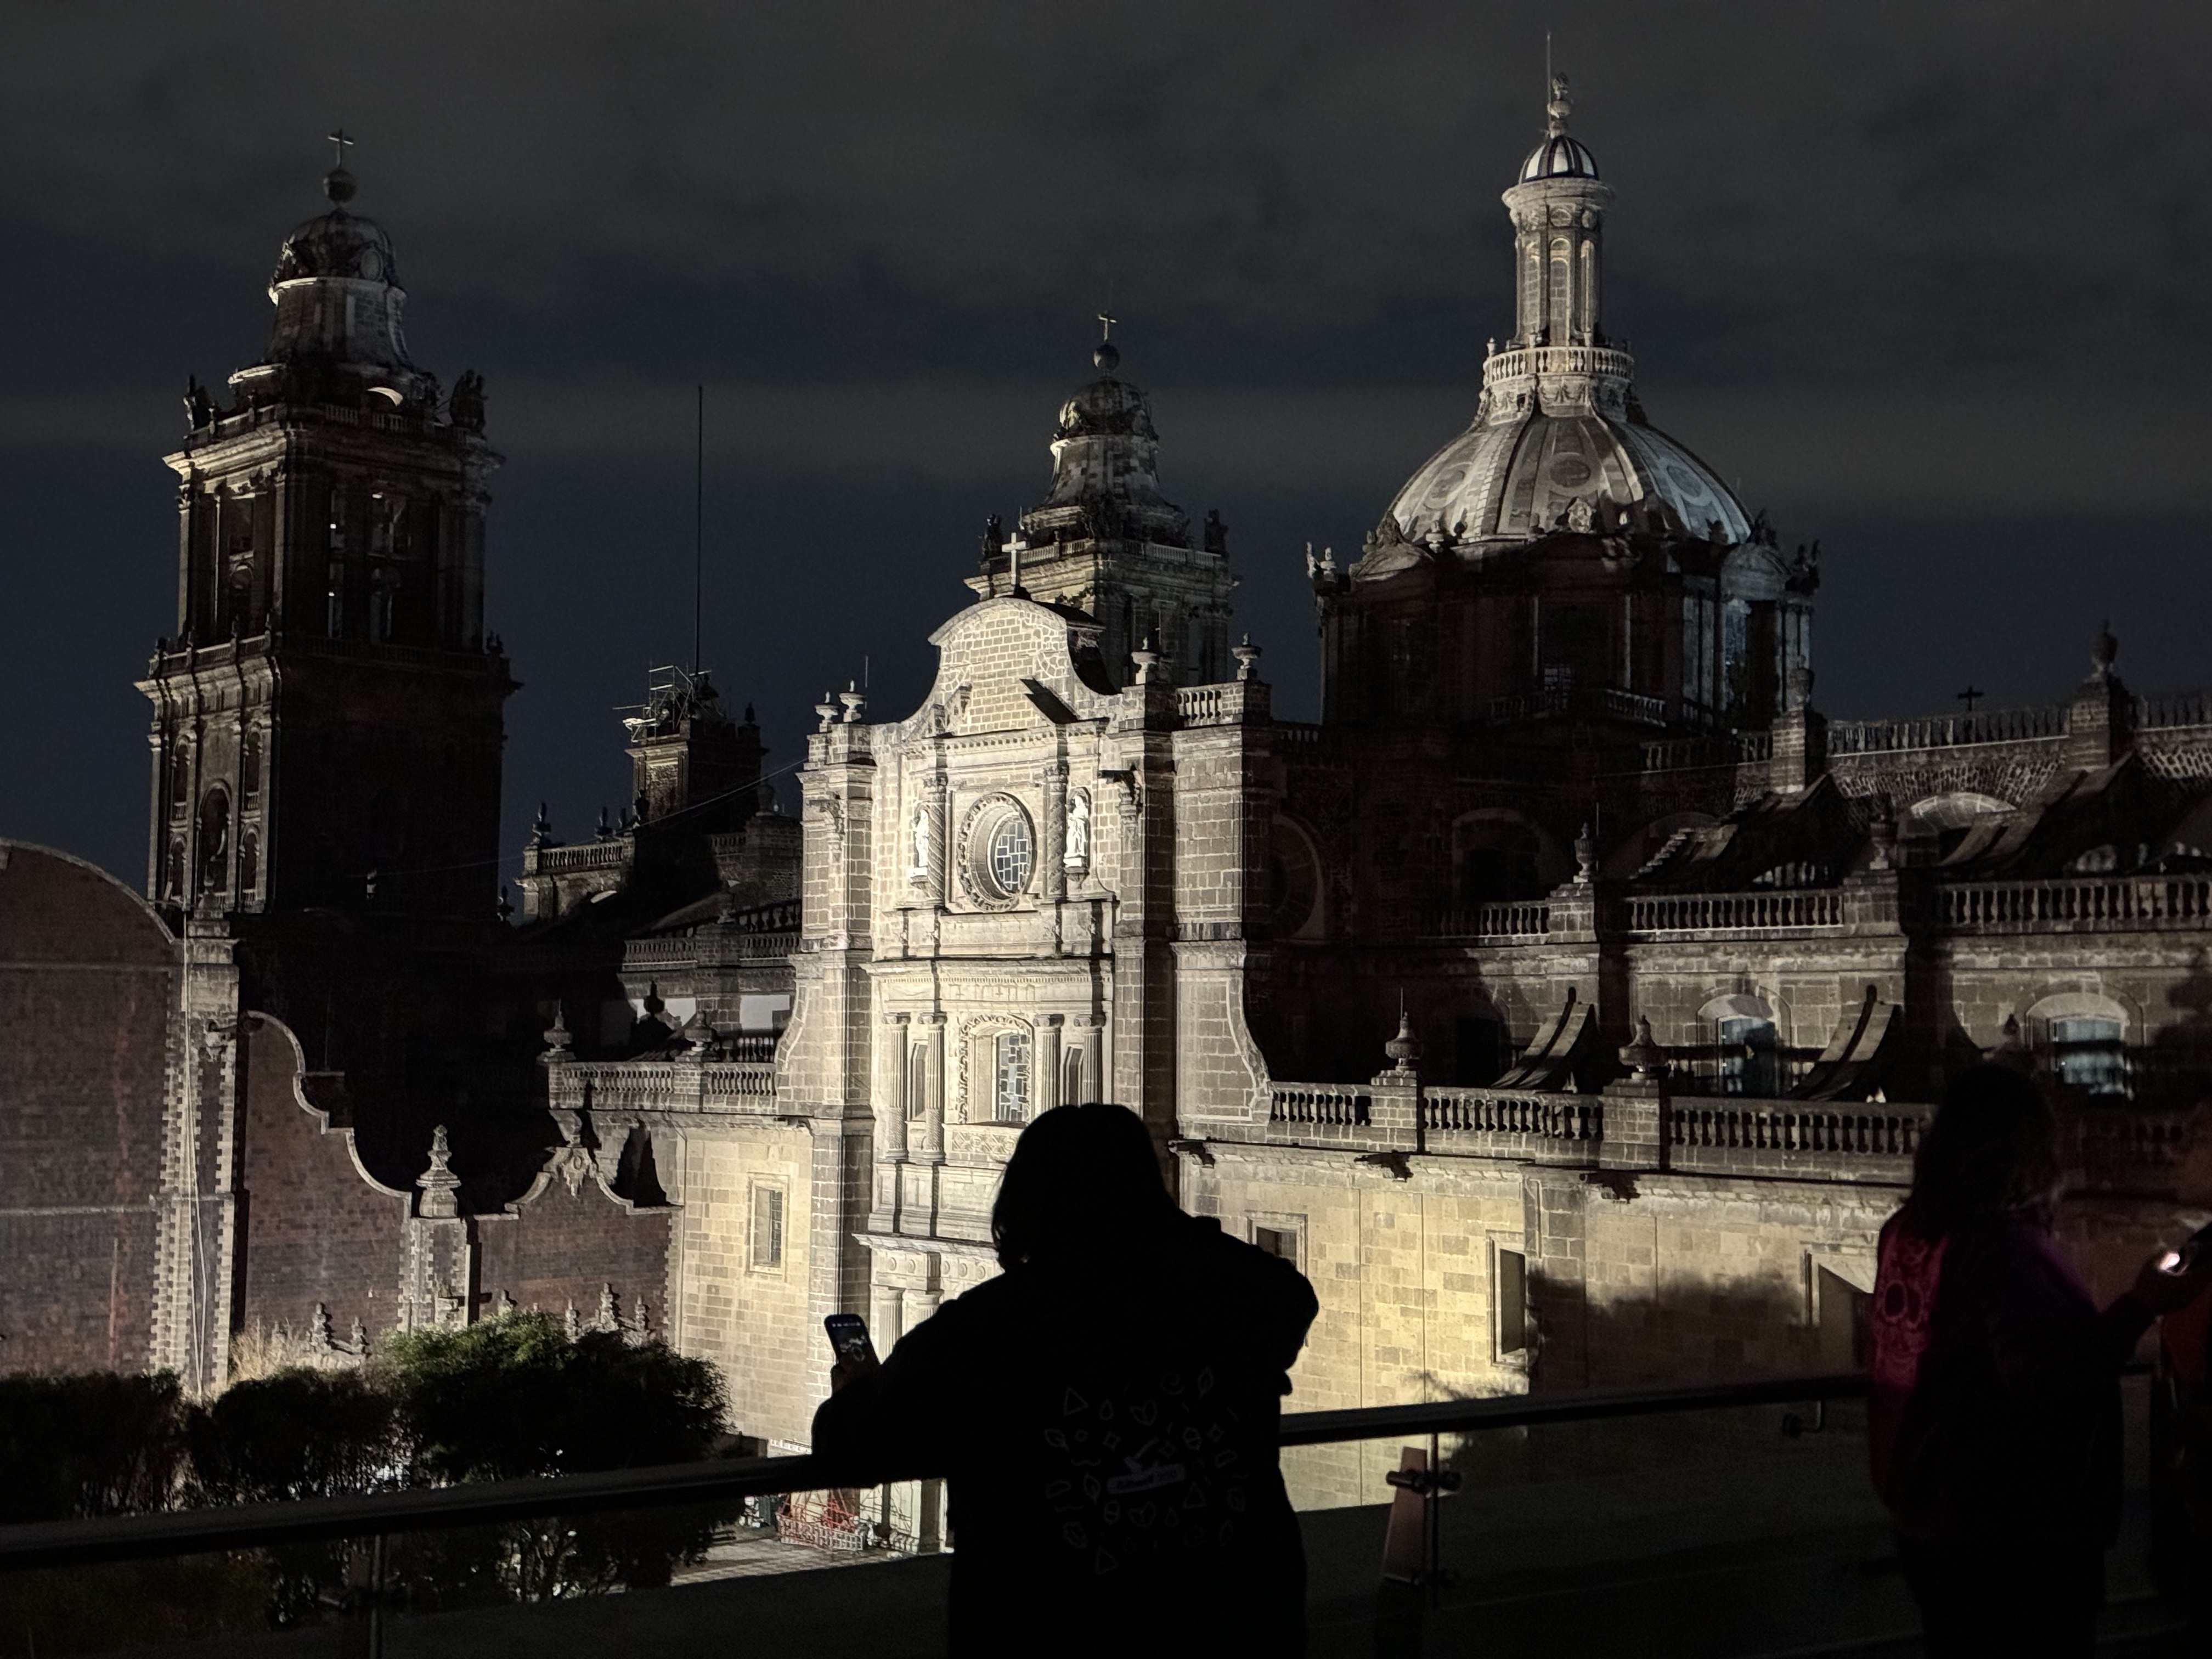
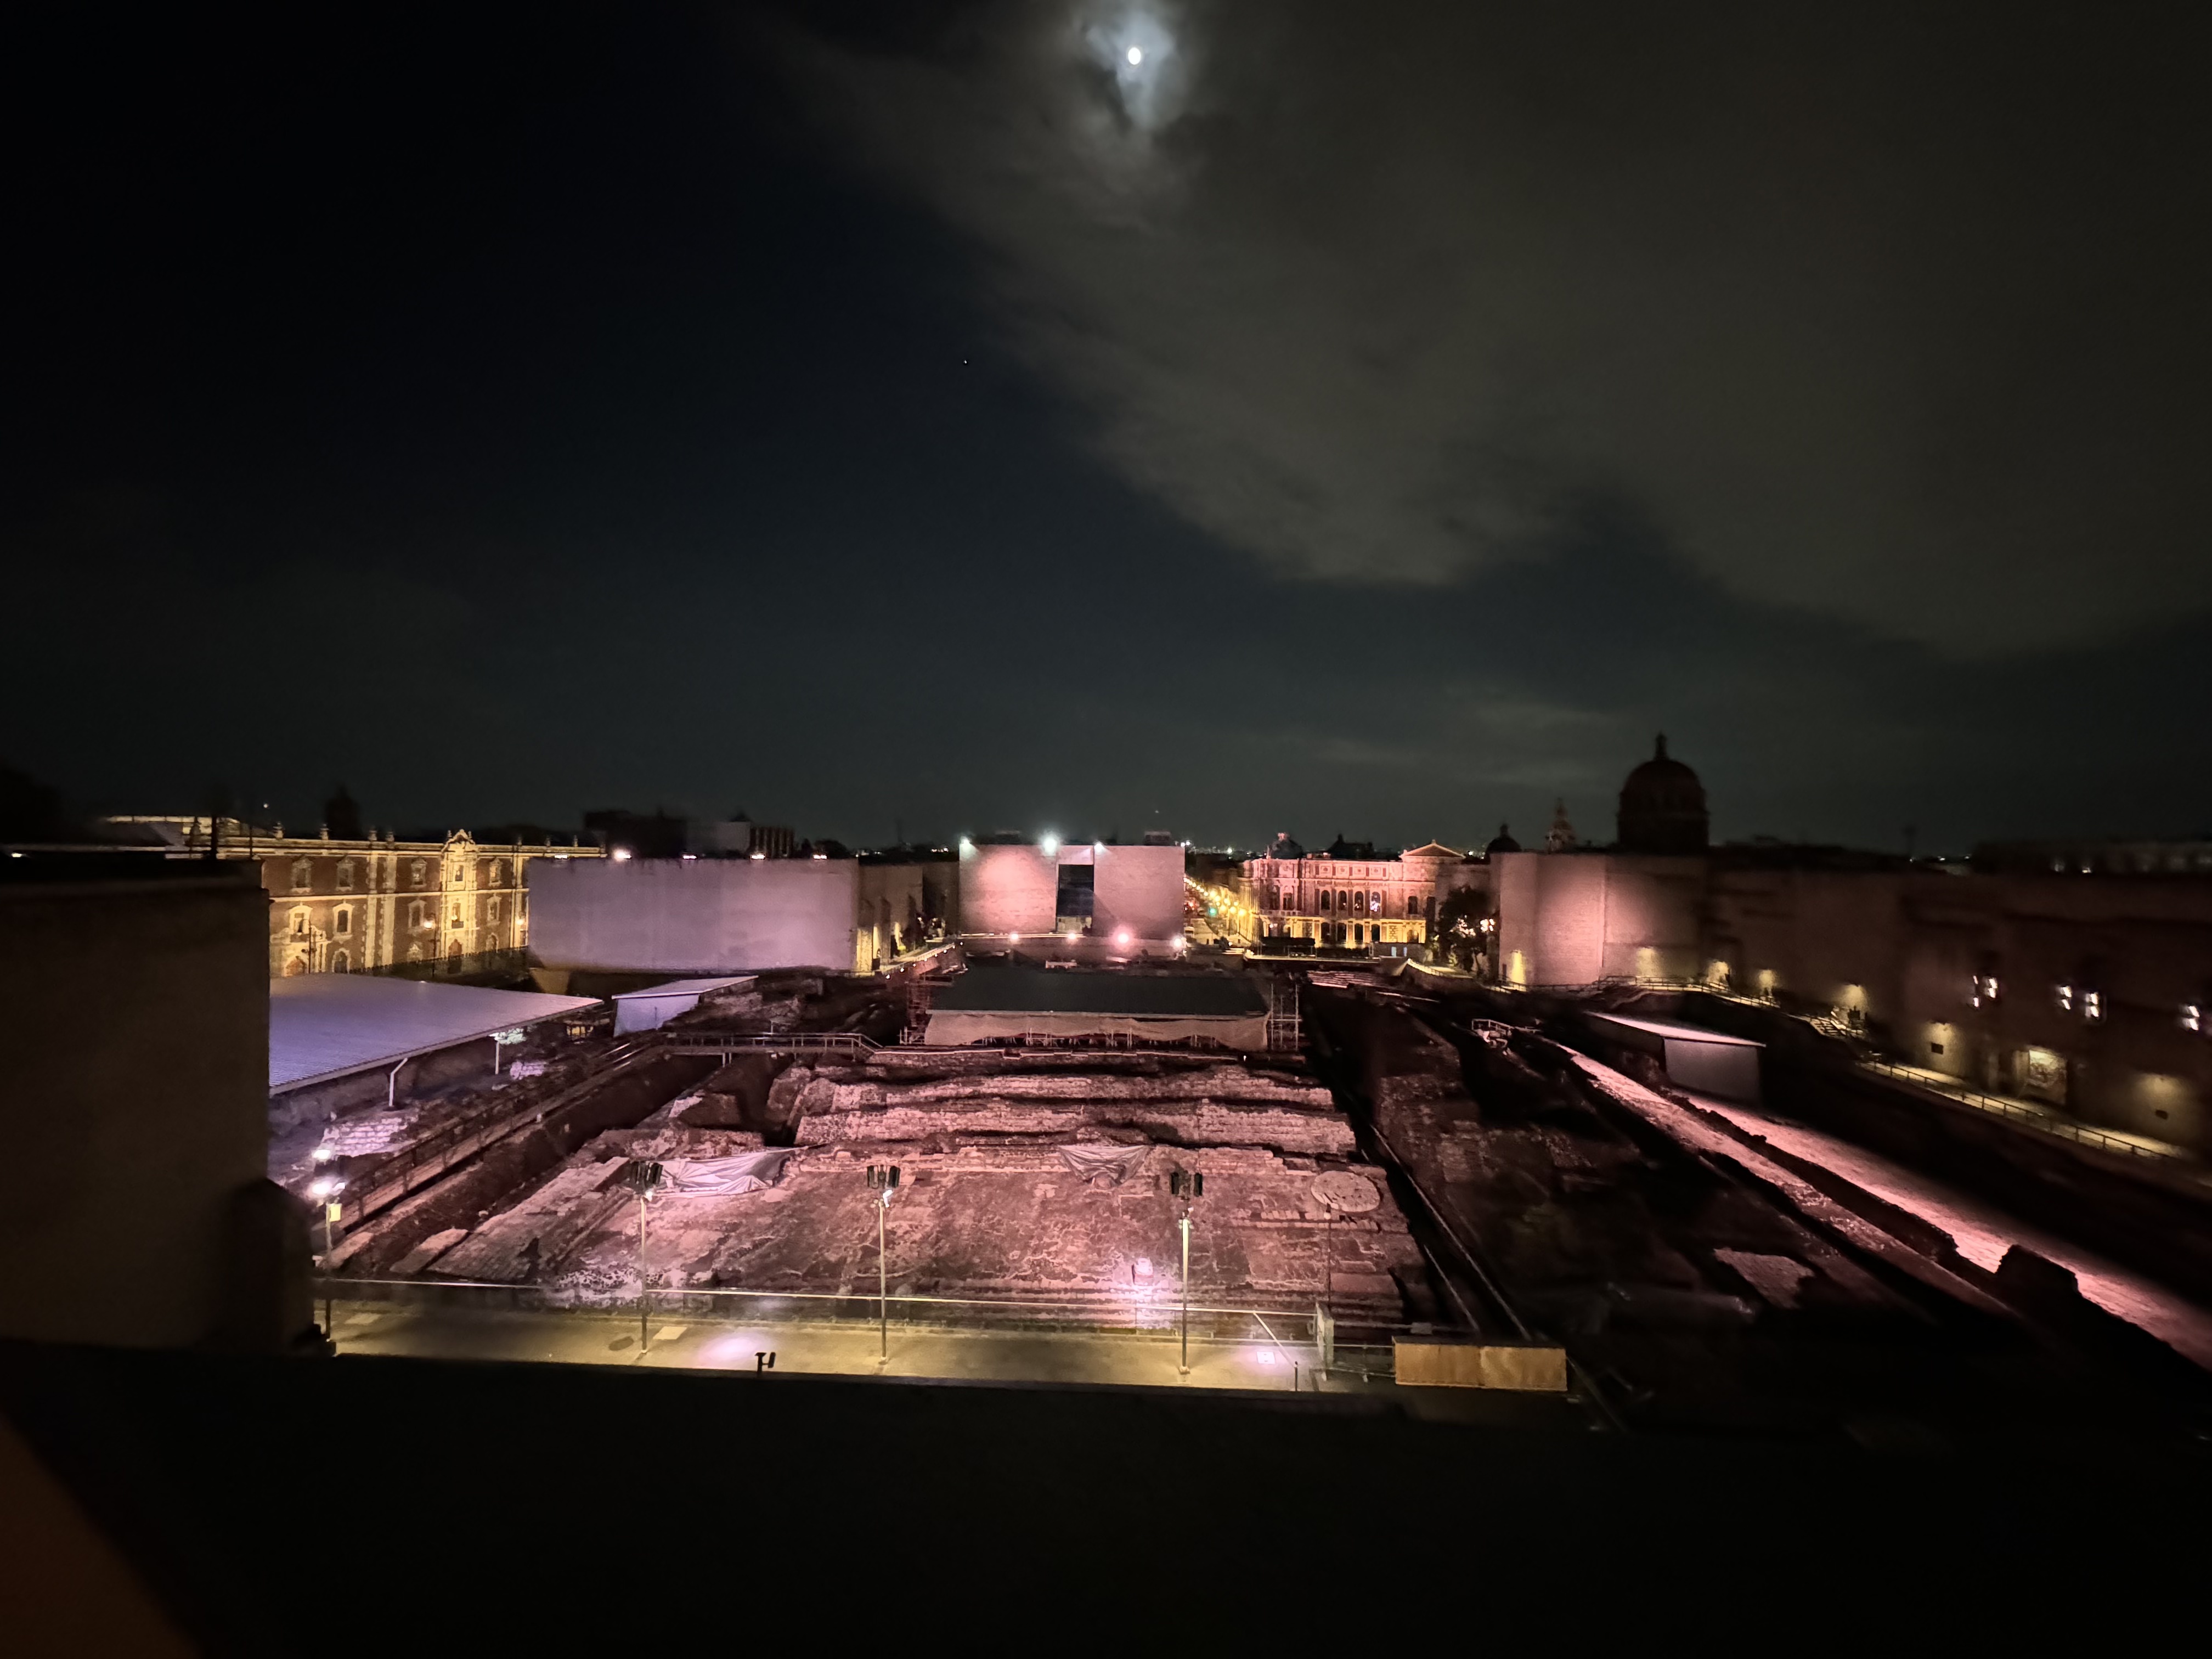
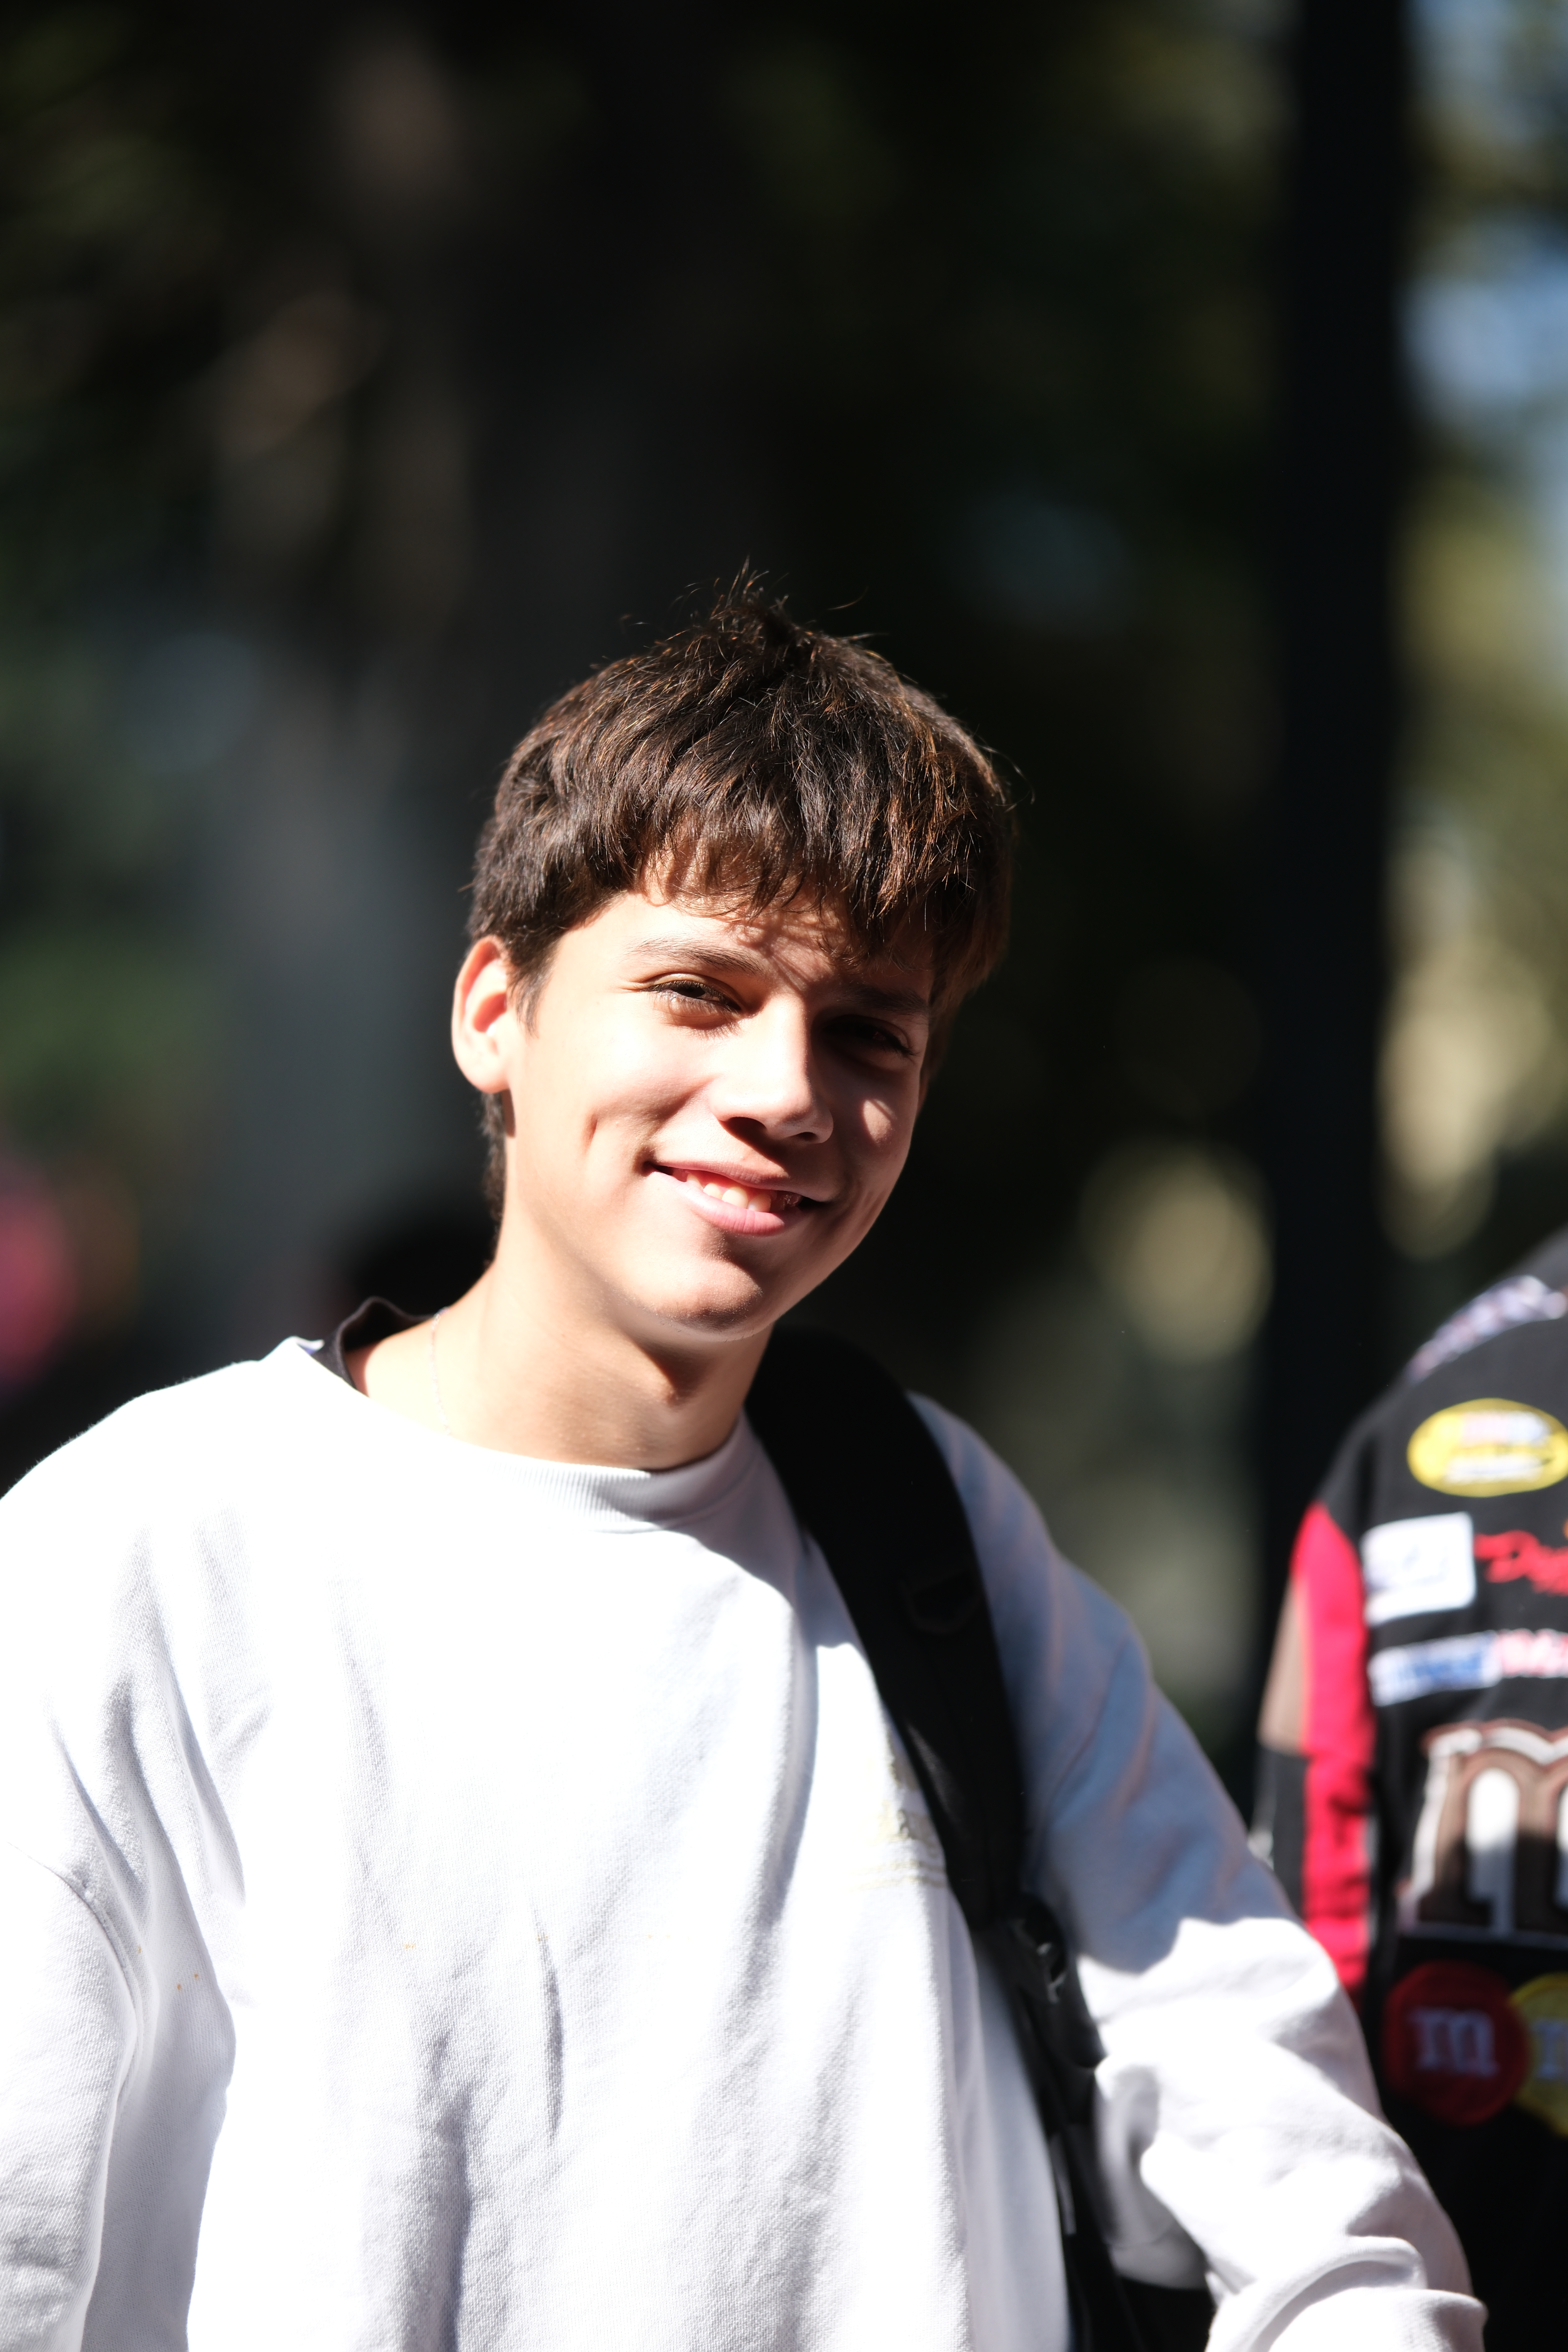
Our closing night keynote was presented at the Museo Archivo de la Fotografia by Mark and France Scully Osterman, who talked about 19th century spirit photography, an especially timely topic as we were on the cusp of the Day of the Dead weekend in Mexico City. Another resounding success, with a standing room only crowd, Mark and France talked about the origins of spirit photography in the middle 19th century, with the aftermath of the US Civil War being a significant driver of the interest in spiritualism that encouraged the practice. They also talked about the HOW it was done, with techniques ranging from simple long exposures that rendered moving figures in the image as ghostly presences, to advanced methods for manipulation and trickery to give the impression of spiritual manifestations. The evening closed out on the roof of the museum overlooking the Metropolitan Cathedral and the ruins of the Templo Mayor and some celebratory wine was shared by all. The first image is of the wonderful young man who did the live translation for Mark and France’s talk; he did an outstanding job!

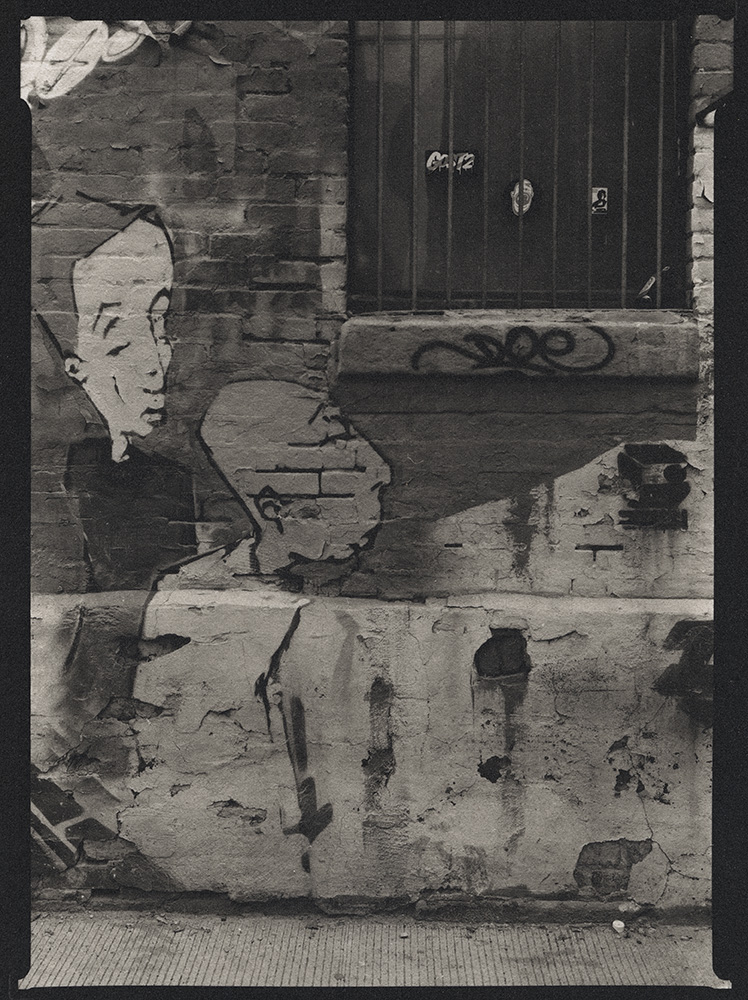
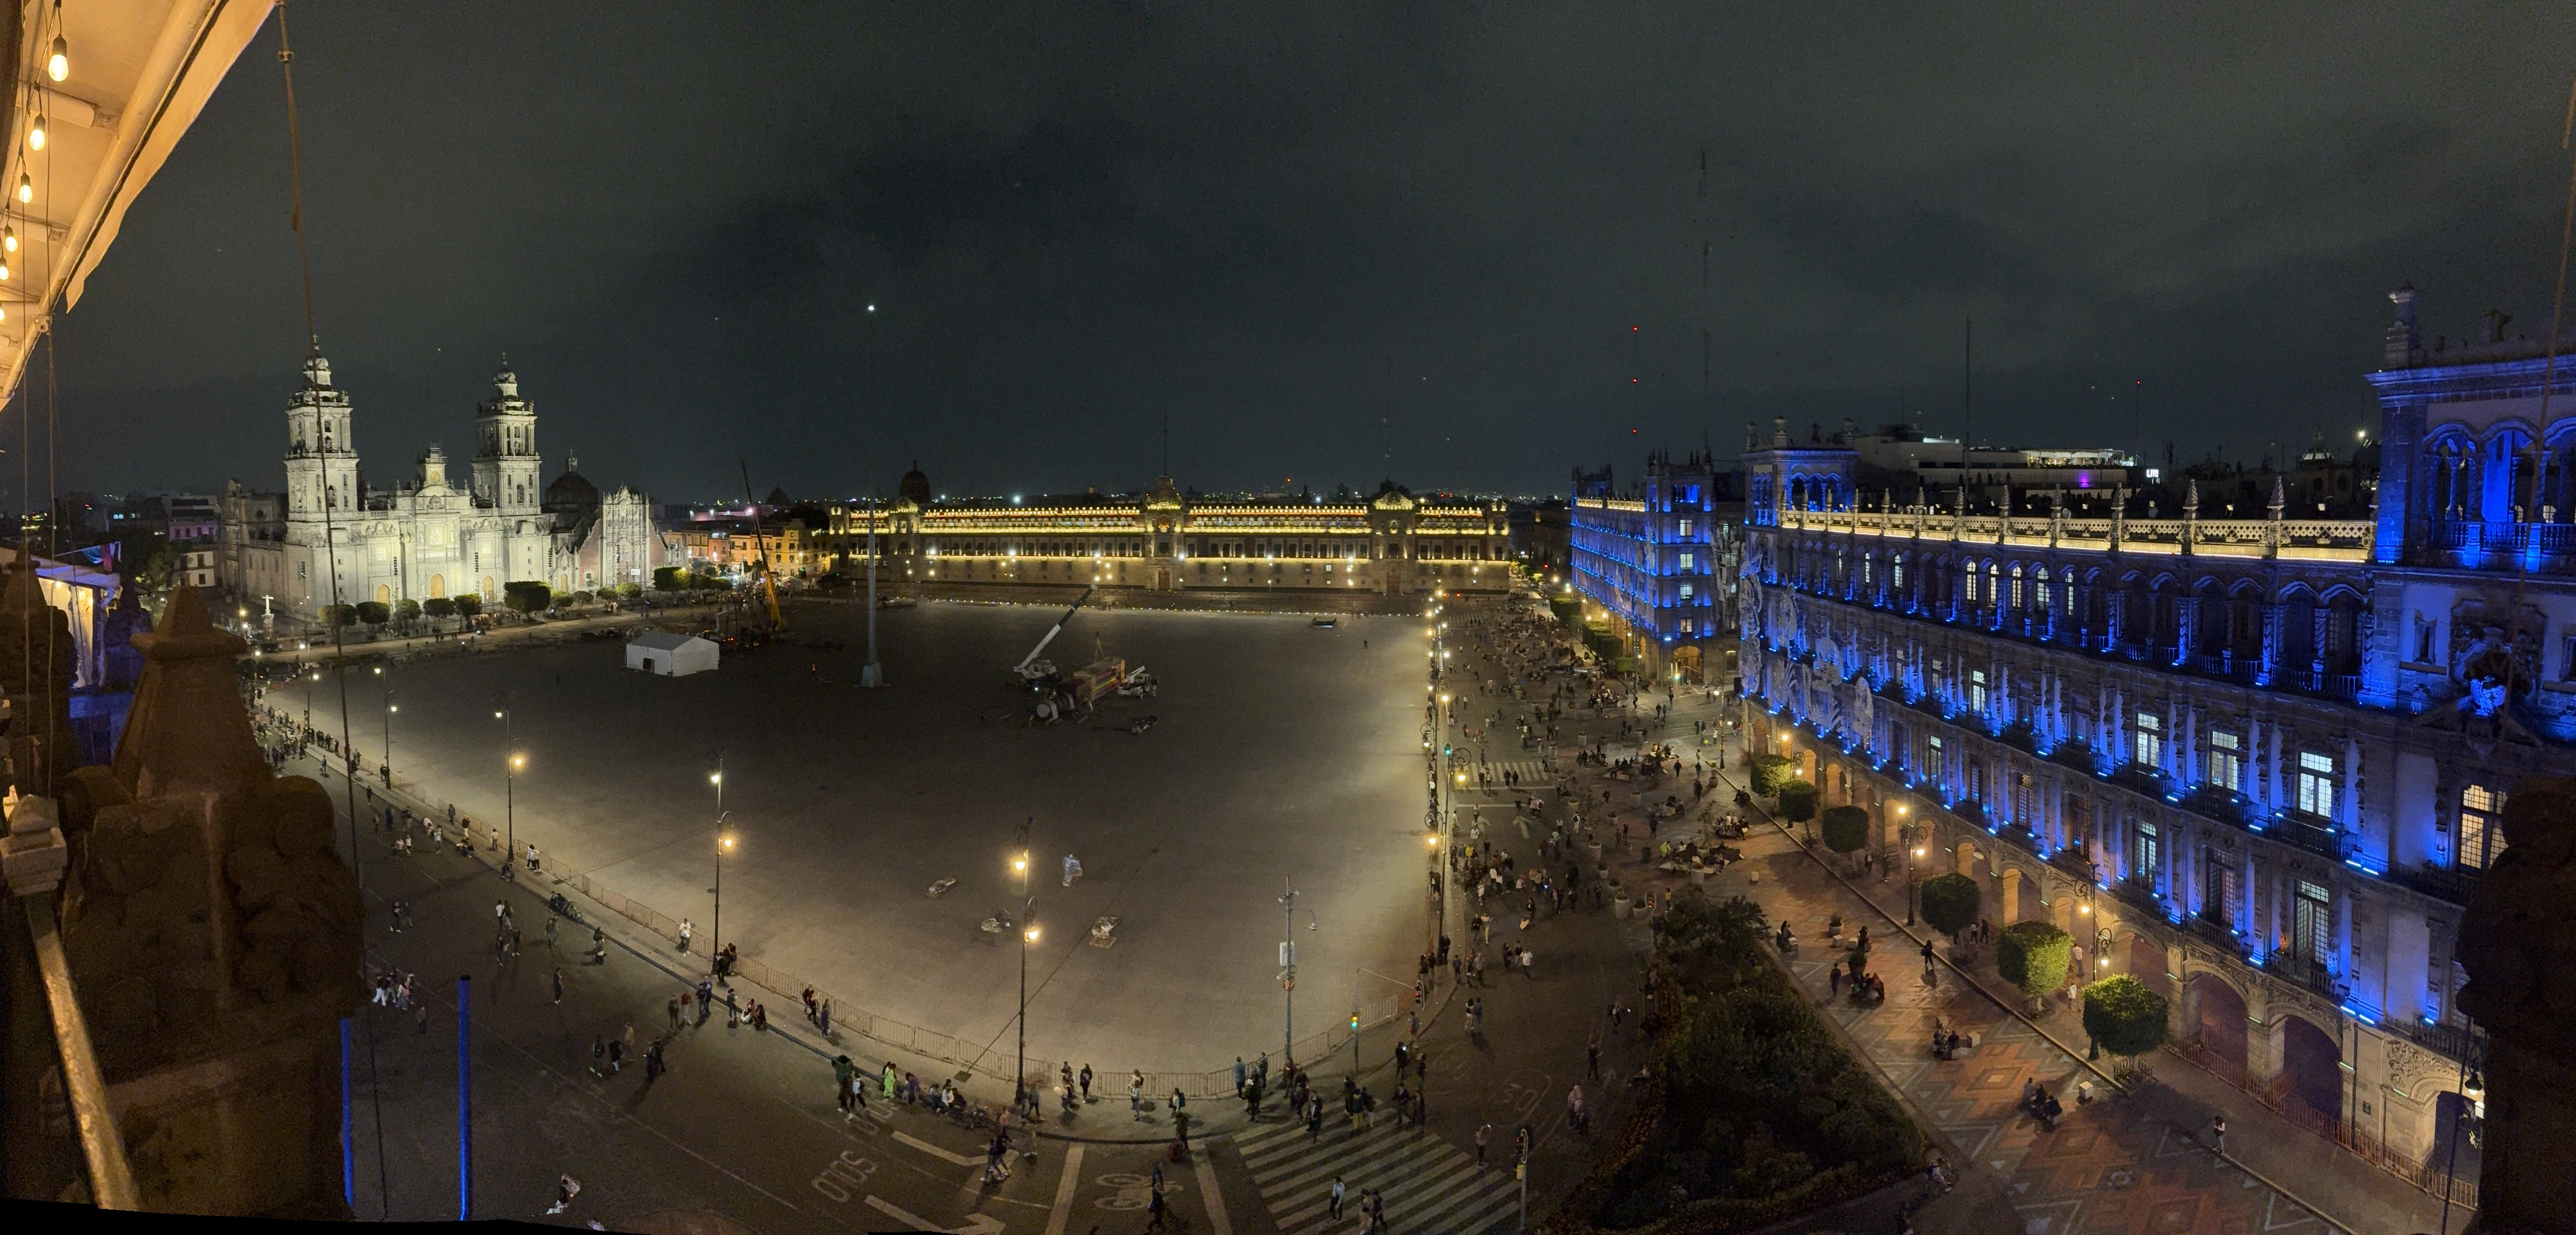
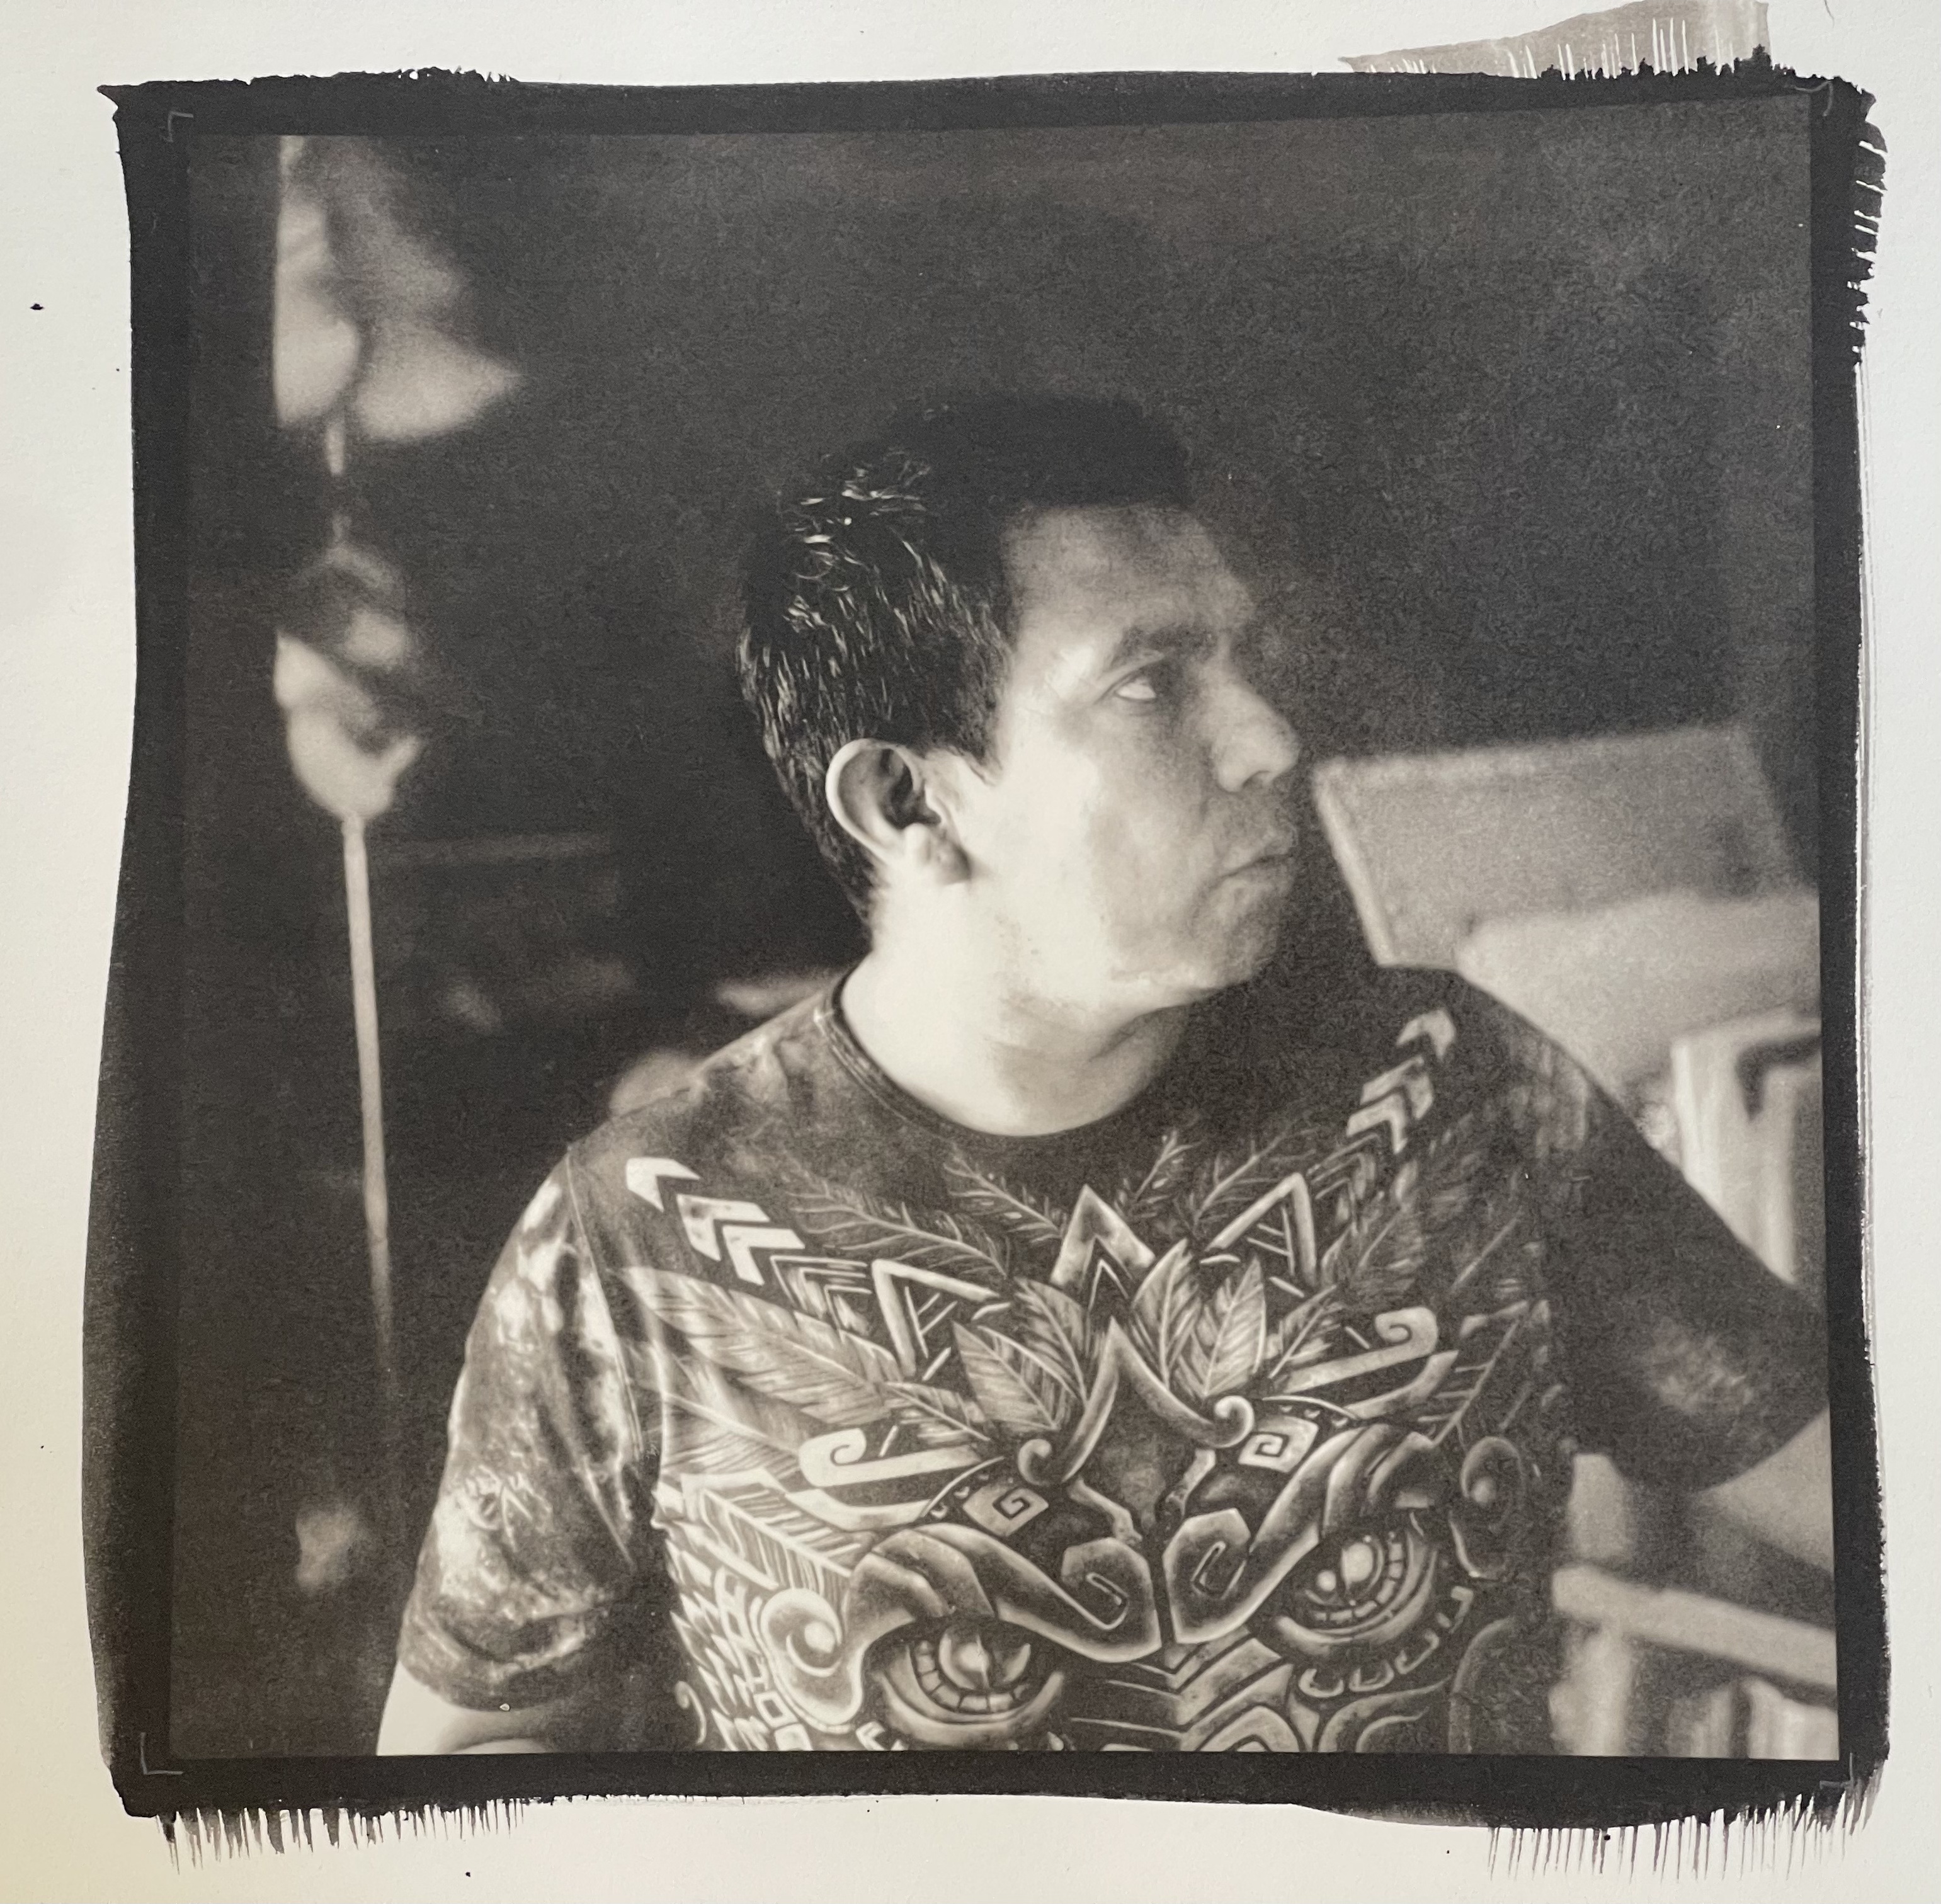
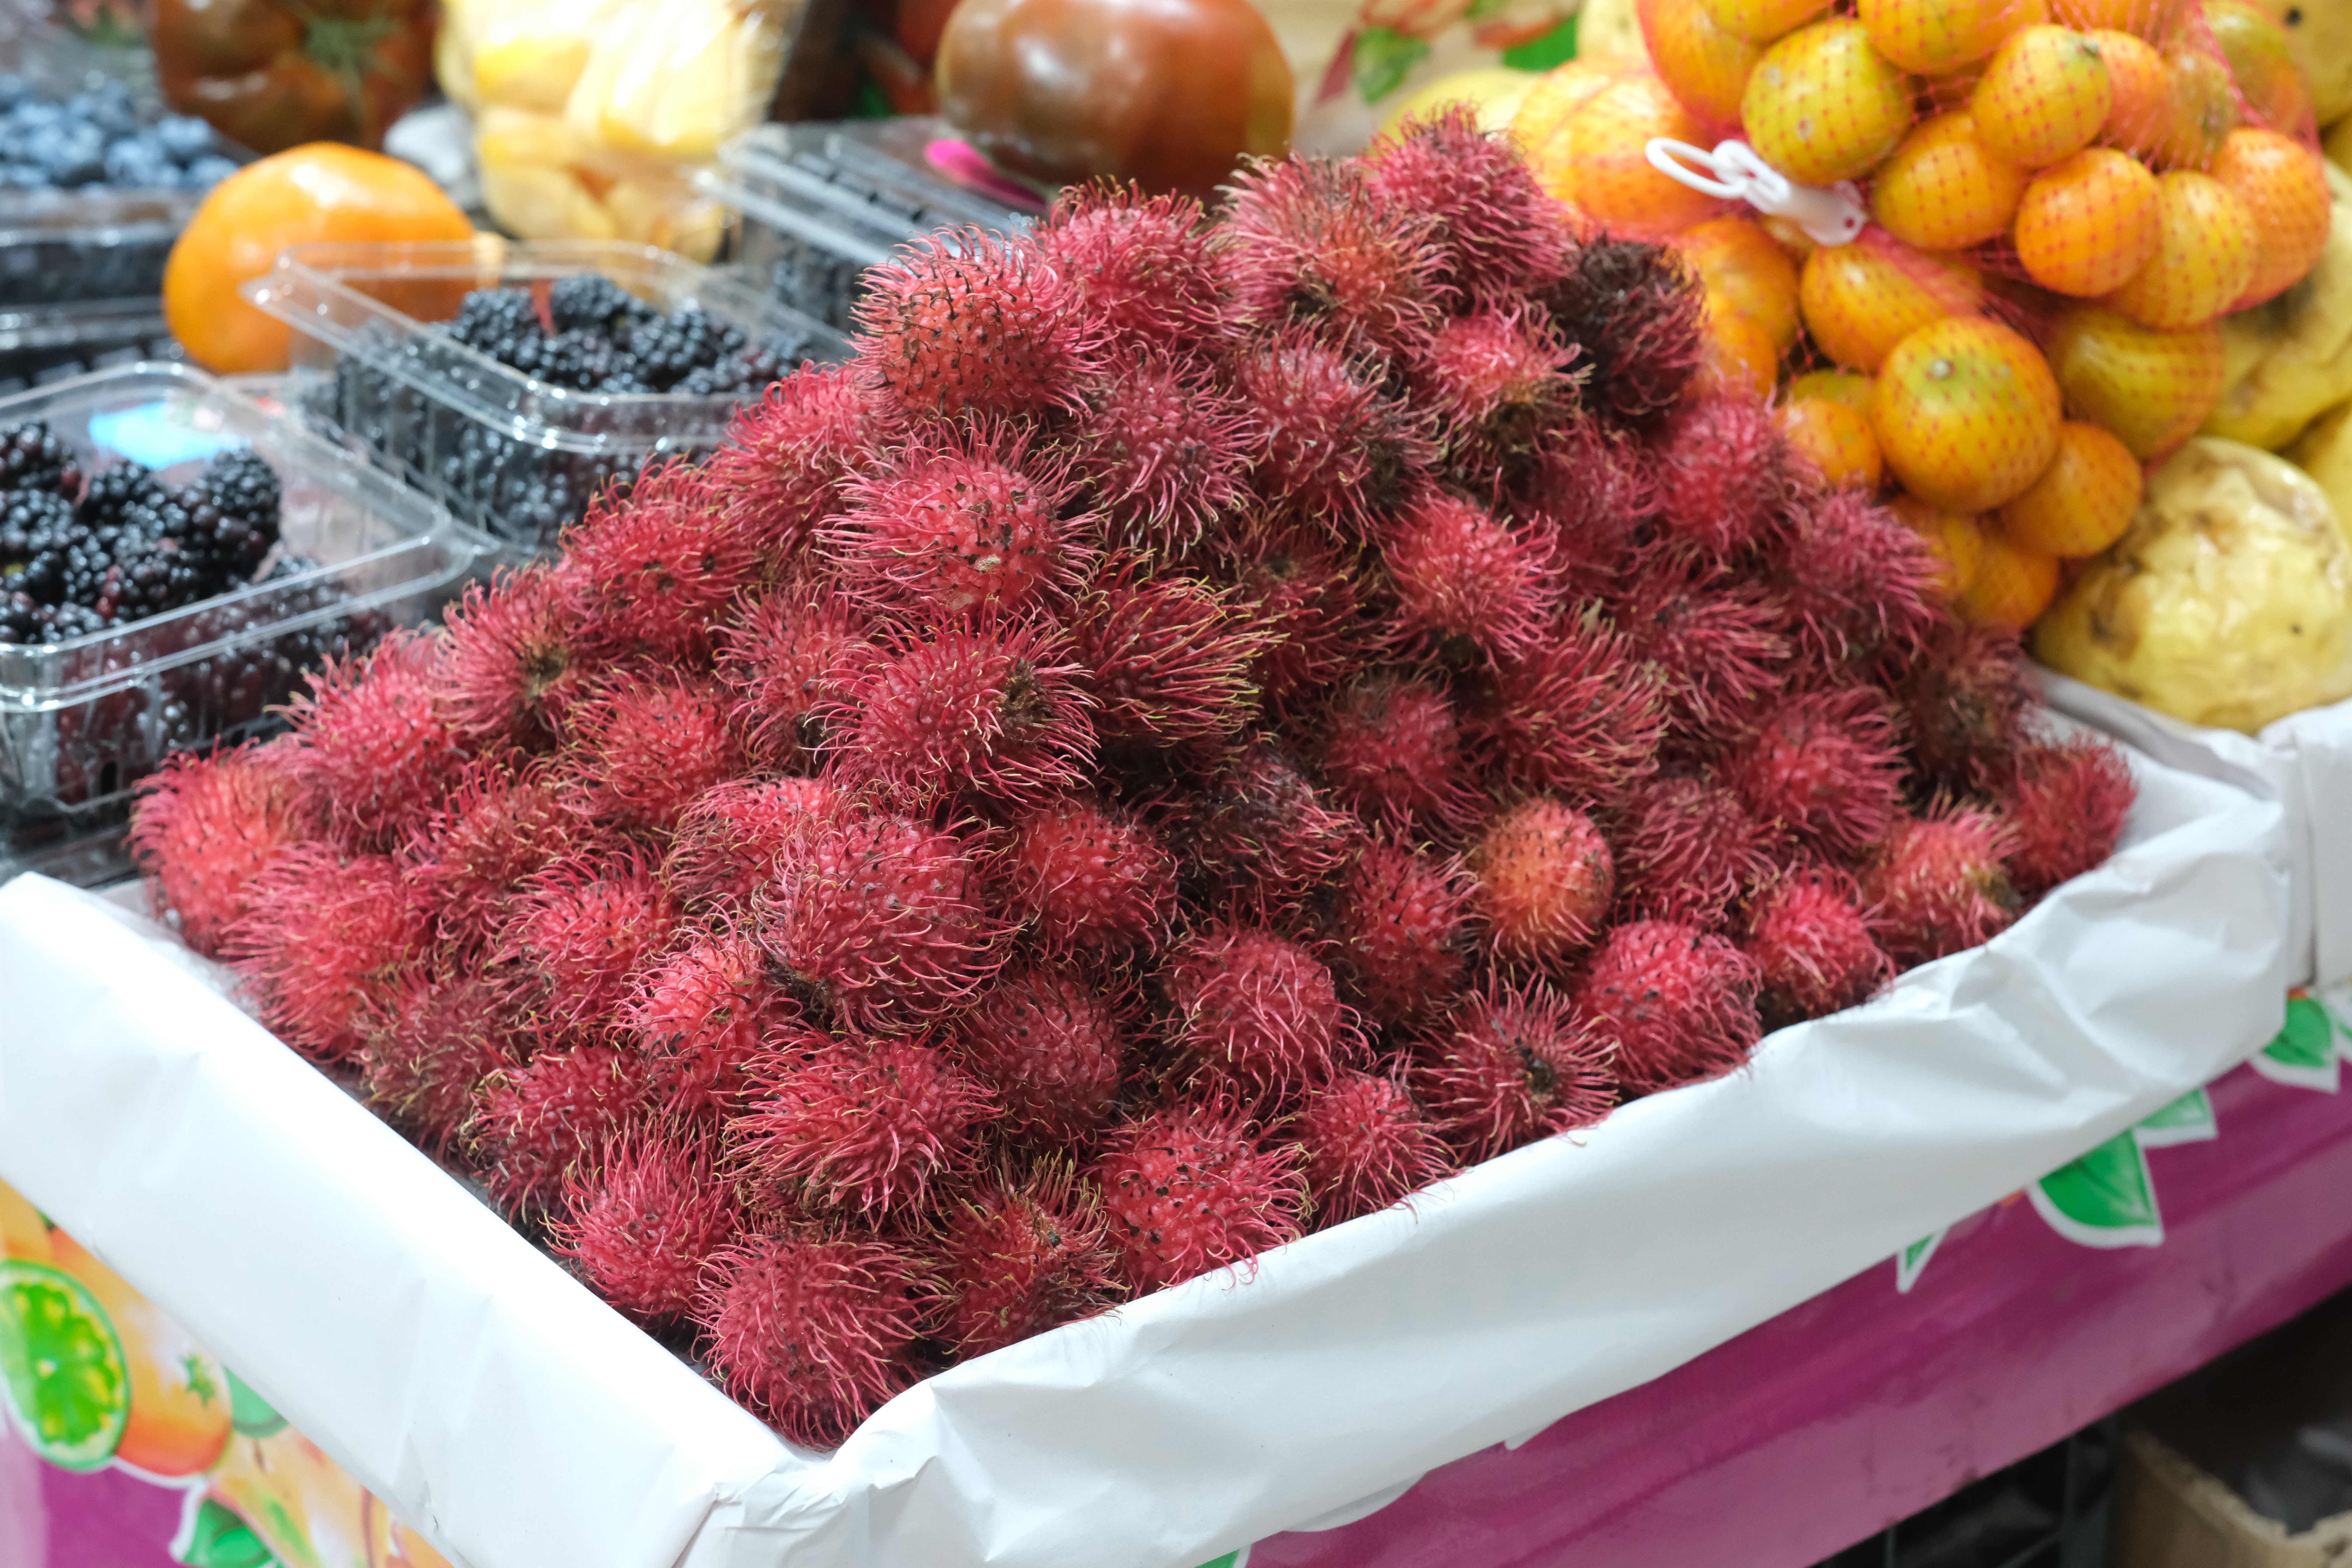
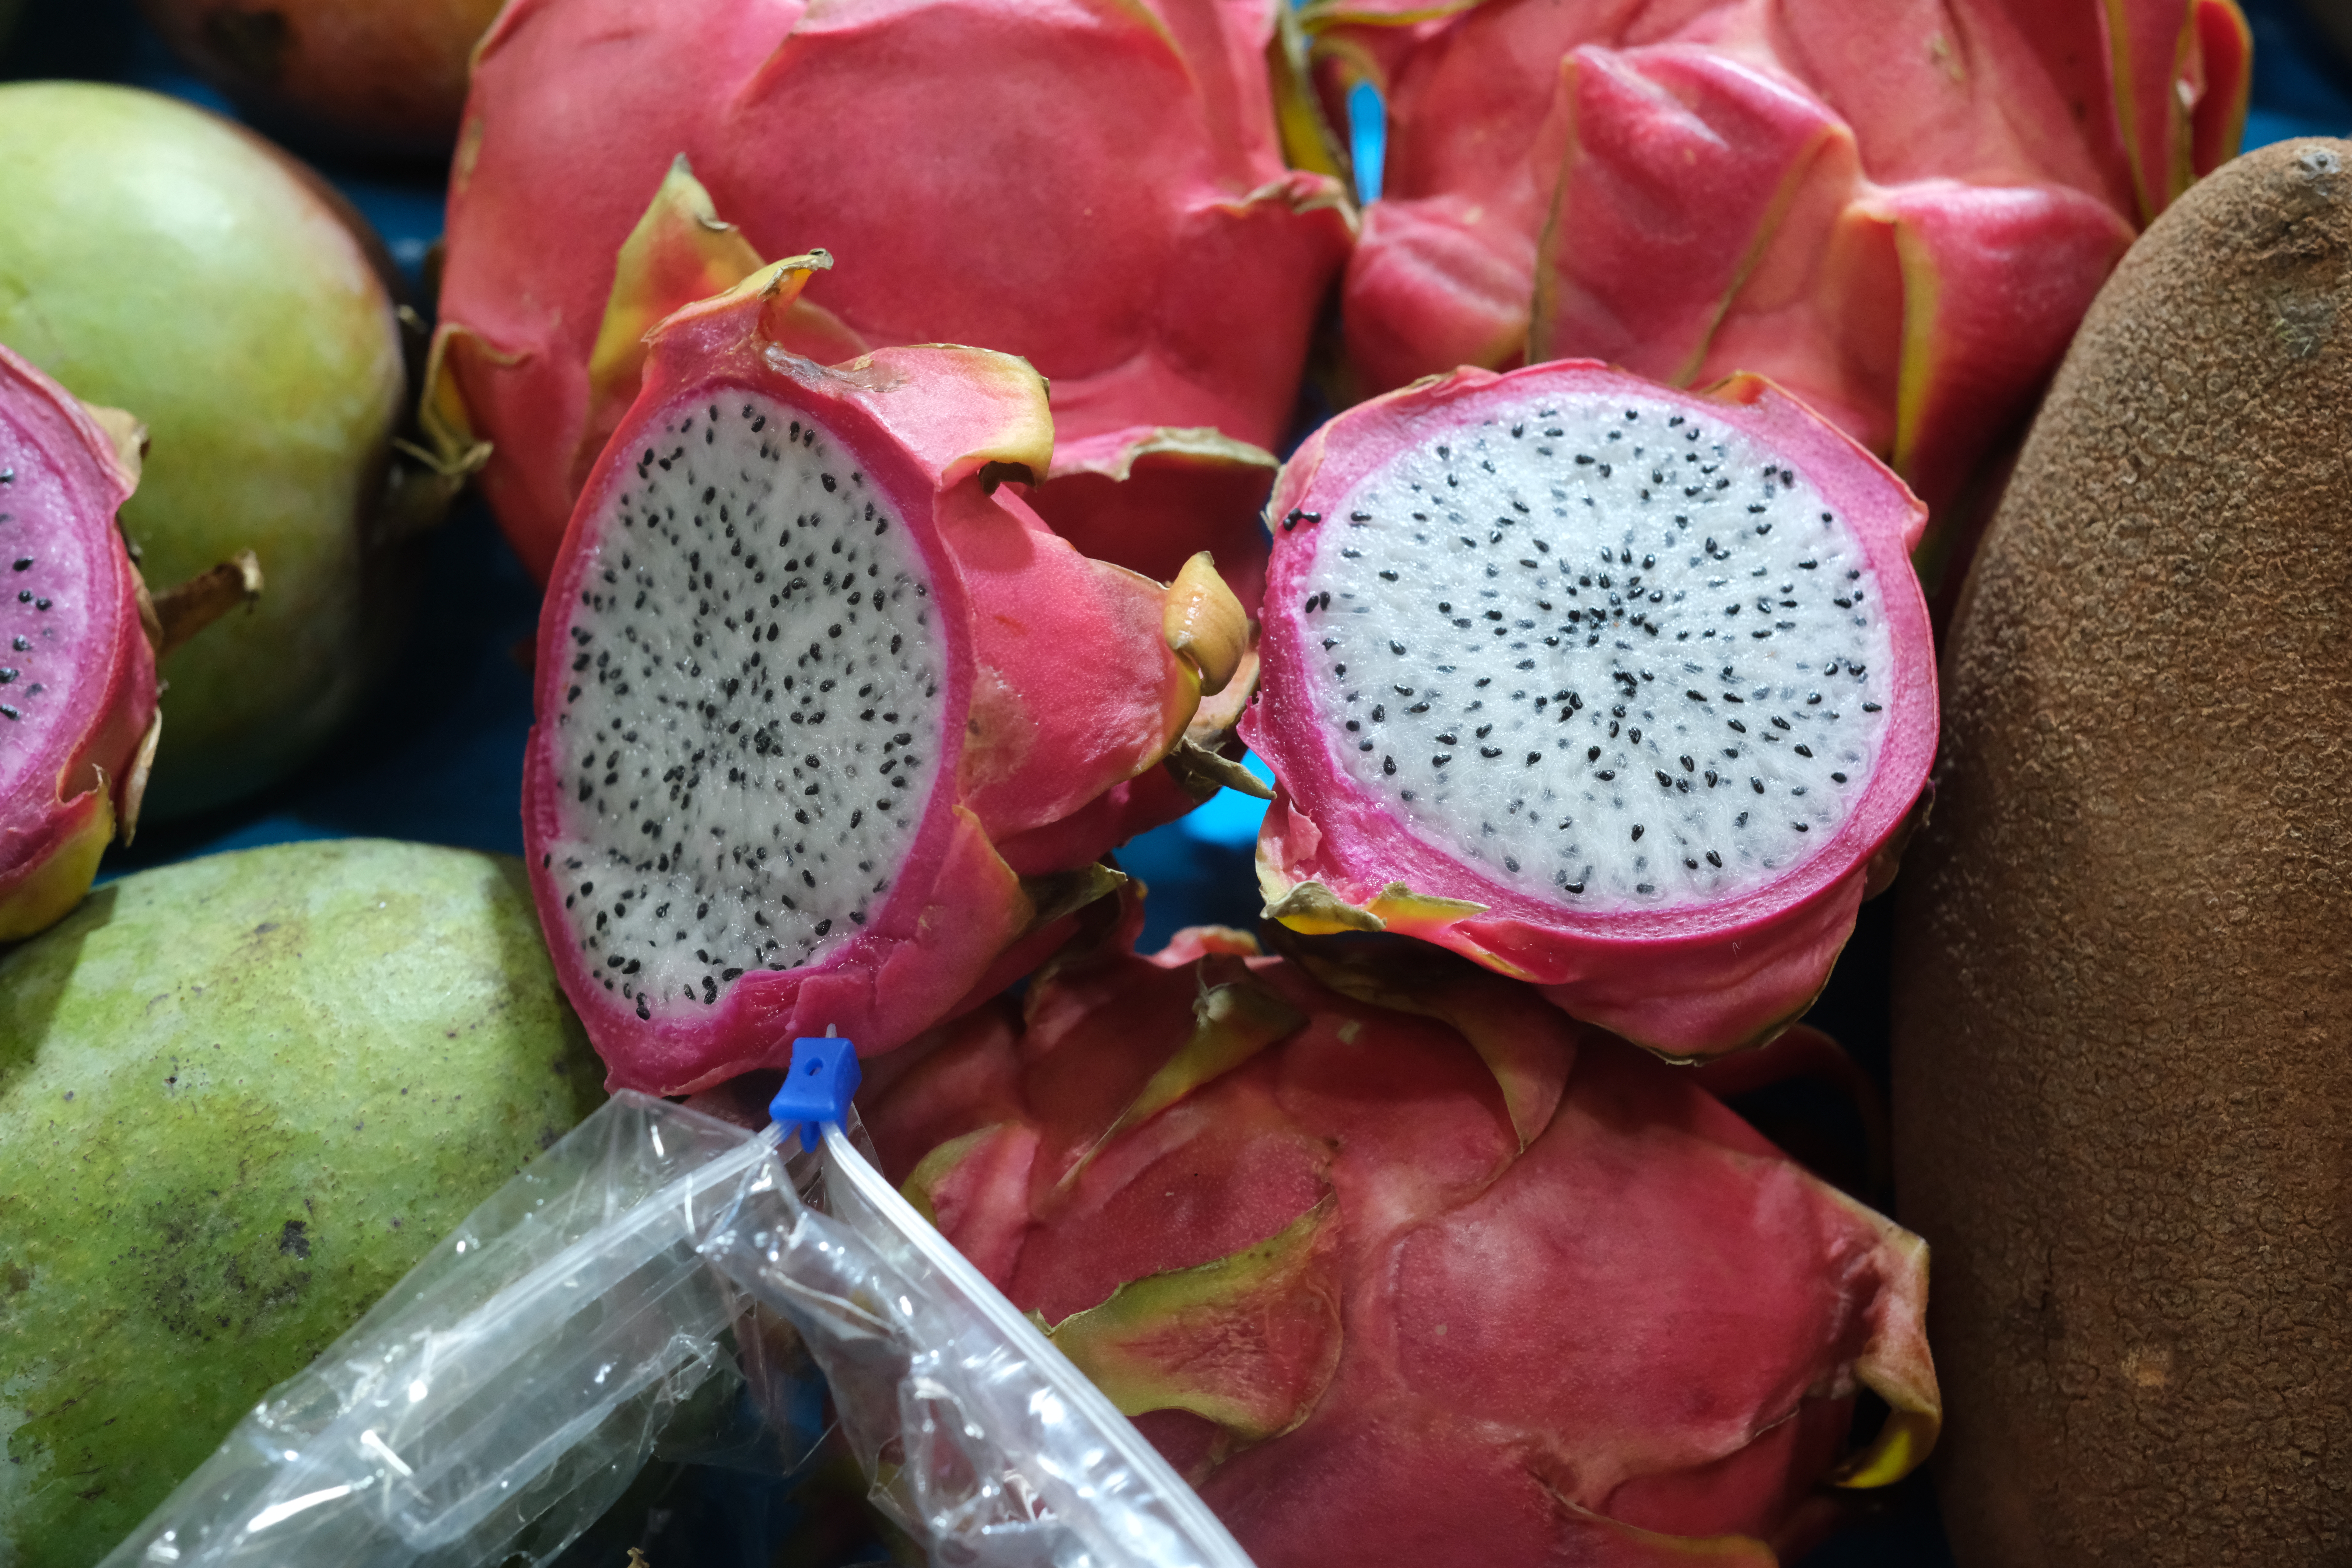
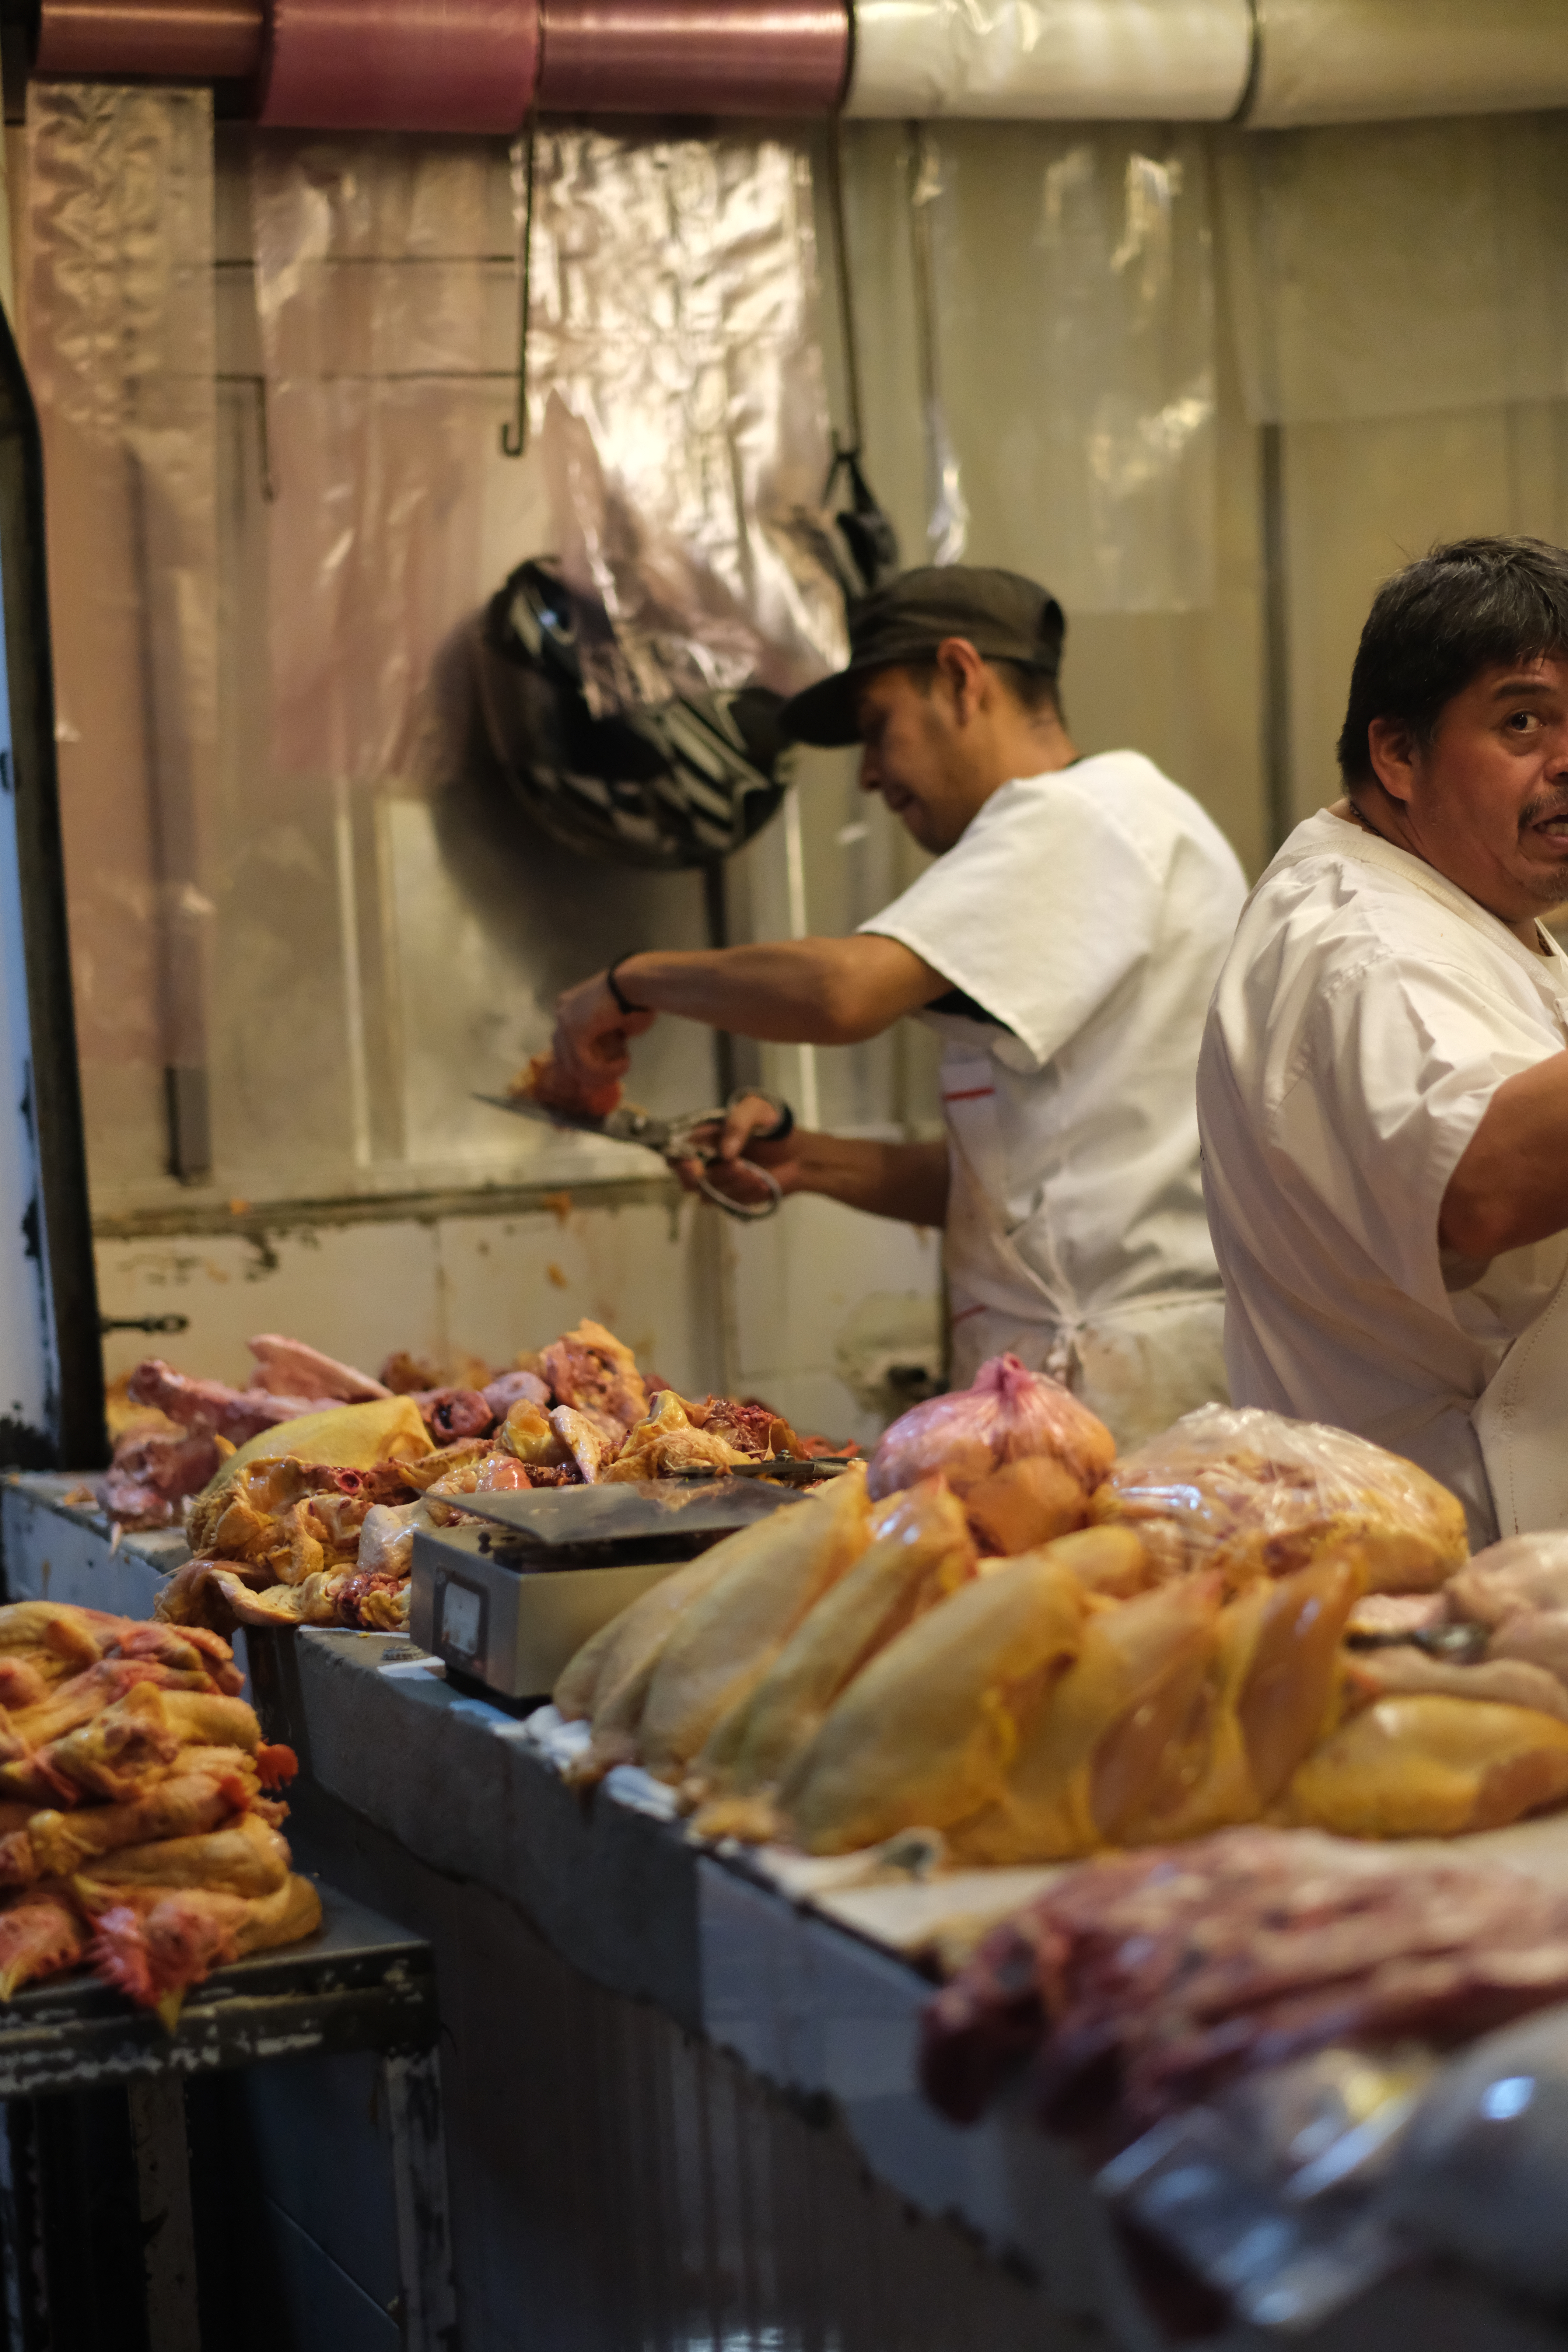
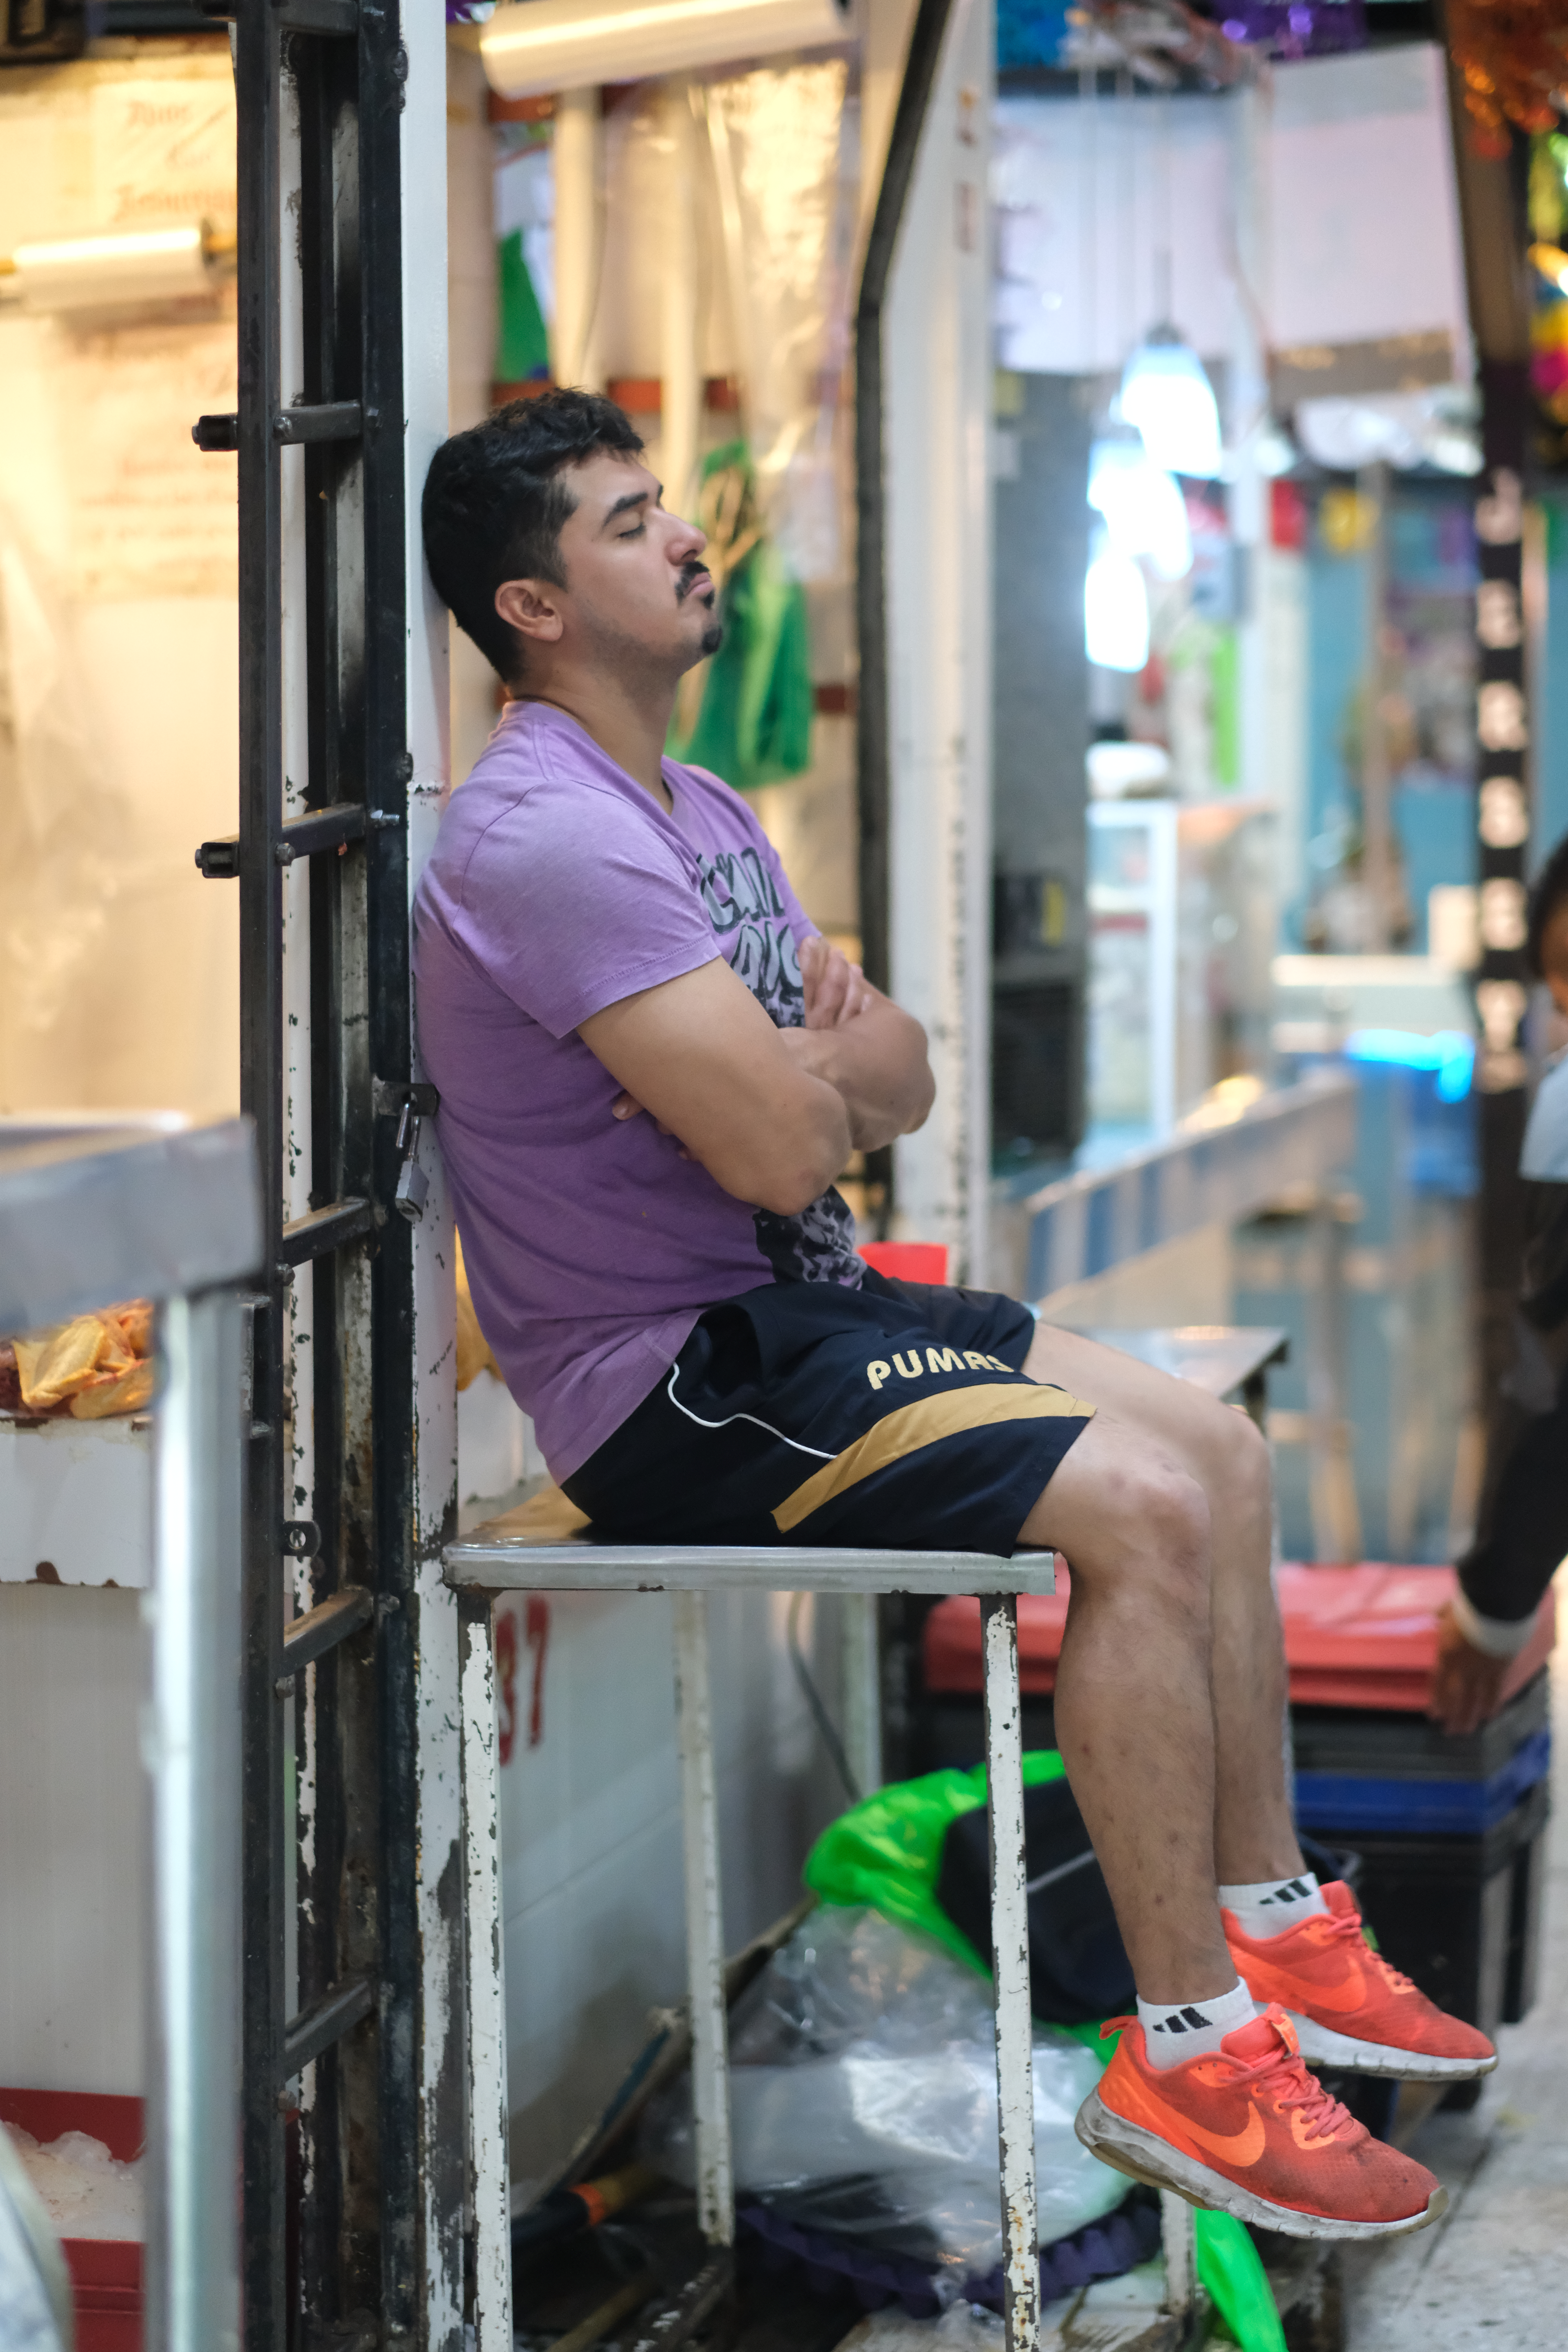
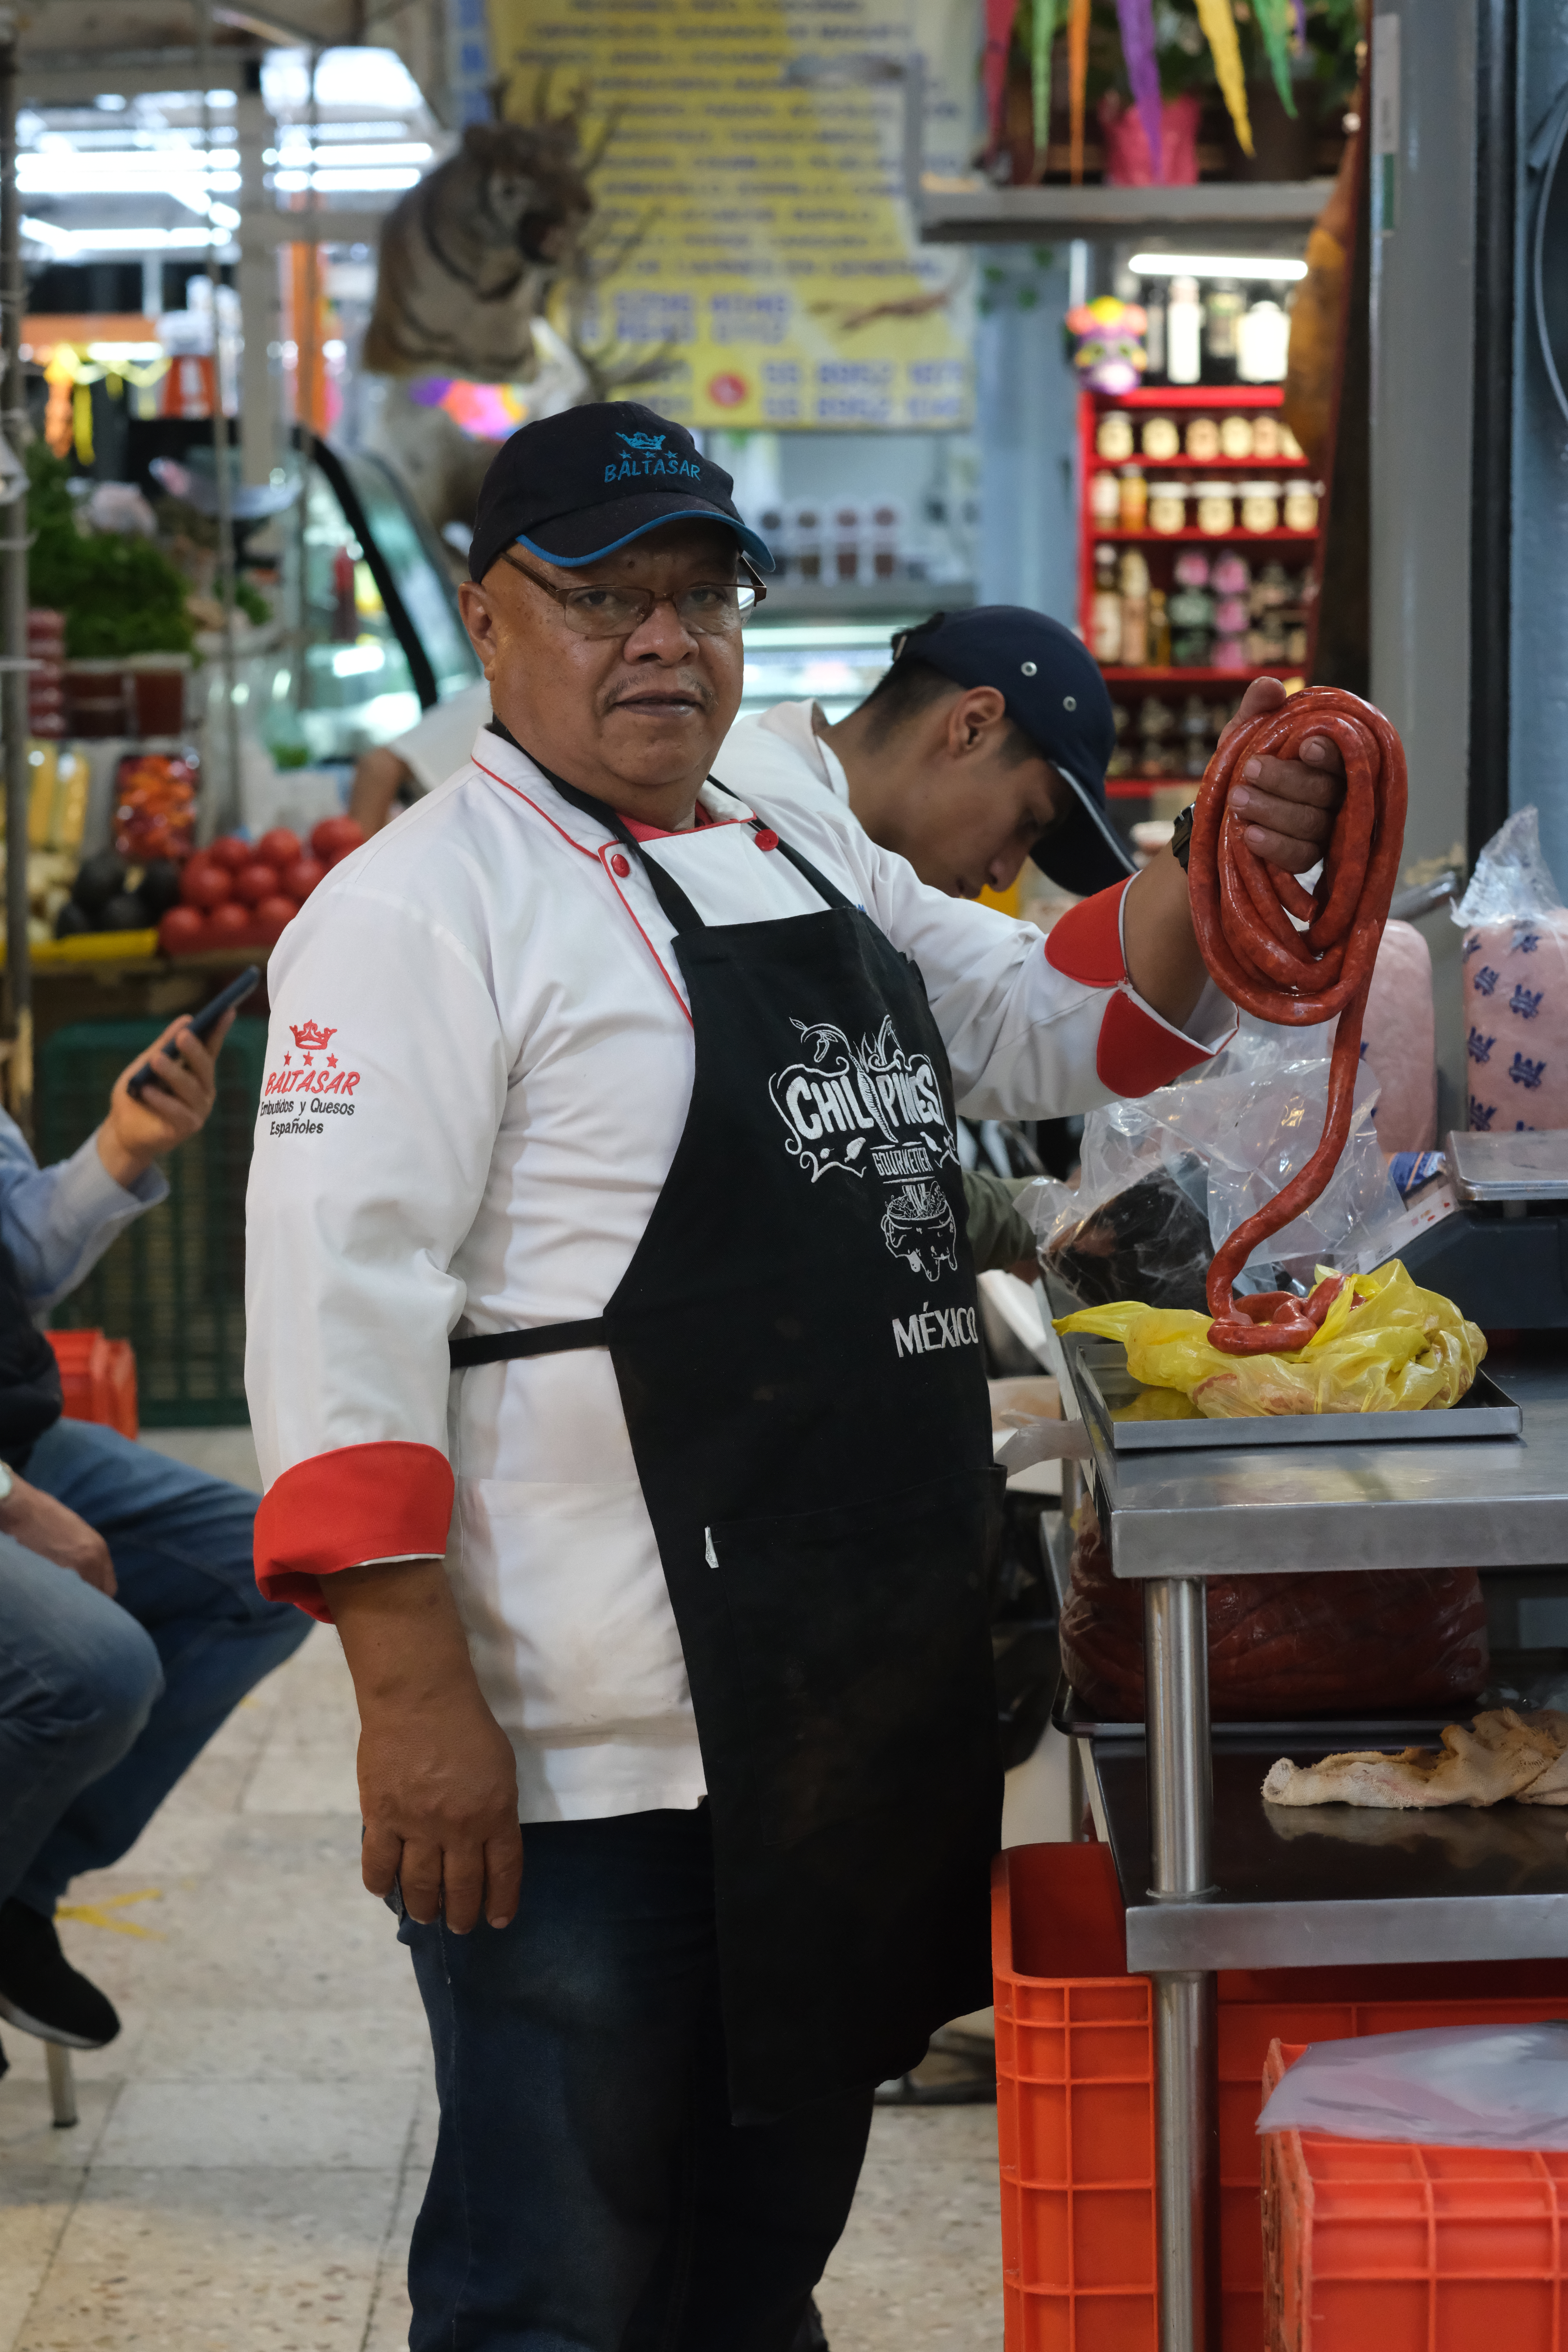
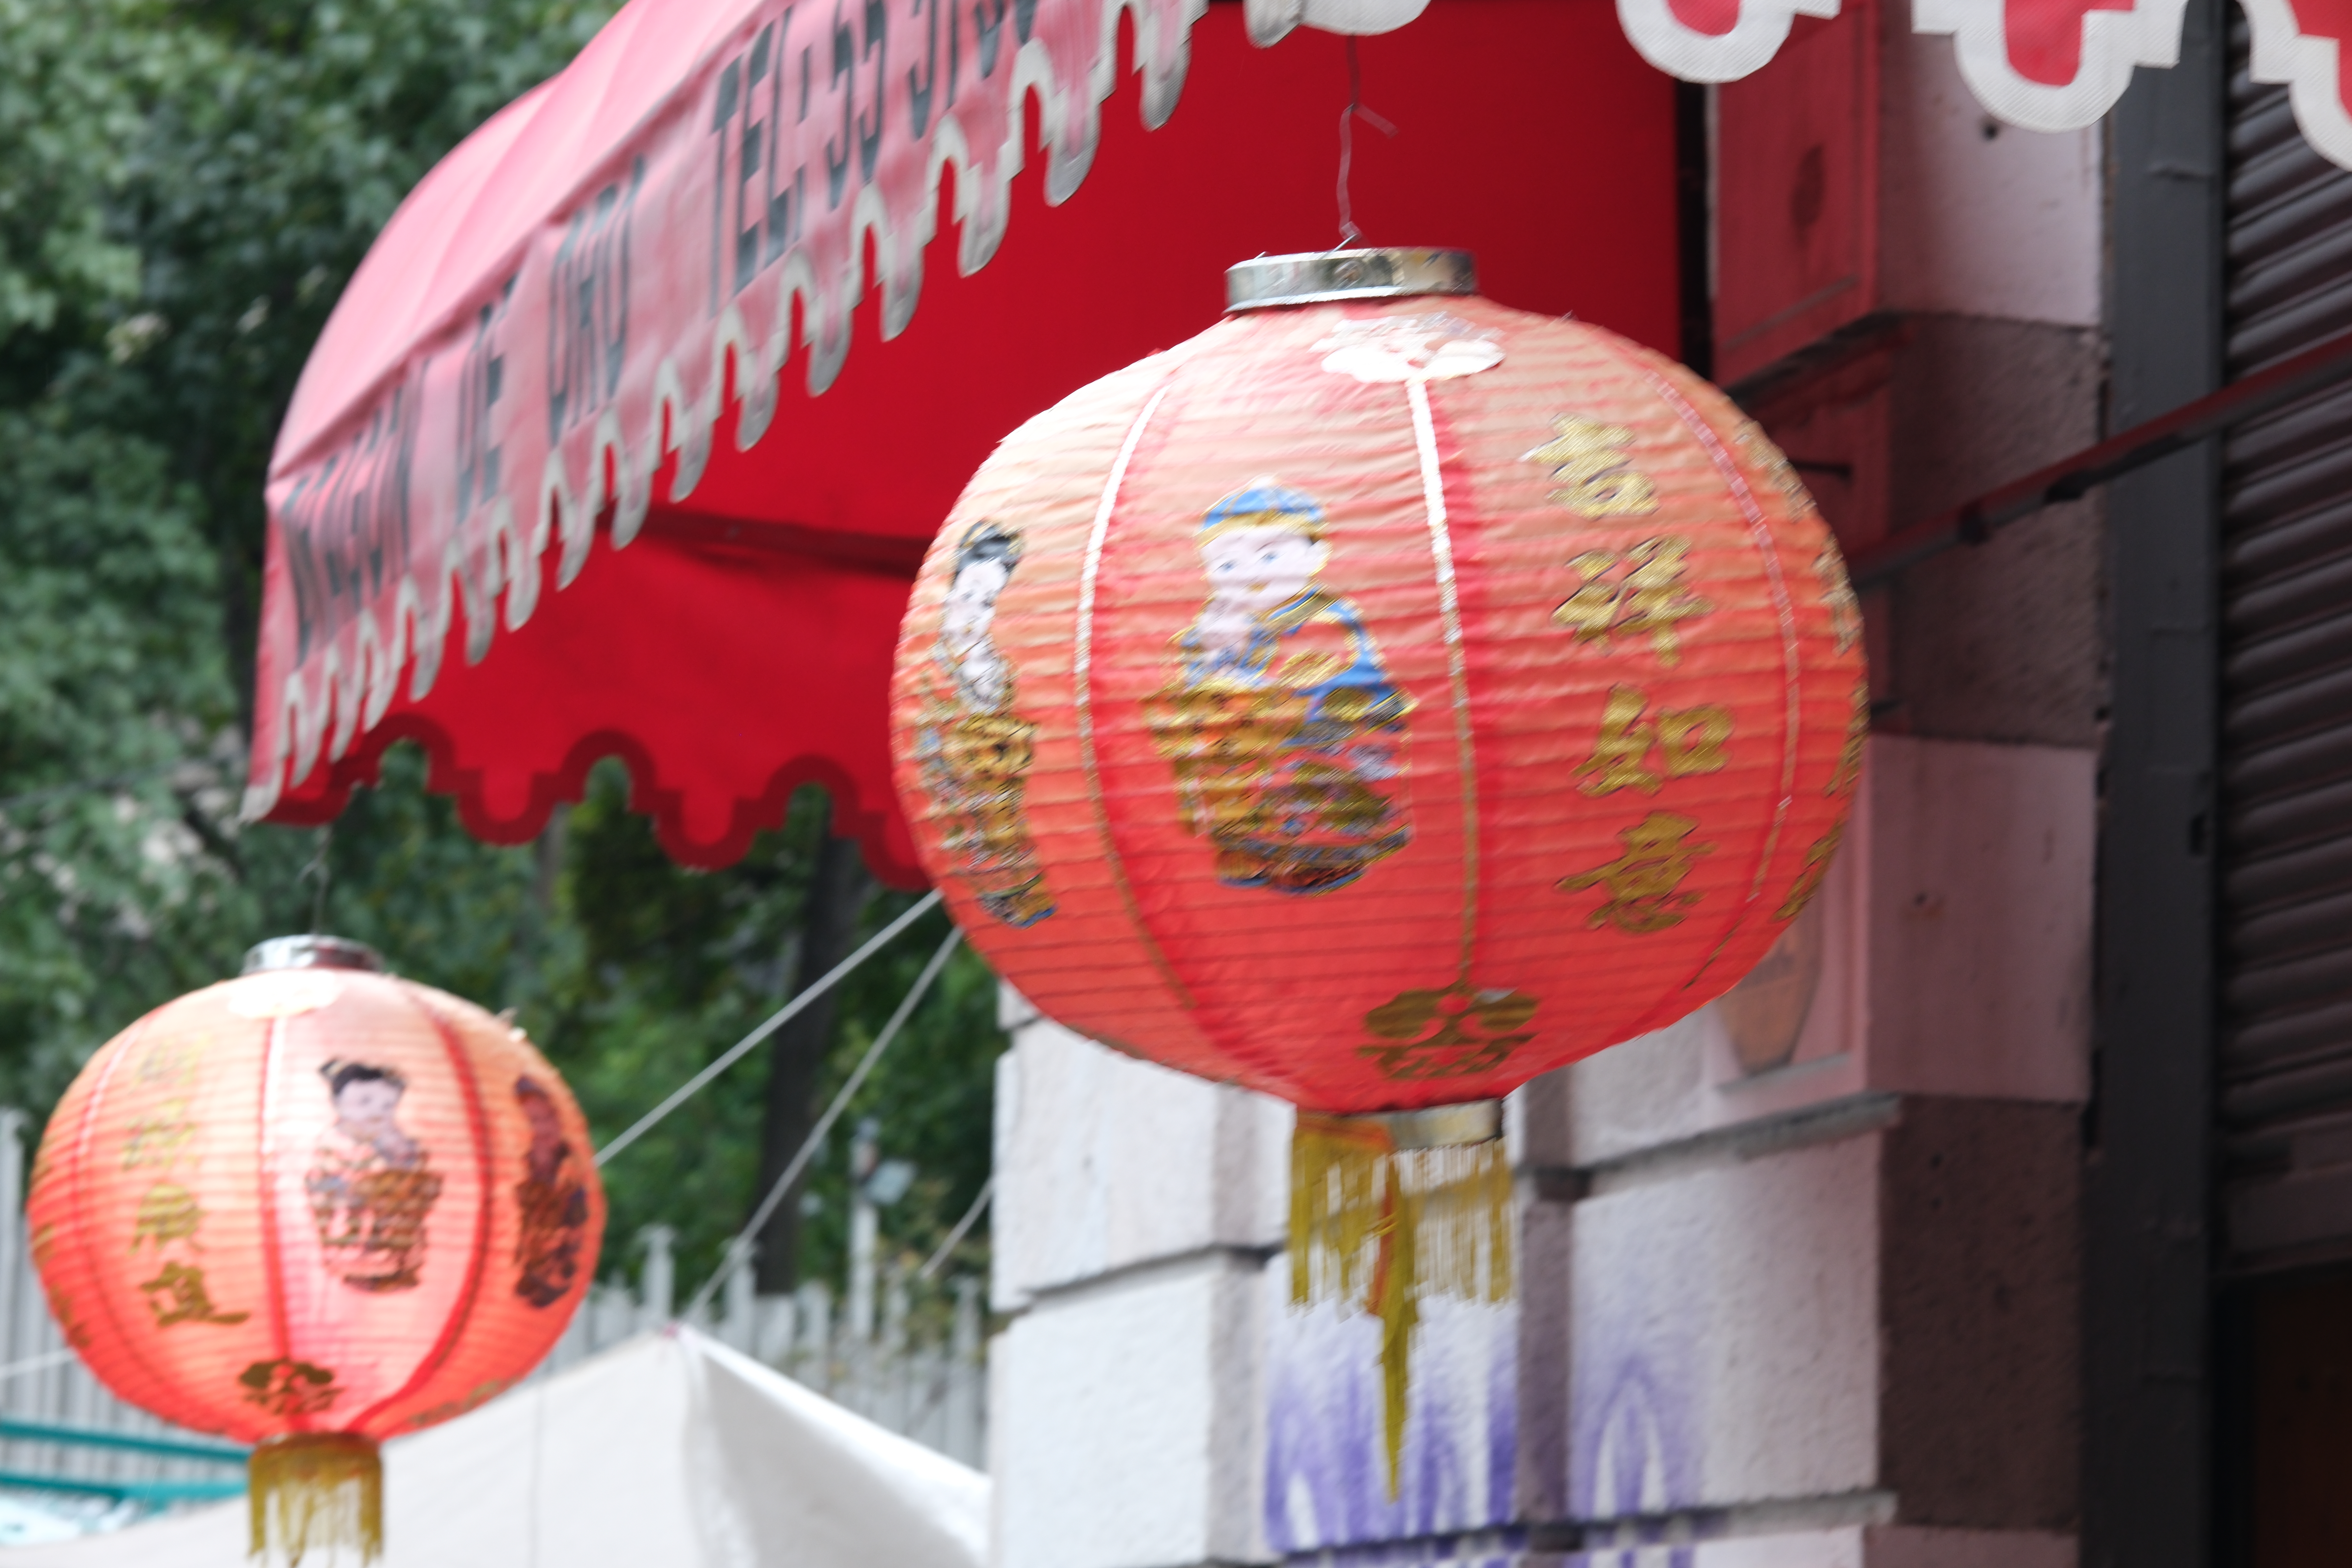
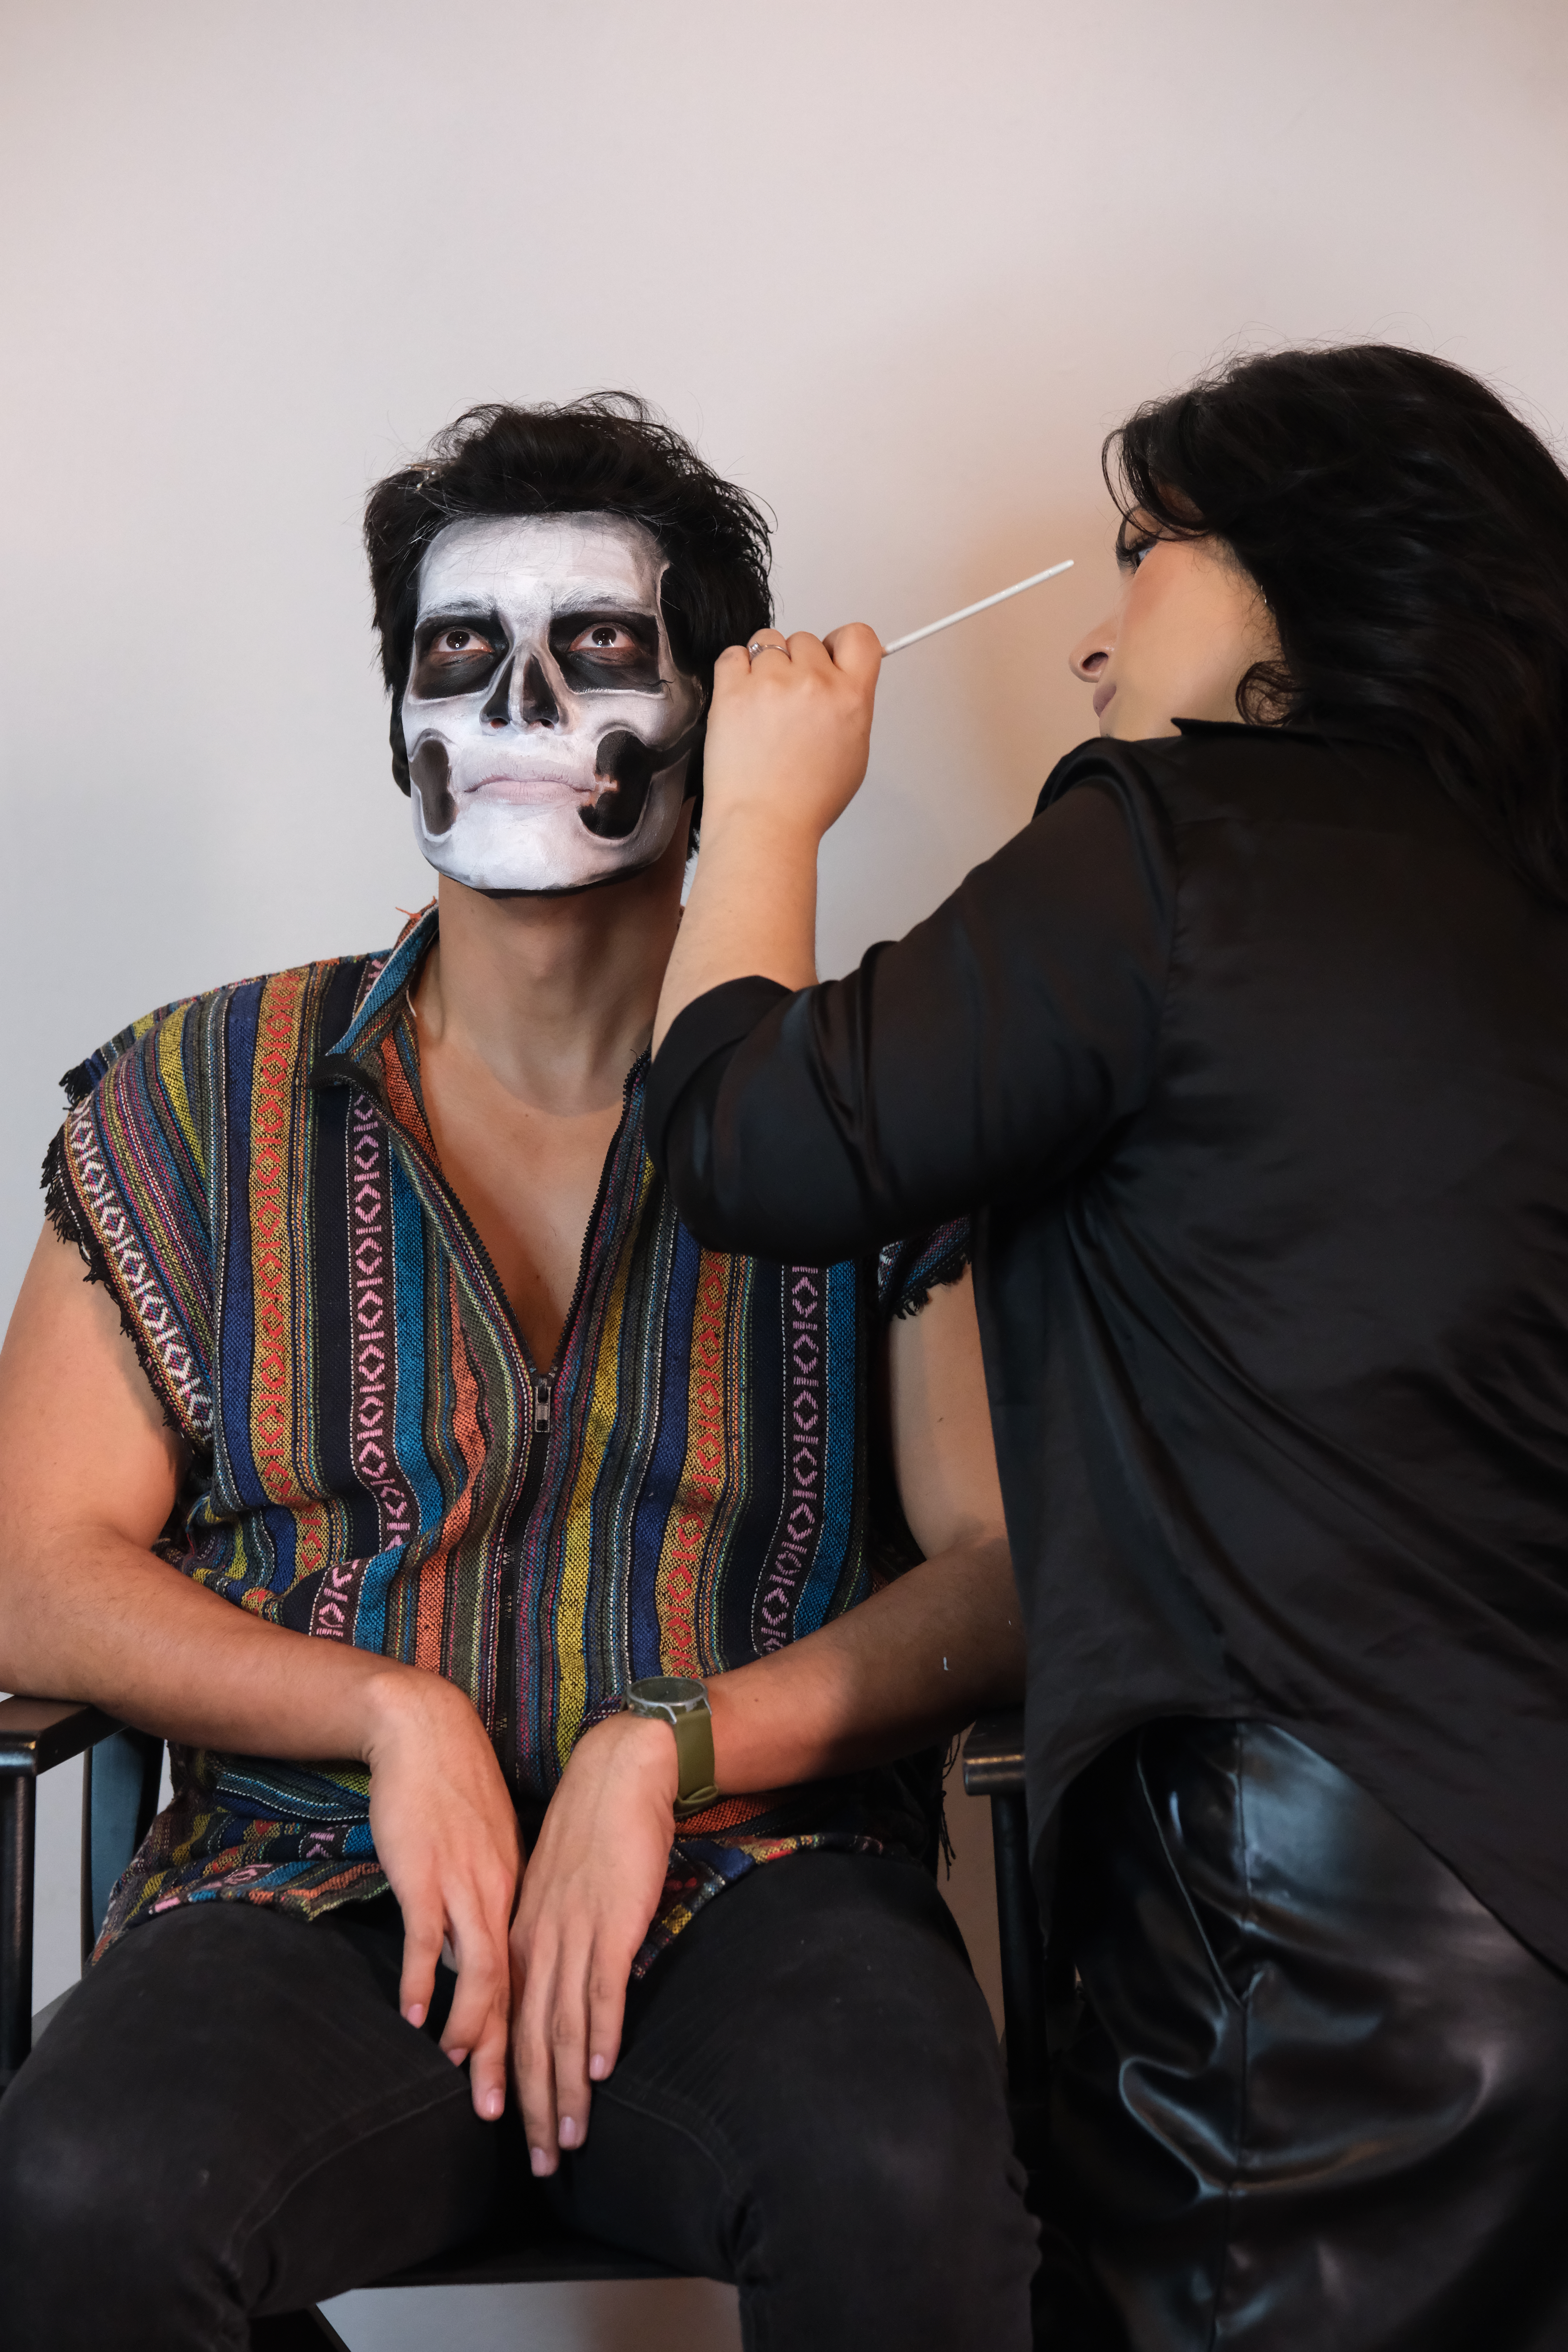
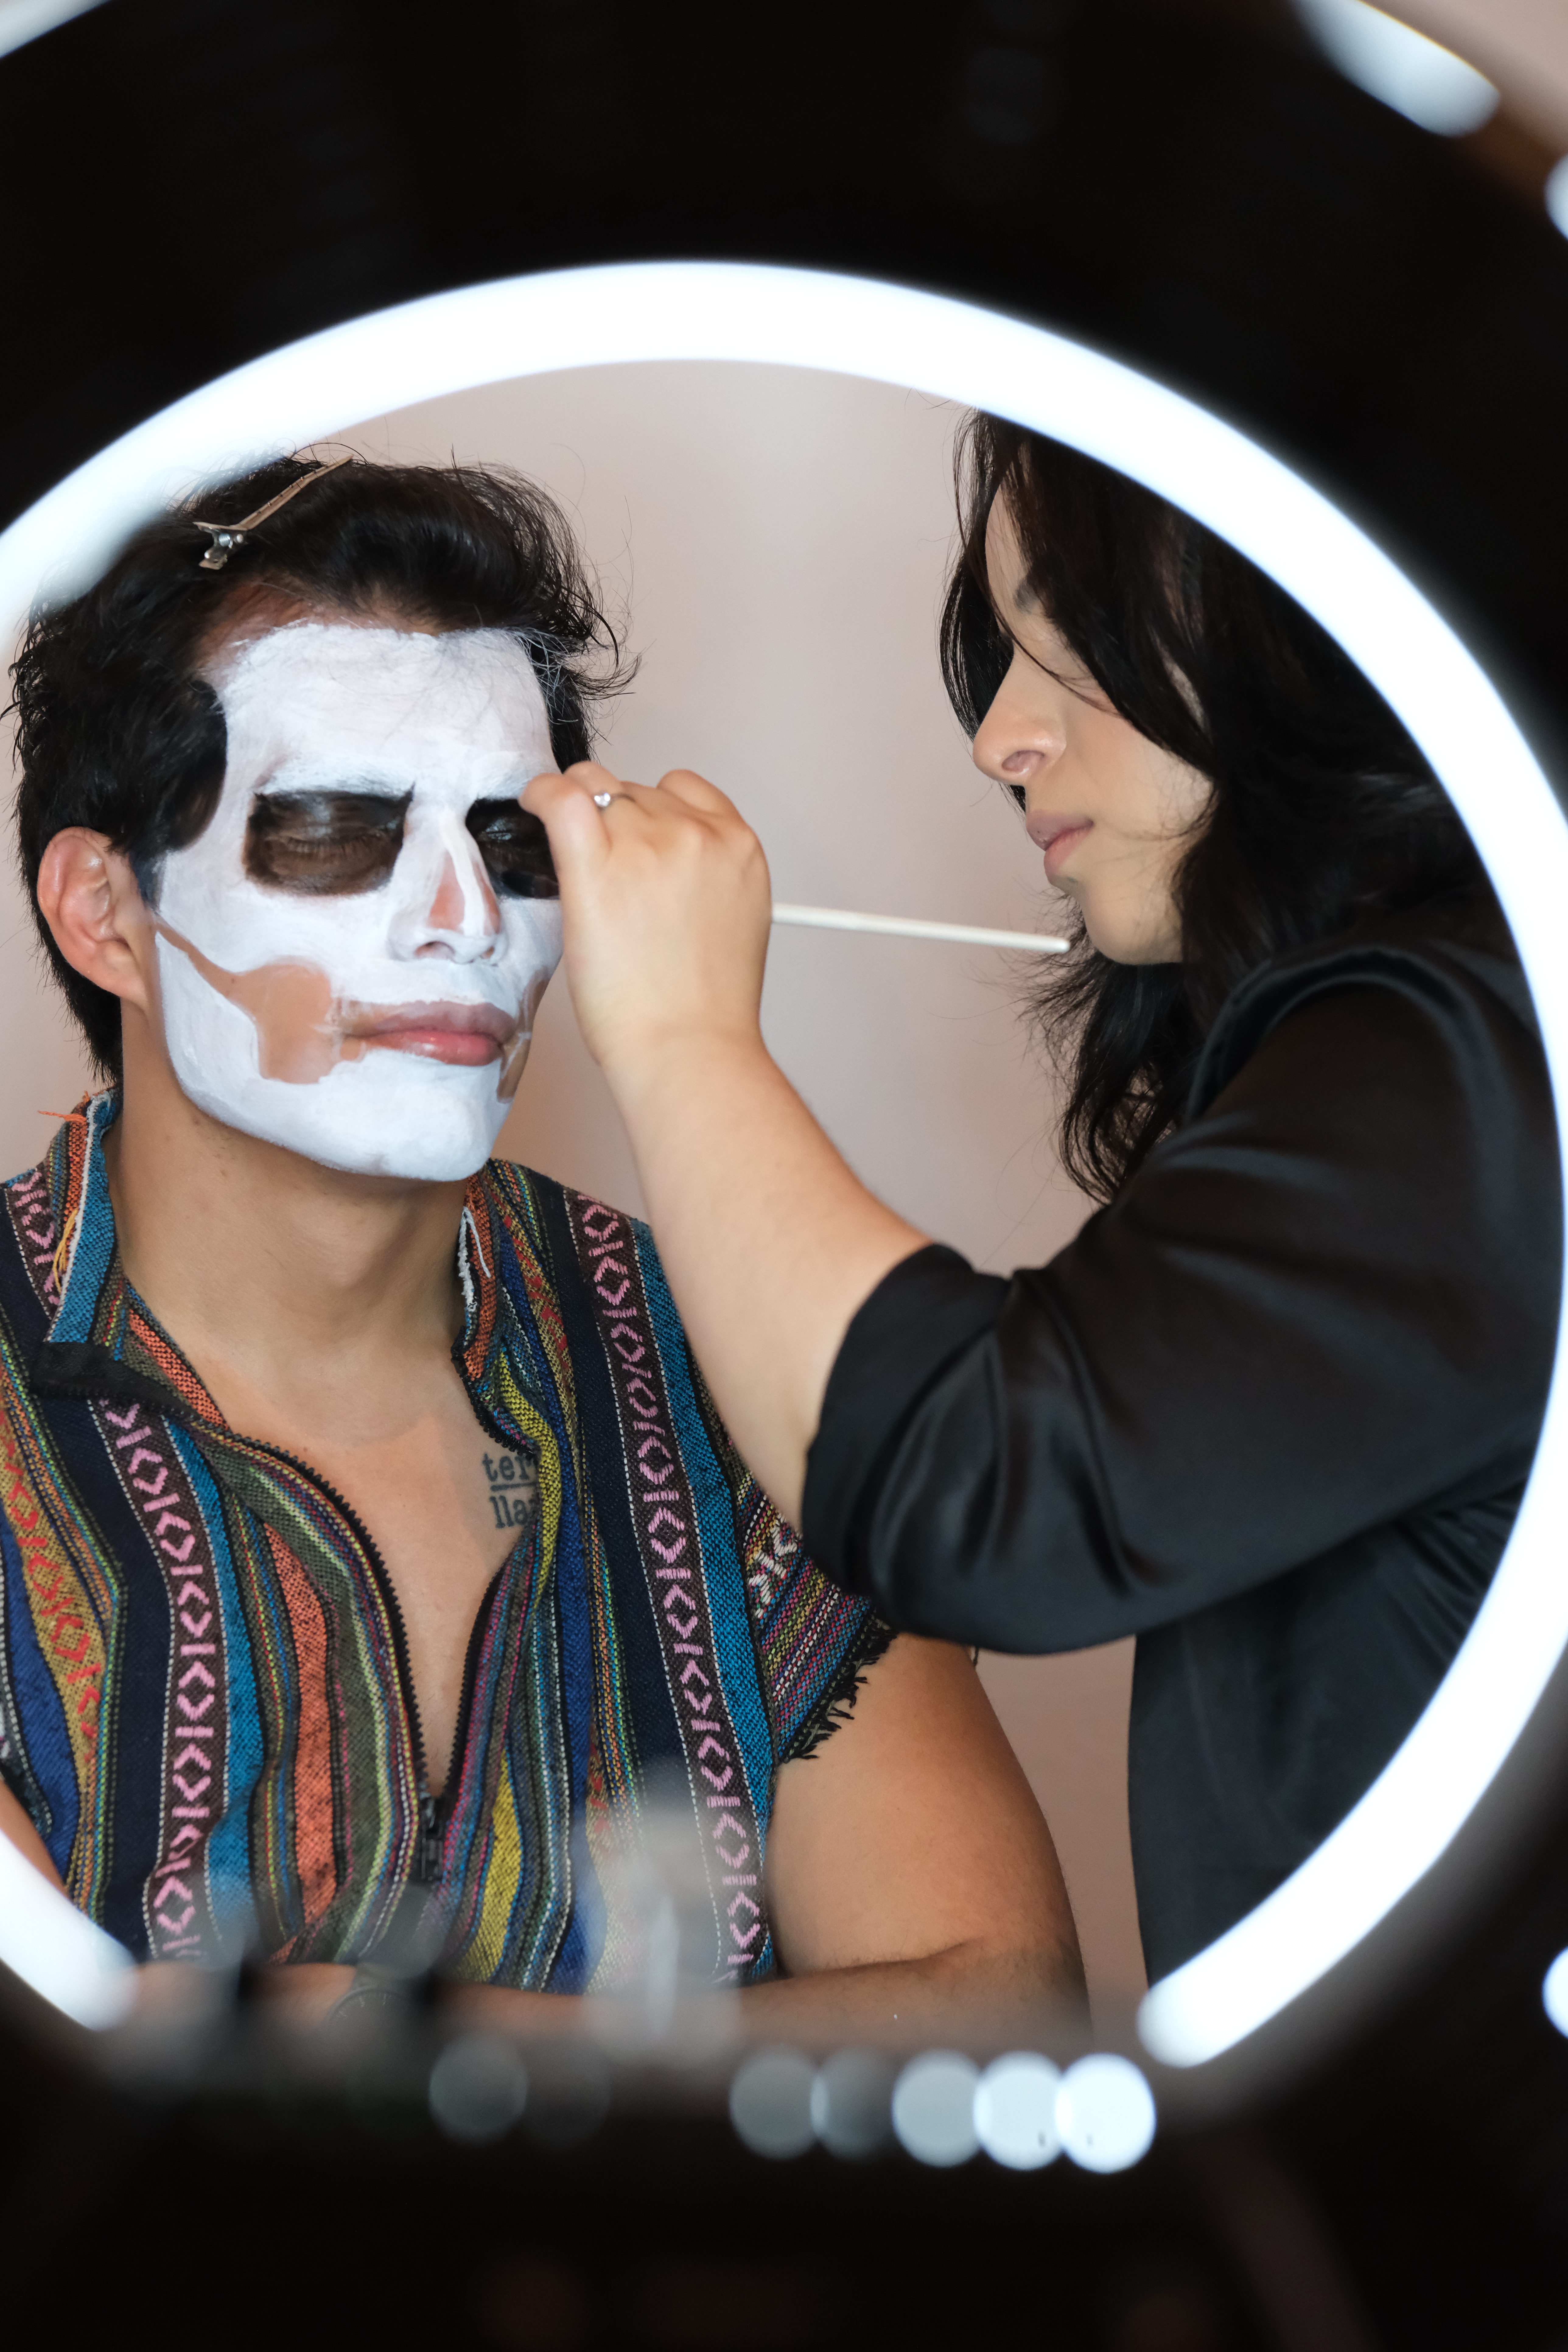
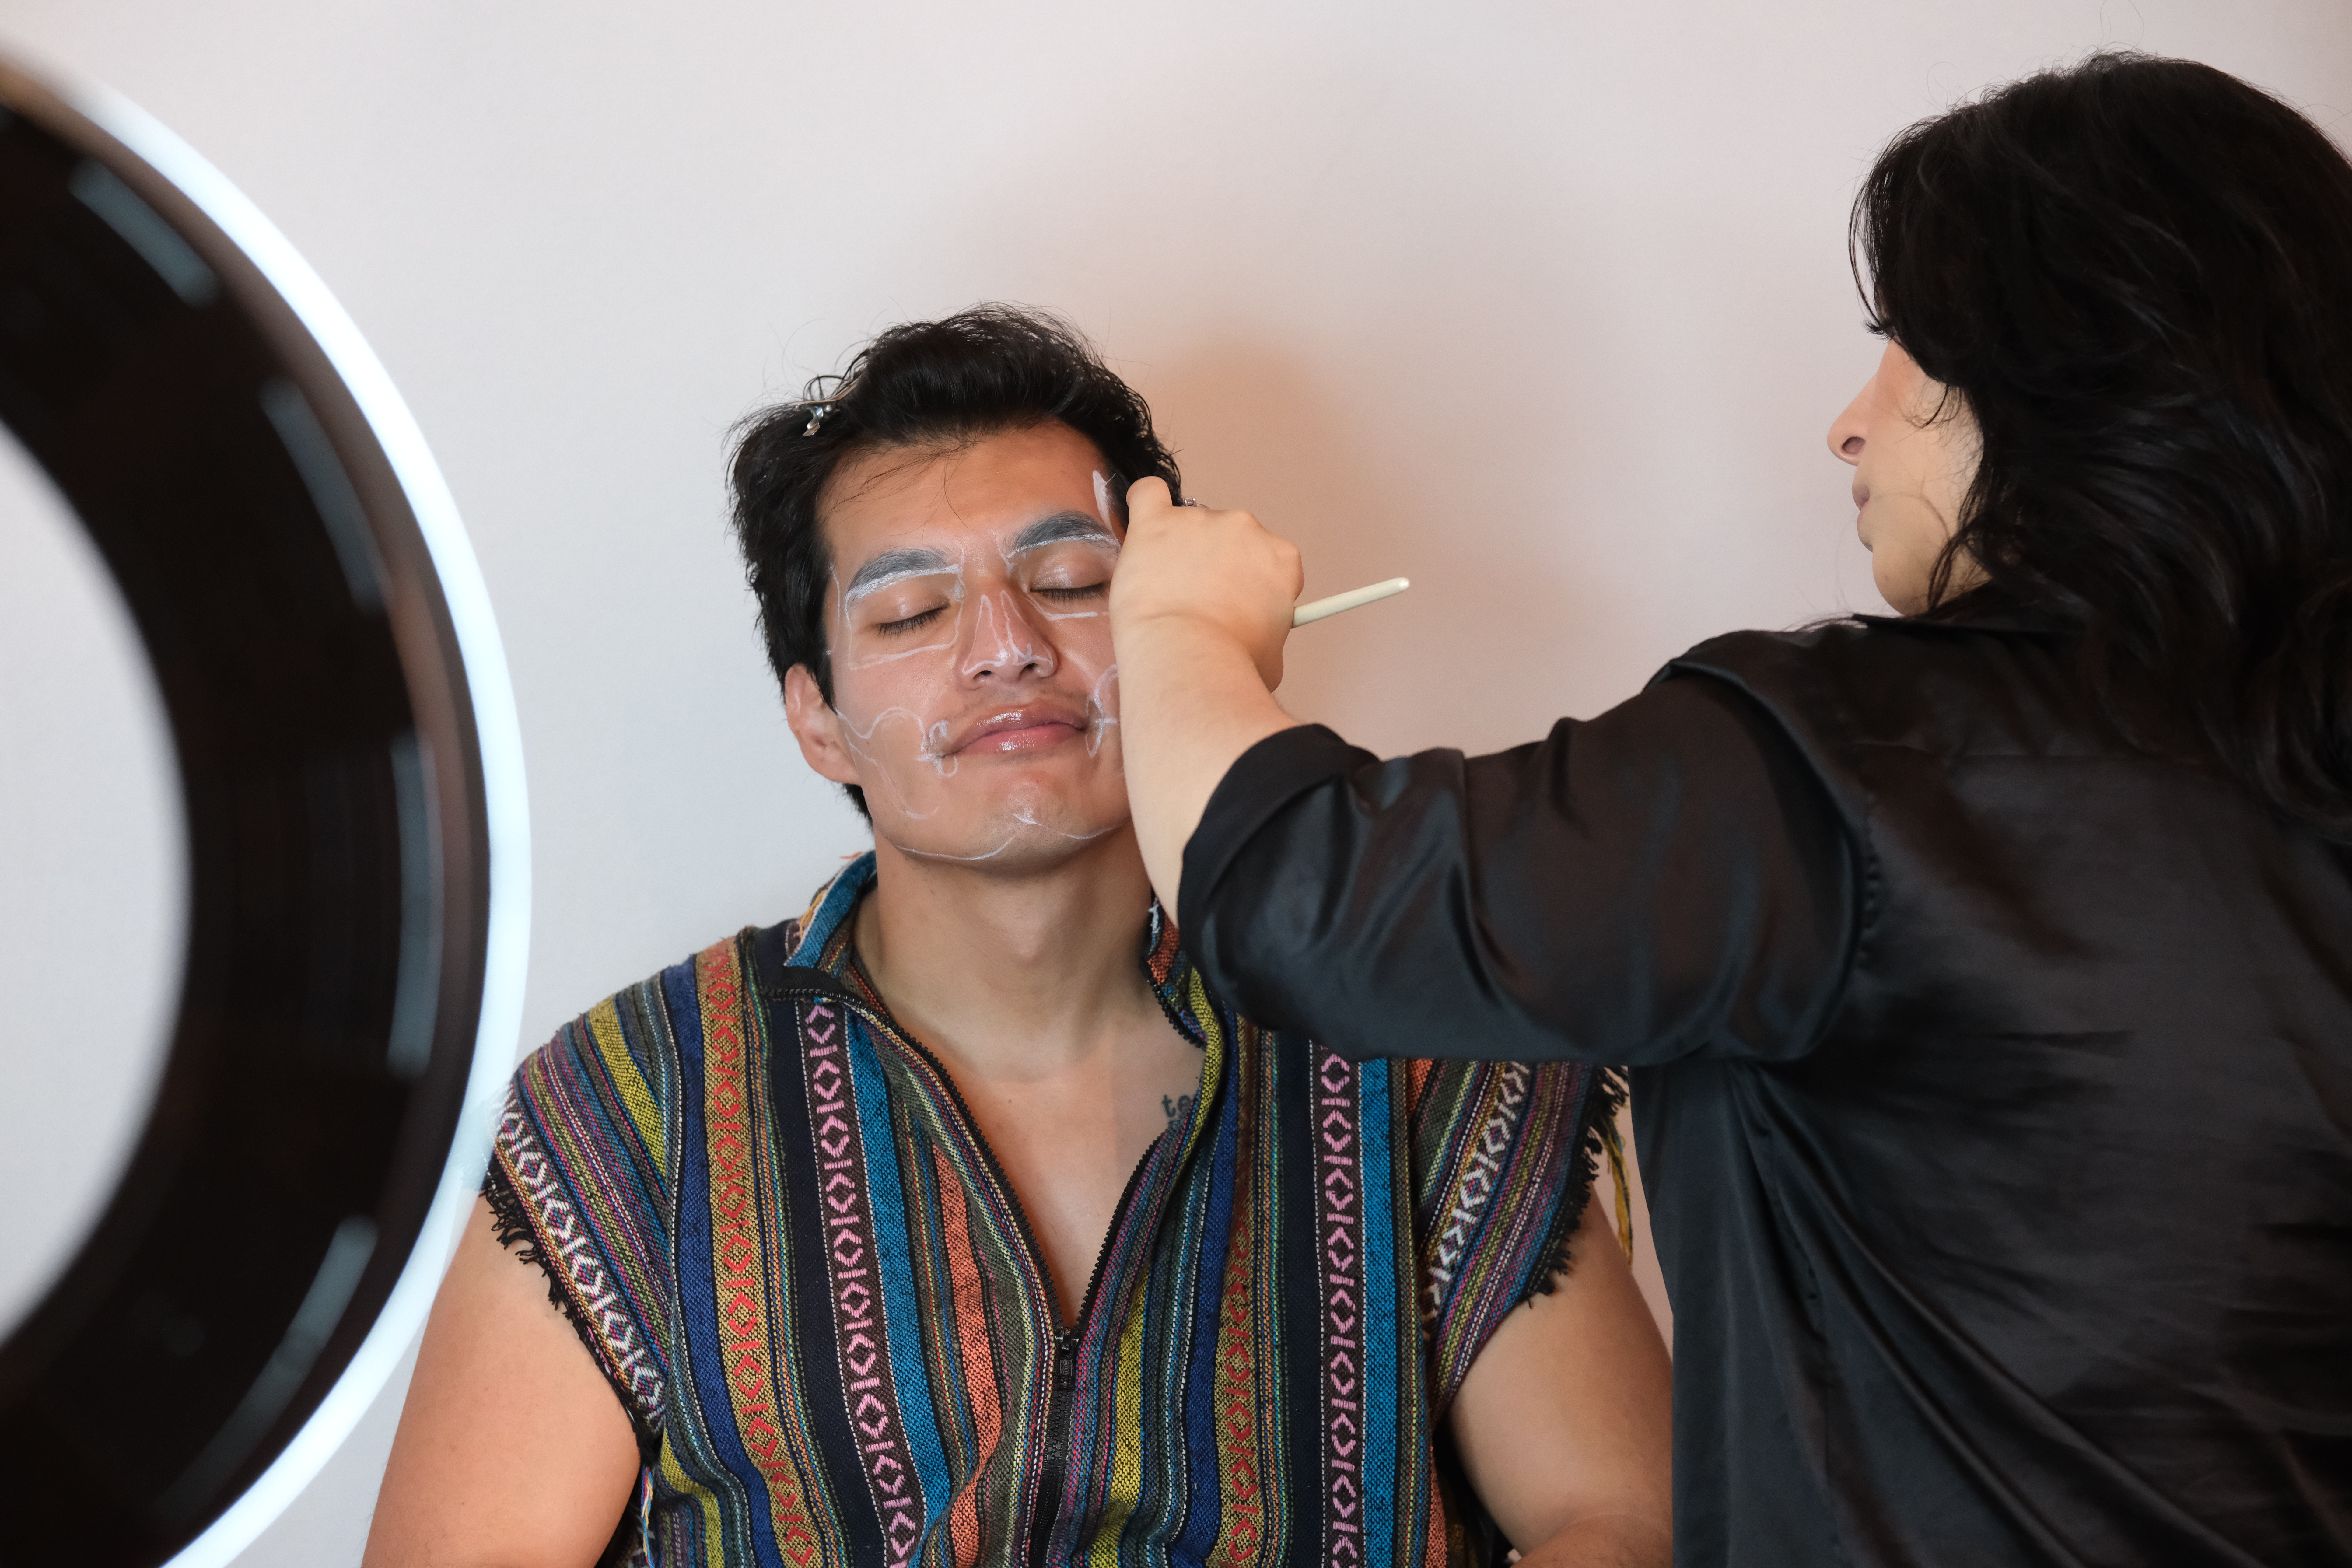
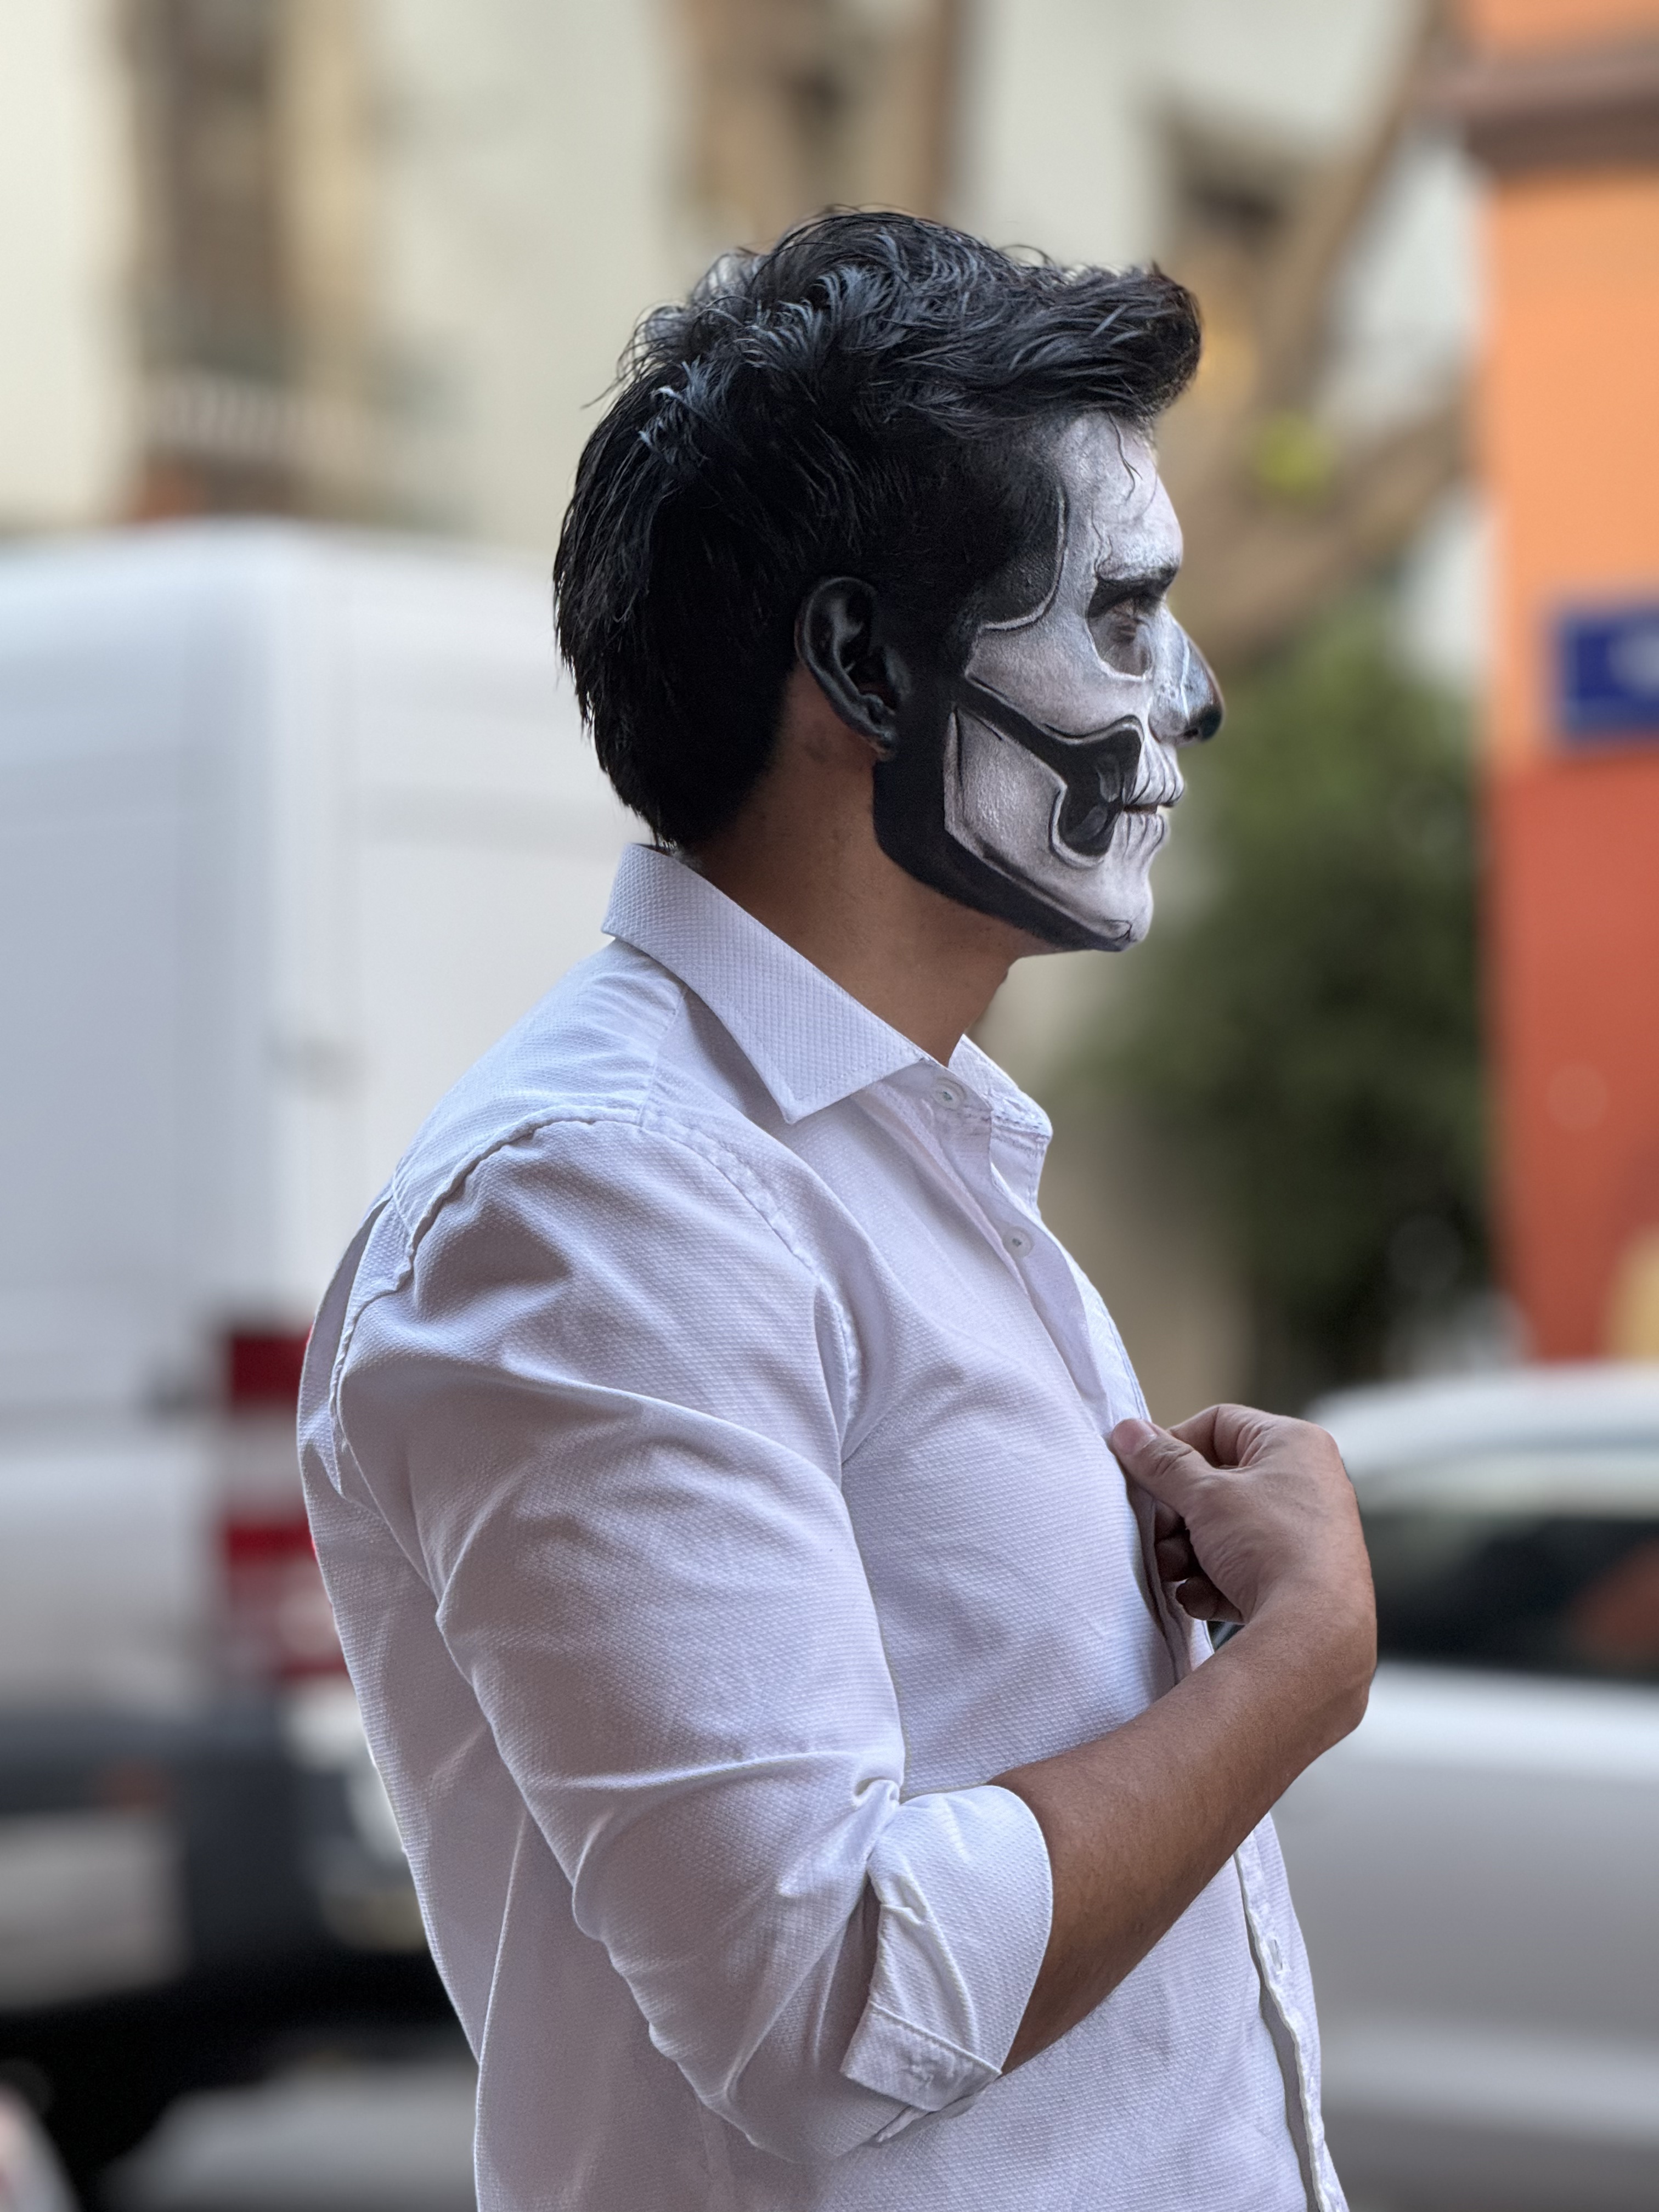
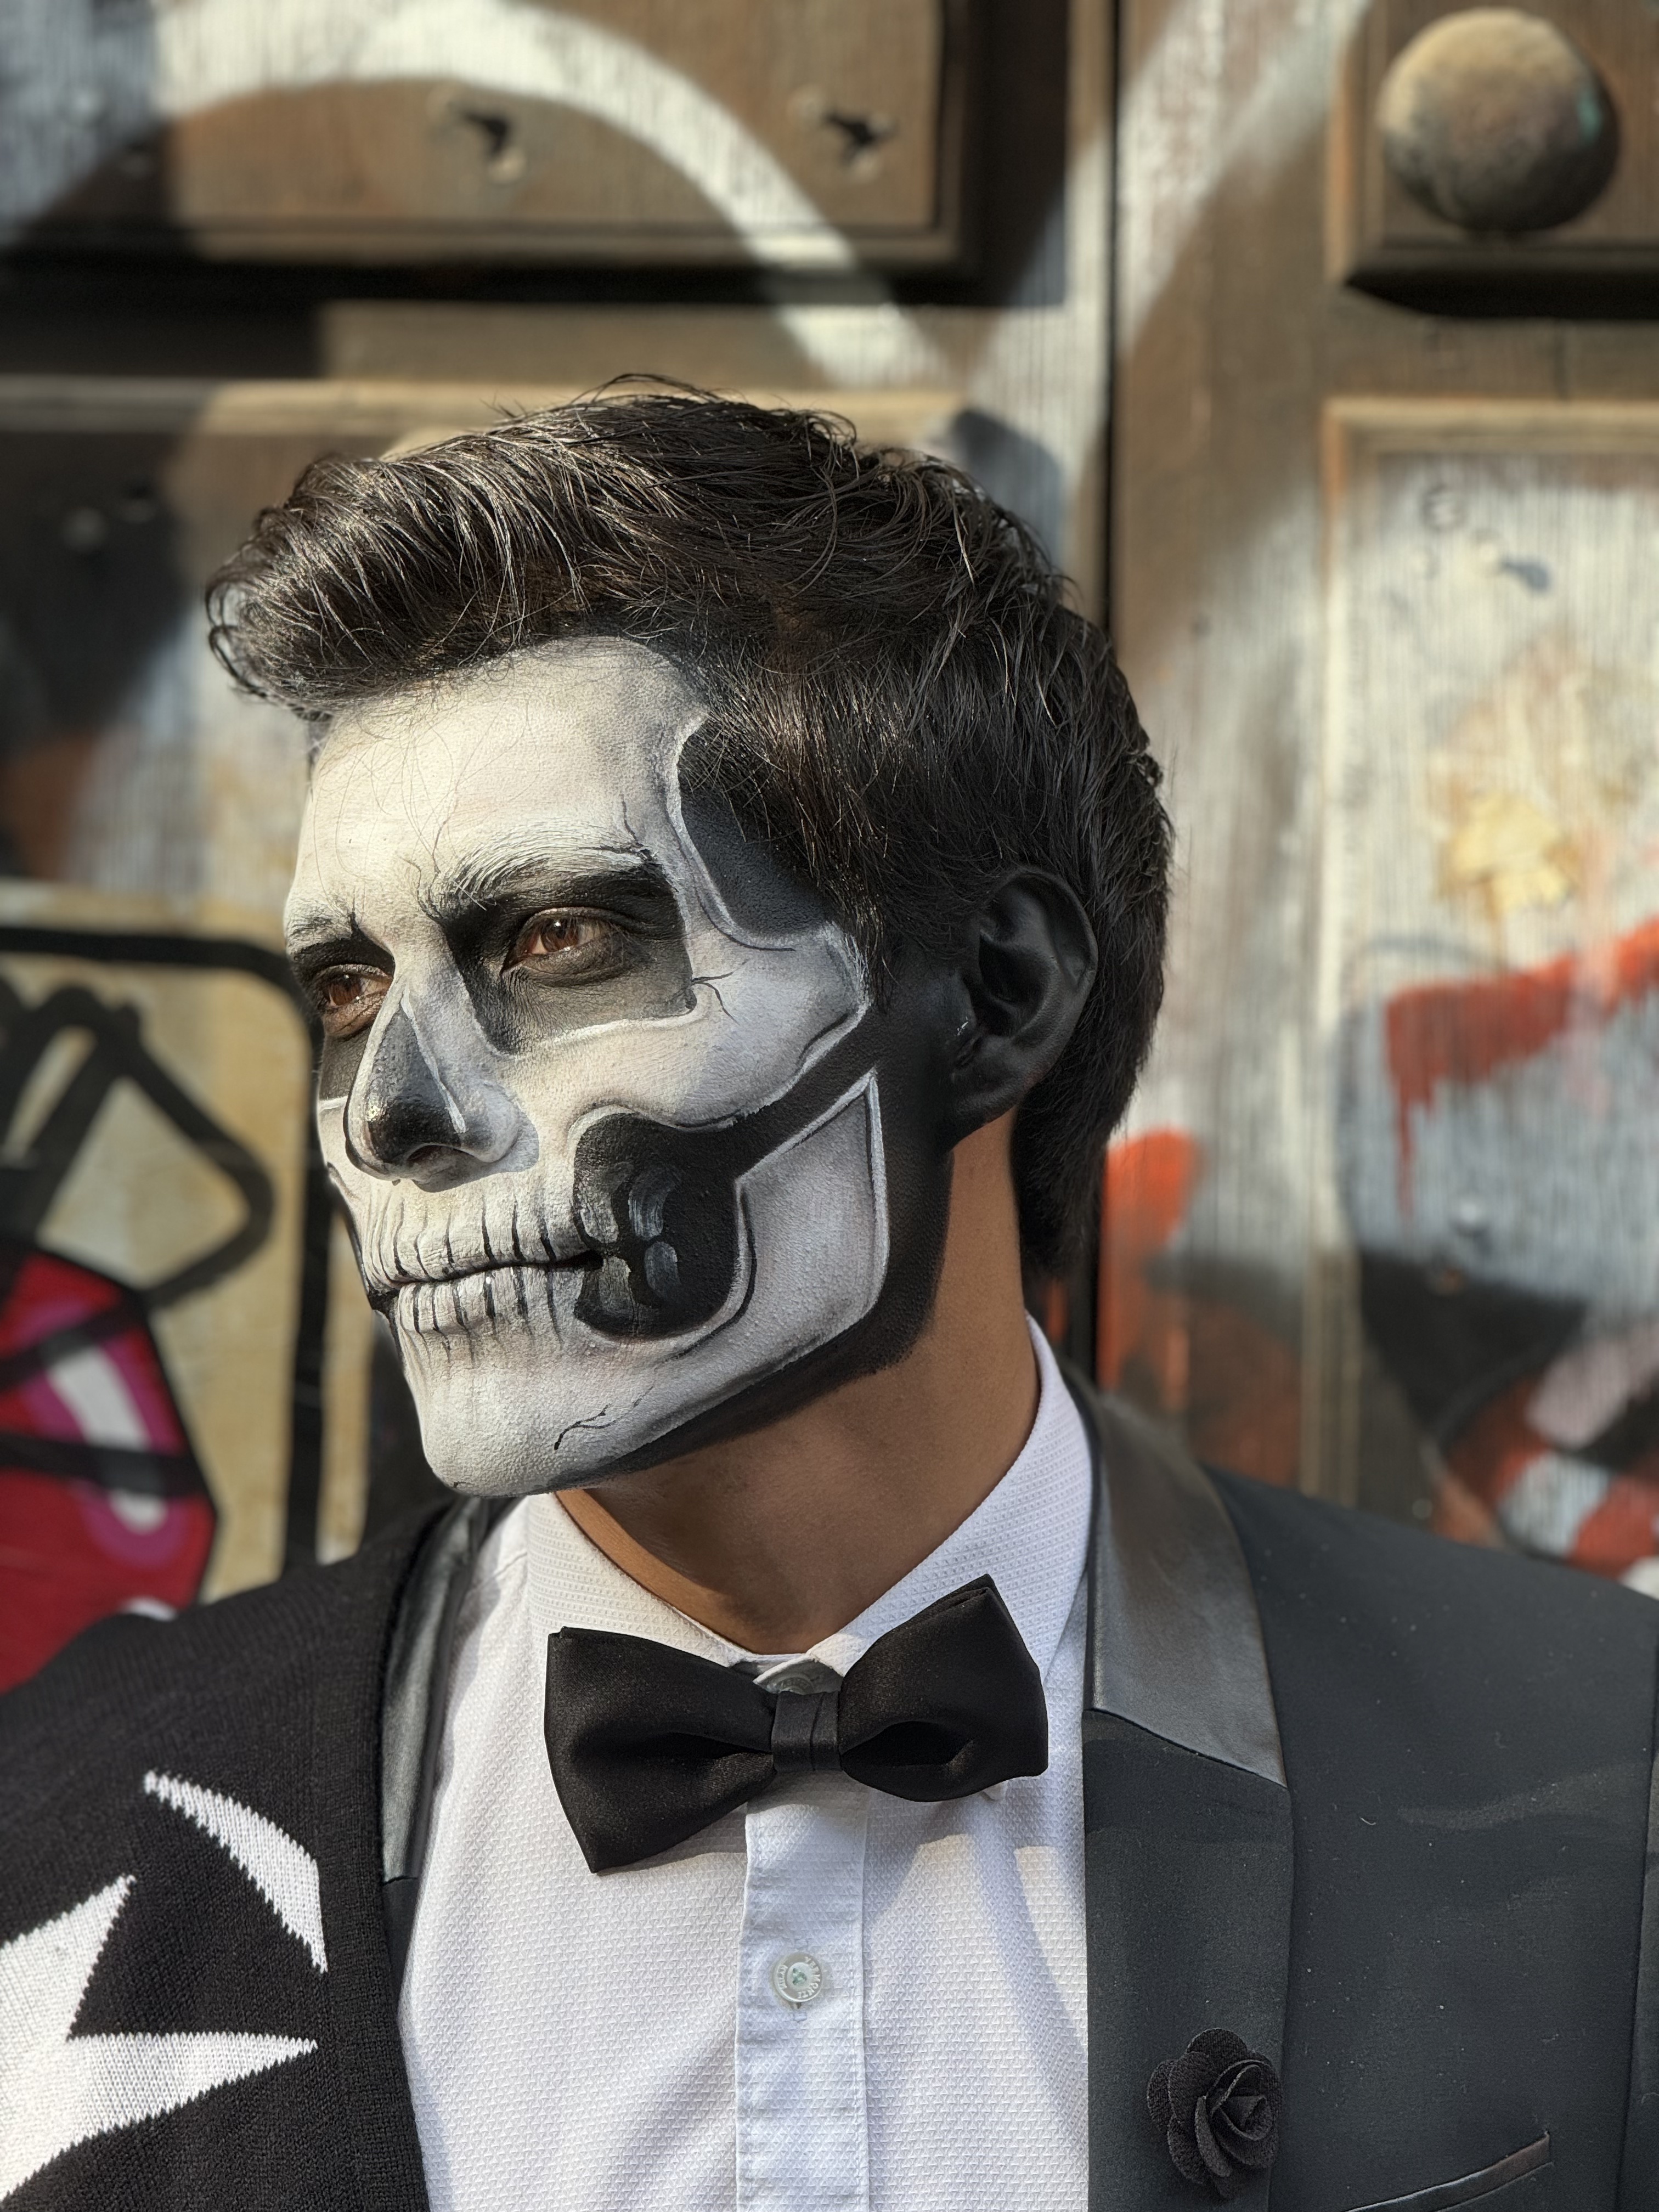
All work and no play makes for a dull conference, so we had several photo walks arranged; a daytime trek through the Mercado de San Juan which specializes in exotic cuisine (they have everything from whole turkeys to cockroaches to alligator meat!), a visit to Mexico City’s Chinatown, a nighttime photo walk in the Centro Historico around the Zocalo, and a large format portrait shoot with a model in Day of the Dead makeup and costume (another big thanks to our model and his makeup artist – Rafa Farias and Annie Hernandez).


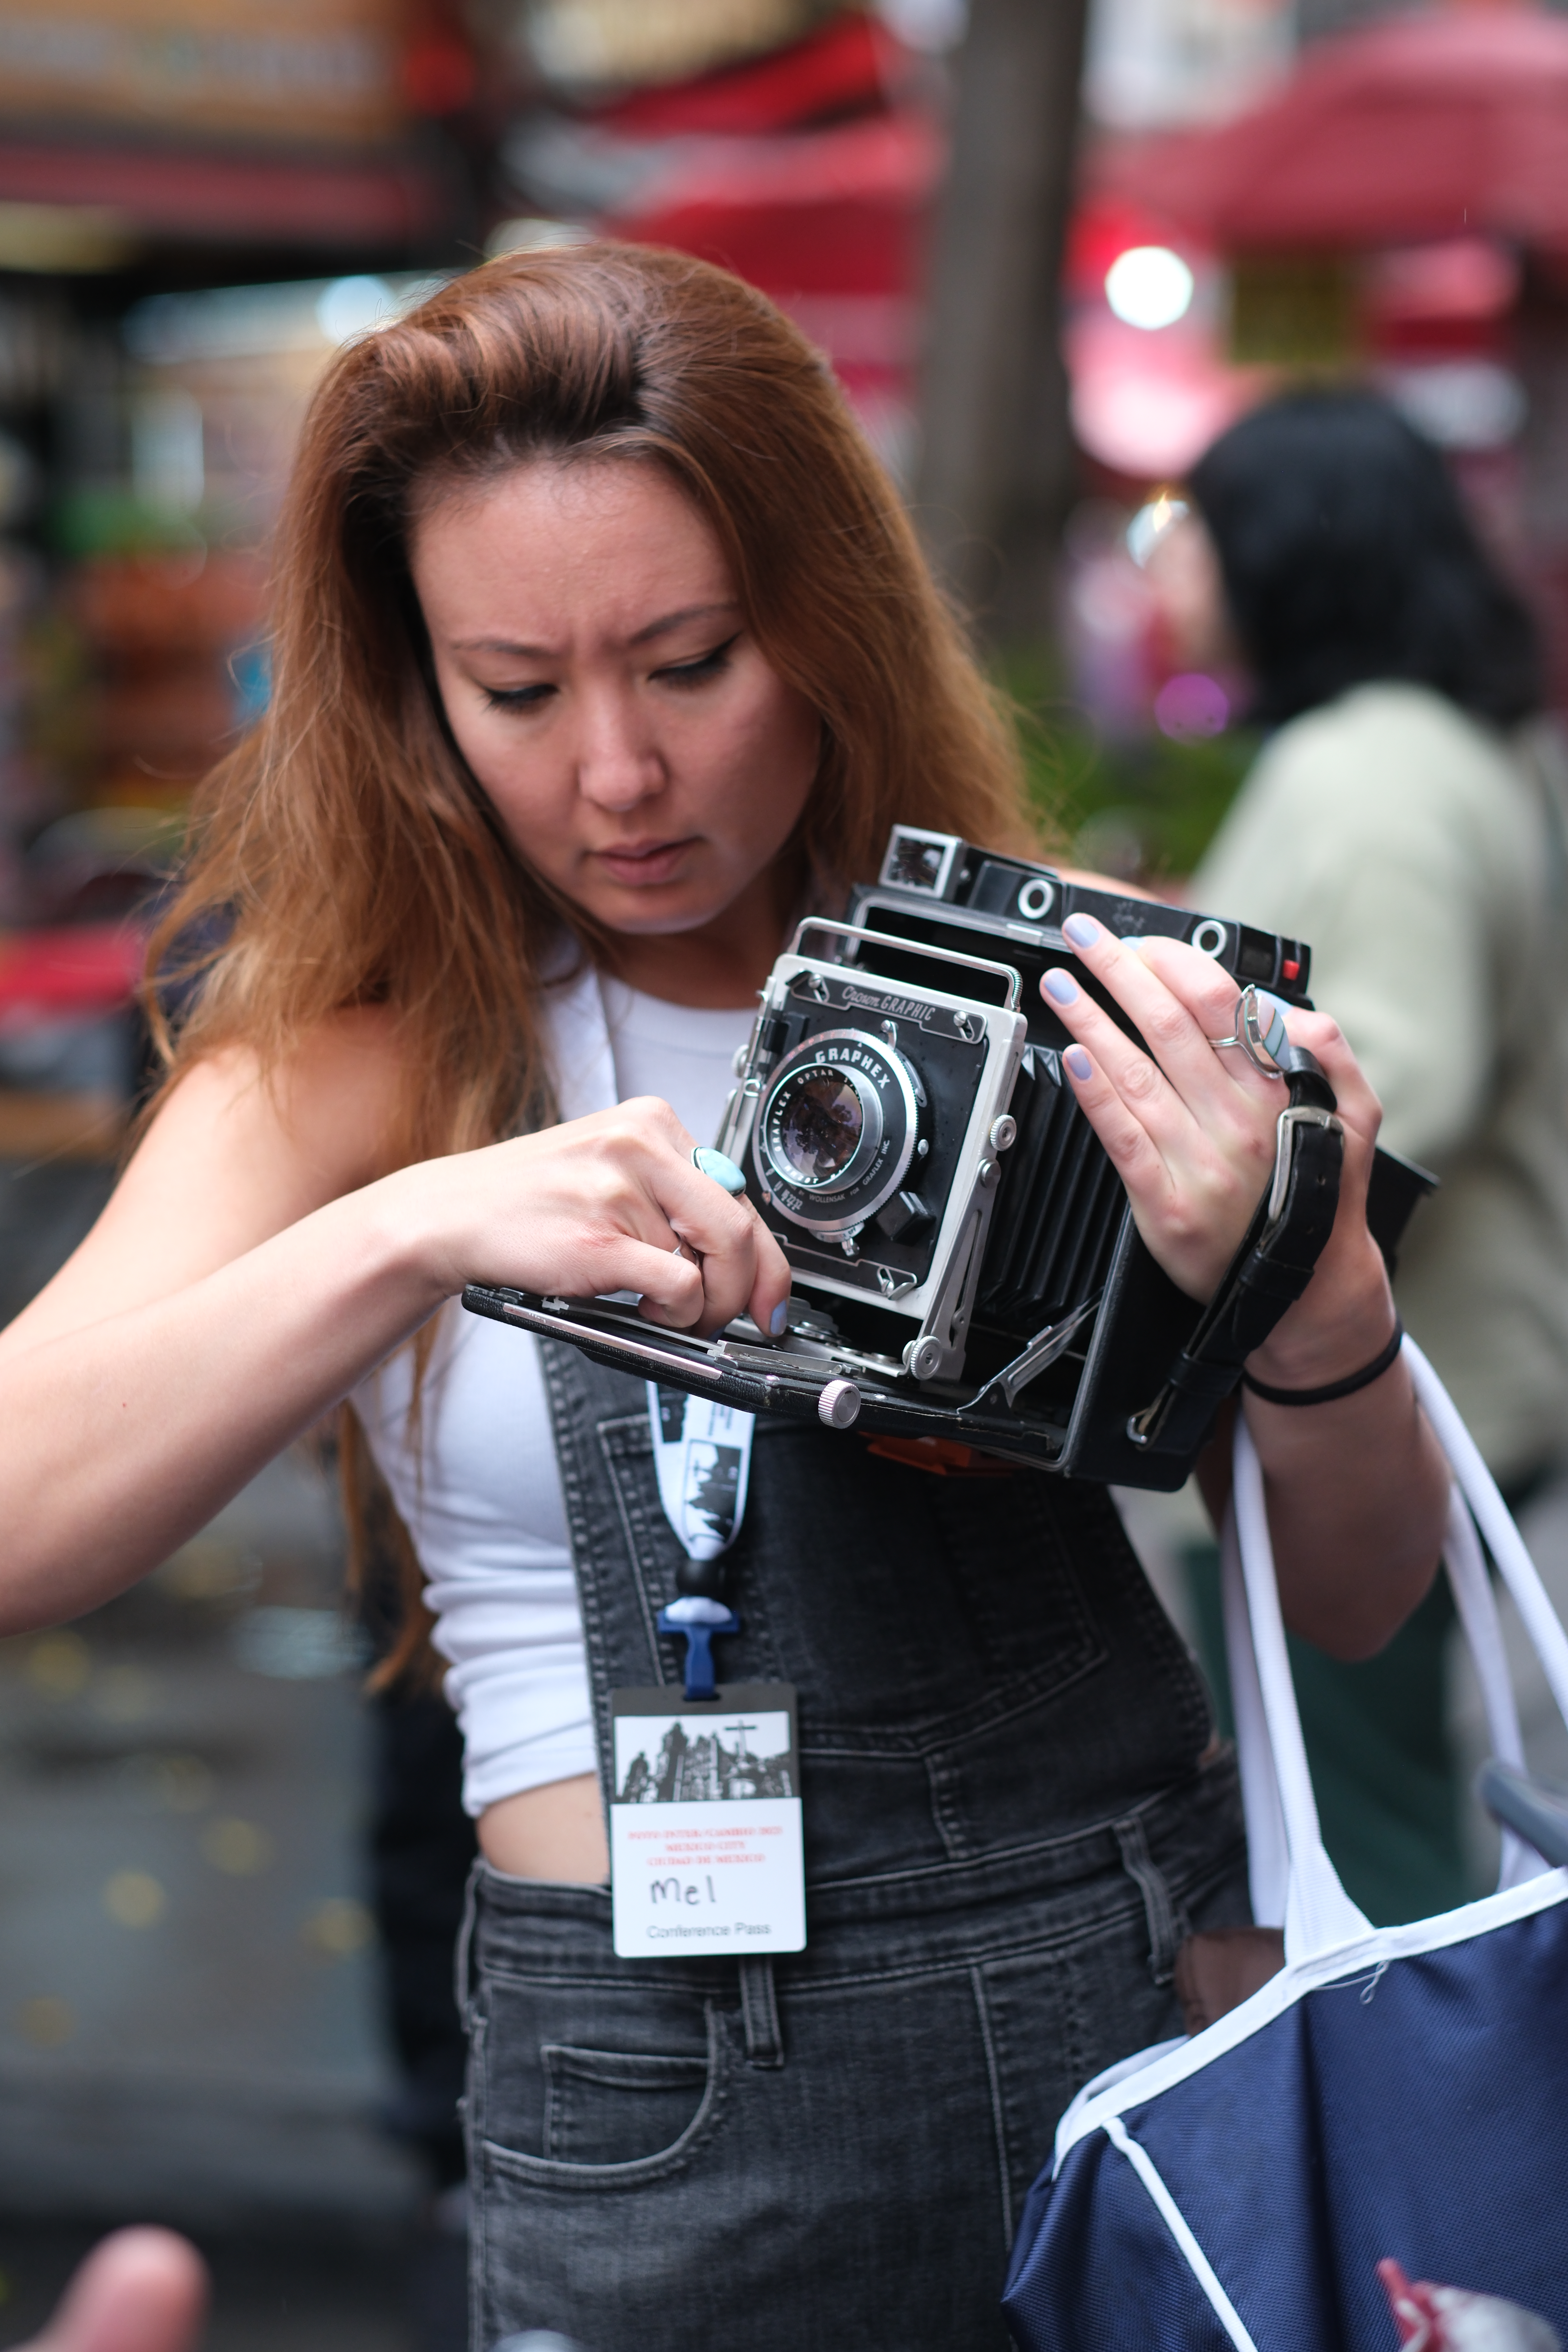

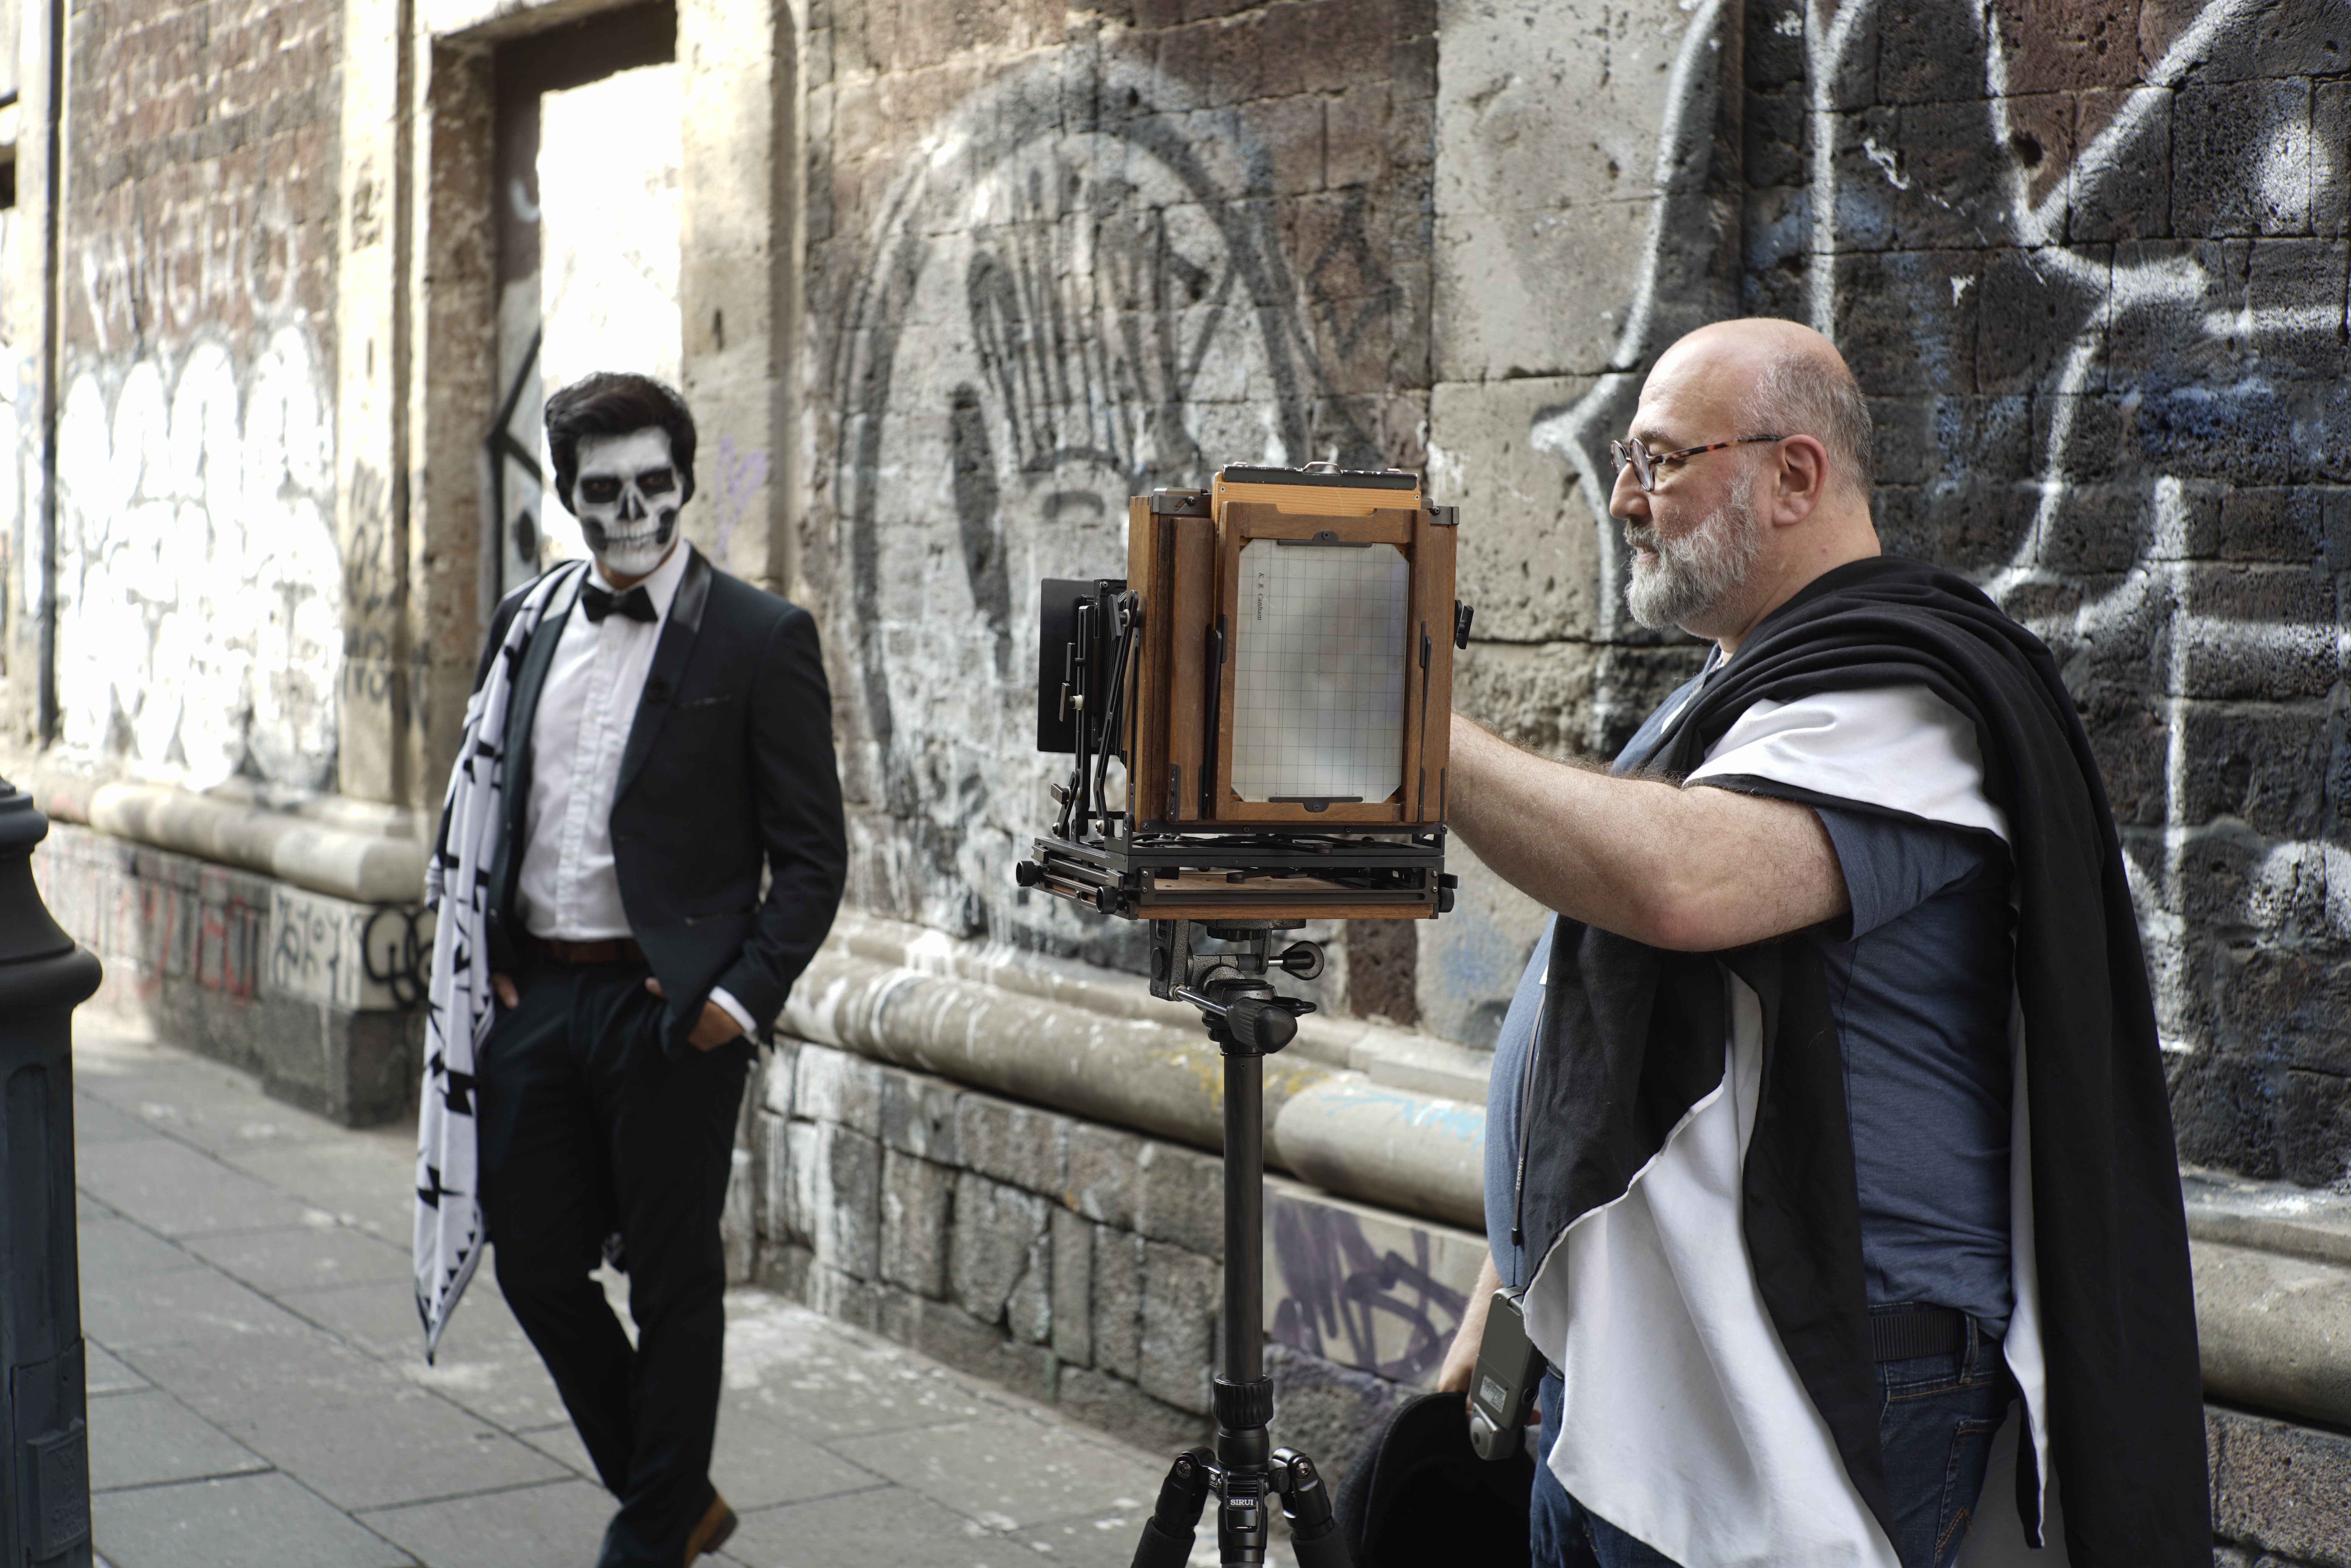
Rafa and Annie getting ready for his shoot, and a few views of the finished results (that’s me with the 5×7 view camera in the last shot):


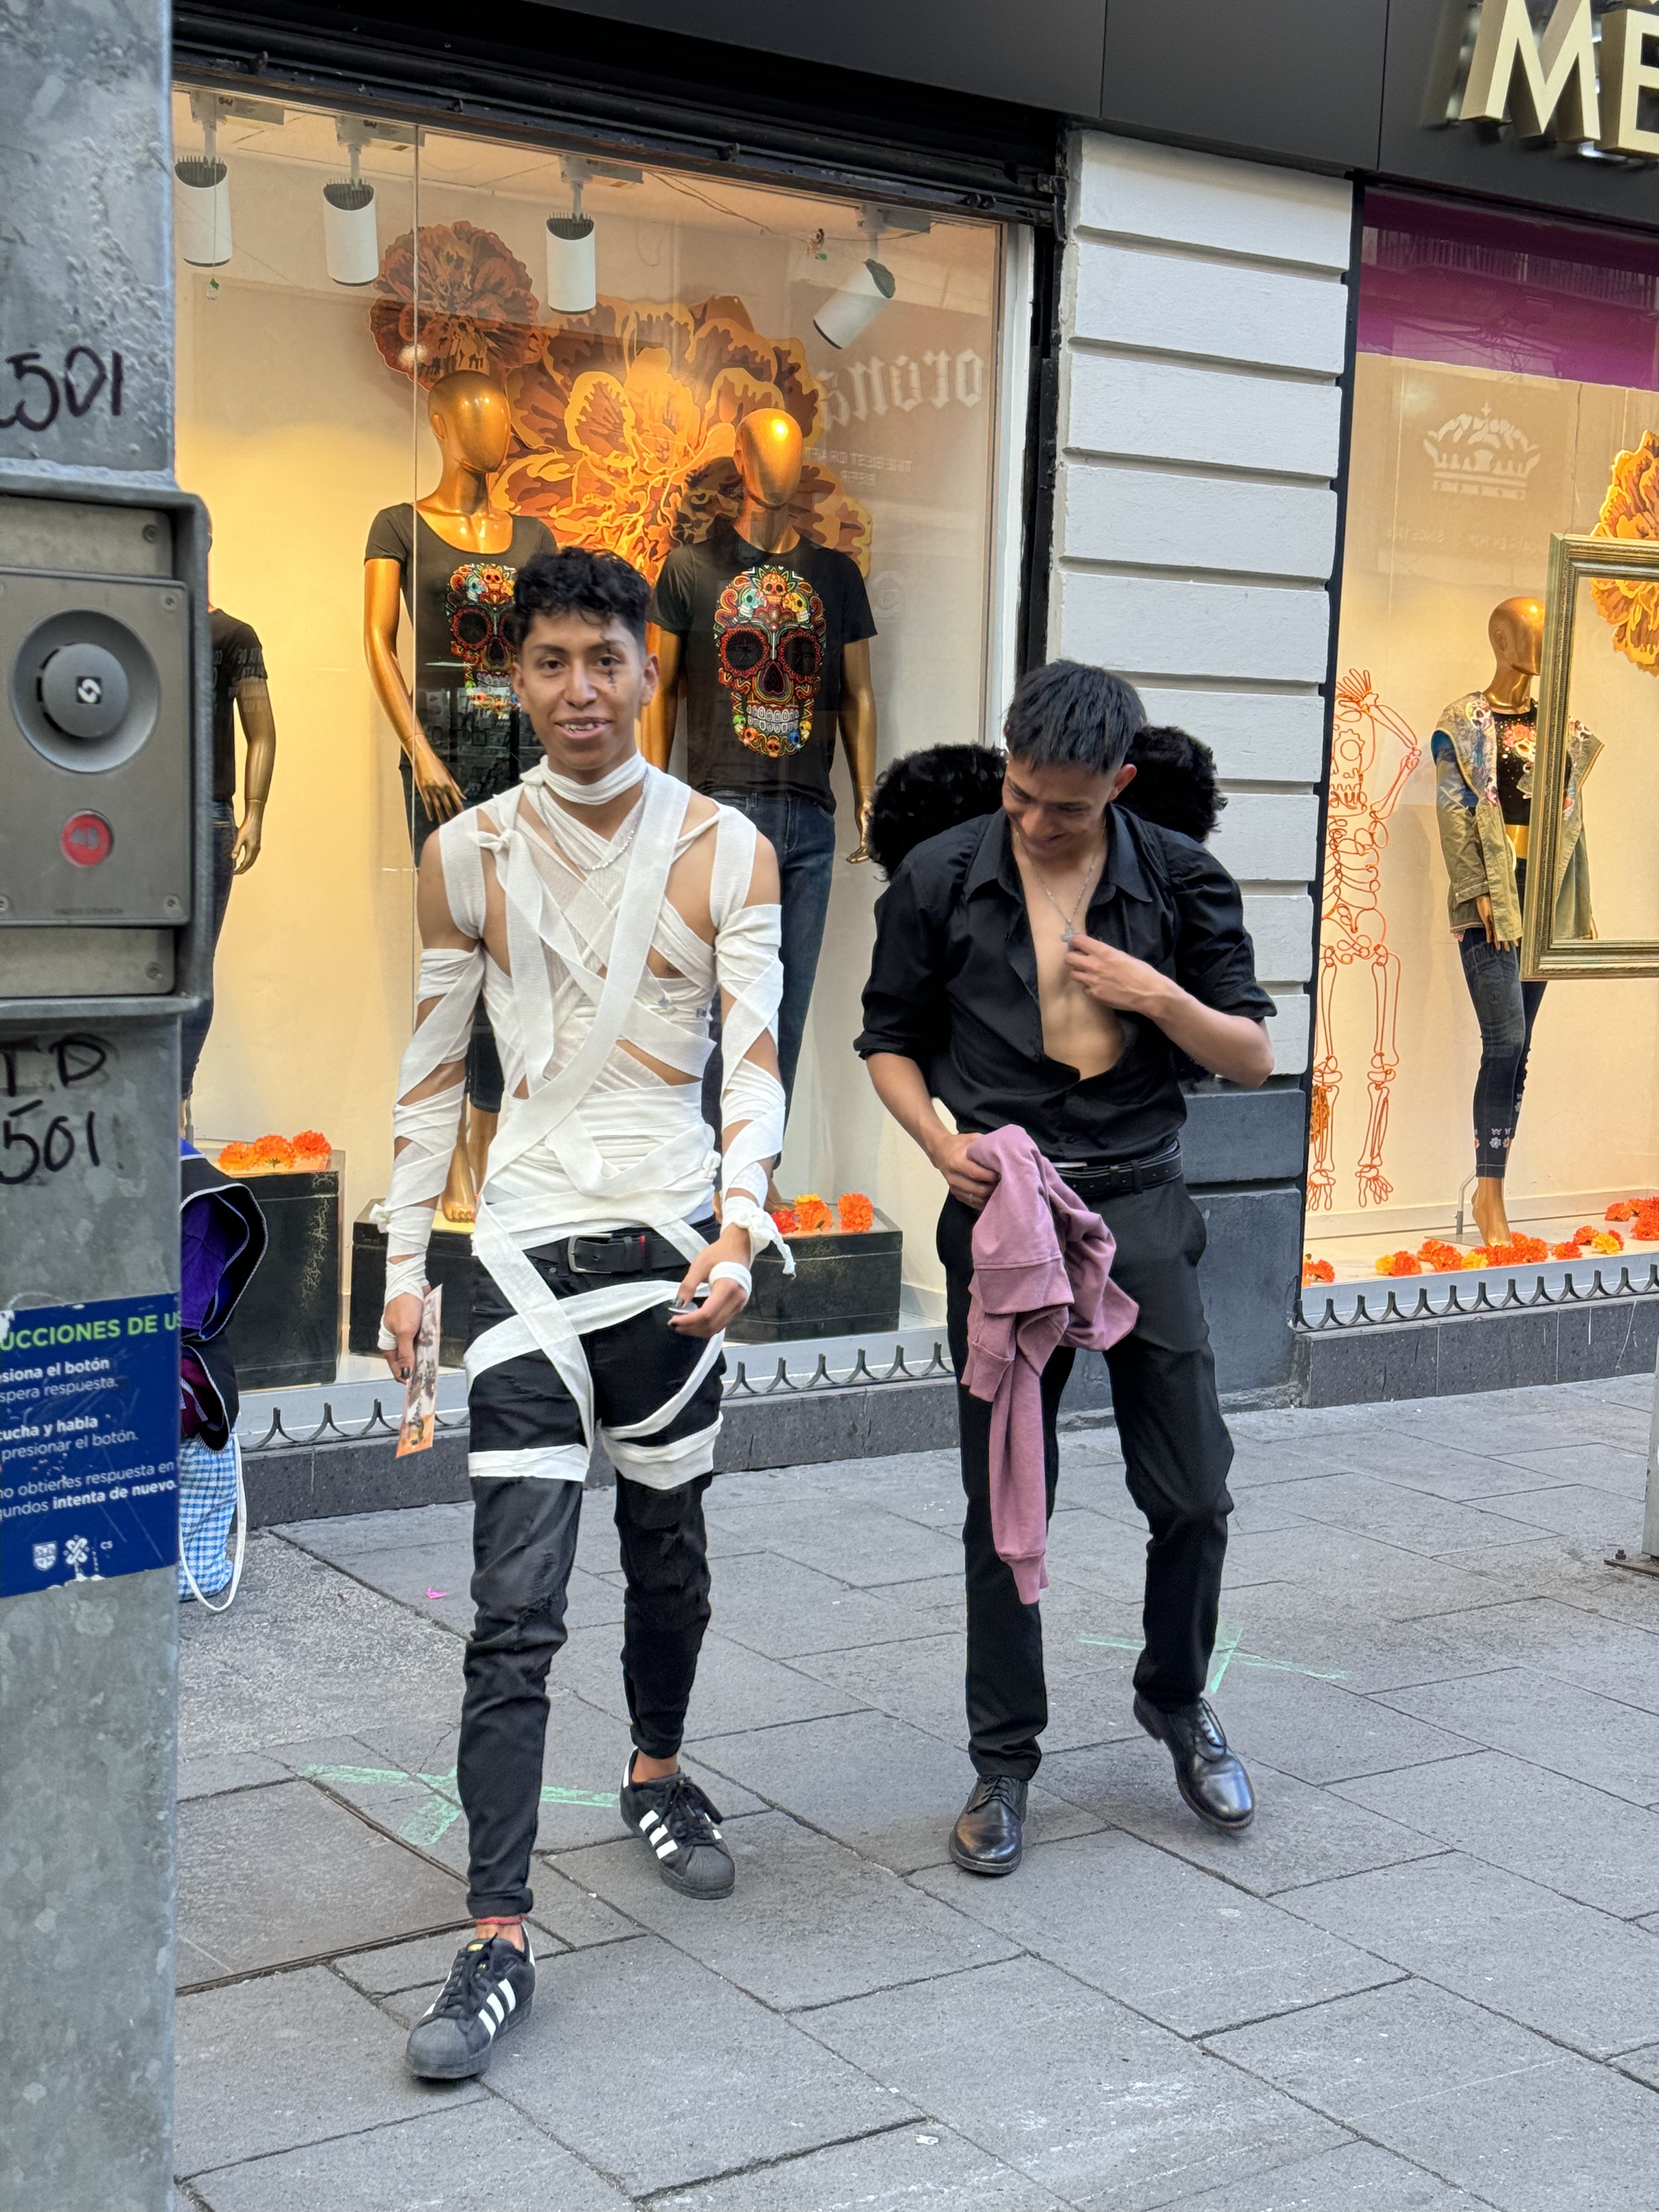
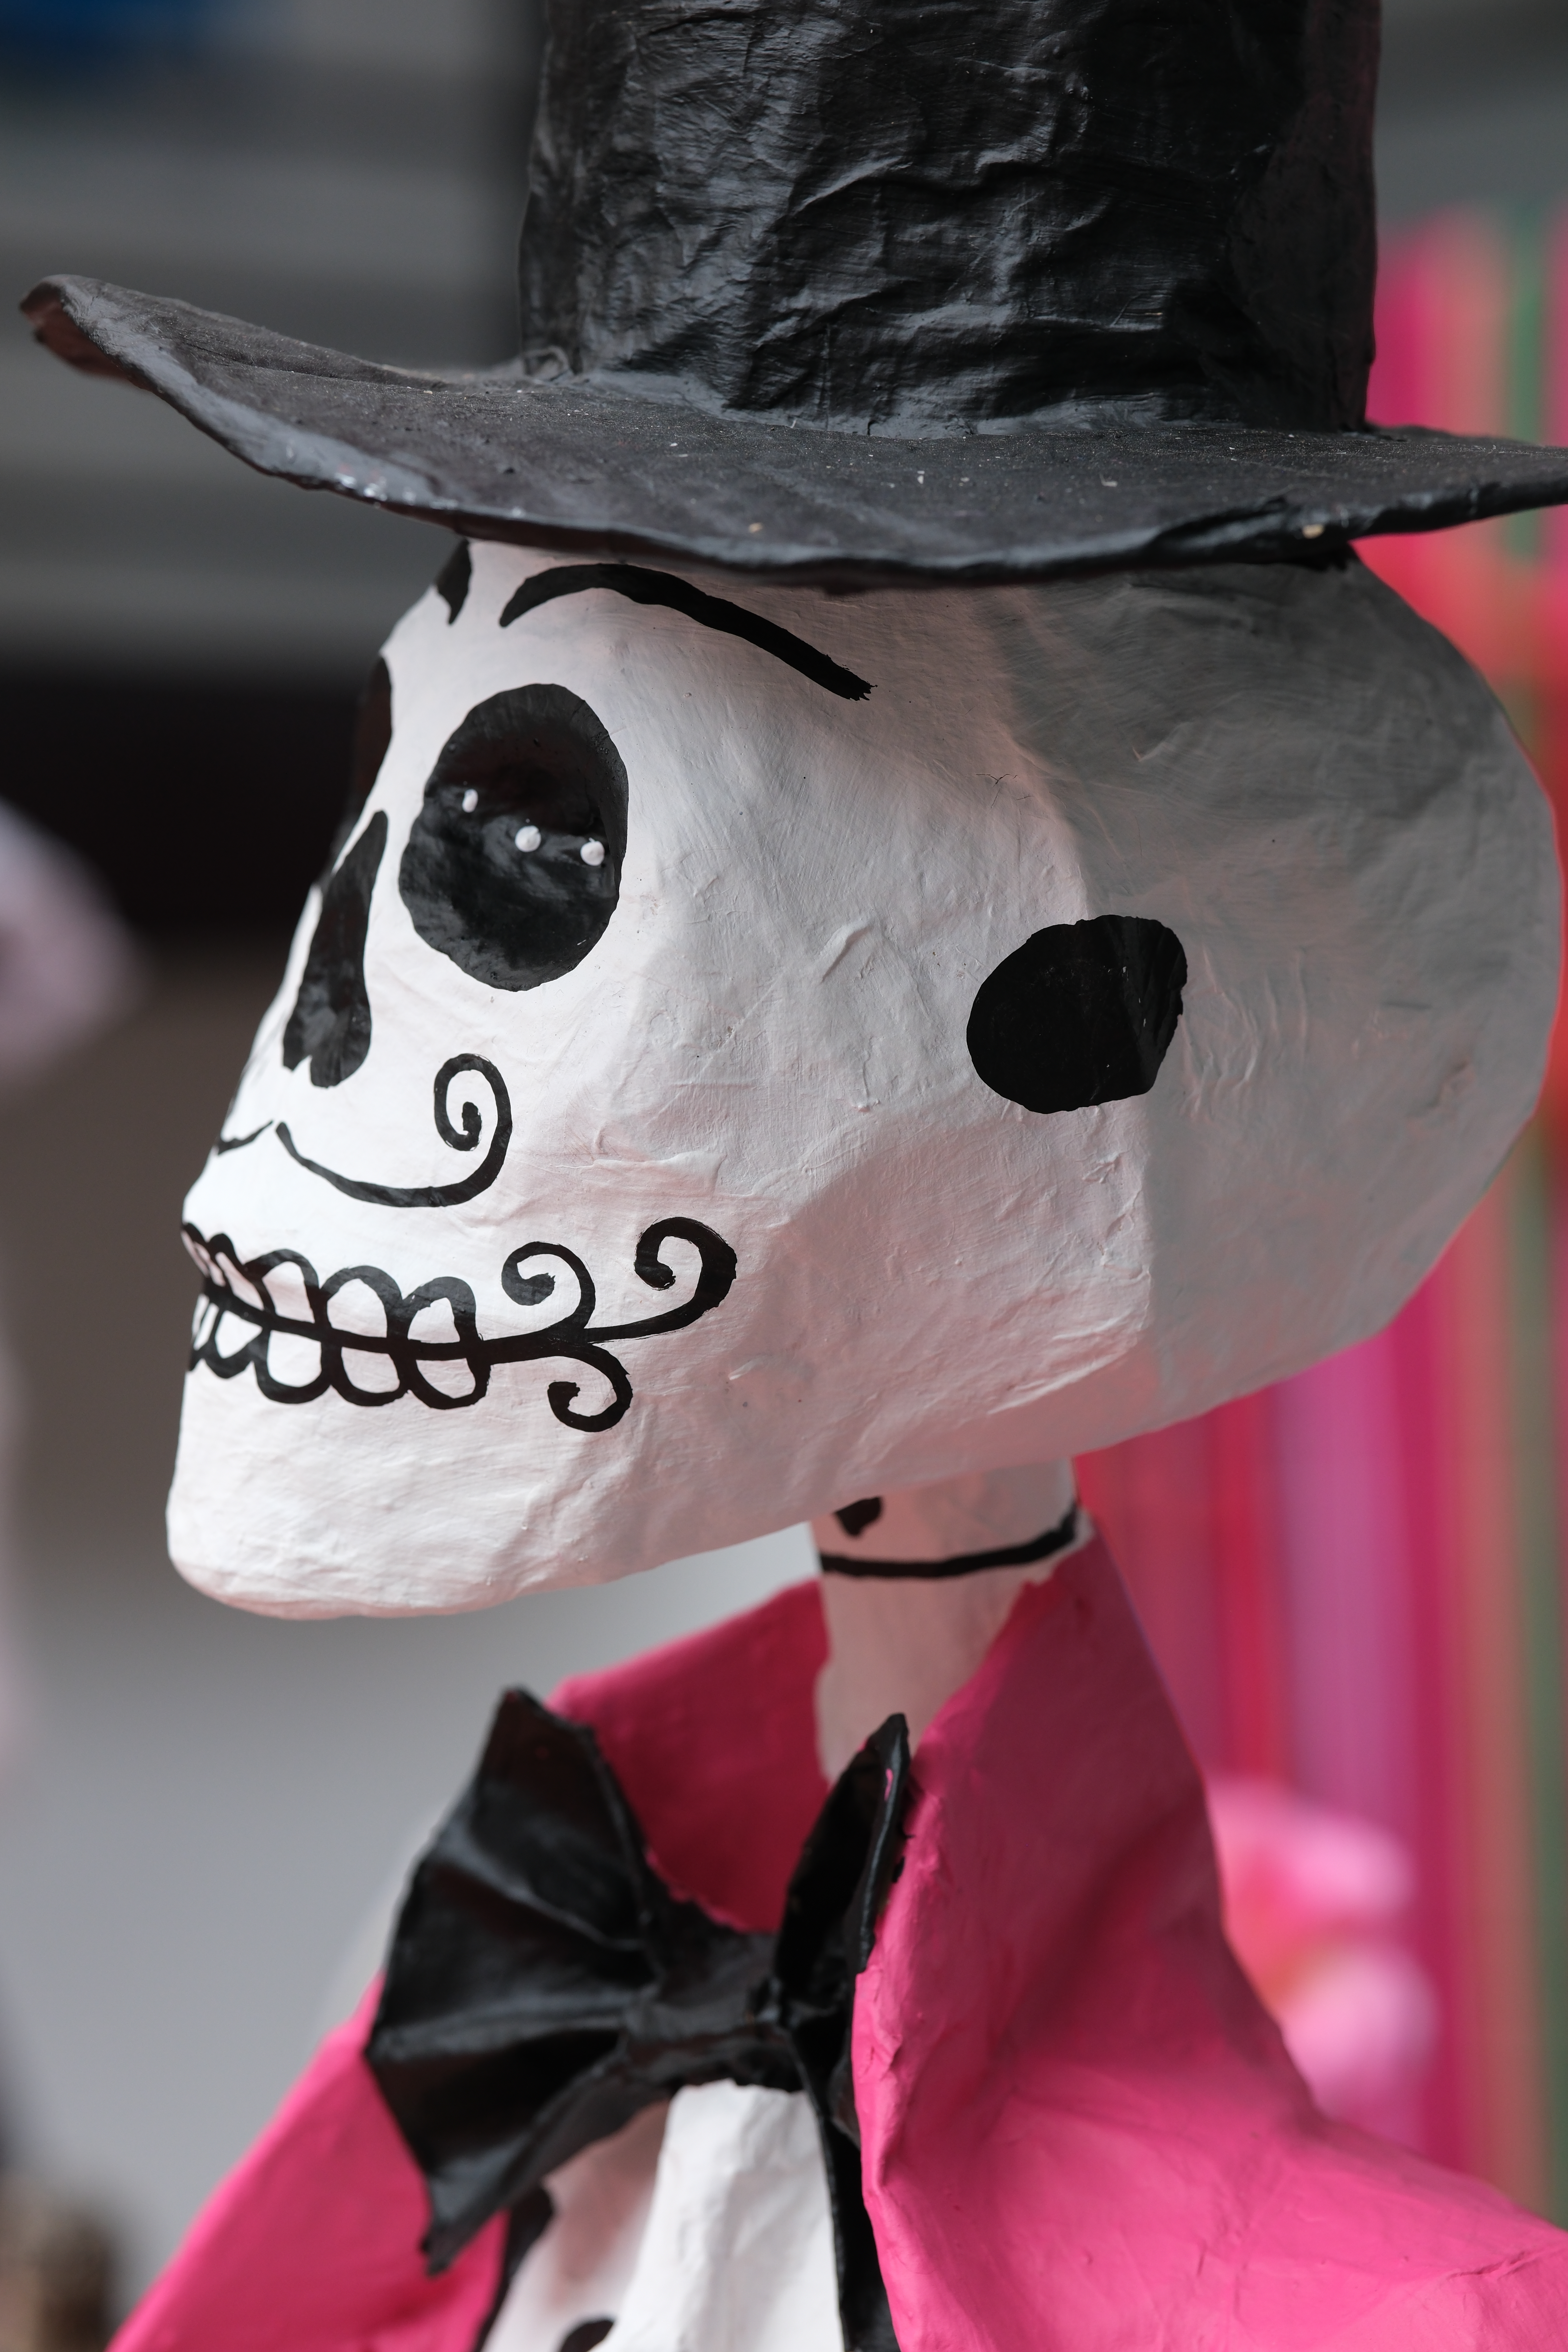
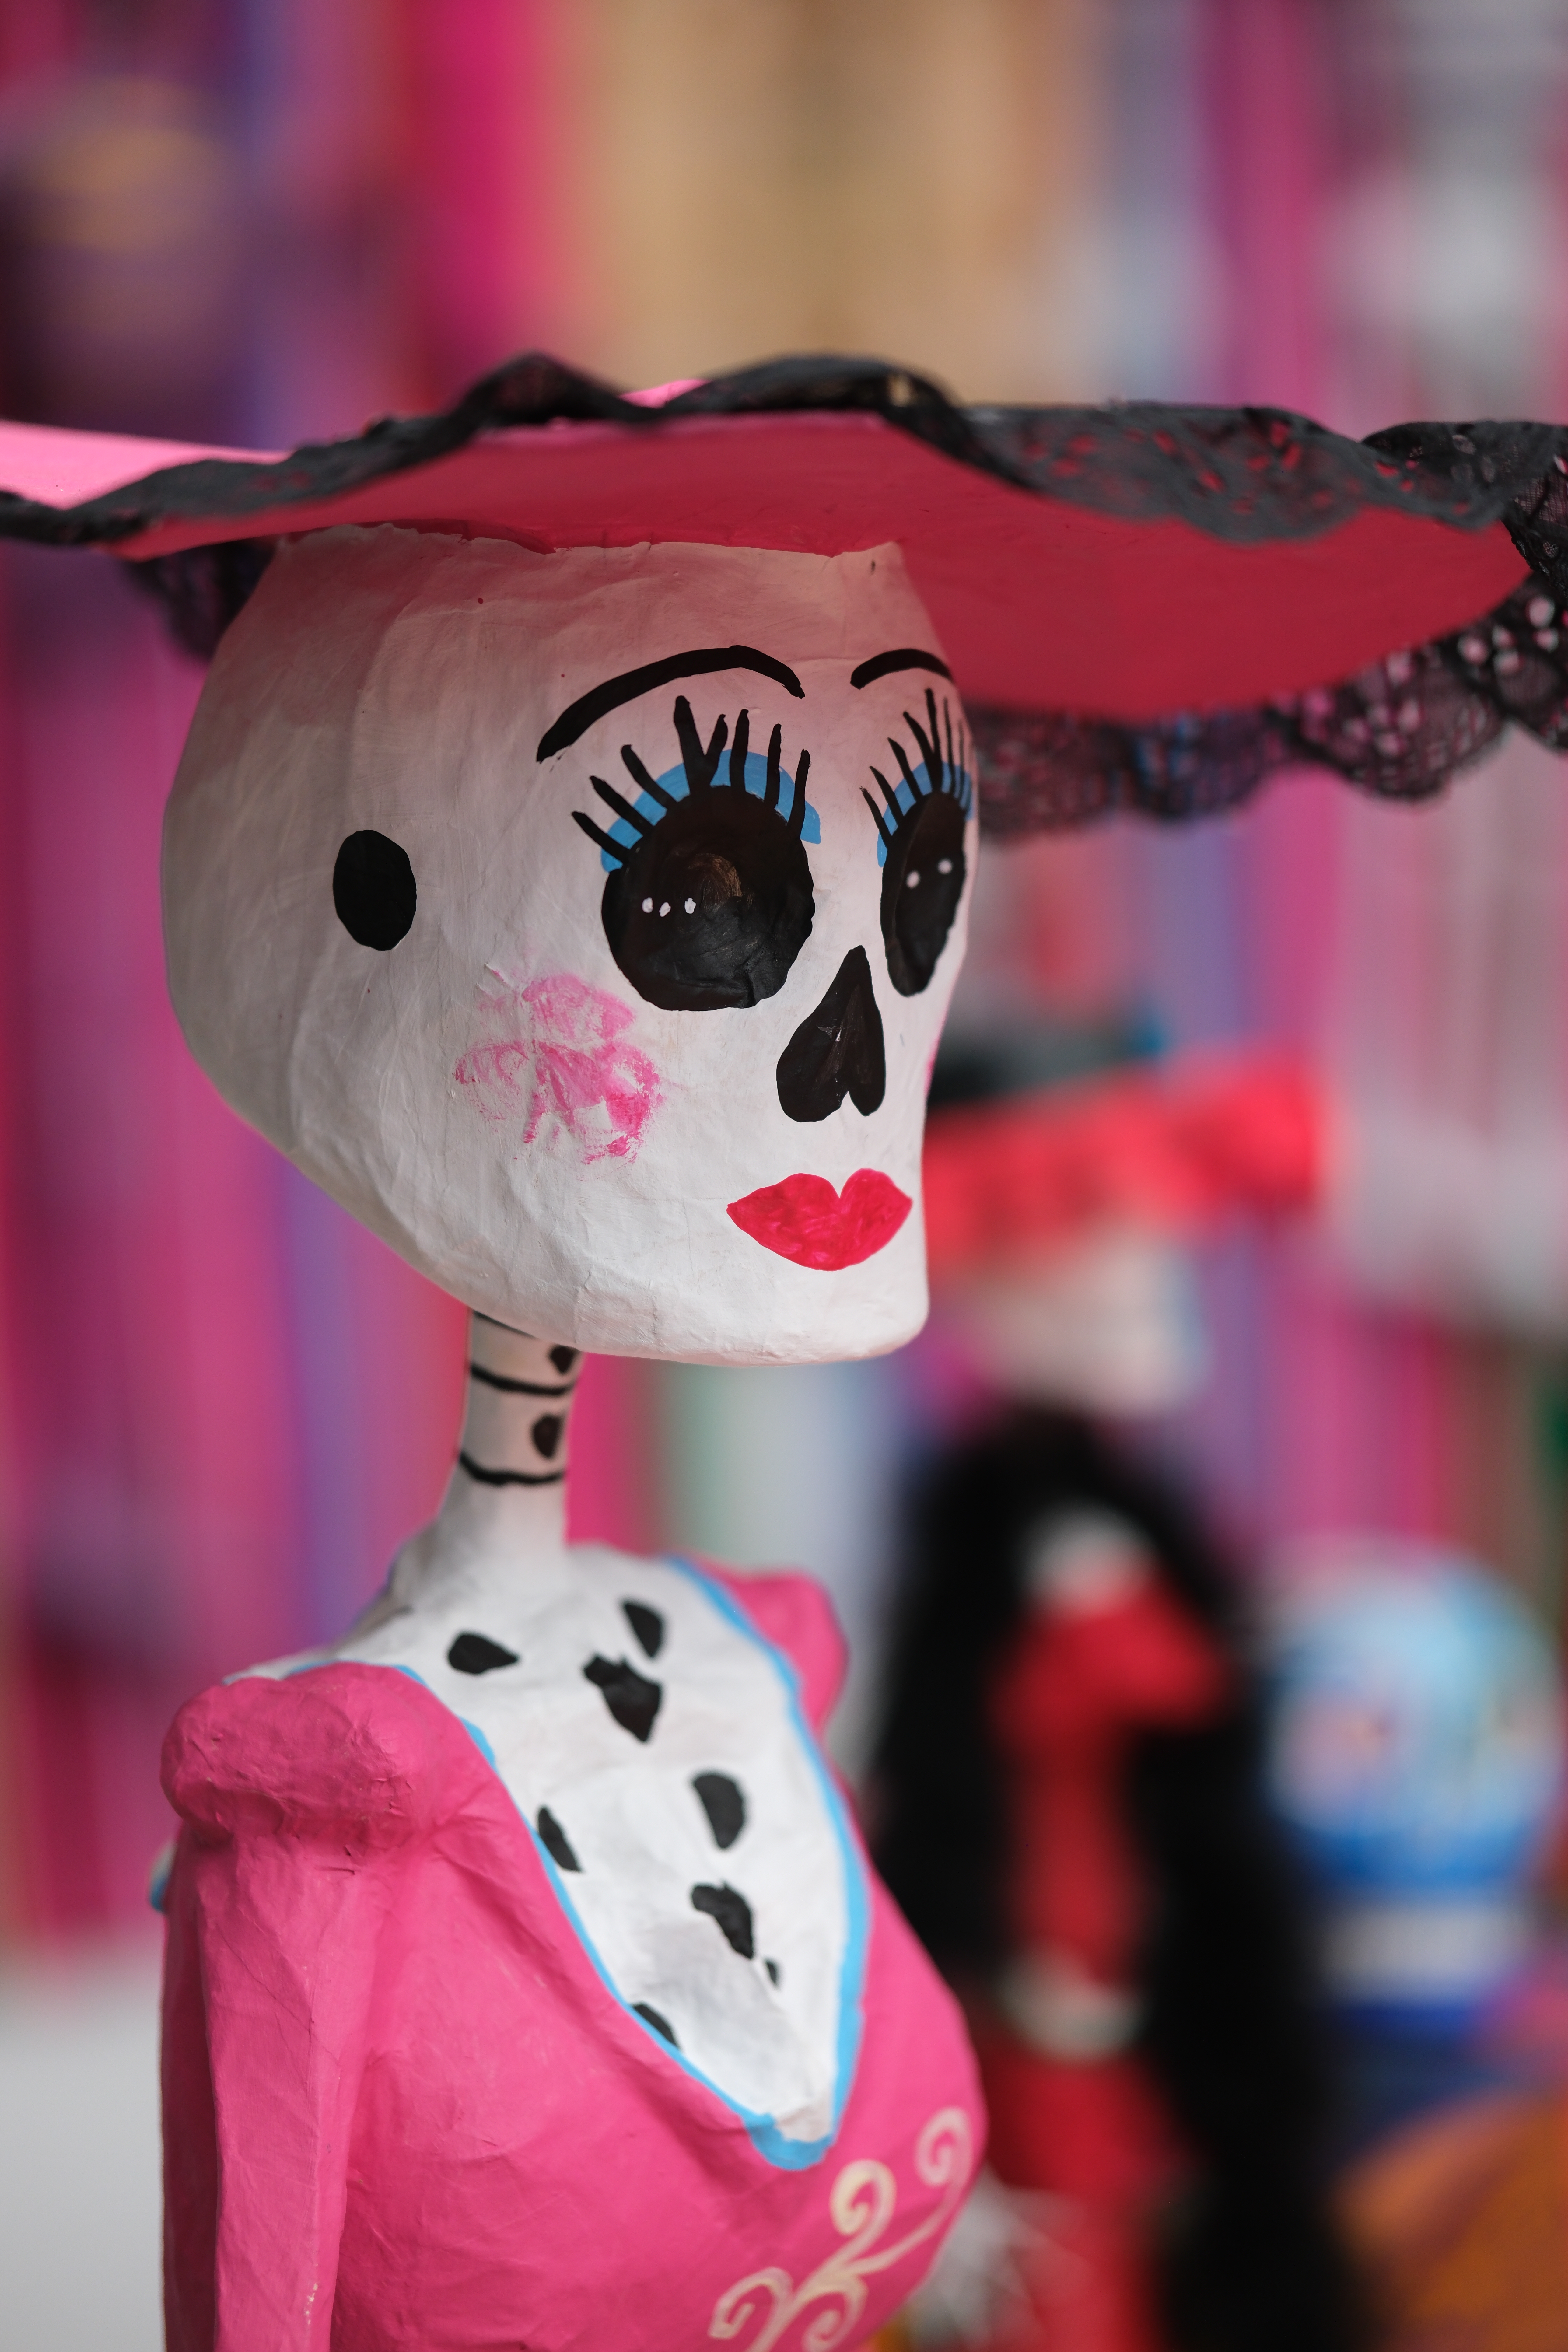
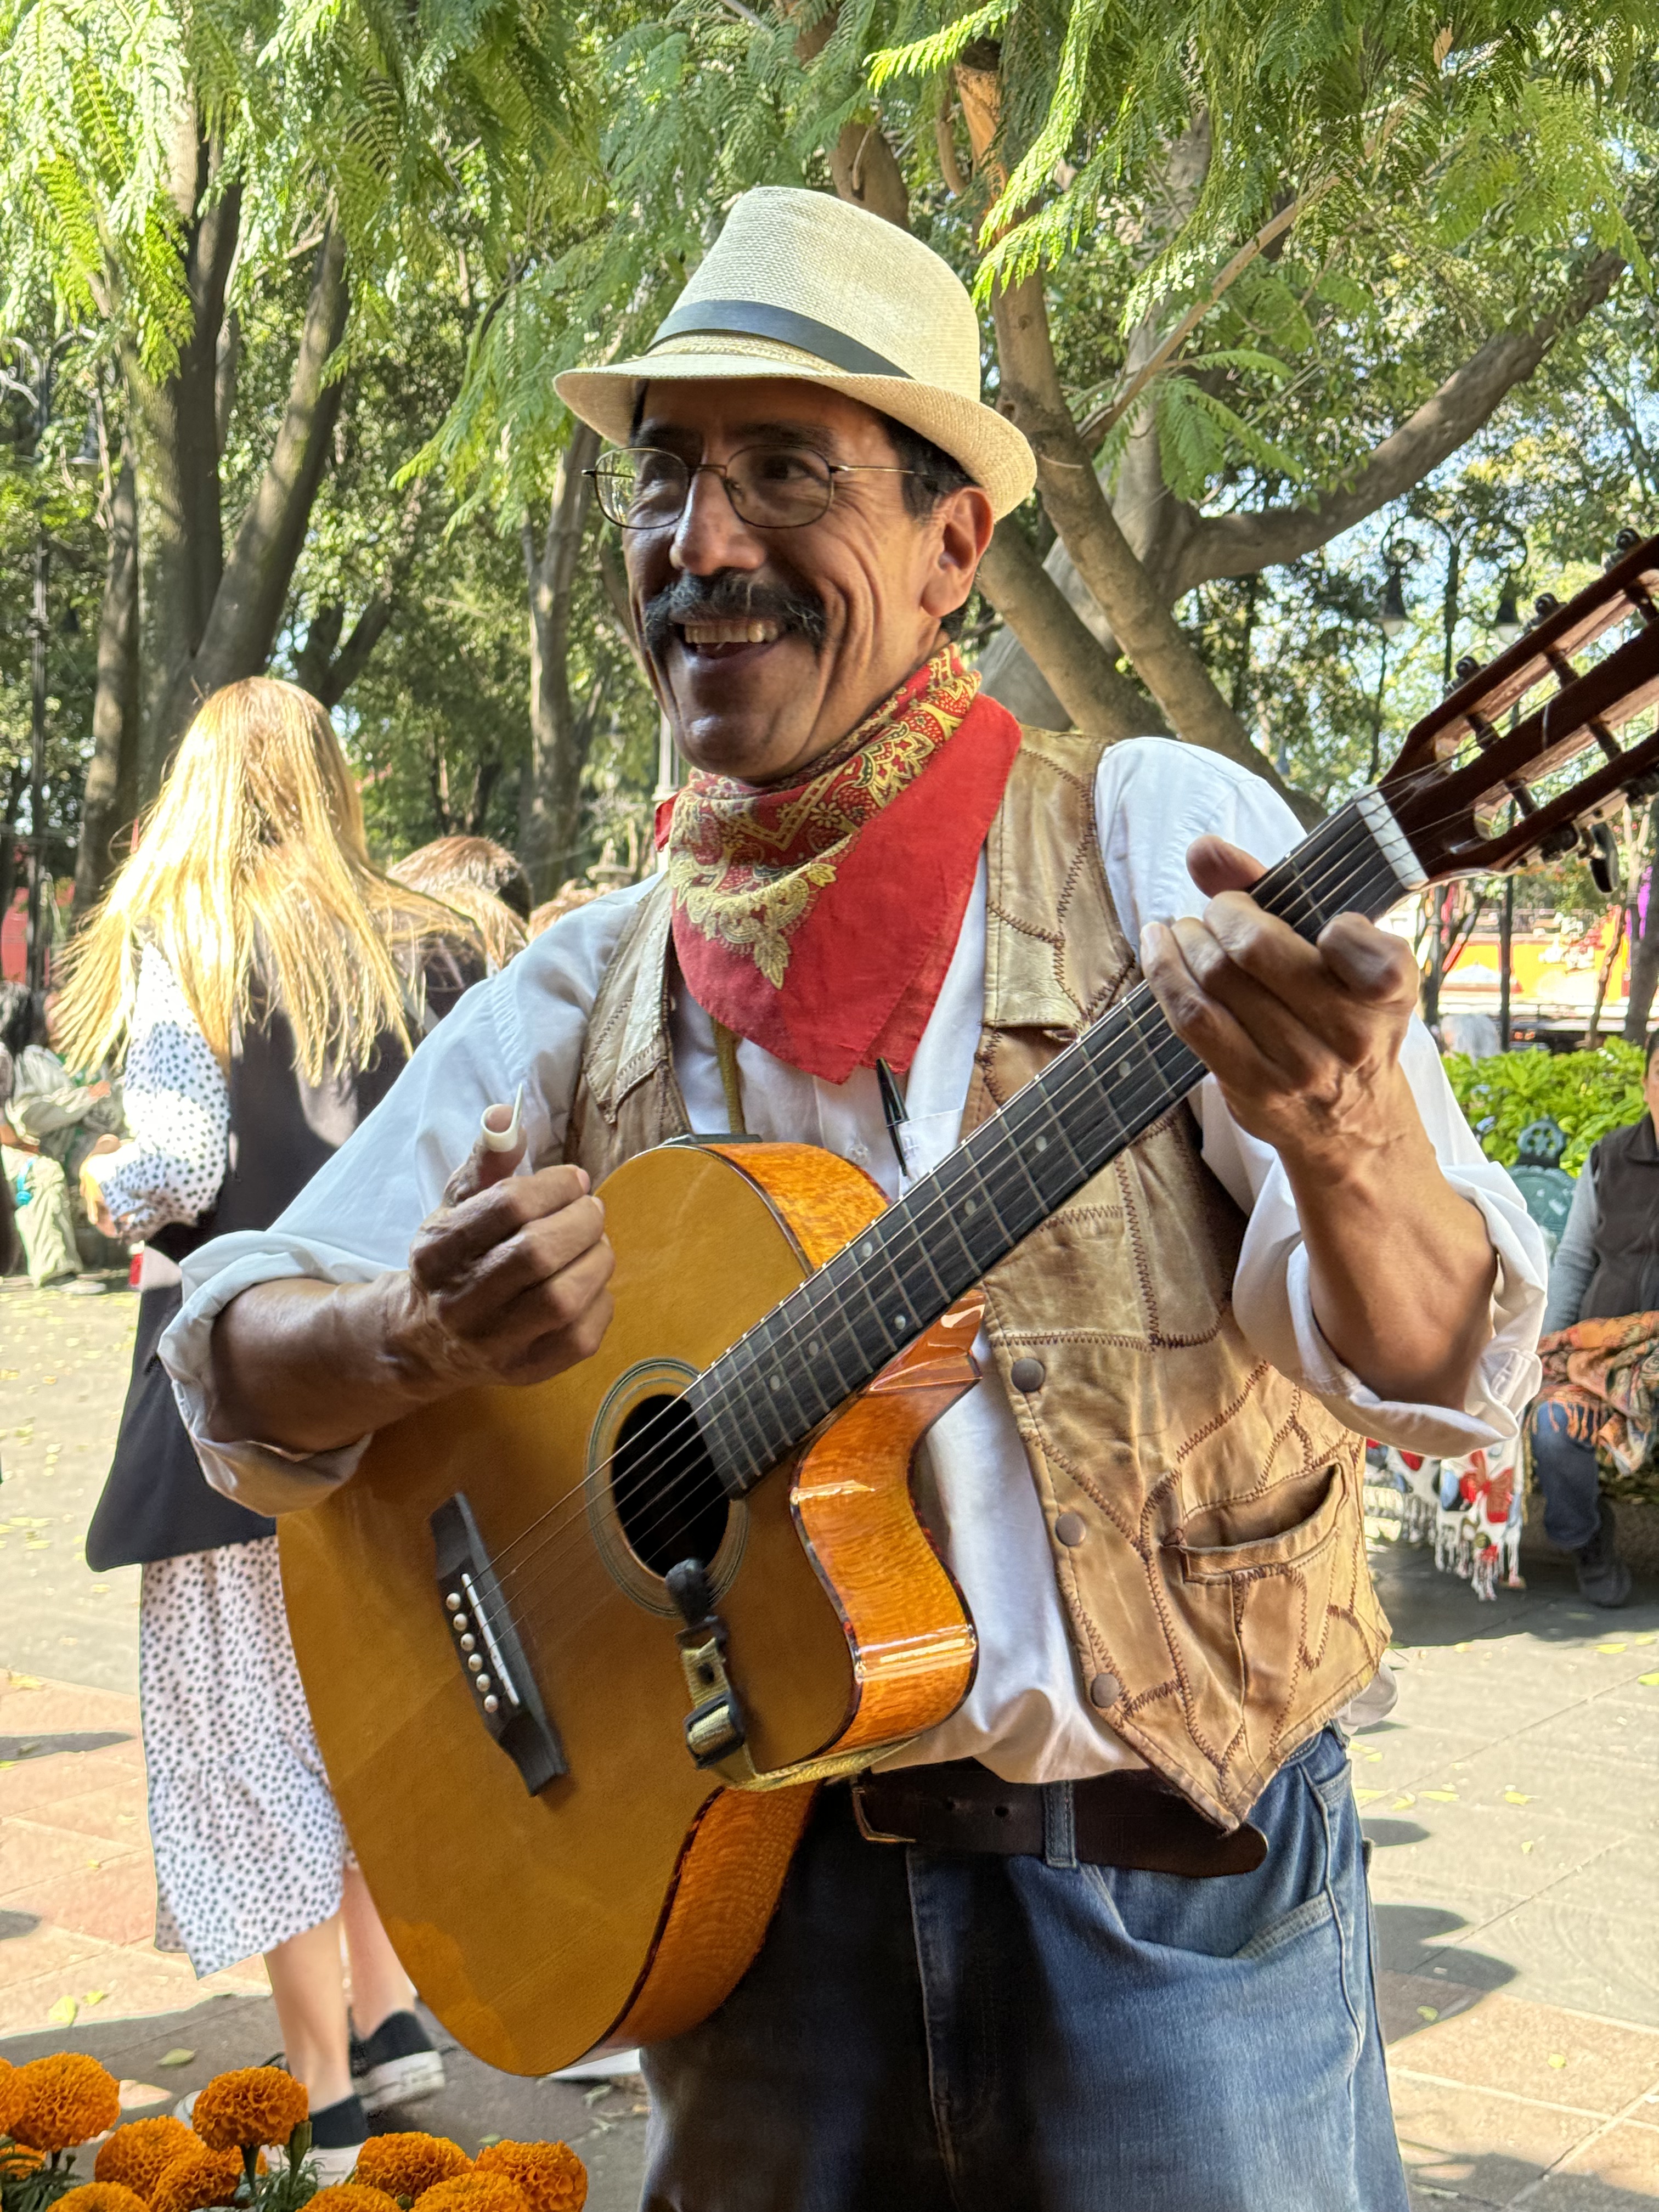
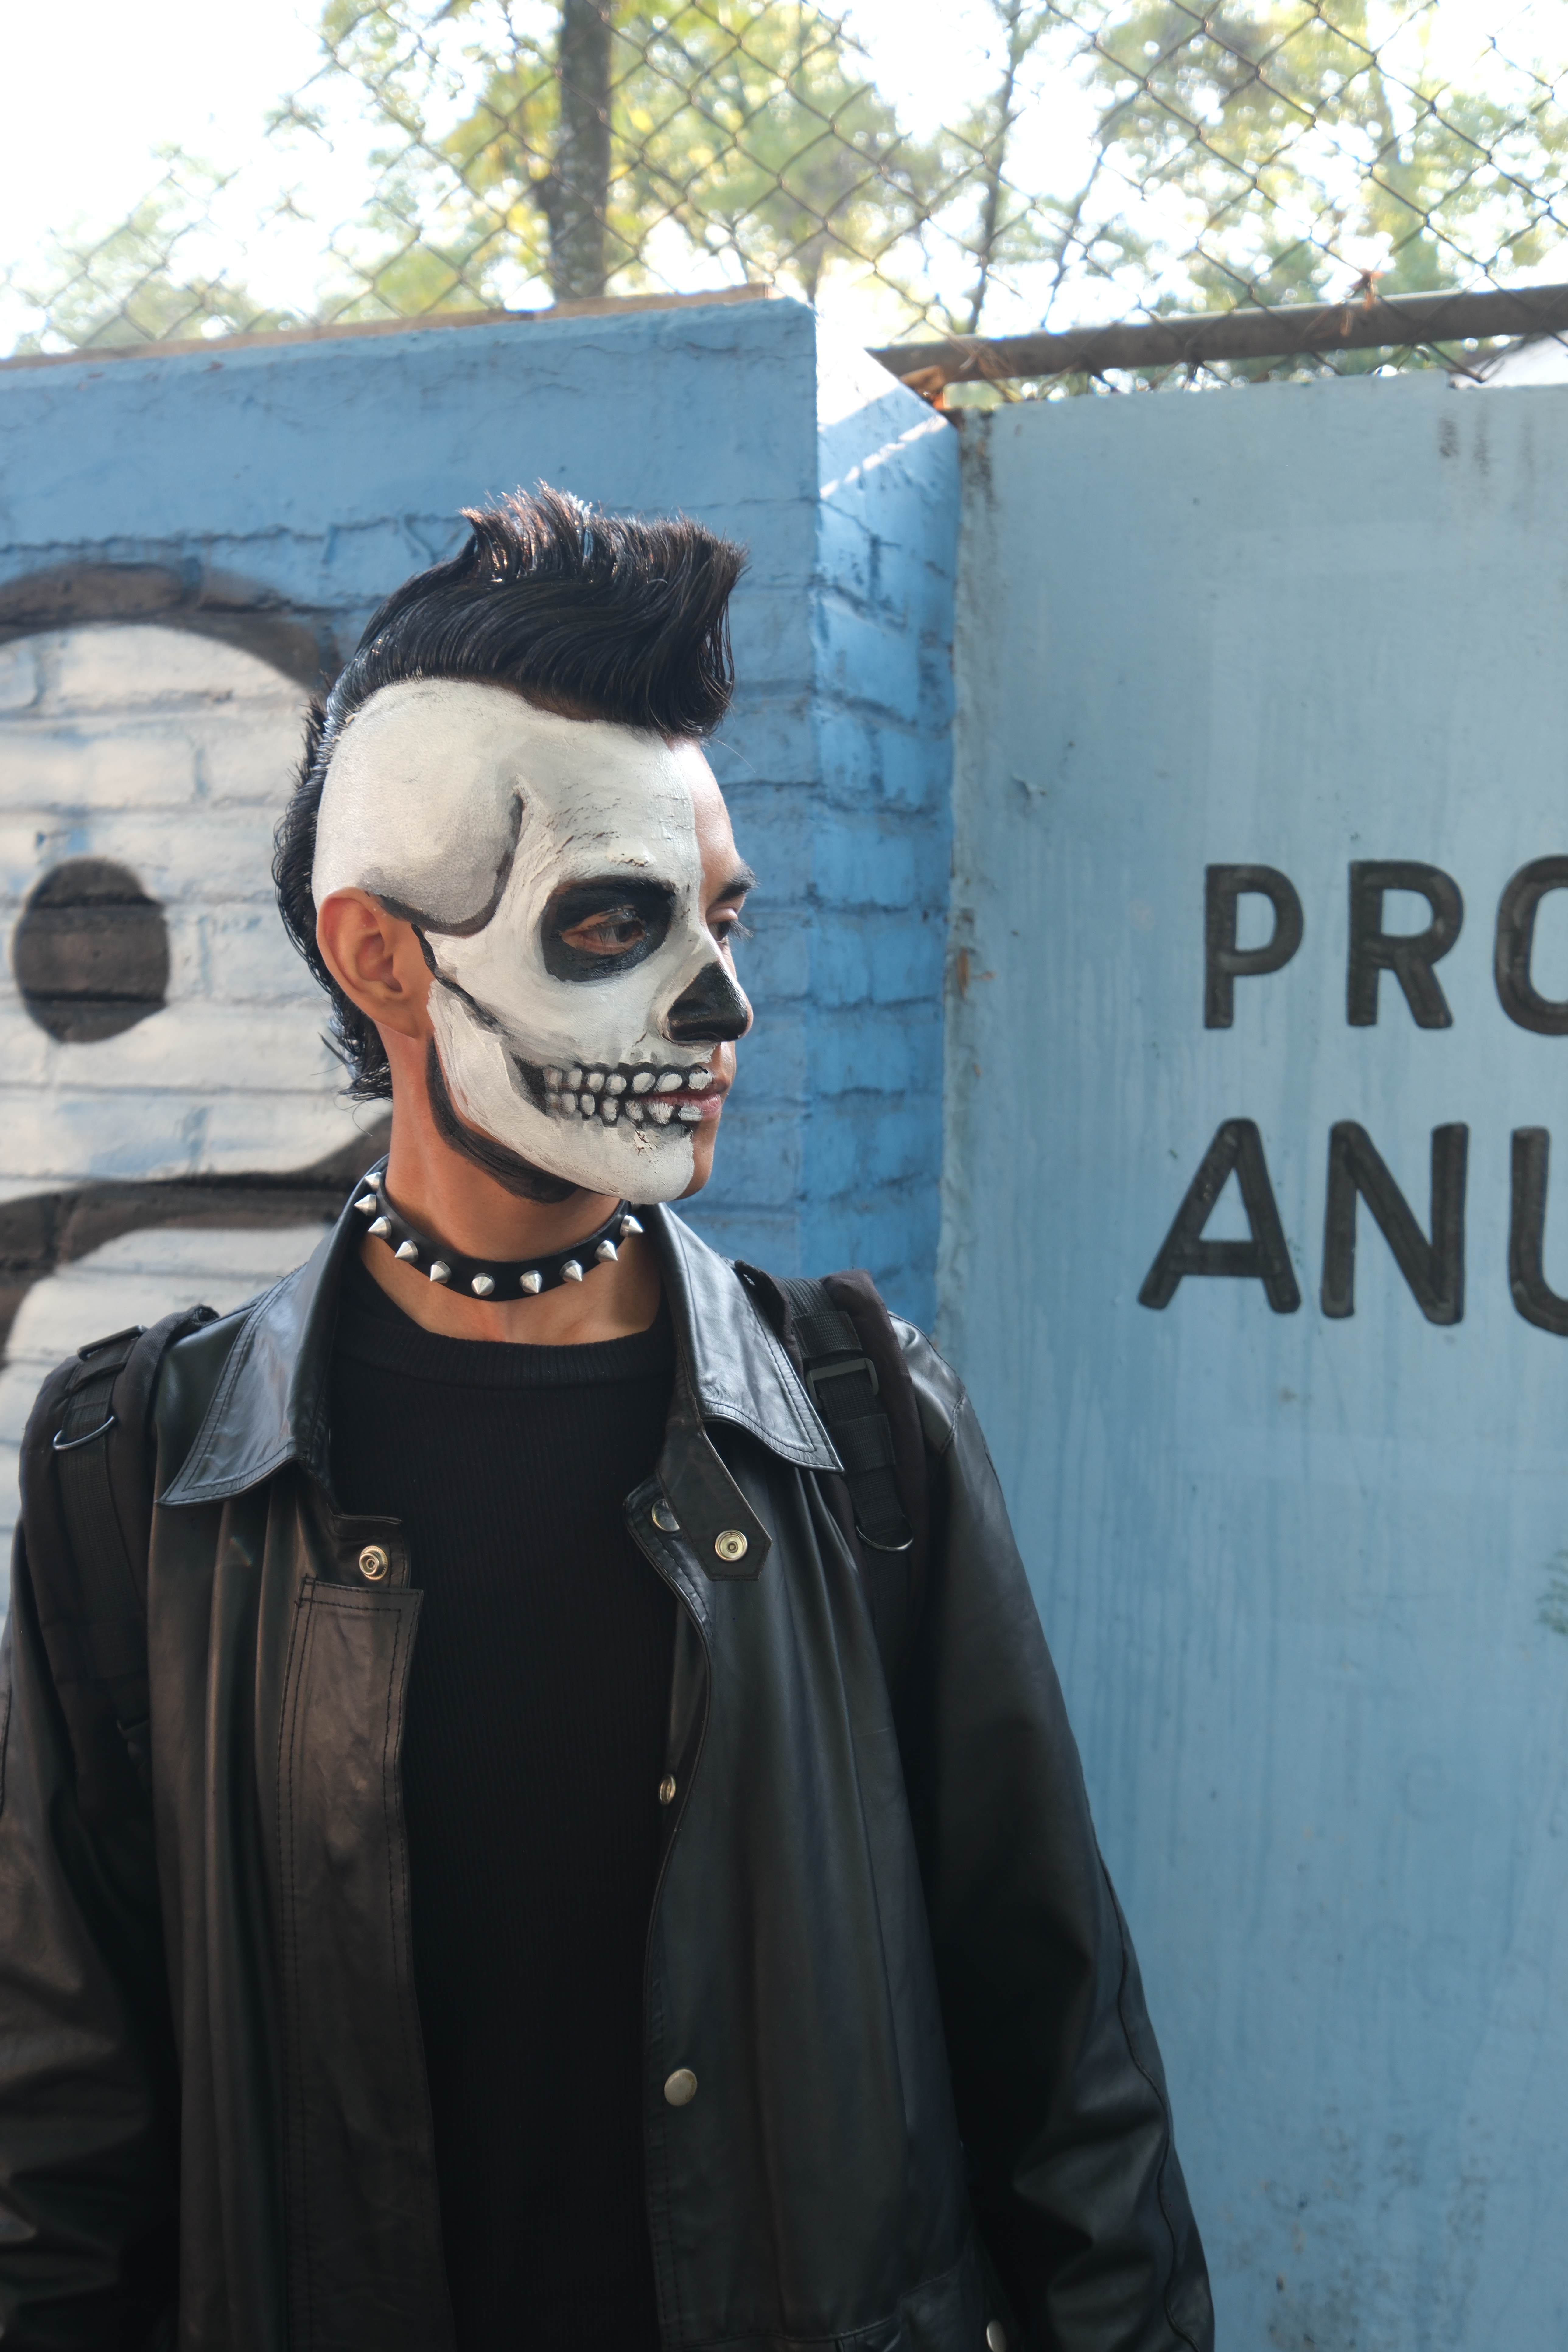
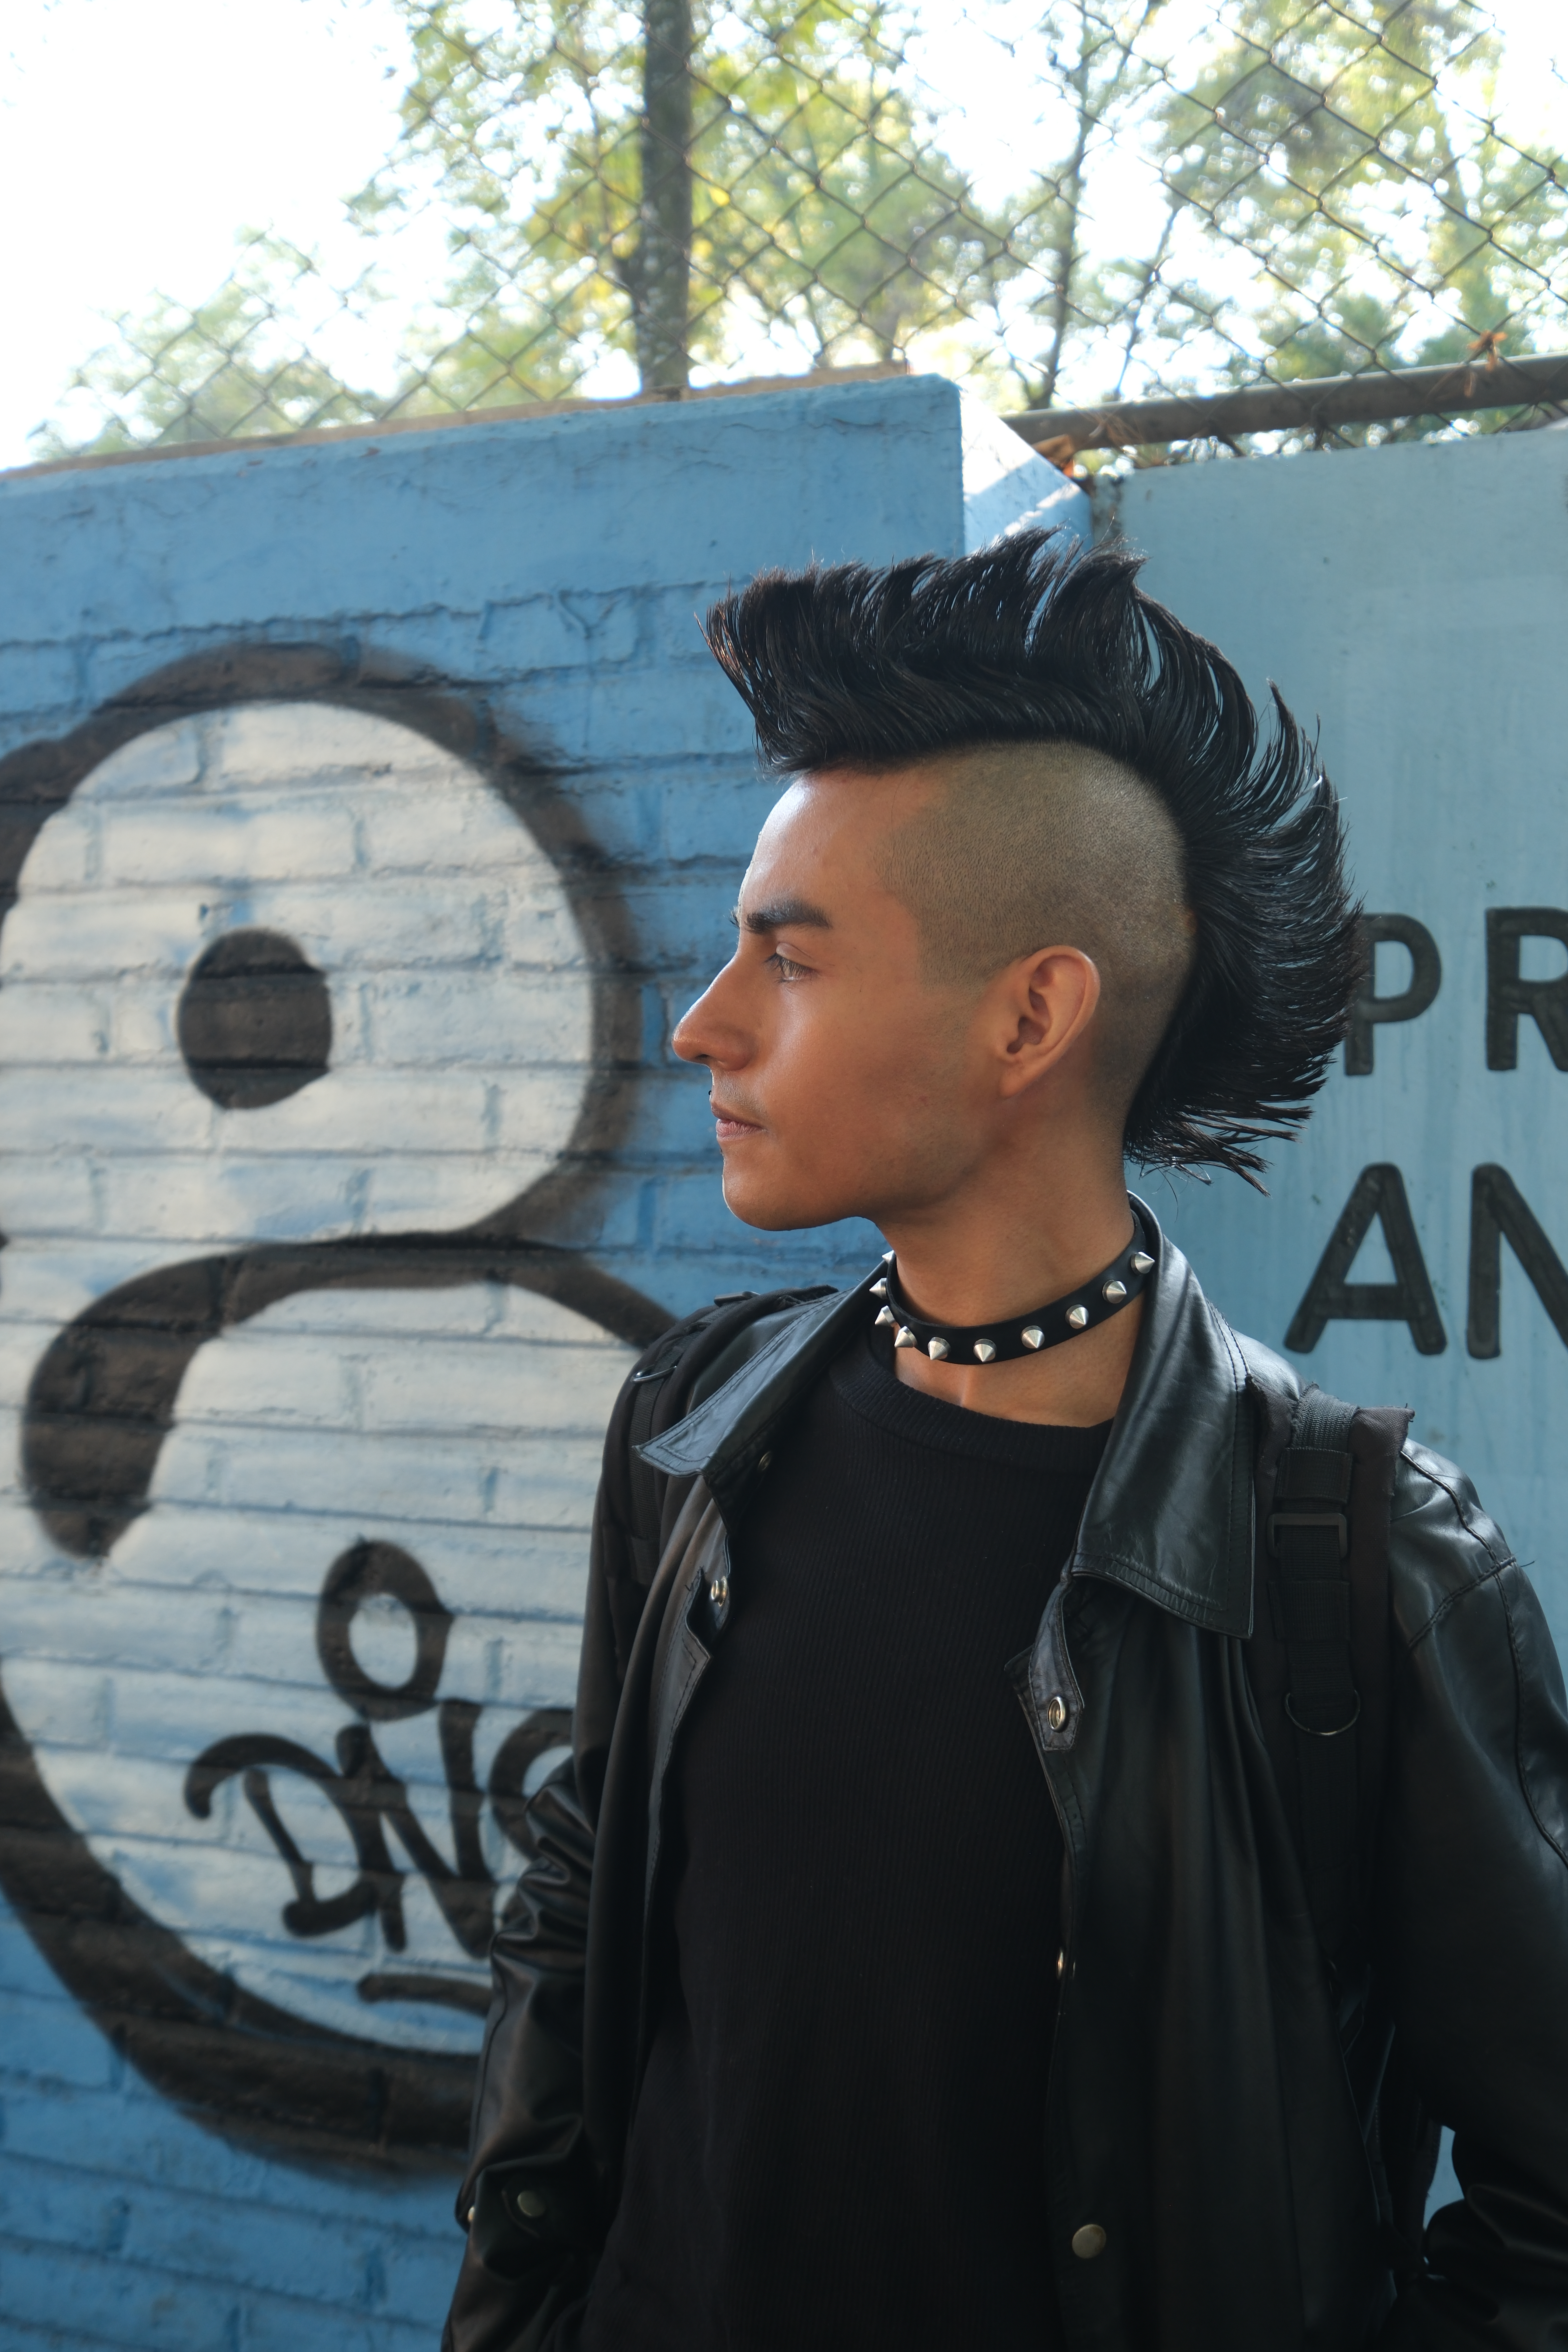
After the official end of the conference, a bunch of us took the day to go down to Coyoacán and wander around. Lots of Day of the Dead decorations were on display, and a good time was had by all. We grabbed lunch at an outdoor table at Restaurante Ave Maria, who was having a mole festival on the menu – I had a Oaxacan mole over beef which was very rich and delicious. We were serenaded by several strolling musicians – one an older gentleman with a guitar doing traditional Mexican songs, and then a group of young Mexican boys rapping. While their music wasn’t to my taste, they got big props for freestyle ad-libbing a rhyme about the gringo with the camera! I’m still building my street photography skills, especially when it comes to photographing people. As we were heading back to the Metro, I saw this guy with the most incredible style and makeup, and had to take the chance to ask him for a photo. You’ll see the results – he had half his face painted with the calavera, and the other unpainted, and he was decked out in what would certainly qualify as vintage Punk style – he would have fit right in on Kings Road in London in 1983.


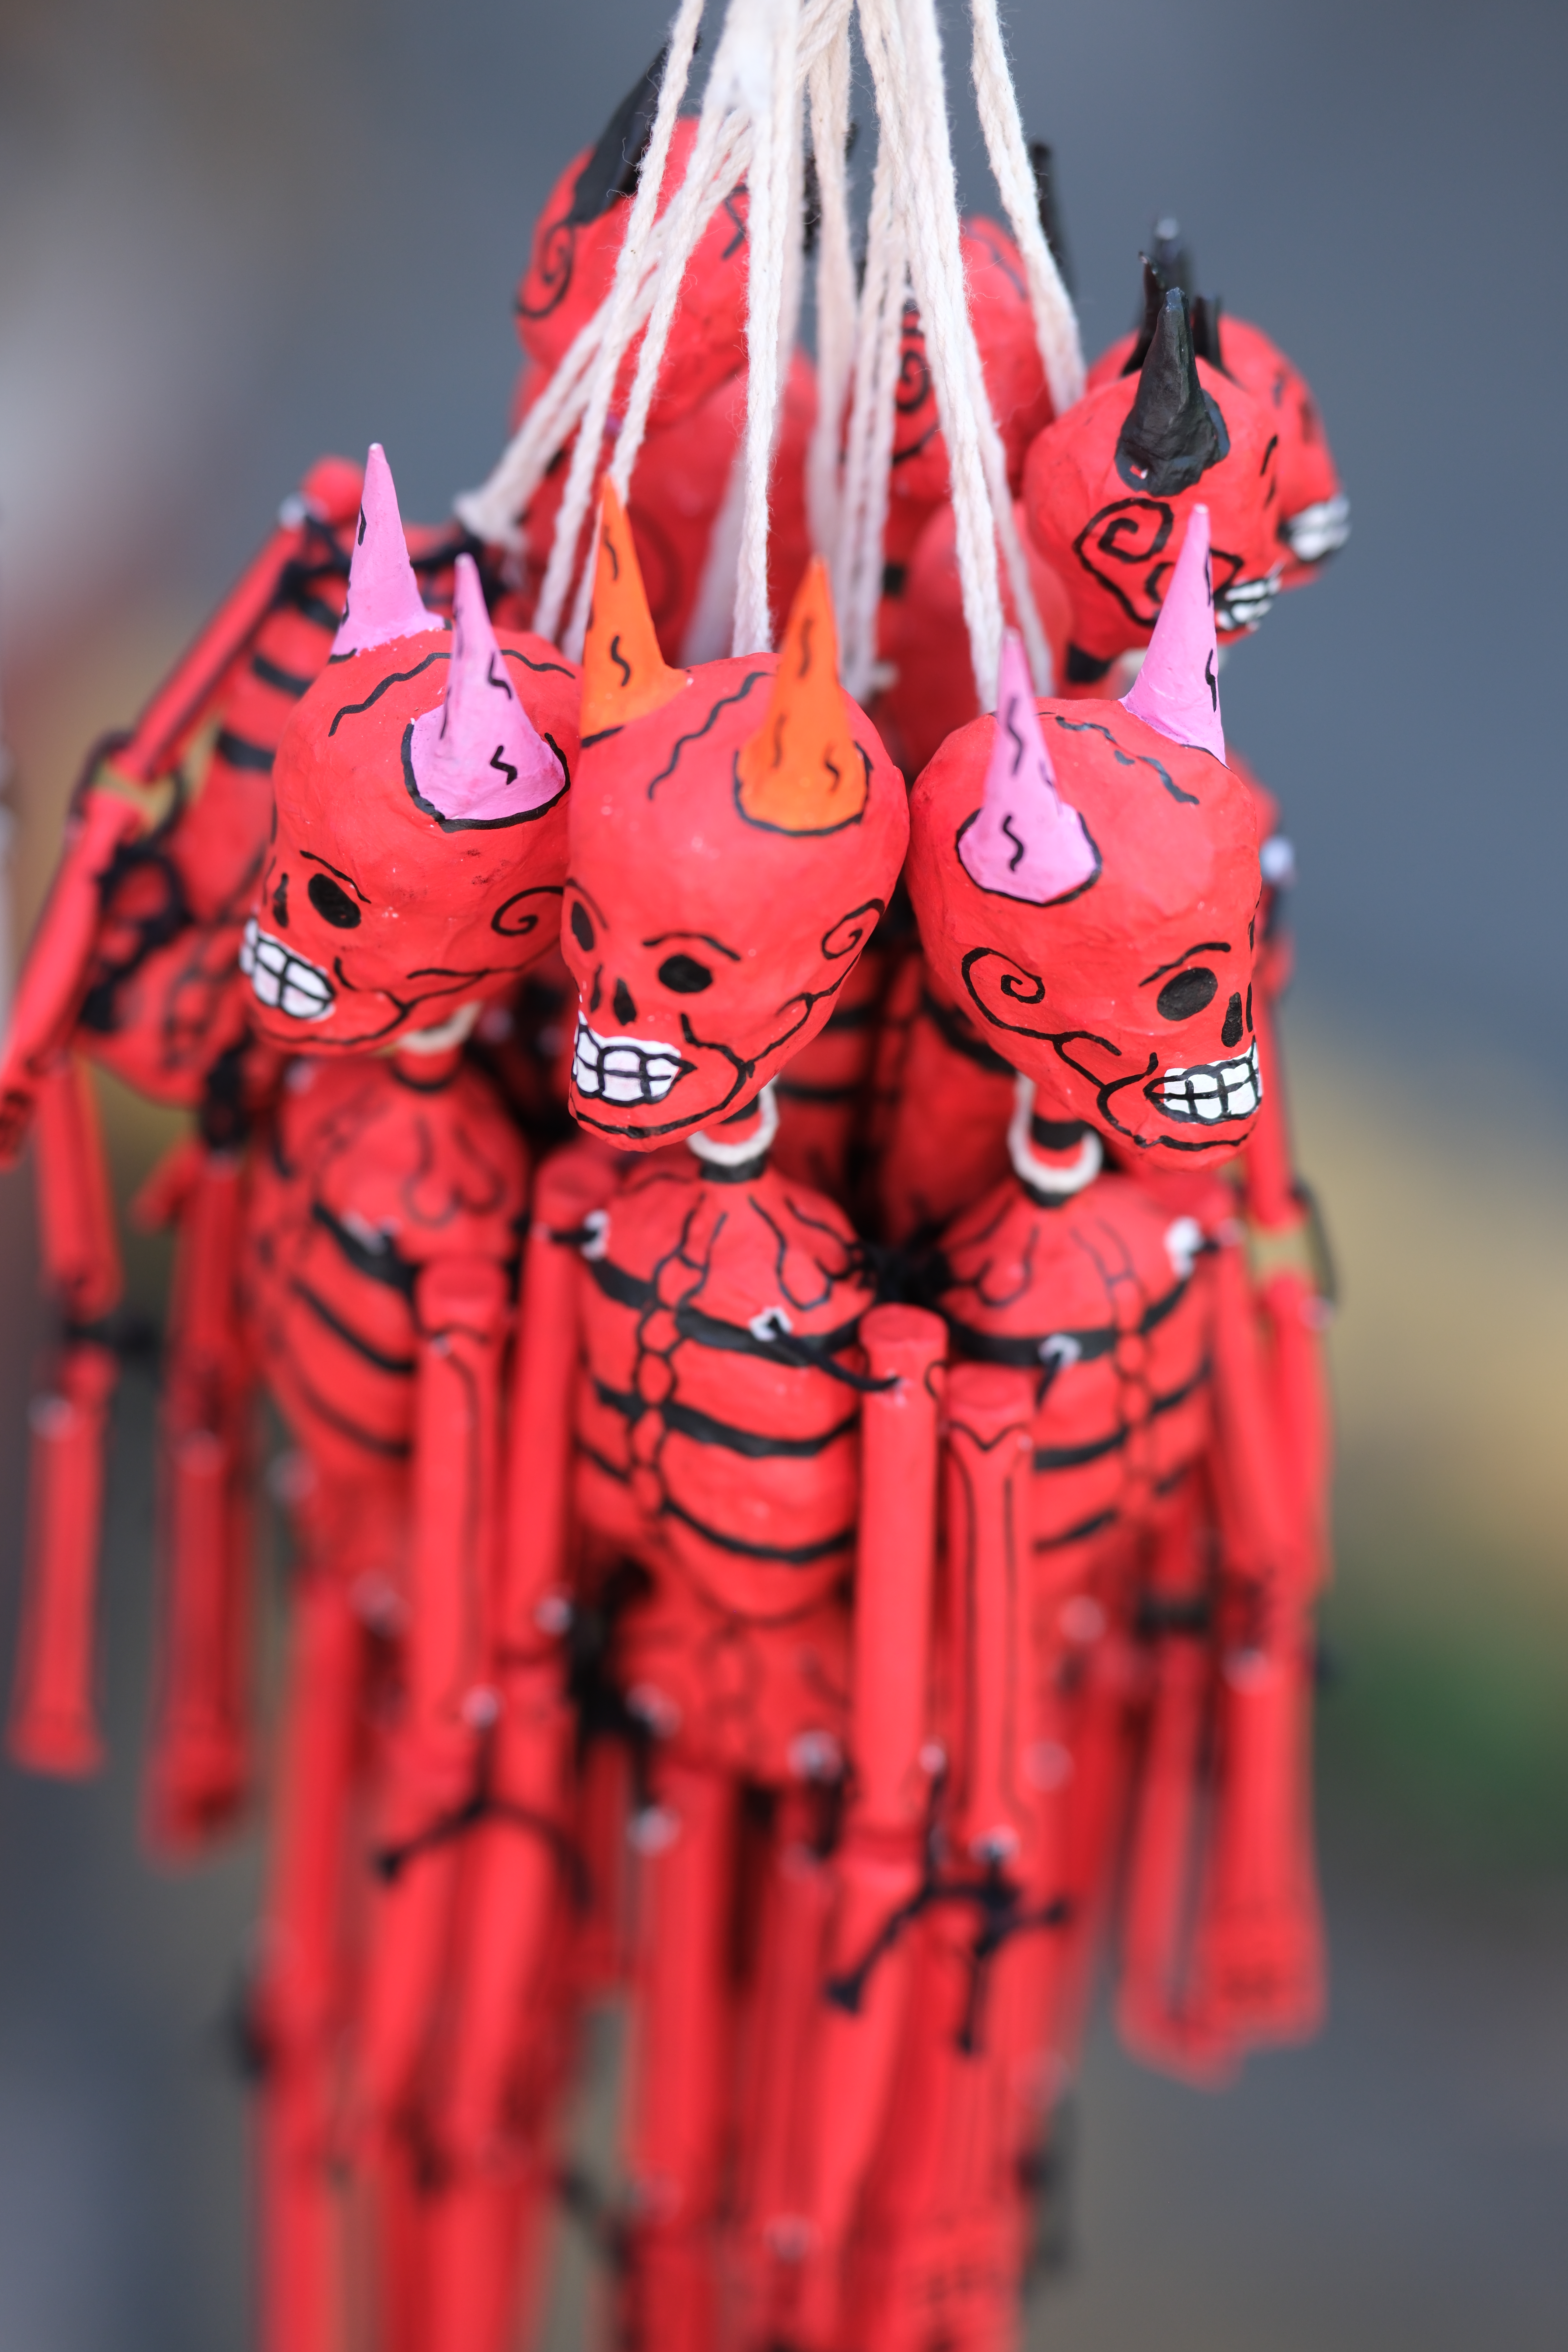

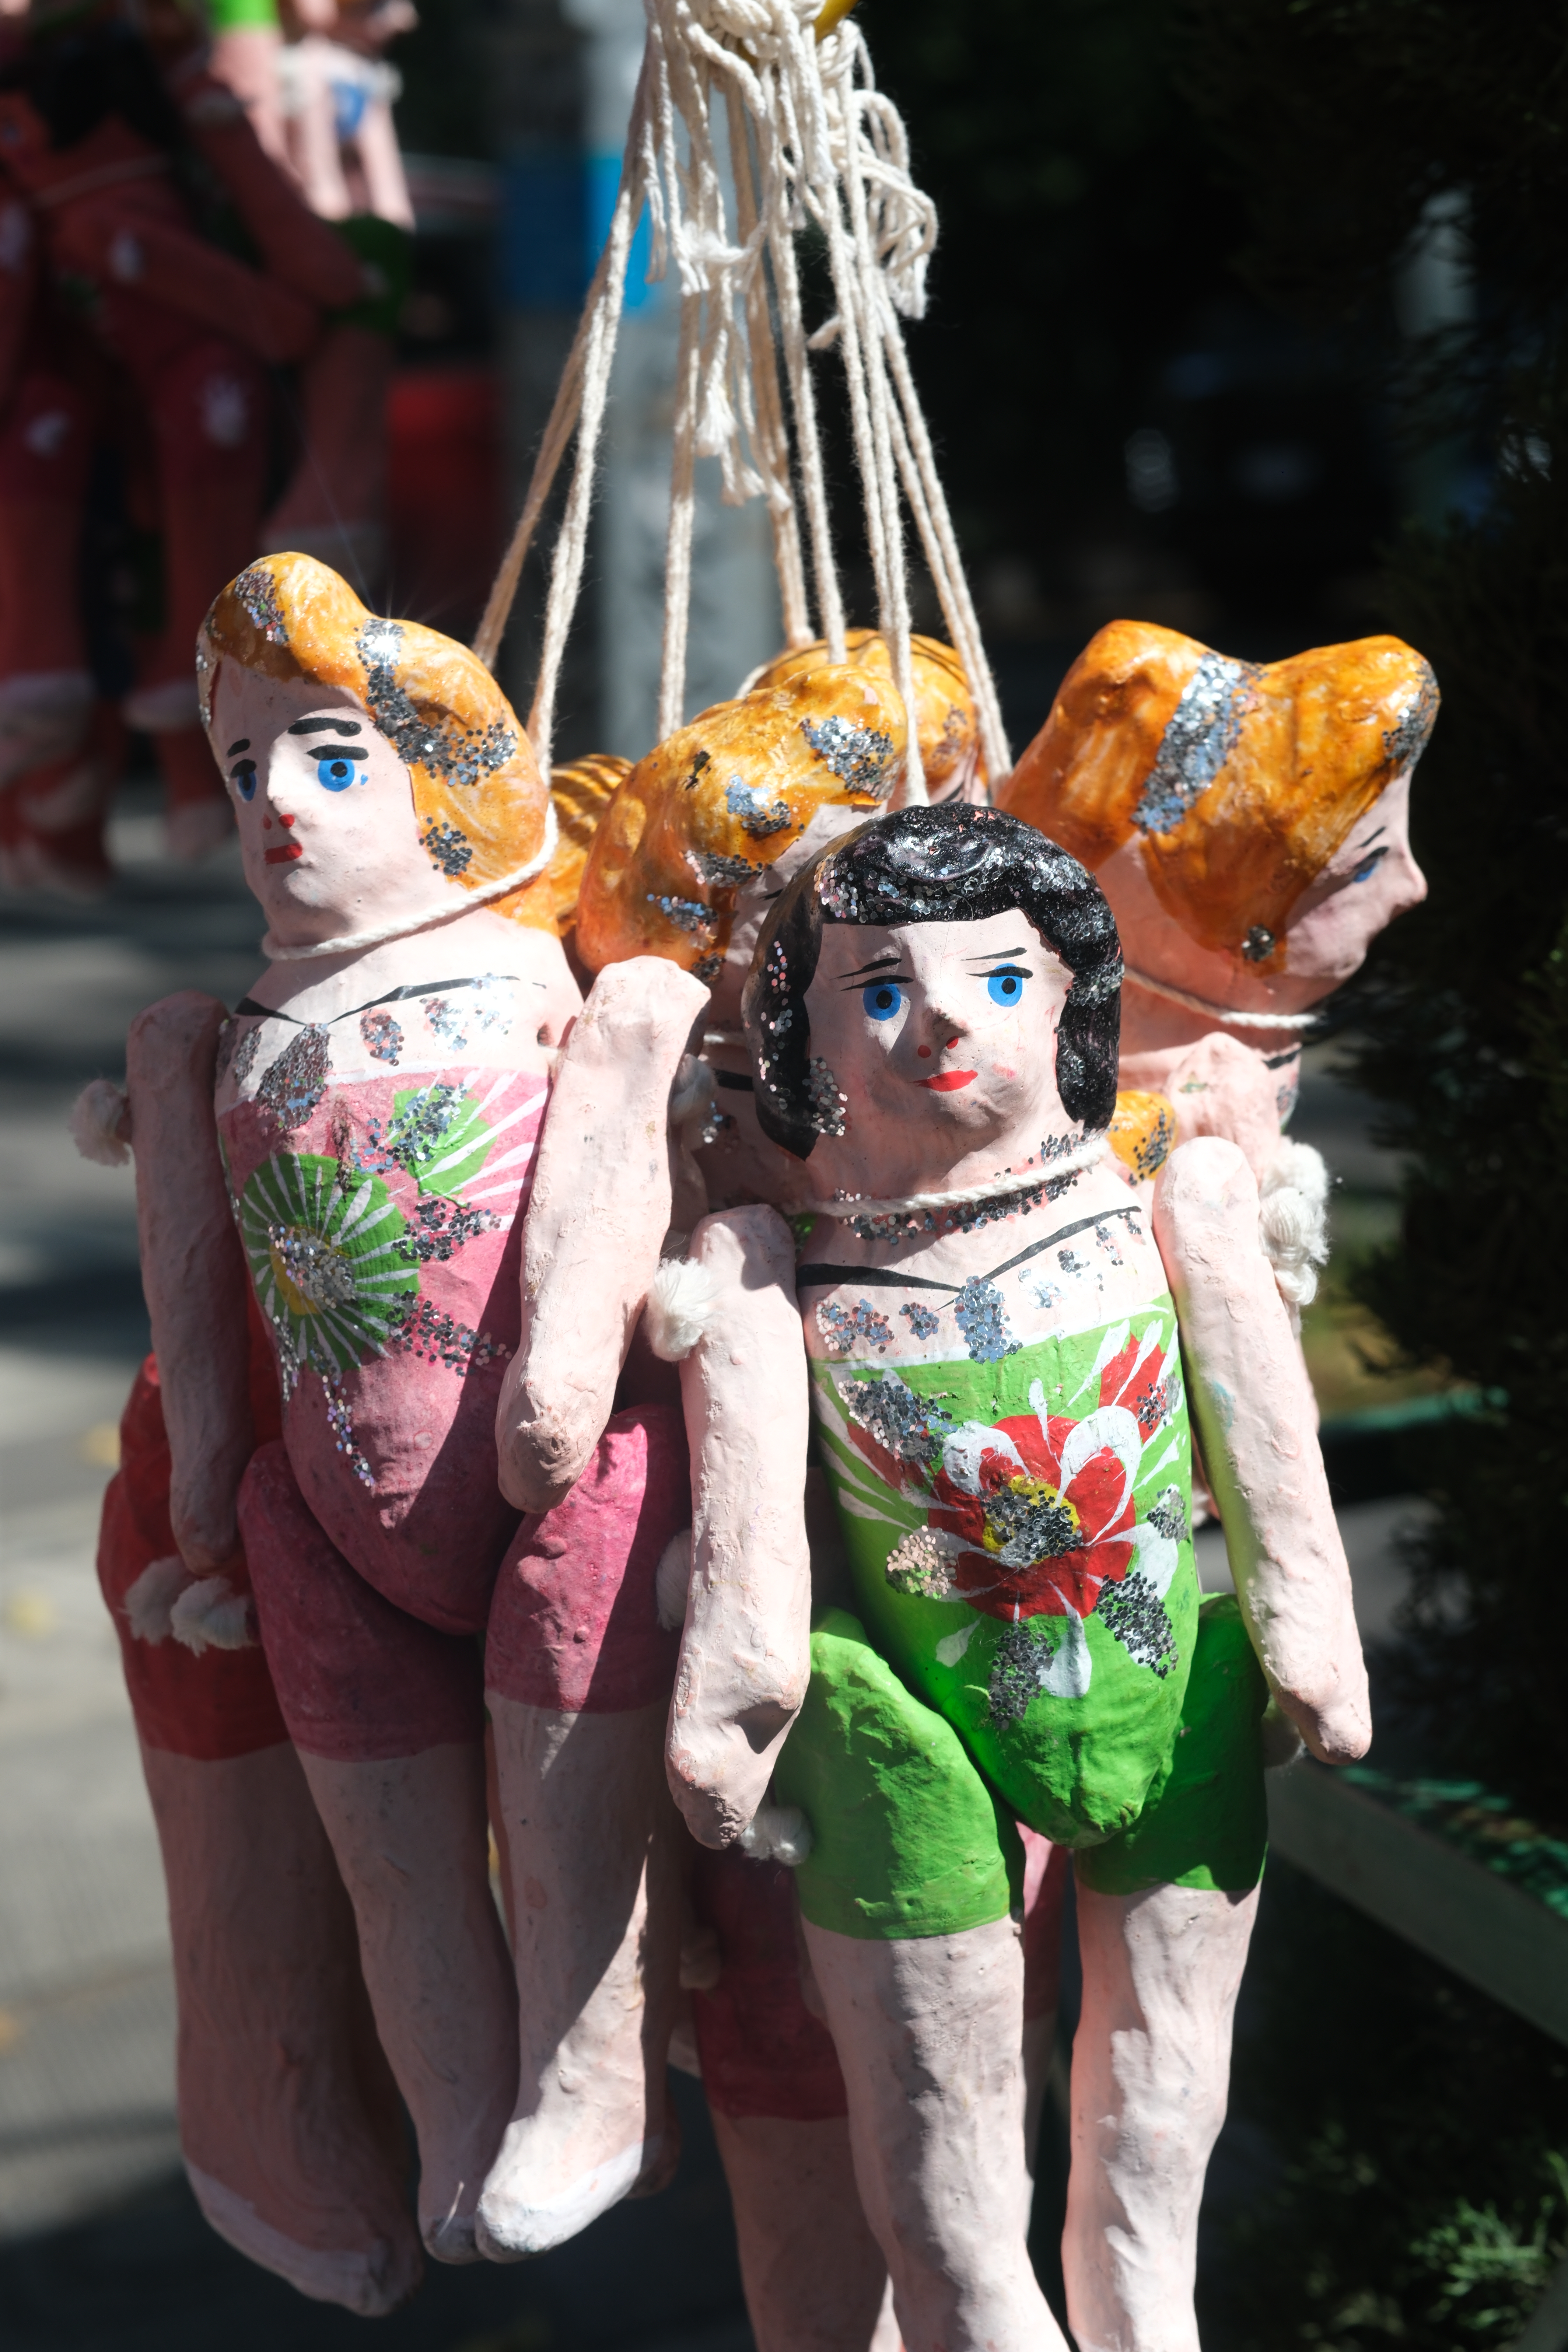
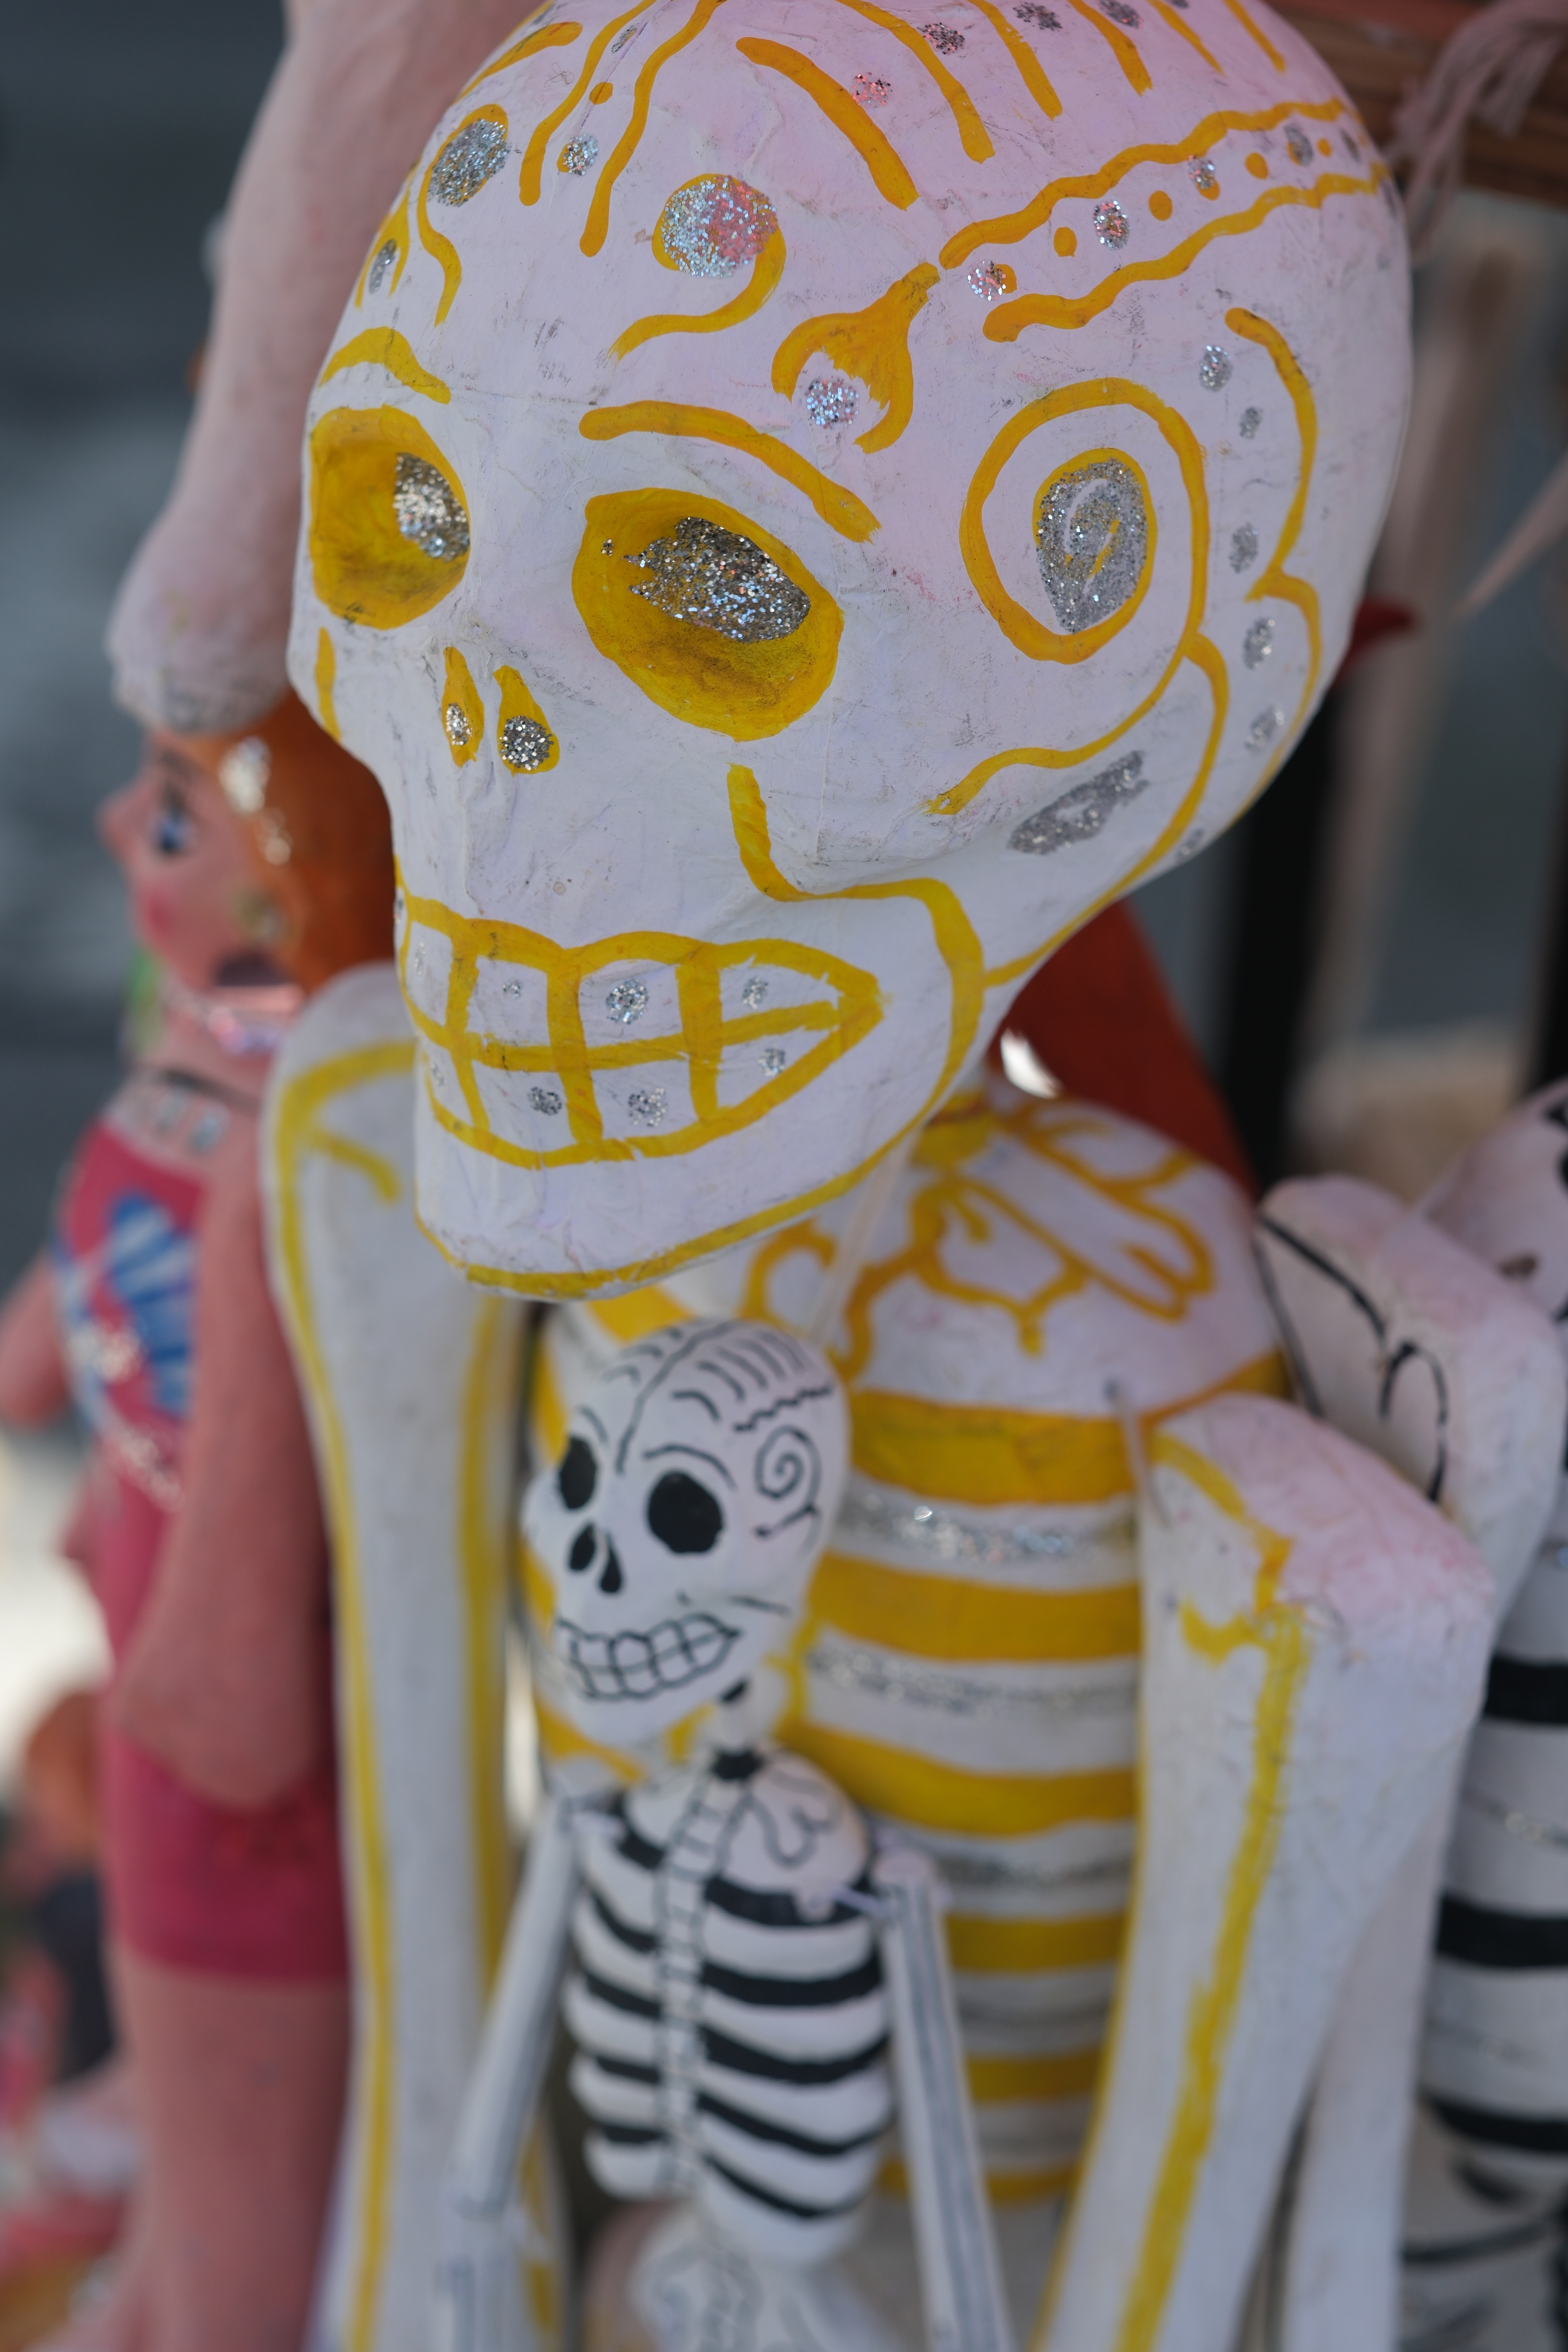

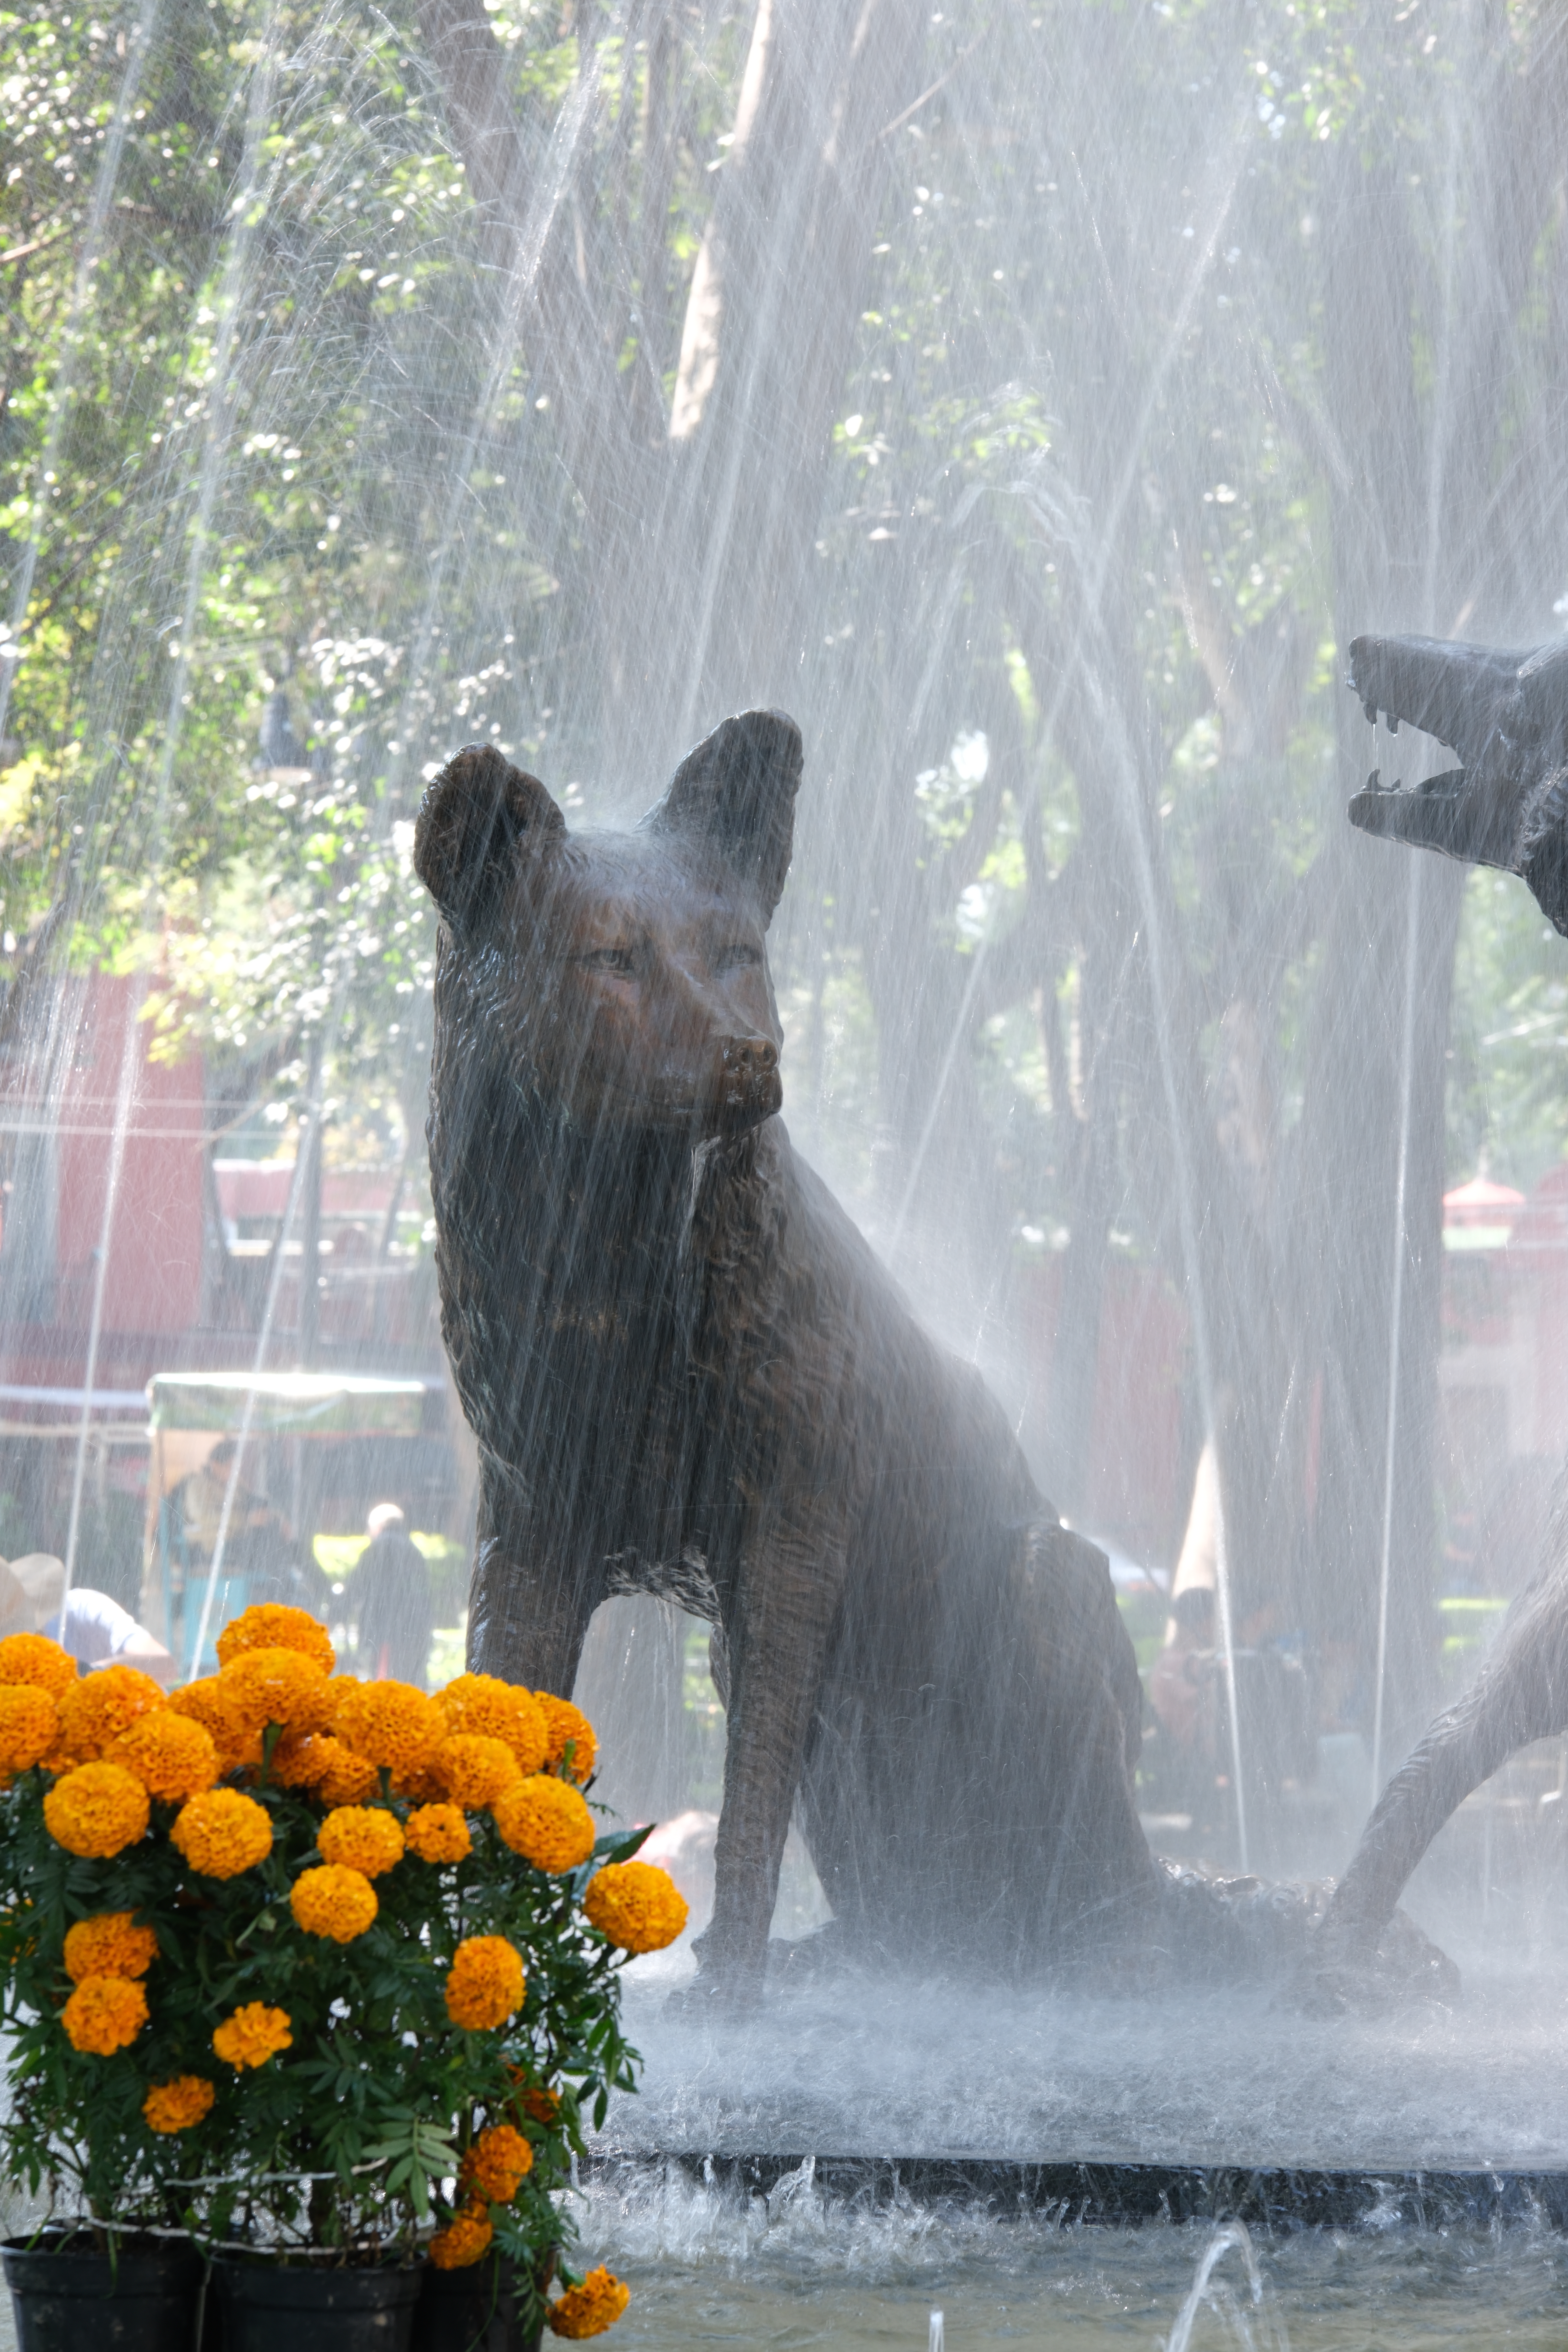
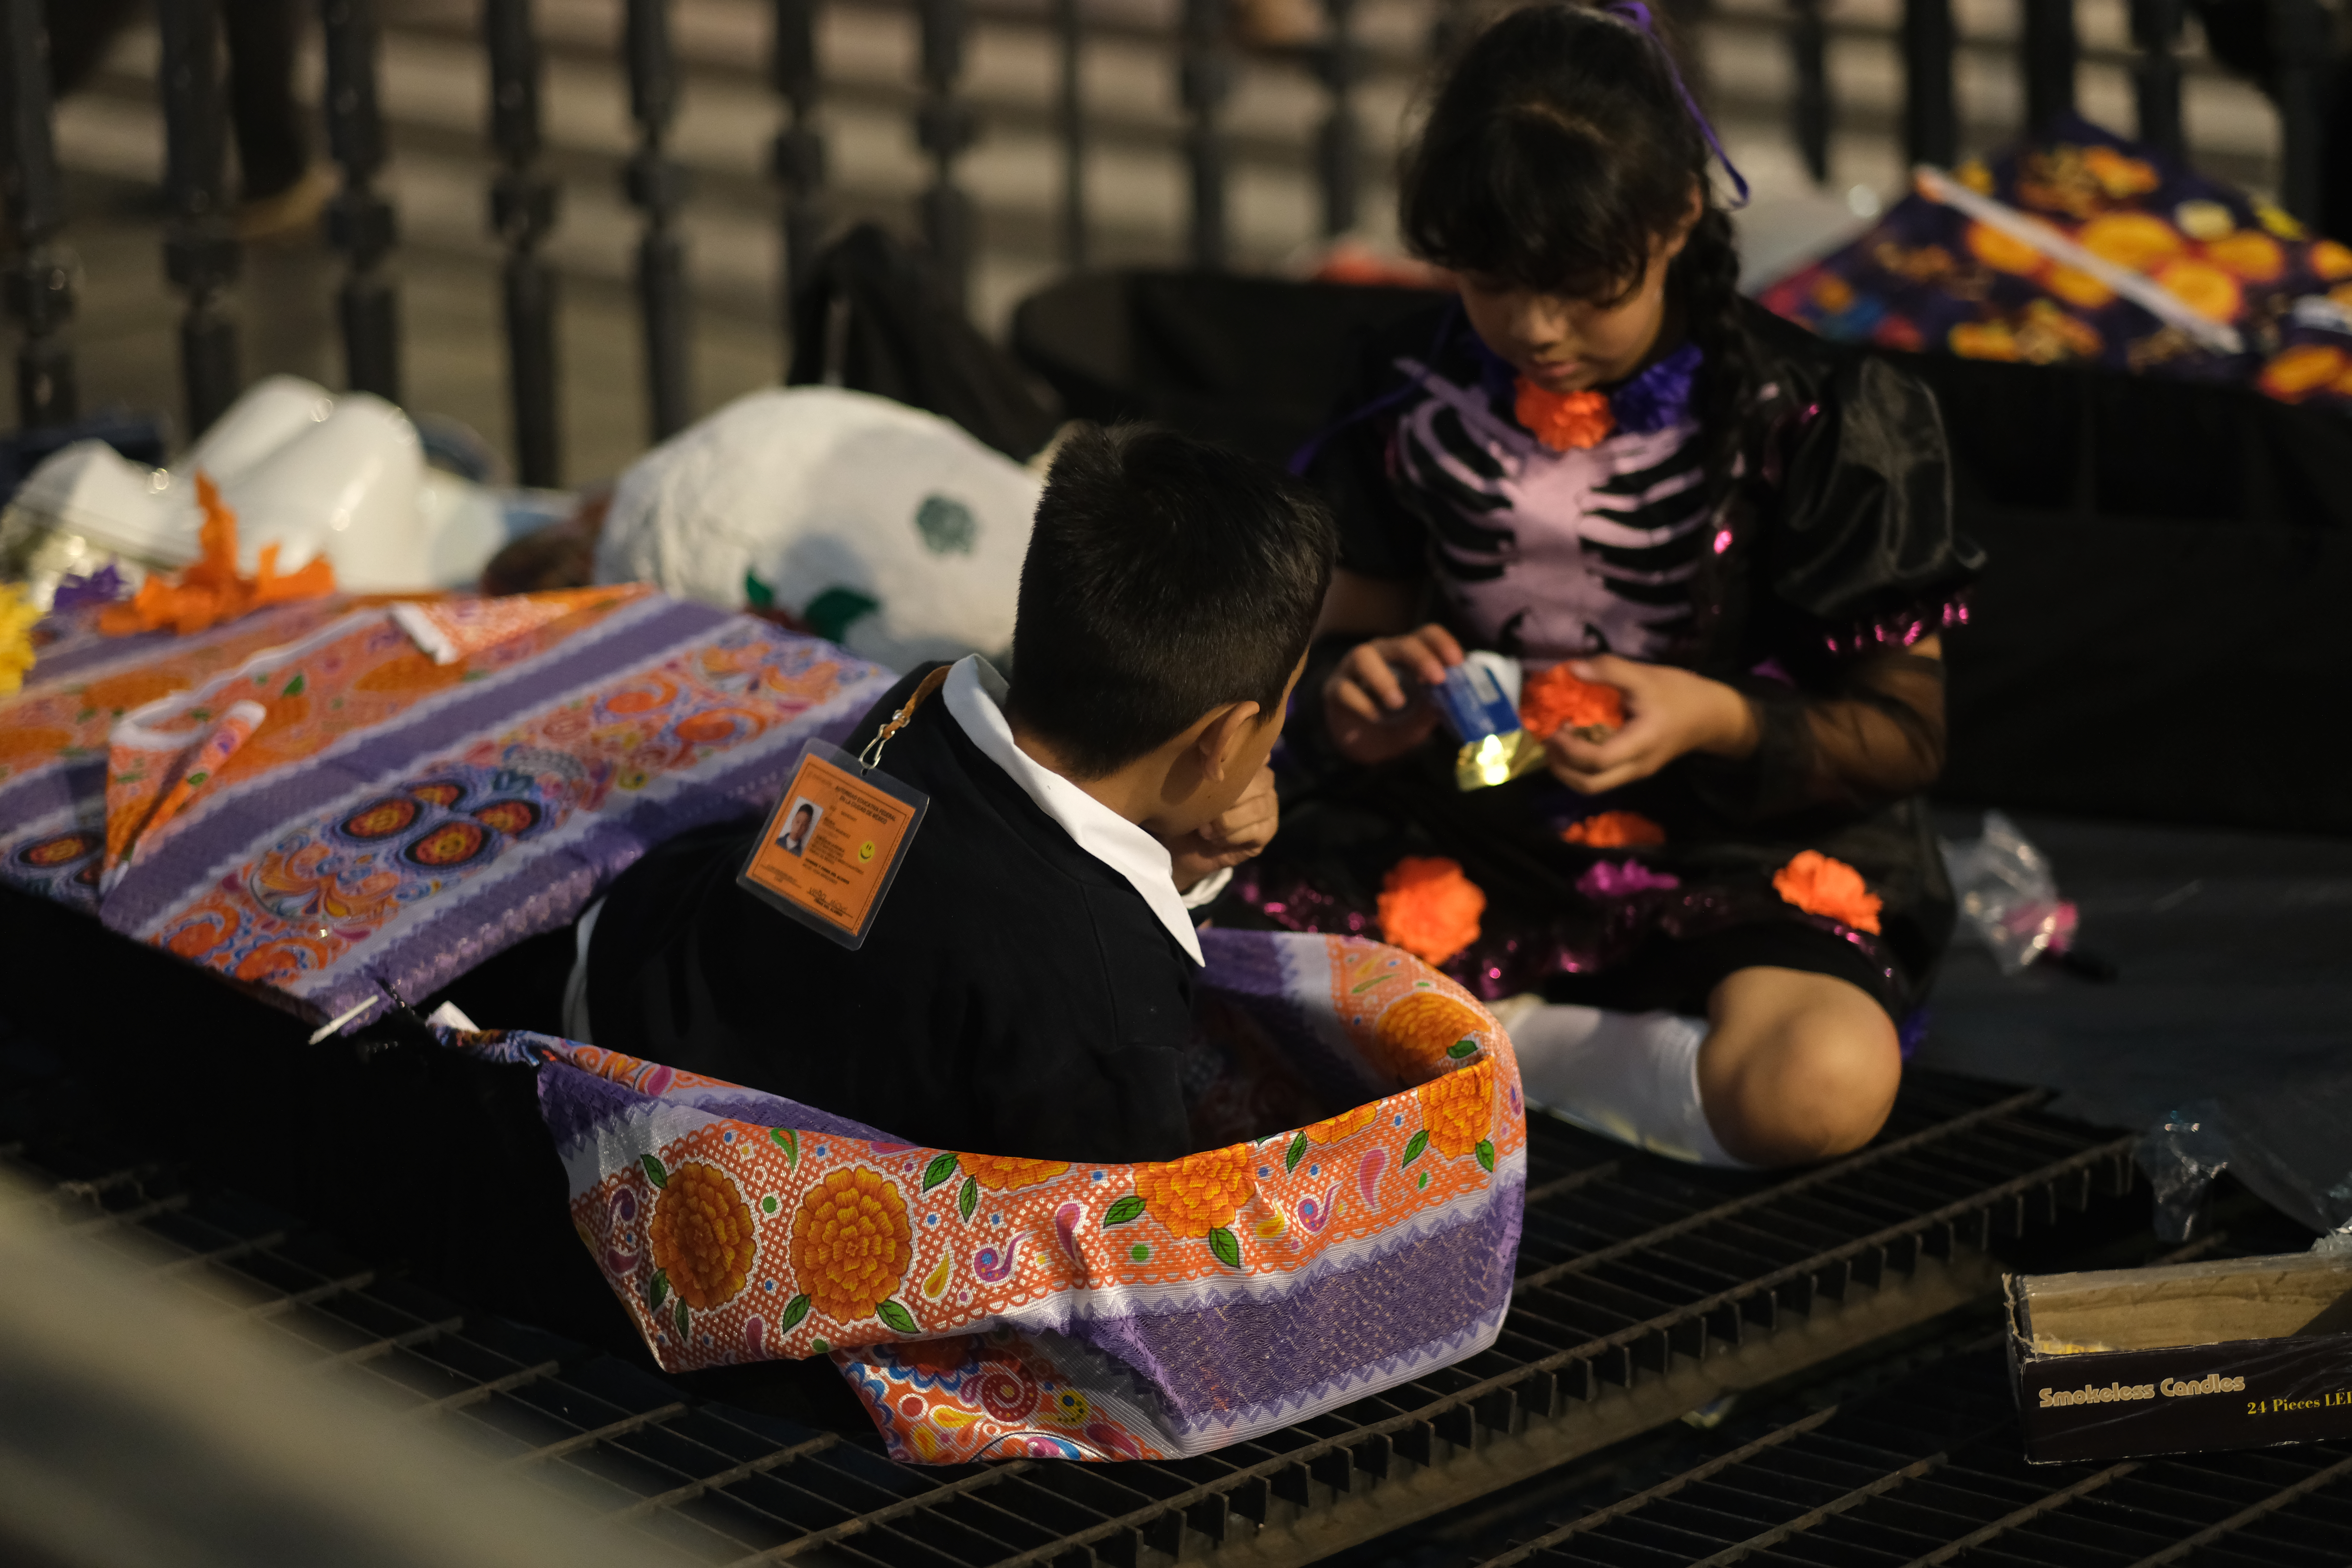
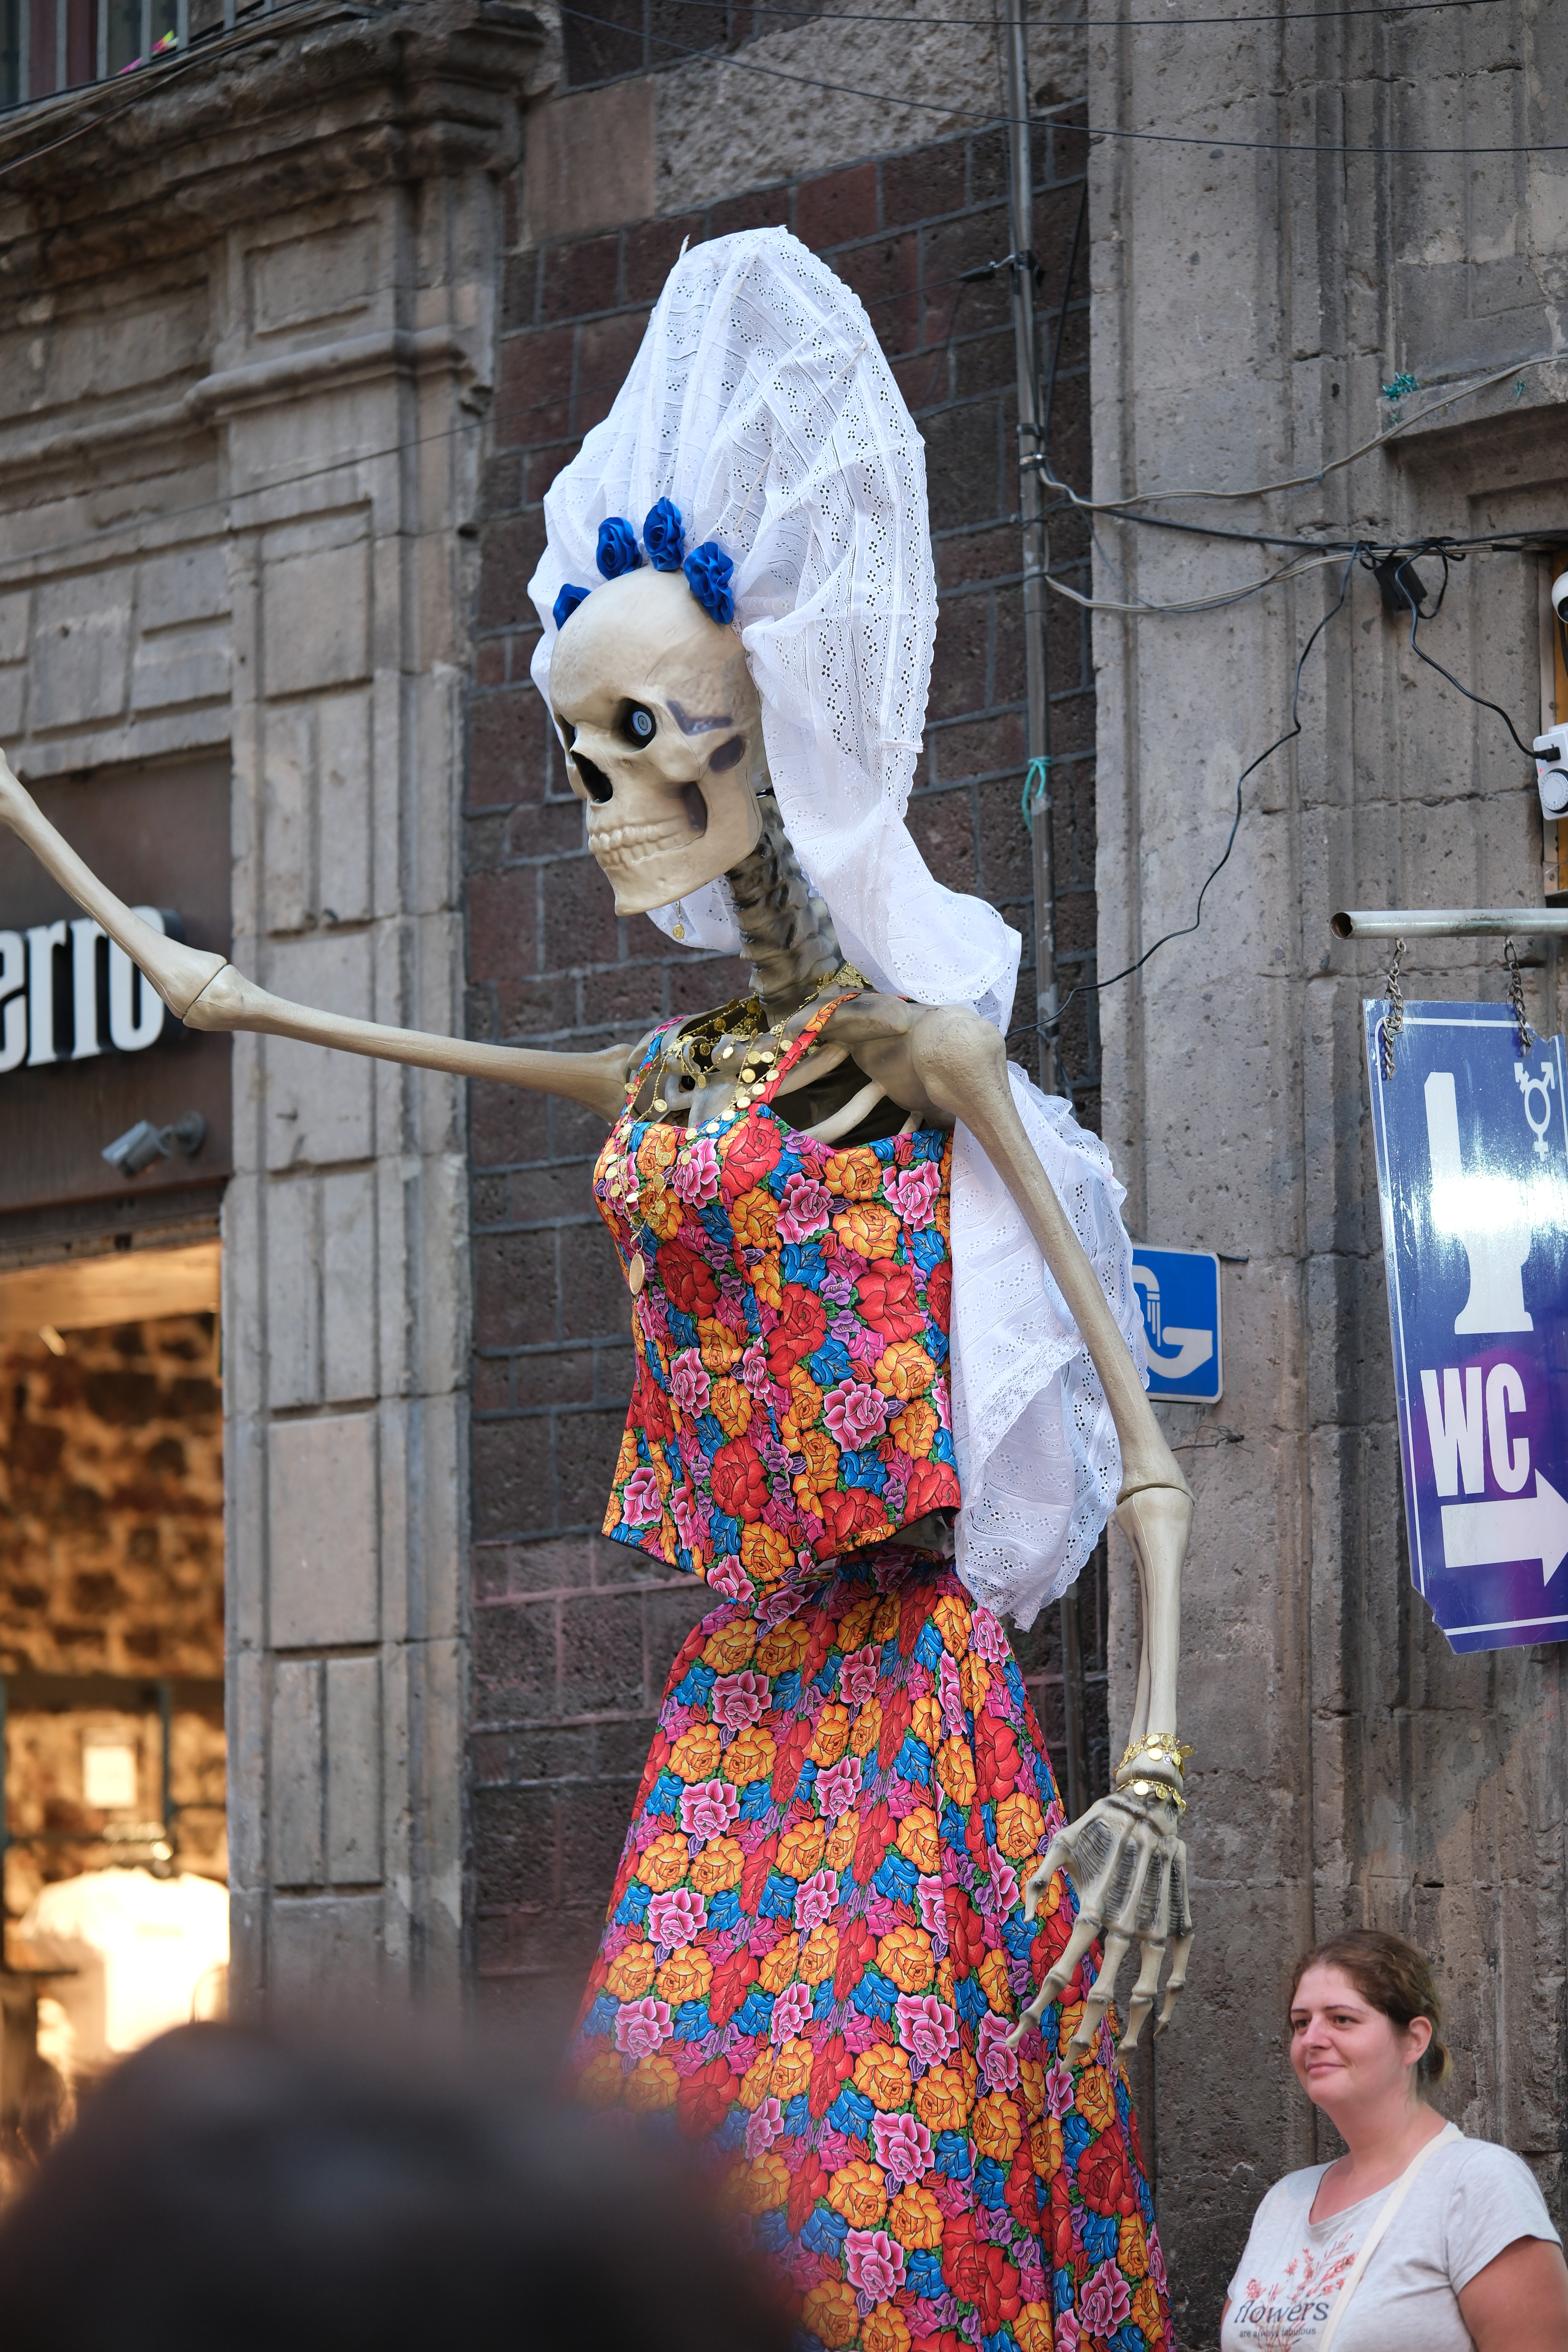
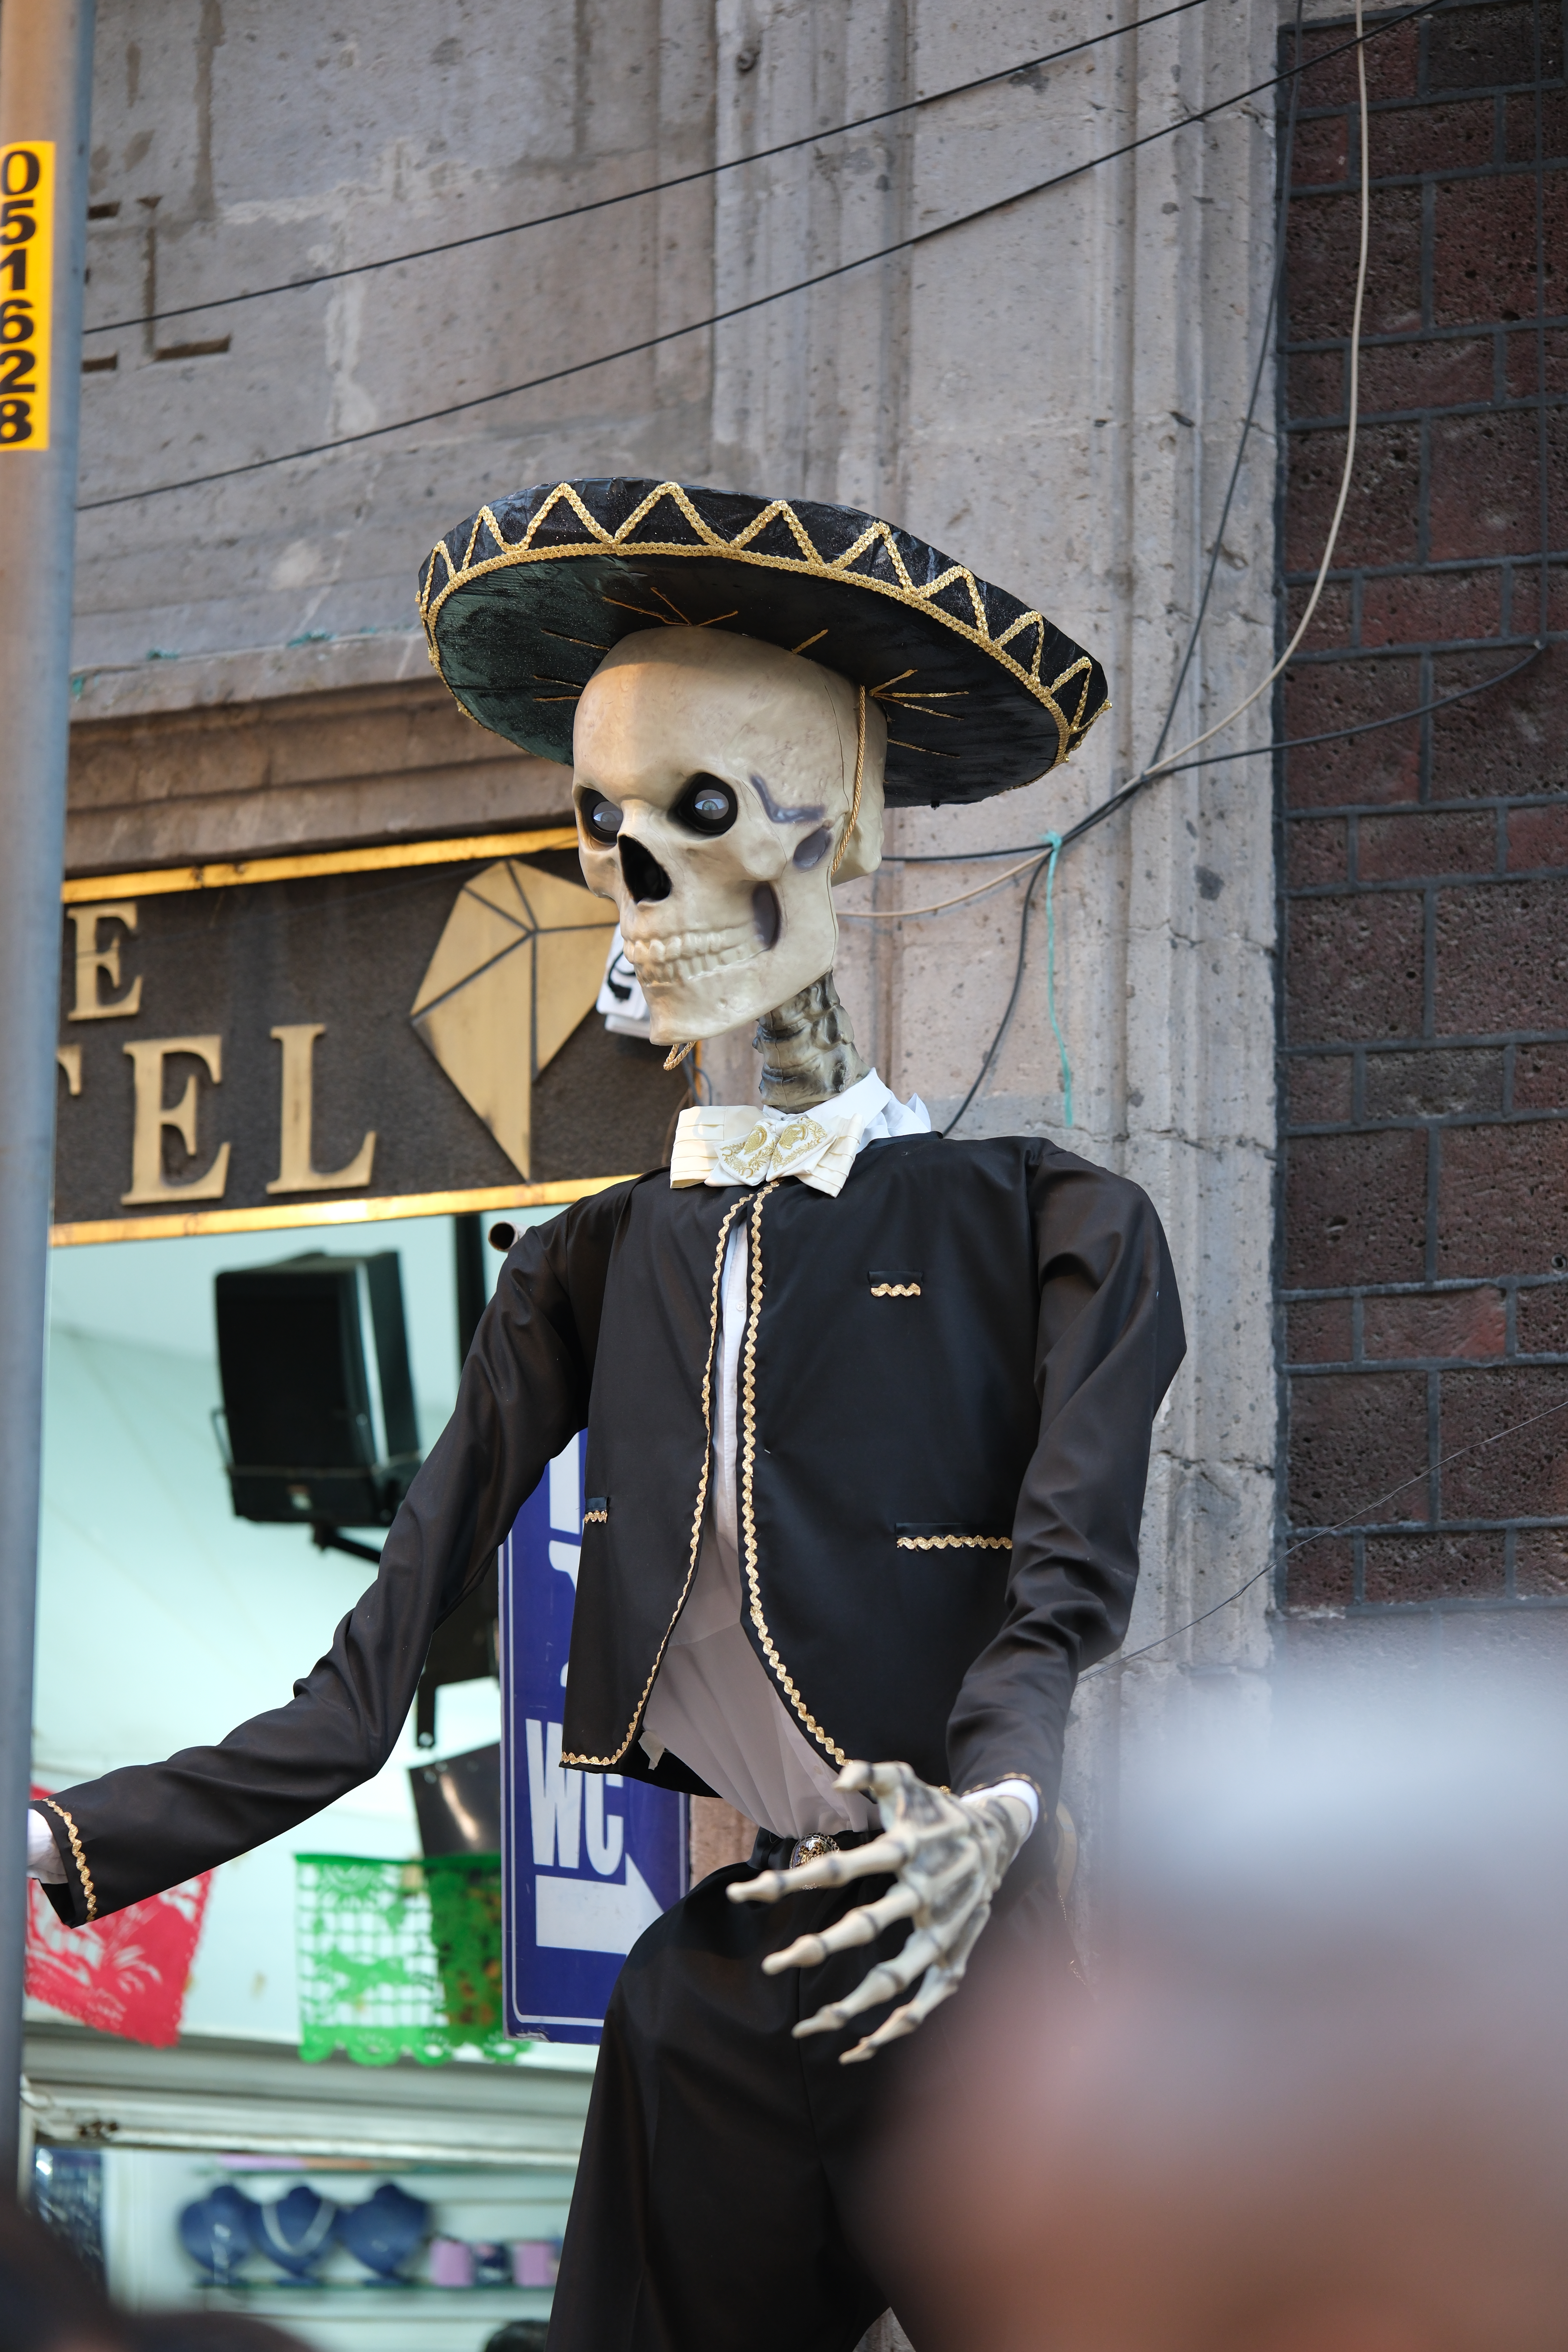
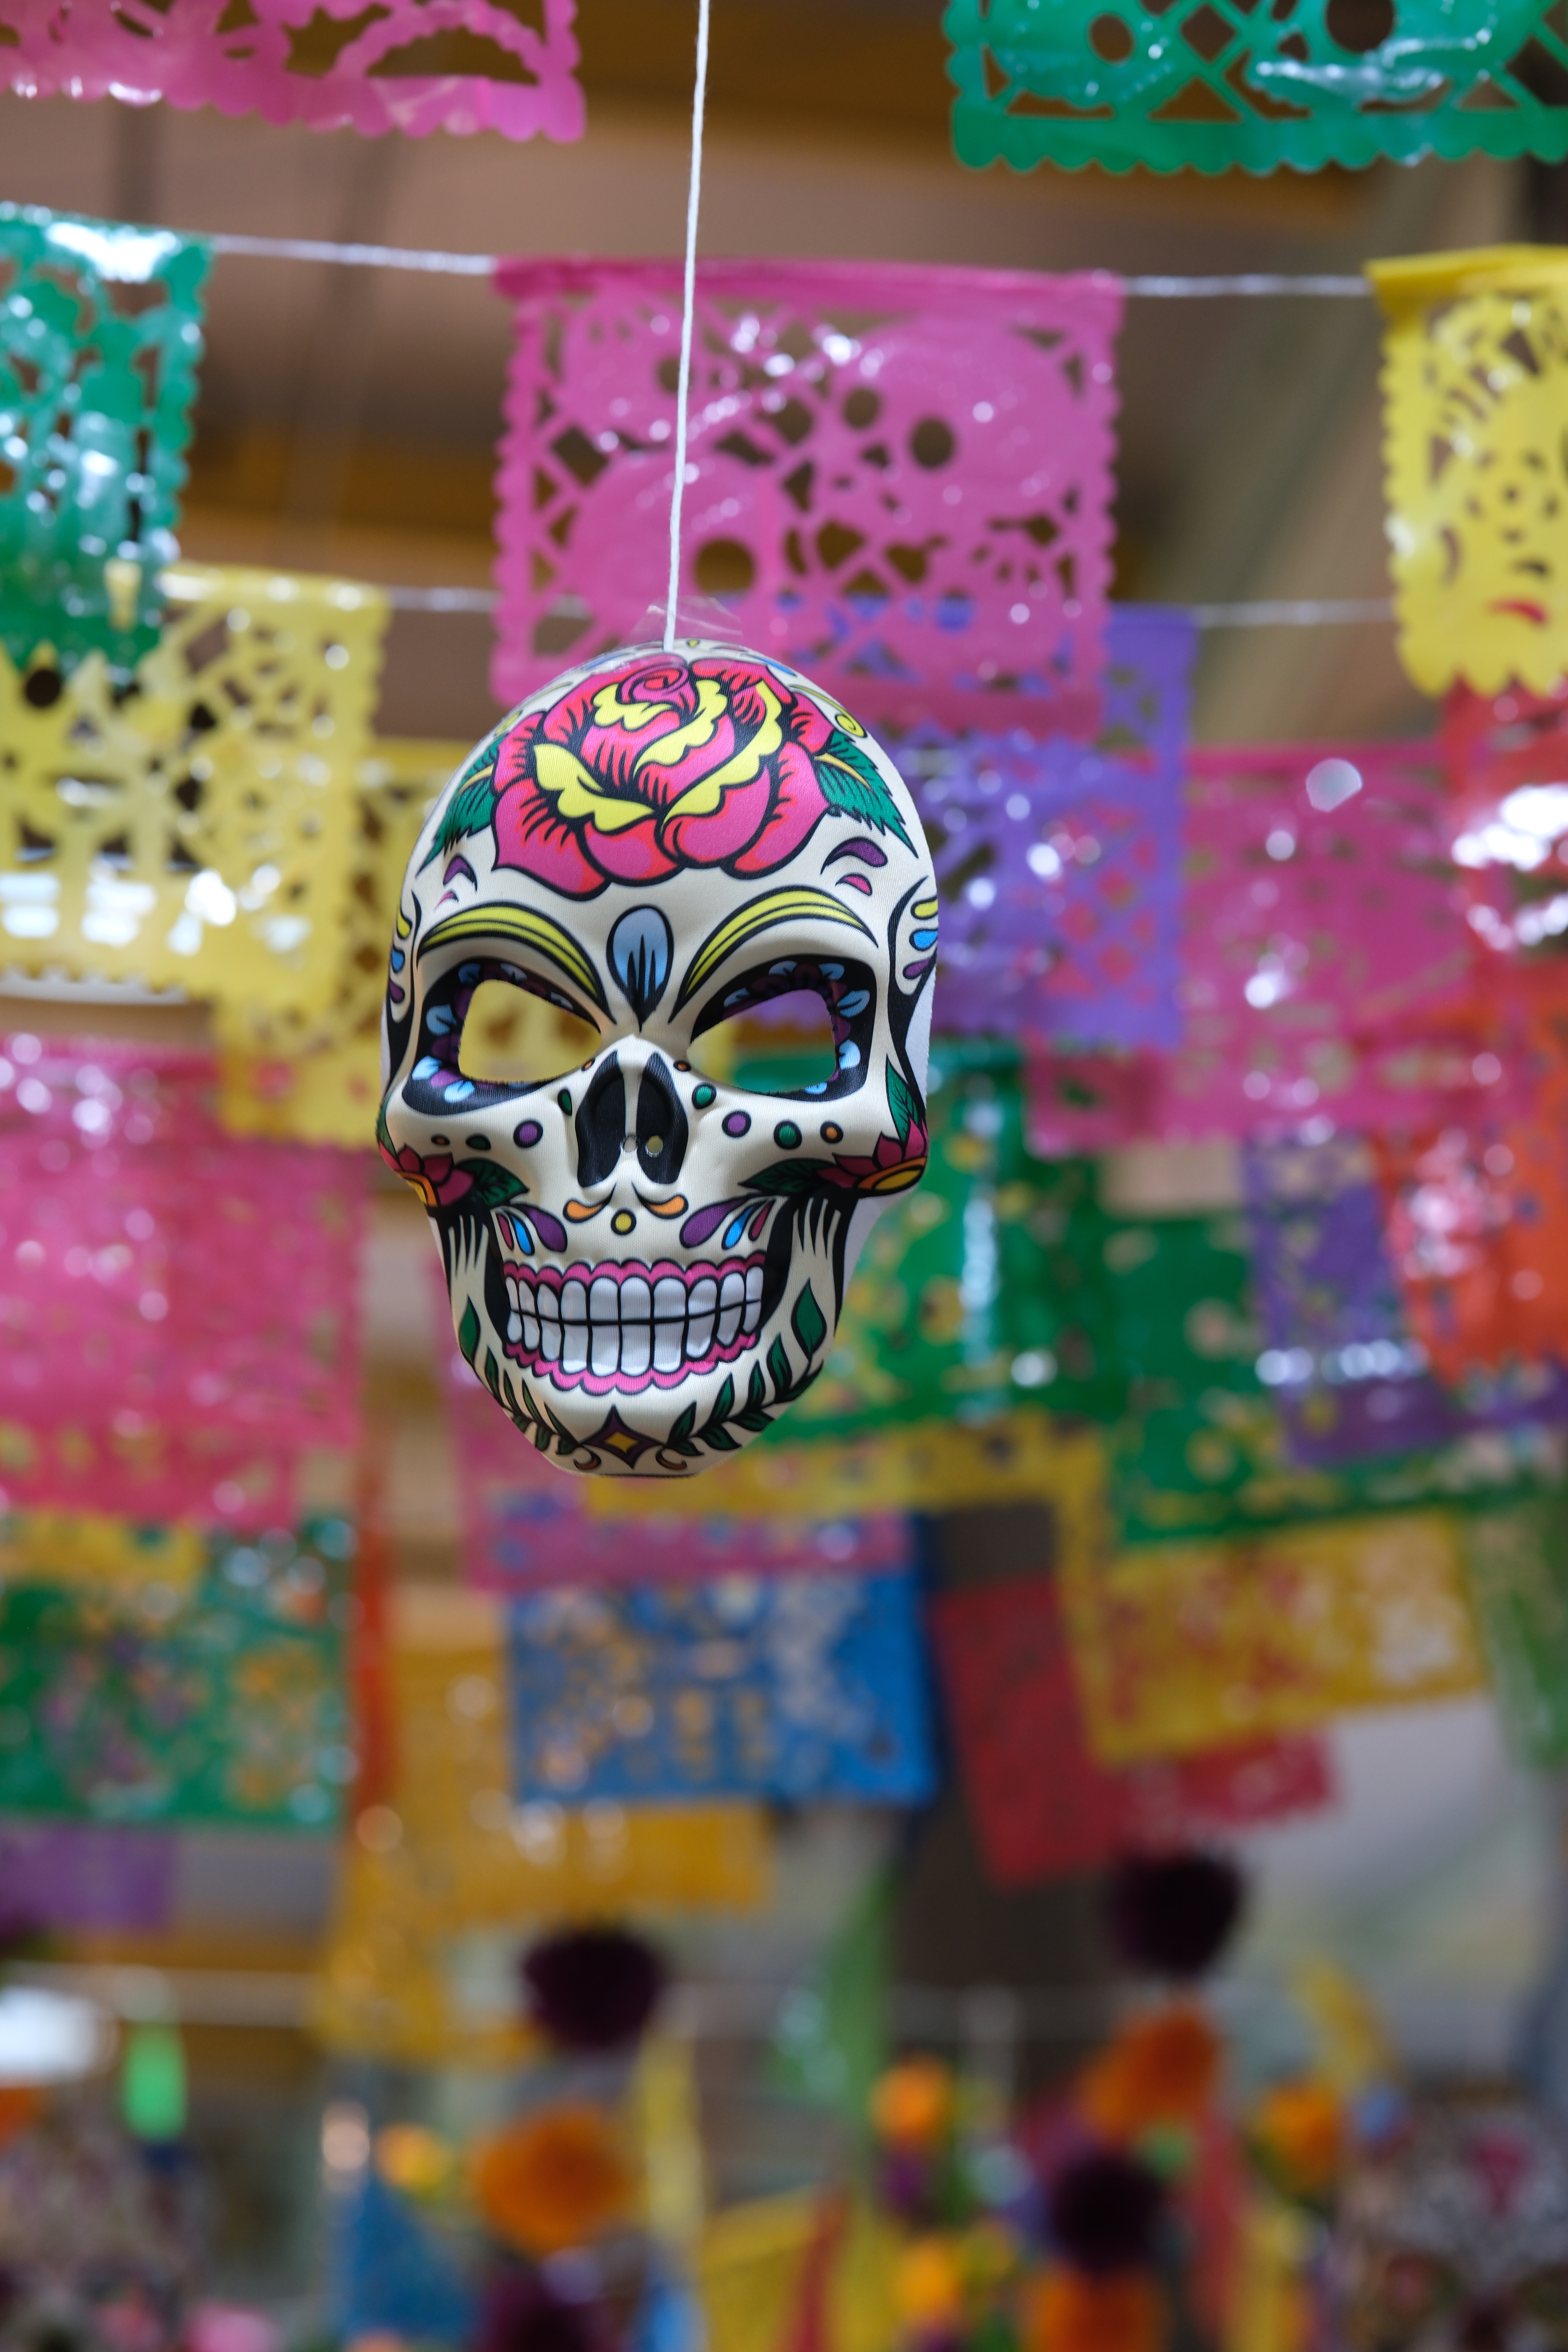
Some more Day of the Dead sights: