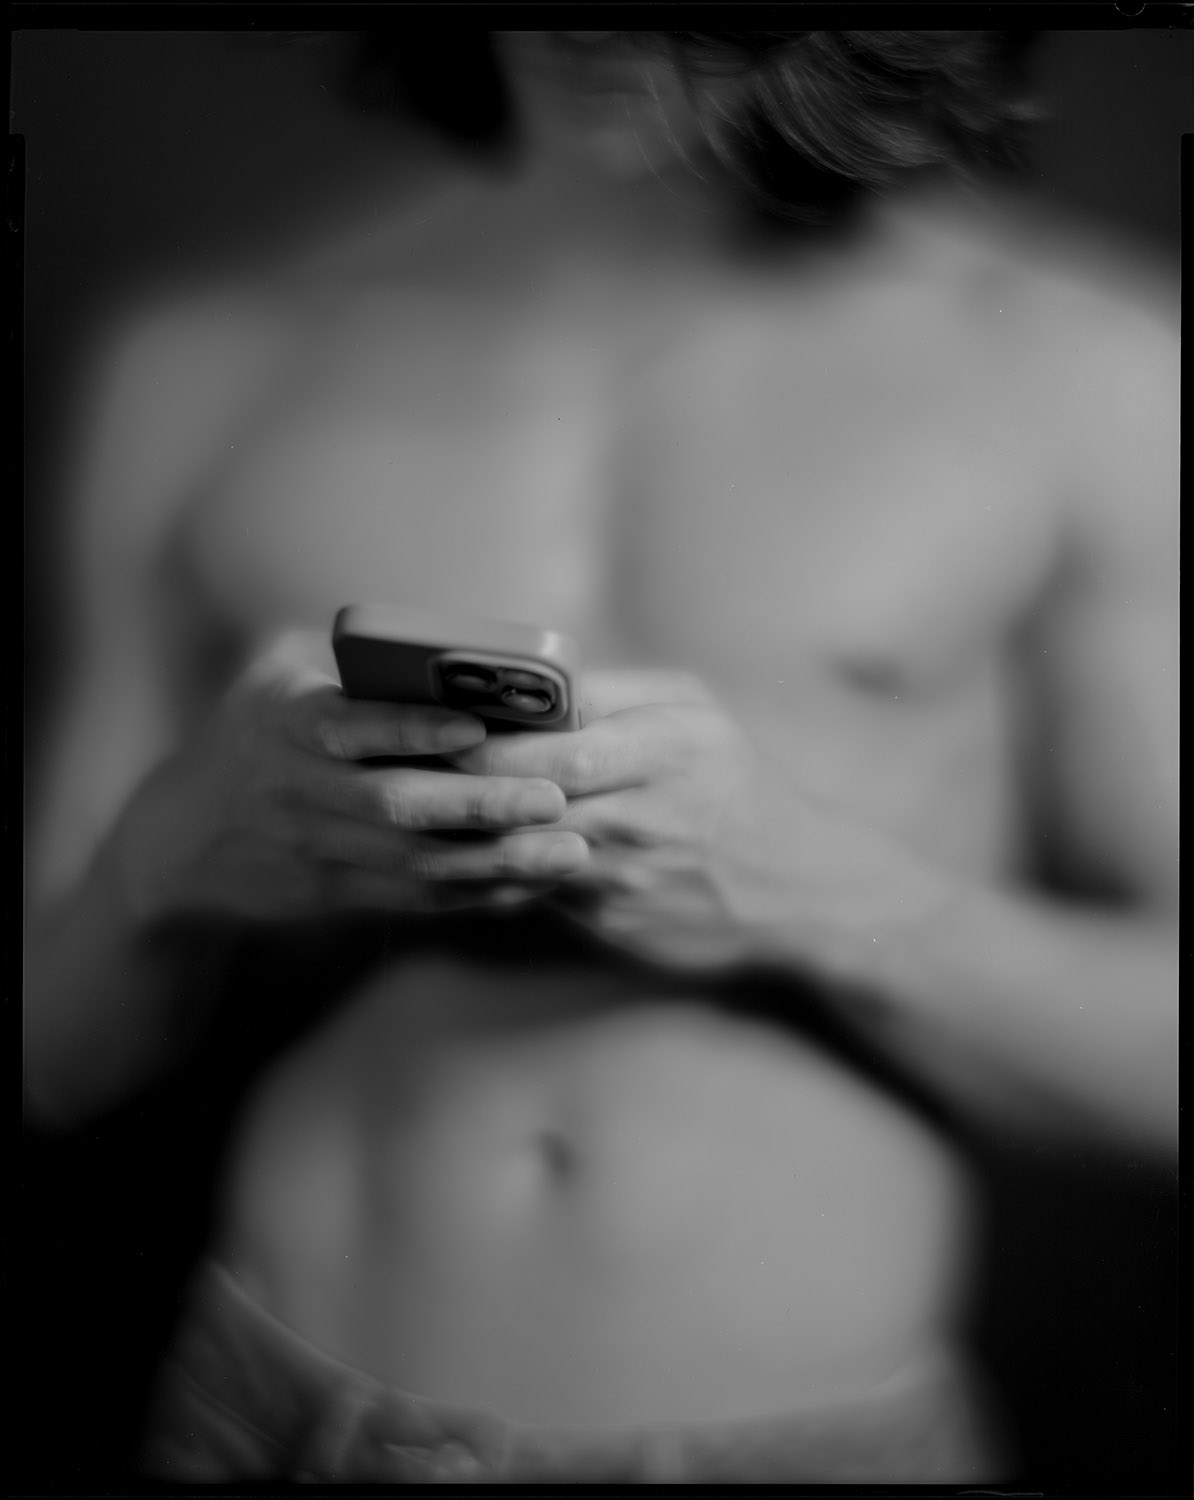
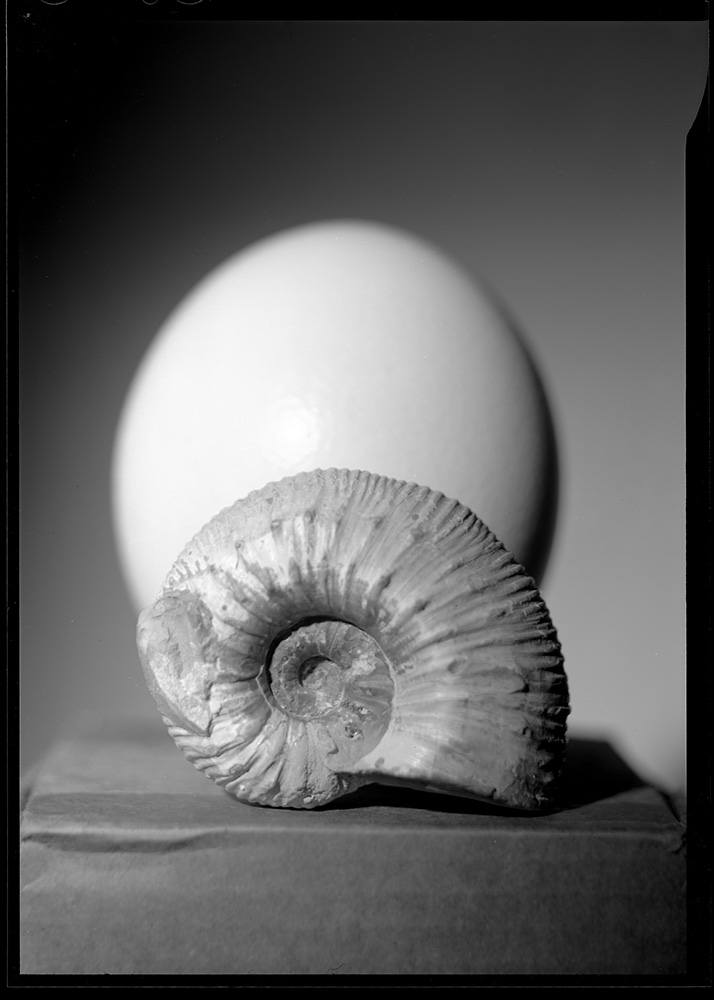
I’m getting started on a new series of human figure studies to go along with still life images. I arranged with a friend who is a professional dancer to be my model. One of the things he wanted to do was to try some movement studies. I had some pre-conceived shots I wanted to make, but I thought it would be good to push my comfort zone and try to do something different. I’m very much a collaborative photographer when it comes to working with models – I know I do NOT have all the ideas, and I love being inspired by and learning from the people I work with to create images.
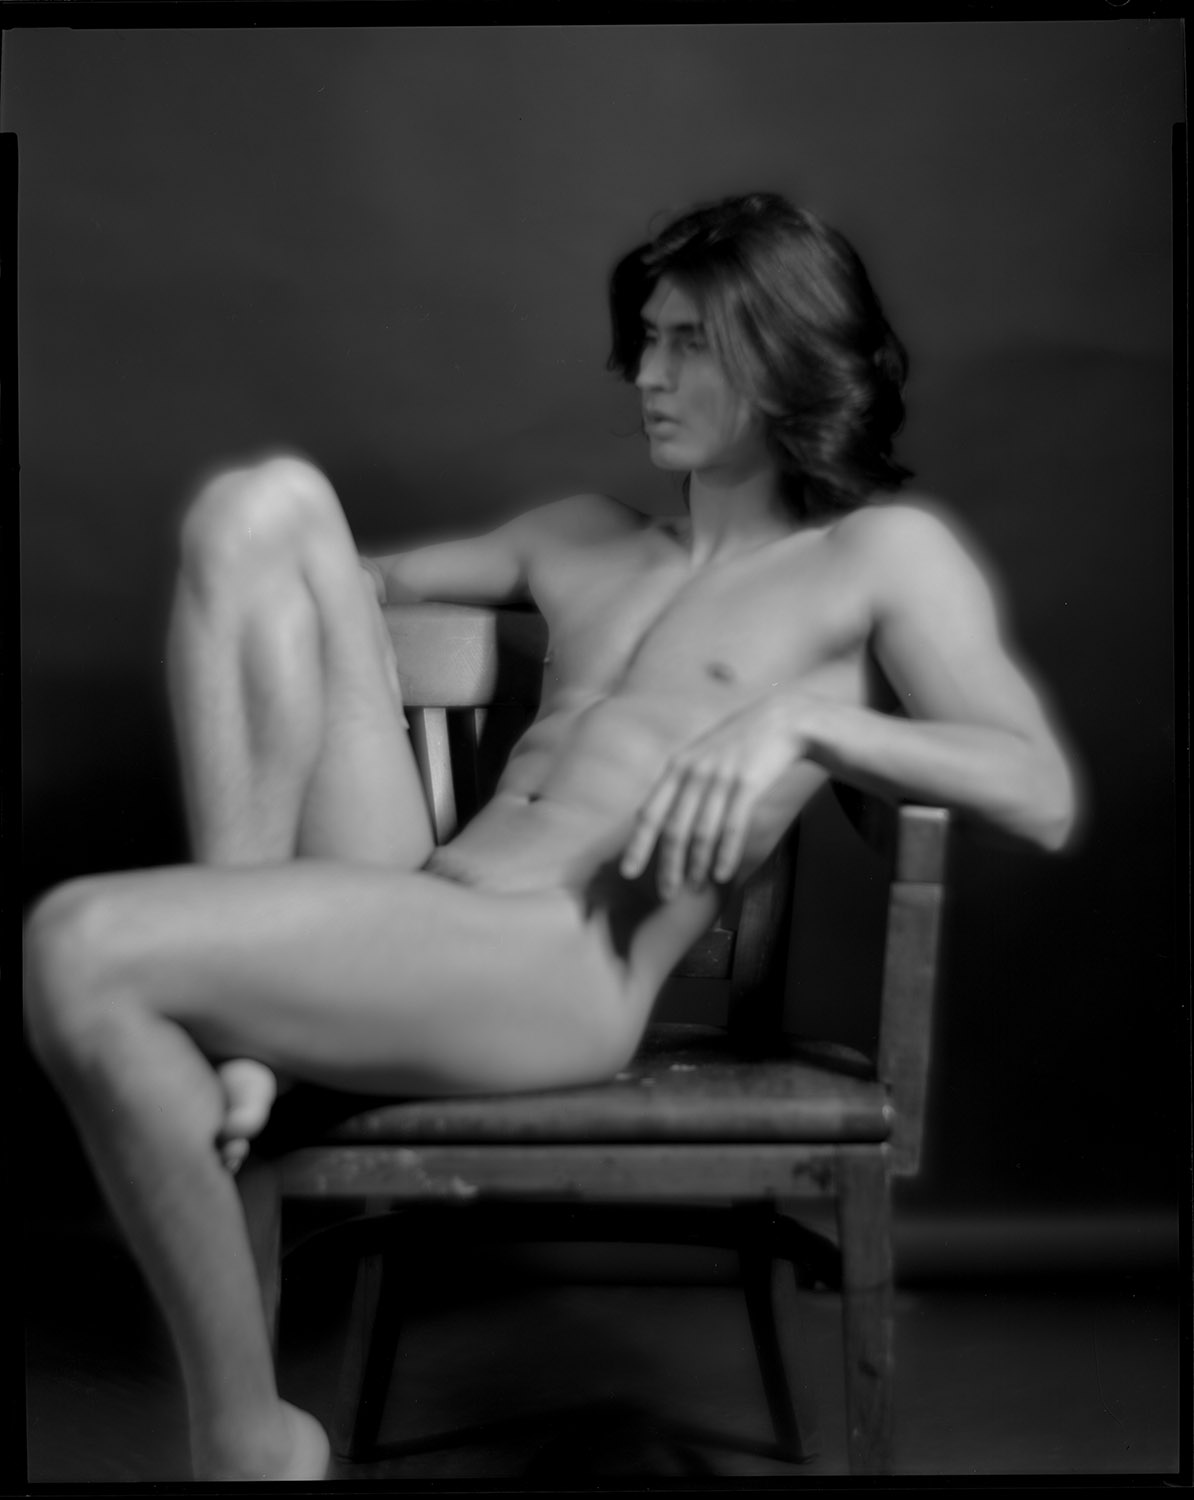
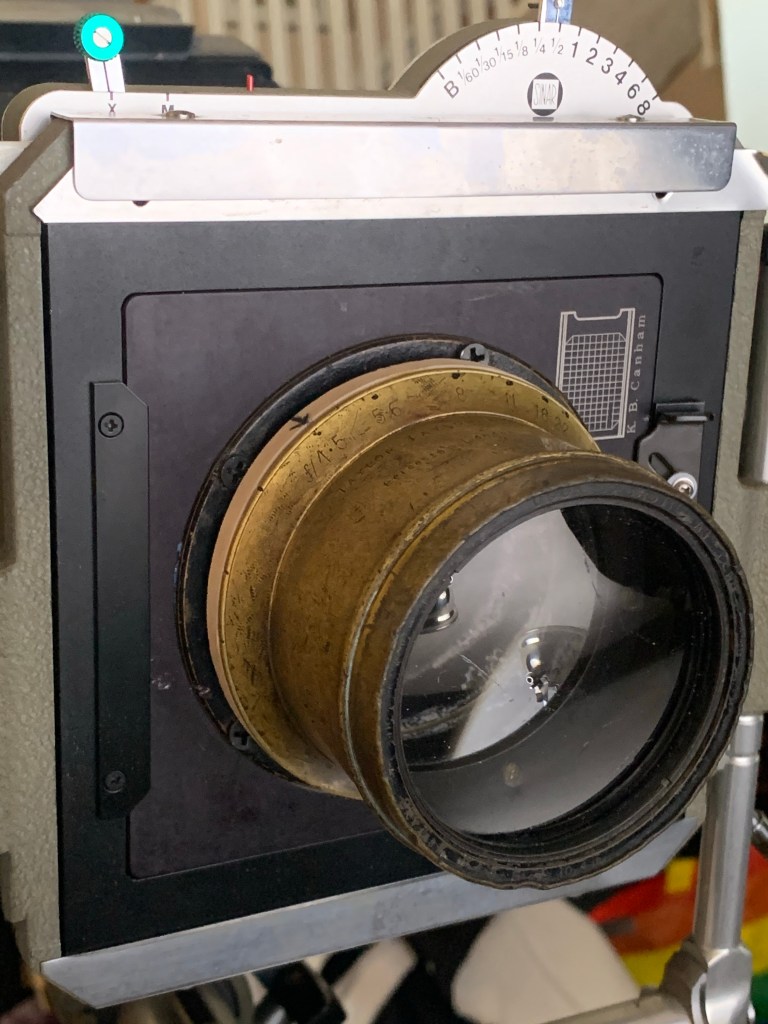
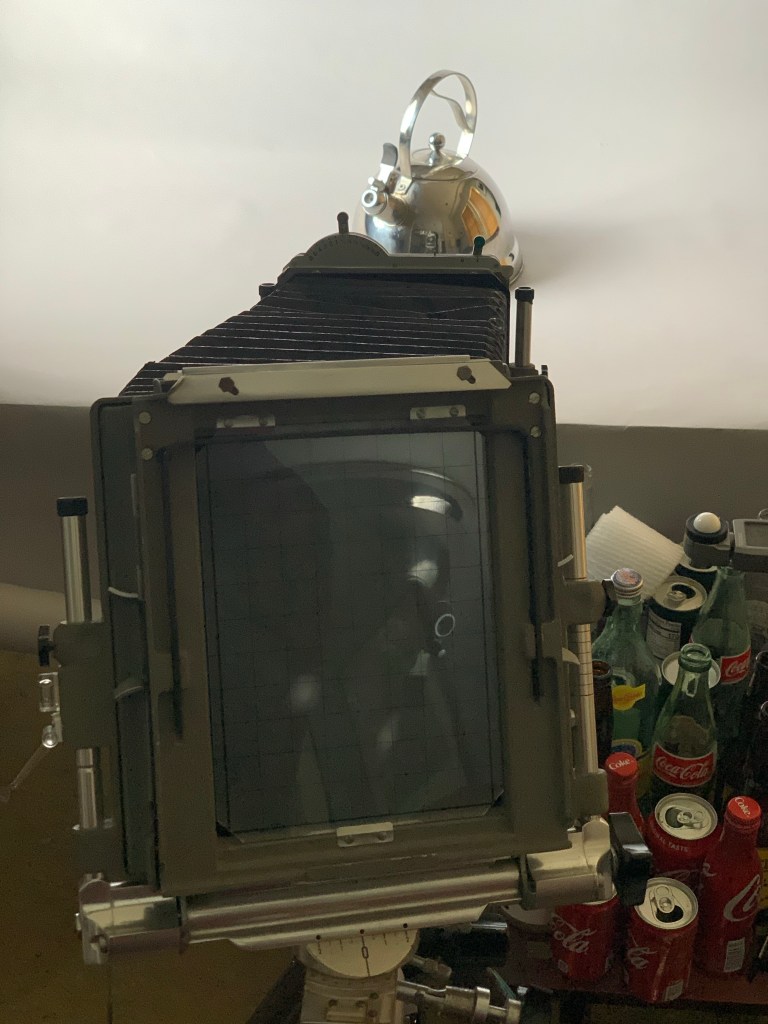
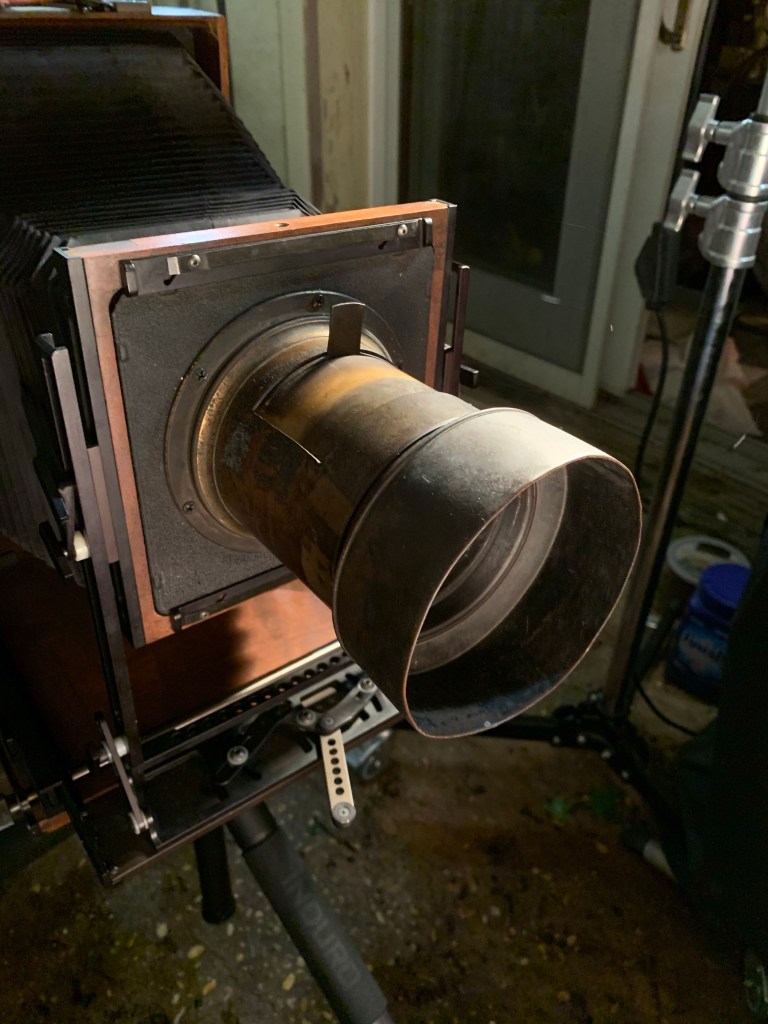
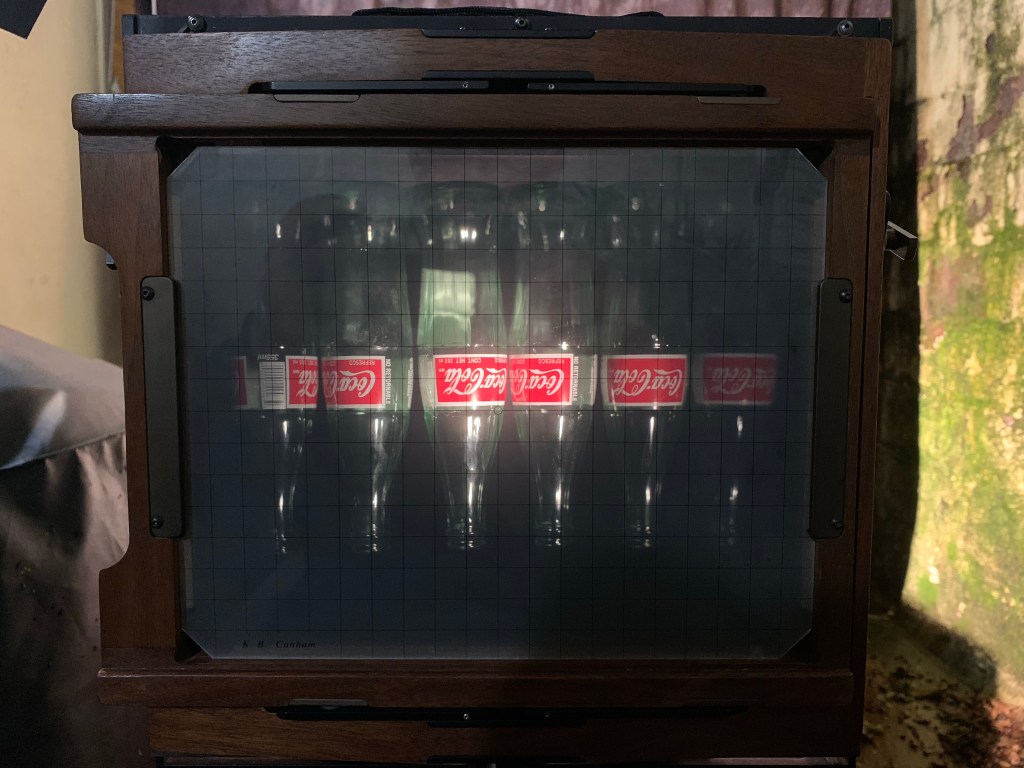
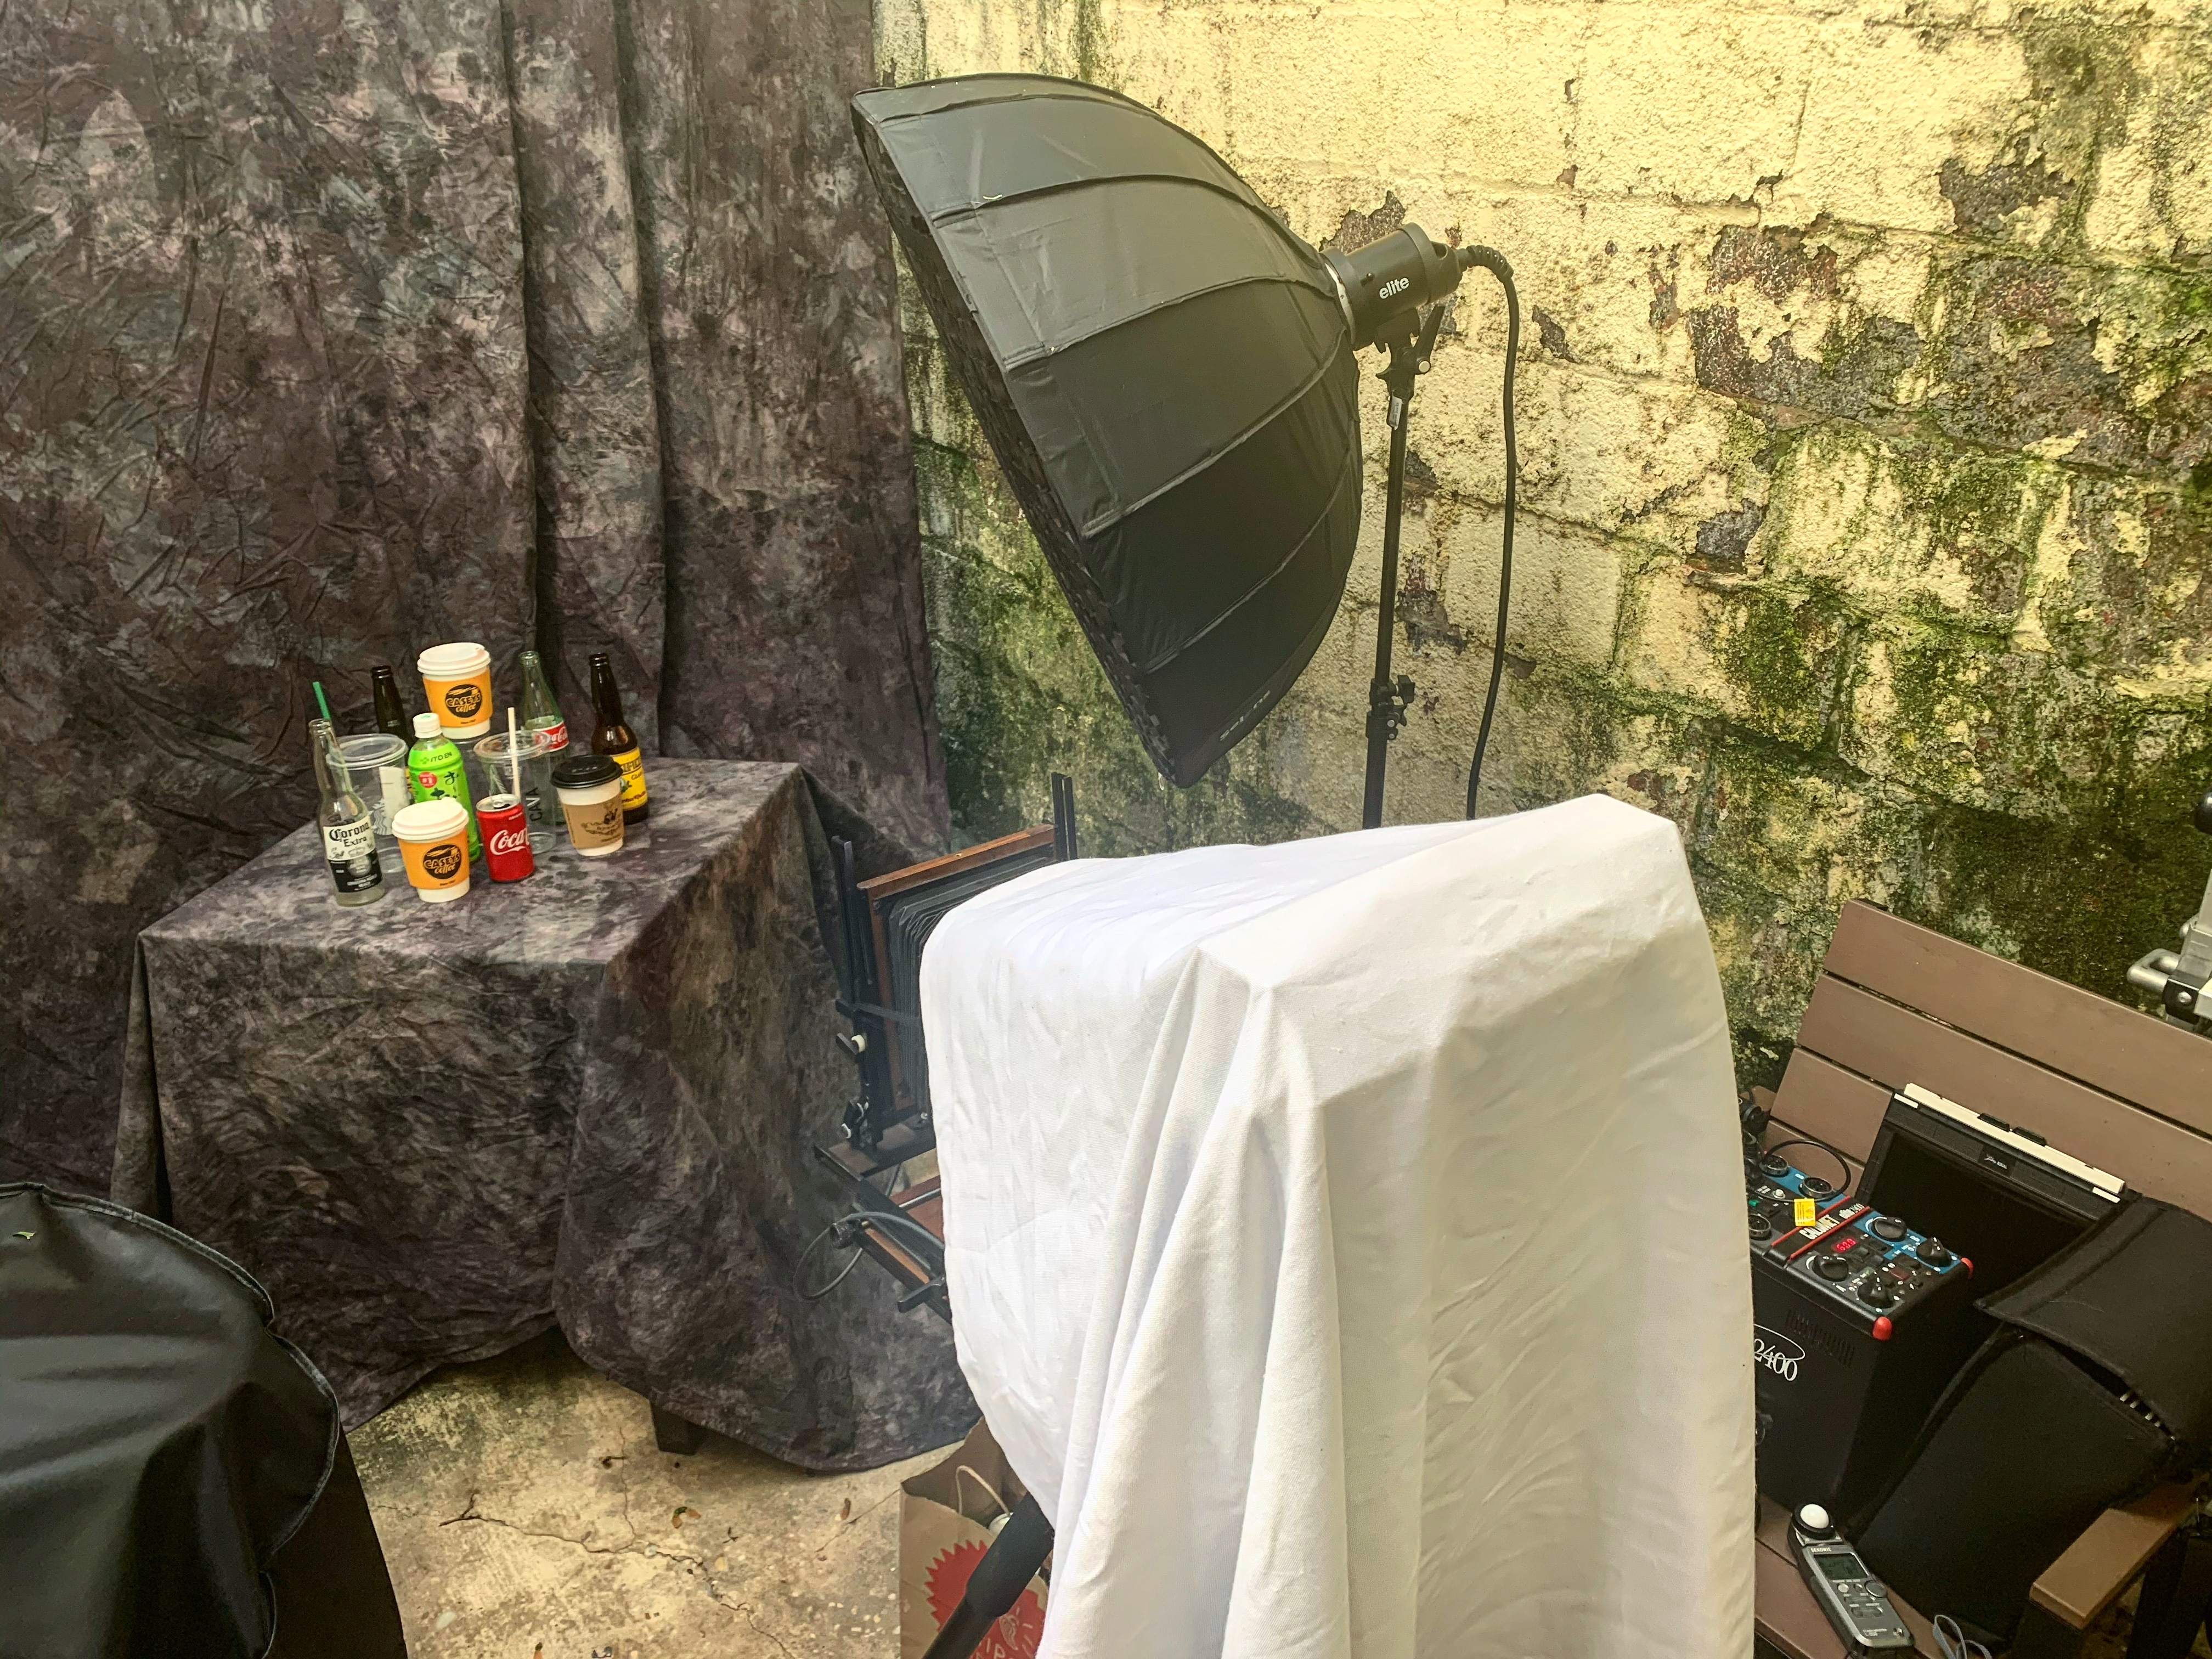
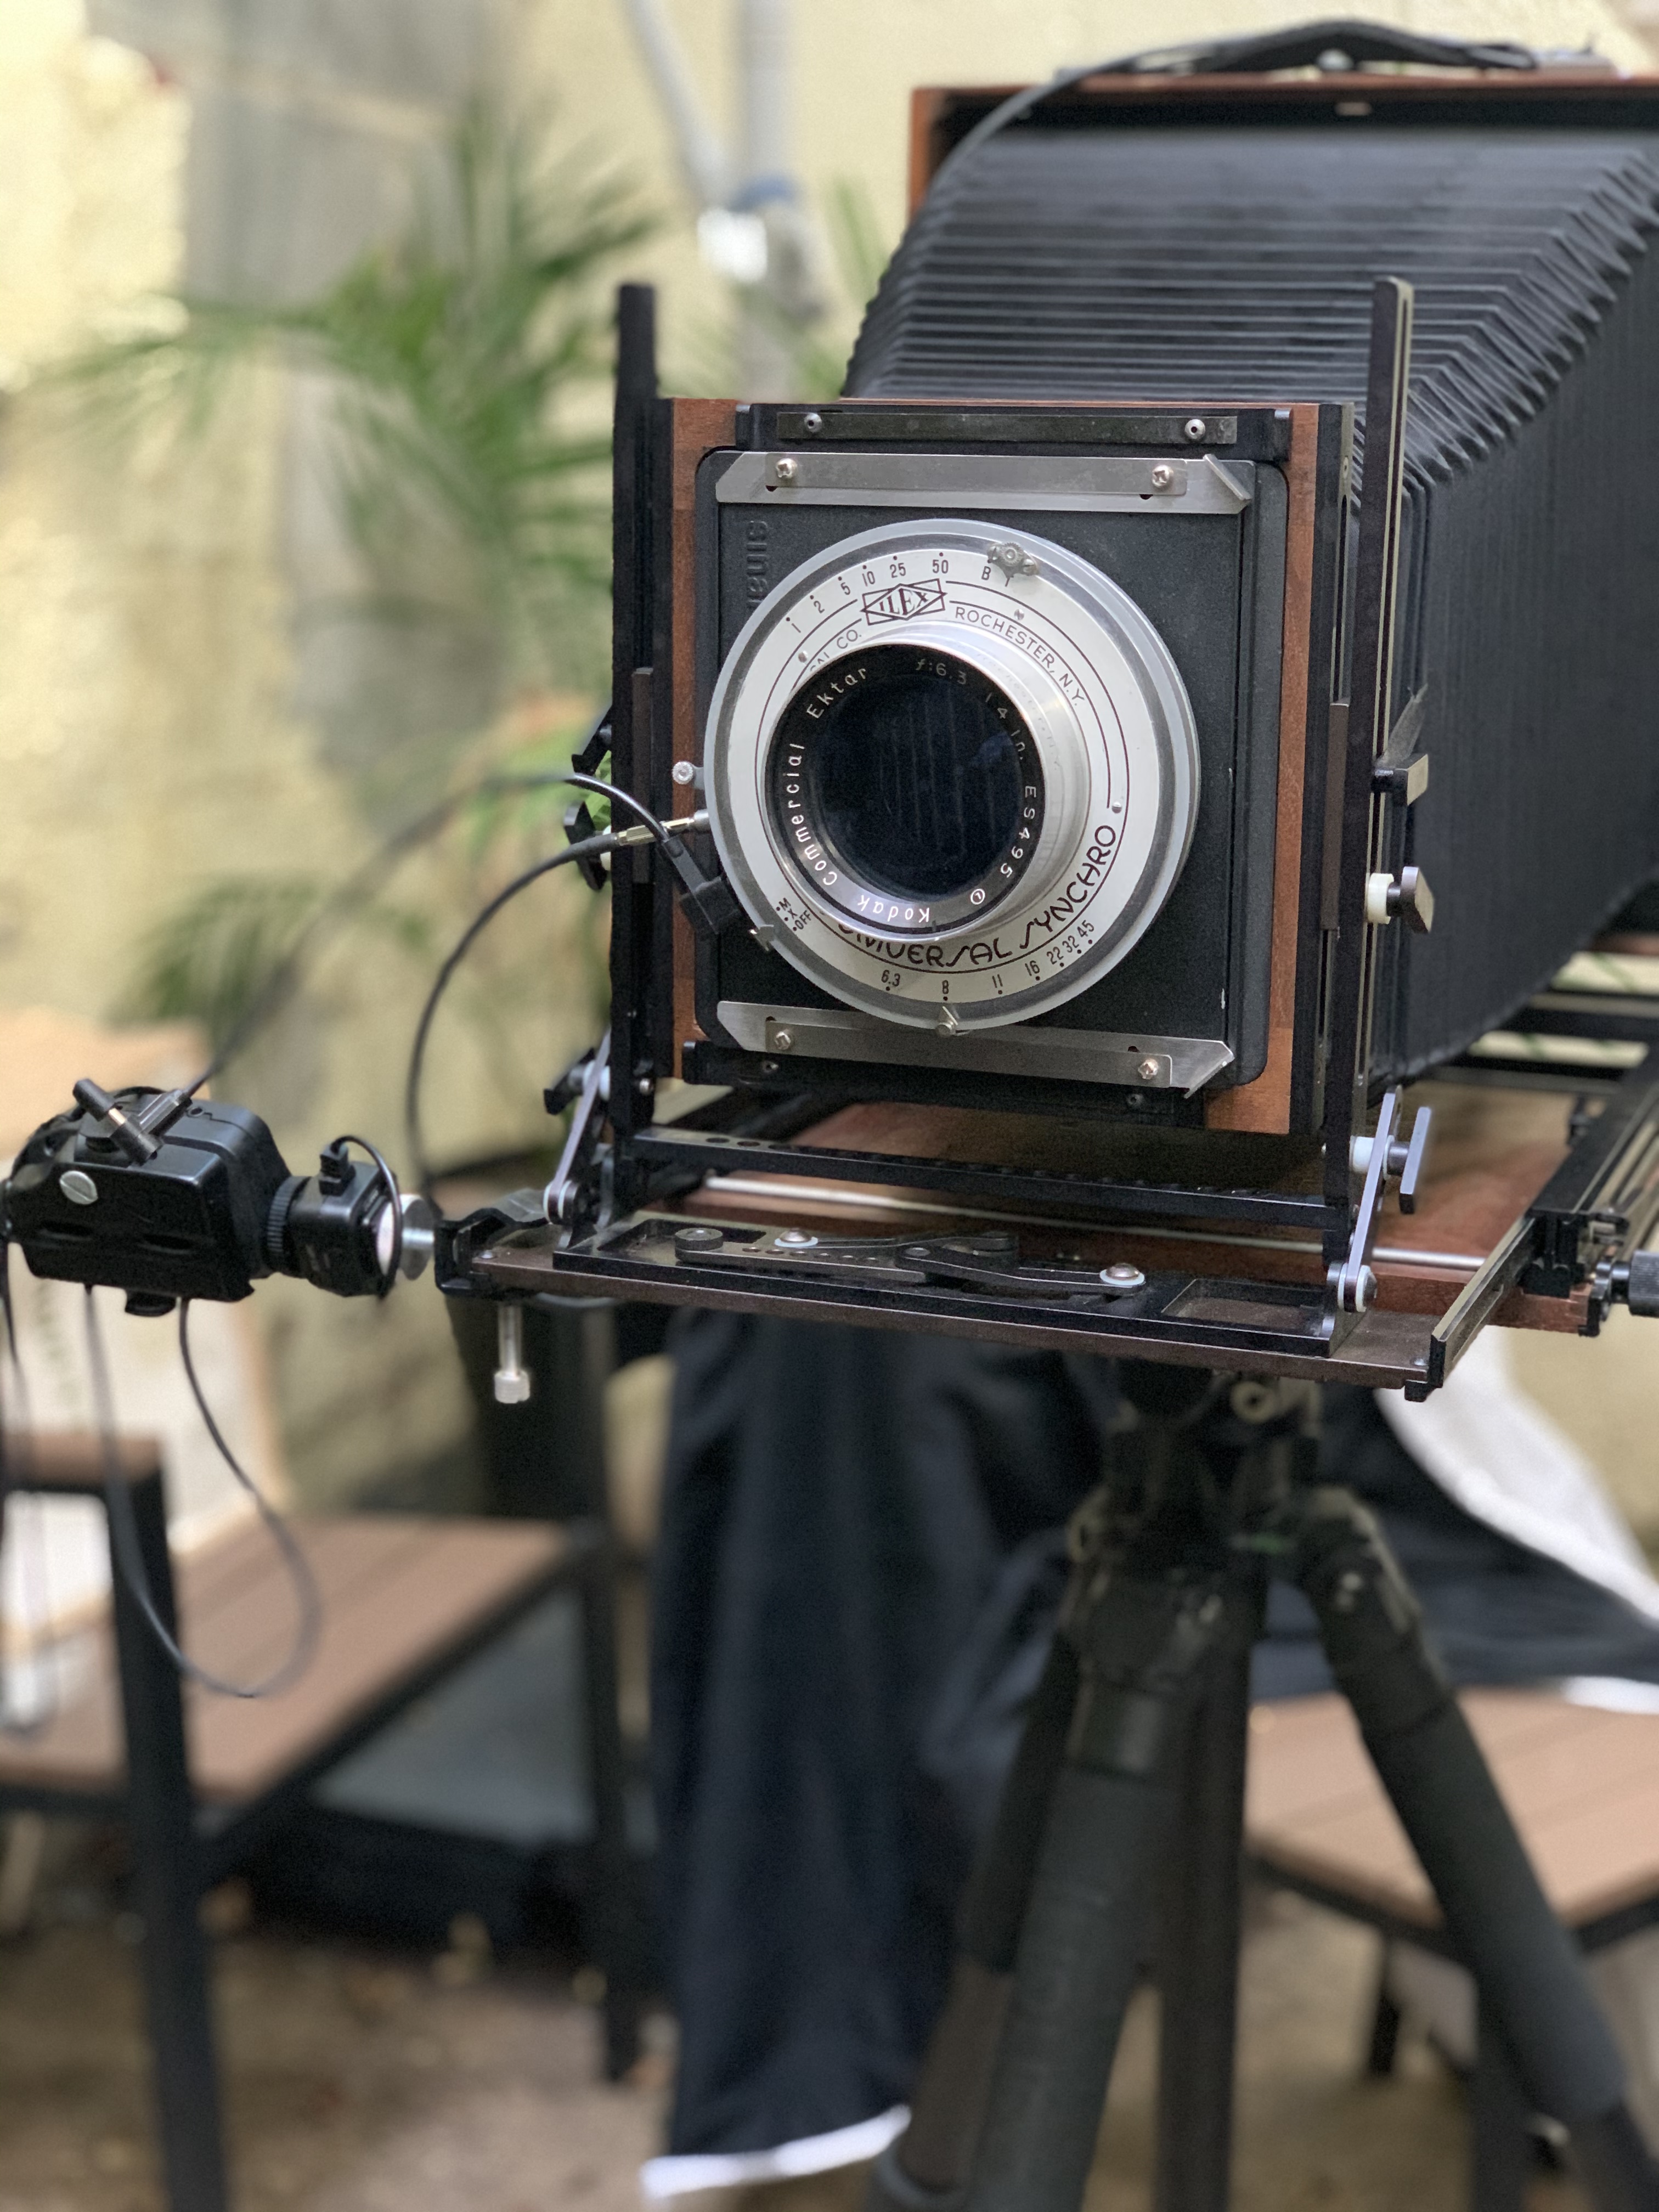
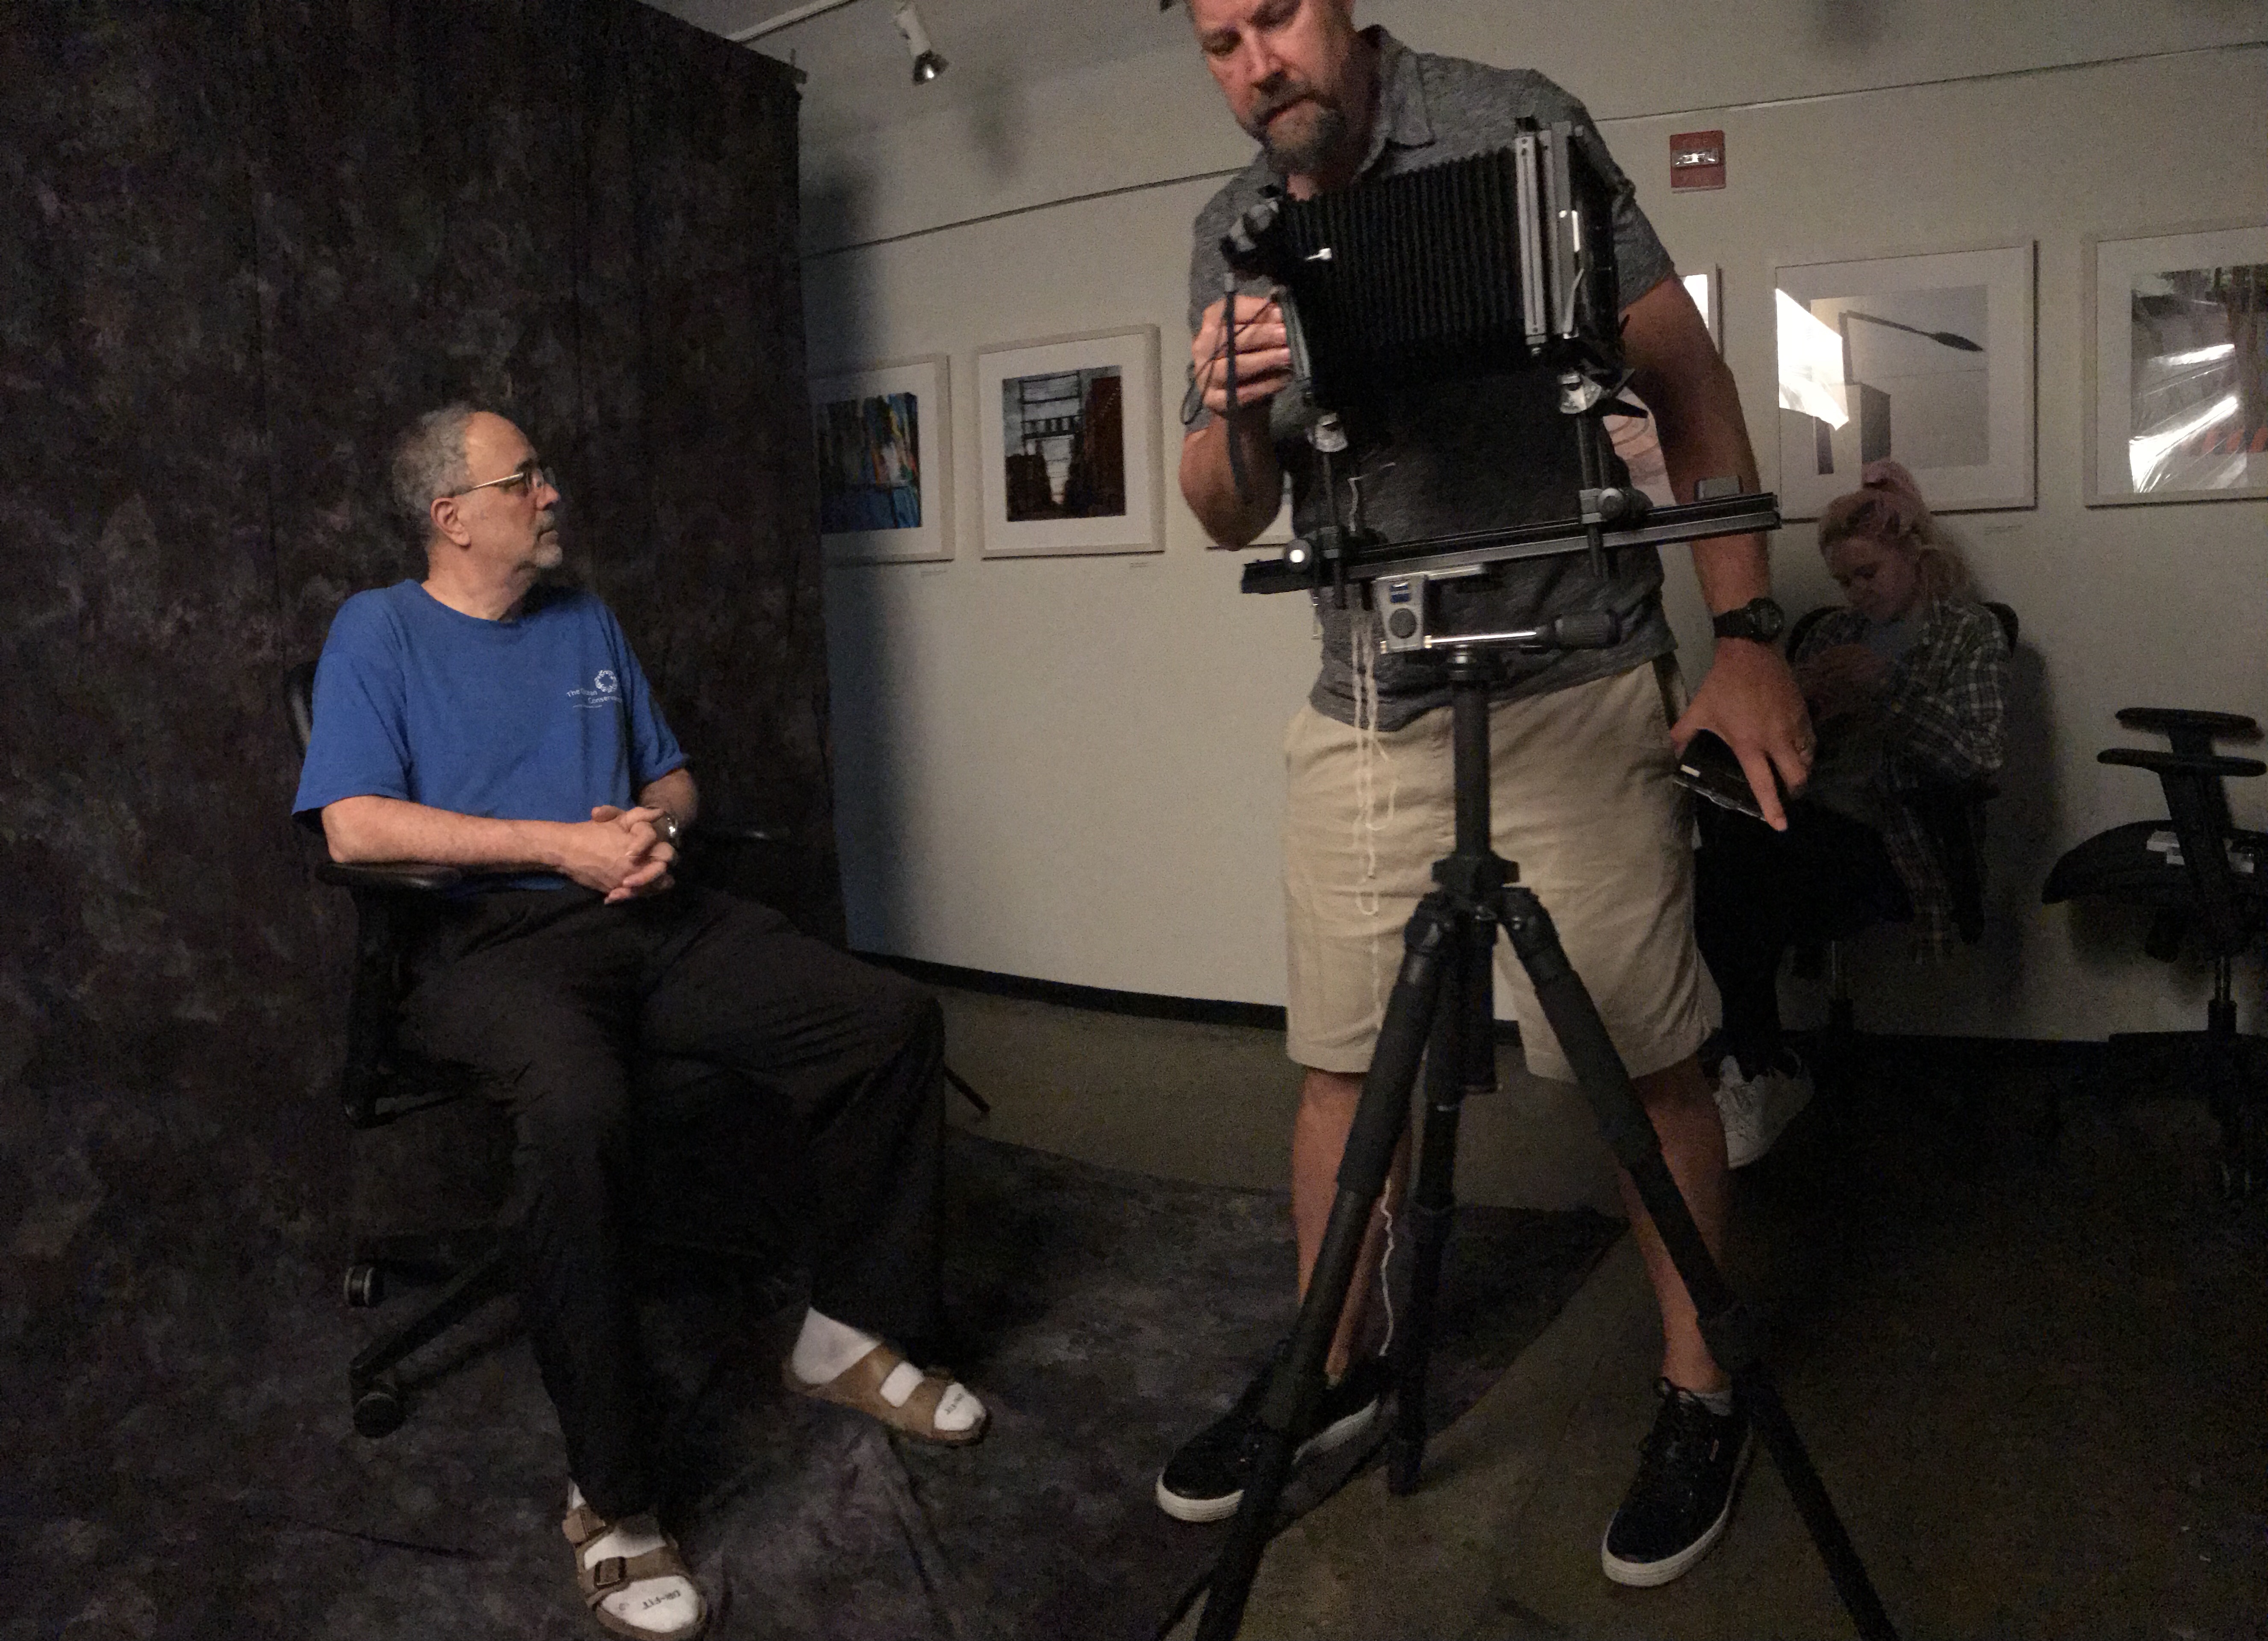
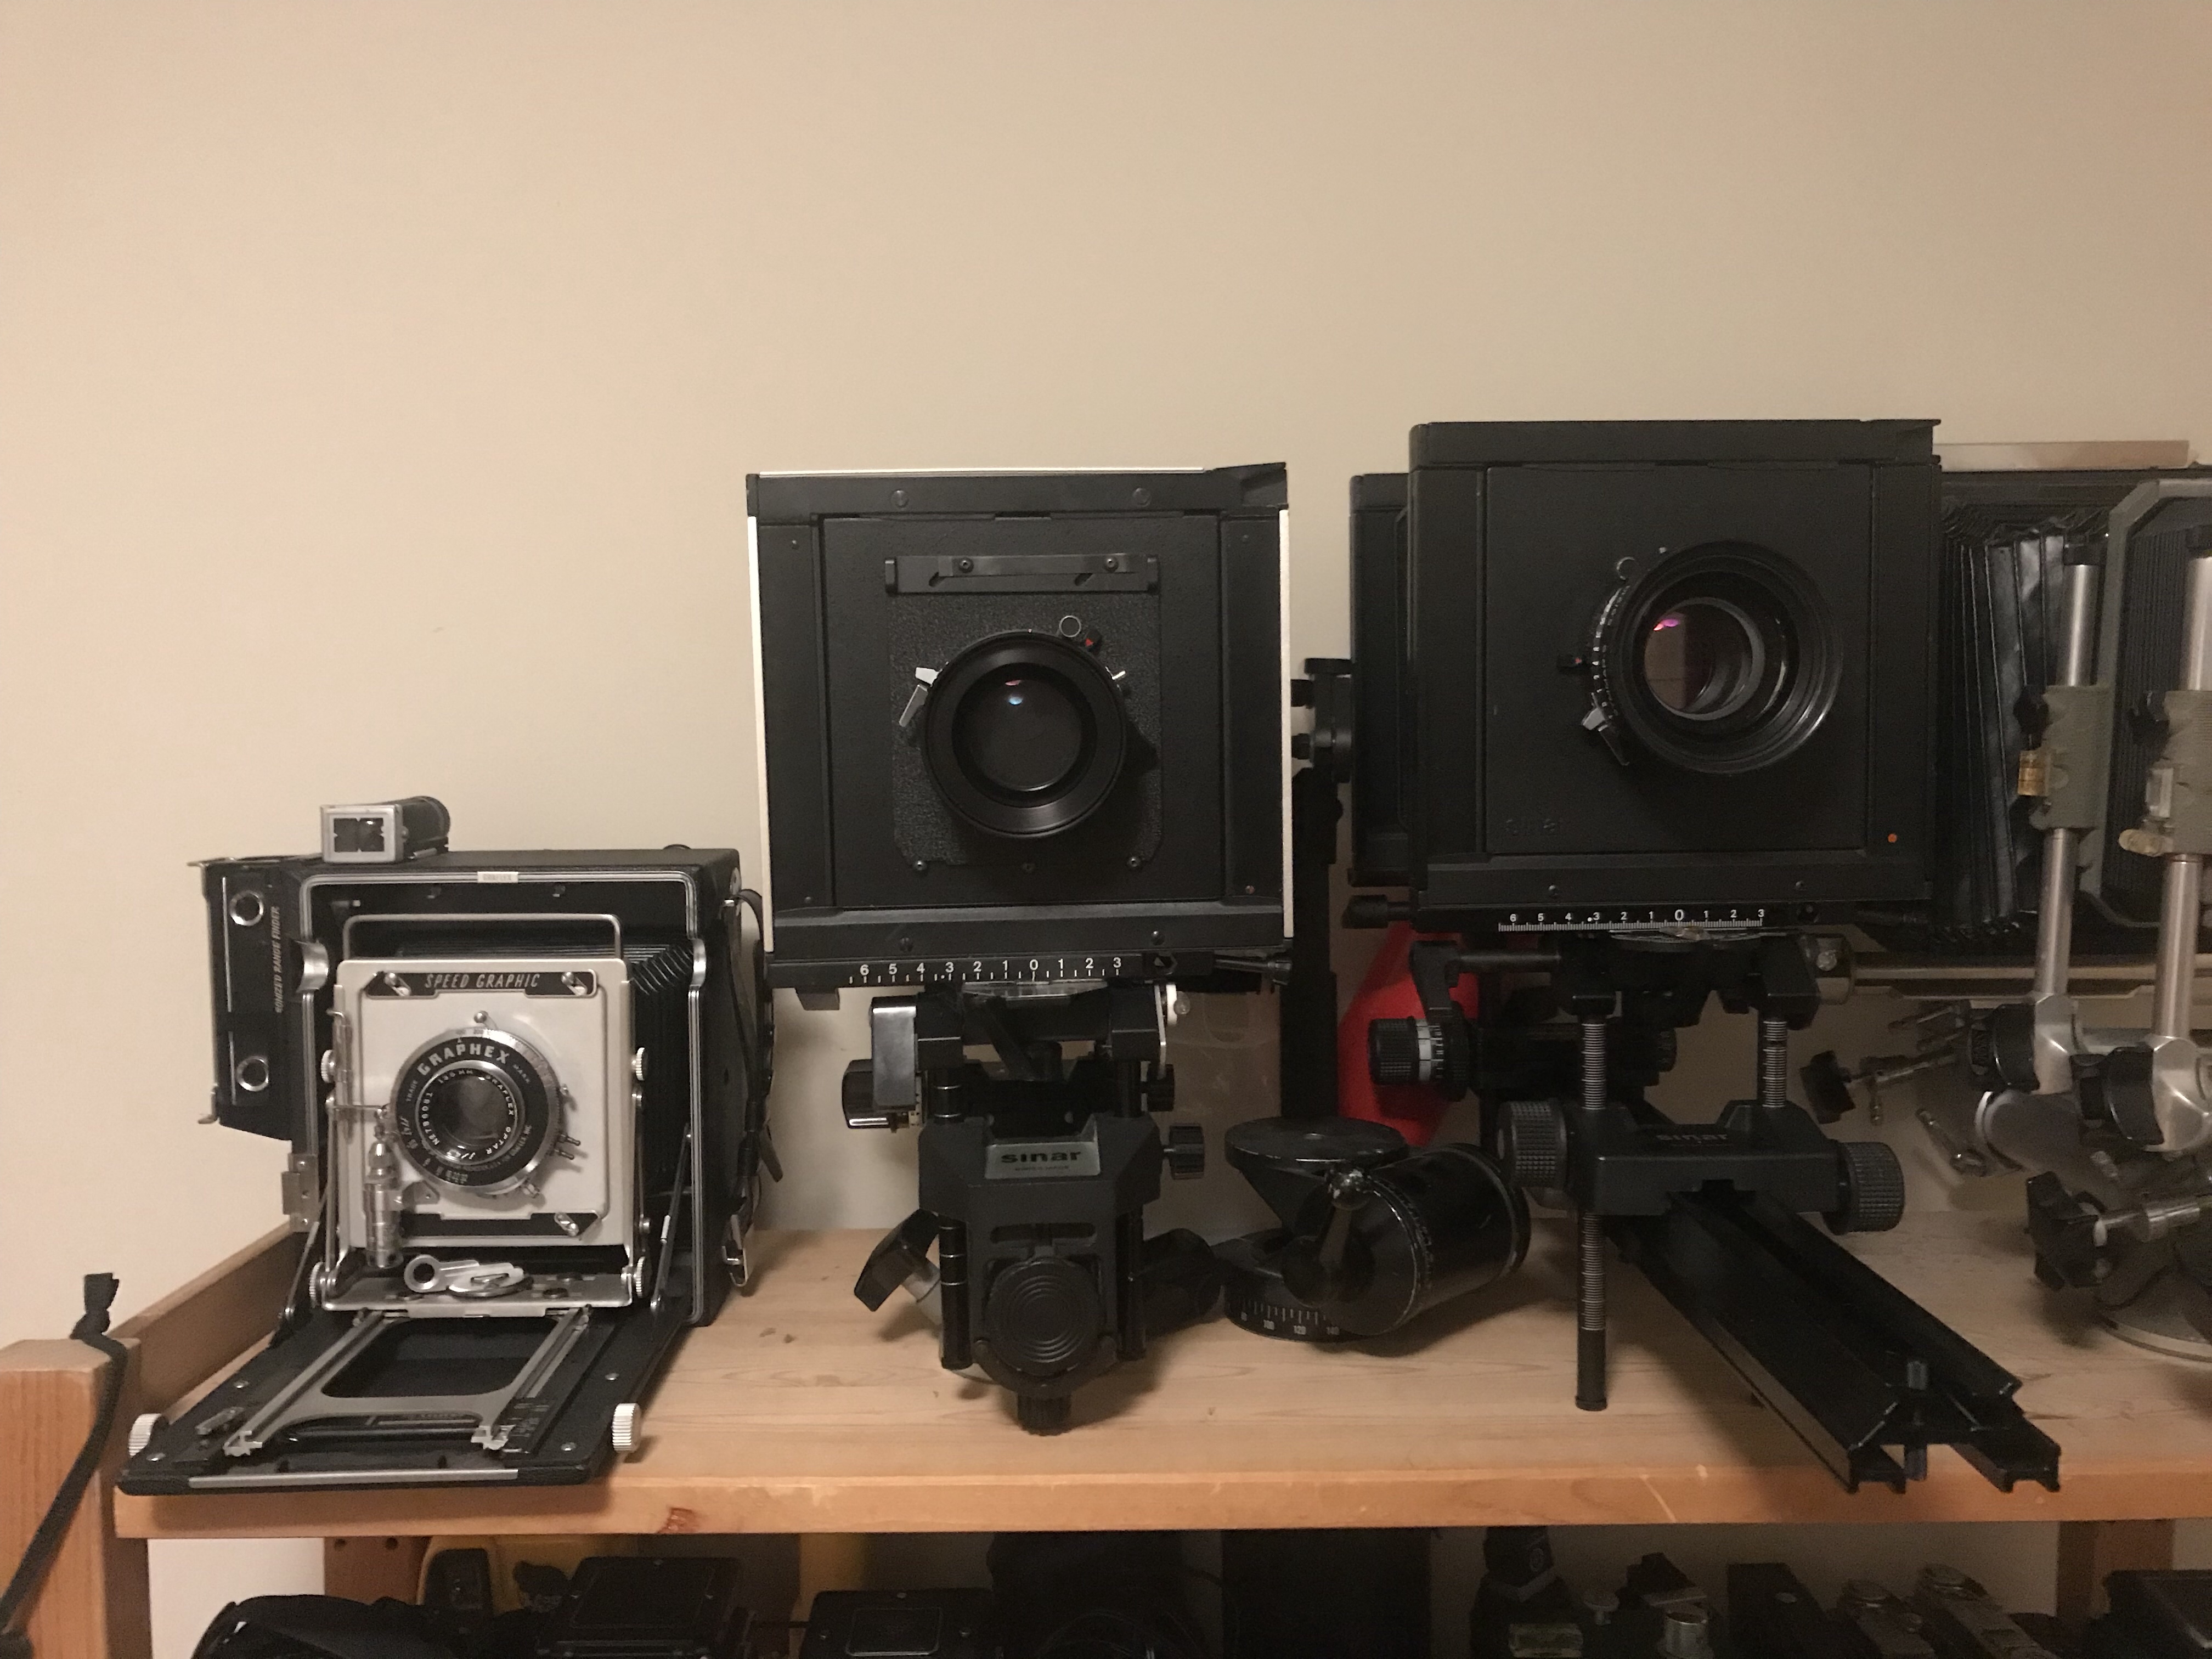
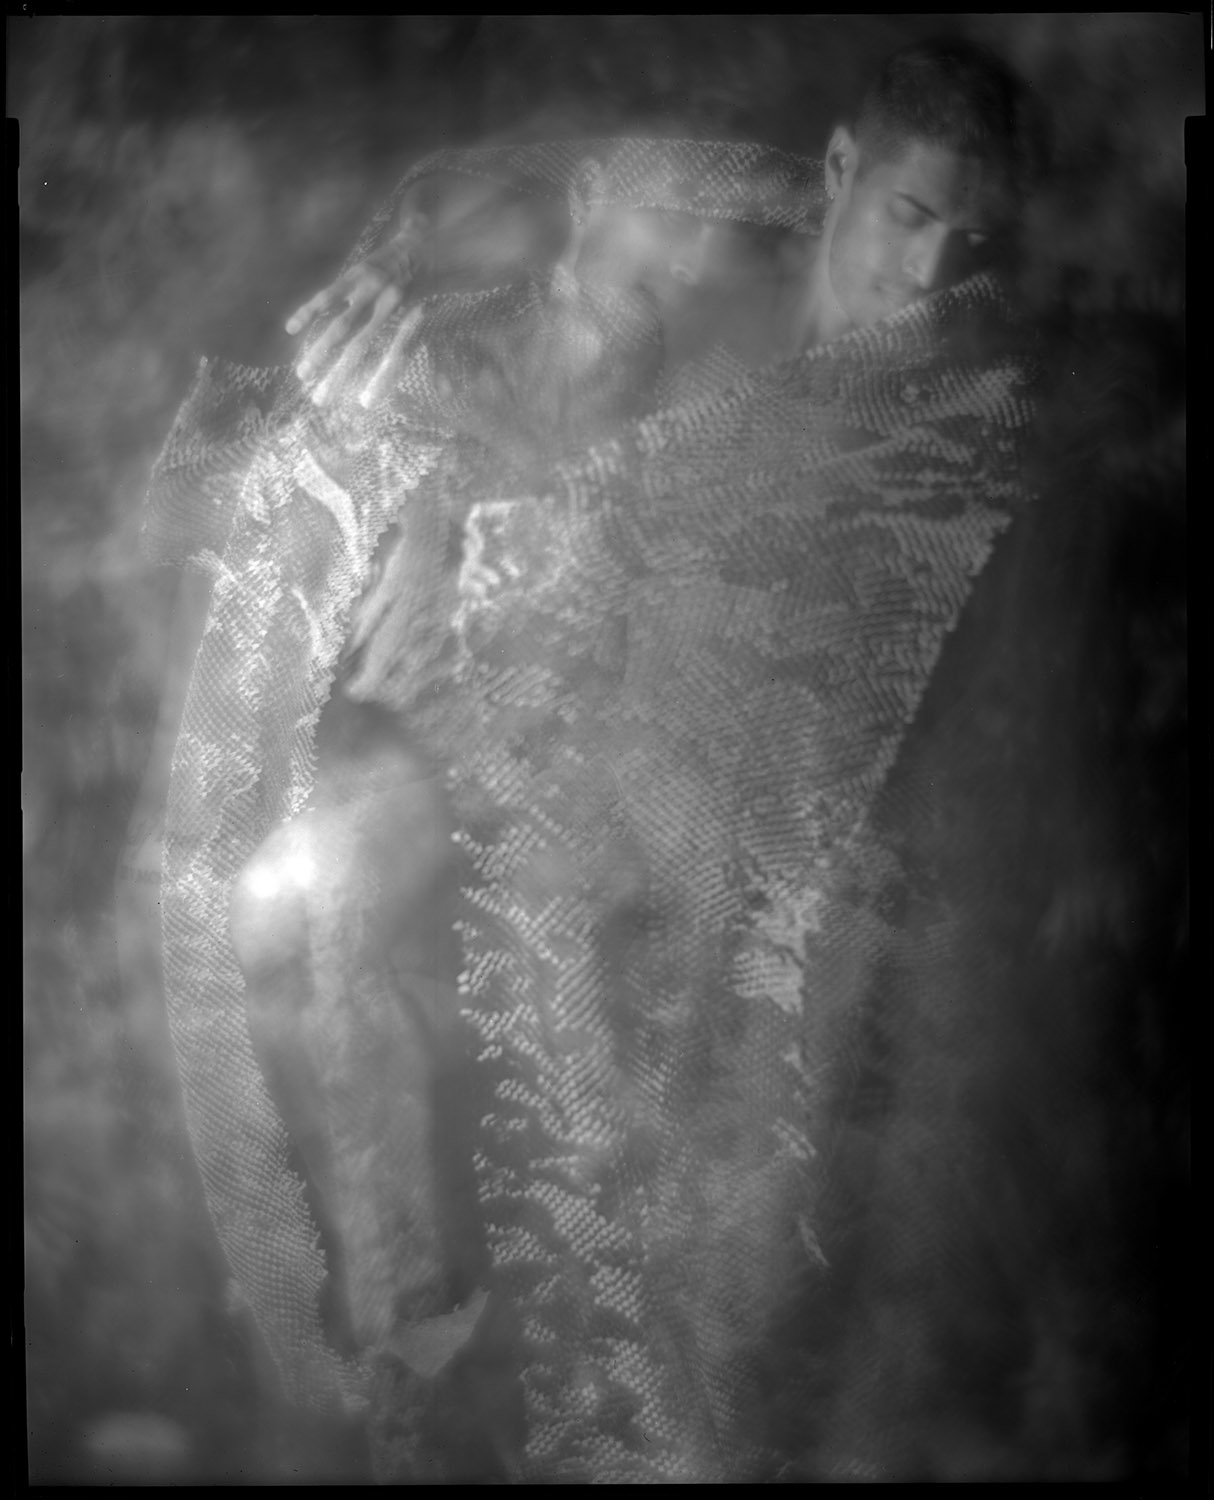
I also enjoy using the limitations of my tools creatively and making them do things they aren’t necessarily intended for. We did this series with my 8×10 inch studio portrait camera, which is a big, heavy, relatively immobile beast. It has a Packard shutter to control exposure, which is a fairly crude, imprecise device (top speed is 1/30th-ish of a second). But what it does do is allow me to keep the shutter open for an extended period with the pneumatic squeeze bulb. So for these motion study shots, I opened the shutter, let Gabriel my model dance, and randomly popped my flash multiple times during the exposure. Very imprecise, very guesstimate, very subject to the whims of serendipity or disaster.
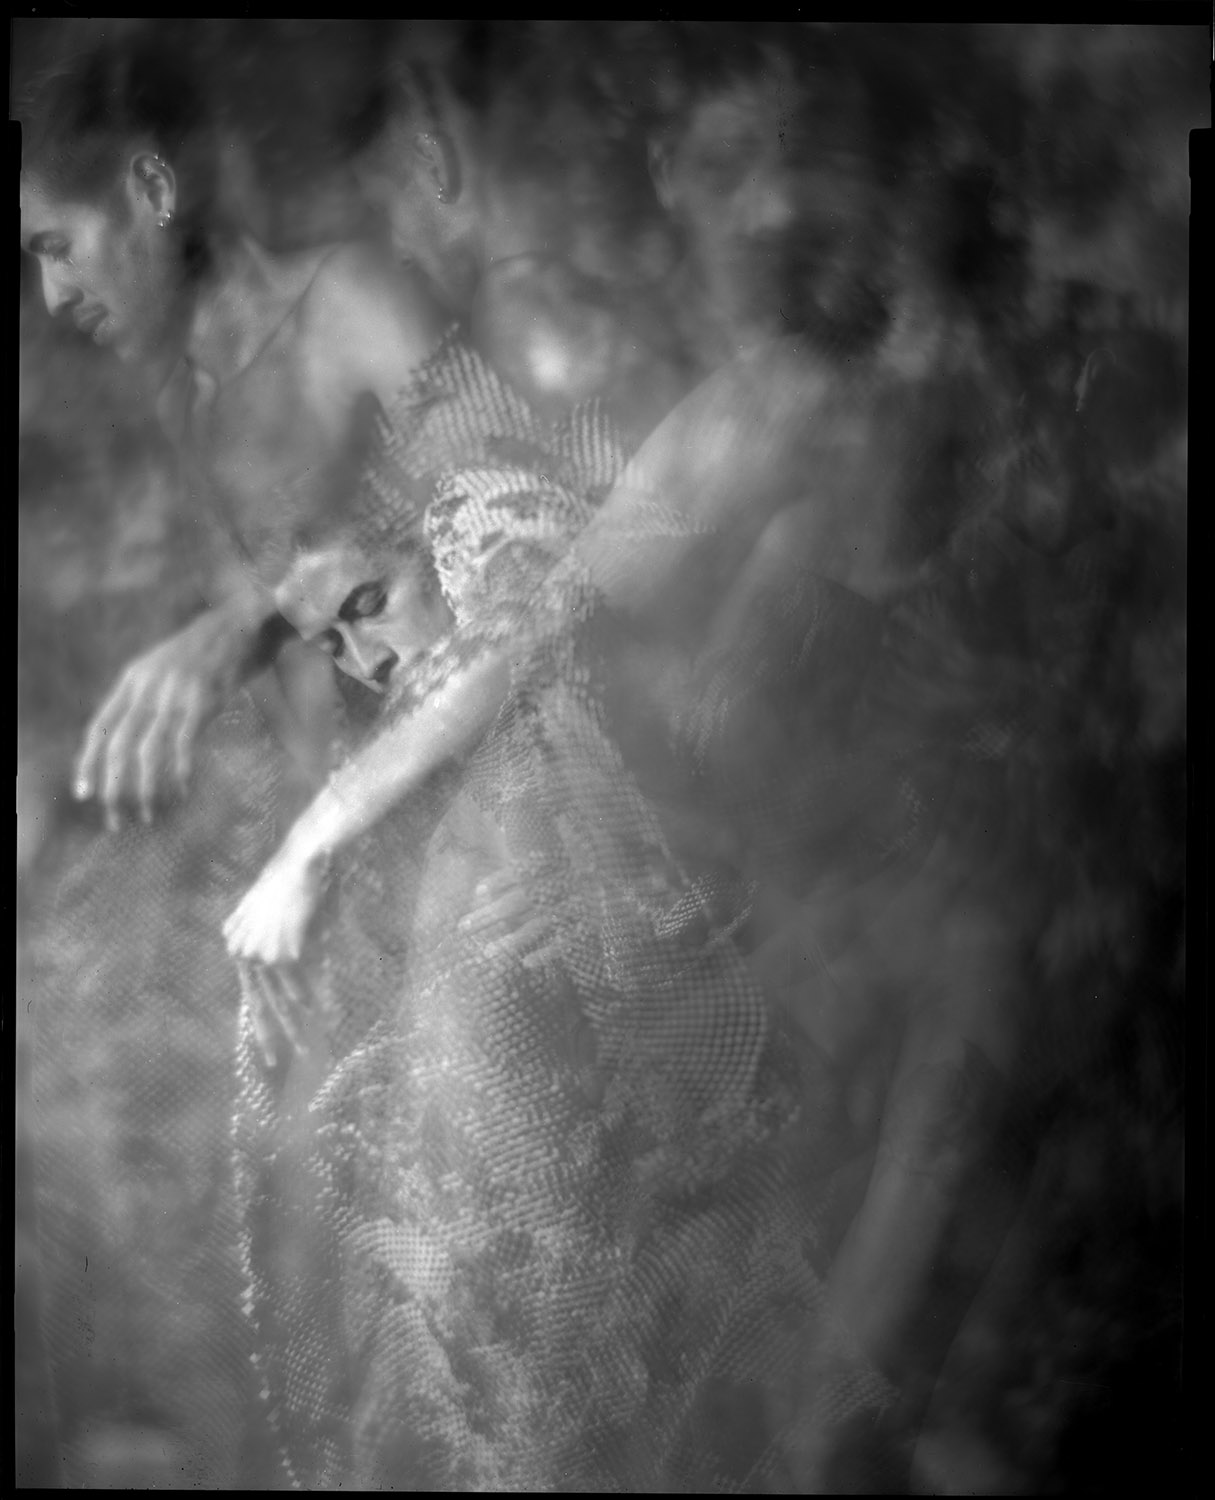
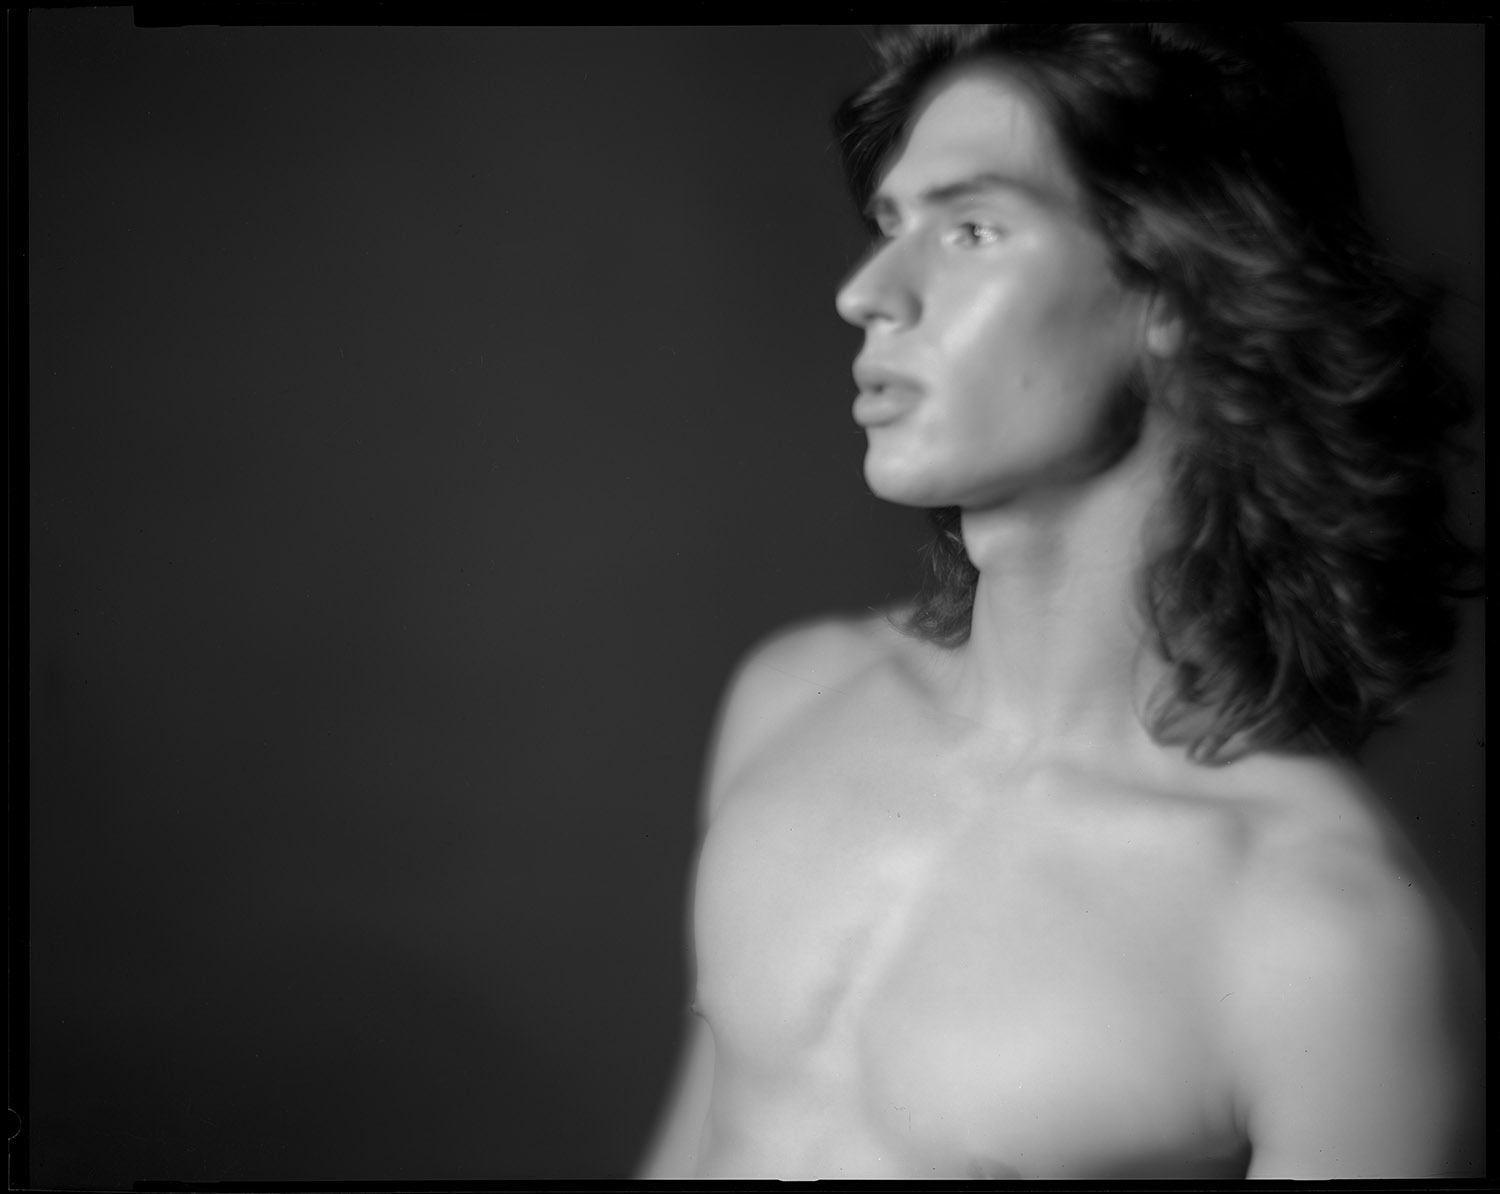
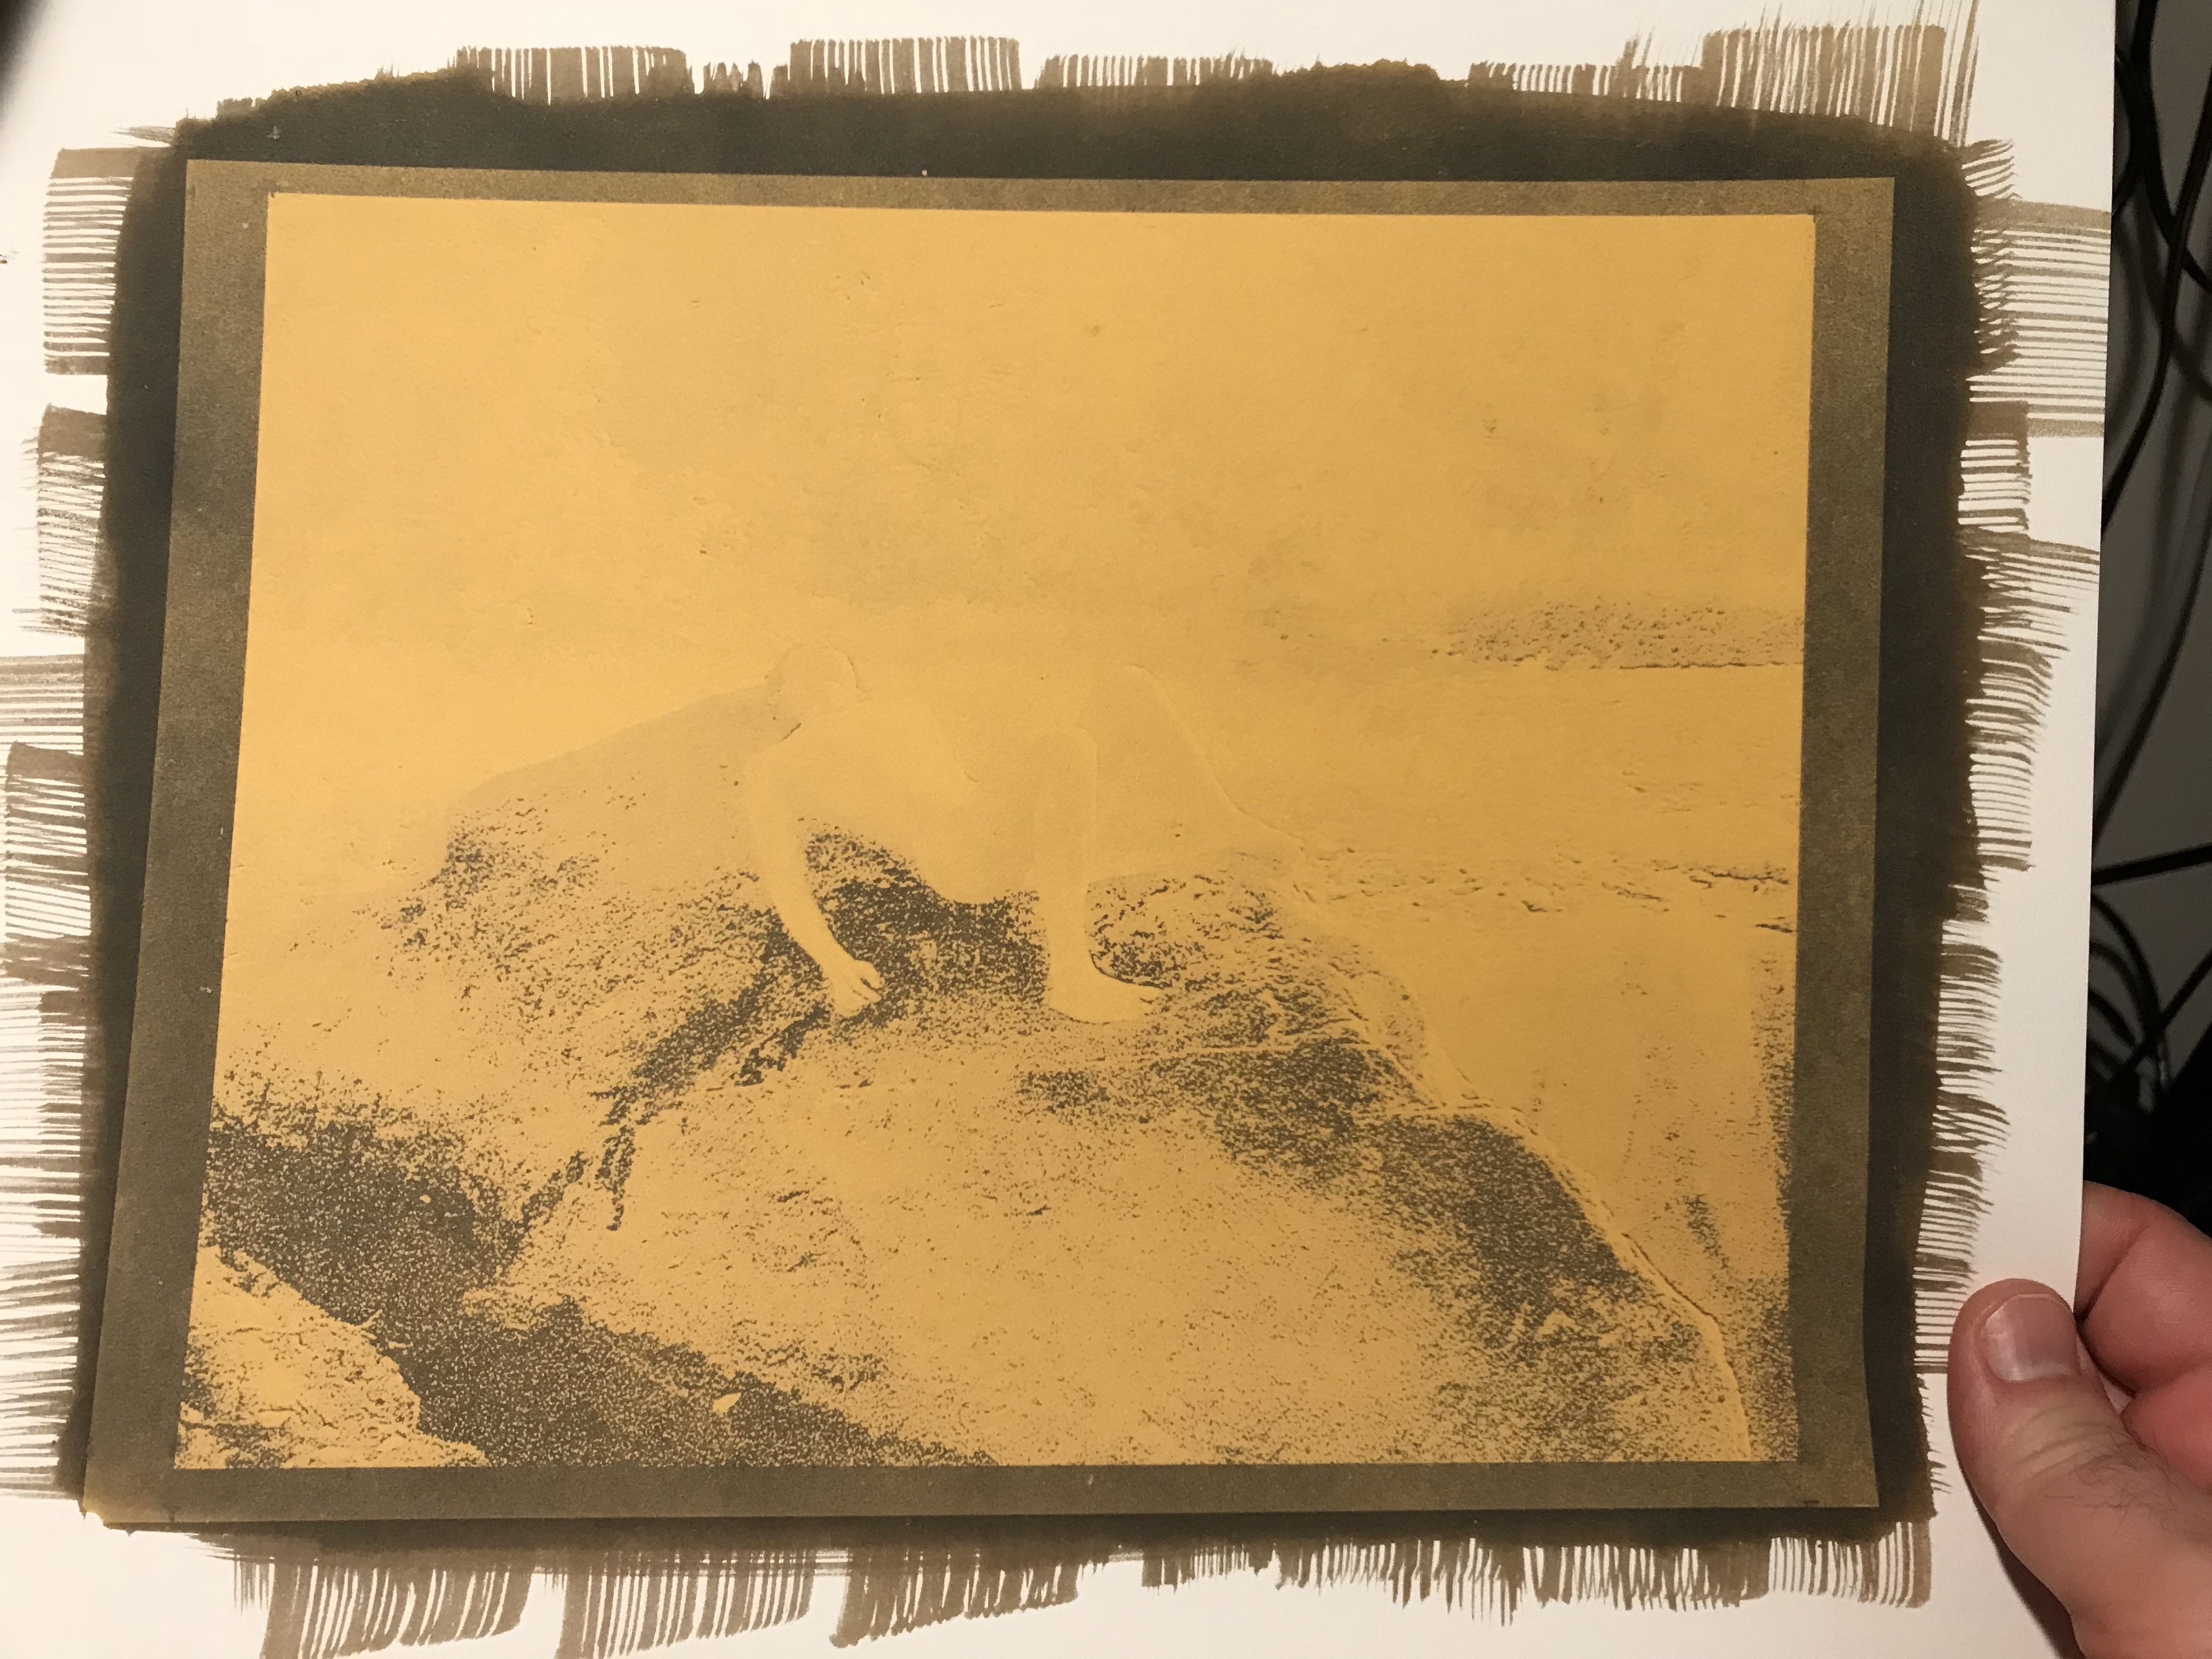
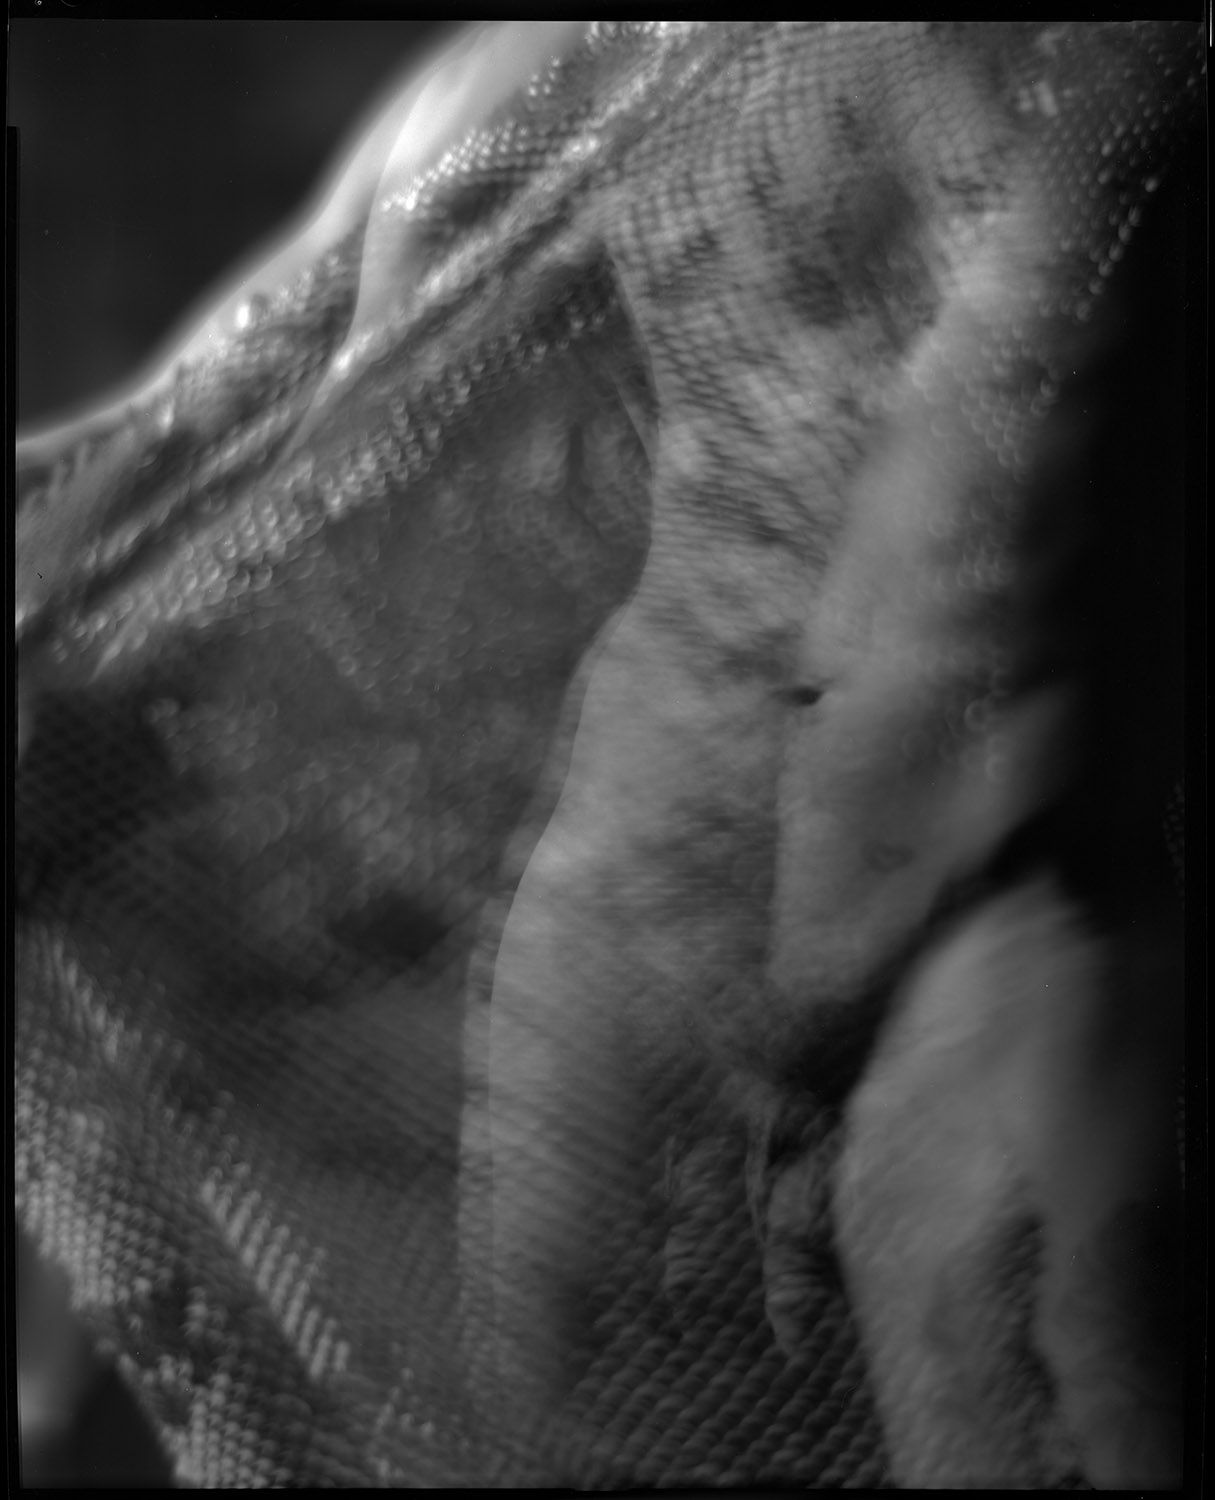
To make things more interesting, I had him dance with a piece of perforated craft paper that came in a box as packing material for something I bought online. The combination of the paper plus the swirly backdrop we worked in front of plus the use of a soft-focus lens on the camera gave the images an etherial, smoky look.
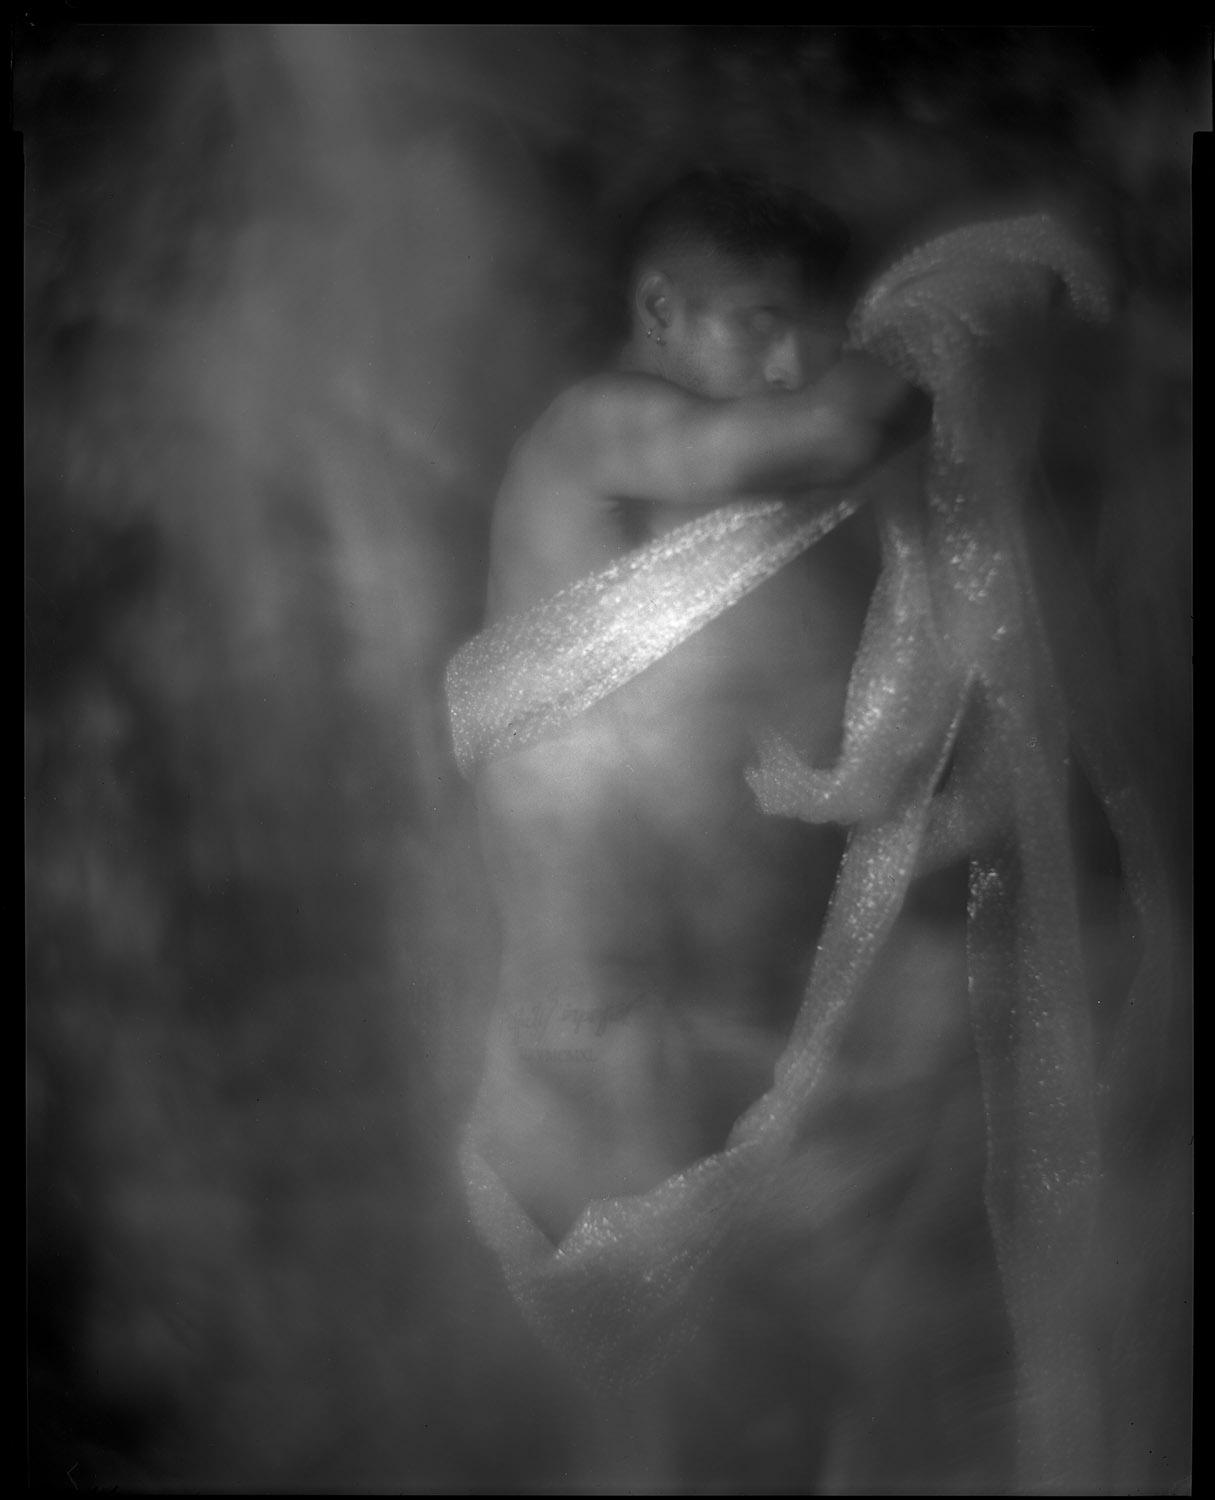
We also did some with bubble wrap.
We only did a few shots like this as it was experimental and I had no clear idea how it was going to come out. Having seen these, now I wish we had shot a whole bunch more of them! But that is the clarity of hindsight. Now, at least, I am inspired to try more of the same, and have a foundation of what to expect.
The great risk of course is, now that I have these shots, in trying to replicate them I will end up dissatisfied with the results because they will be too thought out and the element of serendipity will be lost, or I’ll go too far the other direction in trying to compensate for the serendipity loss and make a godawful mushy mess. But these are the risks we take when we make art – connecting with something emotionally is always risky.