I actually do make silver gelatin prints. I’ve been away from the medium for a while, mostly concentrating on alternative processes. I needed a break from alt process work so I cleaned up my workspace, fired up the enlarger, and started printing my Paris images you might remember from earlier blog posts. With my new (to me) Oriental VC-CLS variable contrast cold light head (a lot of jargon for a light source that allows you to adjust the contrast in your print by changing the ratio of blue and green light exposing the paper), I’ve been having a blast cranking out prints, and the Oriental head makes it a lot easier to do split-grade printing.
For those unfamiliar with the idea, instead of making a single exposure at one contrast grade, and then doing a lot of burning and dodging to make up for it, with split-grade, what you do is make two base exposures, one using a very soft contrast (in my case, most likely grade 0) and a second using a very hard contrast (grade 5). What this does is the soft exposure lets you get your highlights with detail, and the hard brings the shadows in to snap. You still need to burn and dodge for specific things, but you can refine the overall look as the image requires, without getting frustrated at why a certain area always comes out too dark or too bright. You can refine this technique to include your burning and dodging cycles, so that you might burn an area in with the grade 0 filter to put detail back in the highlights but not blocking up the shadows, or with the grade 5 filter for putting deep black in a shadow without muddying up the whites in the same area.
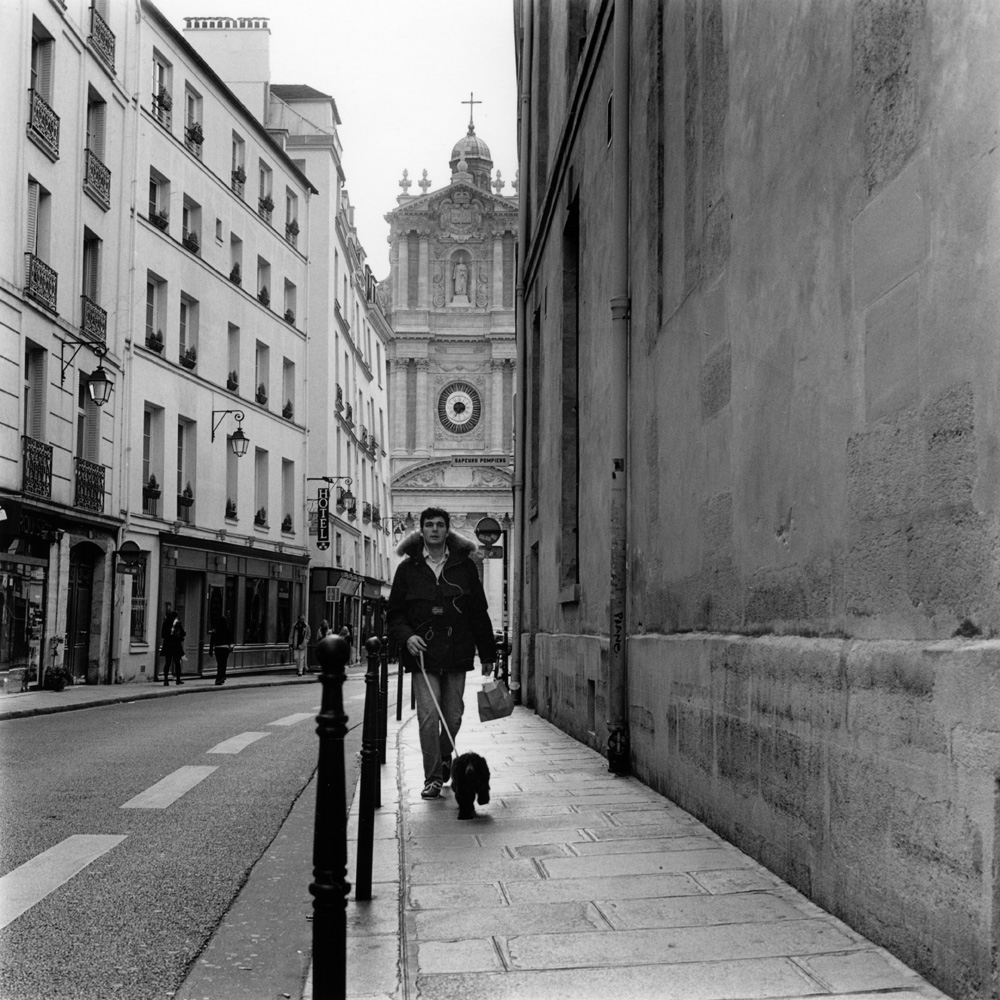
I’ll give an anatomy of a split-grade print here so you can better understand what I’m talking about. This is a real challenge to print “straight” – it’s a high contrast scene, with the dog-walker being somewhat backlit, and the upper left corner a lot brighter than the rest of the scene. This is the finished print here:
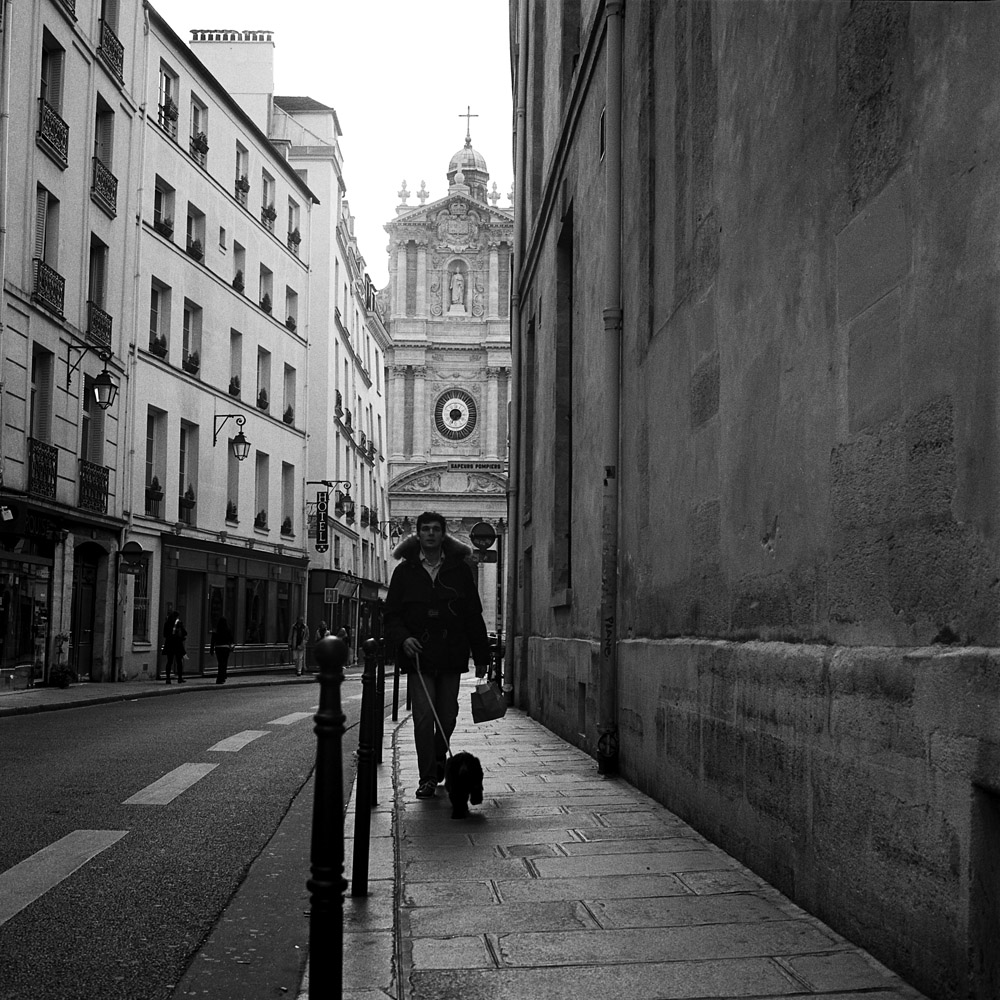
Here is the scan I made from the negative, which also had a fair bit of manipulation. Less successful, wouldn’t you say? The dog walker is still strongly backlit.
To make this print, I gave it a base exposure of 20 seconds using the grade 0 filter. I dodged the dog walker for 10 of those. Then I burned in the upper left corner for an additional 20 seconds. I gave a final overall exposure of five seconds at grade 5, to put a little snap in the general scene and specifically to firm up the shadows on the dog walker without losing tonal separation for his buttons, the cords of his iPod earbuds, and the hair of the dog. Were I making this print larger, I’d go back in and burn the sidewalk between his legs and the dog back down a bit, but in a 7×7 inch print, accurately wielding a burning card with a hole that small is tough!
This was printed on Ilford Warmtone variable-contrast fiber paper, using Ilford Warmtone developer. I’m not applying any fancy tricks to the developer like playing around with developer dilution or split warmtone/cooltone developers. That’s a trick for another day.