Tag Archives: Lomo Belair

Walking on Broad (Street)

I went down to Richmond, Virginia over President’s Day weekend back in February to take a mini-vacation. I brought along my then new-to-me Pentax 67 and my trusty Lomo Belair X/6-12. Thank heaven I brought the Lomo along because I managed to get one and a half rolls out of the Pentax before the battery died and the mirror locked up. It’s going to be going off to the repair shop soon. What I did get out of the Pentax was brilliant, and I’ll share those in another post. So I at least had one working camera with me, even if it is a rather specialized one, and I made the best out of the situation and shot an entire trip in panorama mode.

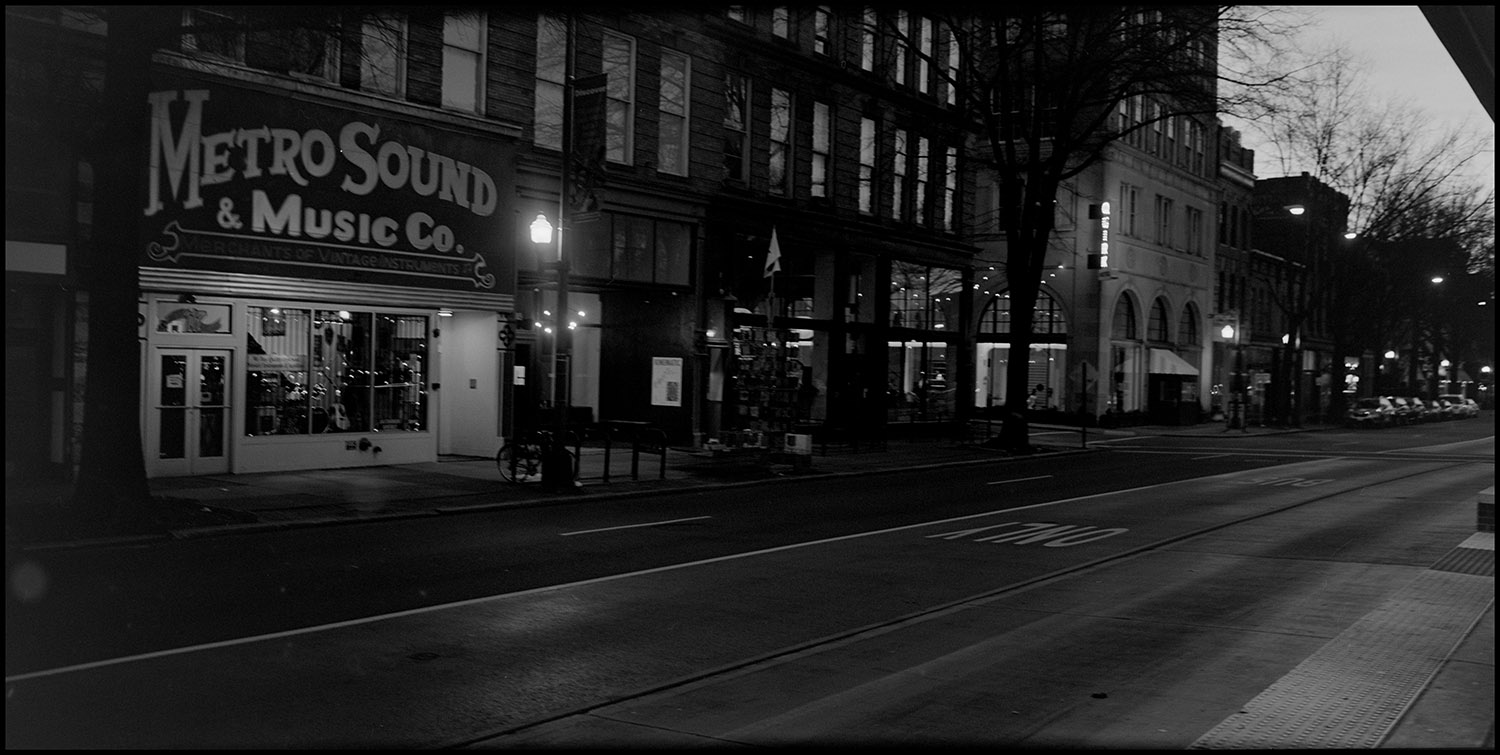
One evening I took the camera out and did some twilight shots – all hand-held, along Broad Street in downtown Richmond. The Lomo is very good for that kind of shooting, and I apparently have hands of steel when it comes to doing slow shutter speeds. The Lomo doesn’t tell you what speed it’s using, but some of these shots were anywhere between 1/15th and 1 second. I tried one or two that went past 1 second but I’m not THAT good.

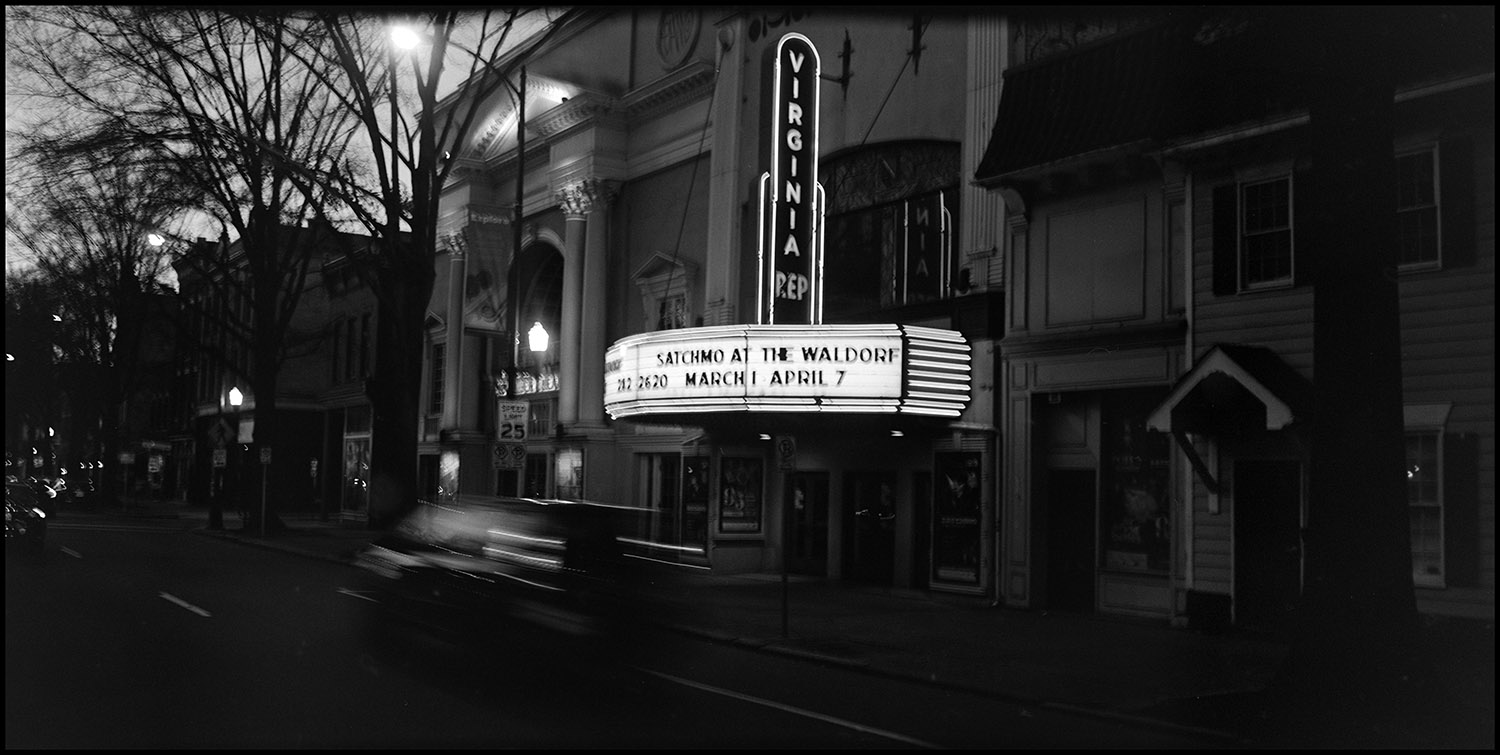
Broad Street is the main axis street through Richmond – it starts near the Virginia Capitol building and heads west, running for miles out into the Richmond suburbs. These shots were all taken within a few blocks of each other, around the East/West Broad dividing line.

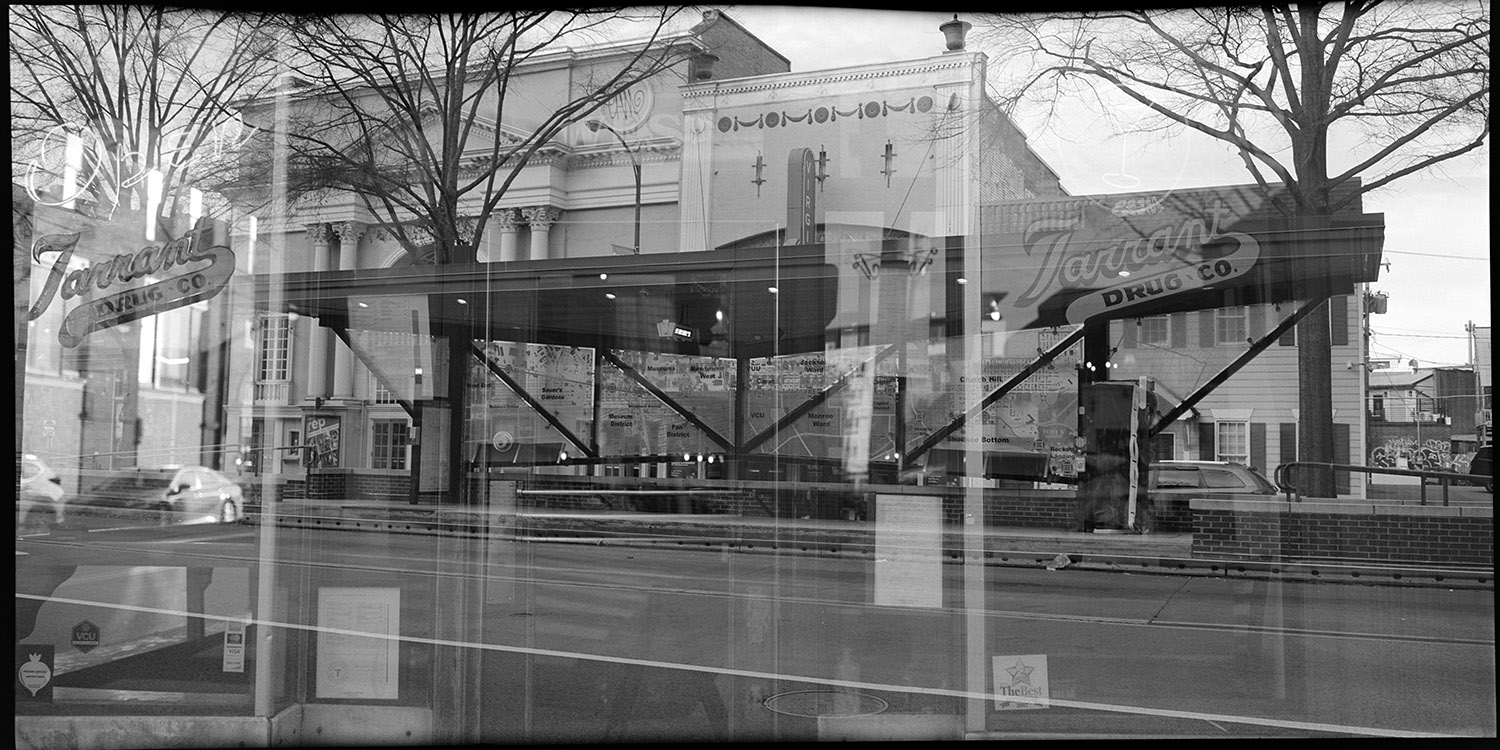
The above image was a happy accident- a triple exposure of the theater building, the bus station, and the window of Tarrant’s, a turn of the 20th century drugstore turned New Southern cuisine restaurant (and the home of my absolute favorite chicken-n-waffles anywhere so far! … well, the Jefferson Hotel in Richmond did them better, but they don’t offer it on their menu any more, BOO HISS…)

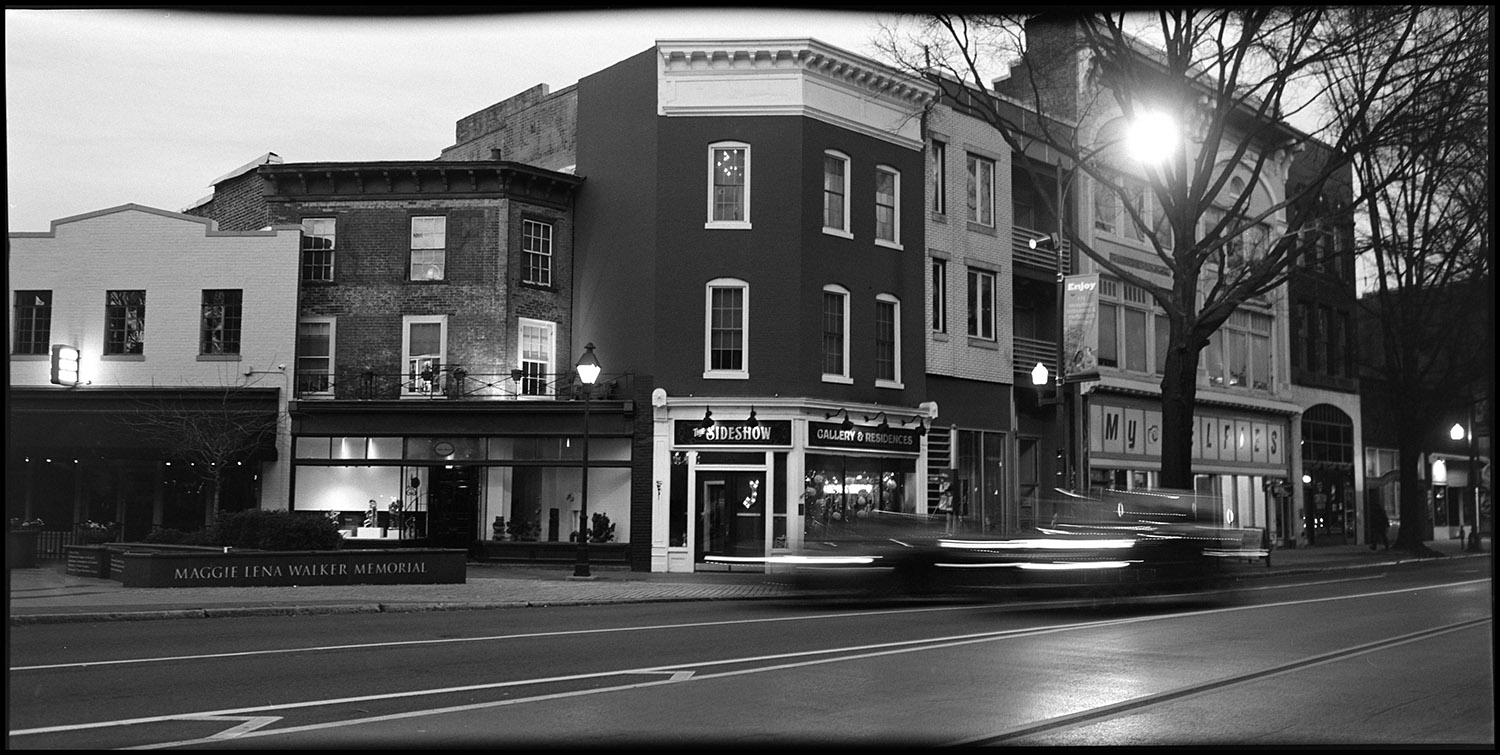
West Broad was once the commercial and business heart of Richmond, and like so many urban centers in the second half of the 20th century, it took a downturn. Now it is being revived with art galleries and artists studios, boutique businesses and hotels, and upscale condos and loft apartments. For those who love urban grit, though, there’s plenty of that left if you want it.

Panoramas around DC – The National Gallery of Art

Last weekend I took an excursion down to the National Gallery of Art to do some book shopping in their bookstore. I brought the Lomo Belair with me to play around a bit.

Waterfall, National Gallery
Waterfall, Cafeteria, National Gallery of Art

The cafeteria and bookstore for the NGA is below ground. There’s a great big window that looks out at a fountain that cascades from the plaza at street level above, and transforms what could otherwise be a dark and oppressively cavern-like space into something almost airy.

Skylight,National Gallery Cafeteria
Skylight, Cafeteria, National Gallery

Also directly above the cafeteria and facing the waterfall are the glass pyramidal skylights. They’re not true pyramids, as they’re actually irregular tetrahedrons (four-faced geometric structures with each face being a triangle).

Stairs, National Gallery
Stairs, West Wing, National Gallery of Art

Contrasting to the brutal modern geometric structures of the cafeteria and the East Wing (itself a wedge-shaped structure designed by I.M. Pei and completed in the 1970s), the original gallery building is supremely neoclassical, designed by one of the late-19th/early 20th century’s greatest American architects, John Russell Pope. The marble staircase shown here has the sweeping grandeur and majesty of a European royal palace.

The images as you see them here are an interim step- my plan is to make platinum prints from all of them. The originals are shot on 2 1/4 inch roll film, so prints directly from the in-camera original film would be quite small – 2 1/4 x 4 1/4 inches. I want to make slightly bigger prints, and I want to try out making digitally enlarged negatives with another technique I recently came across for the digital negative process. I’ve been around and around with making digital negatives for a while and never been especially happy with my results. All the techniques I’ve seen and tried so far are rather labor-intensive and involve making several rounds of test prints just to develop the adjustment curve needed to make the negative print well in pt/pd.

I came across a video from Bostick & Sullivan that explains the process quite simply and clearly, and the website provides you with a downloadable pre-made curve for adjusting your negatives to make them suitable for pt/pd printing. I’ve made the appropriate digital files from these images, and the next step will be to print them over the weekend and try making my prints from them. I’ll post the results of the printing session as soon as I have them.

Here is the video from YouTube:

And the page to download the curves for Pt/Pd, Cyanotype, Kallitype, and Van Dyke:

Digital Negative Adjustment Curves – Bostick & Sullivan