Back at New Years I went up to Philadelphia for a short weekend getaway. I stayed at the Marriott in center city, which was across the street from the Reading Terminal Market. The market is a food hall located under the tracks and platforms of the Reading Terminal, a train station that today serves mostly commuter trains. There is some amazing food there – I had lunch one day at a traditional Jewish deli that just absolutely hit the spot with a corned beef sandwich and a cup of chicken soup. Termini Brothers bakery has an outlet there and I brought home four of their raisin scones that were to DIE for (and if you ate them often, possibly to die of – they’re quite rich!). In addition to the prepared foods stalls, there are butchers, fishmongers, and greengrocers stalls as well, providing an oasis of fresh food in the center of a heavily urbanized business district that has seen better days.

“Eat Oysters, Love Longer” – the bar counter at Pearl’s Seafood.

Sushi Umi across the hallway from a handicrafts stall.

Fish on ice at the fishmonger’s.
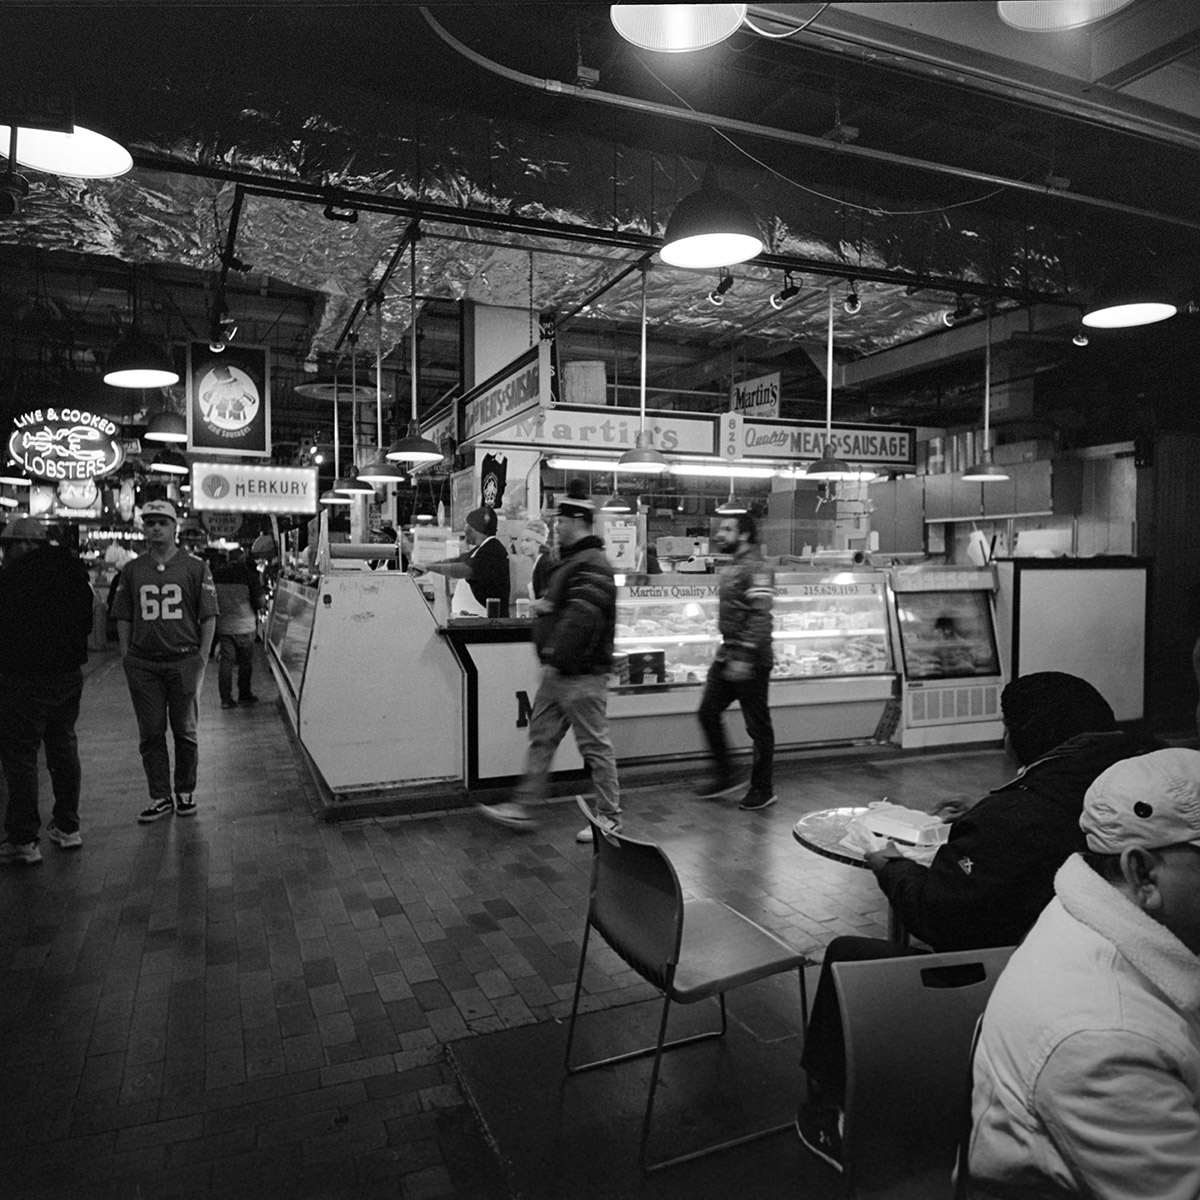
Martin’s butcher shop – Quality Meats and Sausage. A sign in the background is for live and cooked lobsters. Interesting trivia – lobster was, until the second half of the 19th century, considered poor people’s food. Lobsters used to be so common in the coastal waters of New England that you could just wade into the surf to catch them , and they had little to no market value – so much so that prisoners in New England rioted to demand their ration of lobster be held to no more than three days a week. With the advent of refrigerated rail service, it began to be served in the dining cars of long-distance trains, being able to be transported away from the coasts. It was transformed into a delicacy as they concurrently became more and more scarce as demand rose.

Pastries in the display case at Termini Bros.
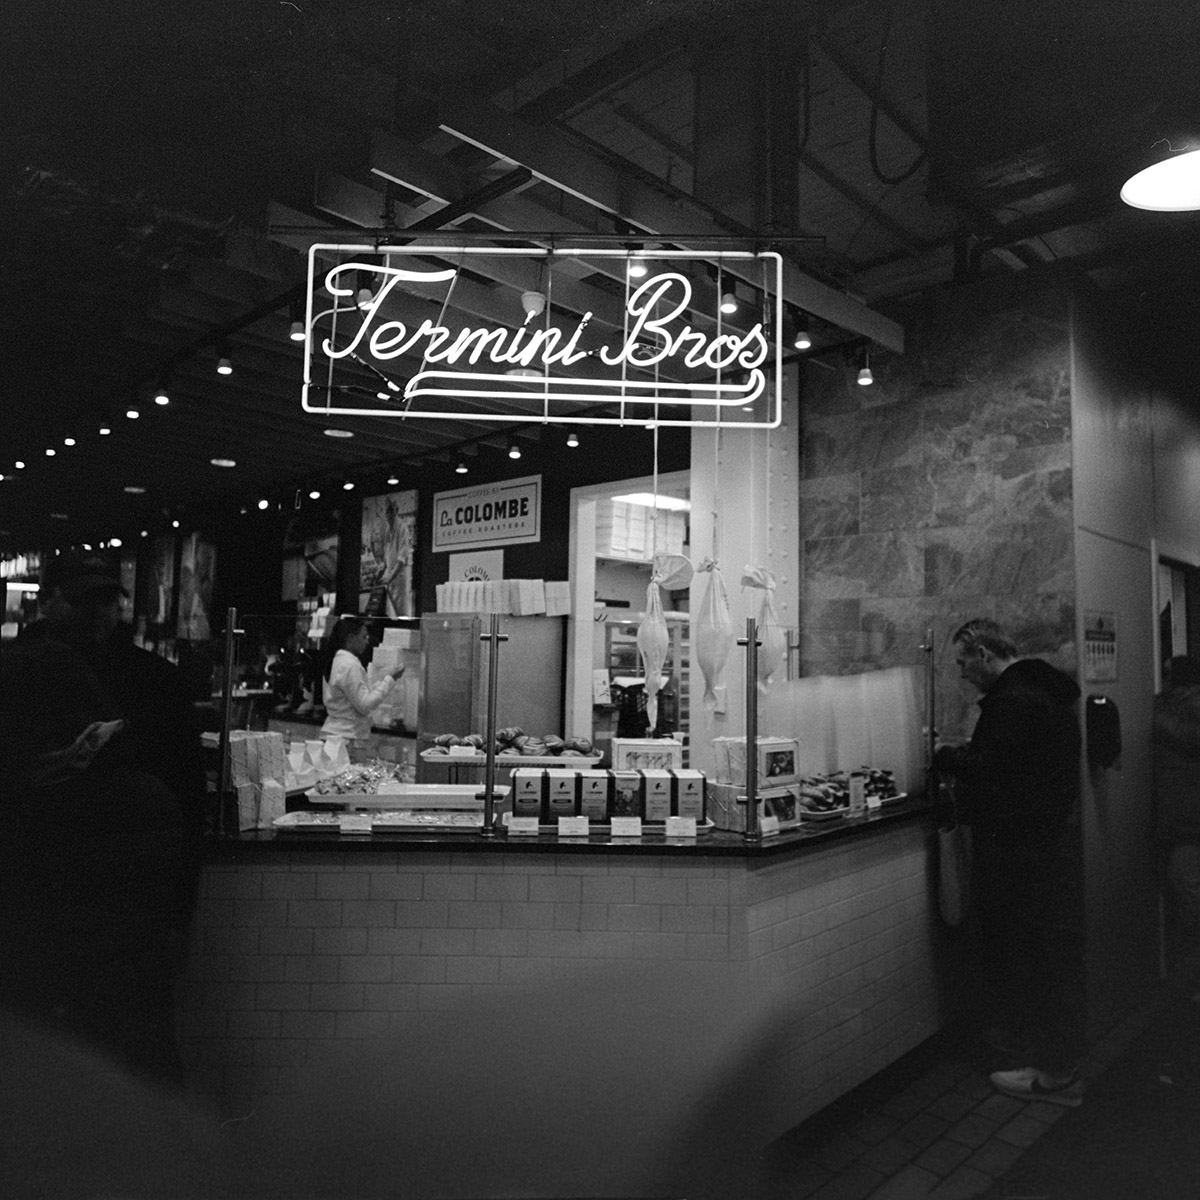
The neon sign for Termini Bros counter. They have been in business since 1921, and if their scones are anything to judge by, as long as they keep that standard up, they’ll be around for at least another century!
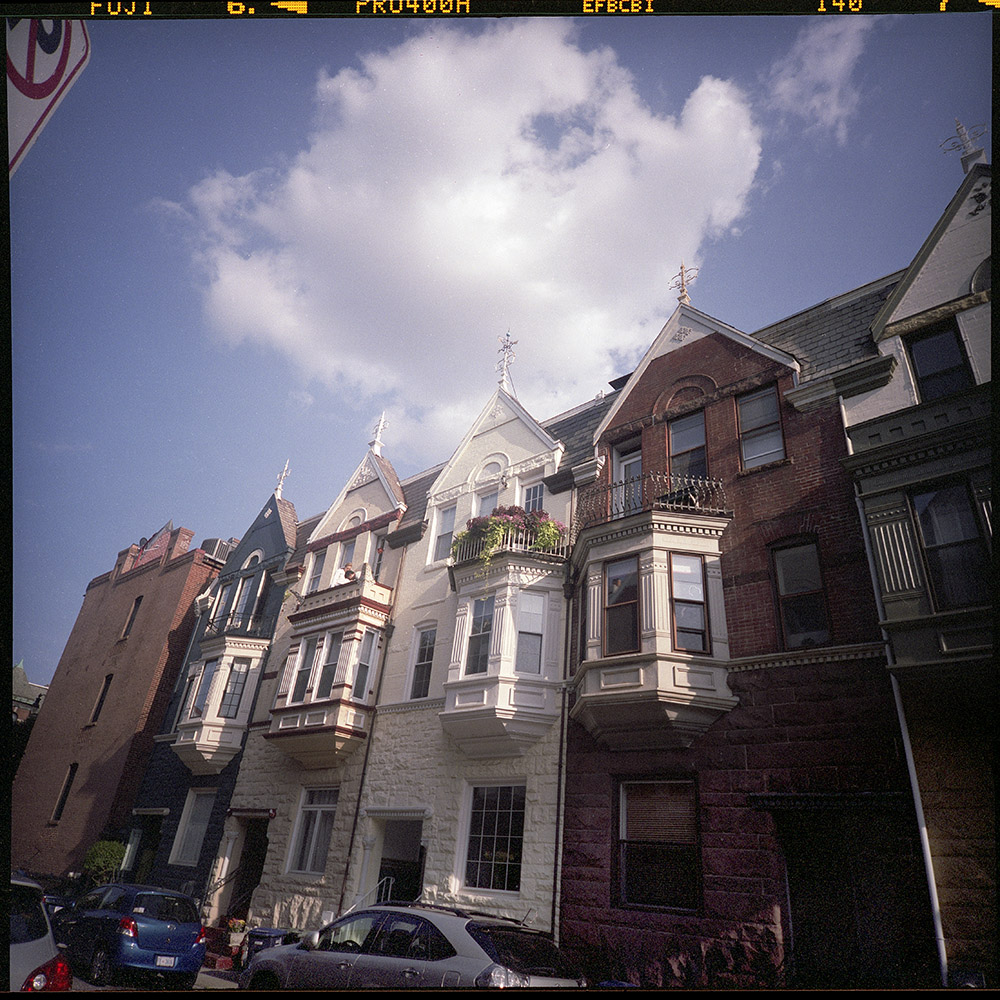
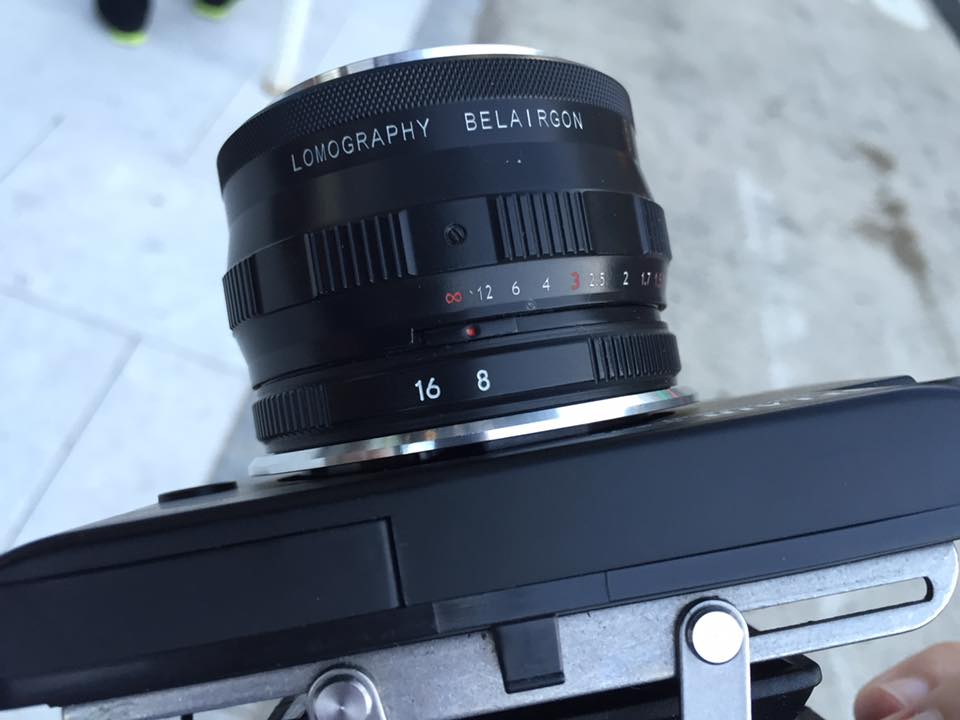
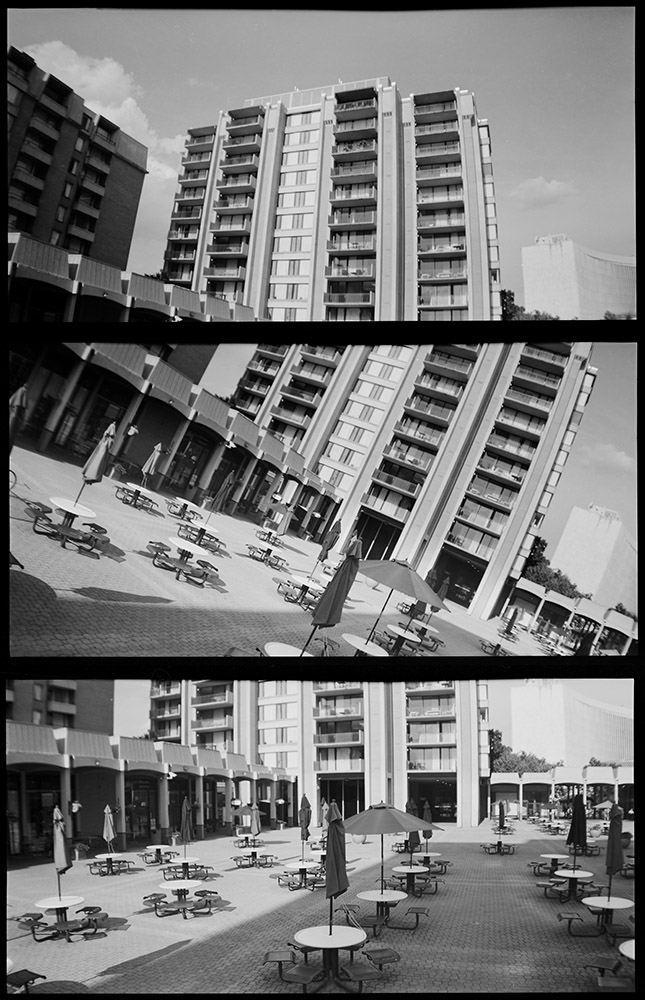
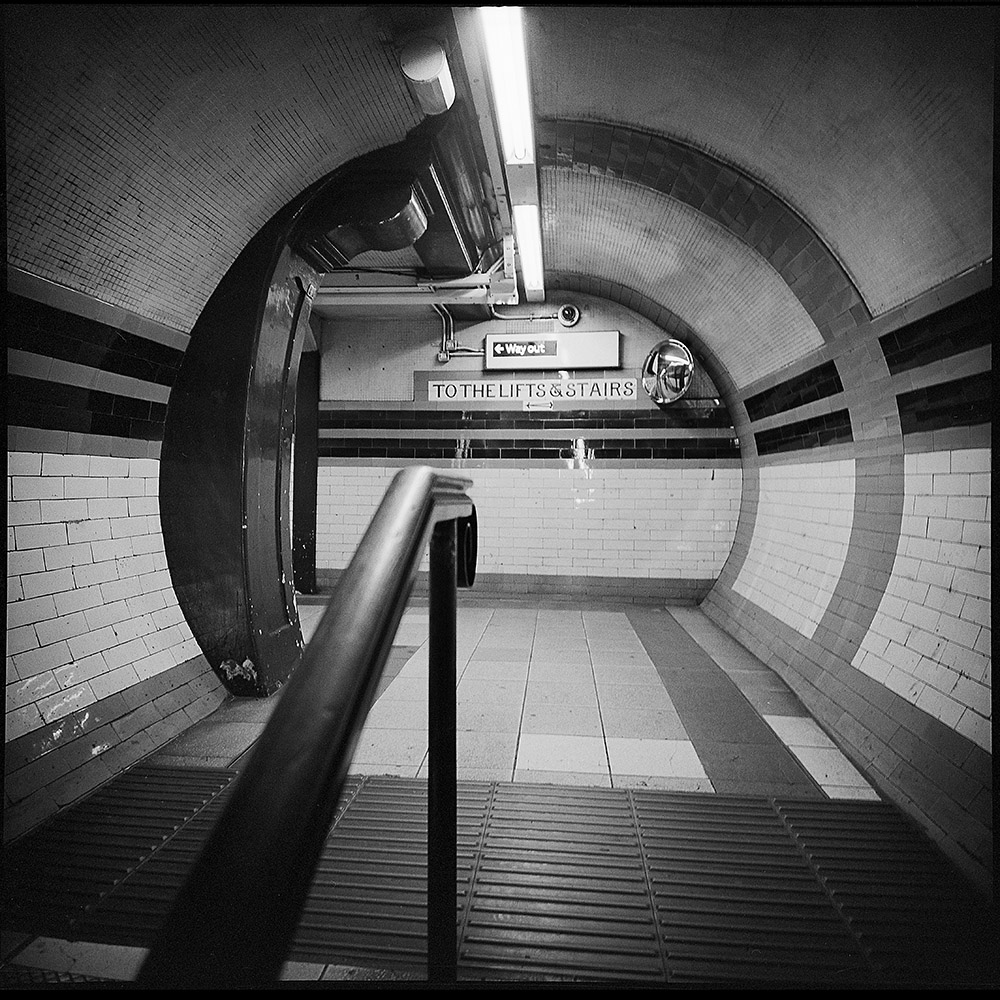
In case you’re wondering, all these were taken with one of the best, in my opinion, travel cameras available: the Lomo LCA-120. It’s a super-wide (38mm on 120 film, or the equivalent of a 21mm on 35mm/Full Frame). The super-wide angle means you can use it in places you would have a hard time photographing with most other cameras. It is fully automatic exposure – the only control you have over the exposure settings is by changing the ISO on the meter dial. It is, in contrast, manual focus but only via focus zones – you have a selection of four distance ranges you can select via a lever on the side of the lens panel. Because it is a leaf shutter and has no mirror to move, it is quiet when taking photos, so you can work unobtrusively in a busy environment. It does require you to have a somewhat loose shooting style because of that wide angle lens and the fact that you’re composing via an uncoupled viewfinder, not through the lens. While I normally like having the precision of an SLR or a TLR with aperture and shutter controls, working with the LCA 120 is very liberating in a way because you stop worrying about all those fiddly things and just concentrate on composing the image in the viewfinder.
I combine it with Kodak Tri-X film frequently because that gives me enough wiggle room to pull off hand-held exposures with even long-ish exposure times – I’d venture to guess that the shots in Reading Terminal Market were somewhere between 1/15th of a second and 1 second. Yes, you read that right – hand held at up to 1 second.

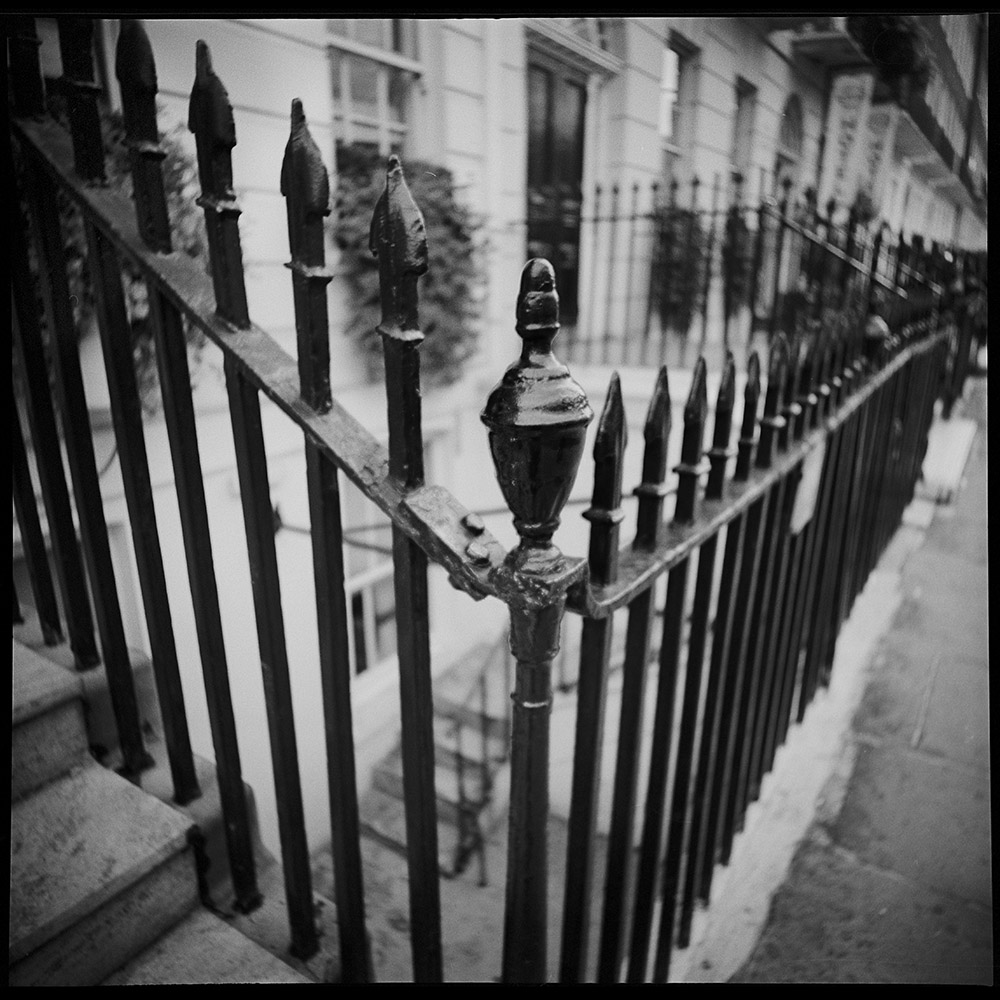


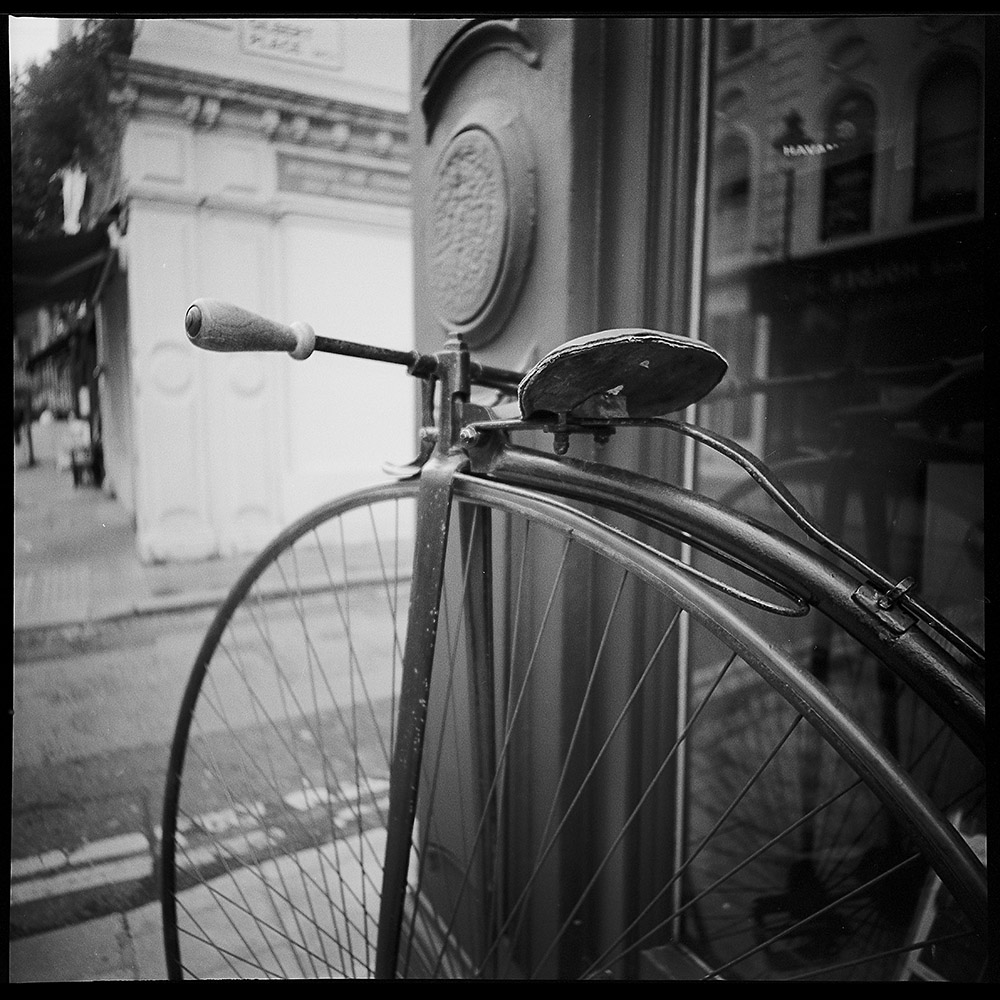

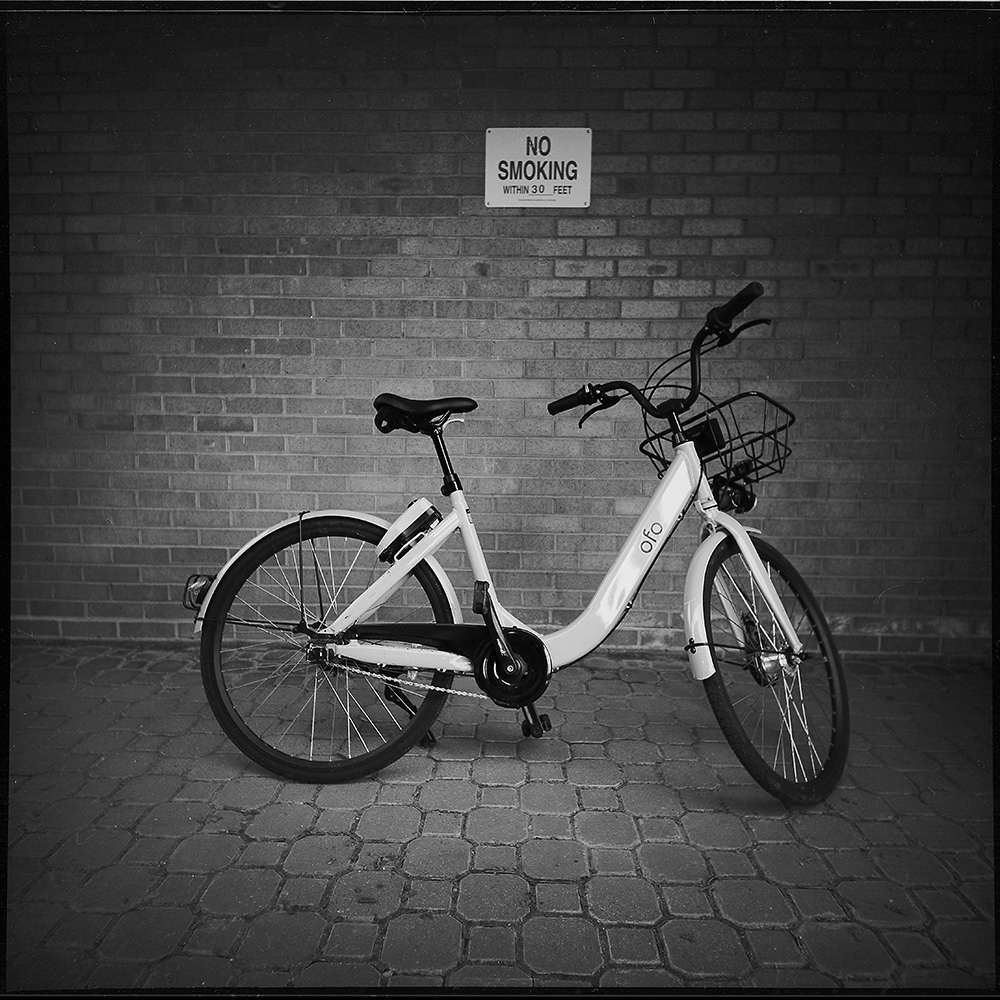
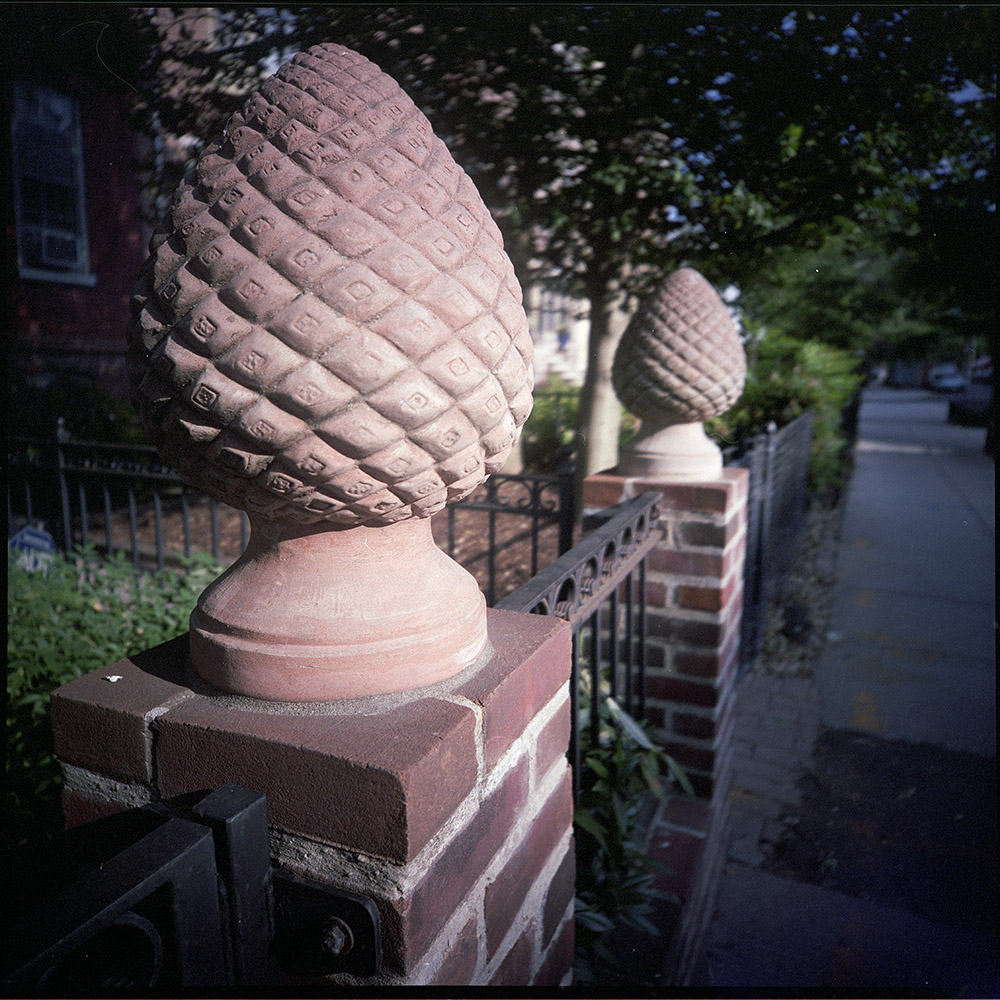 Again, you can never really get too close. This was a test of the close-focus/selective focus capability (the minimum focus setting is 1.5 feet).