I sent interview questions out to a number of the Alt Process Revolution artists. Artists, being artists, don’t always respond in exactly the way you expect 🙂 So I didn’t get answers to my questions in a literal, 1:1 response, but here is the photo of Alan Dunlop and his bio/response.
My name is Alan Dunlop. I currently live in Toronto, Ontario.
Photography has always been a part of my life. I remember my dad taking photographs with his Rolleiflex and watching him develop prints in the closet of our tiny apartment. I wasn’t hooked, however, until I was studying advertising art and one of my teachers handed me a camera to experiment with. I eventually became a news photographer and worked for a number of local papers for more than two decades.
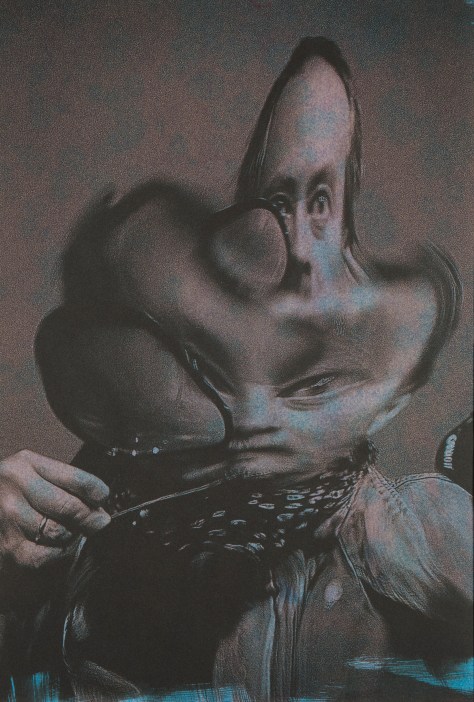
In my personal work, I always like to push the limits of photography and explore new perspectives and alternative realities. Over the past decade, my focus has been on collaged images. My work is influenced by my background in technical illustration and advertising art. I am also inspired by the works of contemporary artists David Hockney and Robert Birmelin. I am especially fascinated by how these two artists blend multiple images together to elicit a sense of movement and space to convey the myriad complexities of a single moment in time.
The image I submitted to the APR show is from a series of self-portraits shot over several months exploring reflections. It was created in camera, not Photoshop.
I grew up with film and spent many hours in the darkroom. The move to digital photography was an exciting one which I embraced wholeheartedly. I now work only in digital and do my own printing. The immediacy of digital allows me to explore and create images in a way that film never could and gives me more control over the final results.
After becoming familiar with Bob Carnie’s approach to alternative processes, I was curious to learn more. I am drawn to the richness of the images created using this method. I have spent time with Bob processing a number of images, including some of my own, using alternative processes. The results were quite intriguing. The alternative process prints have a uniqueness of their own and have a very tactile feeling about them. I am curious to see how this will work with more of my own photos.