Category Archives: Black and White

New Toy in the Arsenal

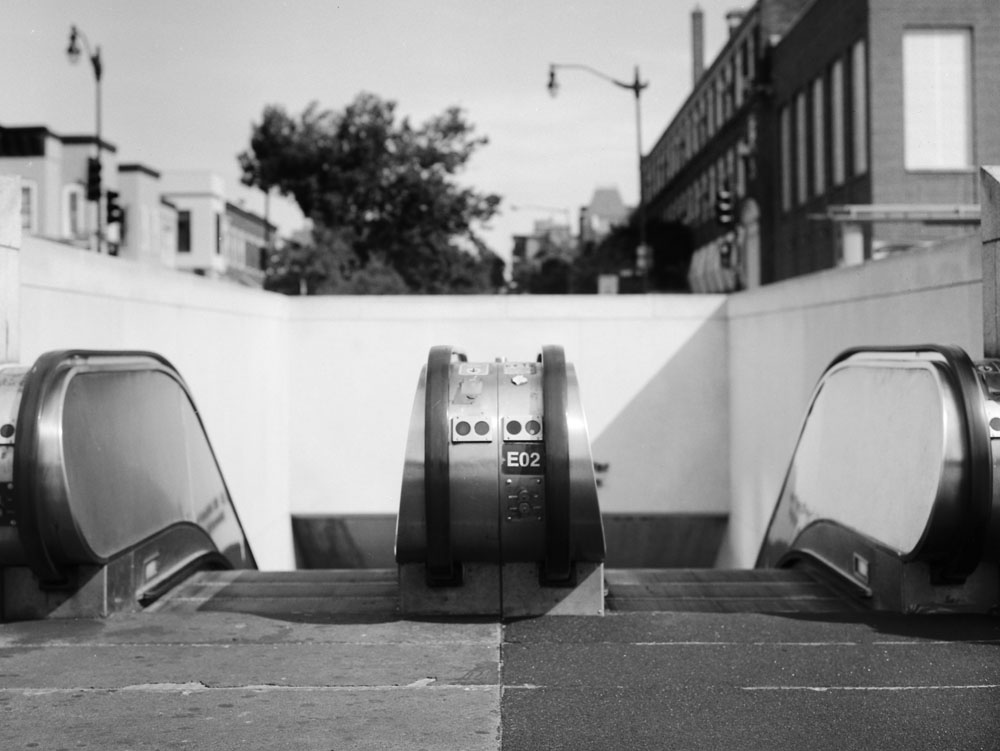
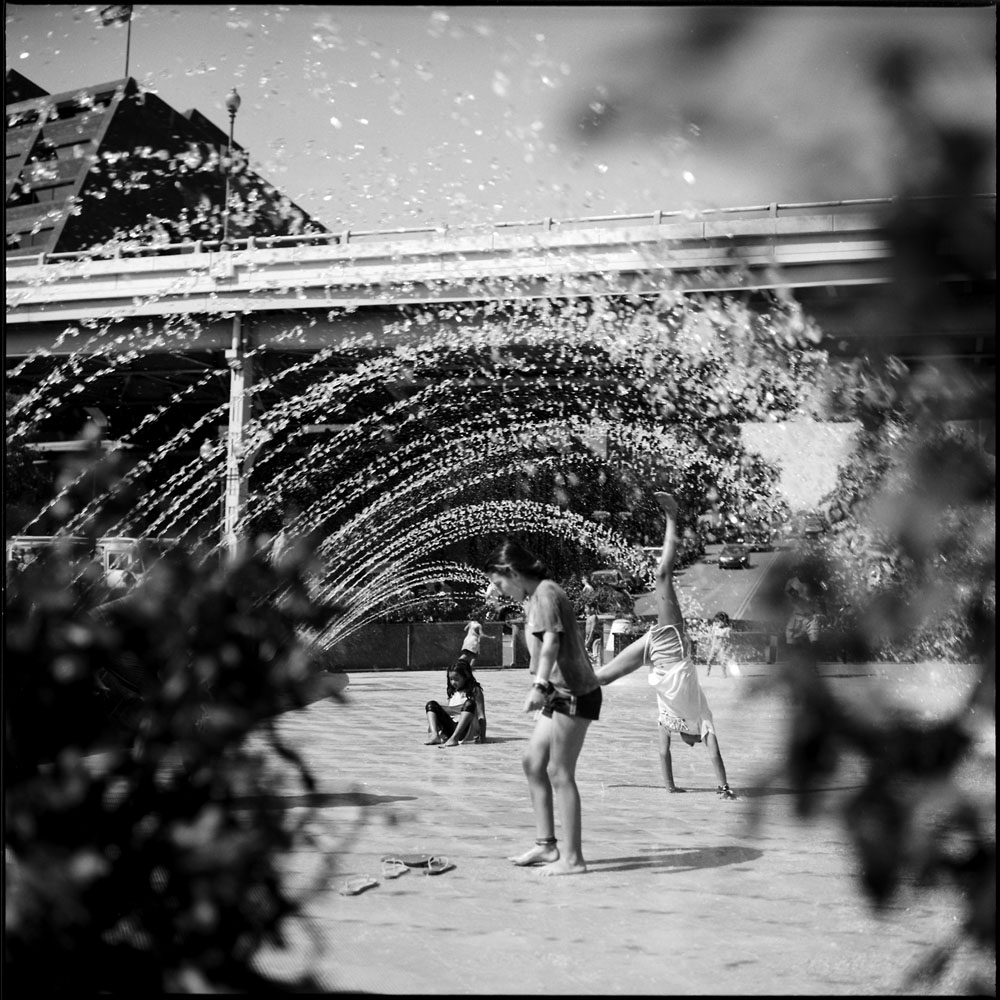
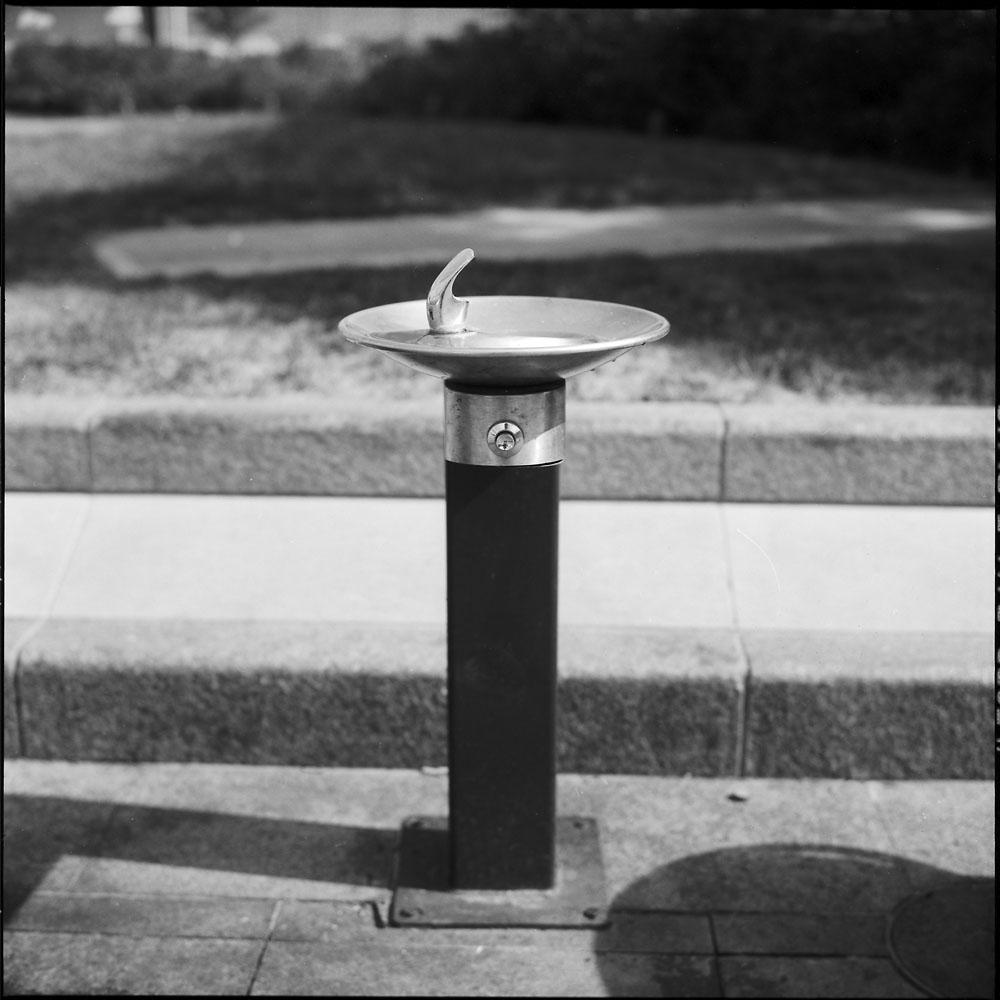
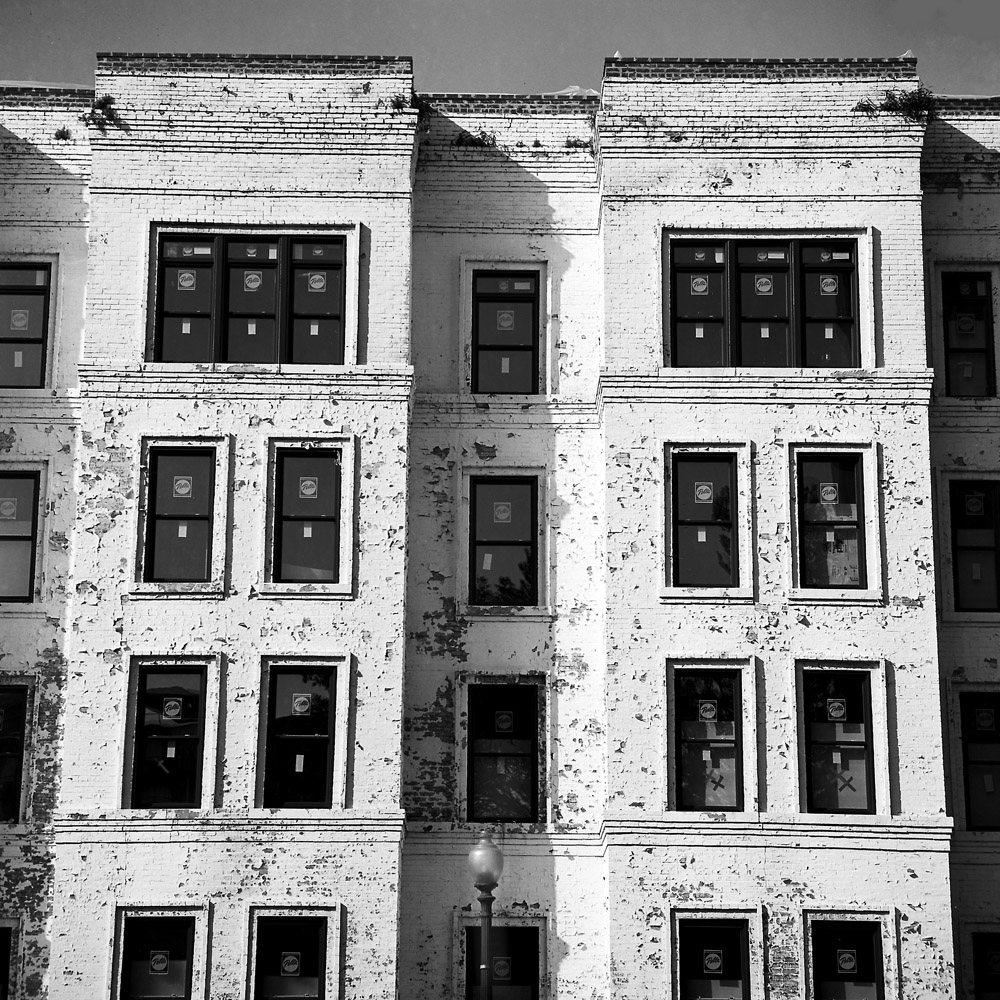
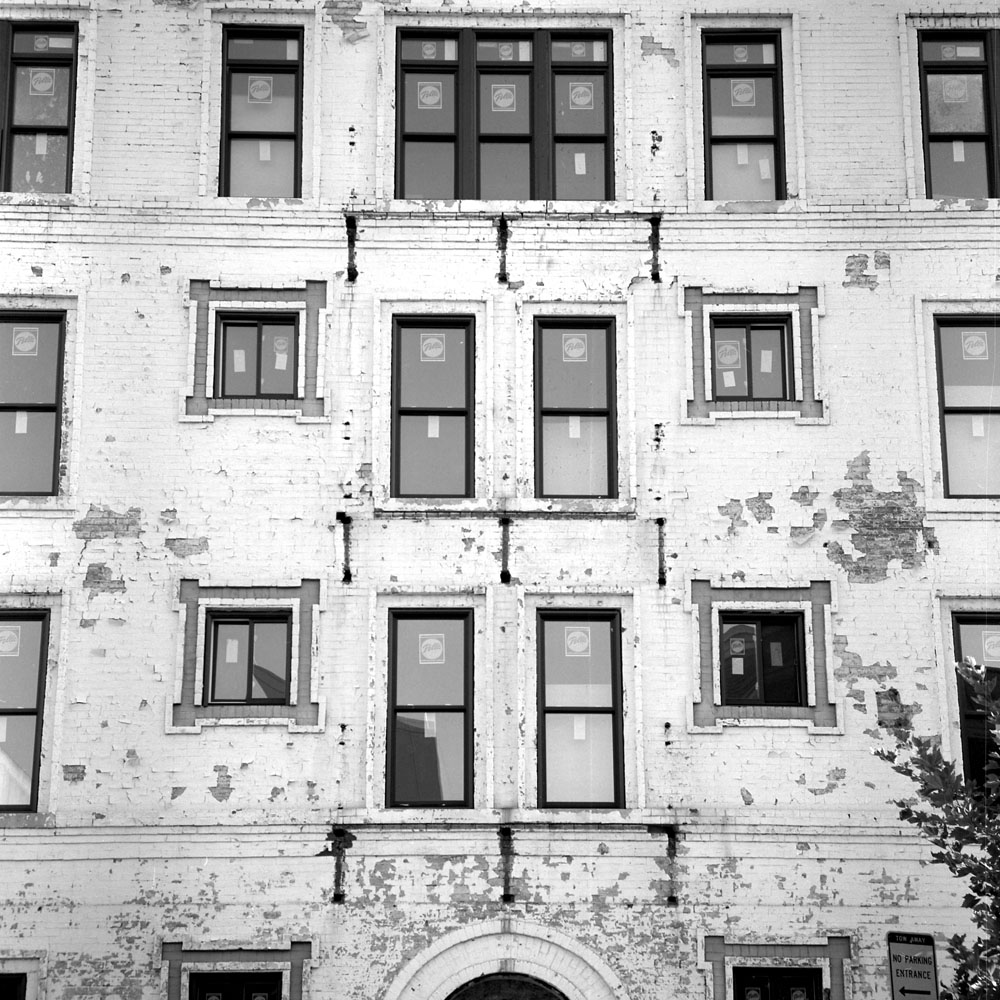
I recently acquired a Lomo Belair X 6-12 City Slicker model. It comes with a 58mm and a 90mm lens and the matching viewfinders. The camera is a weird beast, sort of a neither-fish-nor-fowl thing, in that it has multiple film formats (it has masks for 6×6, 6×9 and 6×12 frames), interchangeable lenses (58 and 90mm plastic lenses, and an optional accessory 112mm all glass lens), auto-exposure in aperture-preferred mode, and a hot-shoe flash. However, it is manual film advance completely separate from shutter cocking, there are only two apertures on each lens (f8 and f16), the only sort-of control you have over the shutter is to set the film speed and/or set it to B for long-time exposures), the shutter has a maximum speed of 1/125th of a second, and focusing is zone focusing with indicator marks on the lens for infinity, 3 meters, 1.5 meters, and 1 meter. Oh, and there’s no cable release provision so you have to be extra careful when using B that you don’t shake the camera. The 58mm lens, especially at the 6×12 configuration, is very lo-fi and has gobs of obvious barrel distortion. However, where else are you going to find a 6×12 panoramic camera with a 58mm lens on it with auto-exposure for $250? Your next cheapest option is to put a 6×12 back on a press camera, which is going to run you at least a cool grand to put together. Even a 6×12 back on the new-but-still-effectively-vaporware Travelwide, plus a 65mm lens will run you a good $700-800.

I put a couple rolls through it to test it out last week and weekend. It is wicked wide with the 58, and sharp enough in the center. My example tends to run a bit to the overexposure side, which I think accentuates some of the weaker characteristics of the lens (like the low contrast from the plastic optics), although I’d rather have it overexpose than underexpose. One thing I haven’t figured out yet is if any of the lenses including the glass lens will accept filters. I’d love to try out the camera with a roll of Infrared and see what it does. It could be a great combination, or it could suck dirty dog toes. This spring, I’ll give it a try and find out.

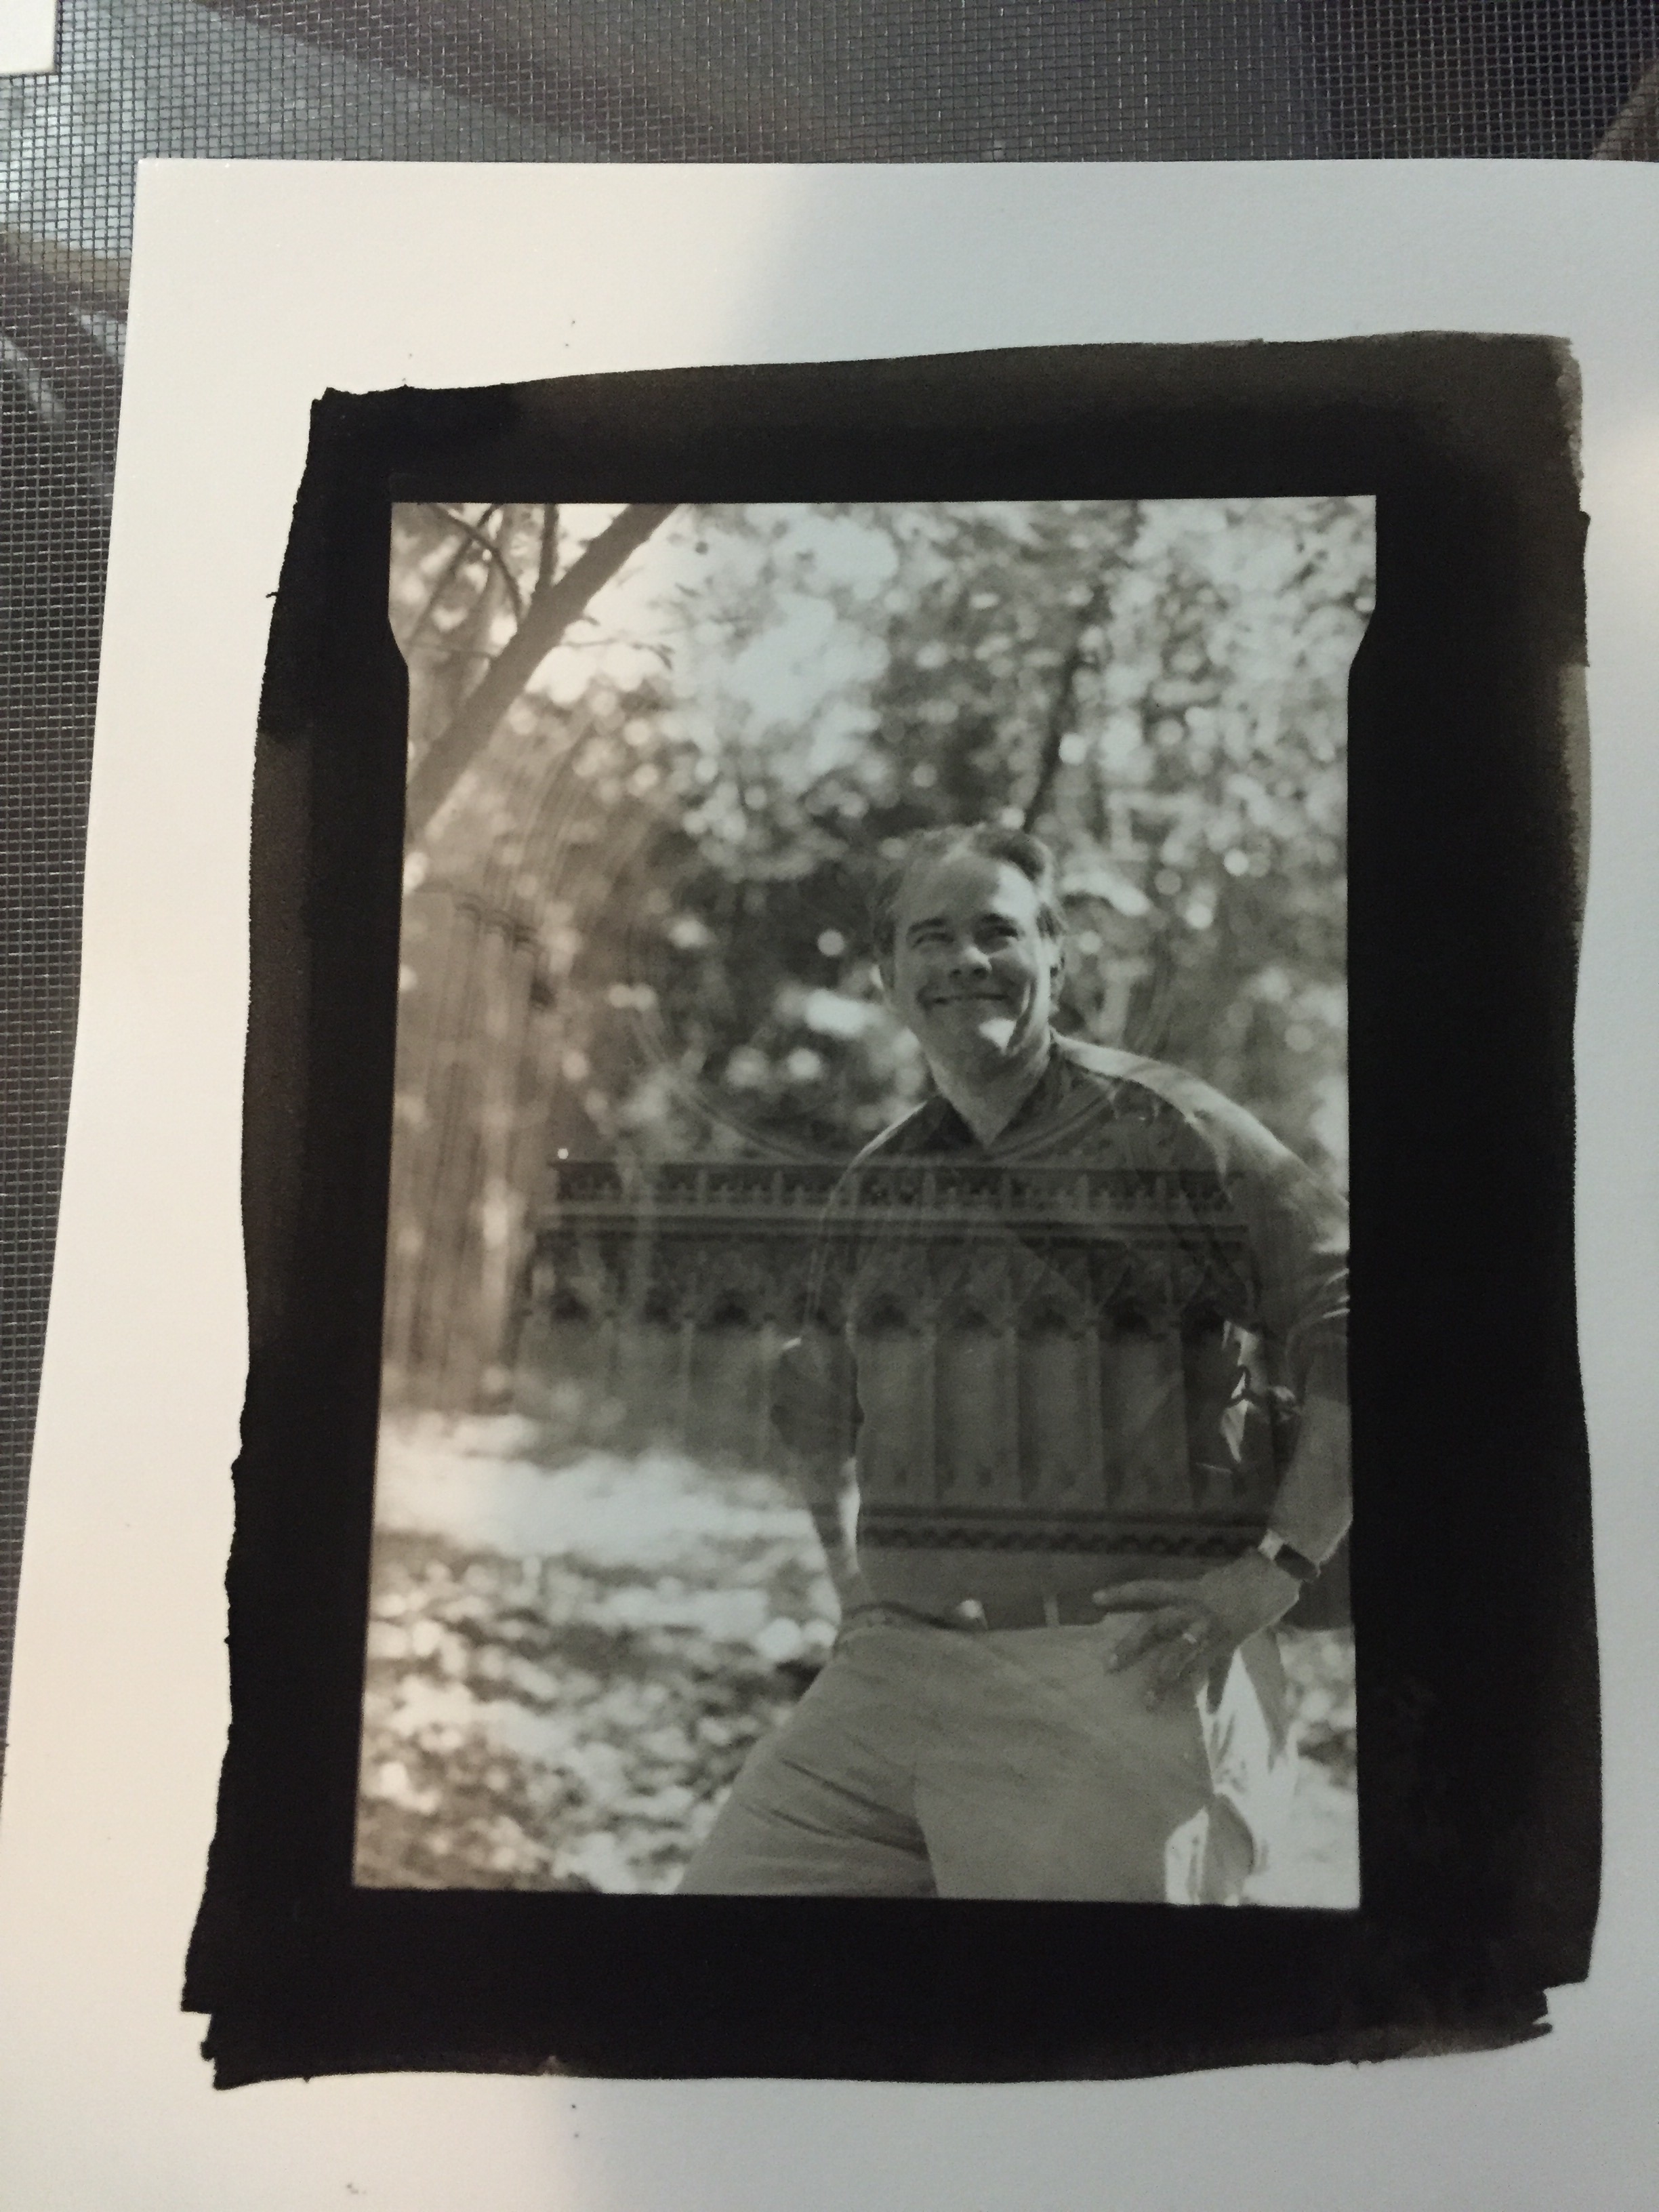
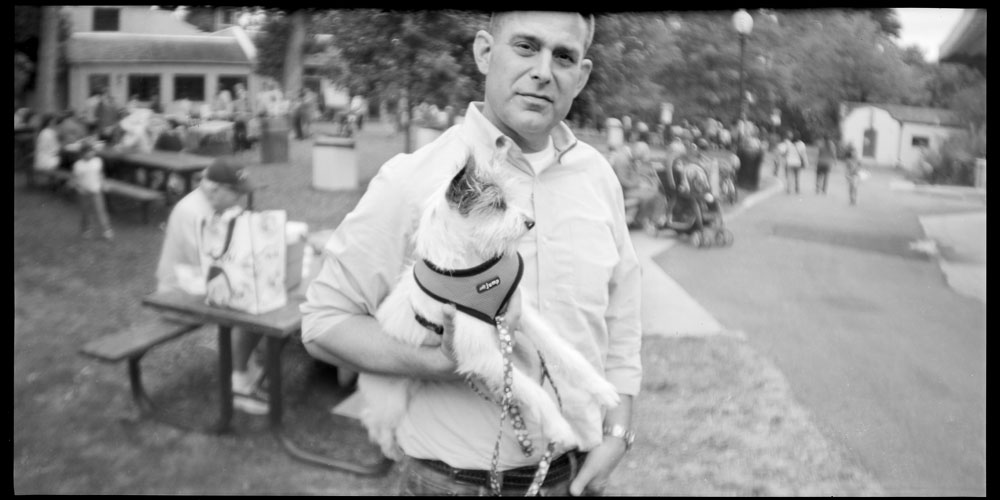
This shot is of my student Todd Walderman from my Intro to Platinum/Palladium Printing class, and his new puppy, Cookie.

Todd with Cookie
Todd with Cookie

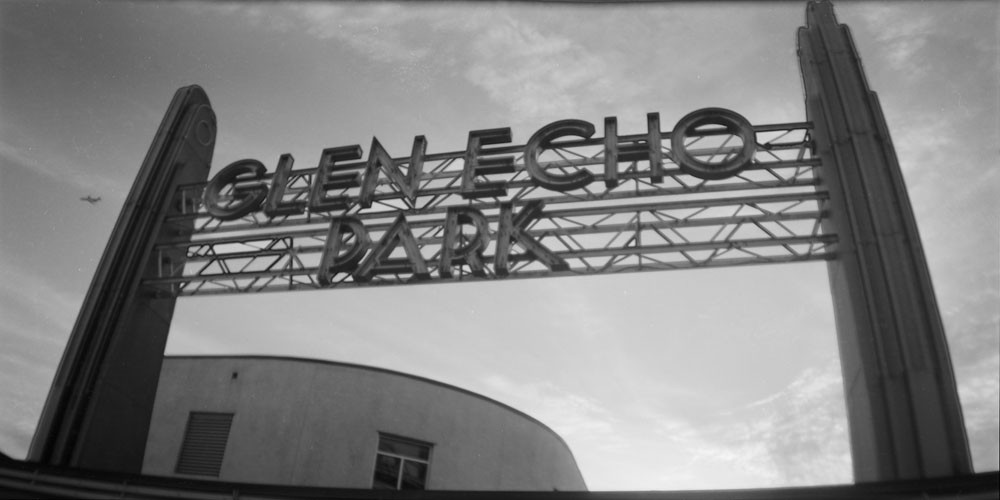
The Glen Echo Park sign, backlit at evening time. This shot as much as anything shows the amount of barrel distortion the 50mm lens has. Used appropriately it can really add to an image. But don’t use it to take pictures of things that need to be plumb and square, because they’ll look terrible. Knowing when to use it and when not is an art form in itself.

Glen Echo Park Sign
Glen Echo Park Sign

The Glen Echo carousel.

Glen Echo Carousel
Glen Echo Carousel

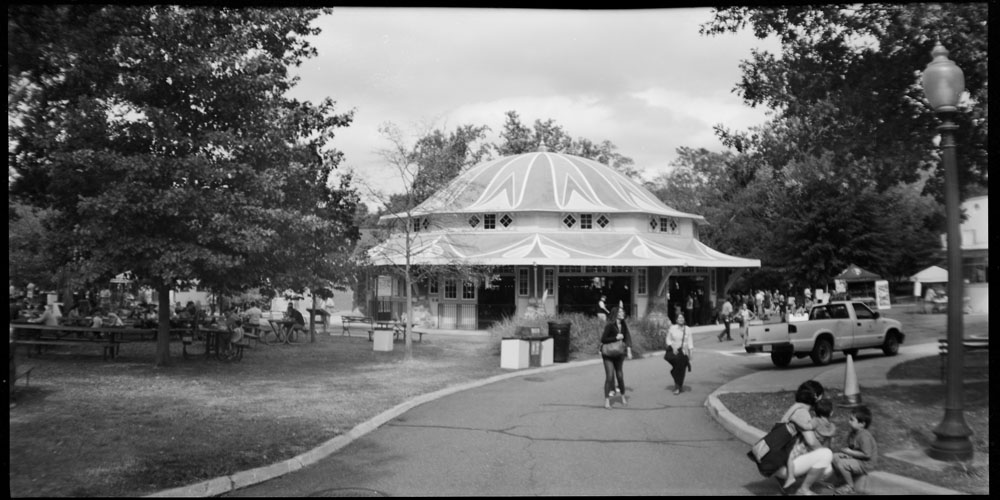
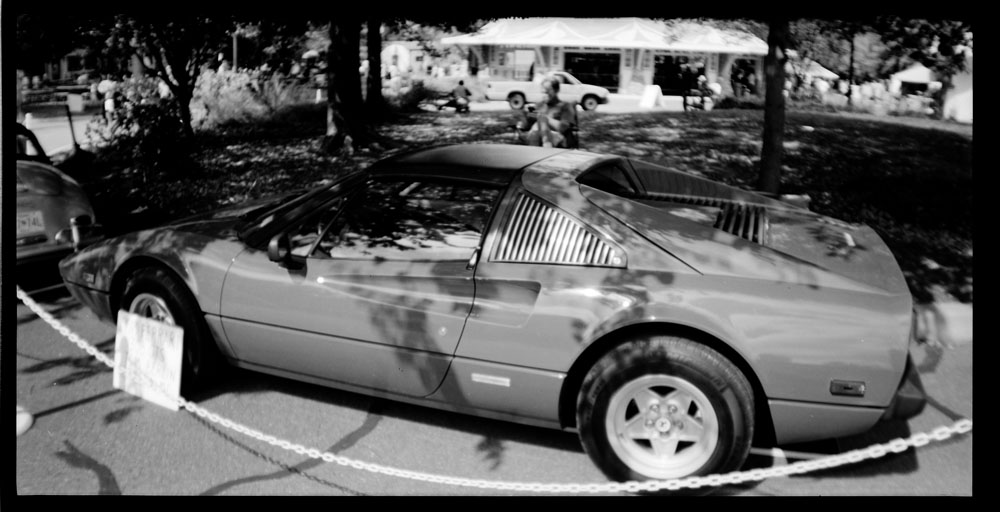
That weekend, they were having an end-of-summer-season festival at Glen Echo, which included a mini antique car show and the final running of the carousel for the year. Among the honored guests was this vintage Ferrari:

1979 Ferrari 308
1979 Ferrari 308

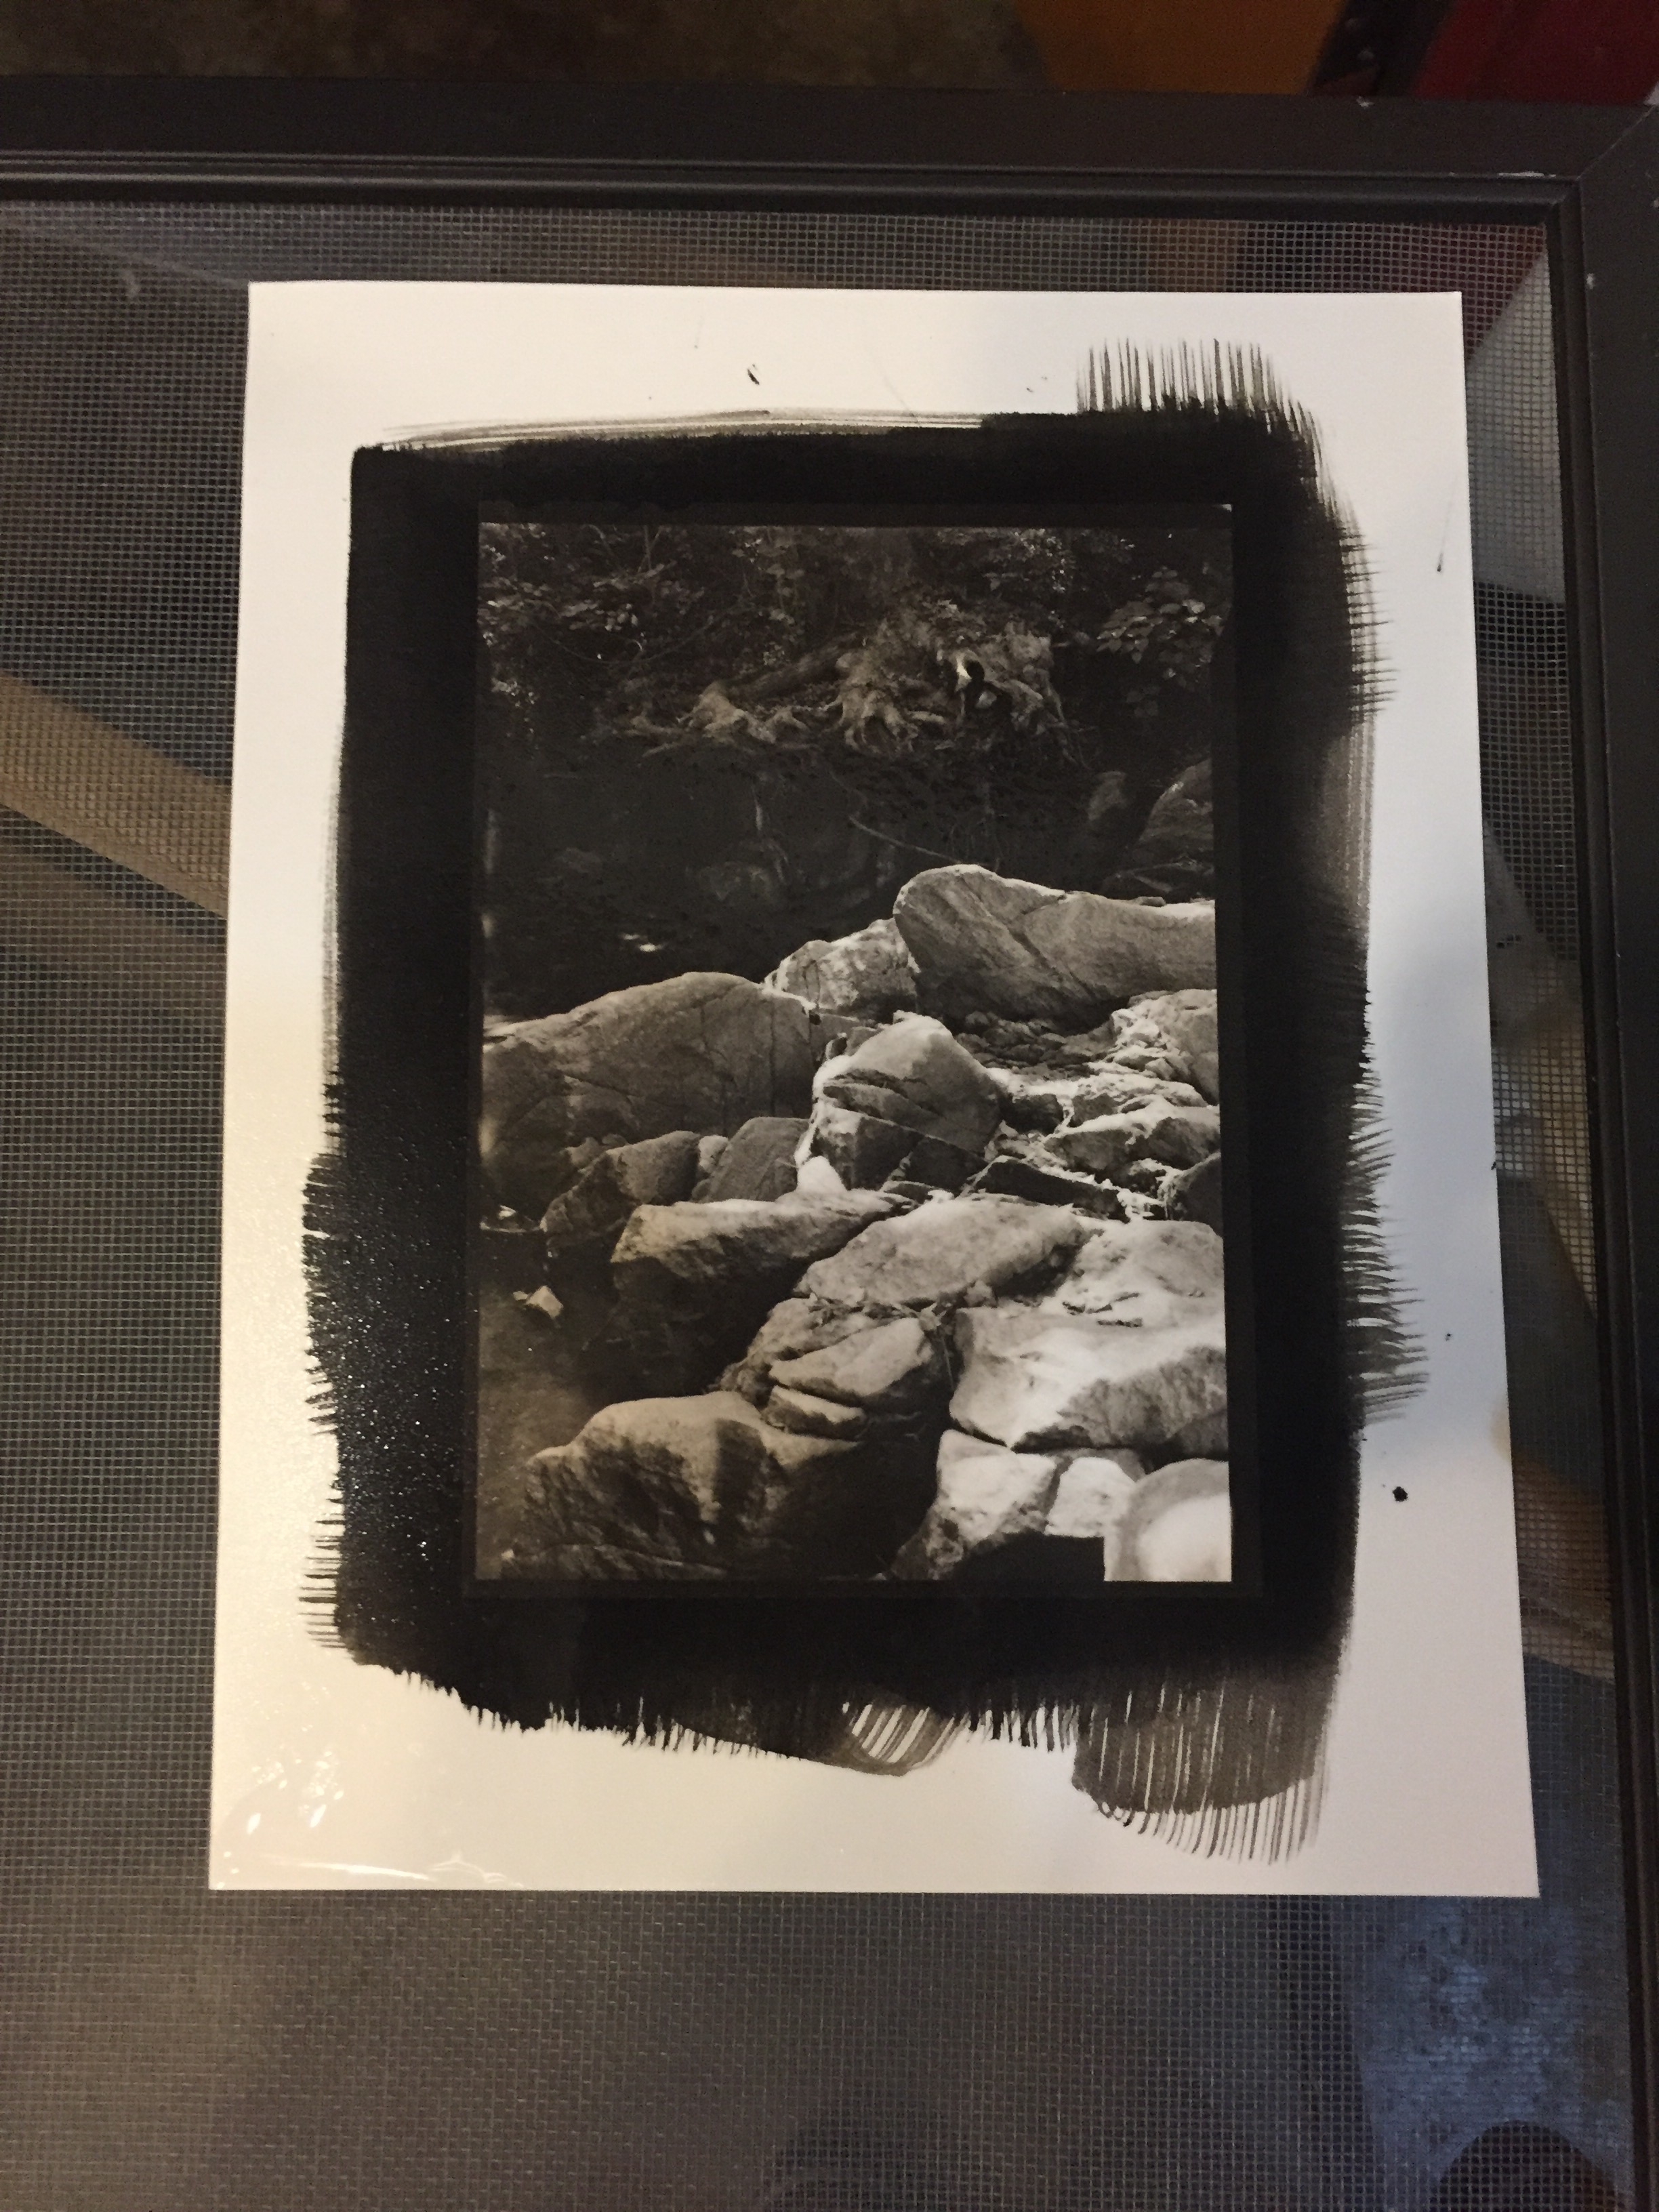
In keeping with the spirit, sort-of anyway, of the whole Lomography lo-fi movement, I was running 10+ year out-of-date Ilford FP4+ through the camera. I don’t think it really made a difference, though, as you’ve seen shots I’ve taken this year using the exact same film through my Rollei, and if I hadn’t told you it was 10 years out of date you’d never know.

Intro to Platinum/Palladium Printing, Day Two- First Printing Session

This weekend was module one of two in my revised Intro to Platinum/Palladium Printing class. Module One covered making images from in-camera film negatives. Yesterday we went out in the park at Glen Echo and shot some film with my 5×7. This first image is one of the student prints from that outing – the rocks and water in the stream that runs through the park.

Rocks, Stream, Glen Echo Park

This second shot is a happy accident – one of my students wanted to do portraits, and shot this and another one (which we didn’t print) of two classmates. What we didn’t realize at the time, which was very much my fault, was that those two sheets had previously been exposed by me on an outing with my Intro to Large Format class to the National Cathedral, but not developed. So we had two negatives of students in the woods superimposed on the facade of the National Cathedral. In the other one, the student’s face was obscured by the rose window, but here it works well. We were joking that it would make a great political campaign photo.

Happy Accident - Double Exposure
Happy Accident – Double Exposure

Here are my students busy coating paper and working hard.

Students Coating Prints

Another faculty member had been given this UV exposure unit by one of our long-time patrons, Grace Taylor. Grace is now retired from photography as she’s in her late 90s, and had given it to him when she stopped printing. At the time he passed it along to me, he said it might have an electrical issue and so may or may not work properly. I was leery therefore, but determined to give it a try. If it didn’t work, I would still have a fallback option of the blacklight compact fluorescent fixture I’ve used before. Fortunately, not only did it work, but it worked well. It gave us very fast exposure times (3 minutes was our base exposure, instead of the 6.5 I normally get with my own unit or the 7-9 we were getting with the CF fixture). So Grace, if you’re aware of this, a big thanks for your UV unit, it has found a new home and is once again being productive!

Grace Taylor's Old UV Unit in Action
Grace Taylor’s Old UV Unit in Action

This was another student image, this time one that one of the students brought in, from a digital negative she had made herself. The shot is an interior of one of the hotel rooms at the Chateau Mormont in Los Angeles. This foreshadows next weekend’s module, making digitally enlarged negatives for alt process printing. She had made this negative using the Dan Burkholder method, including using the printer adjustment curve he supplied as a download. The curve he supplied is a good baseline starting point, but as we saw in several tweaks of the print through the day, using someone else’s curve is not a true substitute for making your own.

Chateau Mormont Interior - Digital Negative
Chateau Mormont Interior – Digital Negative

I’ll have the students work through making their own curves next Saturday, and then we’ll make some digital negatives of our own and print from them. I’m having them use Ron Reeder’s book, Digital Negatives for Palladium and other Alternative Processes as the textbook for the digital negative process, specifically focusing on creating adjustment curves rather than using QTR to interpret the adjustments needed to create the negative. Ron covers both techniques in his book, and going through the ordeal of making a QTR to adjust the printer output has the advantage of being non-destructive to your digital file (meaning that it doesn’t make any permanent changes, so you don’t have to create multiple files to print negatives for each alternative process you want to use), but for all but the computer-geekiest of folks, it’s way too intimidating.

I have a great crop of students this time (well, I almost always do!) and I think I’m having at least as much fun as they are!

Lilian Evanti’s Home

This is the home of Lilian Evanti, a pioneering African-American opera singer. She was a soprano, perhaps the equal of Marian Anderson (they actually performed together in 1926) but did not have the fame or success in the United States that Marian would go on to have, so she mainly performed on European and South American stages where audiences (and management!) were more open to black women in operatic leading roles. She was born in Washington DC and resided here for much of her life. You can tell from the ironwork on the outside of her house that this was a musical home.

Madam Evantis House
Madam Evantis House

Seen on the Street

These were all seen on the street, at and around the U Street/Cardozo Metro station. There’s no real connection other than geographic proximity.

U Street Wall
U Street Wall
Loud Lito Paperbox
Loud Lito Paperbox
Metro Escalator
Metro Escalator

Upcoming Classes at Glen Echo – Intro to Platinum/Palladium selling out!

Just wanted to put out a reminder about my upcoming classes at Glen Echo. My Intro to Platinum/Palladium class is almost sold out – five of six slots have been taken already.

Studio Theater, 14th Street, Night

This is a new formulation of this class for me – two weekends instead of one, and the second weekend is a module on making digitally enlarged negatives for platinum/palladium printing. The first weekend we will make in-camera negatives for platinum/palladium printing, and learn about what will make a good composition for the medium. We will process those negatives and print them the first weekend. The second weekend will be devoted to making digitally enlarged negatives. Students are advised to get the Ron Reeder book on making digitally enlarged negatives in advance so they will have it in hand in time for the digital negative module.

I am also running an intro to studio lighting class from October 28 to December 2. We will cover basics of light in the studio, from a single hot light (there is only one sun!) to a multiple light strobe environment. We’ll also cover light modifiers from basic reflectors to umbrellas, soft boxes to Fresnel lights.

Studio setup #2
Studio setup #2

One of the biggest challenges working in the studio, especially for folks coming in for the first time from shooting natural light, is that there is no light in the studio but what you put in it. You have total control, and therefore you also have total responsibility for what gets captured. This course will help you learn to see light and how it creates form and volume, and how to control it for contrast and texture.

To register for the Intro to Platinum/Palladium class, click here: Intro to Platinum/Palladium

To register for the Intro to Studio Lighting class, click here: Intro to Studio Lighting

Summer Days, Georgetown

I took a stroll through the riverfront park in Georgetown this weekend. There are some steps down to the water that are a popular hang-out spot for people of all ages. This young couple was enjoying the view together, and the little boy was fishing a few steps down from them.

Boy Fishing, Georgetown

In the same park there is a large fountain just made for people (mostly kids, but I do see some young-at-heart adults occasionally venture into it too) to run under and get wet to relieve themselves from the heat of a scorching summer day. It’s almost as refreshing to watch them running in and out of the fountain as it is to do it yourself! (not that I’m going to do it while wearing a Rolleiflex around my neck)

Georgetown Fountain Kids

And just for your curiosity, no, I’m not lurking in the shrubbery to take this photo – there are two planters, one at each end of the fountain, and photographing down the length of the fountain makes shooting through them a natural point of view. Plus the branches of the rose bush provide some nice framing for the shot.

Everyday Objects – Water Fountain

Public drinking fountains are becoming rare creatures. Even rarer are ones that work. They’re kind of like frogs – their disappearance heralds a collapse of public infrastructure the way frogs disappearing are a sign of ecological collapse. When we are no longer willing to provide safe, clean, free drinking water to the public, I think it says something about us as a society, and it’s not complimentary.

Water Fountain, U Street

To get photo-geeky for a moment, this was shot with my usual Rolleiflex 2.8E, and to ensure I was getting the extremely narrow depth-of-field I wanted, I used Ilford PanF film, which is a very slow ISO 50, and rated it at ISO 25 for good measure. I like PanF for the extremely fine grain it provides, and it allows me to use large apertures in bright daylight, however it does get very contrasty, more than I normally would like, so processing it is tricky to keep the contrast under control.

Two Towers, One Lamp

Well, it’s more like two bays, one lamp, but that’s a lot less poetic. This is another one from the same building in the Windows post, that I can’t believe I never posted.

Two Towers, One Lamp

While it’s not quite abstract, it is very much about repeating patterns and their contrasts in a single scene, the contrasts being the texture of the peeling paint, and the single lamp-post.

Door, Knocker, Georgetown

Just a single frame this time, of a door in Georgetown with a cast-iron knocker. I wish I had a front door that could take that kind of knocker – I’ve always loved the hand holding a ball knocker since I saw them in Spain as a teenager. They bring back pleasant memories. They’re kind of like Proustian madeleines, but less edible.

Door-knocker, Georgetown

I’m also visually drawn to window glass that is partially transparent and partially opaque from reflections and light hitting it. There’s a certain sense of mystery about what’s behind it because it’s only half-seen.

Windows

An architectural abstraction at the construction site across the street from my office. This building has been an inspired location for me – I’ll be a little sad when the construction is done because the building will be all neat and new again and won’t have all the cool textures it has now. But it will present entirely new options for photographing, I’m sure, so I’ll adapt and overcome, as the Marines say.

GW Dorm Windows
GW Dorm Windows

For a recap of the other shots of this building:

Scaffold, Tower
Scaffold, Tower
Turret, Boards
Turret, Boards
Debris Chute
Debris Chute
Turret, Scaffold
Turret, Scaffold
Bolt, Brick Wall
Bolt, Brick Wall