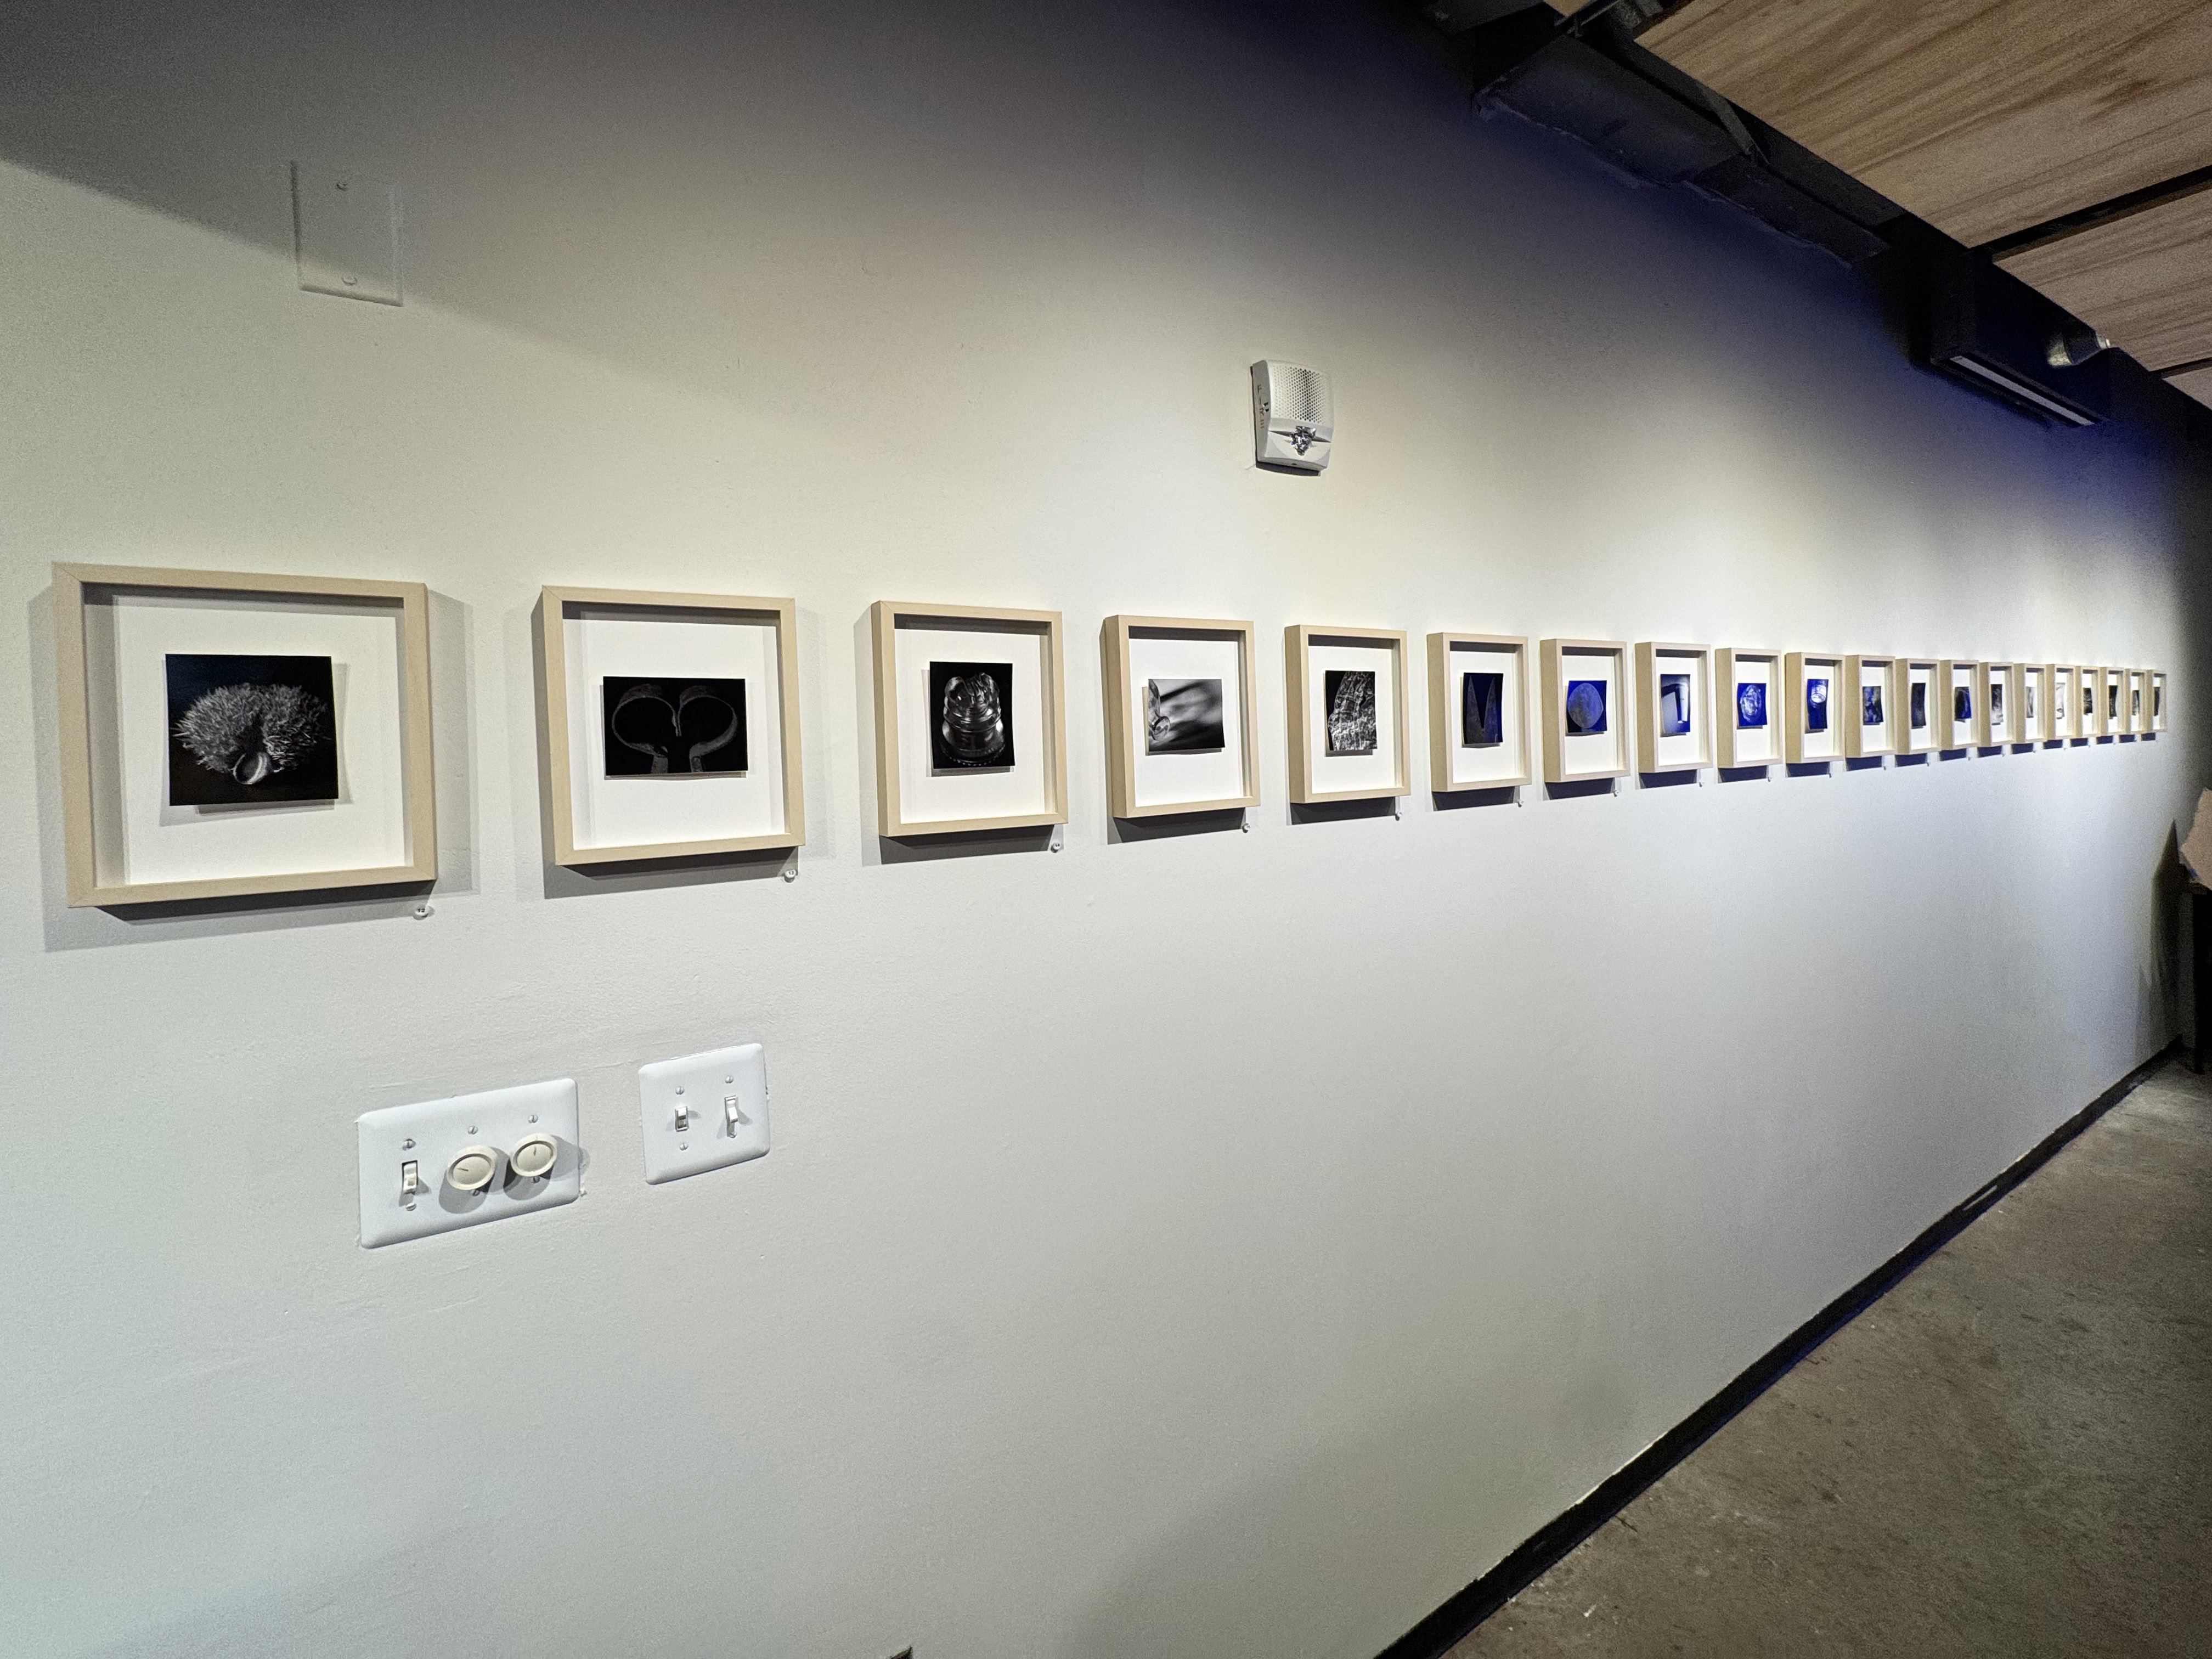
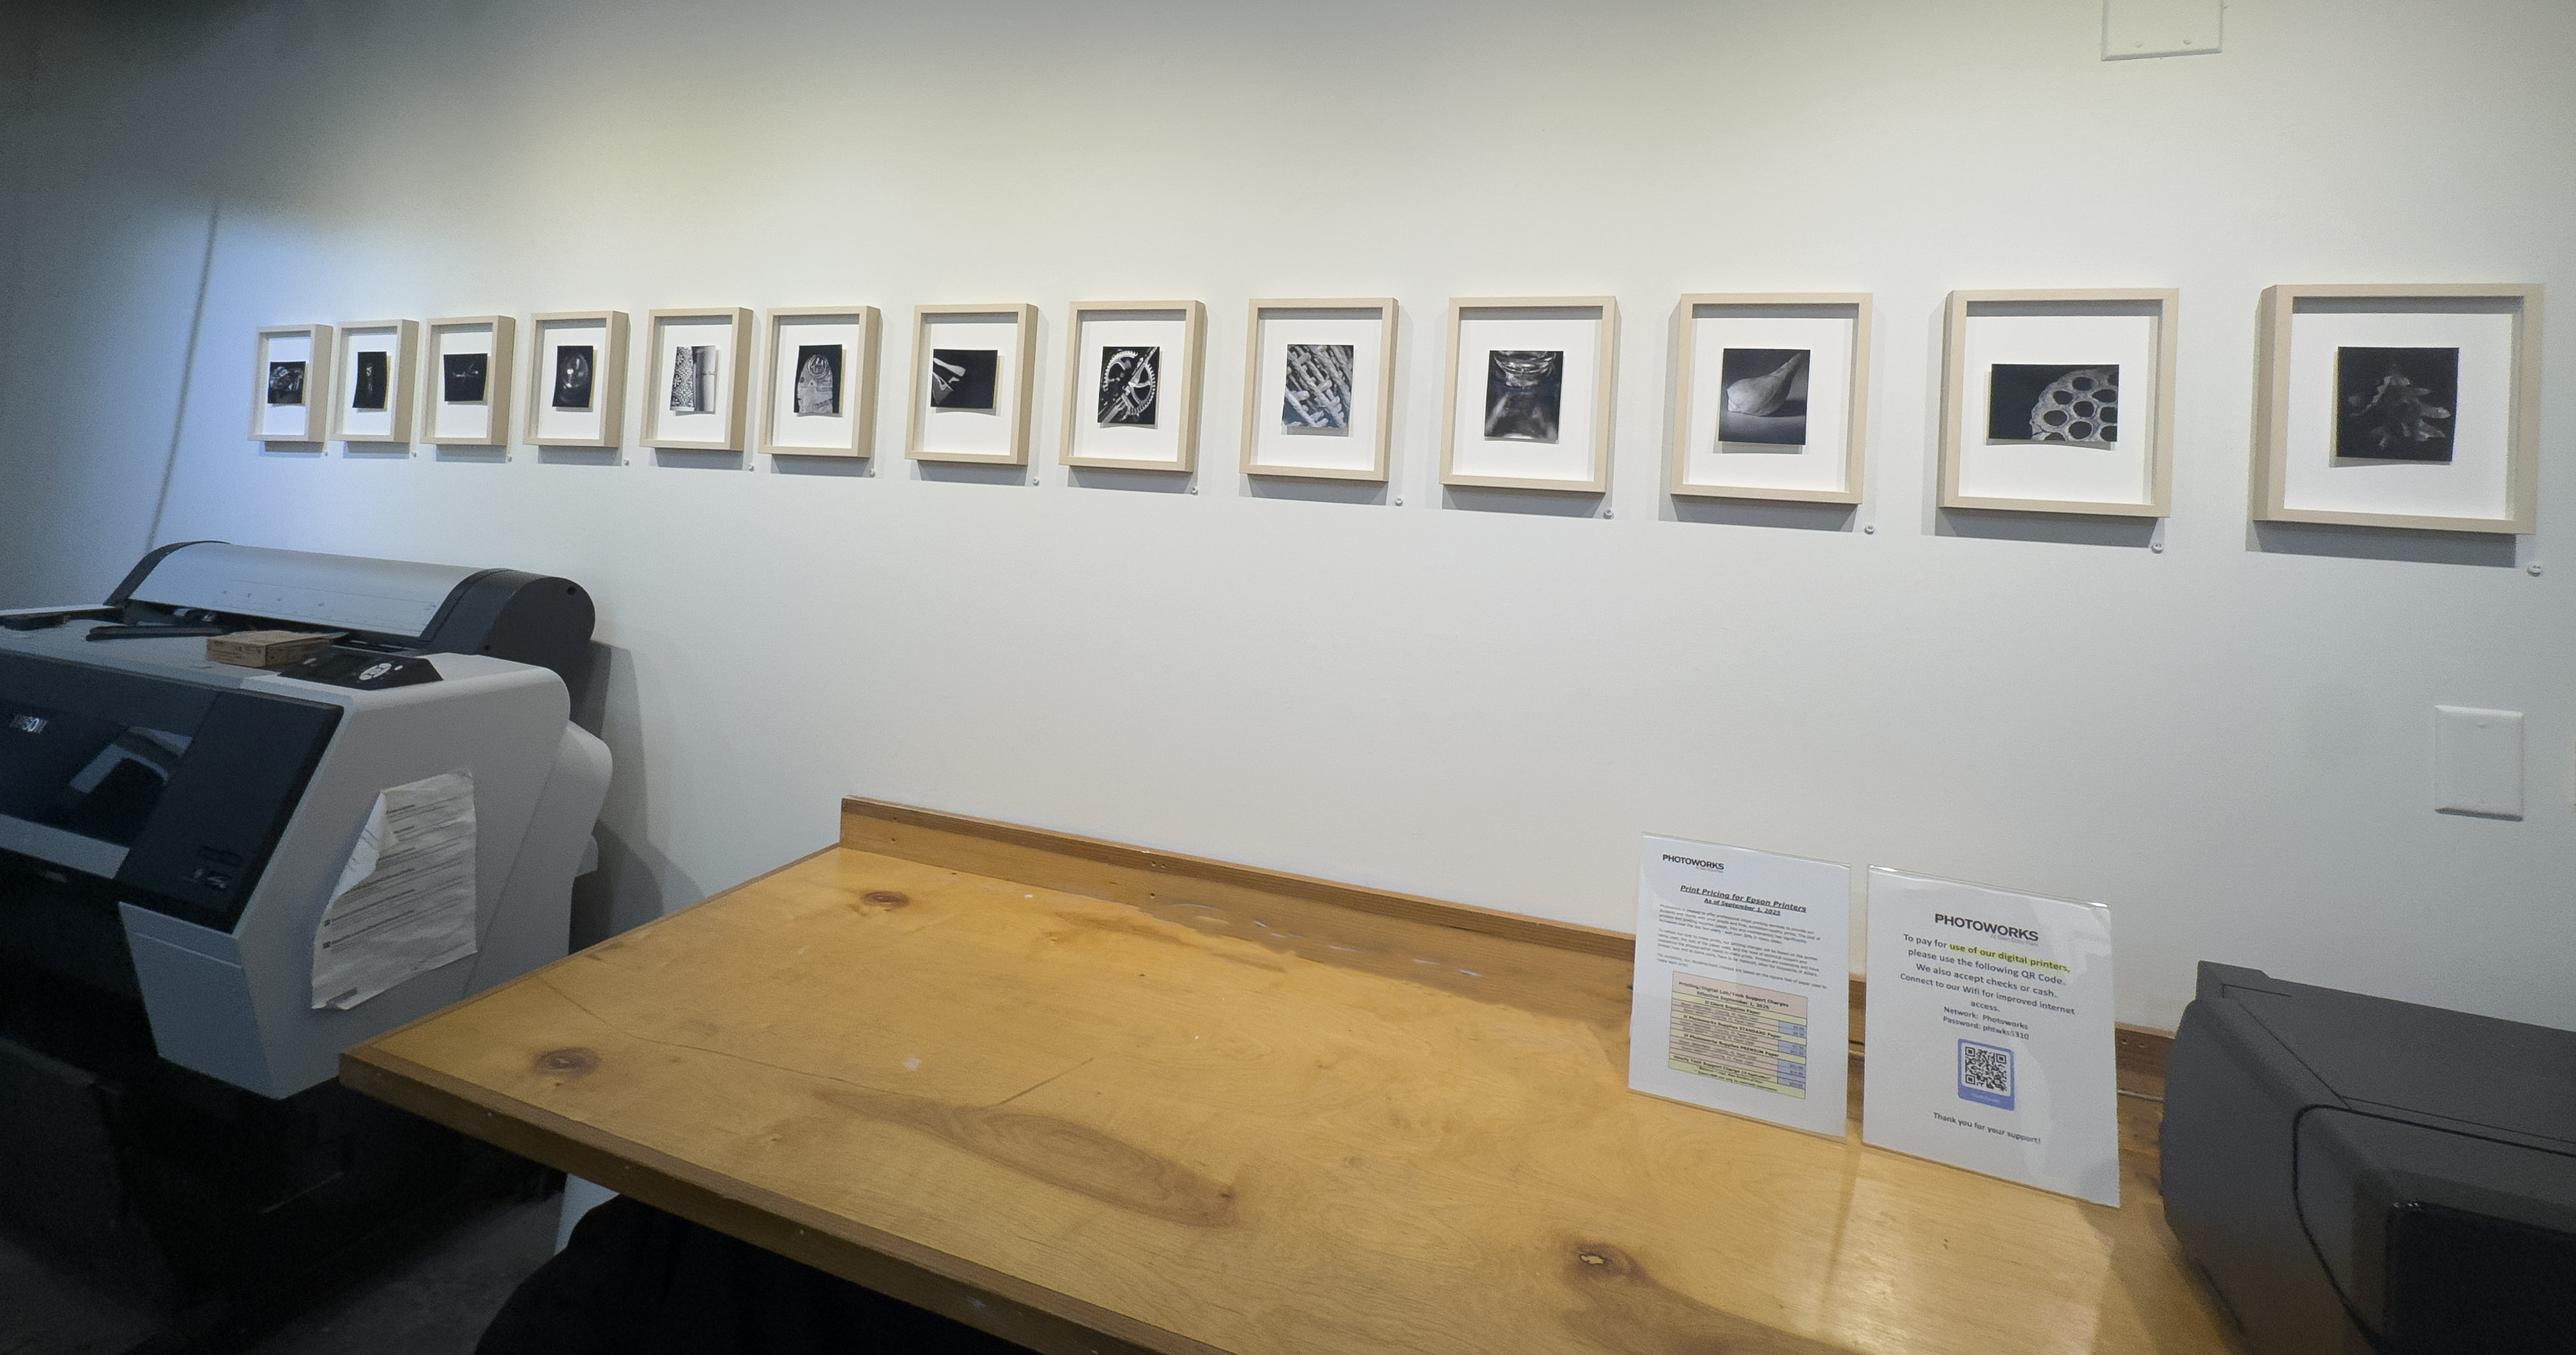
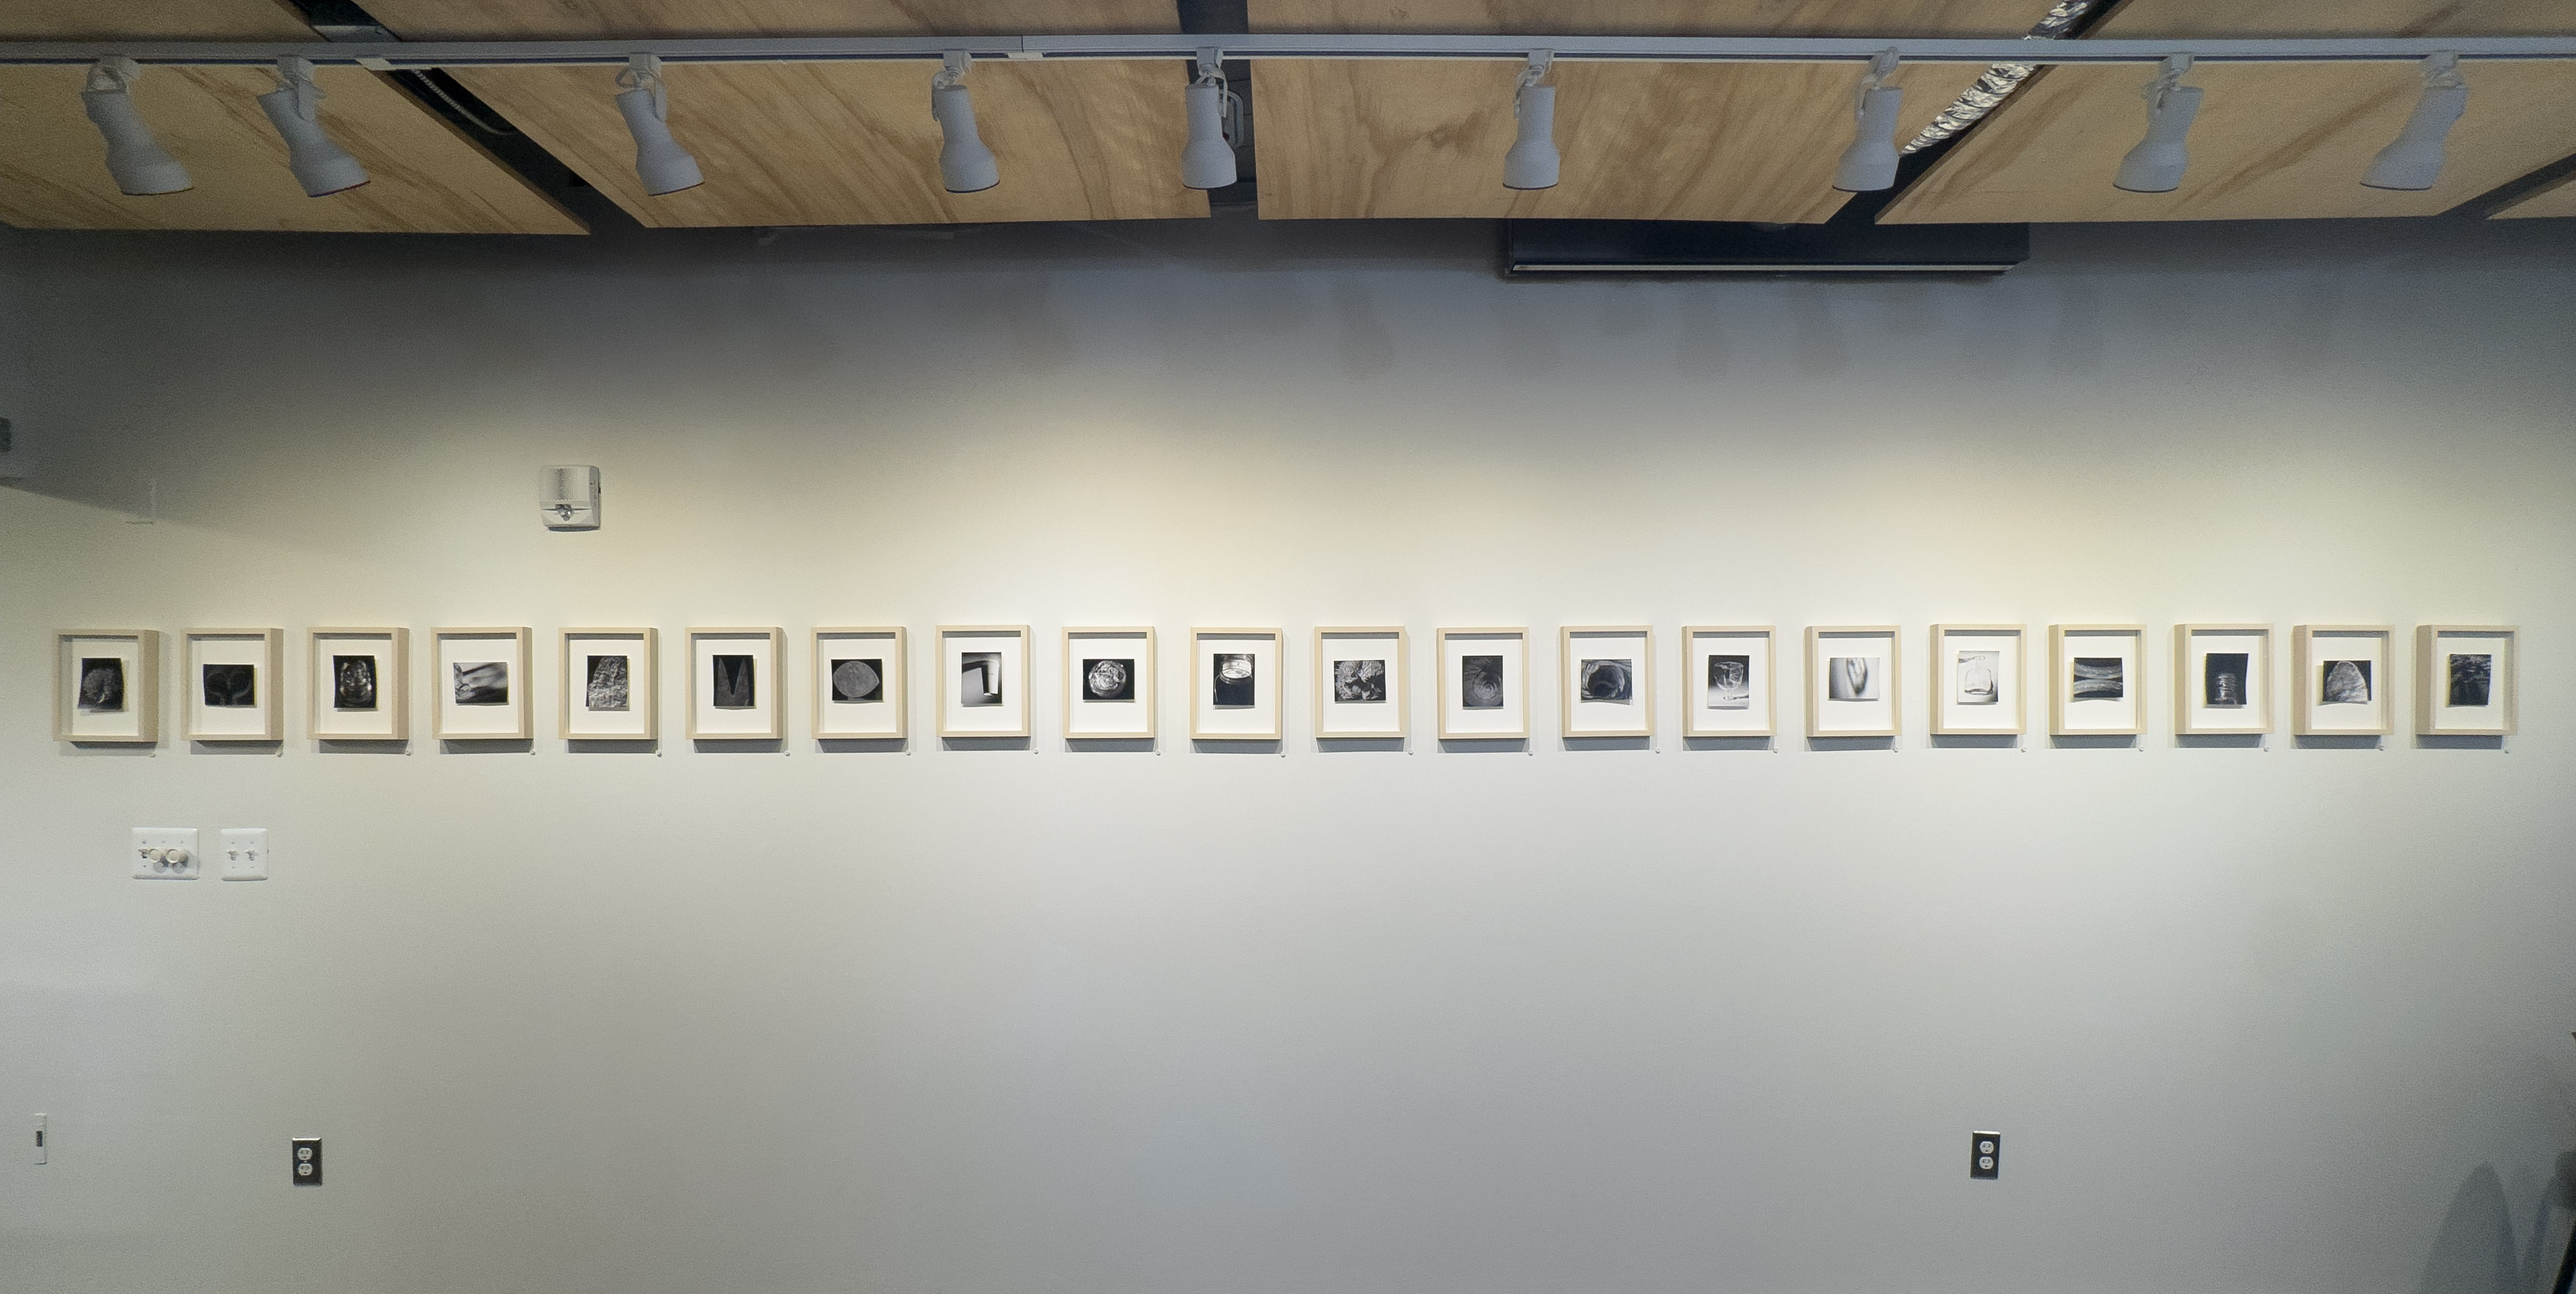
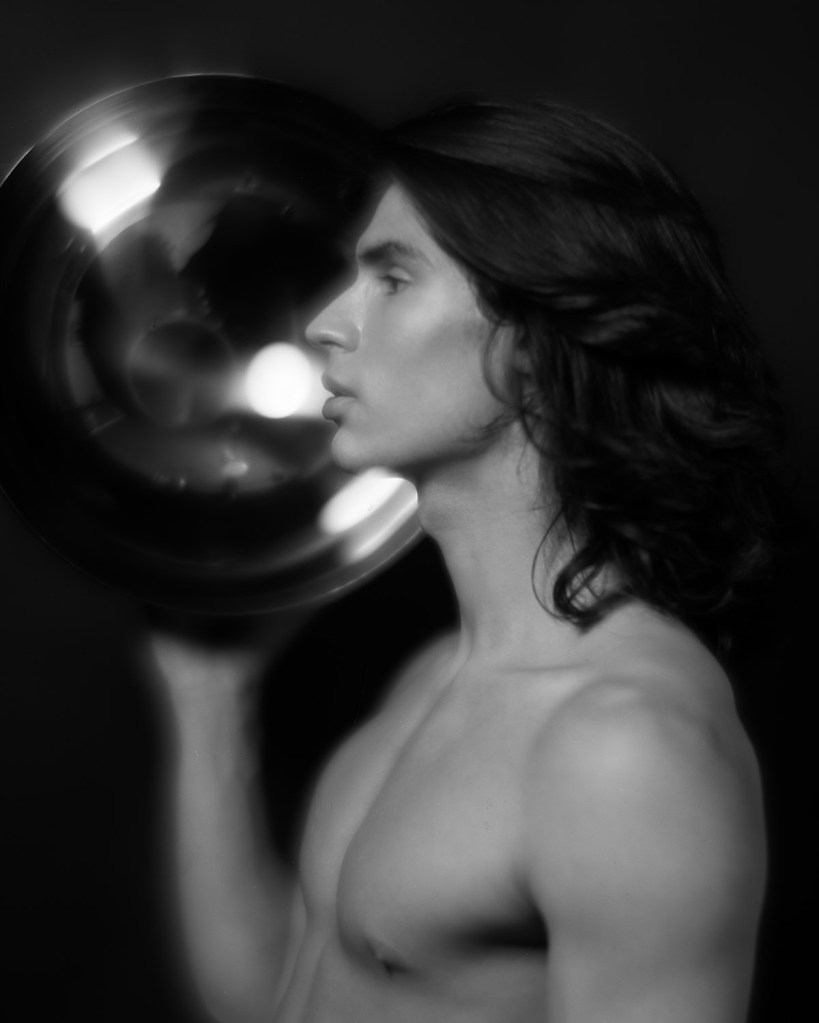
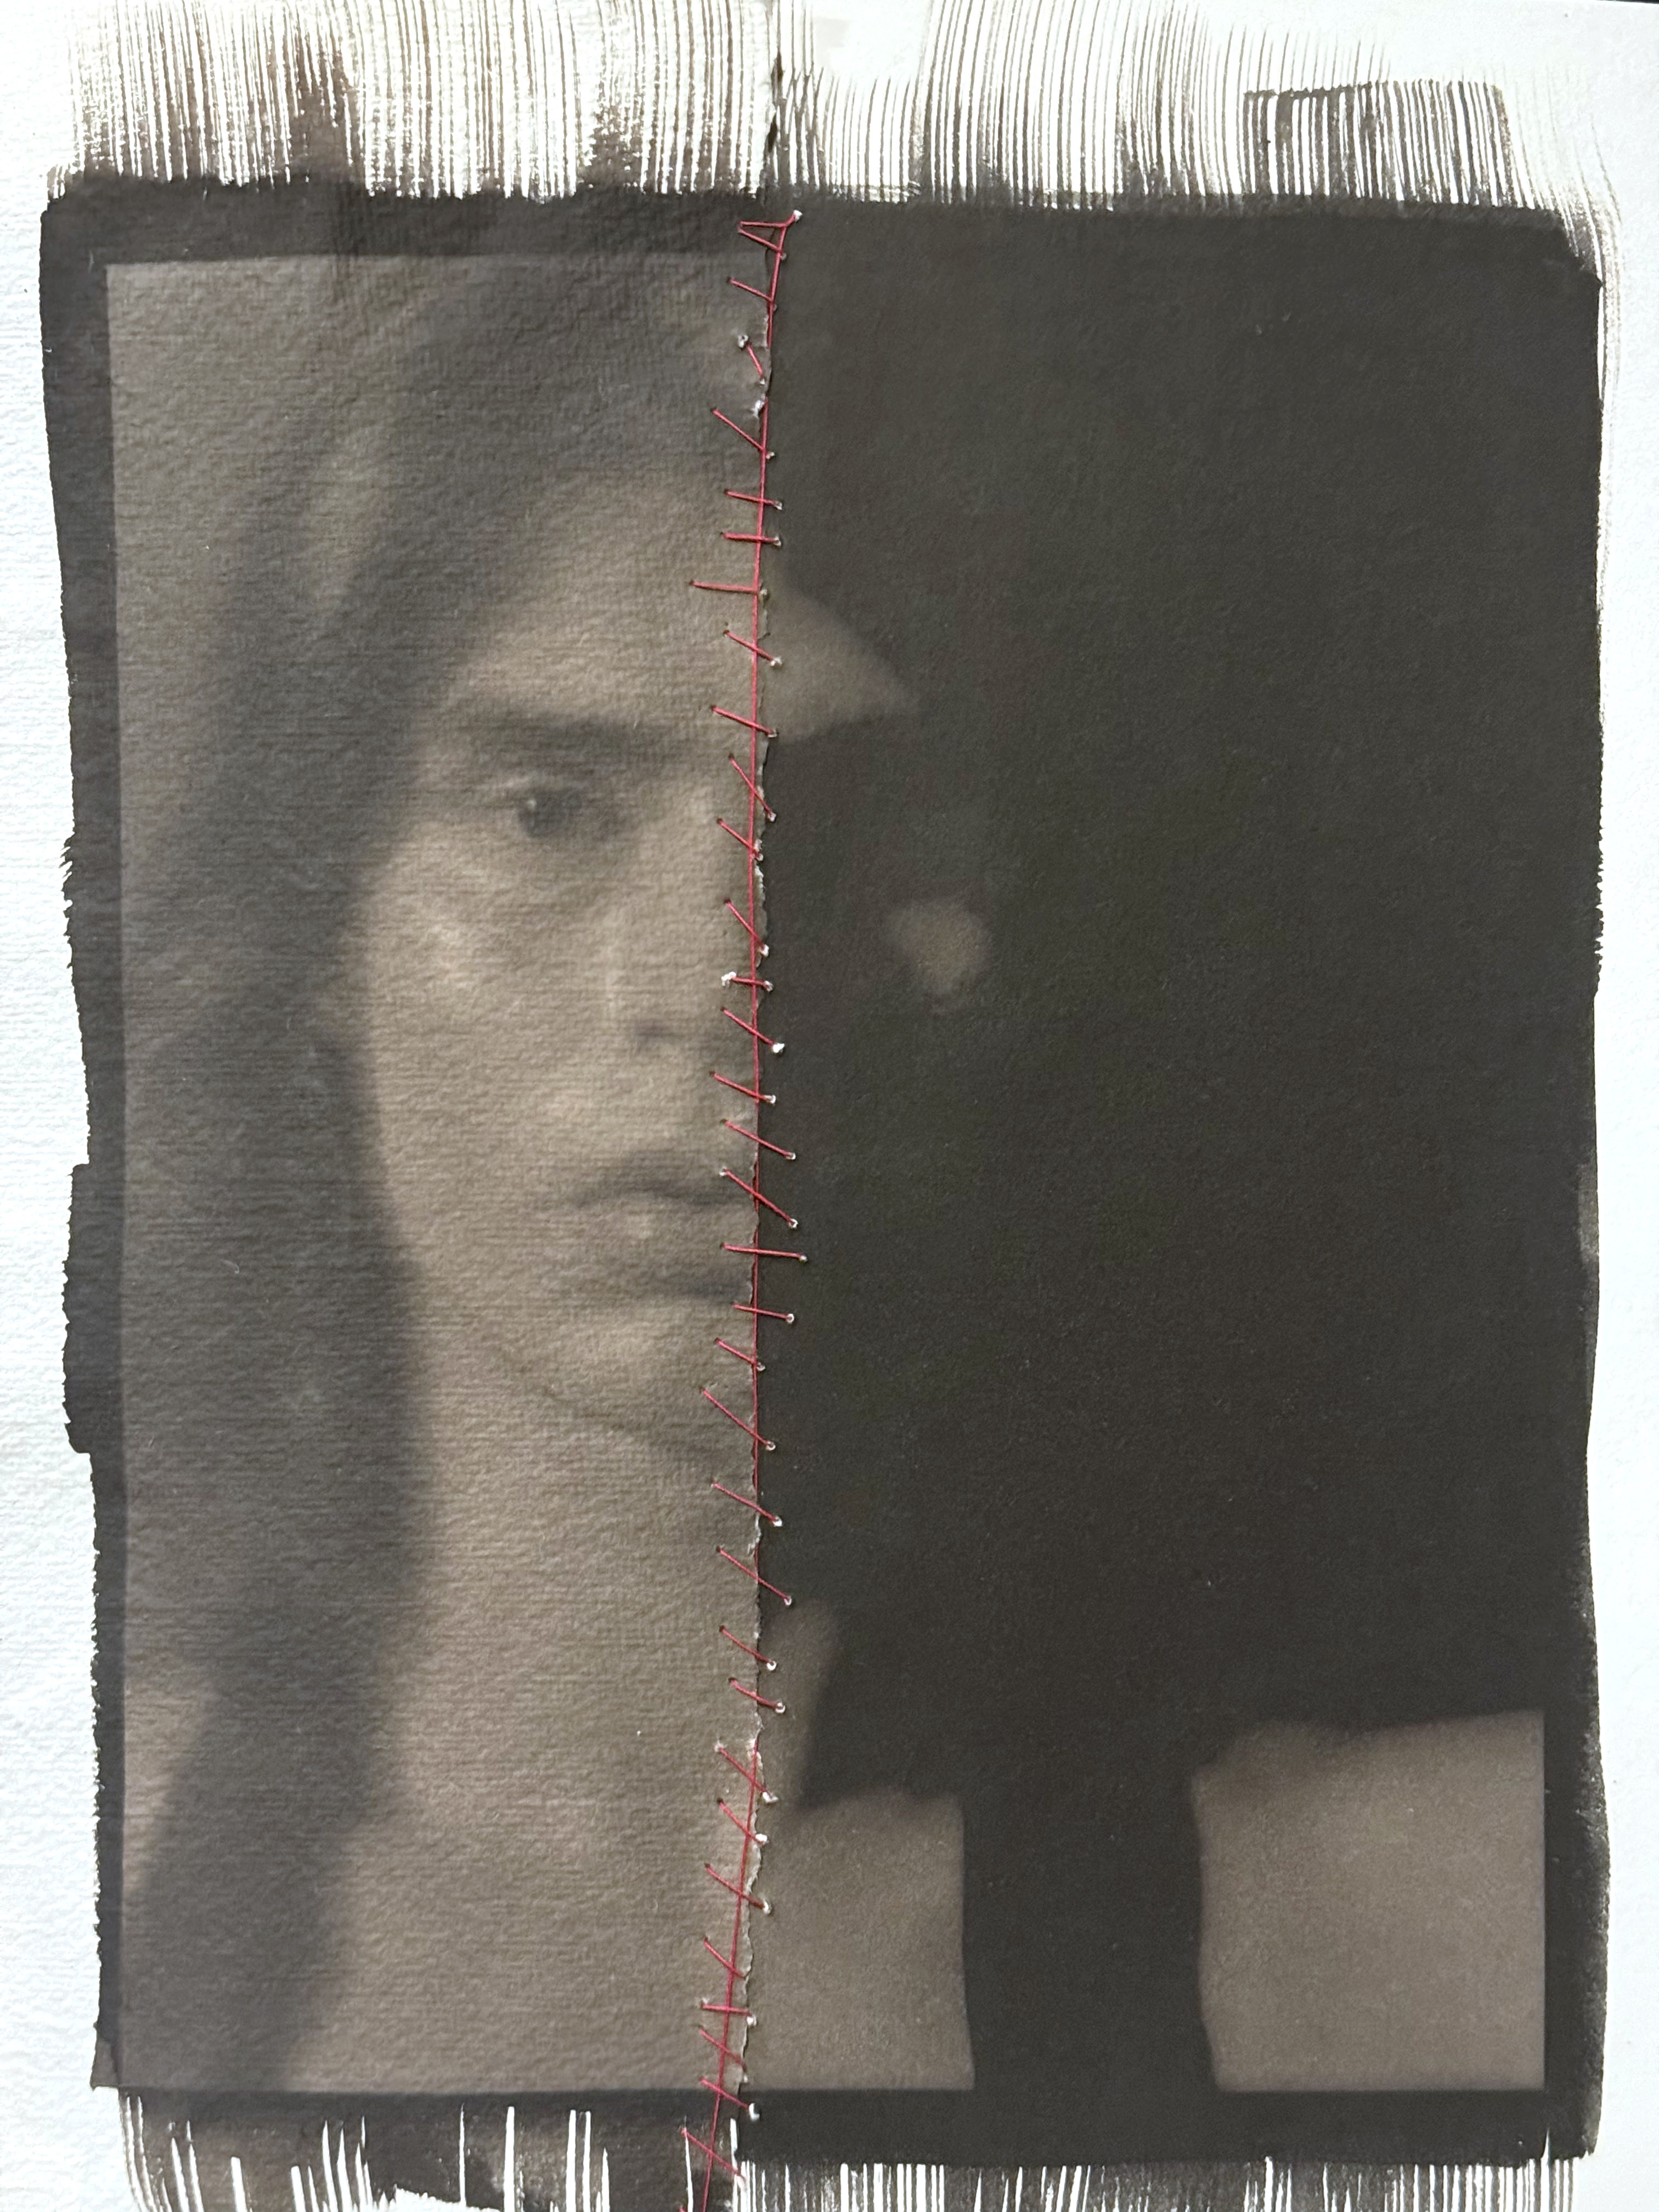
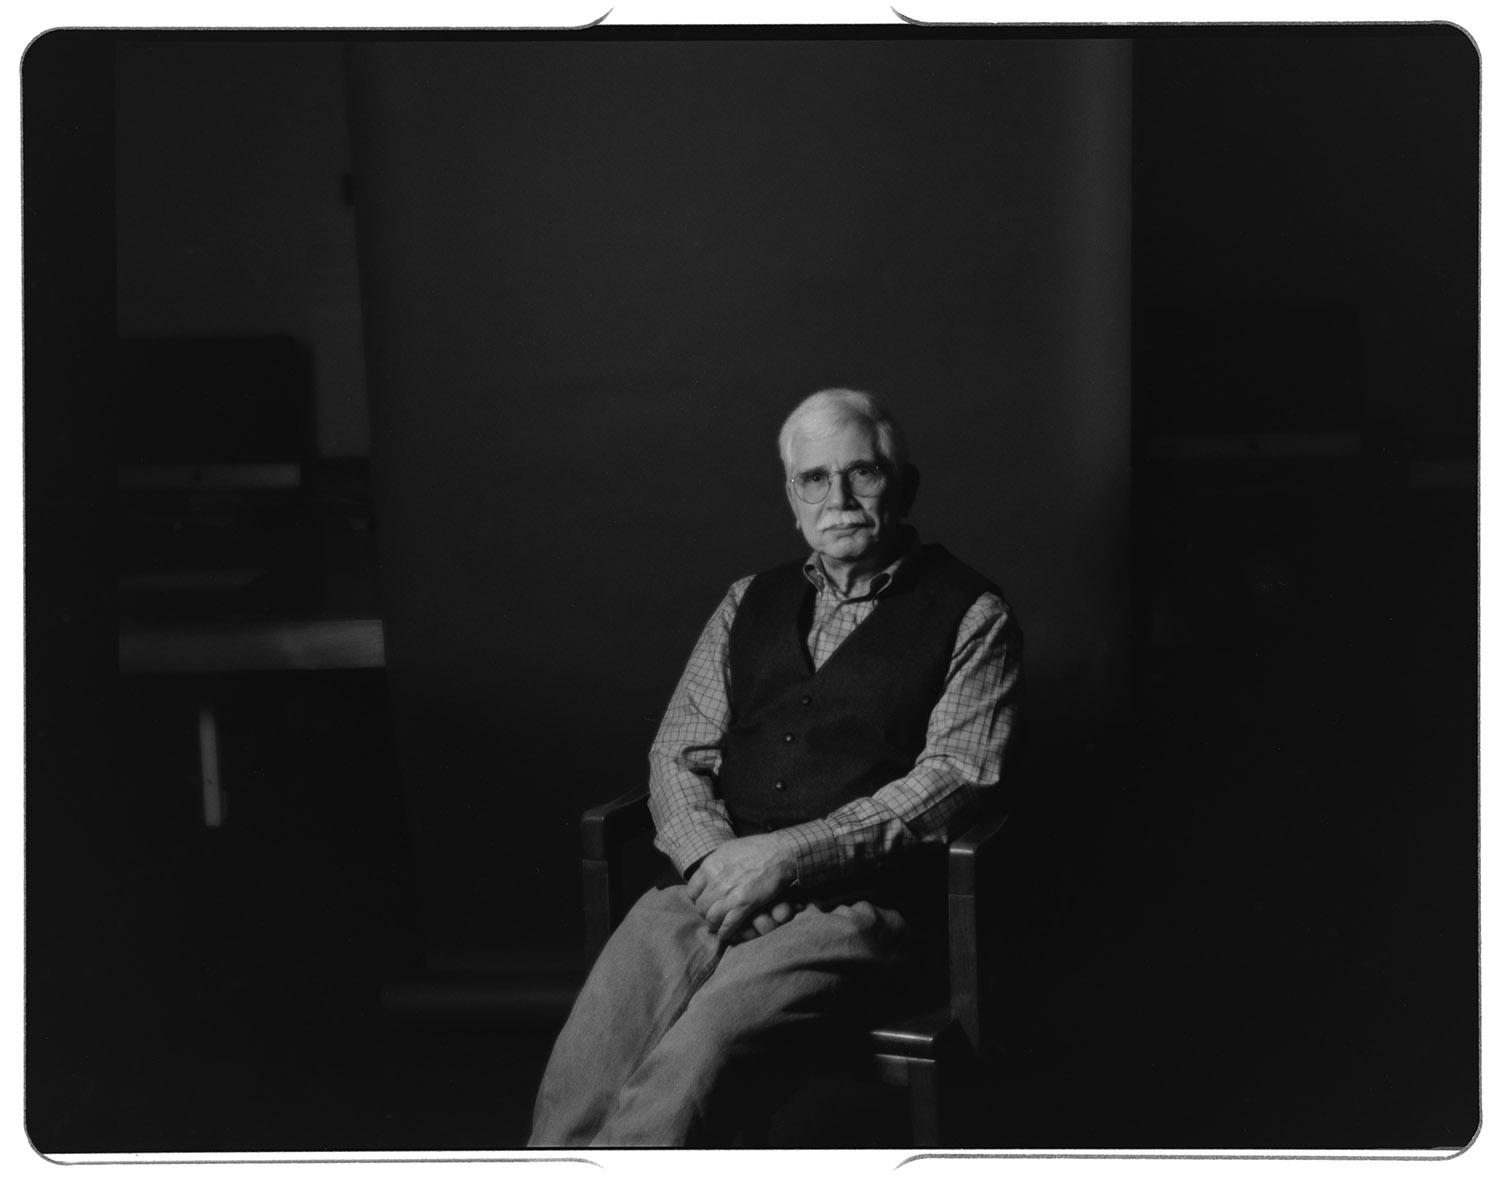
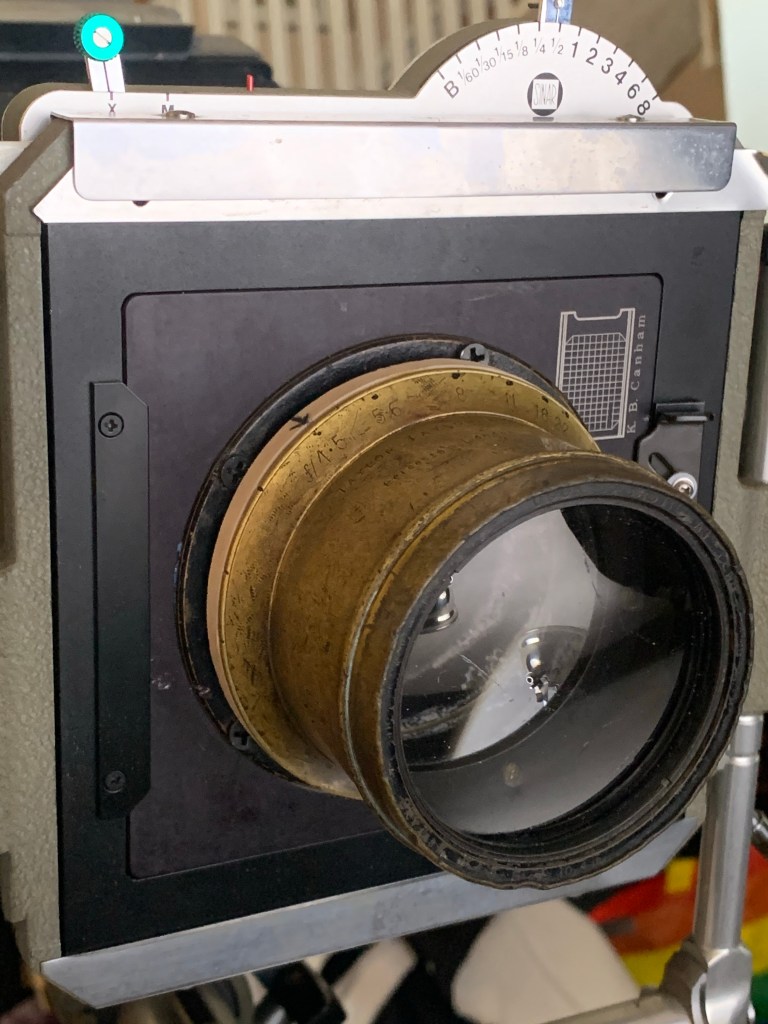
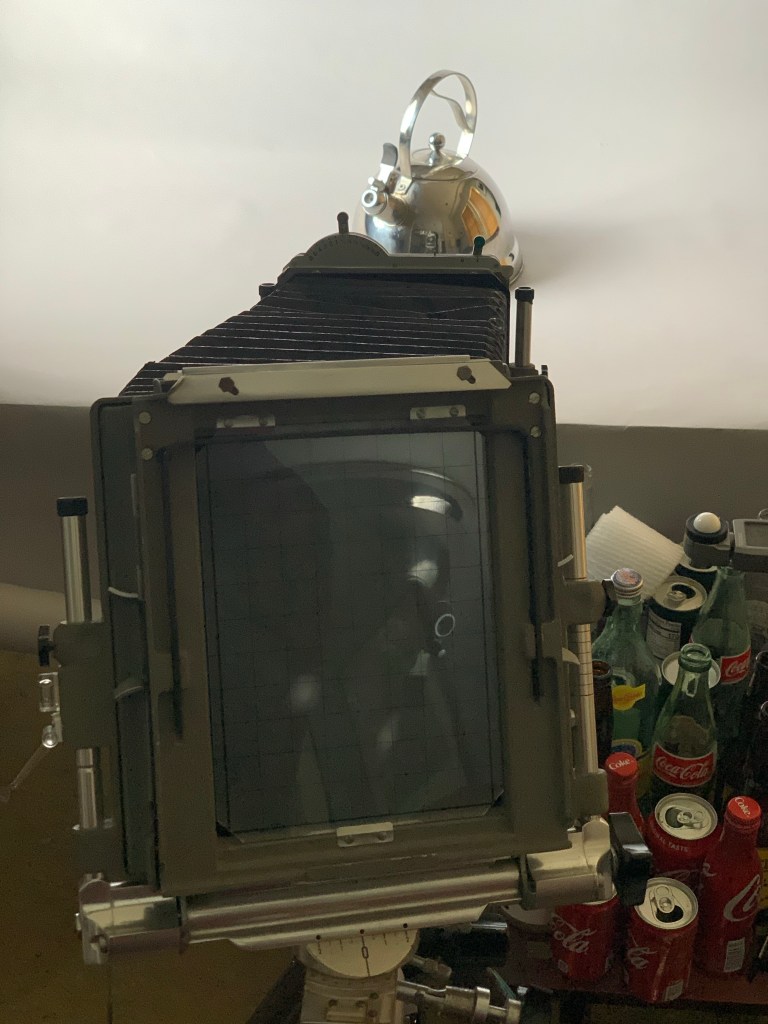
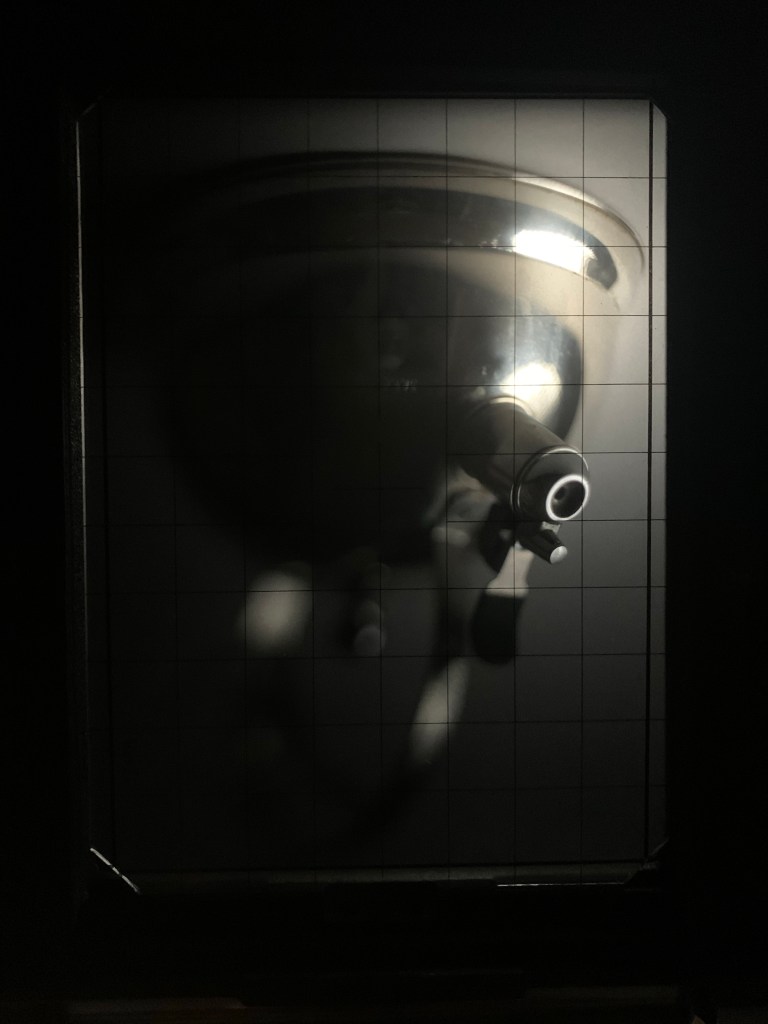
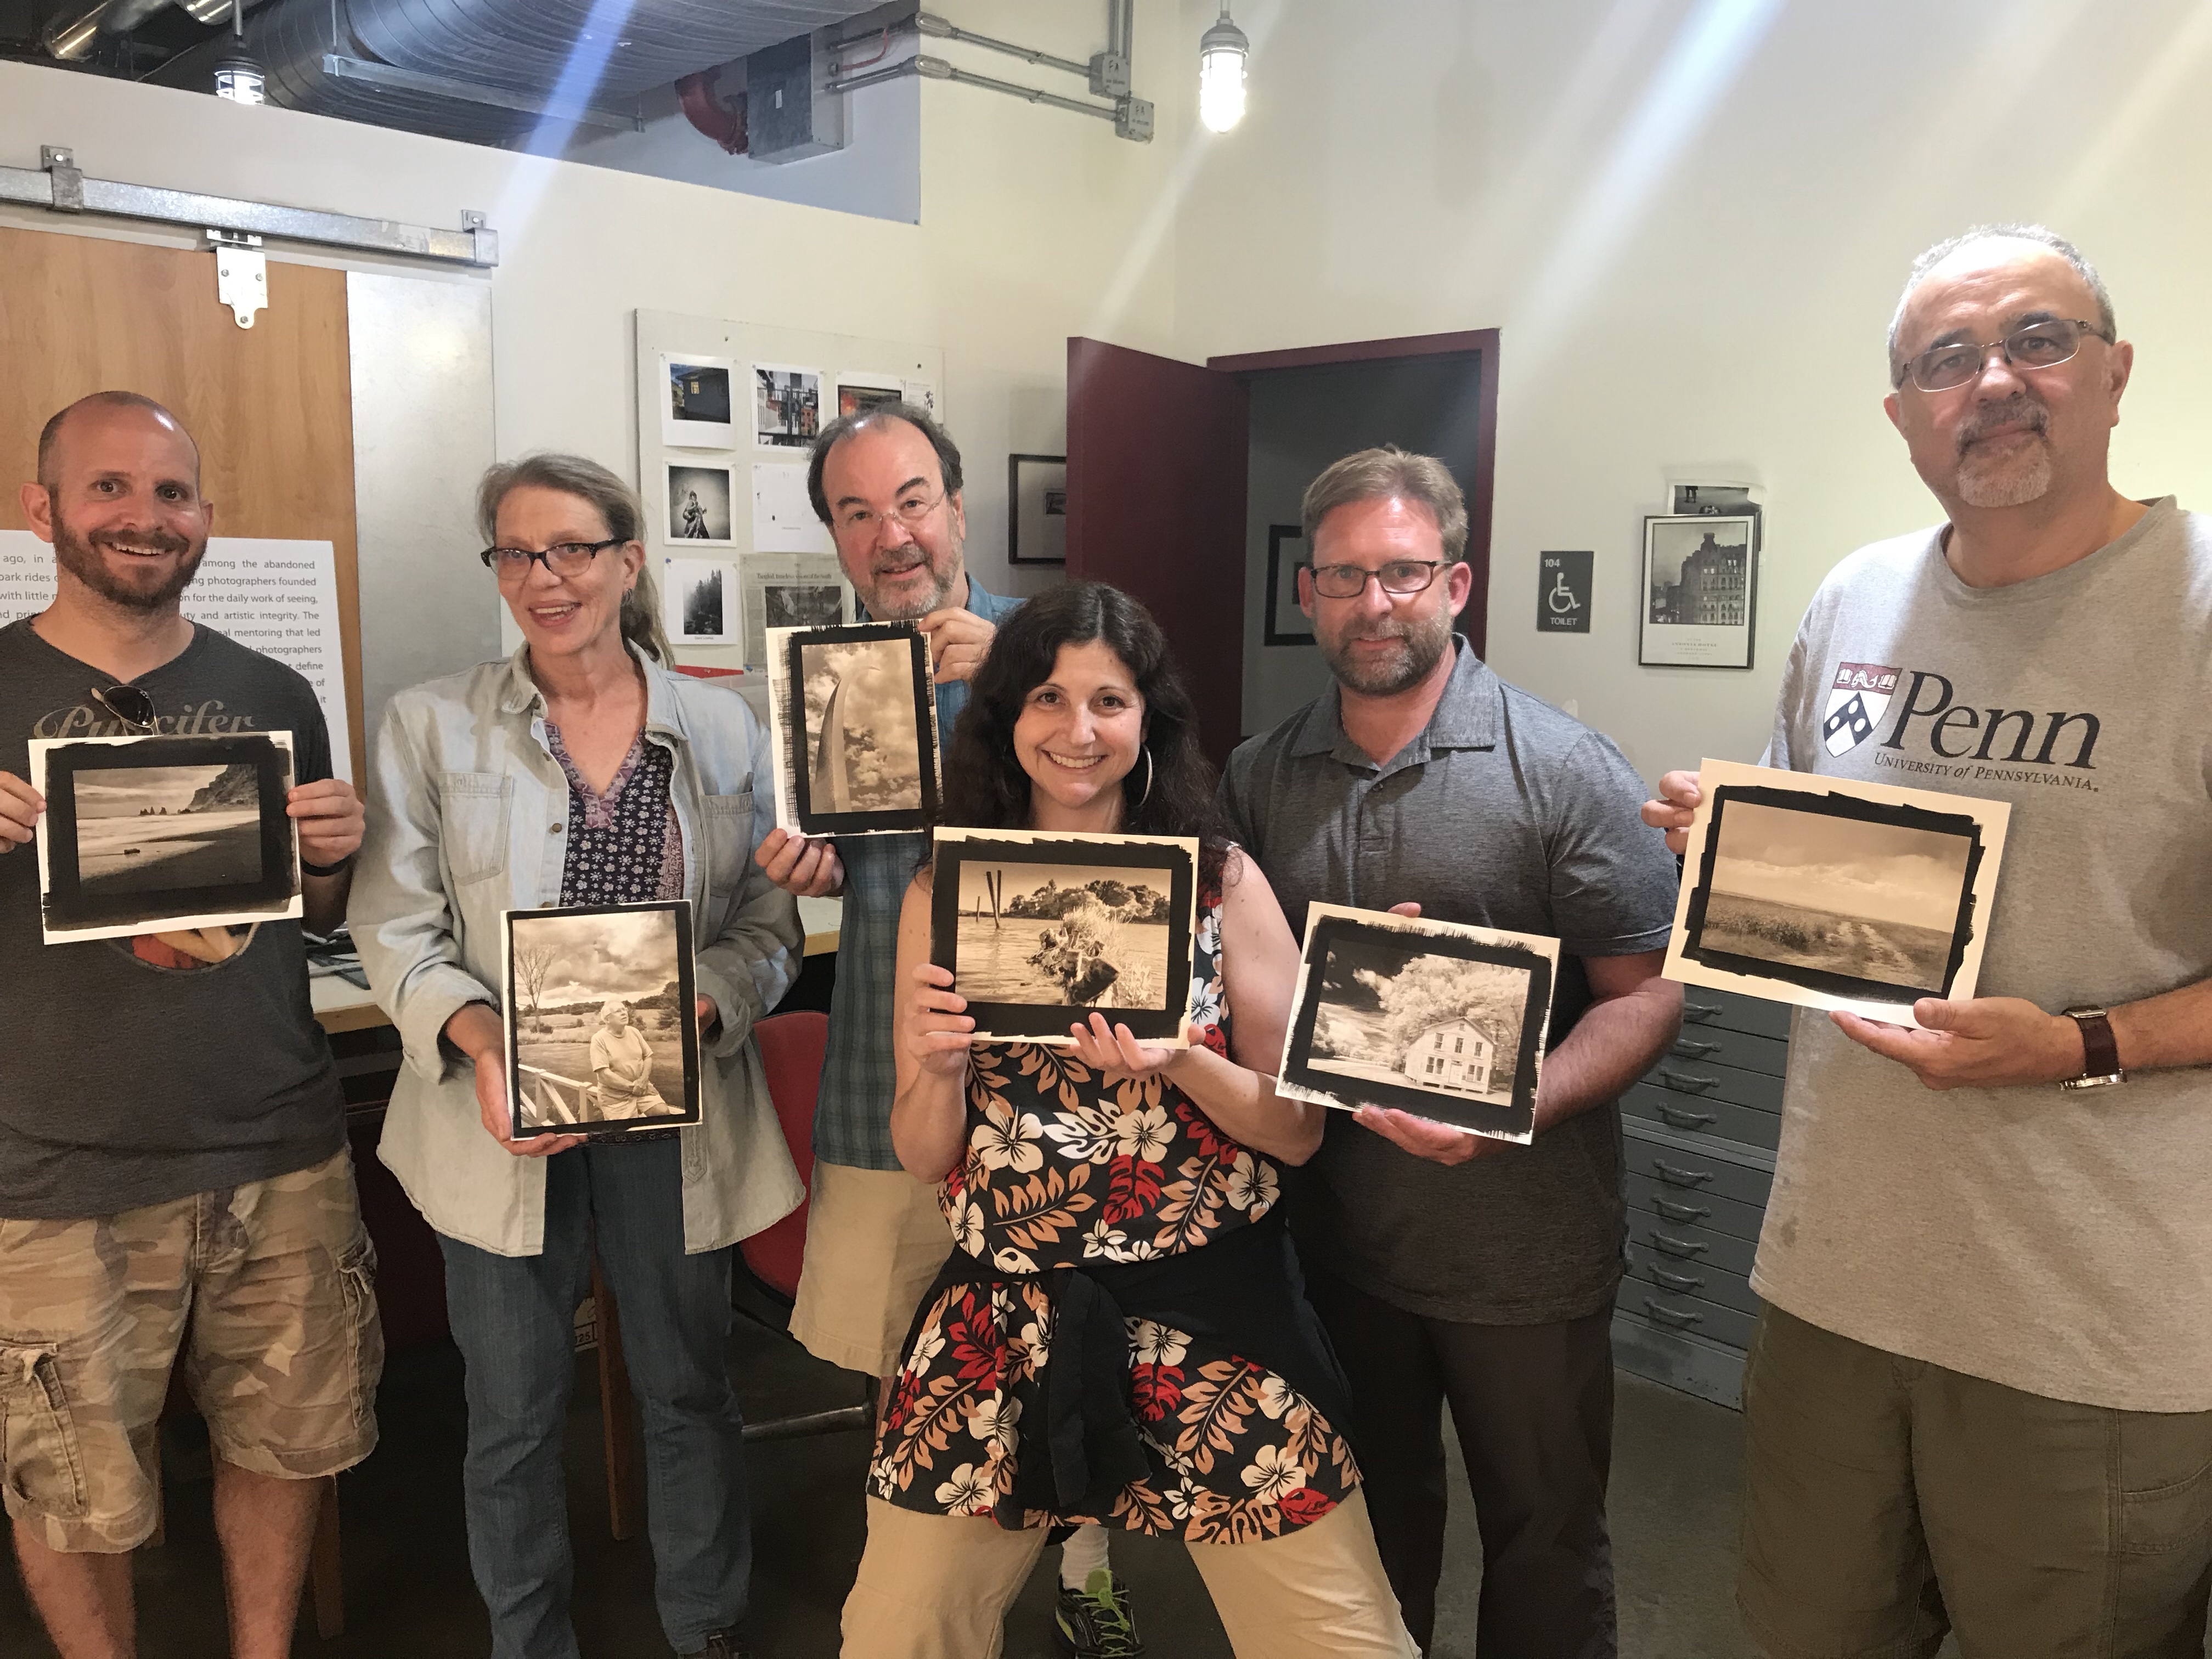
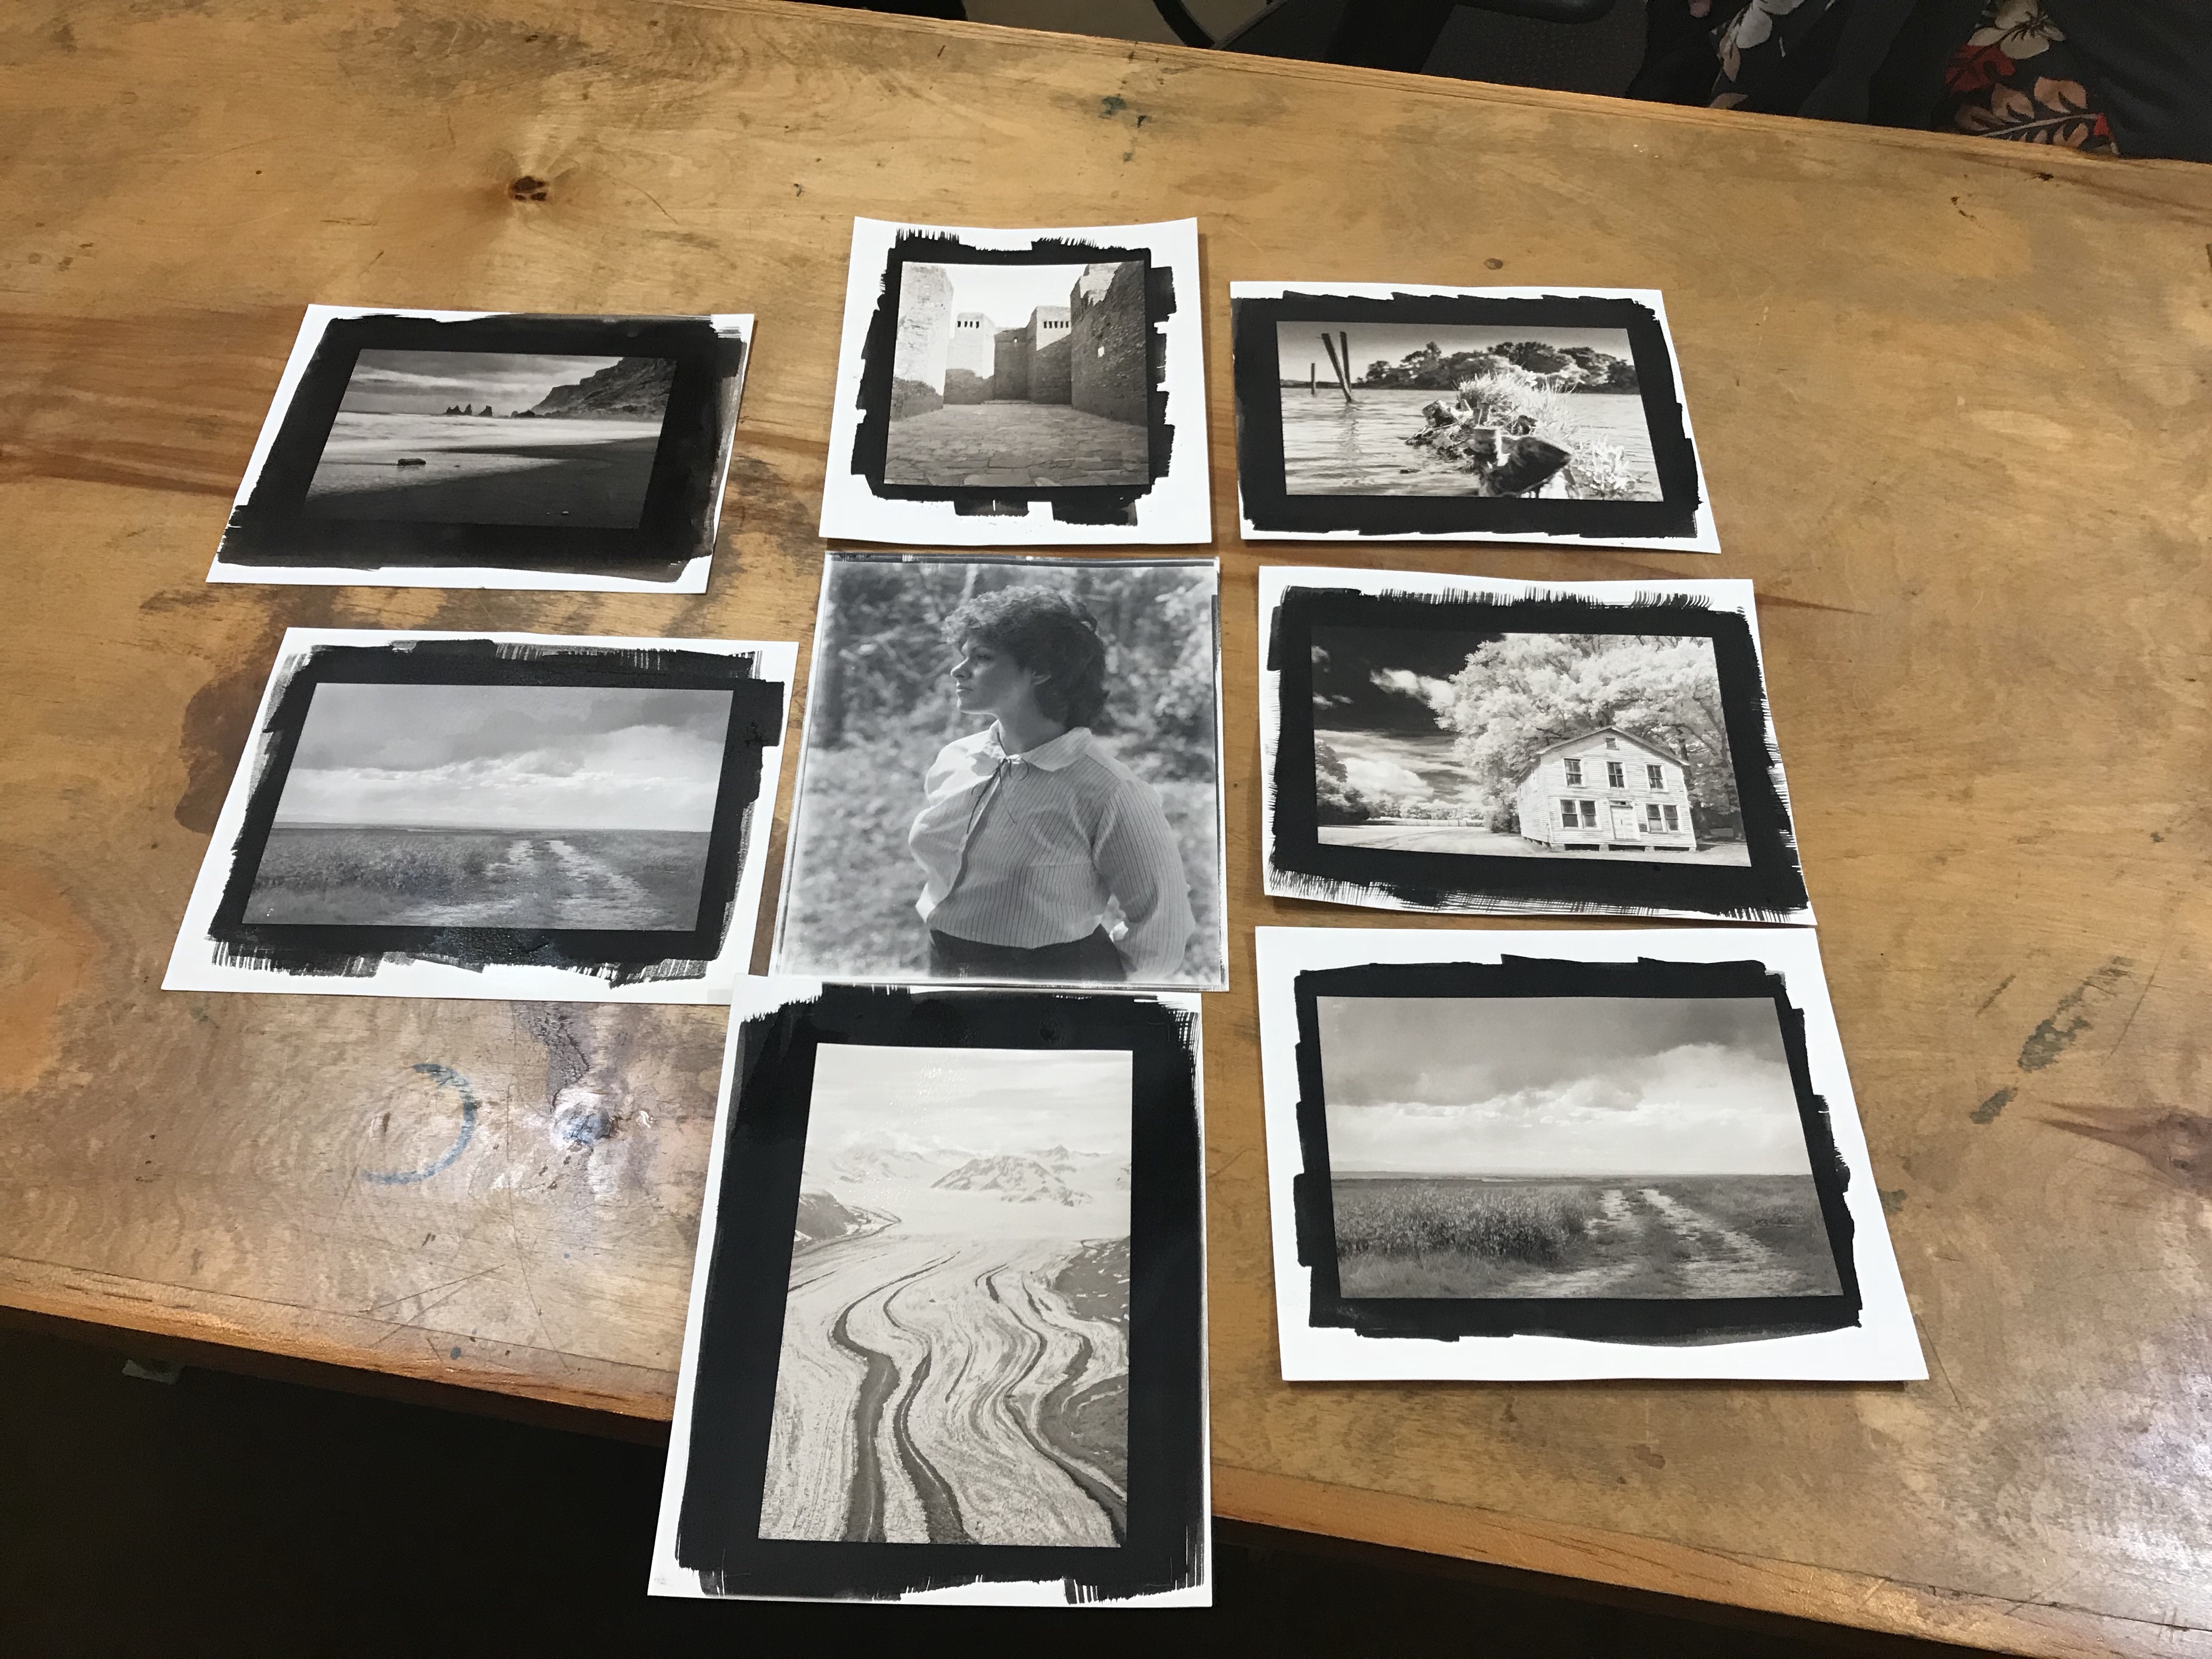
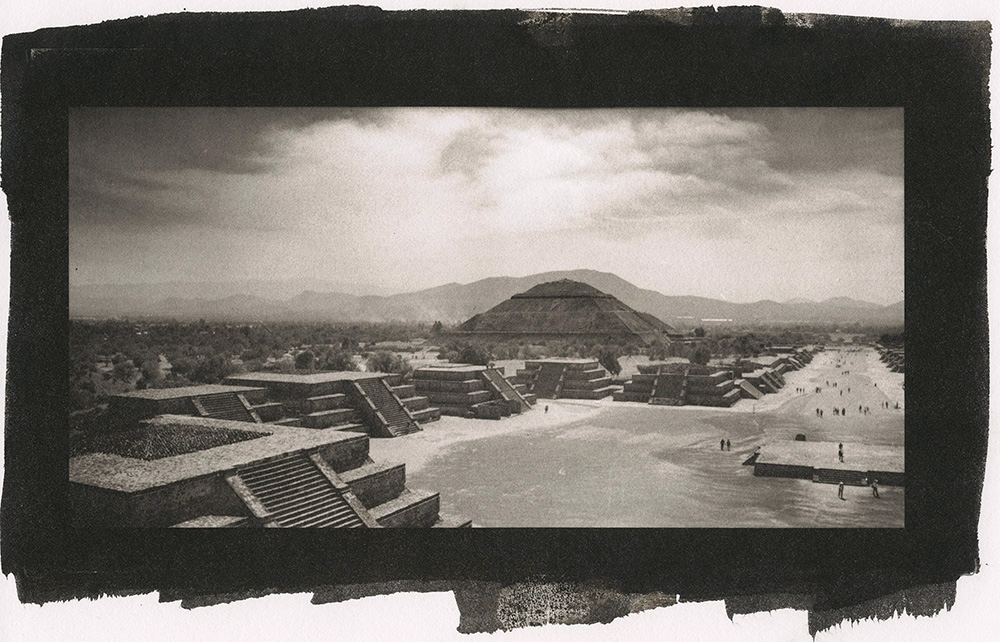
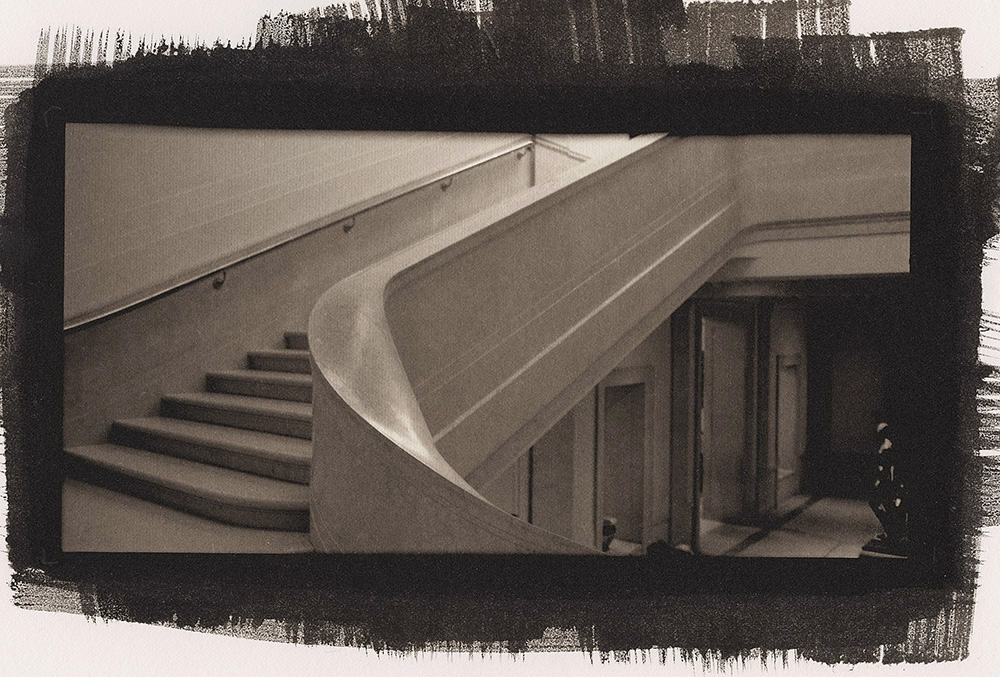
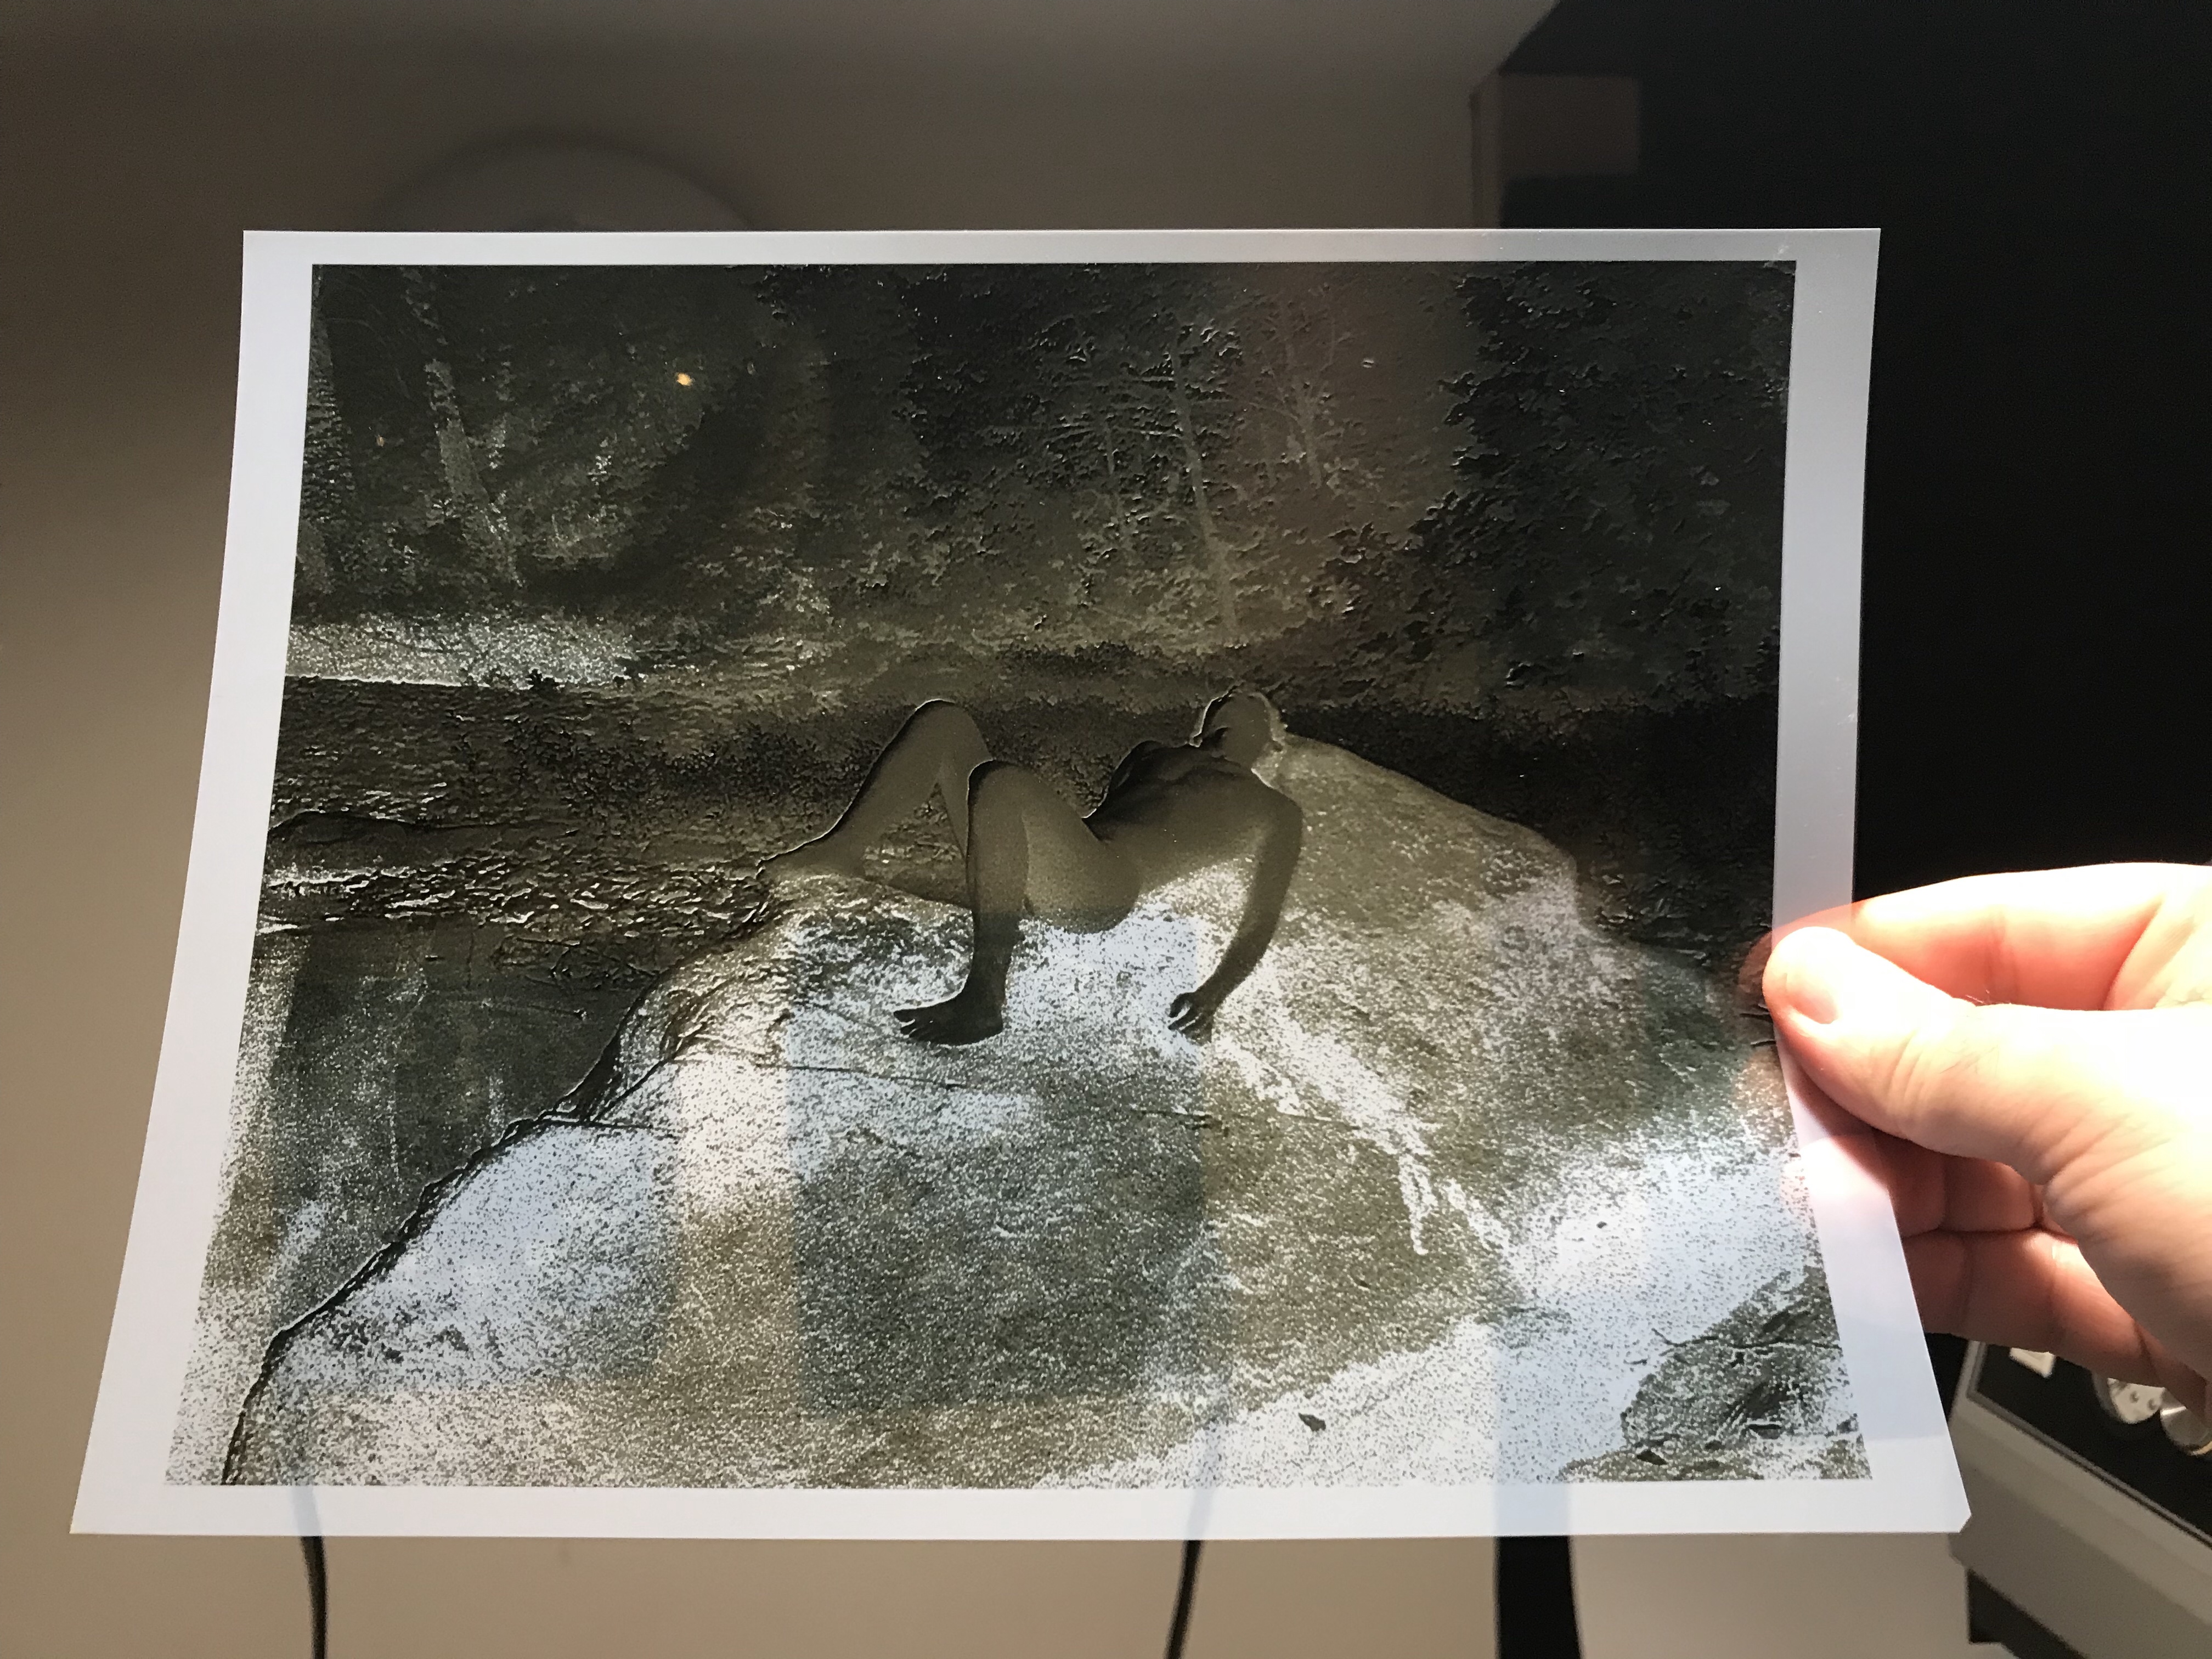
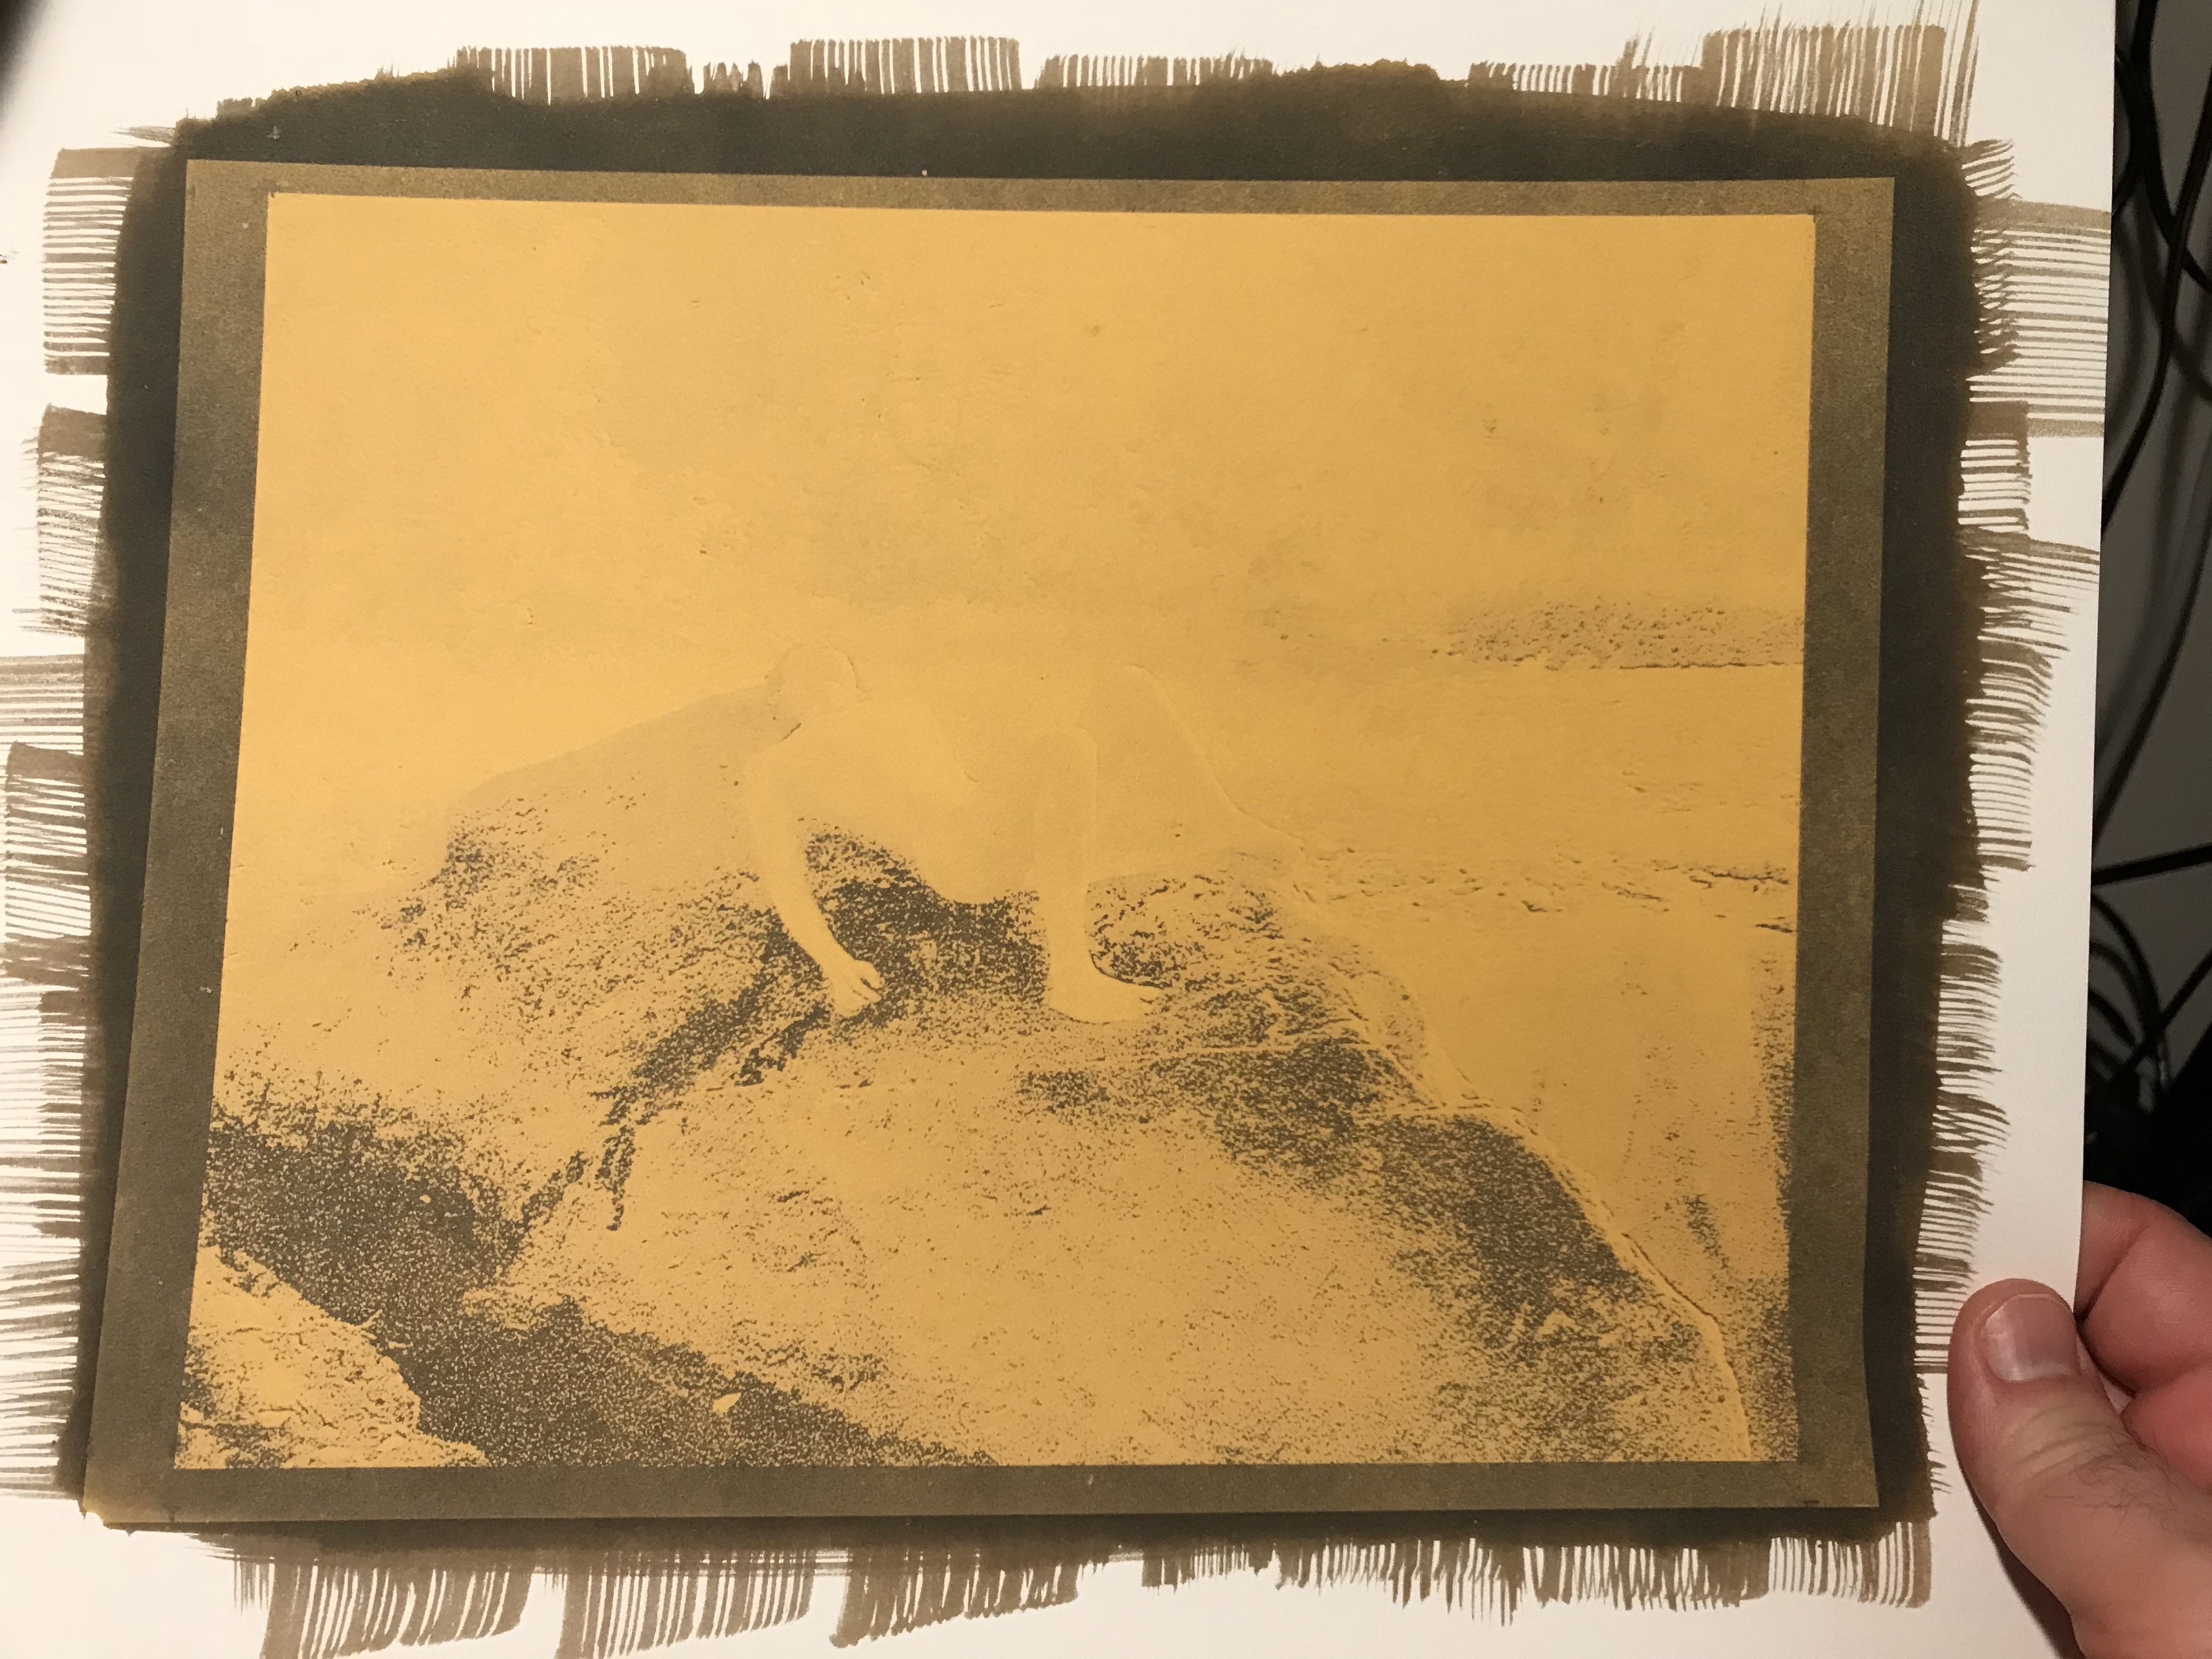
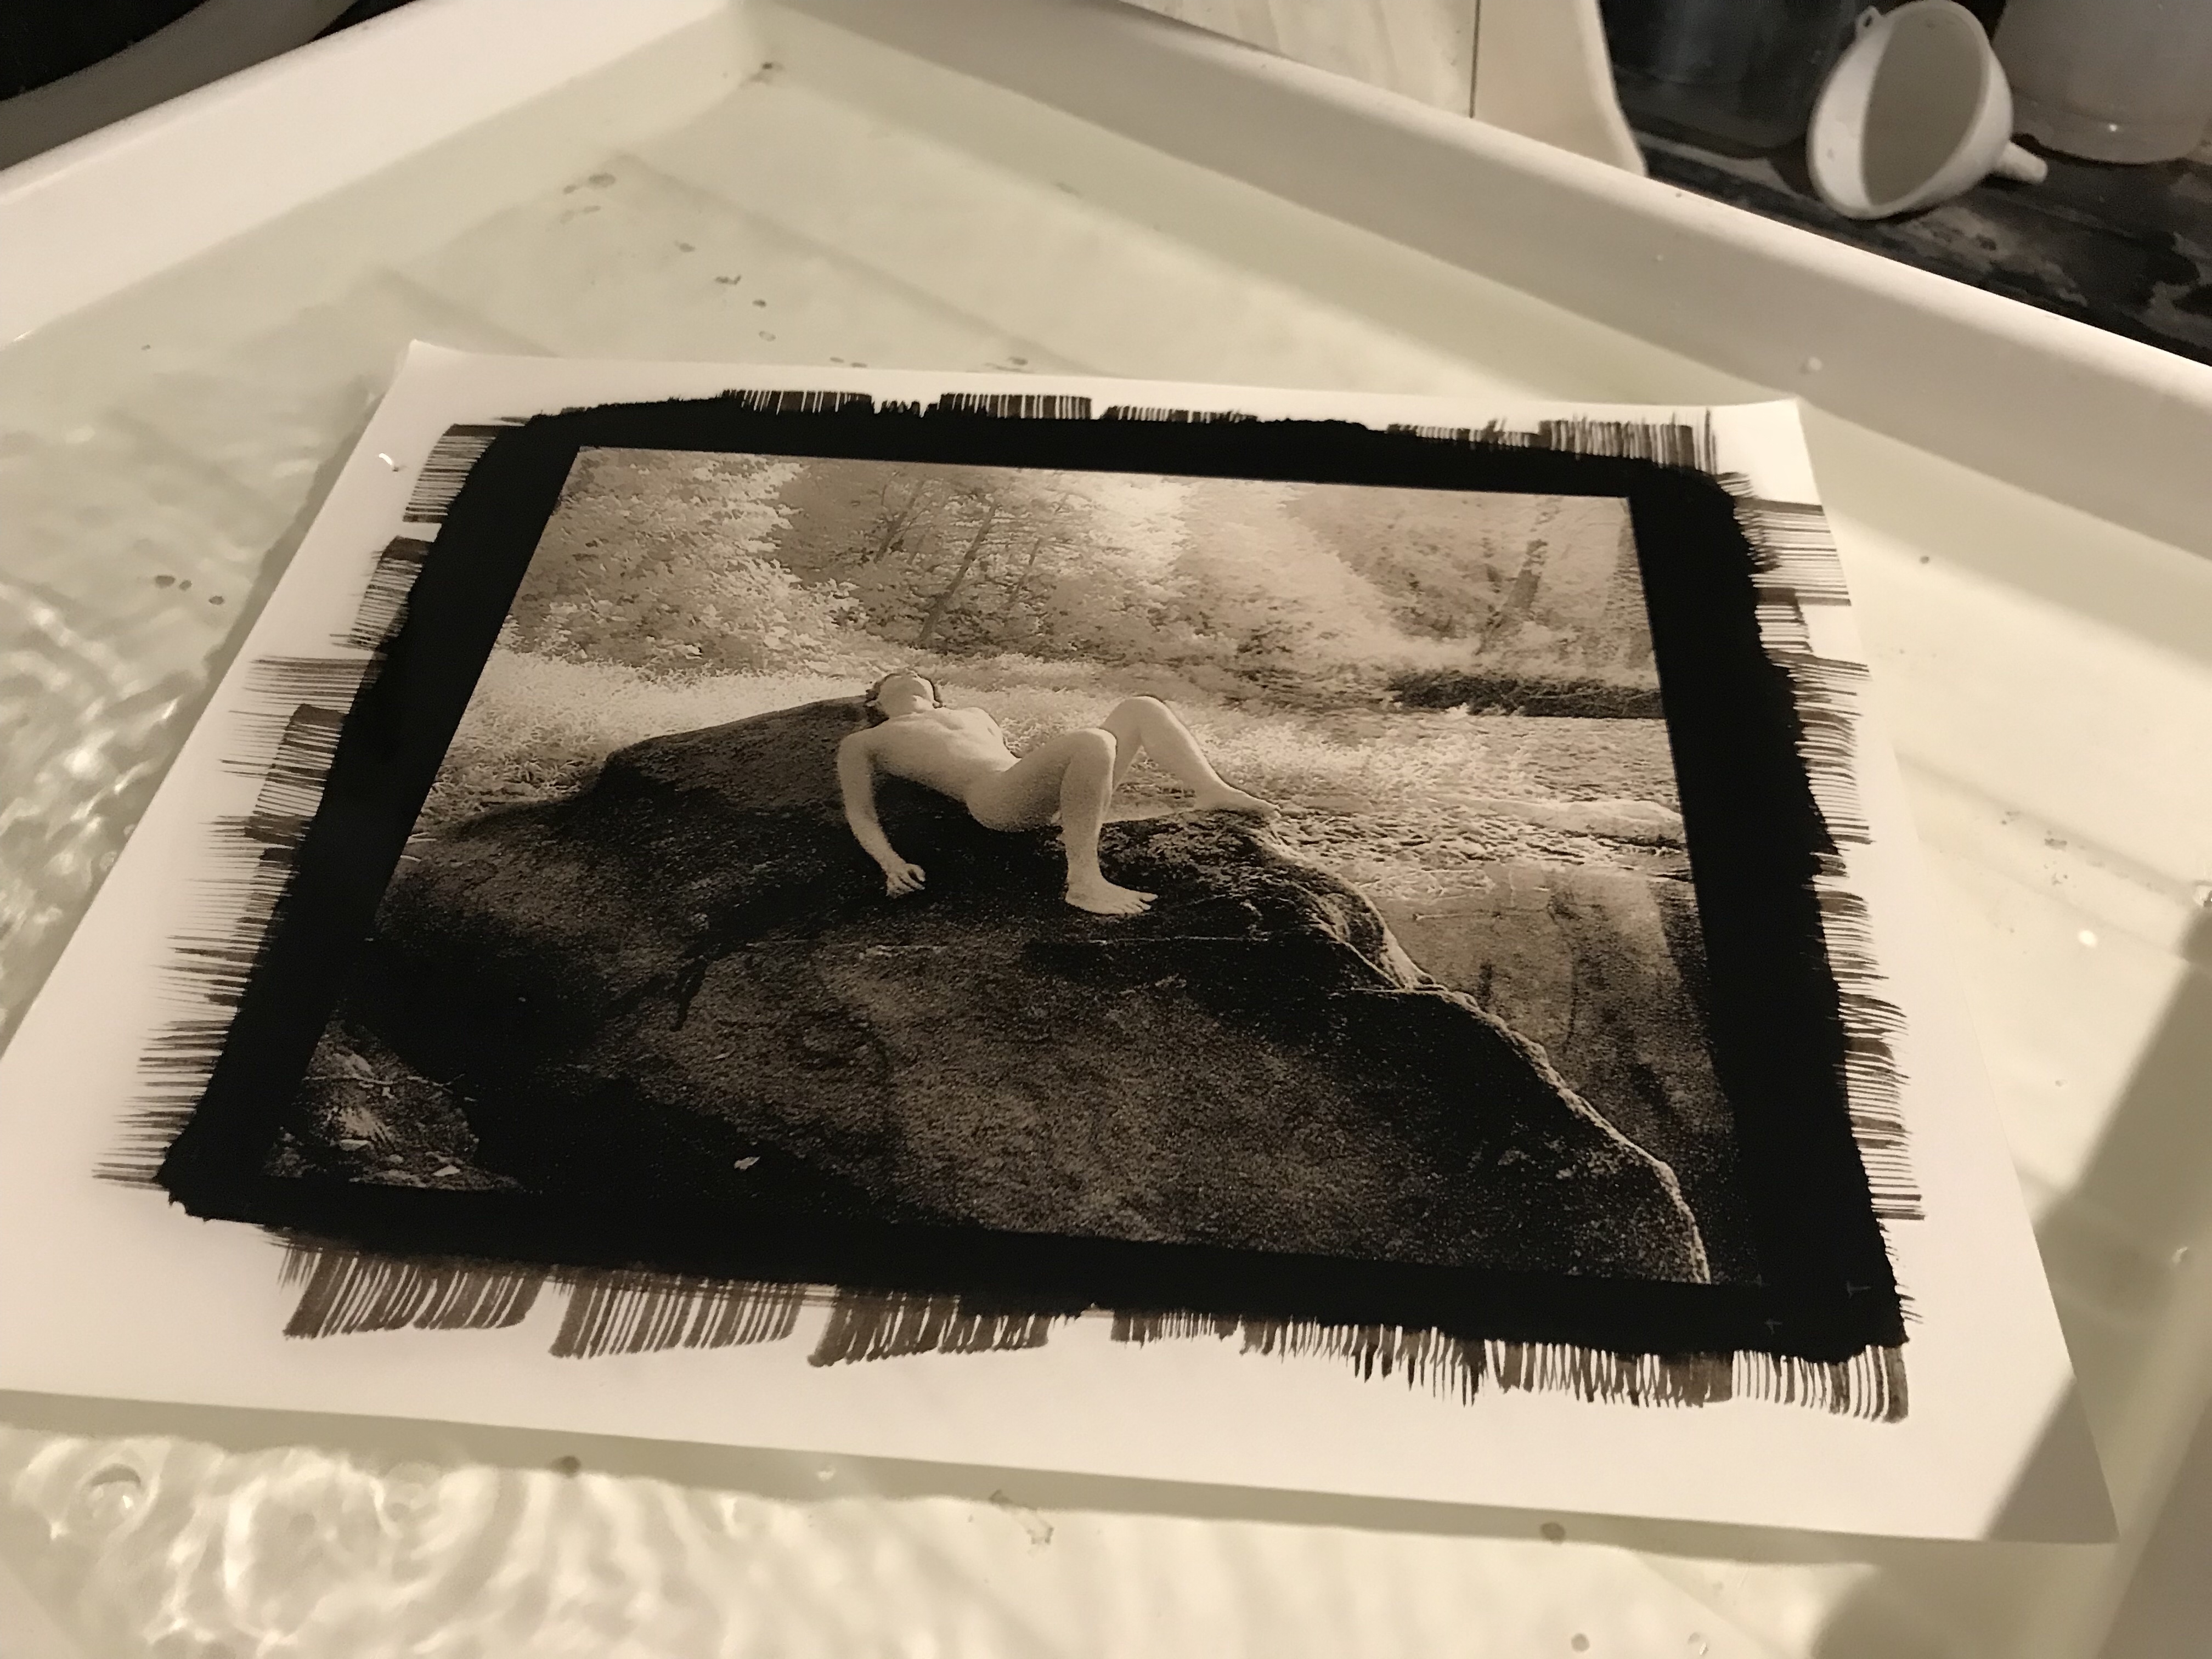
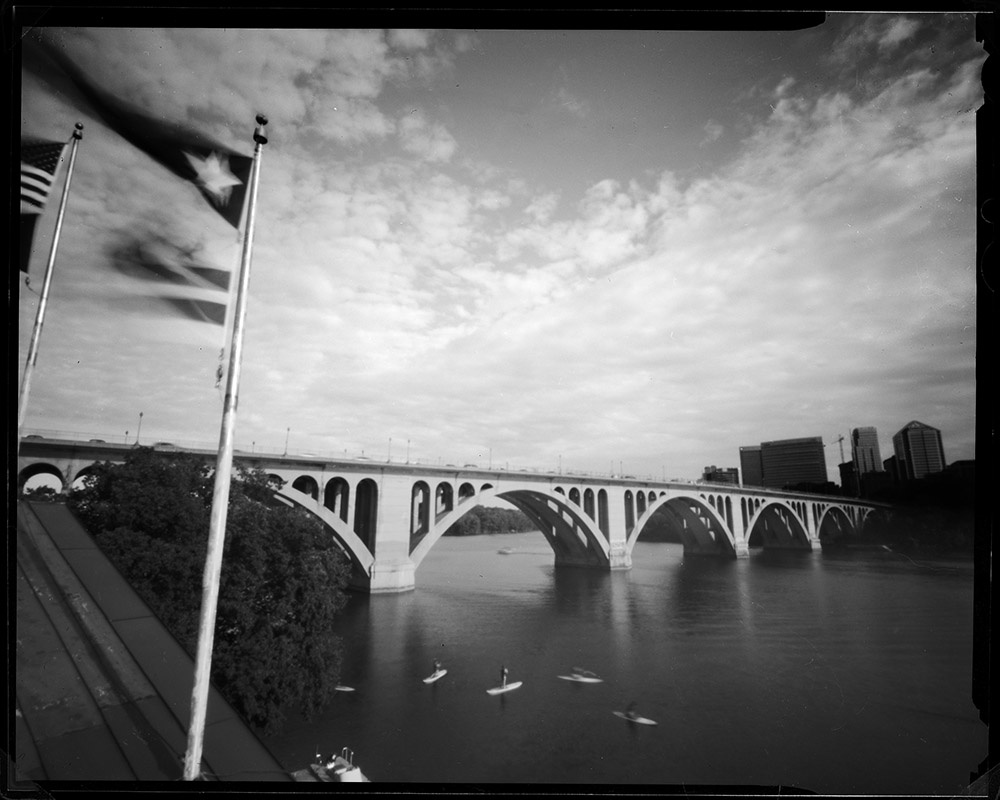
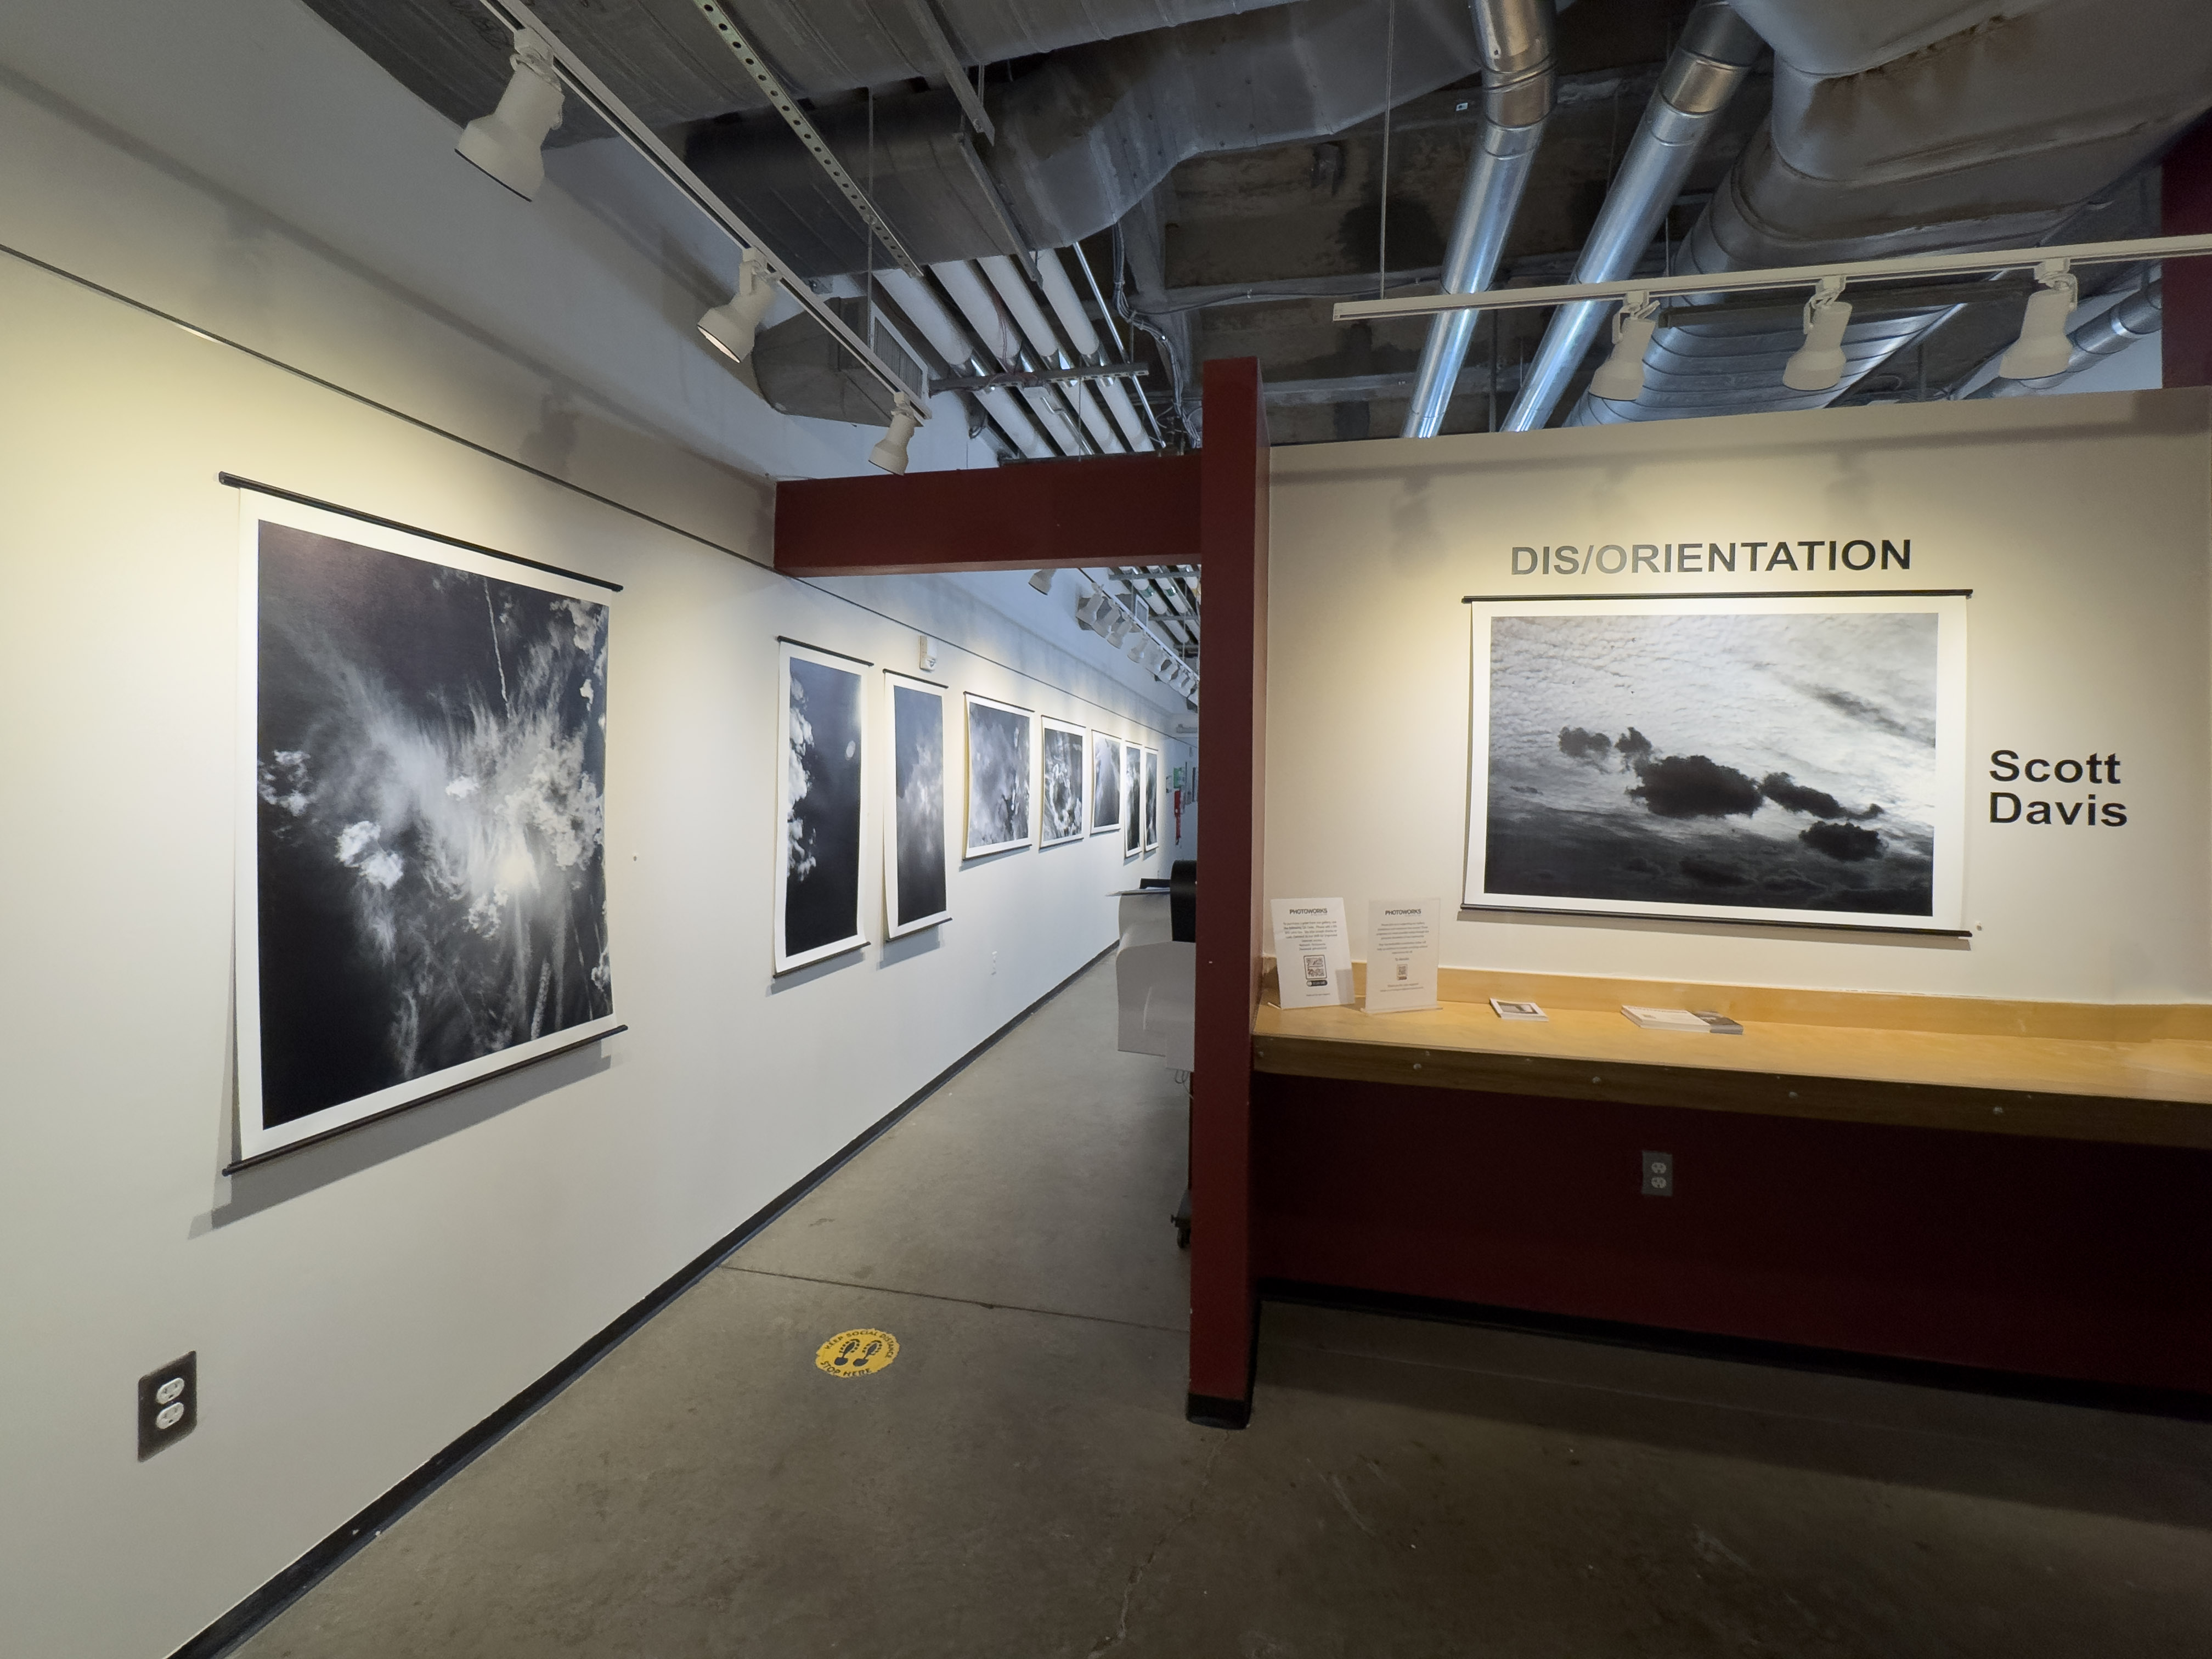
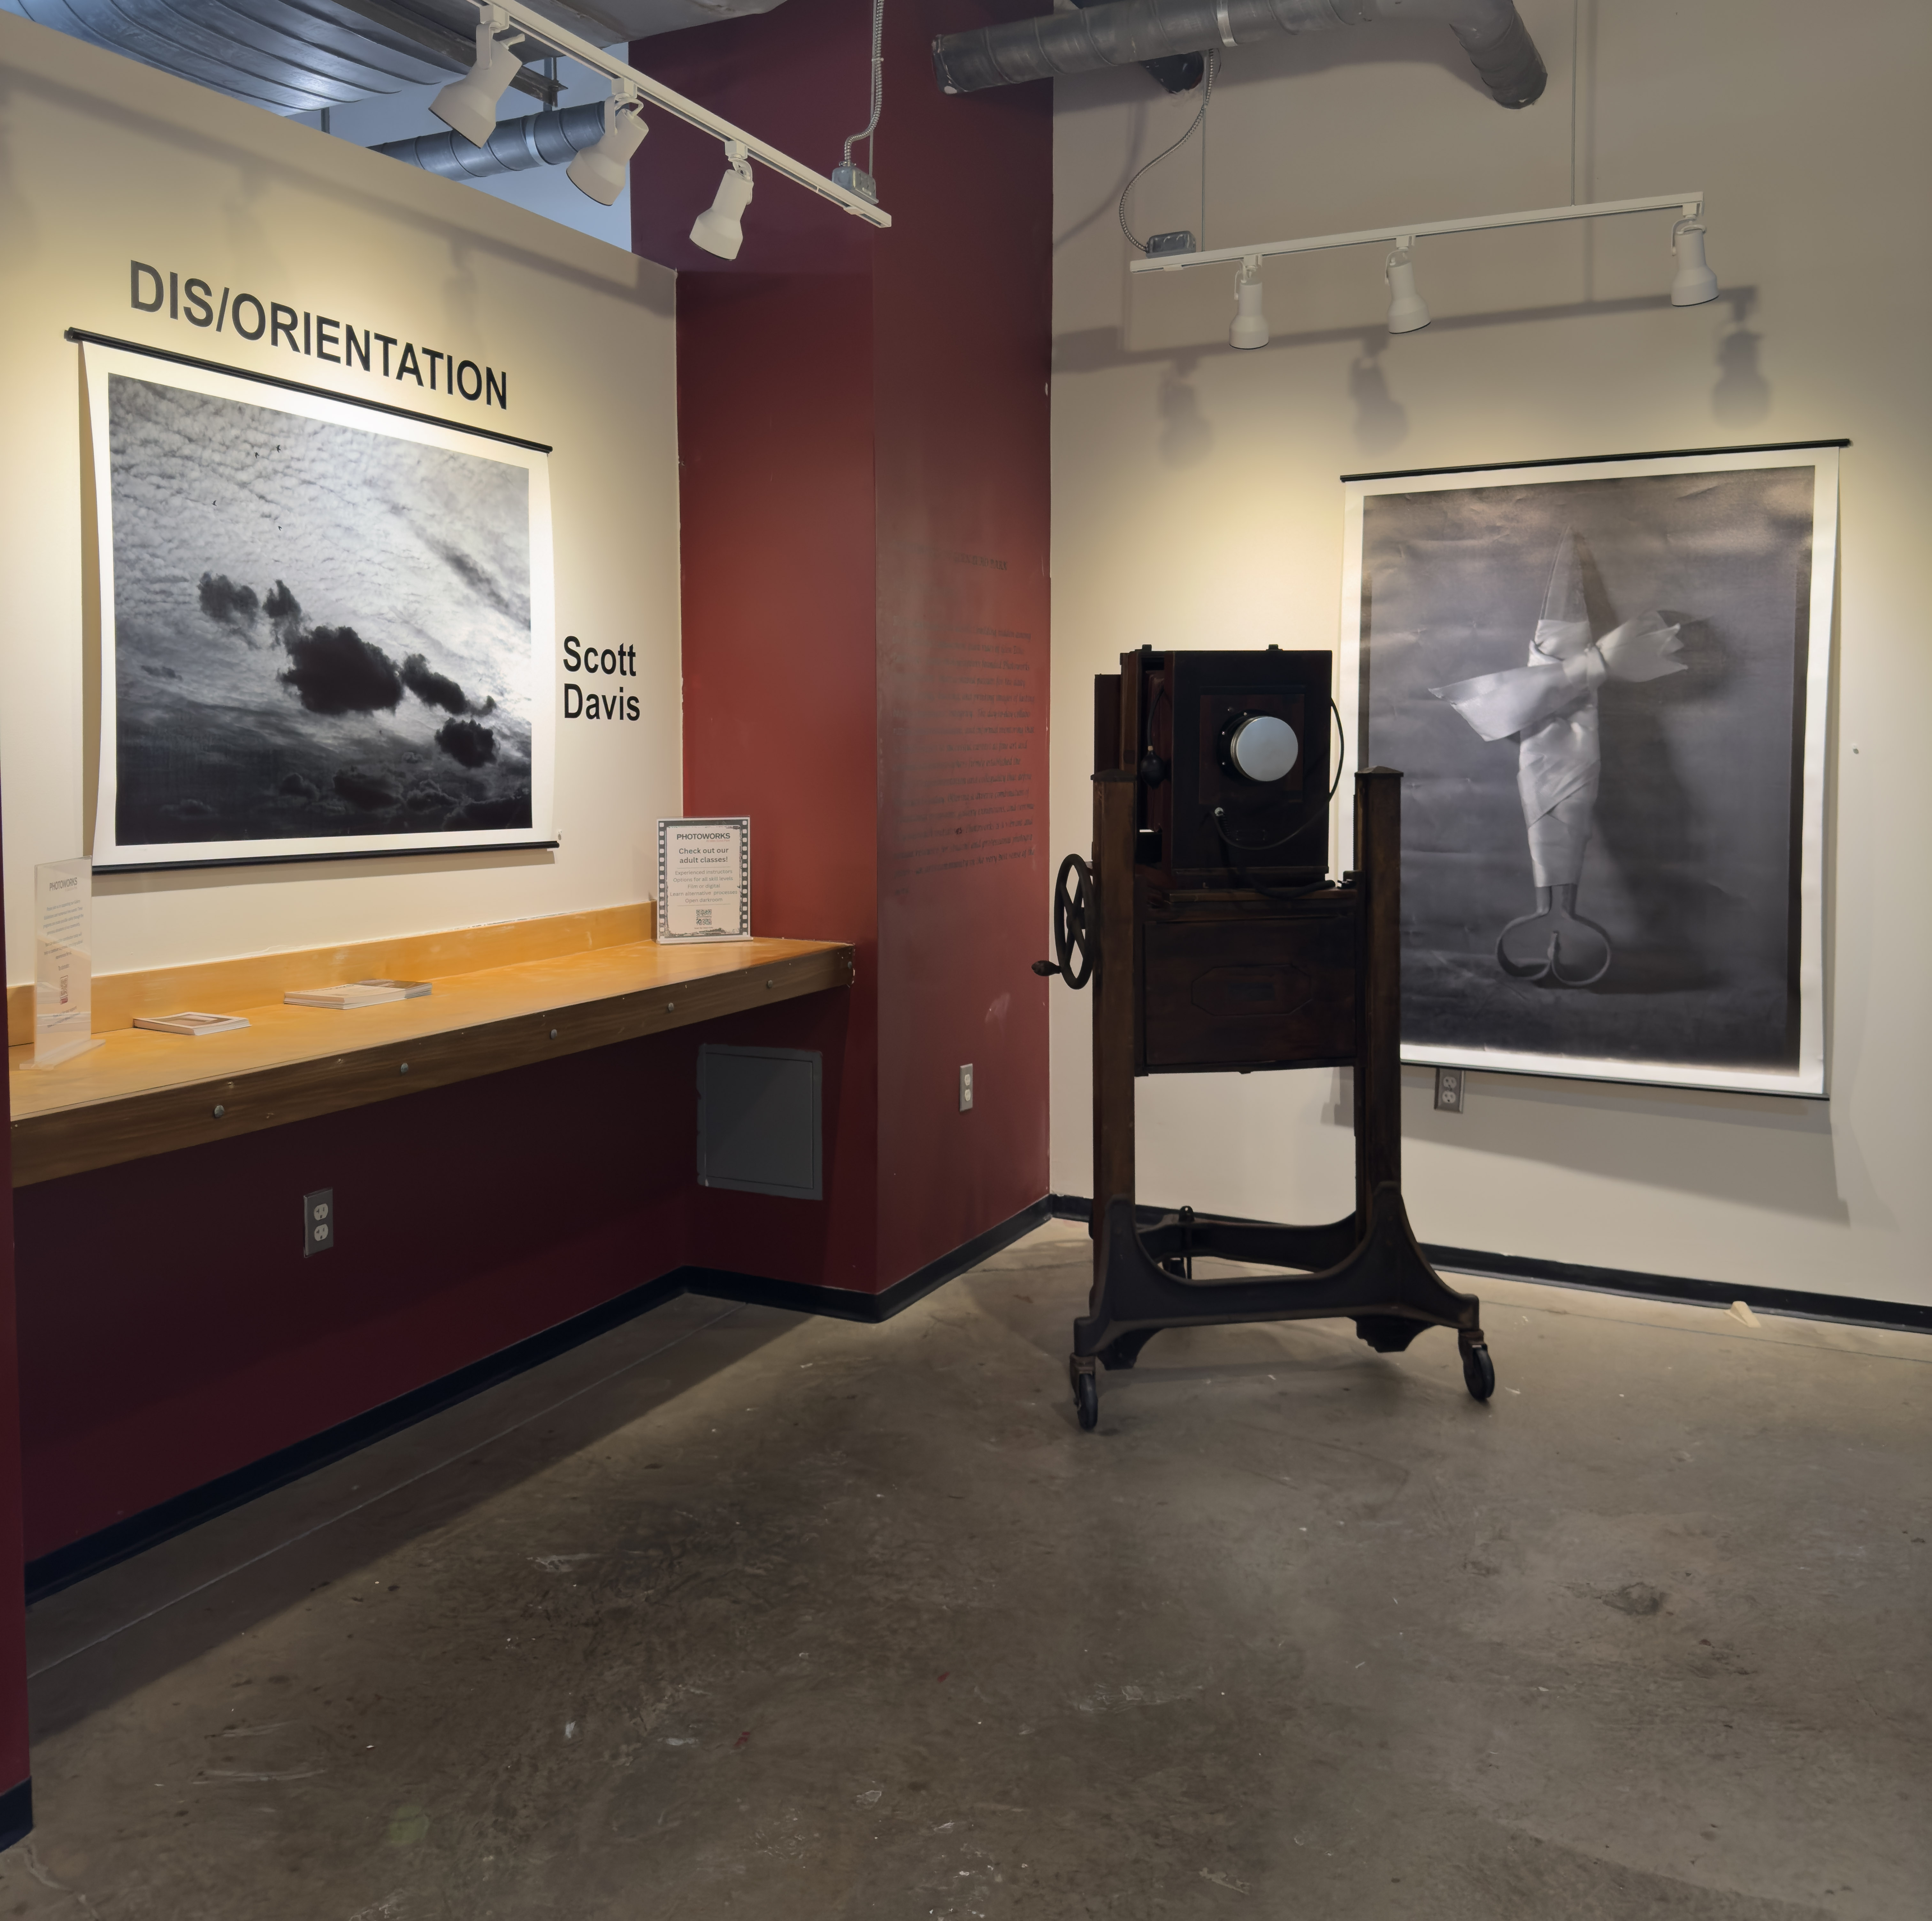
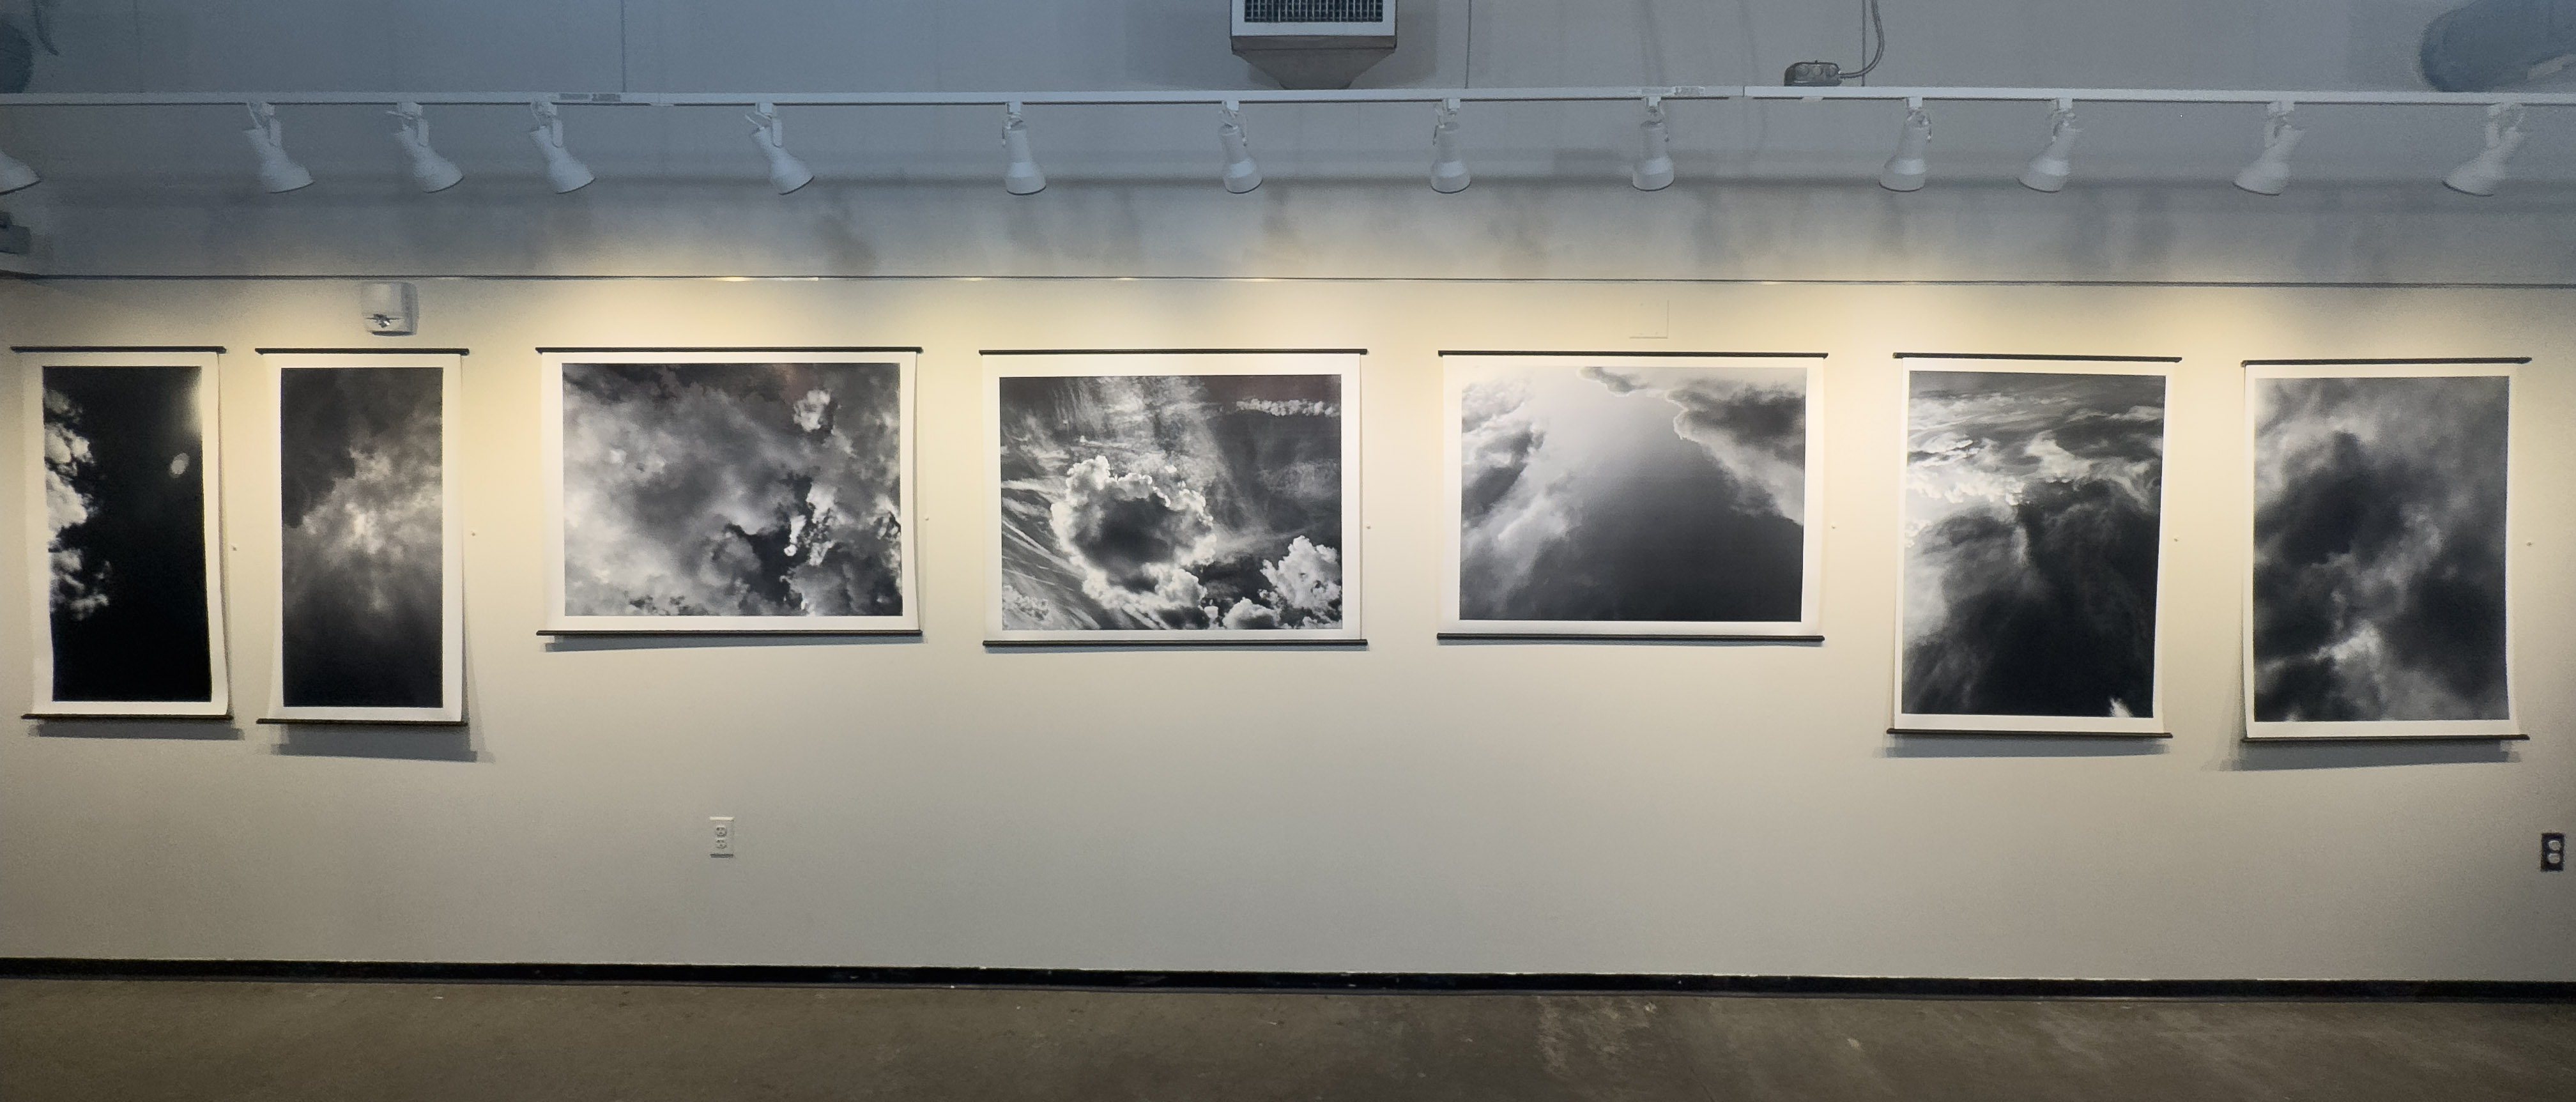
Tag Archives: Glen Echo Photoworks

Portraits of Photographers

Being a photographer who teaches, I have a lot of friends who are themselves photographers. It gives me lots of opportunities to photograph them, often with their cameras. It can get rather meta-referential, but that’s part of the fun.

This is Mari Calai, one of the members of the Handmade Photography Group at Glen Echo Photoworks. She’s also the current Artist-In-Residence at Photoworks.

Colin Gore waiting around for one of the other photographers in the Handmade group to do his portrait in Wet Plate Collodion. The group did an outing in February to the National Gallery of Art and then brunch afterwards.

Paige Billin-Frye, another group member and fellow instructor – she does amazing hand-colored and toned cyanotype work. It was interesting to see how many of the group members were using small (meaning medium format film or smaller) cameras on that outing. I was the only one shooting 6×7 (my new-to-me Pentax 67) – everyone else was shooting 6×6 square (mostly Rolleiflexes) or 35mm/full frame digital, except Mac who was shooting 5×7 wet plate.

Speaking of, there Mac is in action, shooting his portrait of Mari.

The man, the myth, the legend, not buried under a barkcloth. It was February, it was 45 degrees farenheit, and he was wearing sandals without socks.

Chris Gumm, who coincidentally practices gum bichromate printing, posing with his Rolleiflex.

Switching gears somewhat, Steve Greenberg is another one of the Photoworks people, but not part of the Handmade group. This was from a commissioned portrait sitting we did, this time with my 8×10 Century Master studio portrait camera and the Kodak 405mm Portrait lens.

A different take on Steve, with a different camera and lens – still a soft focus portrait lens, but this time the Pentax 67 120mm soft focus portrait lens. It’s a lens that surprised me – I picked it up because I liked the soft focus effect I was getting on the Kodak Portrait and with some of the smaller soft-focus lenses I have (the Hermagis Eidoscope, a Seneca Whole Plate aka Wollensak Vesta, and my Cooke Series II, which isn’t technically a soft focus lens but has really creamy out-of-focus rendering especially wide open). I wanted to see how good it would be for this effect on a small format. It’s going to stay in my arsenal of lenses, and actually stay in my camera bag unless I KNOW I won’t need it for a particular trip. It requires careful use to get the best out of it – you control the soft focus through the use of the aperture, where wide open is the fuzziest/glowiest, and once you get below f/8, it’s mostly tack sharp. Best used in the studio, where you can control the amount of light you feed it, especially with how relatively fast modern films are.

One parting shot, very meta-referential, as it’s a photographer in a photo studio, showing the fact that it’s a photo studio.

Still Life in the Time of Pandemic

The Cooke in action on the Sinar Norma. Starting today off with some chrome/stainless steel, then moving to glass.

While not a requirement for doing still life (you can shoot still life with ANY camera – a point & shoot or a pinhole will work just as well as a DSLR or a view camera, if you understand the operating parameters of the camera), I love using a view camera because it lets me place my plane of focus and depth of field exactly where I want them, and I can have a razor thin zone of focus or I can have it be total, and I can control the shape of the image.

The camera’s eye view.

Coming in March, I’ll be teaching a still life photography class online through Glen Echo Photoworks (check their website later for details on schedule and sign-up). We’ll look at the history of still life and have weekly shooting assignments. I’ll show you how still life isn’t just bowls of fruit or flowers, and how it can be every bit as exciting and dramatic a story-telling genre as street photography, plus you can do it in your home with minimal space and equipment (all you really need is a camera, a table and a window!). Of course, I get fancier, but you don’t have to!

A Secret About a Secret – Photoworks Fall Fundraiser – Saturday October 20 @ Photoworks

Glen Echo Photoworks Annual Fall Fundraiser is just around the corner. The event will be held Saturday, October 20th, 2018 from 7pm to 10pm at Photoworks –

7300 MacArthur Boulevard, Glen Echo, Maryland 20812

SecretSecretPworks2018

We are doing something really amazing to support our community of photographers and collectors and friends – with each ticket, while supplies last, we are giving away a box of 10+1 photographs by Photoworks faculty and community members to EACH PERSON who buys a ticket. So you’re guaranteed not only to have some wine, look at some art, learn something interesting, and support a great cause, but you’ll also leave with a boxed set of prints by some of the DC area’s best photographers! Win-Win!

This will be a fun evening of photography – we will have film screenings, a talk by Sarah Gordon, Independent Curator and Lecturer, wine and nibbly things, and lots of photography on display! There’s a great show up on the walls, Places We Find by Sandy Sugawara and Catiana Garcia Kilroy, that you can check out while you’re there. Donated items for the silent auction range from photographs by faculty members,  a home-cooked Italian dinner for four, a vacation cottage on Squam Lake, New Hampshire for a week for up to ten people, one-on-one tutorials, to autographed books and college application portfolio reviews. There are items in every price range, with items starting as low as $25, so you don’t have to be a millionaire to bid.

I have donated a print of the featured image on this blog post, “Antiguo Colegio de San Ildefonso”, an 8×16 inch palladium print hand made by me, edition #1 of 10, as part of the silent auction that will be held both onsite and online.

img_9028

I am also donating two one-on-one workshops in advanced darkroom printing and platinum/palladium printing, so this is your chance to get personal instruction while supporting a worthy cause!

Items for the silent auction are available for online bidding in advance.

http://glenechophotoworks.org/2018/10/06/10-photographs-event-online-auction-catalog/

For tickets to the fundraiser:

https://www.eventbrite.com/e/10-photographs-tickets-50622631654

I hope to see you all there!


Intro to Platinum/Palladium Printing – class conclusion

The last two weekends, I’ve been teaching an Intro to Platinum/Palladium Printing class. In the past, I’ve only taught it from film negatives, but this time I did it with a module on making digitally enlarged negatives as well. It was a rousing success- I had a great time teaching it, and I had some very enthusiastic students, all of whom were very seriously interested in continuing with the medium.

Last week, we started out learning basic coating technique, talked a bit about paper selection, and the importance of a good negative to work from. To expedite the process, I provided students with negatives that were already processed for platinum/palladium printing.

Prints from week 1 – in-camera film negatives

5×7 palladium print – steam locomotive 

This week we covered making images from digitally enlarged negatives. I had students bring in a selection of images on thumb drives and we picked one or two to make negatives with. Here are my assembled students with finished prints from our digital negative printing session. The prints are much warmer in color in this photo than they are in real life because I took this on my iPhone in mixed lighting.


Students holding prints

A better representation of some student prints. We also tried doing Ziatypes (a variation on palladium printing that is a printing-out process rather than a developing-out process, and by default has a much cooler, silvery tone to it than a pure palladium print does). The two images in the center row – left center and dead center – are Ziatype variations. The woman’s portrait was from a 40+ year old in-camera 8×10 negative not specifically developed for alt-process printing, but it worked quite well. The soft edges are from the fact that the negative was not processed archivally and is starting to silver out.

A selection of prints from digital negatives – the two left-center and center prints are Ziatypes, a variation on Palladium printing


Portrait Day – Intro to Large Format class

Having a little fun with the panoramic function on my iPhone in class today. Took this picture of two of my Large Format students doing studio portraits with a 4×5. I dug into the vaults and found some of my remaining stash of Polaroid Type 55 and let the students burn a couple sheets. I was more than pleasantly surprised with how well it worked- my Type 55 has to be a decade out of date by now, but the pods still processed nicely. I’d post some results but my students ran off with the negatives before I could copy any of them.

This was also my first test of my PocketWizard wireless flash sync setup on large format, and it worked very well. I got a little clamp from B&H photo that locks onto the front standard of my camera, and attached a hot shoe to PC adapter to the clamp. The PC cord connected the shoe to the sync on the shutter, and the PocketWizard sat in the shoe.

The other PW unit was connected to my Calumet Travelite monolight. This setup let me use my Sekonic L358 meter which has a PocketWizard trigger module, so I could meter wirelessly. That’s a big boon even when doing still life, and an even bigger one when shooting portraits, because that’s one less wire for you OR your sitter to trip over. If you look carefully at the front standard of the camera, you can see the PocketWizard module sticking out of the side in the photo.

Intro to Platinum/Palladium Printing Sold Out and Waitlisted! May 5 & 12, 10am-4pm

OK- well, the title is a tad misleading – my class WAS sold-out with a wait list. I added additional slots to accommodate the wait list, and there is ONE additional spot left. If you’re interested, now’s the time to grab it before it’s gone. I will NOT expand the wait list again for this session. The class is my perennially popular Introduction to Platinum/Palladium Printing class, this time with an expanded digital negative how-to session. Based on the response, I’m also planning a fall Platinum/Palladium Printing Extended Project course that will provide a six-to-eight week guided seminar in printing.

TeotihuacanPtPdPrint
Pyramids, Teotihuacan, Mexico

The pyramids at Teotihuacan in Mexico was originally shot on a 2 1/4 x 4 1/4 inch roll film negative from my Lomo Belair X/6-12, then scanned and printed on Pictorico Premium OHP to make a 4 x 8 inch print.

PtPdNatGallery
Stairs, National Gallery of Art, Washington DC

Ditto the above with this shot of the National Gallery of Art staircase in Washington DC.

Making a print is fun and easy.

img_7350
Potassium Oxalate Developer – 15 years old and going strong!

A frequently asked question: what about your developer chemistry? You mix up your Potassium Oxalate, replenish it as needed, and filter it periodically. But you keep on using the same batch of developer forever, unlike silver gelatin paper developers which have a finite lifespan, regardless of usage.

img_7523
Digitally enlarged negative

Here’s a digital negative printed on the Pictorico OHP transparency medium. Other printers will work, but the industry standard seems to be Epson Stylus Photo printers with Ultrachrome K3 inks (or newer). I’m using an Epson 3880 at the moment.

img_7517
Exposed, undeveloped print

Here’s an exposed print from the negative shown above. An exposed but undeveloped print will show a “ghost image” of the finished print. The development process happens VERY fast, as you can see in the video below.

And the finished print, washing in the final wash.

img_7521
Developed print in the wash

To register, click here Intro to Pt/Pd May 5&12

The Primitive Eye: Learning to See Through a Pinhole September 12-October 24

Do you want to improve your photographic vision, but find yourself frustrated with your images? The Primitive Eye is a six-week guided exercise in seeing. The course meets on Tuesdays from 7-9pm, September 12 to October 24th. The only requirements are that you are ready and willing to tackle some challenging assignments, and that you obtain a pinhole objective for your camera. This could be a pinhole in a body cap, it could be a custom pinhole objective, or it could be a dedicated pinhole camera that shoots film or photographic paper. It could be a digital camera or it could be a Quaker Oats tube.

By stripping down your gear to the most basic of photographic tools, the pinhole lens, you will be forced to contend with the three fundamental components of a photograph – light, composition, and time.

Foggy Bottom Metro, Waiting

Light: light itself, with directionality, quality, and quantity, must be critically accounted for in pinhole photography. There’s no gaming the system with a fast lens.

KeyBridgeFlagsPinhole
Key Bridge, Georgetown

Composition:

Typically, pinhole objectives are wide-angle. Because they are so small, composing through the objective is difficult at best. You have to carefully plan your composition, or you have to open yourself up to serendipity. Either way, you have to know how your camera sees before you set it up, or you’ll have no control over what you get.

Pan-American Health Organization HQ

Time:

Pinhole objectives force a recognition of the importance of time in a photo. With modern, automated cameras that have mechanical shutters that freeze slices of time as small as 1/8000th of a second, and electronic ones much faster, we are used to thinking of photographs as truly static objects, and movement and blur are objectionable. With pinhole photography where a 1 second exposure is quite fast, you must carefully plan for how movement will be captured by your camera, because it will. It will also force you to re-think the notion of a photograph as being time-less and two-dimensional, and being time-ful and four-dimensional.

The Primitive Eye: Learning to See Through a Pinhole is a six-week class on how to develop your vision through simplification. Strip away all the bells and whistles of technology, and you have to concentrate on the fundamentals of photography: light, composition, and time. To register, go to the Photoworks website or click here:

Register for: The Primitive Lens

Pinhole Resources

Where to find:

Pinhole Pro – multi-aperture pinhole for various DSLR/Mirrorless mounts

B&H Photo – pinhole cameras

B&H Photo- Pinhole Body Caps

eBay – pinhole

Work to Inspire:

Pinhole.org

FslashD – Pinhole Photography (my work was published in their inaugural anthology volume)


Labor Day Art Show, Glen Echo Park

Everyone-

 I want to invite you all to come see the Labor Day Art Show at Glen Echo. I have two pieces in the show, and it would be great to see you all at the opening reception on Friday, September 1st. I will be there on Friday evening to meet attendees and talk about my work. I’m showing two of my miniature prints from Rome. Each print is made using the historic platinum/palladium photographic process that requires preparation of the paper by hand, applying the light-sensitive metal salts (in this case palladium) with a brush, then sandwiching the negative with the sensitized paper and exposing it to a UV-rich light source to form the image, and then processing the print in a series of chemical baths to develop and make the photograph permanent.
Platinum/palladium printing was developed in the 1870s as another alternative to silver-based processes. It peaked in popularity in the early 1900s, but fell out after 1917 when world supply of platinum dropped in the aftermath of the Russian Revolution (Russia was at the time the world’s largest producer of platinum). It is notable not only for the extremely long tonal range it provides, but also its long-term stability and permanence. With a properly processed print, your platinum/palladium photograph will last as long as the paper it’s printed on lasts.

All work is for sale, and people come to this show to buy, so if you see something you like, don’t hesitate, or it may not be available when you turn around. This is a great show to support local artists, as park takes only a small commission, and 100% of the commissions go to support Glen Echo Park, which is a truly unique gem in the National Capital Region.
Exhibition Dates: Saturday, September 2 – Monday, September 4, 12 – 6 pm
Public Opening Reception: Friday, September 1, 7:30 – 9 pm
 LDAS_2017_header_only
 
Spanish Ballroom, Glen Echo Park 
7300 MacArthur Blvd, Glen Echo MD 20812
The 47th Annual Labor Day Art Show at Glen Echo Park will be held in the historic Spanish Ballroom from Saturday, September 2 through Monday, September 4, 2017 from 12 pm – 6 pm each day.
Sponsored by the Glen Echo Park Partnership for Arts and Culture, the
exhibition and sale runs from 12 pm to 6 pm each day. Admission is free.
The exhibition features the work of more than 200 artists from the mid-Atlantic region. The show includes works in a wide range of artistic media, including:
• sculpture
• painting and drawing
• ceramics
• glass
• jewelry
• fiber arts
• photography
• furniture
• works on paper
Public Opening Reception
Friday, September 1, from 7:30 pm to 9 pm
Spanish Ballroom
Light refreshments

U Street Graffiti – Palladium Print

In my latest iteration of my Intro to Platinum/Palladium printing class, I dug up some old negatives I had made, since my student this time was sufficiently skilled with wet darkroom processes and not interested in getting into shooting large format (in my standard group class, we take my Canham 5×7 out around Glen Echo and make a dozen or so negatives for students to work from). This was a print from that session.

UStreetGraffitiPtPd

It’s a memorial to the transitions on U Street. This is graffiti art that has since been obliterated by gentrification and re-development – the alley where this was has been re-graffiti’d, but with “sanctioned” artwork a bit more sanitized and easier to interpret.

This print is a 5×7 palladium print. The usual chocolate-brown color is missing because I gave this emulsion mix a shot of NA2 contrast agent to give it a bit more snap. The NA2 contains platinum, which is what cools off the image and makes it more neutral. If you’d like to learn how to print this way, contact me through the blog and we can schedule a class, either one-on-one or I can fit you in to an upcoming class at Glen Echo Photoworks.

Photoworks Introduction to Platinum/Palladium Printing- sponsored by Hahnemuhle!

hm-logo

I have some very exciting news to announce – my upcoming Introduction to Platinum/Palladium Printing class is now sponsored by Hahnemuhle, makers of fine art printing papers since 1584. They recently introduced a new paper specially formulated for alternative process printing, specifically platinum/palladium, and are graciously supplying the class with a very generous stock of paper for the students to use. I hope this will be the beginning of a long and fruitful partnership.

photoworks40years

Portrait with Lotus Seed Pod