Tag Archives: digital negatives

Upcoming Class – Alternative Process Survey with Digital Negatives

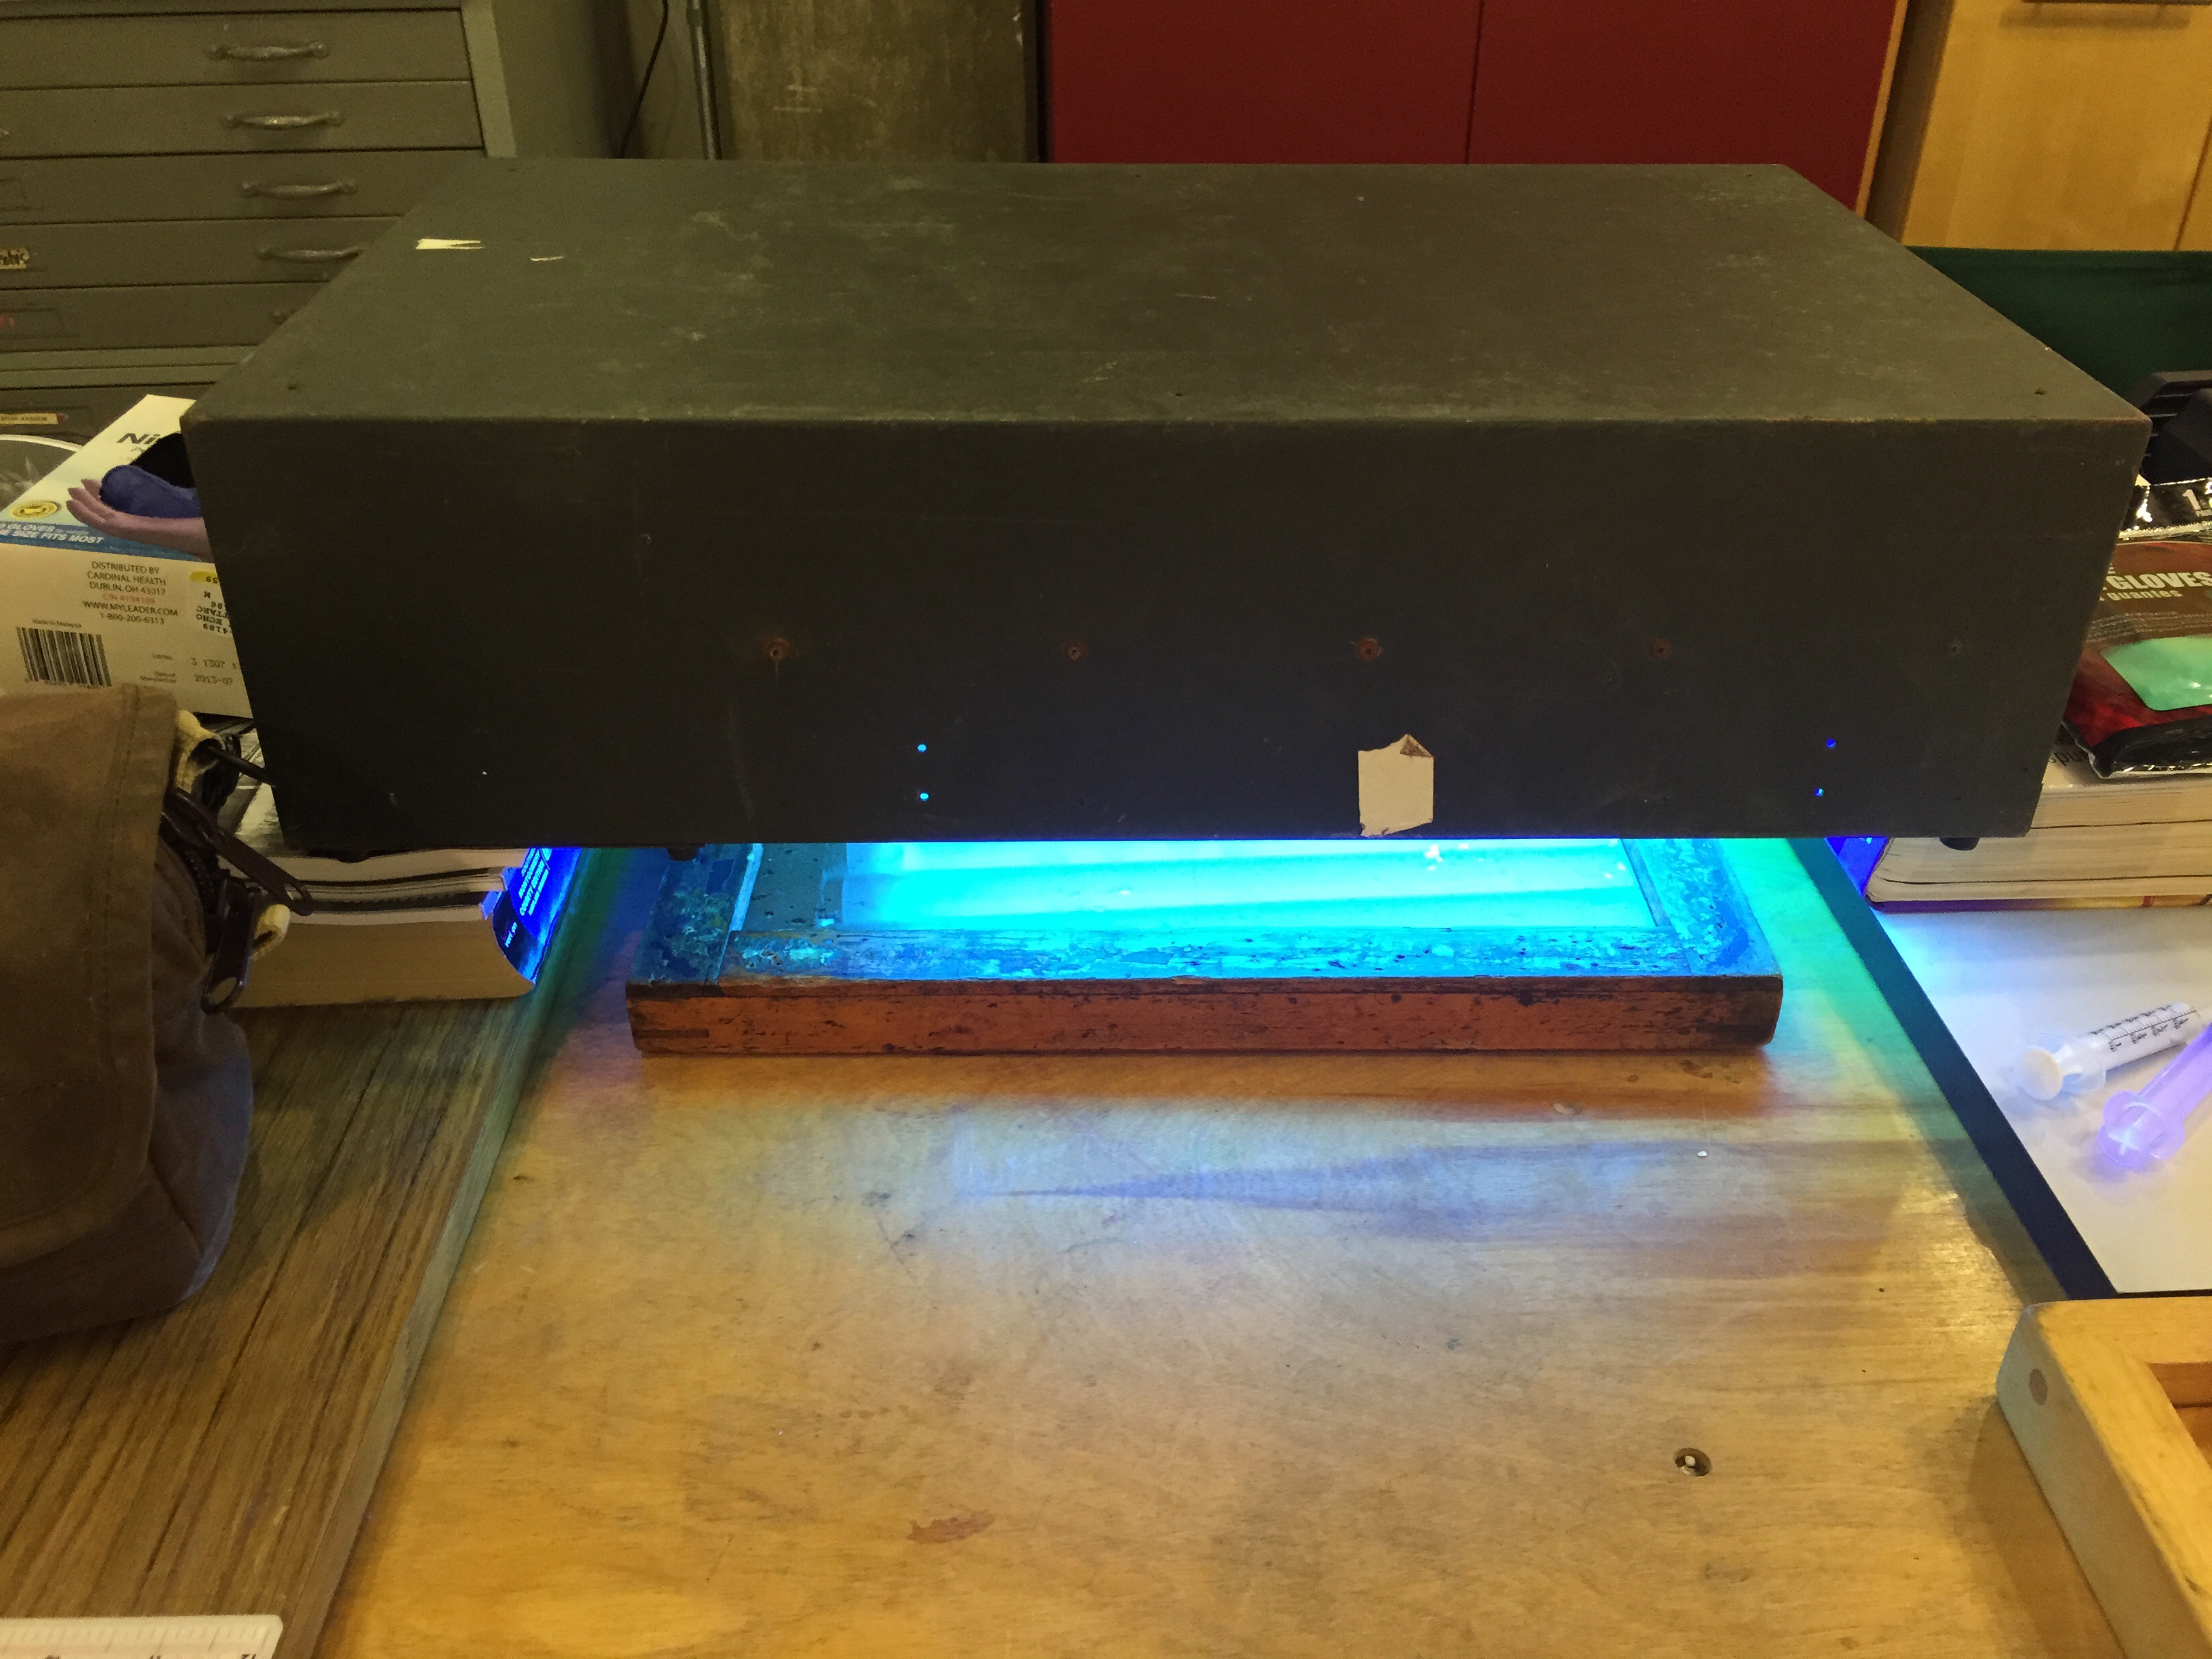
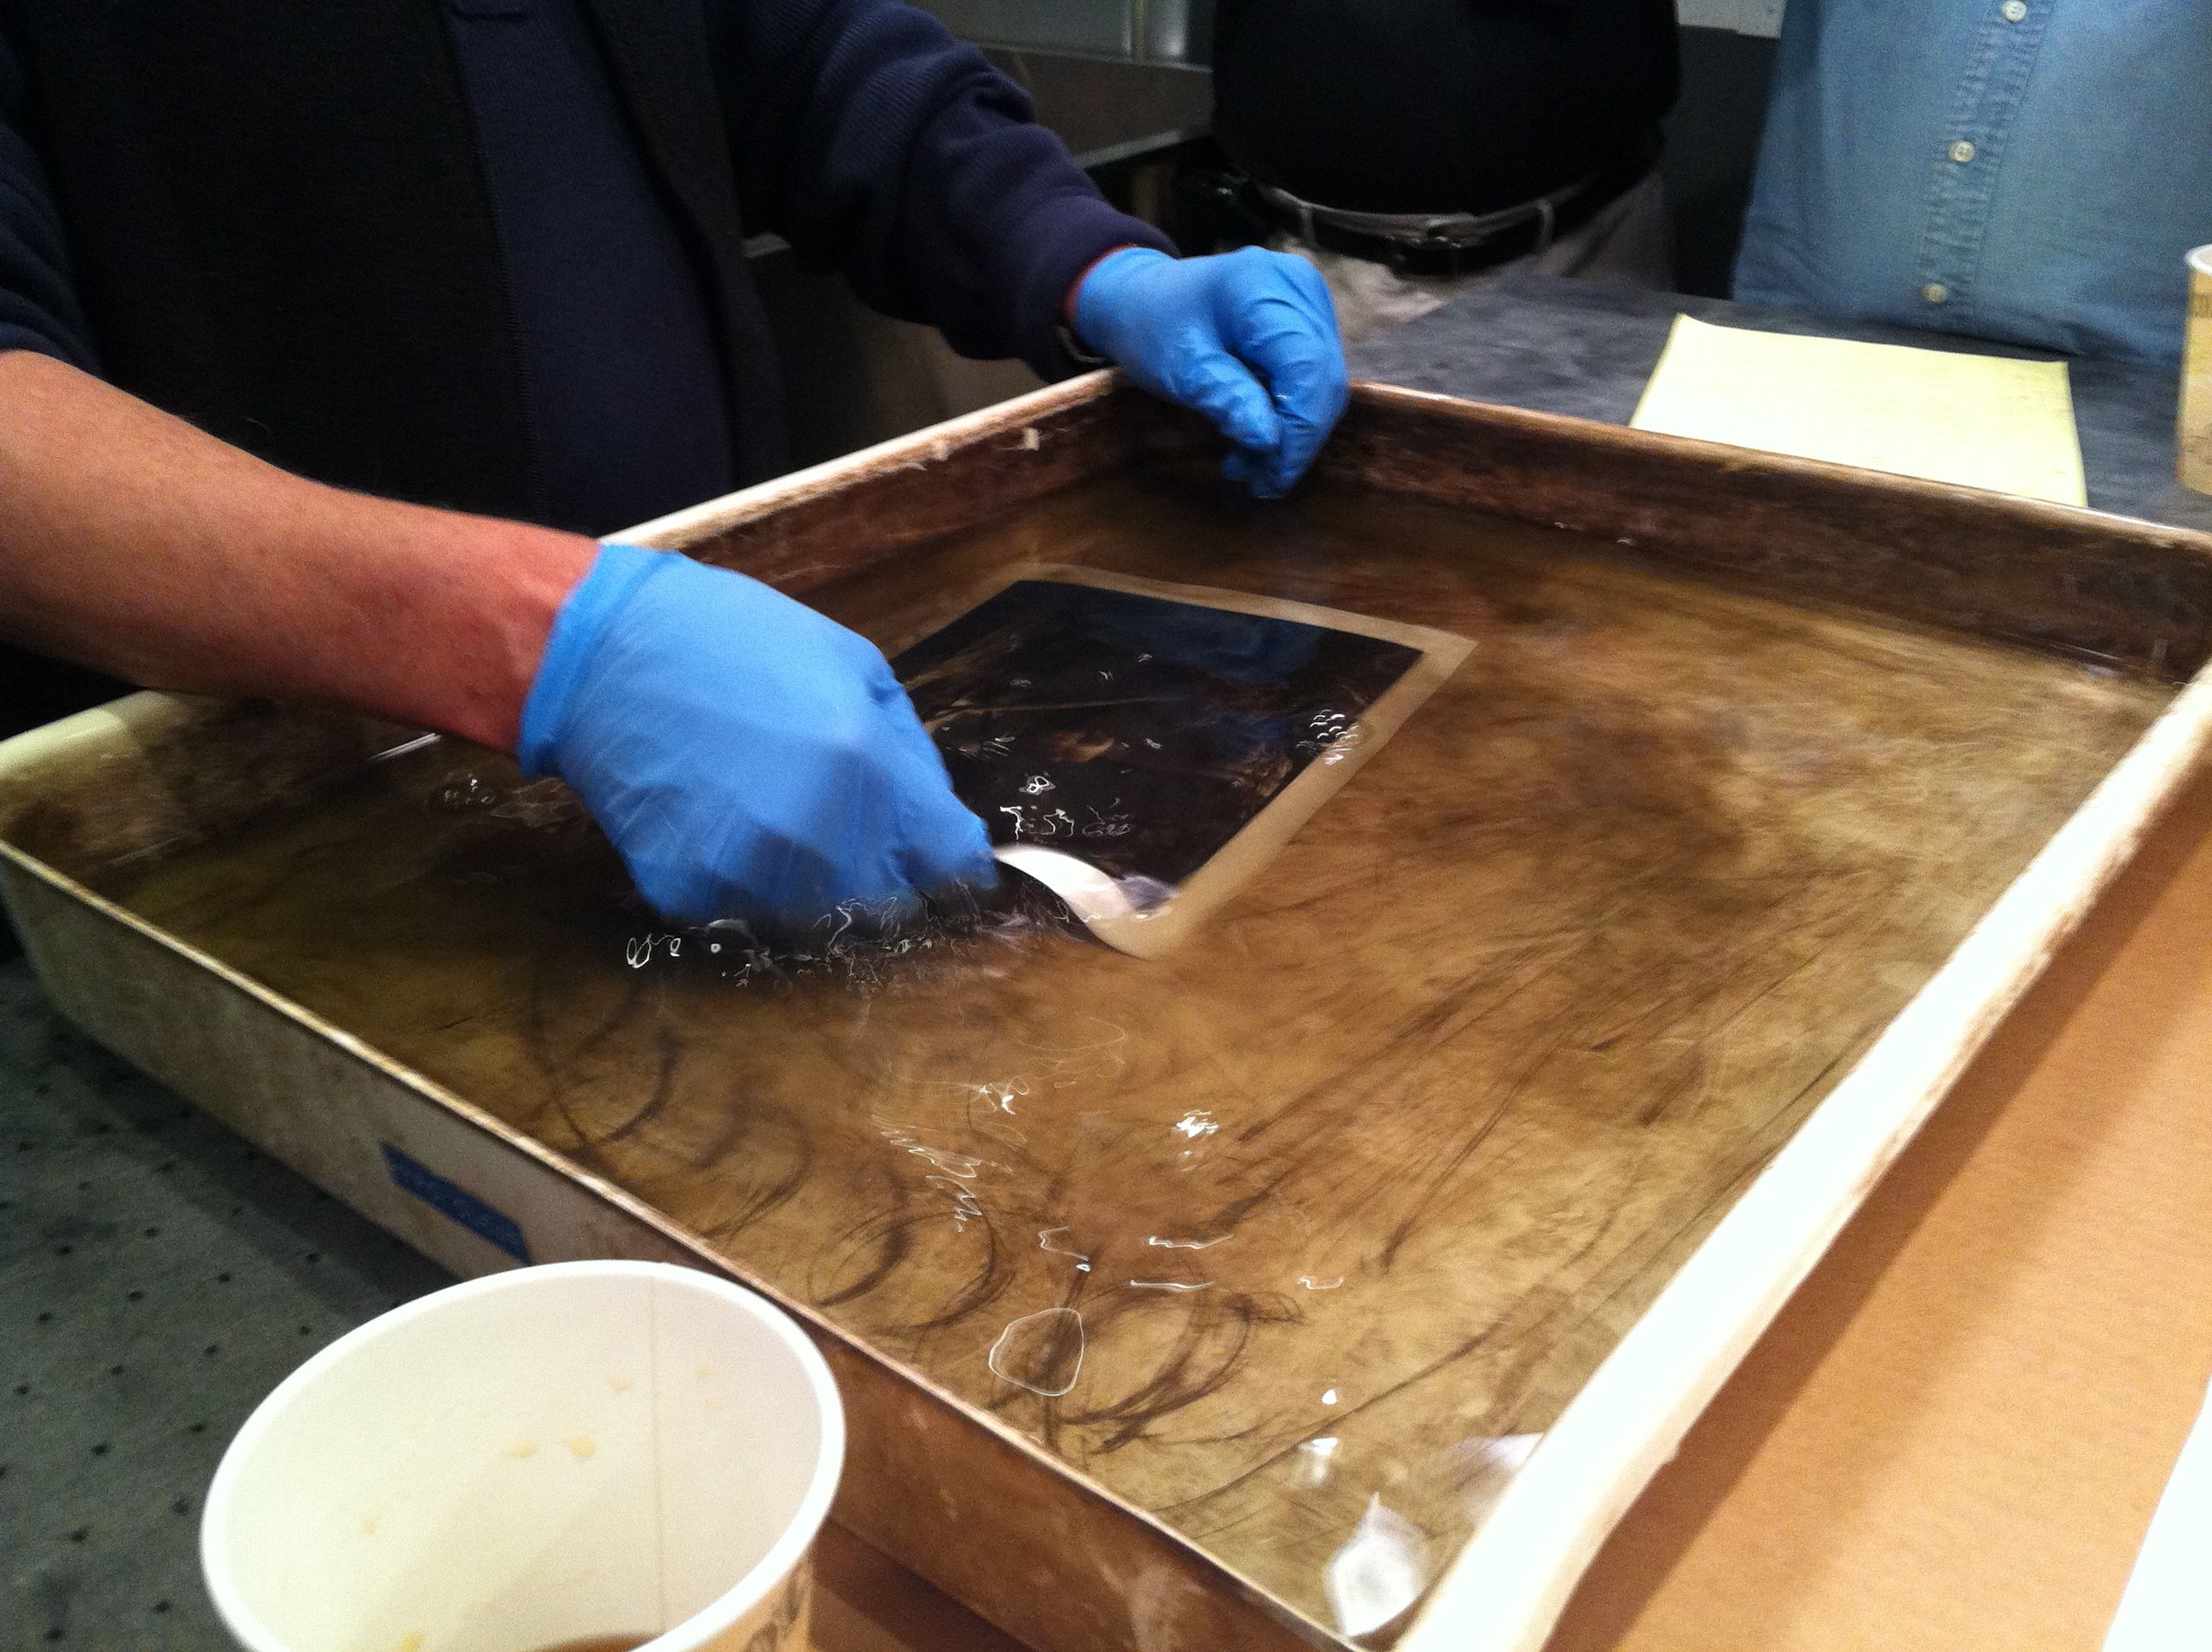
I’ve got a class coming up soon – Thursday evenings starting September 27, co-taught with Mac Cosgrove-Davies. It’s an alternative process survey course, covering platinum/palladium, gum bichromate and cyanotype. We will be starting out by going through the process of making digital negatives for the platinum/palladium process, and then printing using platinum/palladium. I will be walking students through the process of how to create your own correction curve so that they will have the tools handy for making appropriate correction curves for their own personal environments and for whatever process(es) they want to work in. We will cover basic techniques, preferred materials and digital hardware.

In subsequent weeks, Mac Cosgrove-Davies will be teaching working with cyanotype and gum bichromate. Mac has been working with alternative processes, most specifically gum bichromate and cyanotype, for over 40 years.

MoreGoodStuffGum
Two-color Gum Bichromate print. ©2007 Scott Davis

This will be my first time co-teaching with Mac, who is an outstanding instructor as well as a meticulous artist and technician with historic photo processes.

You can register at the link below. Course meets for five sessions on Thursdays from 7-9:30 PM, starting September 27, and runs through October 25. Tuition is $350.

Alternative Process Survey with Digital Negatives

Artists Statement – Mac Cosgrove Davies

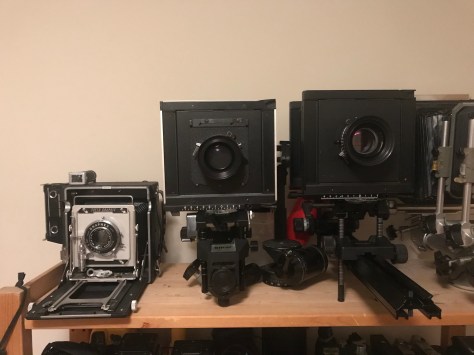
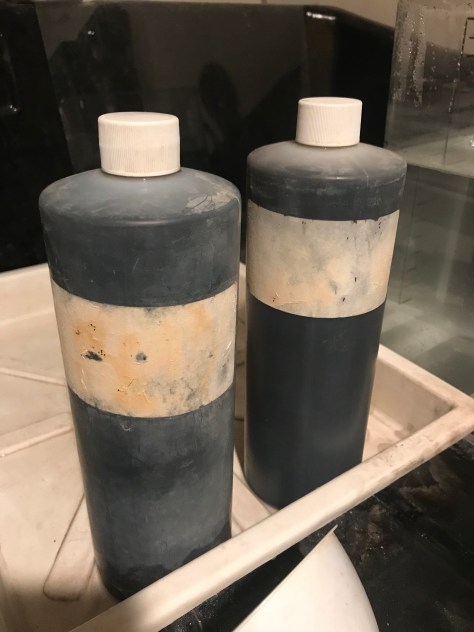
Photography has been my passion for more than 50 years, first with silver printing, and for the last 40 years with the historic processes.  I still delight in the hand-crafted uniqueness of gum bichromate, cyanotype, carbon, and oil printing, all printed from in-camera negatives (i.e. film).  I also enjoy making the equipment, and sometimes the cameras, that I use.  Working with large cameras feeds the more contemplative side of me, especially  in the solitary space under the dark cloth where the bright image is my entire perception of the world.  A successful photograph conveys the artist’s emotional, aesthetic statement in an engaging manner.  For me this turns out to be in images small by today’s standards.  I prefer to think of them as an intimate discussion with the viewer.  It pleases me to pull a 5×5 inch portfolio box from my pocket to respond to the frequently asked question of what I do for fun.

Artist Statement – Scott Davis

Scott Davis is a large format photographer working with antique and historic photographic processes. His work has been exhibited across the United States and internationally. He is a published author on platinum/palladium printing, and teaches classes in platinum/palladium. His personal work includes the DC cityscape,  the human figure, and wherever he happens to be with a camera. He is currently developing an exhibition plan for Sinister Idyll: Historical Slavery in the Modern Landscape, his documentary series about how the landscape of Maryland, Virginia and Washington DC have been marked by the impact of African slavery and its echoes that reverberate today.

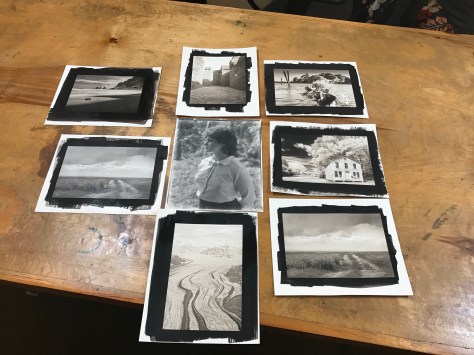
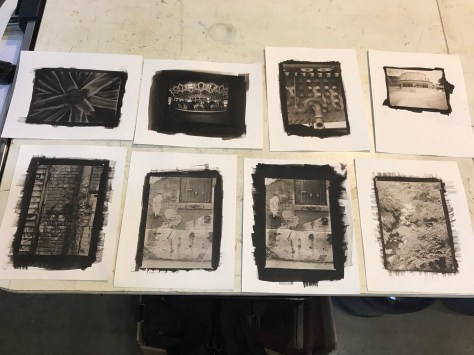
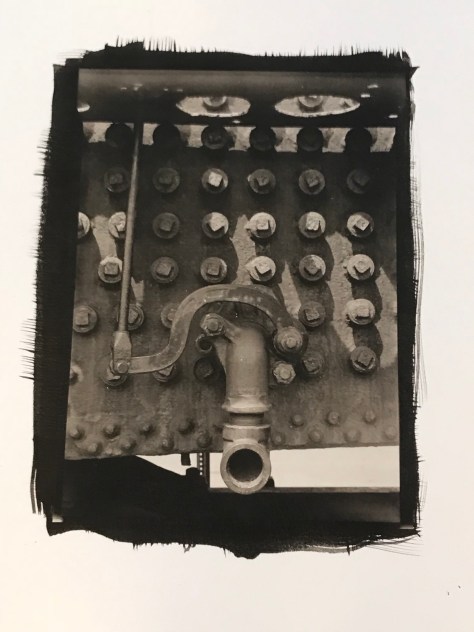
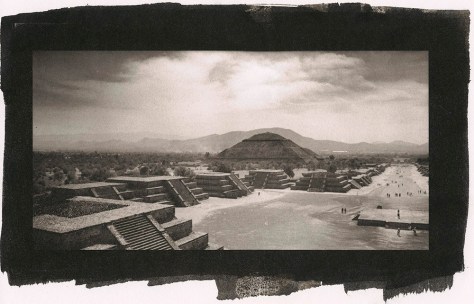
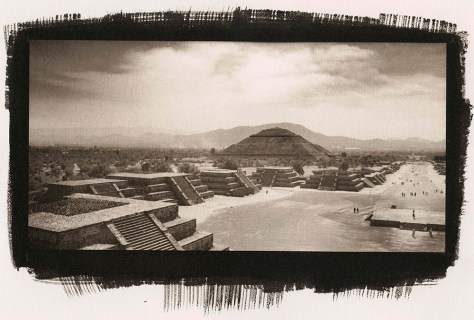
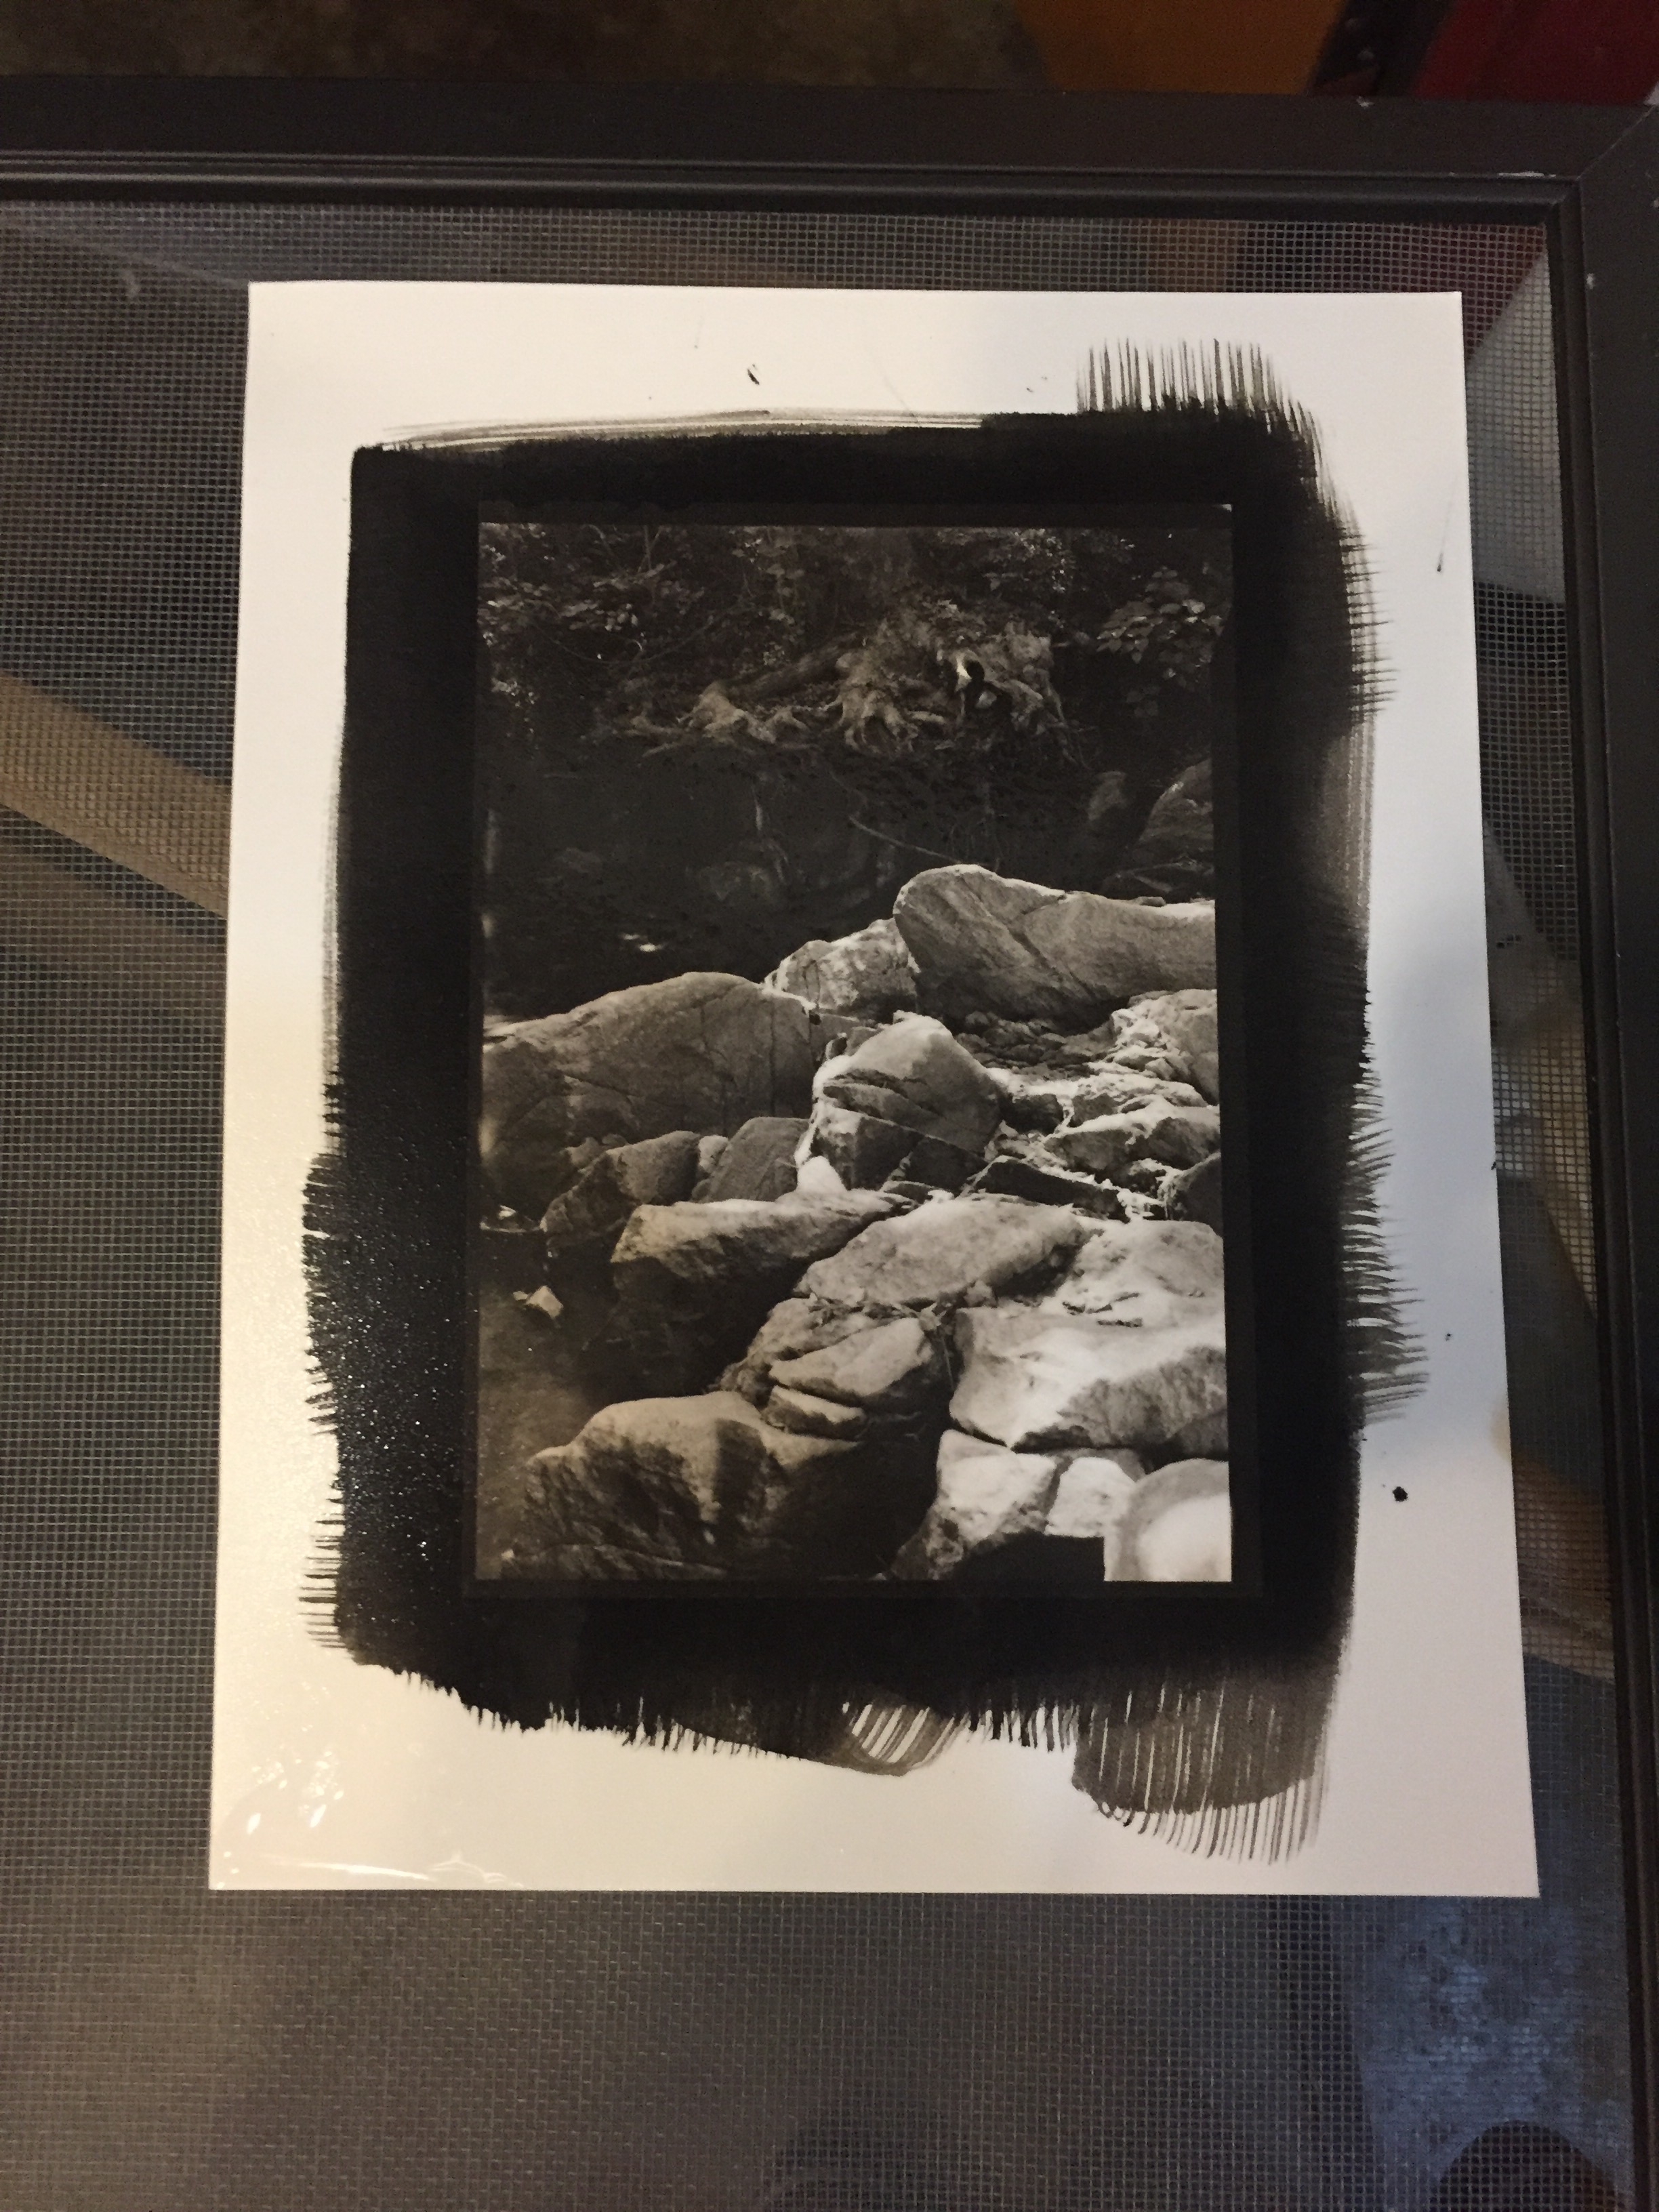
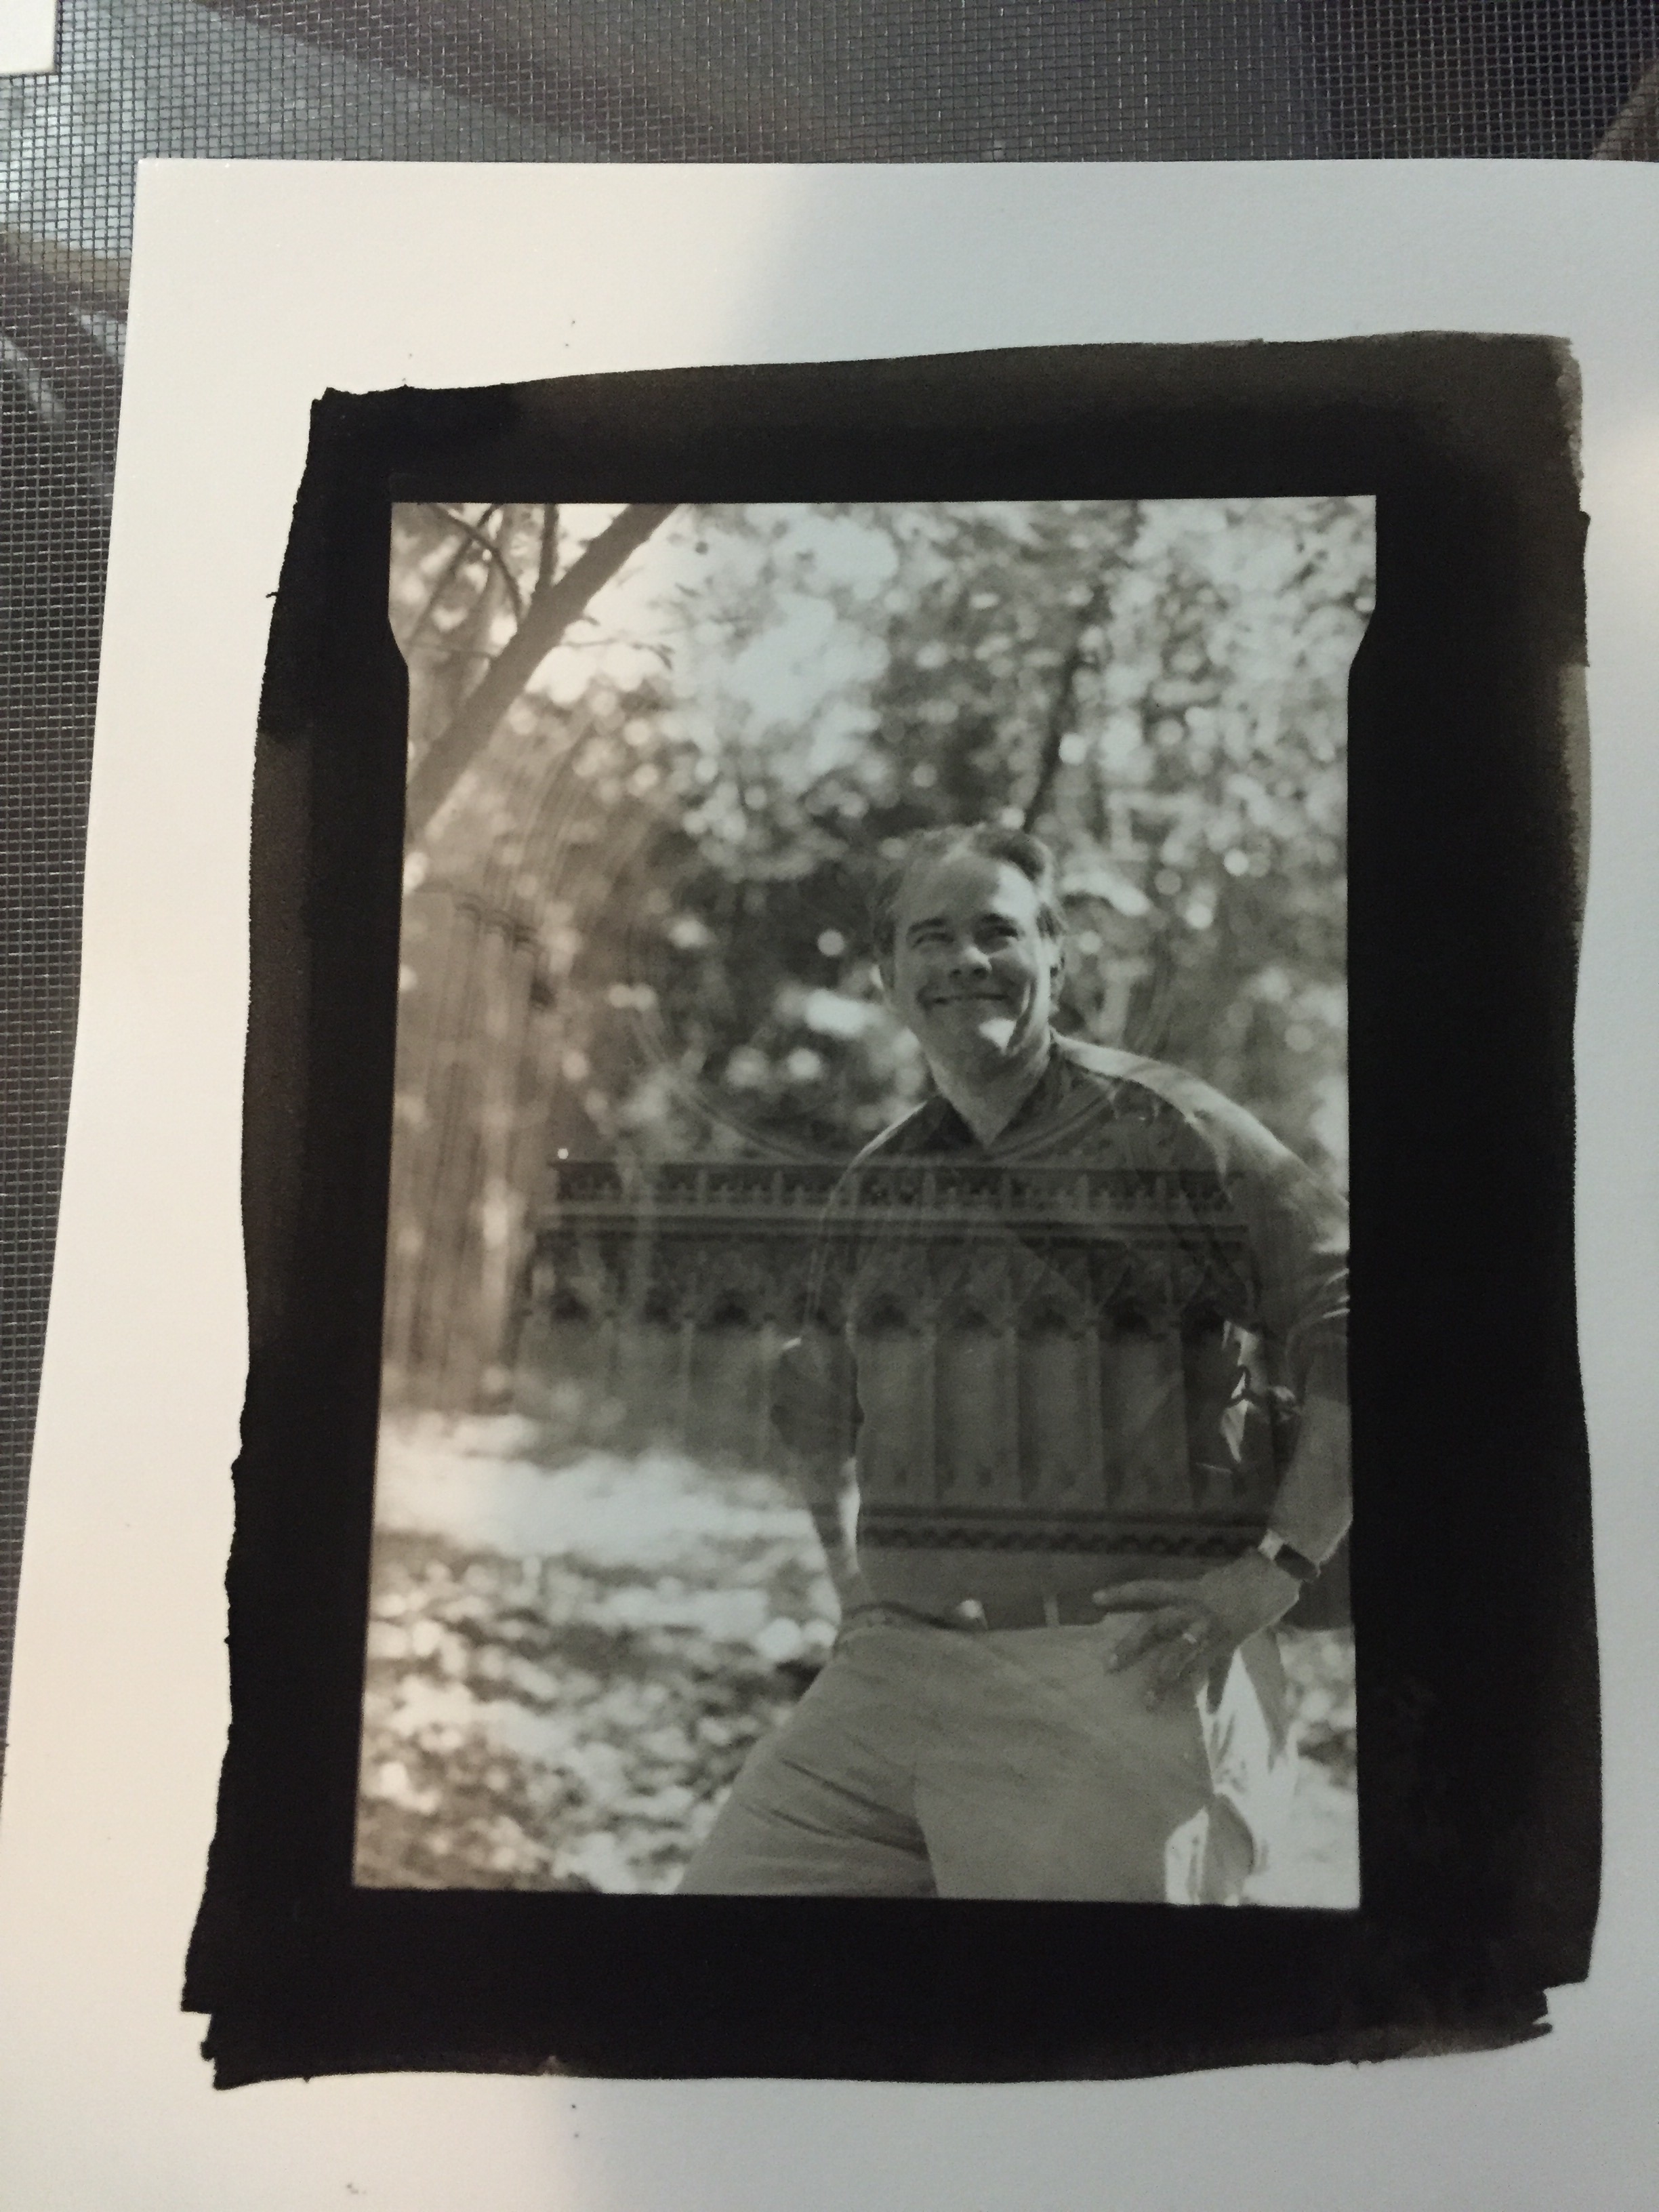
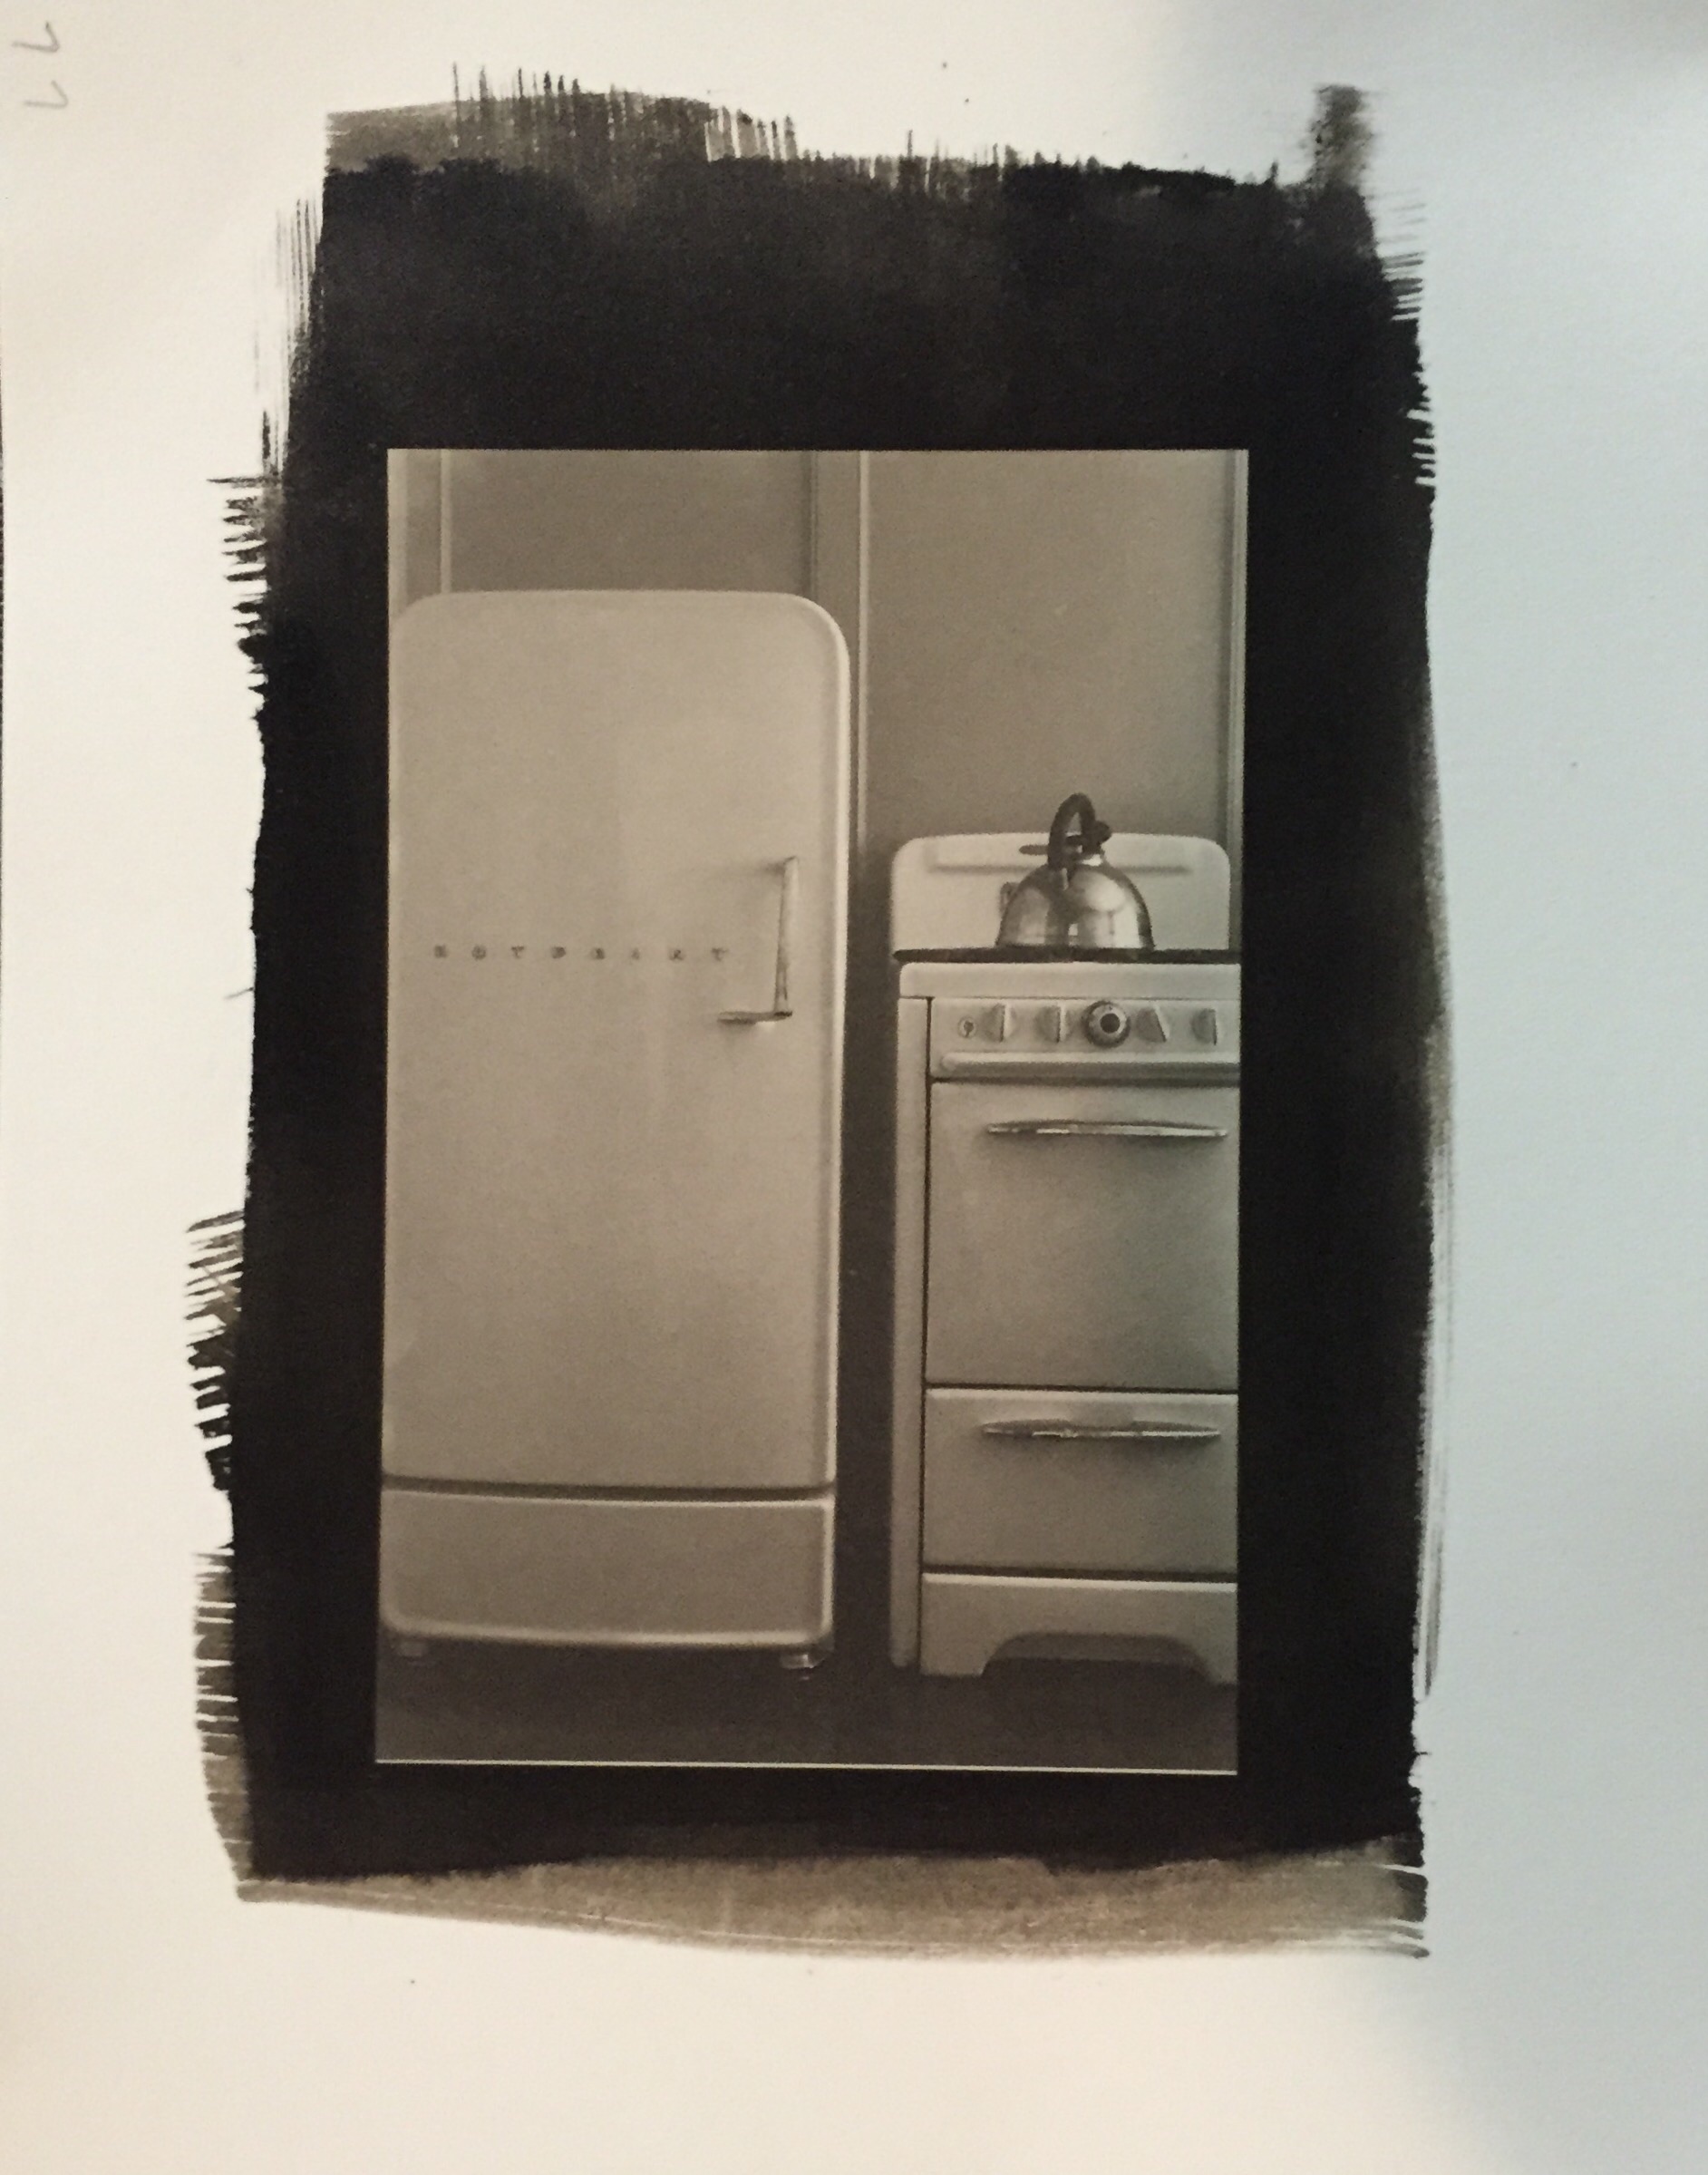
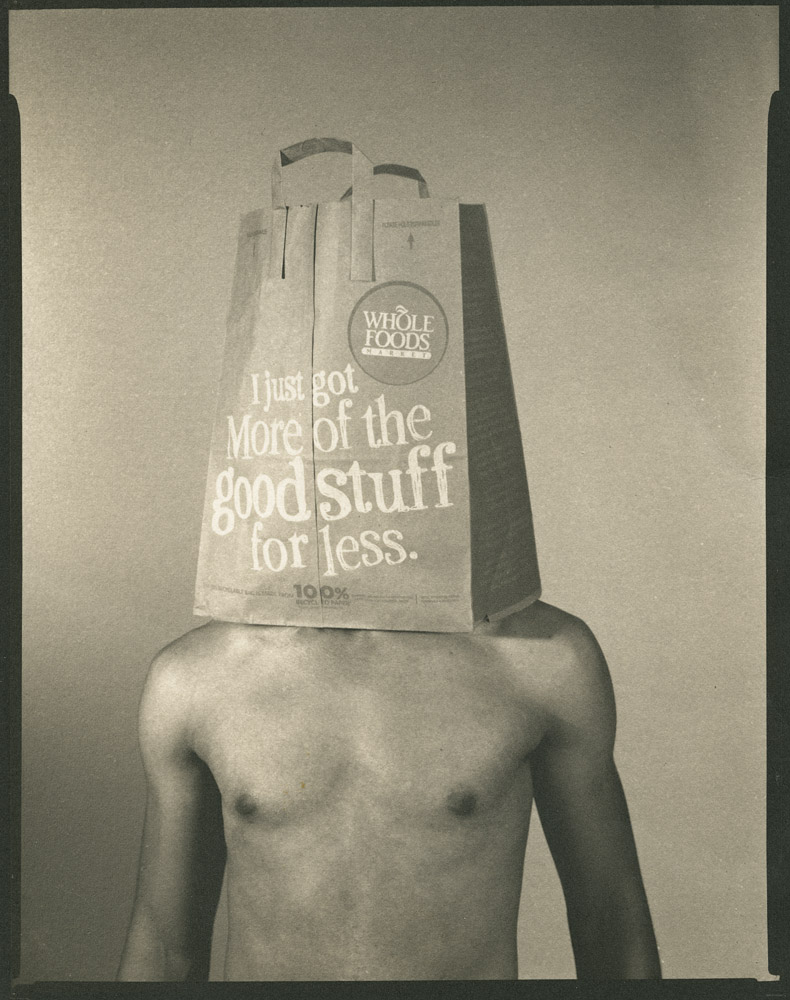
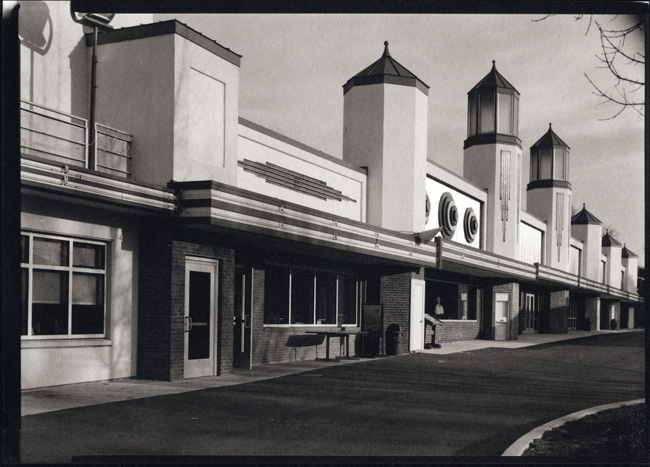
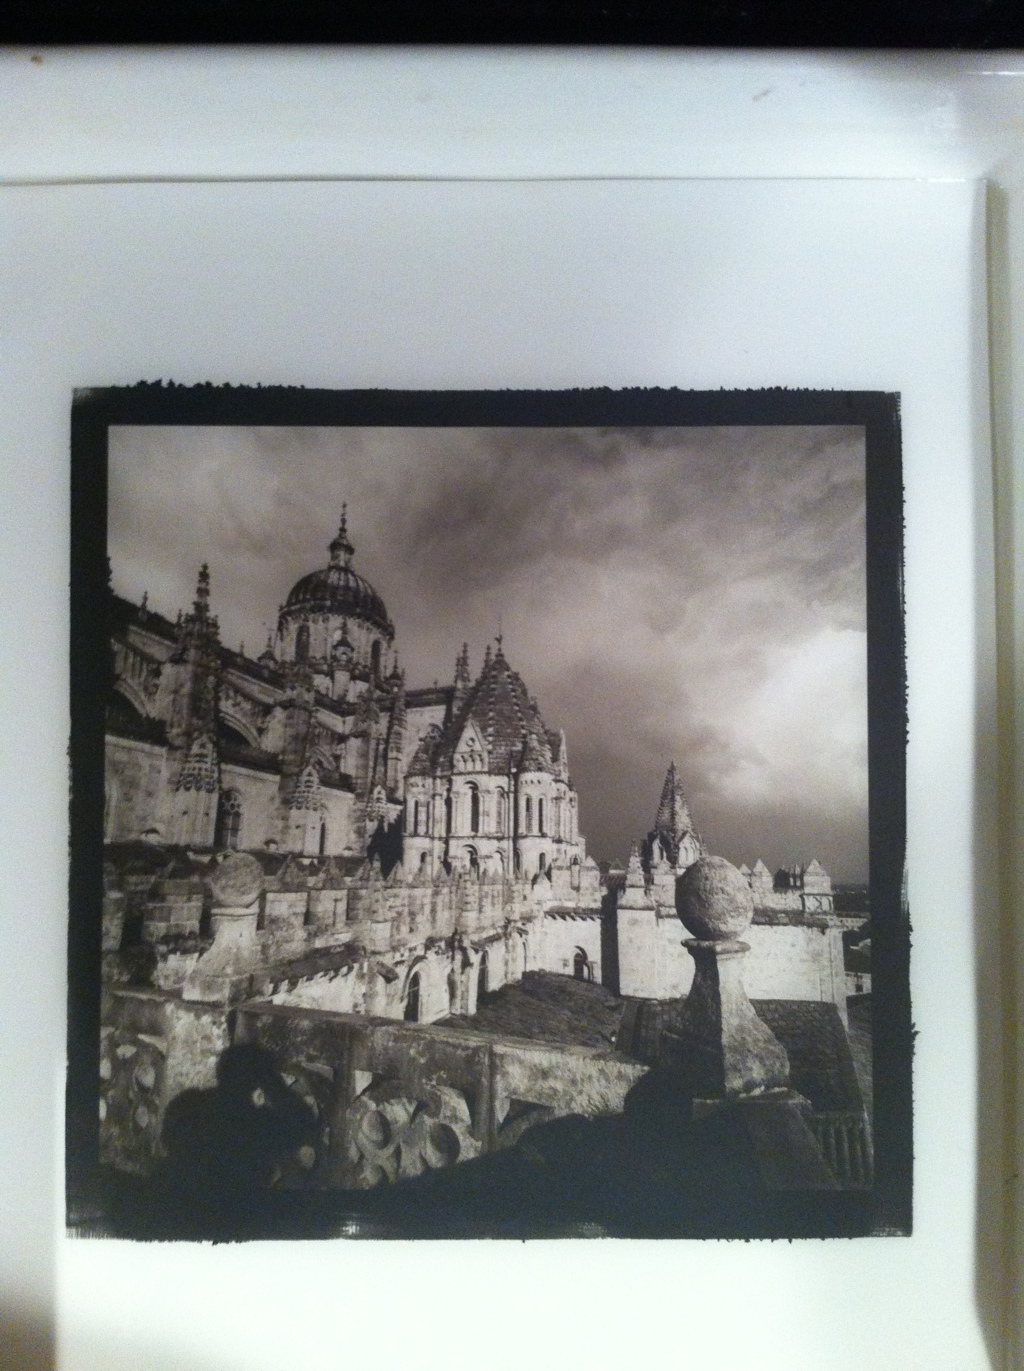
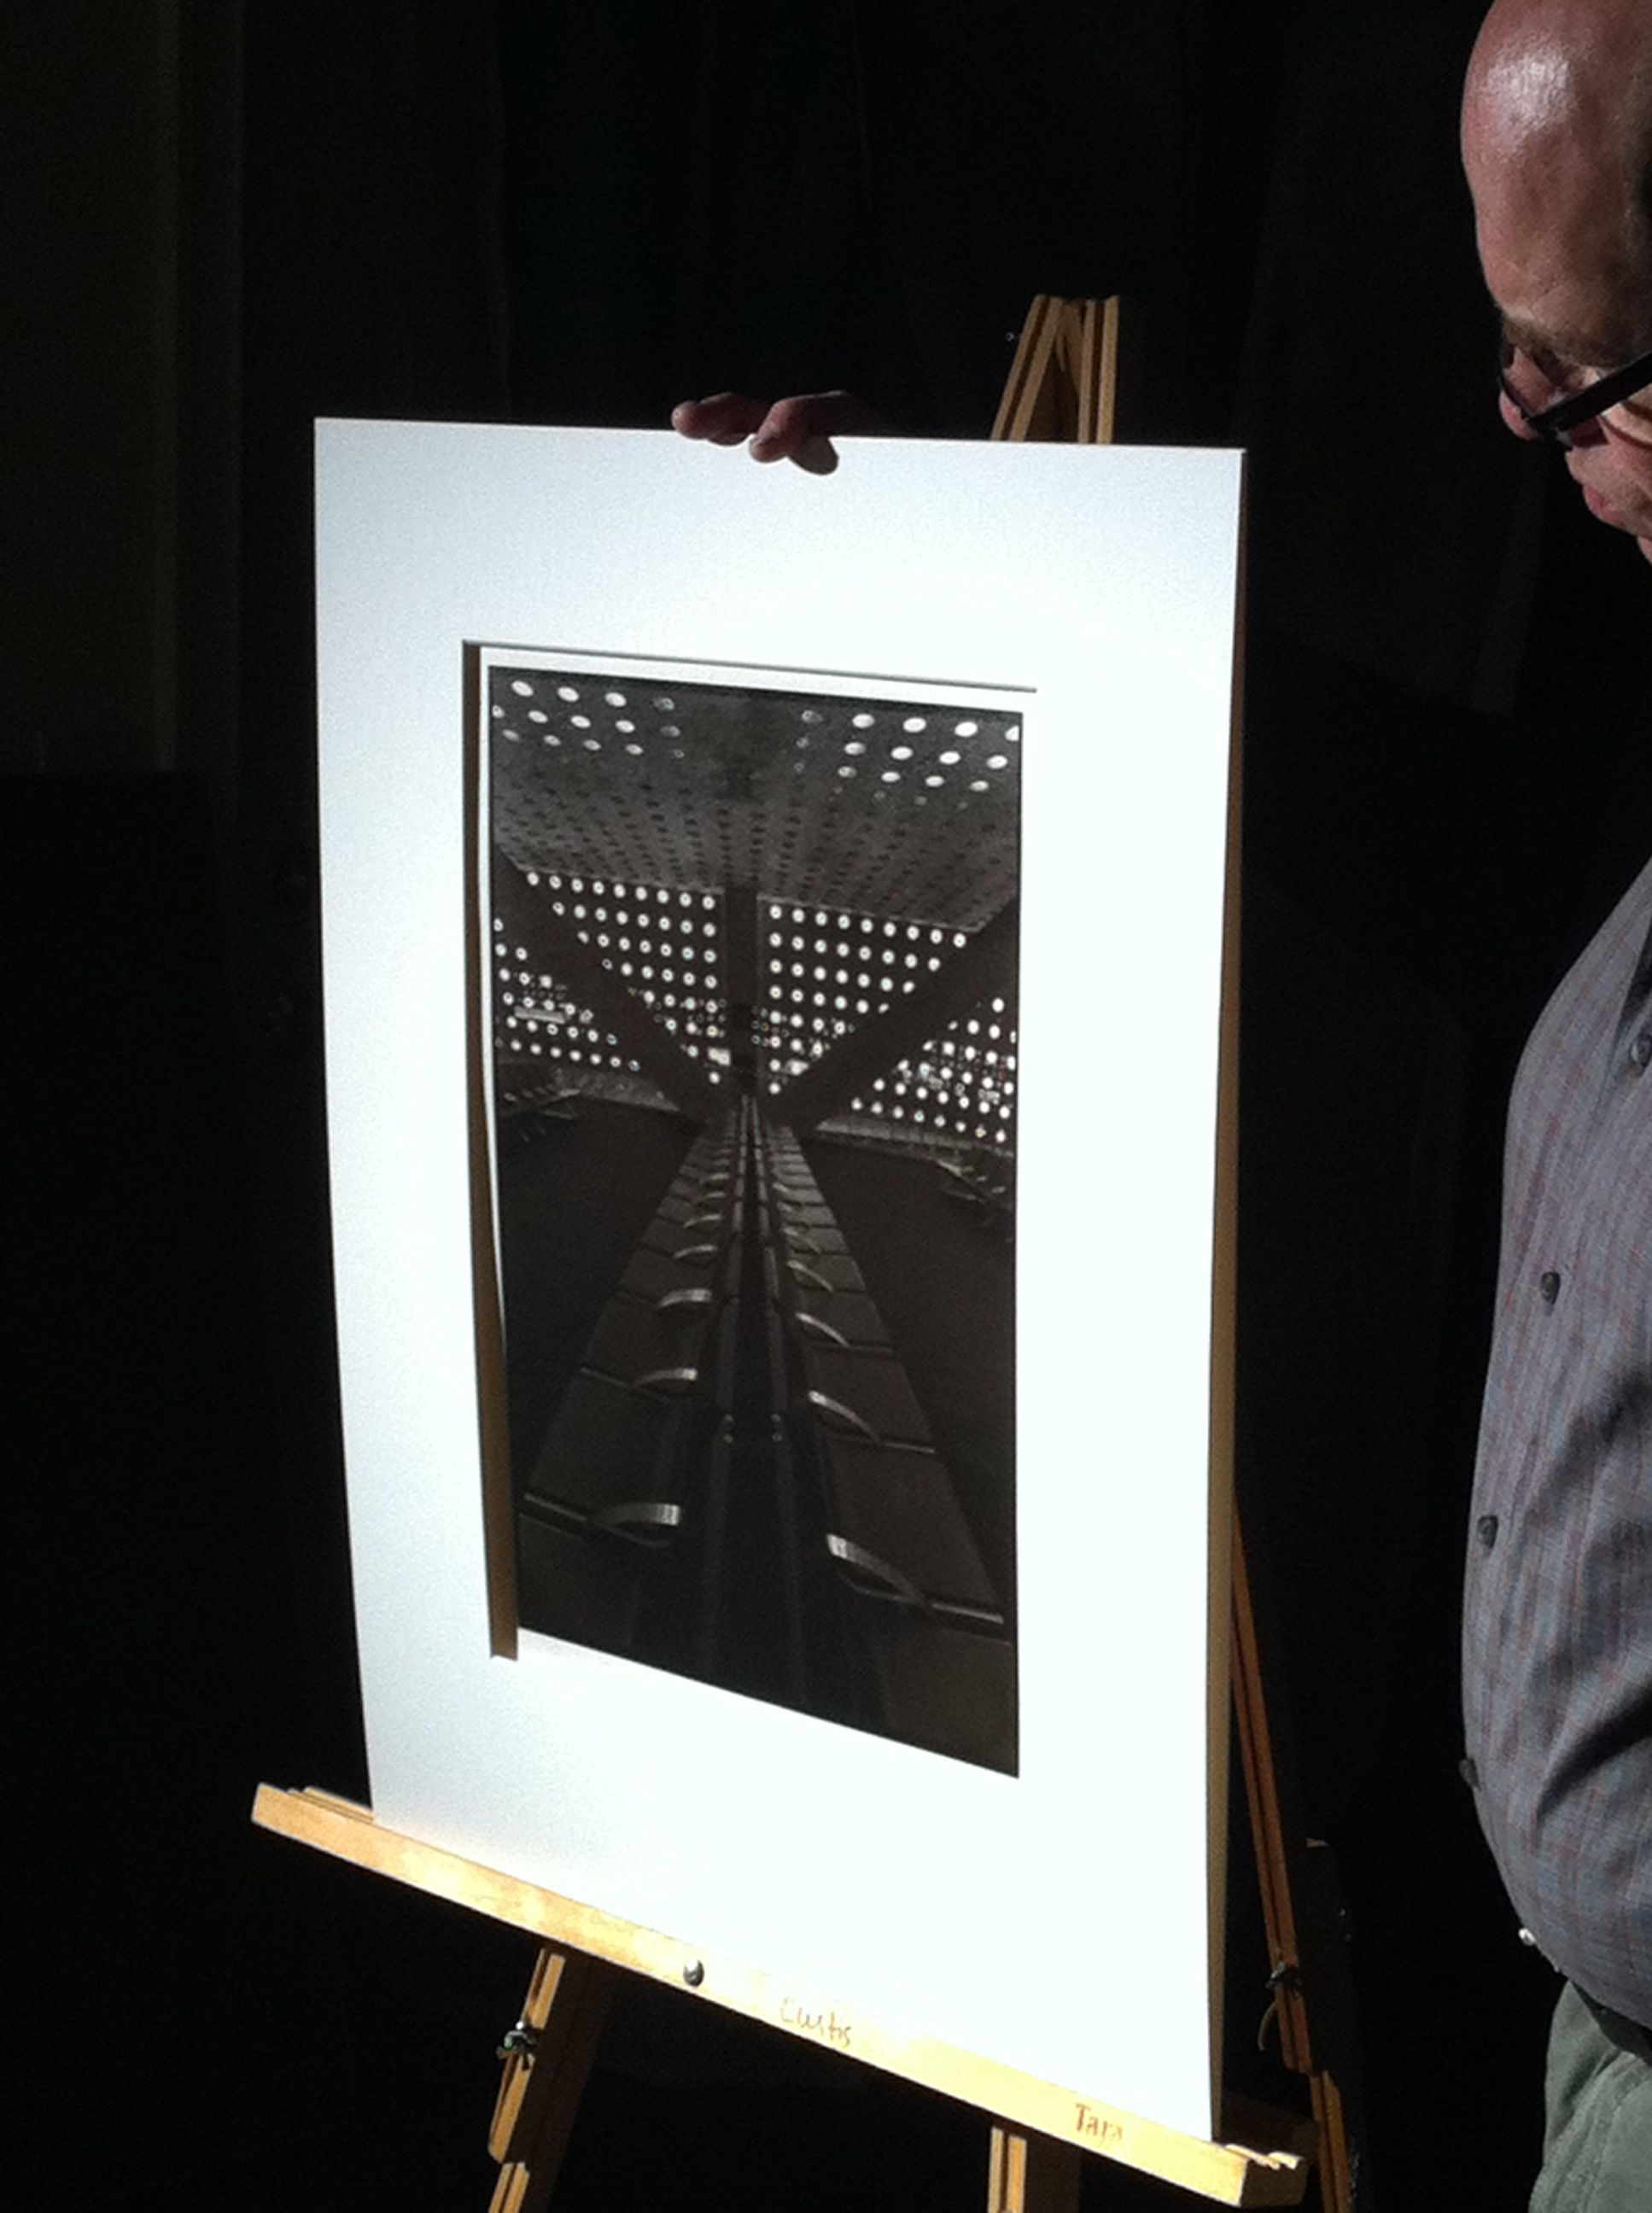
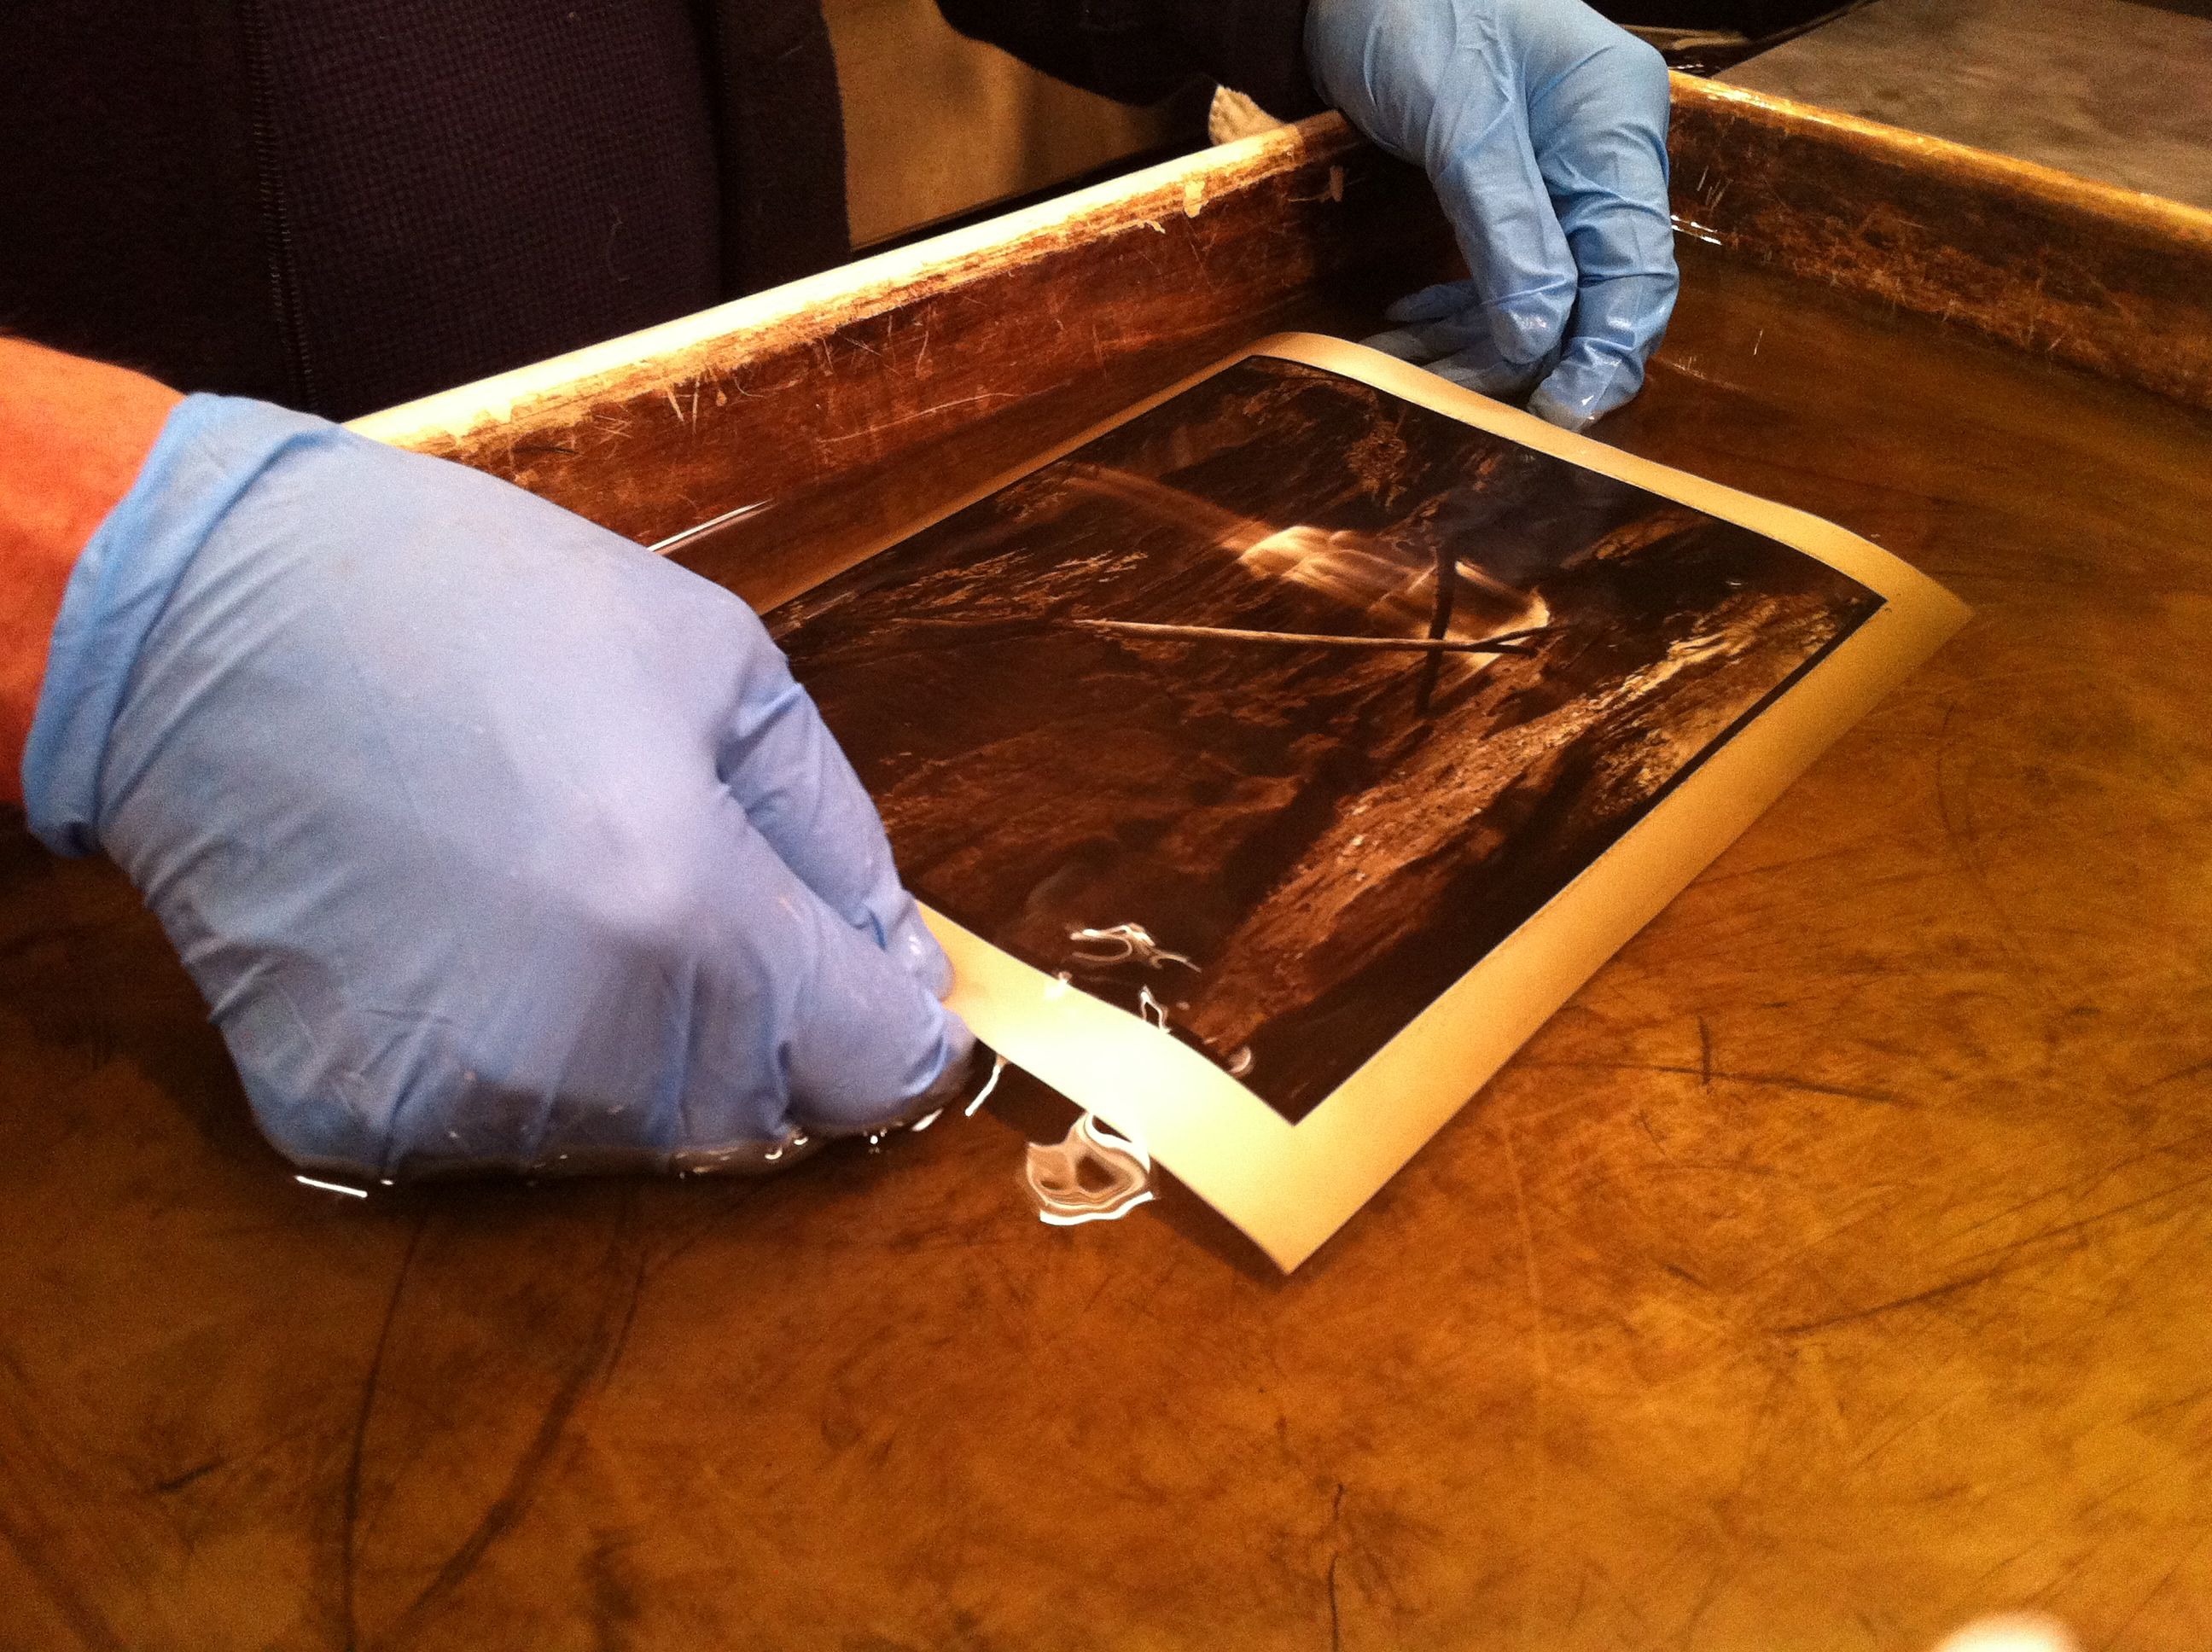
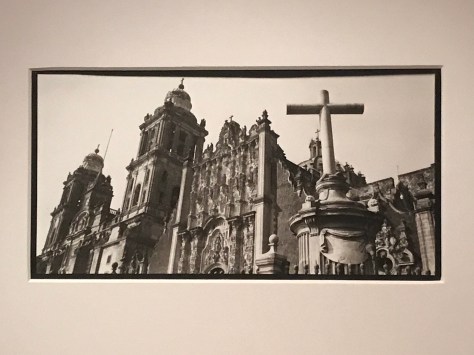
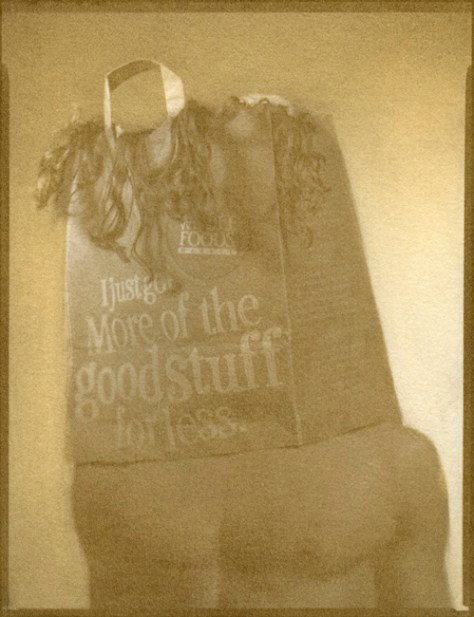
Examples of past student work from digitally enlarged negatives:

img_7948img_7947-1

Prints and digitally enlarged negatives


Intro to Platinum/Palladium Printing – class conclusion

The last two weekends, I’ve been teaching an Intro to Platinum/Palladium Printing class. In the past, I’ve only taught it from film negatives, but this time I did it with a module on making digitally enlarged negatives as well. It was a rousing success- I had a great time teaching it, and I had some very enthusiastic students, all of whom were very seriously interested in continuing with the medium.

Last week, we started out learning basic coating technique, talked a bit about paper selection, and the importance of a good negative to work from. To expedite the process, I provided students with negatives that were already processed for platinum/palladium printing.

Prints from week 1 – in-camera film negatives
5×7 palladium print – steam locomotive 

This week we covered making images from digitally enlarged negatives. I had students bring in a selection of images on thumb drives and we picked one or two to make negatives with. Here are my assembled students with finished prints from our digital negative printing session. The prints are much warmer in color in this photo than they are in real life because I took this on my iPhone in mixed lighting.


Students holding prints

A better representation of some student prints. We also tried doing Ziatypes (a variation on palladium printing that is a printing-out process rather than a developing-out process, and by default has a much cooler, silvery tone to it than a pure palladium print does). The two images in the center row – left center and dead center – are Ziatype variations. The woman’s portrait was from a 40+ year old in-camera 8×10 negative not specifically developed for alt-process printing, but it worked quite well. The soft edges are from the fact that the negative was not processed archivally and is starting to silver out.

A selection of prints from digital negatives – the two left-center and center prints are Ziatypes, a variation on Palladium printing


Upcoming Classes

I have two upcoming classes this spring at Glen Echo Photoworks, Introduction to Large Format Photography, and Introduction to Platinum/Palladium Printing. I’ve scheduled them so that students of Intro to Large Format can have somewhere to go with their new camera skills. Intro to Large Format runs March 11th – April 22. The course covers what you need to know to take advantage of the medium – we start with the basics of the cameras themselves – different camera types, their parts and how they work, why to choose one type over another, lenses and lens selection. We move on to film selection and film handling, loading film and developing it. There are modules on portraiture, still life/tabletop, landscape and architecture. For the Architecture module we’ll do a field trip down to the National Cathedral.

The Family – my set of student cameras (L to R): Speed Graphic, Sinar F, Sinar A1. The 5×7 Sinar Norma you see peeking in on the right is a personal camera.

Due to student interest, I’ve acquired several cameras for student use in-class. If the popularity continues, I’ll look into getting one or two more and setting up a rental program to allow students to check out cameras for the duration of the class.

The next class is Introduction to Platinum/Palladium Printing. I will be including a module on making and using digitally enlarged negatives for platinum/palladium printing with this course. This class runs May 5th and May 12th. This course covers the history of the medium, materials and techniques. We discuss the various tools for making prints – brushes vs coating rods, UV light sources (the sun, black-light fixtures, other options). We go over paper selection and paper handling. In this intro class we will make palladium prints because palladium is the easier medium to work with, but we will discuss and demonstrate the differences between platinum and palladium. Contrast control techniques will also be covered, and developer chemistry as well. We will work from both in-camera negatives that we make that weekend, and from digital files students bring and/or create from scans.

TeotihuacanPtPdPrint
Pyramids, Teotihuacan – palladium print 4″ x 8″ enlarged on Pictorico OHP using an Epson 3880 printer with Ultrachrome K3 inks from a 6cm x 12 cm in-camera negative

To register for the classes, click on the links below:

Introduction to Large Format, March 11-April 22   –  $250

Introduction to Platinum/Palladium Printing May 5 and 12  –  $250 plus $50 lab fee


Digital Palladium Sous-Vide

I felt the need to get back into the darkroom and do some printing lately. And I was inspired by watching an instructional video from Bostick & Sullivan on making digitally enlarged negatives for alternative processes, specifically Platinum/Palladium.

I was familiar with the basics of the process, having read multiple books and web tutorials on the subject. What has always tripped me up was the process of creating my own adjustment curve. Well, the generous folks from B&S have put the curve they use on their website to download and use after running the video tutorial. I figured I would give their curve a try.

PtPdTeotihuacan
Pyramids at Teotihuacan, Mexico

This is the first print I made with their curve. The original is a 6x12cm negative shot on Ilford FP4+ black and white film using my Lomo Belair X/6-12 camera. I followed their instructions in the video to the letter, including using a quantity of NA2 contrast agent.

They also mentioned adjusting the ink density down a bit to keep contrast under control. Well, I like the idea of printing pure palladium without adding any NA2 because the NA2 alters the color tone of the prints and makes them cooler.

PtPdPennaAve
Pennsylvania Avenue, looking east

I made the negative for this image (and the following image of the National Gallery of Art) without reducing the black ink, and not using any NA2. I think the balance worked out well – the contrast is where it needs to be, and the color tone remains nicely warm.

PtPdNatGallery
Staircase, West Wing, National Gallery of Art

This staircase was a true test of the capability of digital negatives to render the subtlety of tone possible in a palladium print. I’d say it passed with flying colors. The tone remains rich, warm chocolate, the highlights are delicate and creamy, and there’s surprising detail down into the shadow tones.

My apologies for the image scans – they’re direct scans of the prints, and my scanner picks up paper texture to a degree not visible to the unaided human eye (I can see texture only under a loupe that may be visible in the scan).

So where does the sous-vide in the title come in? Another long-standing issue with the process is that the Potassium Oxalate (PotOx) developer is happiest at around 130 degrees F. I can get water close to that hot out of my tap to use as a tempering bath, but within a short while it returns to room temperature. I found this sous-vide machine and the 18 quart bucket on Amazon for under $100. I put them to use this morning and if the above three prints are anything to judge by, they’re staying in my darkroom! The prints are amazingly consistent from print to print (it took me about 3 hours this morning to get all three prints done, but the developer remained at a constant temperature throughout).

Sous-vide machine heating developer

Something interesting about developer for platinum/palladium printing – unlike film or paper developer, this stuff never really goes bad. Your total volume will drop with use, but that is solvable by replacing lost developer with additional fresh developer. The bottle on the left is the first ever bottle of Potassium Oxalate I bought – I’ve just been replenishing it and filtering it as needed for over a decade now.

Old developer – old but still good!

Technical notes:

Prints are 100% palladium, 6 drops each Palladium / Ferric Oxalate #1. Developer is Potassium Oxalate, 130 F, 2 minutes. Paper is Bergger COT320. Negatives are enlarged onto Pictorico OHP ultra-premium transparent inkjet medium on an Epson 3880 with K3 Ultrachrome inks. All three prints are 4″ x 8″.

Intro to Platinum/Palladium Printing, Day Two- First Printing Session

This weekend was module one of two in my revised Intro to Platinum/Palladium Printing class. Module One covered making images from in-camera film negatives. Yesterday we went out in the park at Glen Echo and shot some film with my 5×7. This first image is one of the student prints from that outing – the rocks and water in the stream that runs through the park.

Rocks, Stream, Glen Echo Park

This second shot is a happy accident – one of my students wanted to do portraits, and shot this and another one (which we didn’t print) of two classmates. What we didn’t realize at the time, which was very much my fault, was that those two sheets had previously been exposed by me on an outing with my Intro to Large Format class to the National Cathedral, but not developed. So we had two negatives of students in the woods superimposed on the facade of the National Cathedral. In the other one, the student’s face was obscured by the rose window, but here it works well. We were joking that it would make a great political campaign photo.

Happy Accident - Double Exposure
Happy Accident – Double Exposure

Here are my students busy coating paper and working hard.

Students Coating Prints

Another faculty member had been given this UV exposure unit by one of our long-time patrons, Grace Taylor. Grace is now retired from photography as she’s in her late 90s, and had given it to him when she stopped printing. At the time he passed it along to me, he said it might have an electrical issue and so may or may not work properly. I was leery therefore, but determined to give it a try. If it didn’t work, I would still have a fallback option of the blacklight compact fluorescent fixture I’ve used before. Fortunately, not only did it work, but it worked well. It gave us very fast exposure times (3 minutes was our base exposure, instead of the 6.5 I normally get with my own unit or the 7-9 we were getting with the CF fixture). So Grace, if you’re aware of this, a big thanks for your UV unit, it has found a new home and is once again being productive!

Grace Taylor's Old UV Unit in Action
Grace Taylor’s Old UV Unit in Action

This was another student image, this time one that one of the students brought in, from a digital negative she had made herself. The shot is an interior of one of the hotel rooms at the Chateau Mormont in Los Angeles. This foreshadows next weekend’s module, making digitally enlarged negatives for alt process printing. She had made this negative using the Dan Burkholder method, including using the printer adjustment curve he supplied as a download. The curve he supplied is a good baseline starting point, but as we saw in several tweaks of the print through the day, using someone else’s curve is not a true substitute for making your own.

Chateau Mormont Interior - Digital Negative
Chateau Mormont Interior – Digital Negative

I’ll have the students work through making their own curves next Saturday, and then we’ll make some digital negatives of our own and print from them. I’m having them use Ron Reeder’s book, Digital Negatives for Palladium and other Alternative Processes as the textbook for the digital negative process, specifically focusing on creating adjustment curves rather than using QTR to interpret the adjustments needed to create the negative. Ron covers both techniques in his book, and going through the ordeal of making a QTR to adjust the printer output has the advantage of being non-destructive to your digital file (meaning that it doesn’t make any permanent changes, so you don’t have to create multiple files to print negatives for each alternative process you want to use), but for all but the computer-geekiest of folks, it’s way too intimidating.

I have a great crop of students this time (well, I almost always do!) and I think I’m having at least as much fun as they are!

Intro to Platinum/Palladium printing – now with Digital Negatives! September 19-20, 26-27

I’m going to be running my Intro to Platinum/Palladium Printing class again this fall, with an expansion into making digitally enlarged negatives. The new class will be a two-weekend course, September 19th & 20th, 26th & 27th. The 26th will be from 1-5 pm due to a morning scheduling conflict, but the rest of the sessions will be from 10 am – 4 pm.

Platinum/palladium is the catchall term for two chemically interchangeable but visually distinct printing processes first pioneered in the 1870s by William Willis. As the names imply, they use platinum and palladium as their primary metal salt in image formation. A platinum print will be more of a cool gray tone with higher contrast, and a palladium print will be more of a rich chocolate-brown tone with lower contrast. They are capable of producing very long tonal scales, rendering very fine gradations, therefore needing very little if any manipulation during printing. Platinum/Palladium are also among the most archivally stable printing processes – when properly processed and displayed, your prints will last as long as the paper underneath them.

More of the Good Stuff

I traditionally have limited the class to working from in-camera negatives because I want to give people the best possible opportunity to start by making successful prints. As a friend of mine, Ian Leake, puts it in the new edition of his book on Platinum/Palladium printing, “it is possible to make a successful print from a problematic in-camera negative, but it is extremely difficult to make an even marginally successful print from a problematic digital negative” (I’m paraphrasing here).

The addition of making digitally enlarged negatives opens up the process to a whole new range of photographers, as shooting large format is both an encumbrance and a cost that is not for everyone. We will still begin the class with a full weekend of making in-camera film negatives and printing from those negatives. For that class, I will supply the camera and the film. We’ll make our images in and around the park, process the film, and then spend the next day printing.

Glen Echo Midway
Glen Echo Midway

The second weekend will be devoted to making digitally enlarged negatives and printing from them. We will cover scanning, preparing your file, and printing the negative. I have a required text for the course, Ron Reeder’s “Digital Negatives for Palladium and Other Alternative Processes” which you can order on Amazon. Ron gives a very concise, clearly illustrated and explained step-by-step for how to produce a proper digitally enlarged negative, tailored to the process you want to print with. His technique is not limited to platinum/palladium, but once learned can be applied to any and all alternative processes.

To register for the class, click the link below.

Register for the class

Student work – from my Advanced Platinum Printing course

Just wanted to post a print made by one of my students, from my Advanced Topics in Platinum/Palladium printing. The advanced topics class covers contrast control techniques, working with different papers, making digital negatives, and gum-over-platinum prints. This was made from a digital negative we created in class from a medium-resolution JPEG! I’m impressed. Patrick will have a print to be proud of as a result of this class.

Orthodox Cathedral, by Patrick Brown

By the way, I will be re-running my Intro to Platinum/Palladium course at Photoworks, October 20-21. If you are interested, please sign up now, while there’s still room!

Digital negatives in Palladium

Here is the first print in a series I’m working on. I’m going back through some negatives I made in 2004 with my Hasselblad on a trip to Spain. This shot is the cathedral in Salamanca, or more specifically, both cathedrals – the Romanesque and the Late Gothic/early Baroque, which oddly enough was built into the older cathedral instead of replacing it. I forget the reasoning off the top of my head. After I get a half-dozen or so printed, they will be going to a new gallery in Charlottesville, Virginia called Manu Propria, which specializes in handmade photography. The print is palladium, made on Bergger COT320 pre-treated with fumed silica.

20120607-220131.jpg

More photos from the Connecticut weekend

I don’t think it is obvious from these pictures, but one of the most striking qualities of carbon prints is the high relief surface. They look as much like etchings or engravings as they do photographs. This is caused by the hardening of the gelatin during exposure. Gelatin areas hardened retain their pigment and maintain density. Areas unexposed dissolve during development, leaving a void in the surface.

Photo Weekend in Connecticut

This past weekend I went up to Rocky Hill, Connecticut (just outside Hartford) to attend a two-day, three evening seminar and get-together, sponsored by the New England Large Format Photography Collective (NELFPC). The main theme of the weekend was to learn about digital negative making and carbon printing. The side benefit was most people brought examples of their current work to share and show after hours. What a terrific weekend! Our instructor for the weekend was Sandy King, an elder statesman for the chemical wet darkroom. A specialist in carbon printing, he is also the inventor of Pyrocat-HD (and its variants), a film developer with special benefit for people working in antique and historic photo processes.

Day one began with displays of some of Sandy’s carbon prints, and a discussion of digital negative making. Sandy does still use ultra-large format cameras from time to time (he has a 20×24 with 12×20 and 10×24 reducing backs), but he mostly travels with medium format gear and then scans his film to enlarge it digitally. He demonstrated the Precision Digital Negatives system for making digitally enlarged negatives, and discussed the benefits and flaws. He then discussed the QTR (Quad Tone RIP) method which has significant advantages over the PDN system, but is far more user-unfriendly to configure. We then scanned some film and made digital negatives to print from the next day.

After all the computer wonkery was finished for the day, dinner was served and the prints to show came out. I showed my two bodies of work, the platinum/palladium travel shots and the male nudes in gum and platinum I’ve been working on. Both series drew a lot of comments and praise, which was very nice. I was especially tickled when certain individuals who I hold in very high esteem made a point of complimenting me in private.

The next day we got down to the business of printing. Carbon is water-activated, like gum bichromate, and uses the same dichromate as a sensitizer. To make a carbon print, you first coat a gelatin and pigment (india ink mixed to taste with other pigment(s) to adjust the tone warmer or cooler) layer on a thin, flexible but non-absorbent medium (mylar or other similar material). This is your donor tissue. You then sensitize it with an ammonium dichromate and alcohol mix, dry it in a cool, dark place, then sandwich it with your negative, emulsion to emulsion, then expose to UV light. After exposing, you put your receiver paper (it can be anything from art papers to fixed-out silver gelatin paper) in a water bath, allow it to swell. After a minute, put the exposed carbon tissue in the water and sandwich it to the receiver paper. continue for another minute and a half or so, then take it out of the water. GENTLY separate the two, then place the receiver in another bath of warm water. You’ll see the image come up in the water bath. You can use a clearing bath as well, but it is not required. The clearing bath will greatly reduce washing time though, so it is a good idea.

To me, while learning carbon printing from a master printer was an awesome reason to travel 400 miles, the bonus that made it worth the effort was meeting the people who attended. Steve Sherman (the beyond generous host – we used his gigantic and brilliantly designed darkroom for the printing sessions and his living room for the show-and-tell sessions, general hanging out, and consuming all the amazing food), Gene LaFord, Dave Matuszek, Jack Holowitz, Glenn and Marie Curtis, Sandy King, Jim Shanesy and Diwan Bhathal (fellow Washingtonians and my travel pals for the trek up and back), Alex Wei, Armando Vergara, Robert Seto, Tim Jones, Paul Paletti just to name a few all made the weekend a really enjoyable experience and I am dying for the next one!

In the group photo, the one on the right, Sandy King is the one with the rolleiflex in his lap – which happens to be my rolleiflex. When I can get the negatives from the trip scanned, I’ll post some shots here.