Tag Archives: Intro to Platinum/Palladium

U Street Graffiti – Palladium Print

In my latest iteration of my Intro to Platinum/Palladium printing class, I dug up some old negatives I had made, since my student this time was sufficiently skilled with wet darkroom processes and not interested in getting into shooting large format (in my standard group class, we take my Canham 5×7 out around Glen Echo and make a dozen or so negatives for students to work from). This was a print from that session.

UStreetGraffitiPtPd

It’s a memorial to the transitions on U Street. This is graffiti art that has since been obliterated by gentrification and re-development – the alley where this was has been re-graffiti’d, but with “sanctioned” artwork a bit more sanitized and easier to interpret.

This print is a 5×7 palladium print. The usual chocolate-brown color is missing because I gave this emulsion mix a shot of NA2 contrast agent to give it a bit more snap. The NA2 contains platinum, which is what cools off the image and makes it more neutral. If you’d like to learn how to print this way, contact me through the blog and we can schedule a class, either one-on-one or I can fit you in to an upcoming class at Glen Echo Photoworks.

Private Tutorial – Platinum/Palladium Printing

I recently completed a one-on-one private tutorial in Platinum/Palladium printing with Mat Marrash, who you may know of if you listen to The Film Photography Podcast. I’ve known Mat for several years now, having met him at Photostock in 2013. He’s an extremely gifted photographer who mostly works with an 8×10 view camera, and does a lot of work with infrared film. Mat knows a lot of the same folks I know in the alternative process field, including people I’ve learned from, so I was deeply flattered that he chose me to learn from.

Mat With First Print

Yes, Mat is a very talented photographer in his own right so a lot of what we did in this session was easy for him. BUT, he did make it challenging by starting off working from 8×10 inch negatives, instead of starting with 5×7 (the smaller size is easier to coat evenly when you’re new to the process, and costs 50% less per print). I want to show this as this was his first ever (!!!!) palladium print. We hit the first one dead on, out-of-the-ballpark, ready to frame and go up on the wall. This extremely beautiful process is quite easy to learn and should not be intimidating to anyone interested.

And here is his second ever print, which added another wrinkle – the negative he used was one he had previously shot, not planning to make a palladium print with it. We developed all his film, the negatives we made that weekend along with some other negatives he had made previously, using the development regimen I use for my work, and we were able to produce some excellent prints even from those other negatives.

Mat's Second Print
Mat’s Second Print

Private one-on-one tutoring can be arranged at any mutually convenient time, and can cover a wide range of topics either specialized for fine-tuning your process or just a deep hands-on introduction to the process. Contact me for details on pricing and scheduling – as this is an a-la-carte arrangement, I need to know what you are looking for in order to give a quote. Tuition will include your own set of chemistry and any paper we use in the class.

I’m offering my group class at Glen Echo Photoworks next weekend, December 10-11, if you are interested in getting your feet wet without committing to a one-on-one workshop, This is the perfect opportunity. Tuition is a very modest $250 plus $50 materials fee (chemistry, paper, and all instructional materials). The class runs from 10 AM – 4 PM Saturday and Sunday. You can register here at the Glen Echo Park website.

Intro to Platinum/Palladium Printing, Day Two- First Printing Session

This weekend was module one of two in my revised Intro to Platinum/Palladium Printing class. Module One covered making images from in-camera film negatives. Yesterday we went out in the park at Glen Echo and shot some film with my 5×7. This first image is one of the student prints from that outing – the rocks and water in the stream that runs through the park.

Rocks, Stream, Glen Echo Park

This second shot is a happy accident – one of my students wanted to do portraits, and shot this and another one (which we didn’t print) of two classmates. What we didn’t realize at the time, which was very much my fault, was that those two sheets had previously been exposed by me on an outing with my Intro to Large Format class to the National Cathedral, but not developed. So we had two negatives of students in the woods superimposed on the facade of the National Cathedral. In the other one, the student’s face was obscured by the rose window, but here it works well. We were joking that it would make a great political campaign photo.

Happy Accident - Double Exposure
Happy Accident – Double Exposure

Here are my students busy coating paper and working hard.

Students Coating Prints

Another faculty member had been given this UV exposure unit by one of our long-time patrons, Grace Taylor. Grace is now retired from photography as she’s in her late 90s, and had given it to him when she stopped printing. At the time he passed it along to me, he said it might have an electrical issue and so may or may not work properly. I was leery therefore, but determined to give it a try. If it didn’t work, I would still have a fallback option of the blacklight compact fluorescent fixture I’ve used before. Fortunately, not only did it work, but it worked well. It gave us very fast exposure times (3 minutes was our base exposure, instead of the 6.5 I normally get with my own unit or the 7-9 we were getting with the CF fixture). So Grace, if you’re aware of this, a big thanks for your UV unit, it has found a new home and is once again being productive!

Grace Taylor's Old UV Unit in Action
Grace Taylor’s Old UV Unit in Action

This was another student image, this time one that one of the students brought in, from a digital negative she had made herself. The shot is an interior of one of the hotel rooms at the Chateau Mormont in Los Angeles. This foreshadows next weekend’s module, making digitally enlarged negatives for alt process printing. She had made this negative using the Dan Burkholder method, including using the printer adjustment curve he supplied as a download. The curve he supplied is a good baseline starting point, but as we saw in several tweaks of the print through the day, using someone else’s curve is not a true substitute for making your own.

Chateau Mormont Interior - Digital Negative
Chateau Mormont Interior – Digital Negative

I’ll have the students work through making their own curves next Saturday, and then we’ll make some digital negatives of our own and print from them. I’m having them use Ron Reeder’s book, Digital Negatives for Palladium and other Alternative Processes as the textbook for the digital negative process, specifically focusing on creating adjustment curves rather than using QTR to interpret the adjustments needed to create the negative. Ron covers both techniques in his book, and going through the ordeal of making a QTR to adjust the printer output has the advantage of being non-destructive to your digital file (meaning that it doesn’t make any permanent changes, so you don’t have to create multiple files to print negatives for each alternative process you want to use), but for all but the computer-geekiest of folks, it’s way too intimidating.

I have a great crop of students this time (well, I almost always do!) and I think I’m having at least as much fun as they are!

Upcoming Classes at Glen Echo – Intro to Platinum/Palladium selling out!

Just wanted to put out a reminder about my upcoming classes at Glen Echo. My Intro to Platinum/Palladium class is almost sold out – five of six slots have been taken already.

Studio Theater, 14th Street, Night

This is a new formulation of this class for me – two weekends instead of one, and the second weekend is a module on making digitally enlarged negatives for platinum/palladium printing. The first weekend we will make in-camera negatives for platinum/palladium printing, and learn about what will make a good composition for the medium. We will process those negatives and print them the first weekend. The second weekend will be devoted to making digitally enlarged negatives. Students are advised to get the Ron Reeder book on making digitally enlarged negatives in advance so they will have it in hand in time for the digital negative module.

I am also running an intro to studio lighting class from October 28 to December 2. We will cover basics of light in the studio, from a single hot light (there is only one sun!) to a multiple light strobe environment. We’ll also cover light modifiers from basic reflectors to umbrellas, soft boxes to Fresnel lights.

Studio setup #2
Studio setup #2

One of the biggest challenges working in the studio, especially for folks coming in for the first time from shooting natural light, is that there is no light in the studio but what you put in it. You have total control, and therefore you also have total responsibility for what gets captured. This course will help you learn to see light and how it creates form and volume, and how to control it for contrast and texture.

To register for the Intro to Platinum/Palladium class, click here: Intro to Platinum/Palladium

To register for the Intro to Studio Lighting class, click here: Intro to Studio Lighting

Intro to Platinum/Palladium printing – now with Digital Negatives! September 19-20, 26-27

I’m going to be running my Intro to Platinum/Palladium Printing class again this fall, with an expansion into making digitally enlarged negatives. The new class will be a two-weekend course, September 19th & 20th, 26th & 27th. The 26th will be from 1-5 pm due to a morning scheduling conflict, but the rest of the sessions will be from 10 am – 4 pm.

Platinum/palladium is the catchall term for two chemically interchangeable but visually distinct printing processes first pioneered in the 1870s by William Willis. As the names imply, they use platinum and palladium as their primary metal salt in image formation. A platinum print will be more of a cool gray tone with higher contrast, and a palladium print will be more of a rich chocolate-brown tone with lower contrast. They are capable of producing very long tonal scales, rendering very fine gradations, therefore needing very little if any manipulation during printing. Platinum/Palladium are also among the most archivally stable printing processes – when properly processed and displayed, your prints will last as long as the paper underneath them.

More of the Good Stuff

I traditionally have limited the class to working from in-camera negatives because I want to give people the best possible opportunity to start by making successful prints. As a friend of mine, Ian Leake, puts it in the new edition of his book on Platinum/Palladium printing, “it is possible to make a successful print from a problematic in-camera negative, but it is extremely difficult to make an even marginally successful print from a problematic digital negative” (I’m paraphrasing here).

The addition of making digitally enlarged negatives opens up the process to a whole new range of photographers, as shooting large format is both an encumbrance and a cost that is not for everyone. We will still begin the class with a full weekend of making in-camera film negatives and printing from those negatives. For that class, I will supply the camera and the film. We’ll make our images in and around the park, process the film, and then spend the next day printing.

Glen Echo Midway
Glen Echo Midway

The second weekend will be devoted to making digitally enlarged negatives and printing from them. We will cover scanning, preparing your file, and printing the negative. I have a required text for the course, Ron Reeder’s “Digital Negatives for Palladium and Other Alternative Processes” which you can order on Amazon. Ron gives a very concise, clearly illustrated and explained step-by-step for how to produce a proper digitally enlarged negative, tailored to the process you want to print with. His technique is not limited to platinum/palladium, but once learned can be applied to any and all alternative processes.

To register for the class, click the link below.

Register for the class

Upcoming classes at Glen Echo Photoworks, Glen Echo, Maryland

I’m offering three classes coming up this fall/winter at Glen Echo Photoworks, a center for creative photography and photographic education at Glen Echo Park in Glen Echo, Maryland, just outside Washington DC.

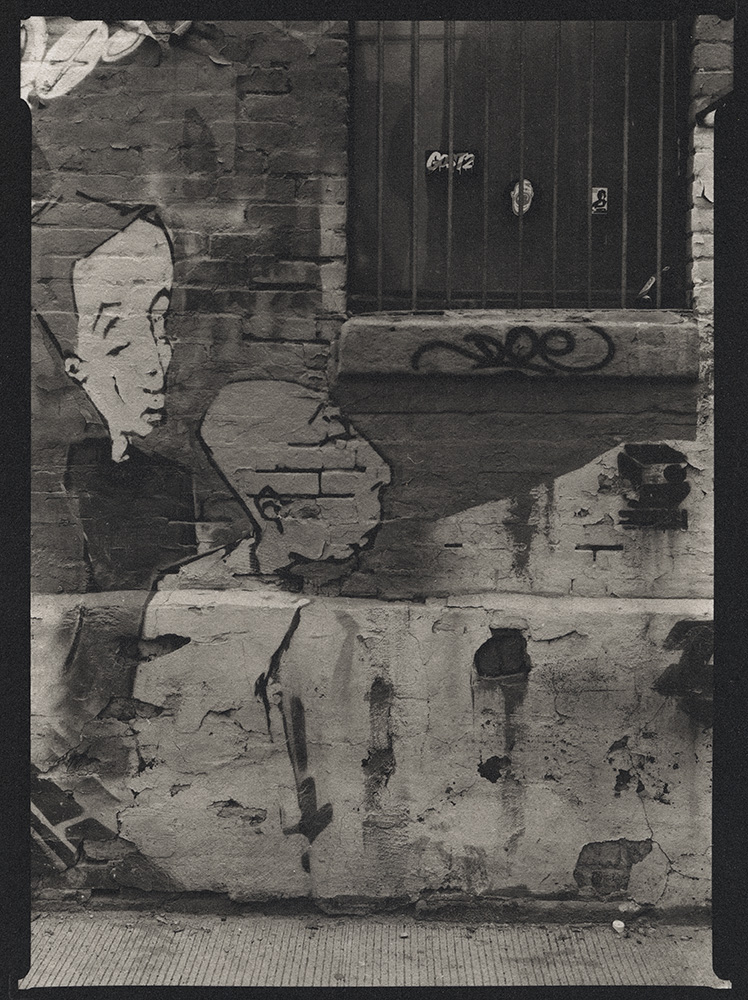
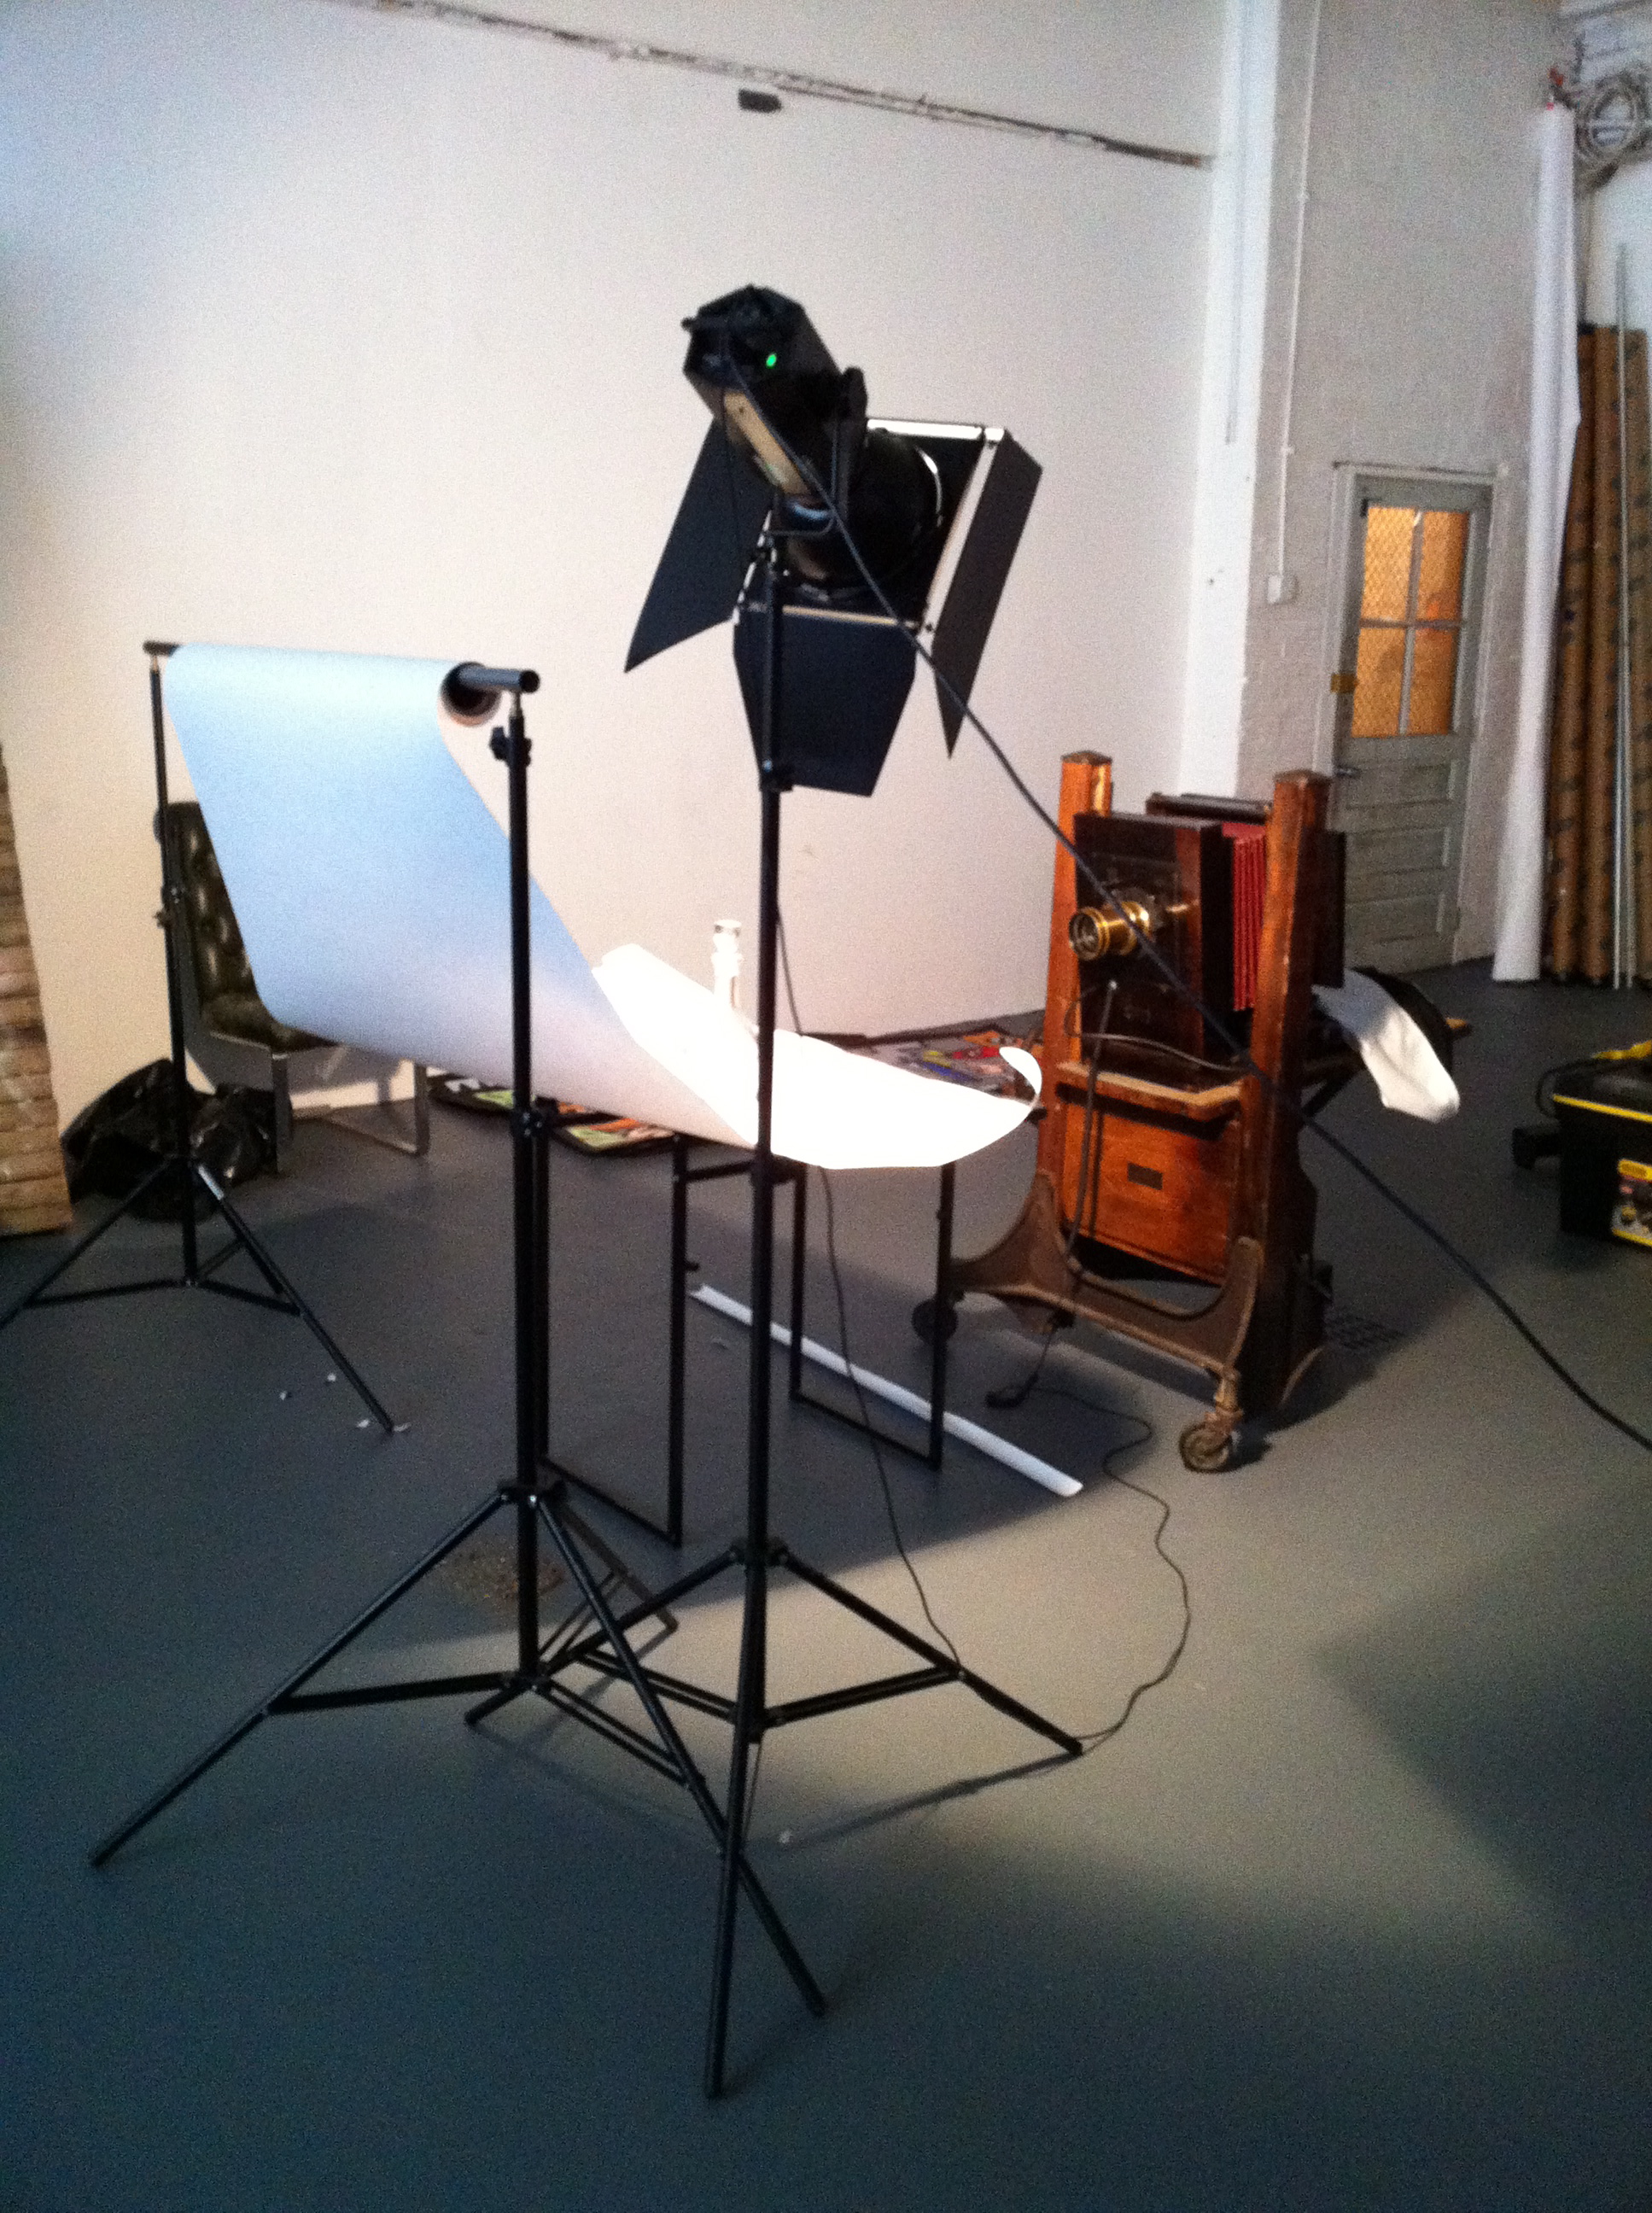
The Male Figure in Narrative Photography 9/19 – 11/7/2014 Fridays, 7-10pm

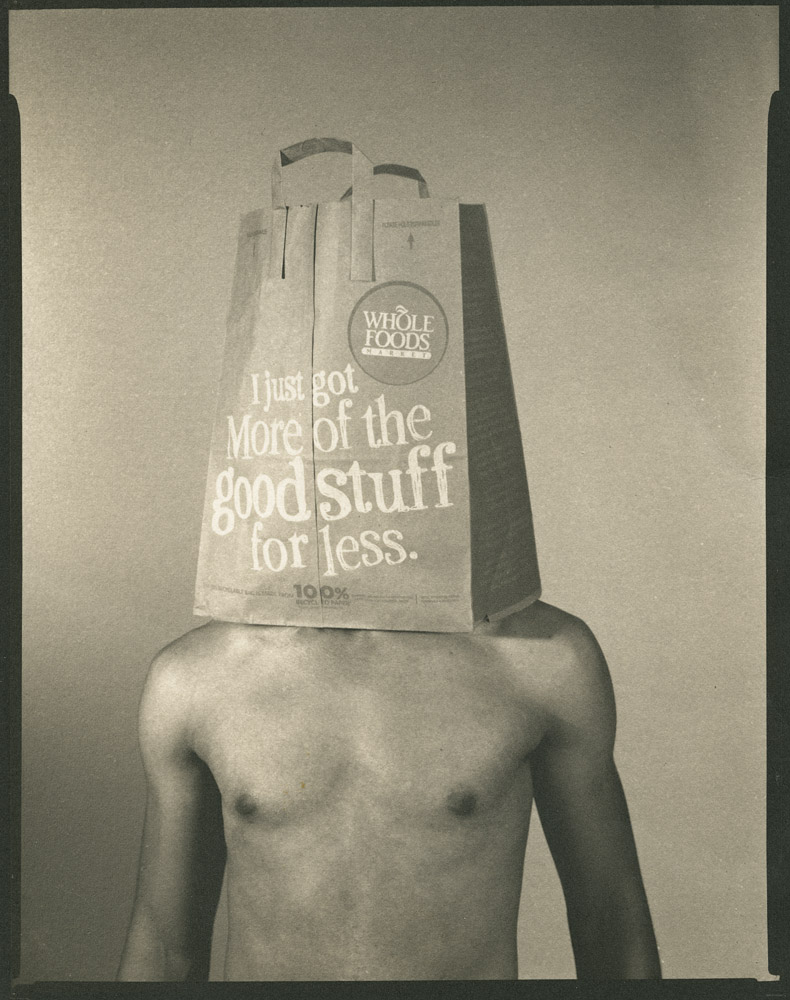
Go beyond standard figure studies. Research historical context and learn to use the male nude form to tell a story in a series or just a single frame through posing, lighting, using props and capturing emotions. What is “narrative photography”? Narrative tells a story either in a series, or a single image. From the earliest days, photographers have been using the male figure to tell a story in their work, be it as a stand-in for himself (Hippolyte Bayard) to express his response to criticism, to confronting eroticism and gender confusion in the world of Latin American bullfighting (Reuven Afanador) or a tool to process inner personal anxieties (Connie Imboden). This course will examine the use of the male nude in narrative photography. We will use examples from historical and contemporary photographers as a background to inform and inspire our own work. Students will be encouraged to create both single image and serial narratives to take their work beyond mere figure studies. We will also discuss issues relating to gender and sexuality with regards to the use of the male nude. We will cover understanding of the male form, posing, basic lighting, the use of props, and basic nude model etiquette. Students will be expected to know how to use their cameras, light meters, and how to process and present their own images. Weekly research topics will be assigned. There will be three shoots with one or more models, plus classroom instruction and discussion sessions. $350, plus $150 model fee.

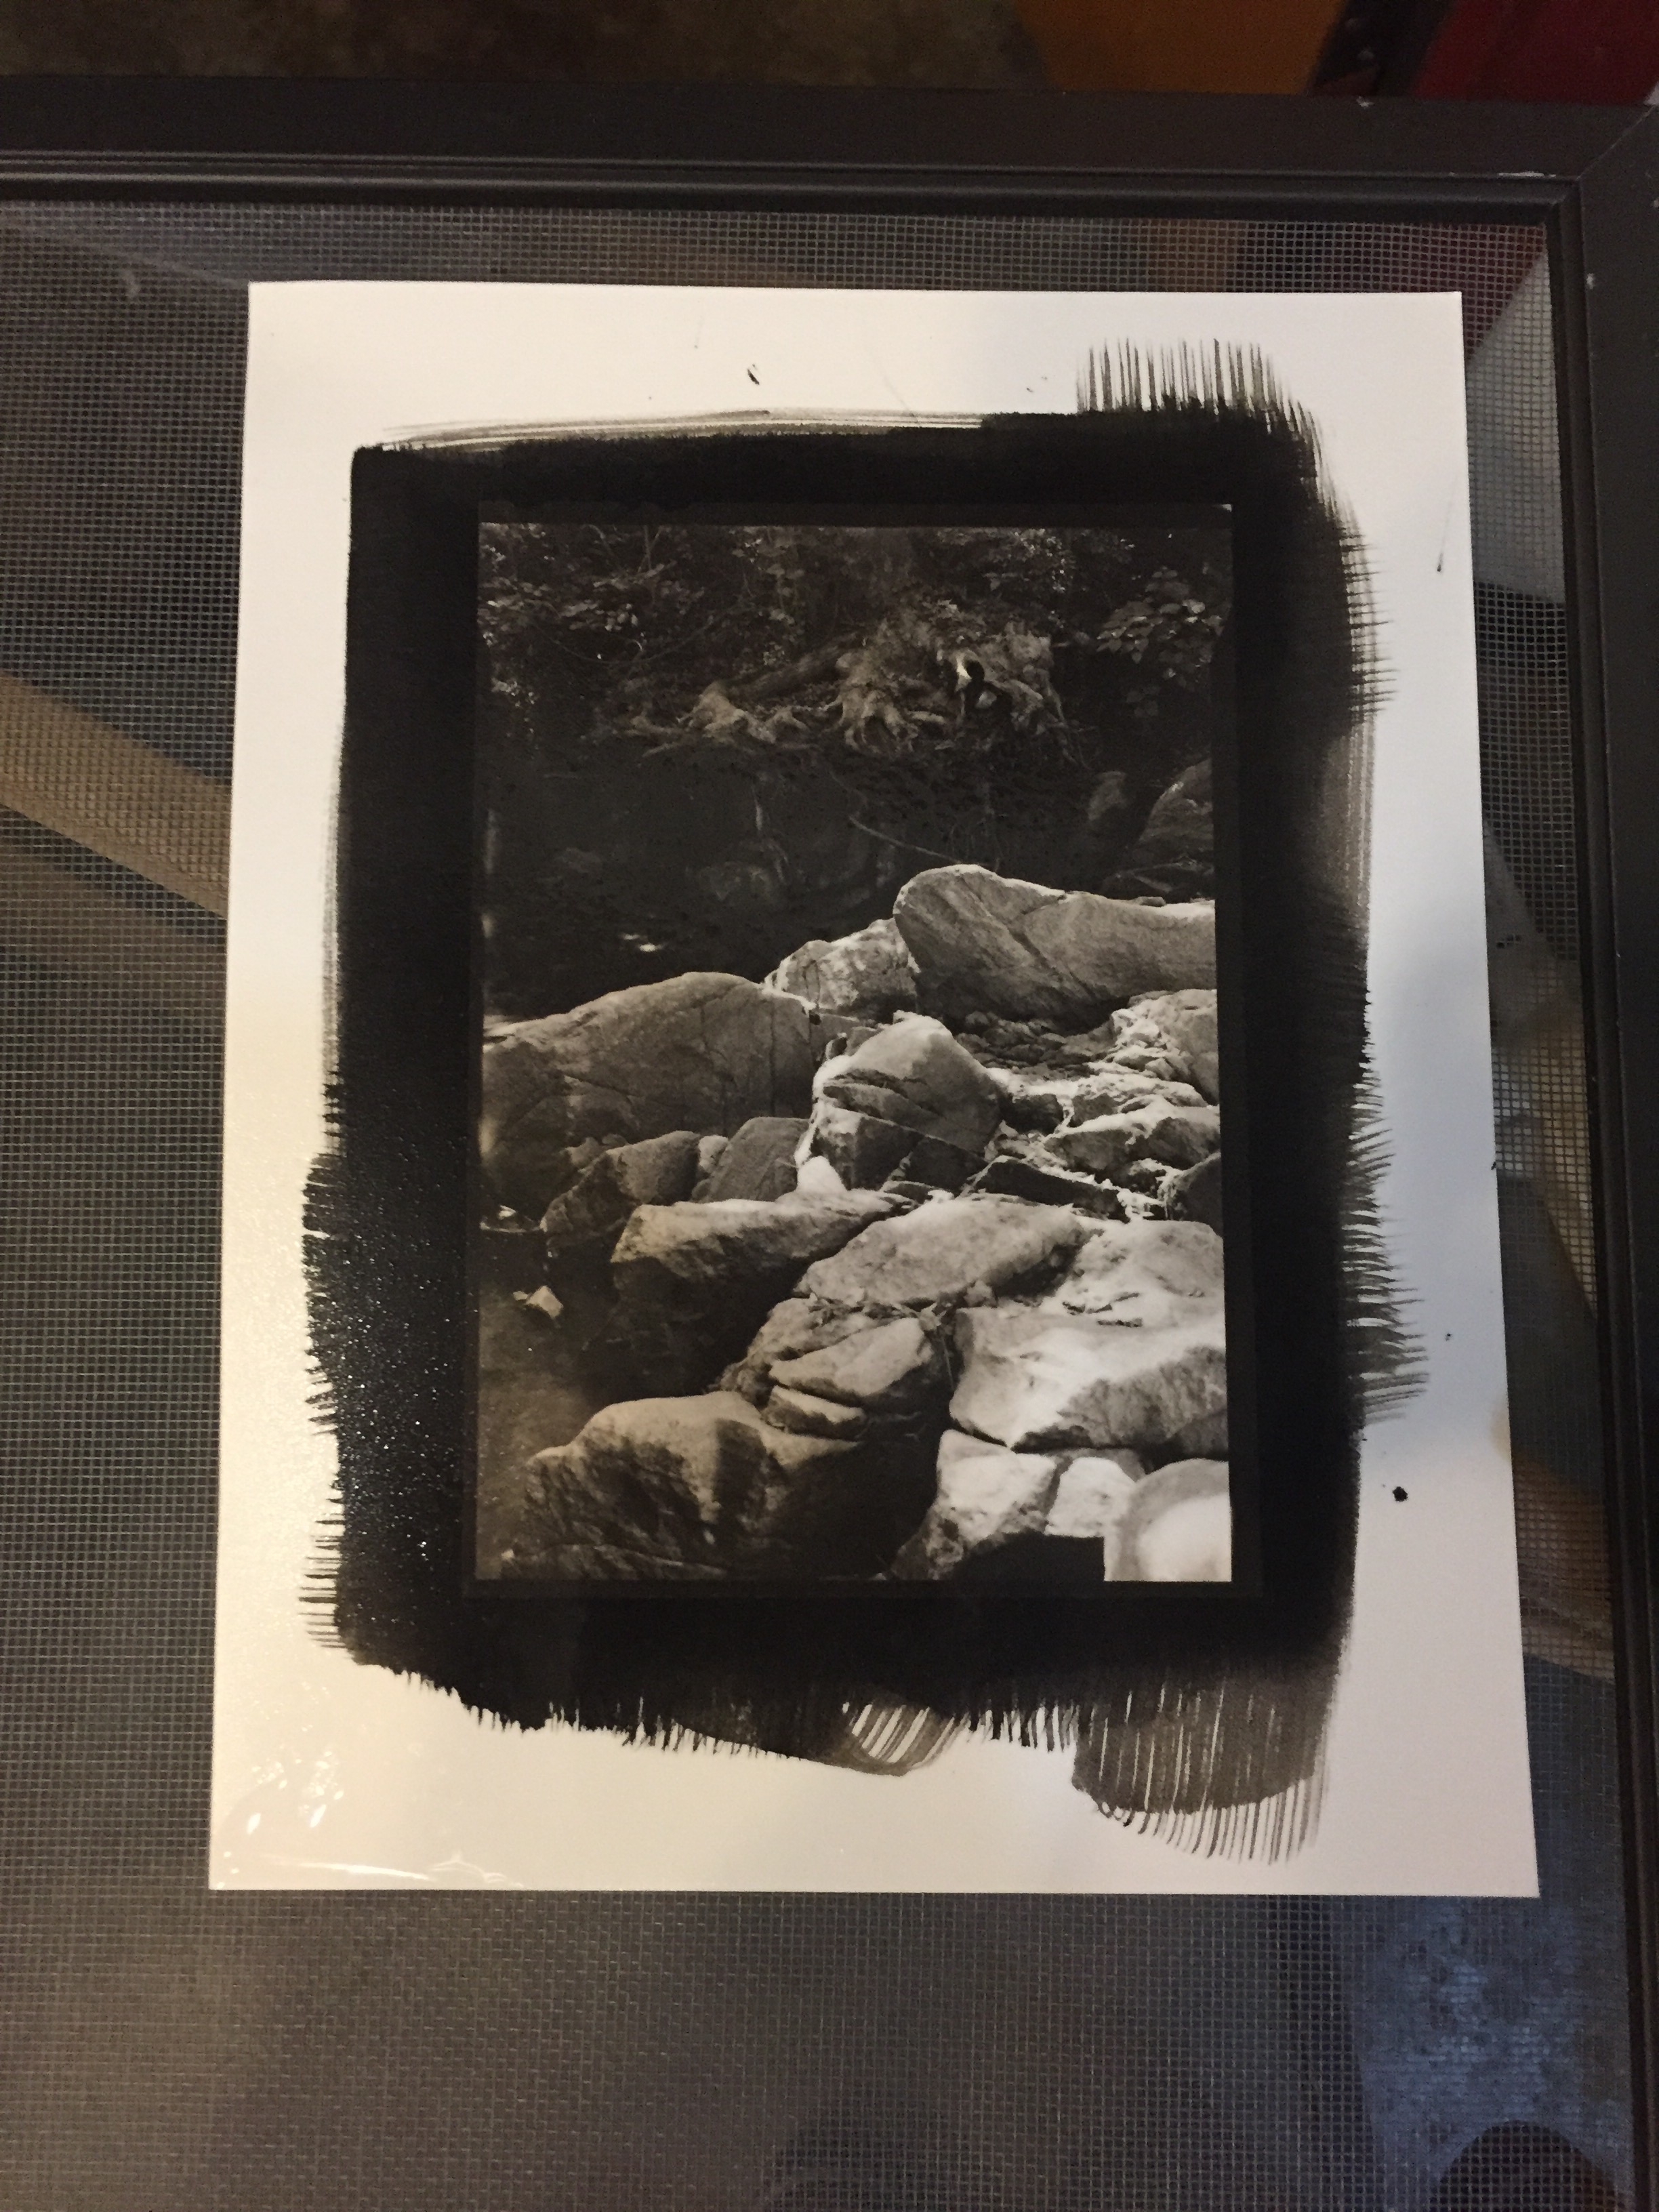
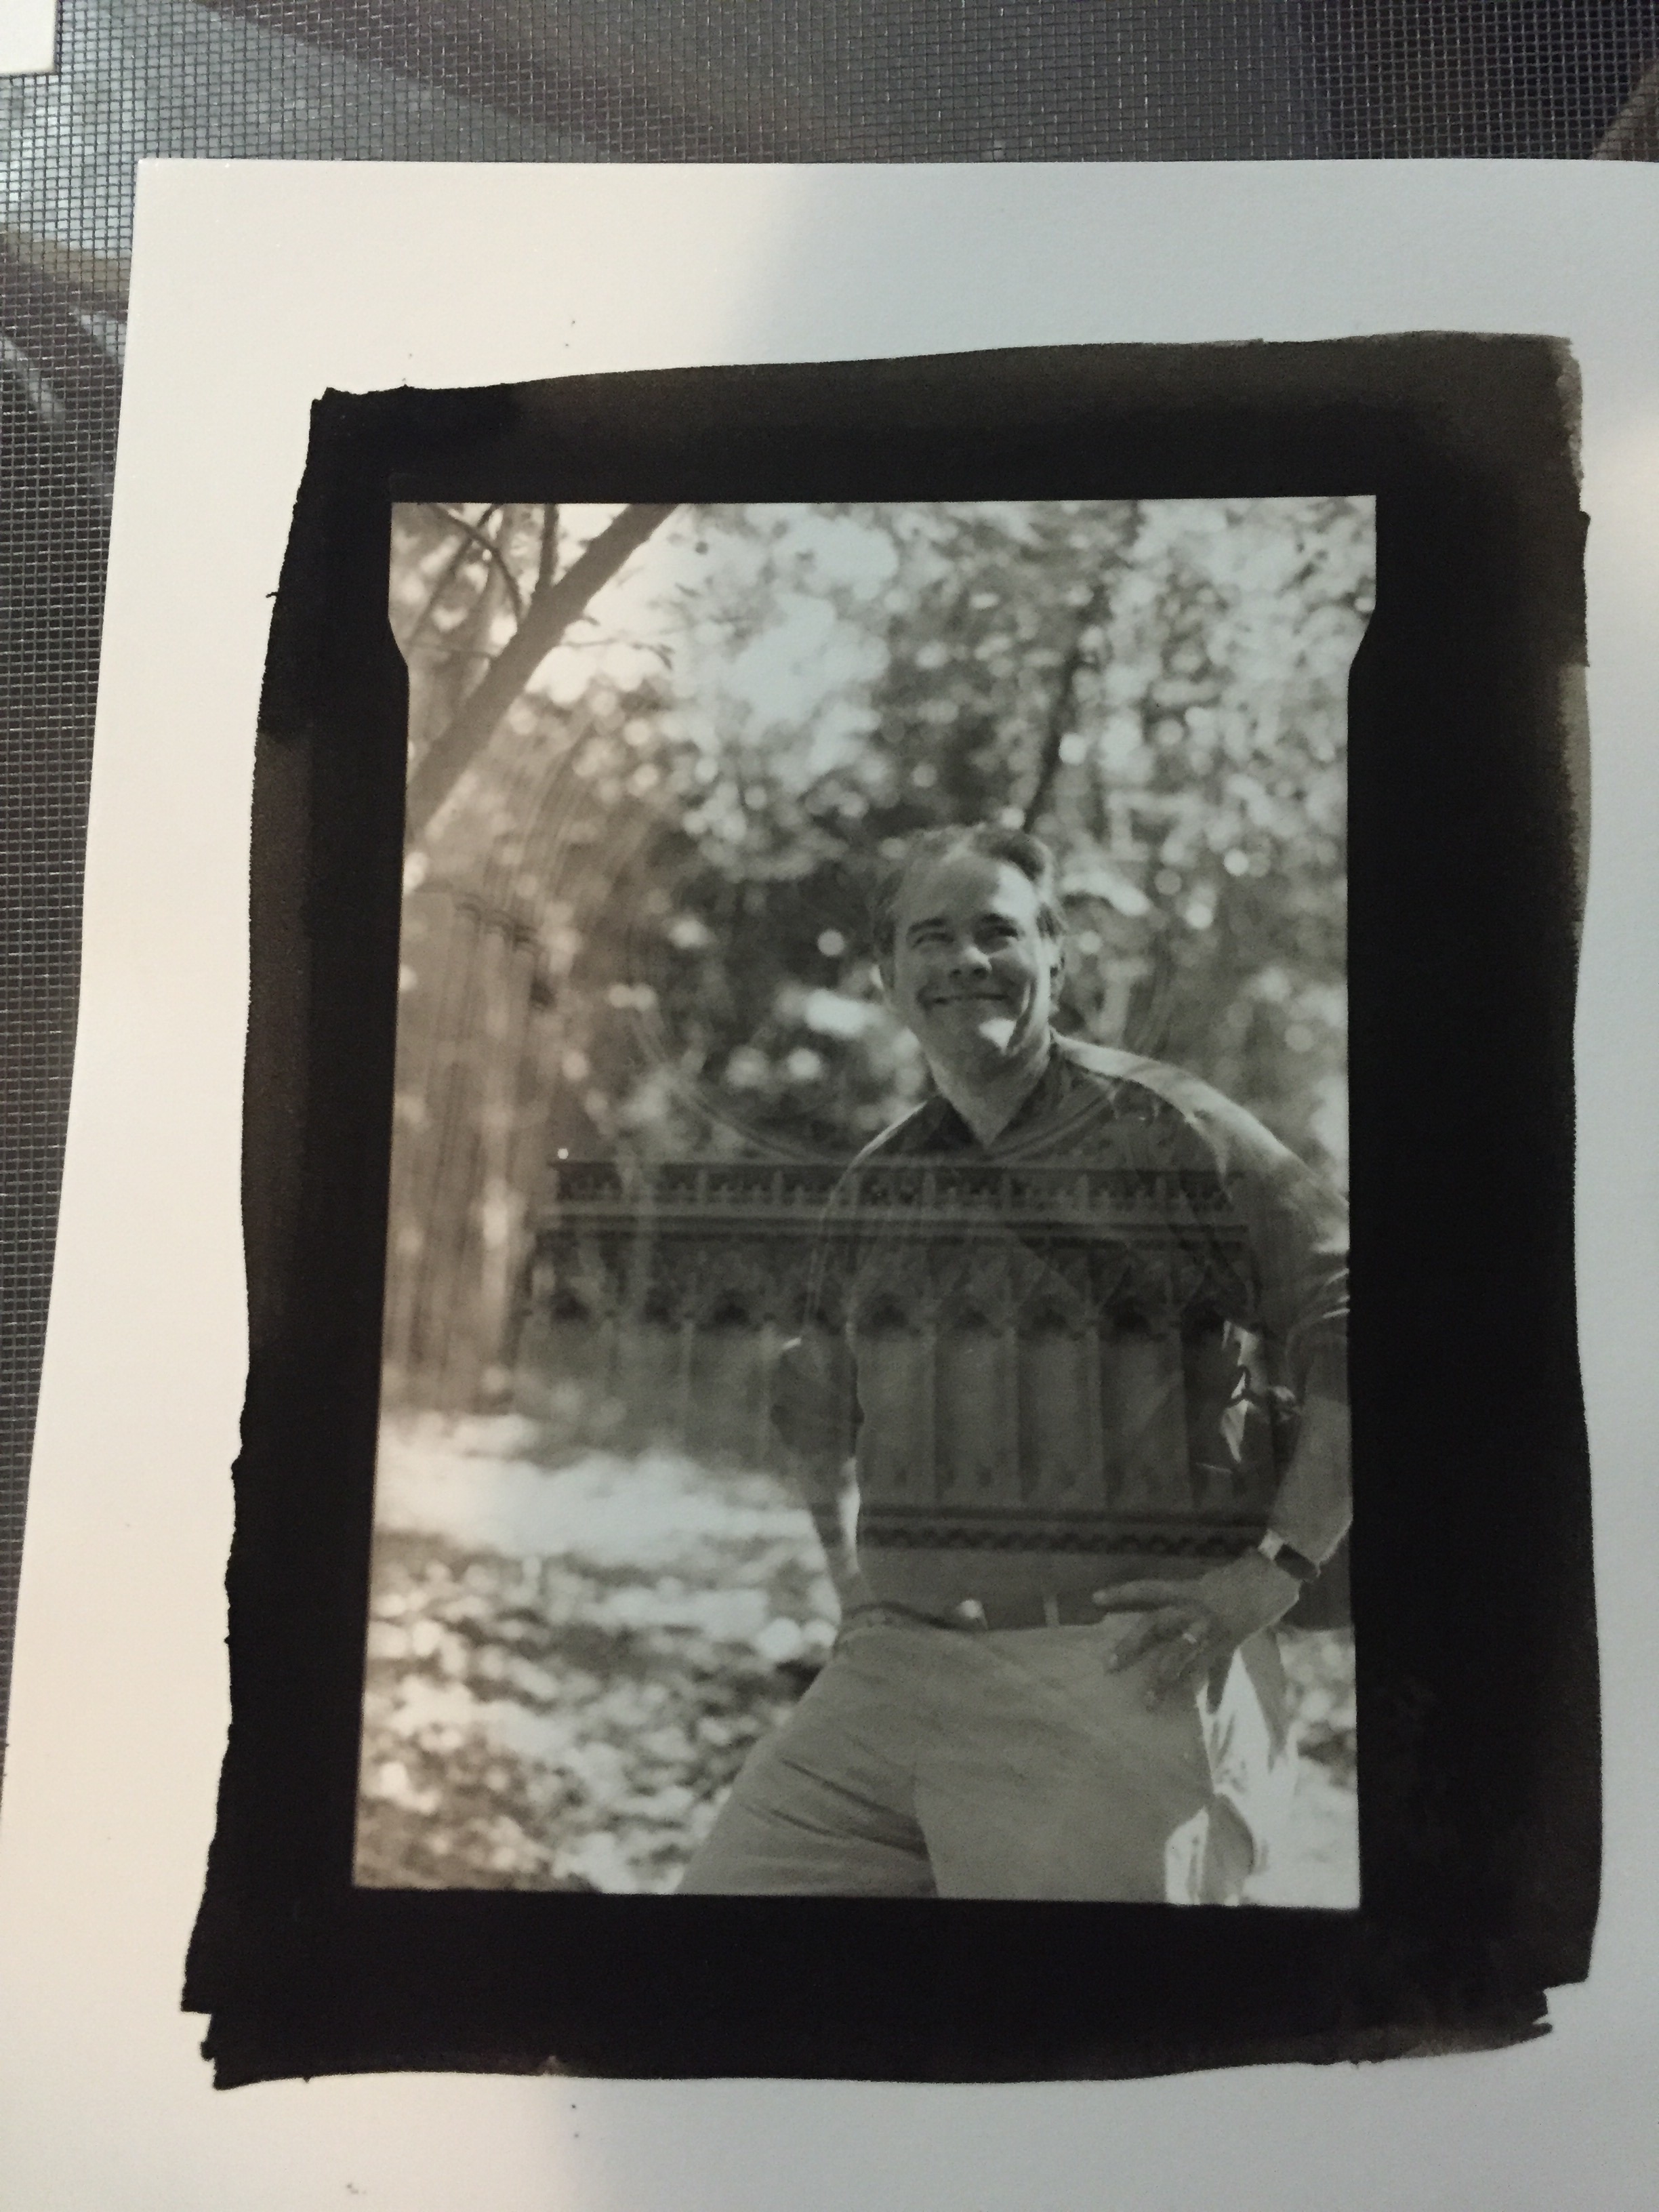
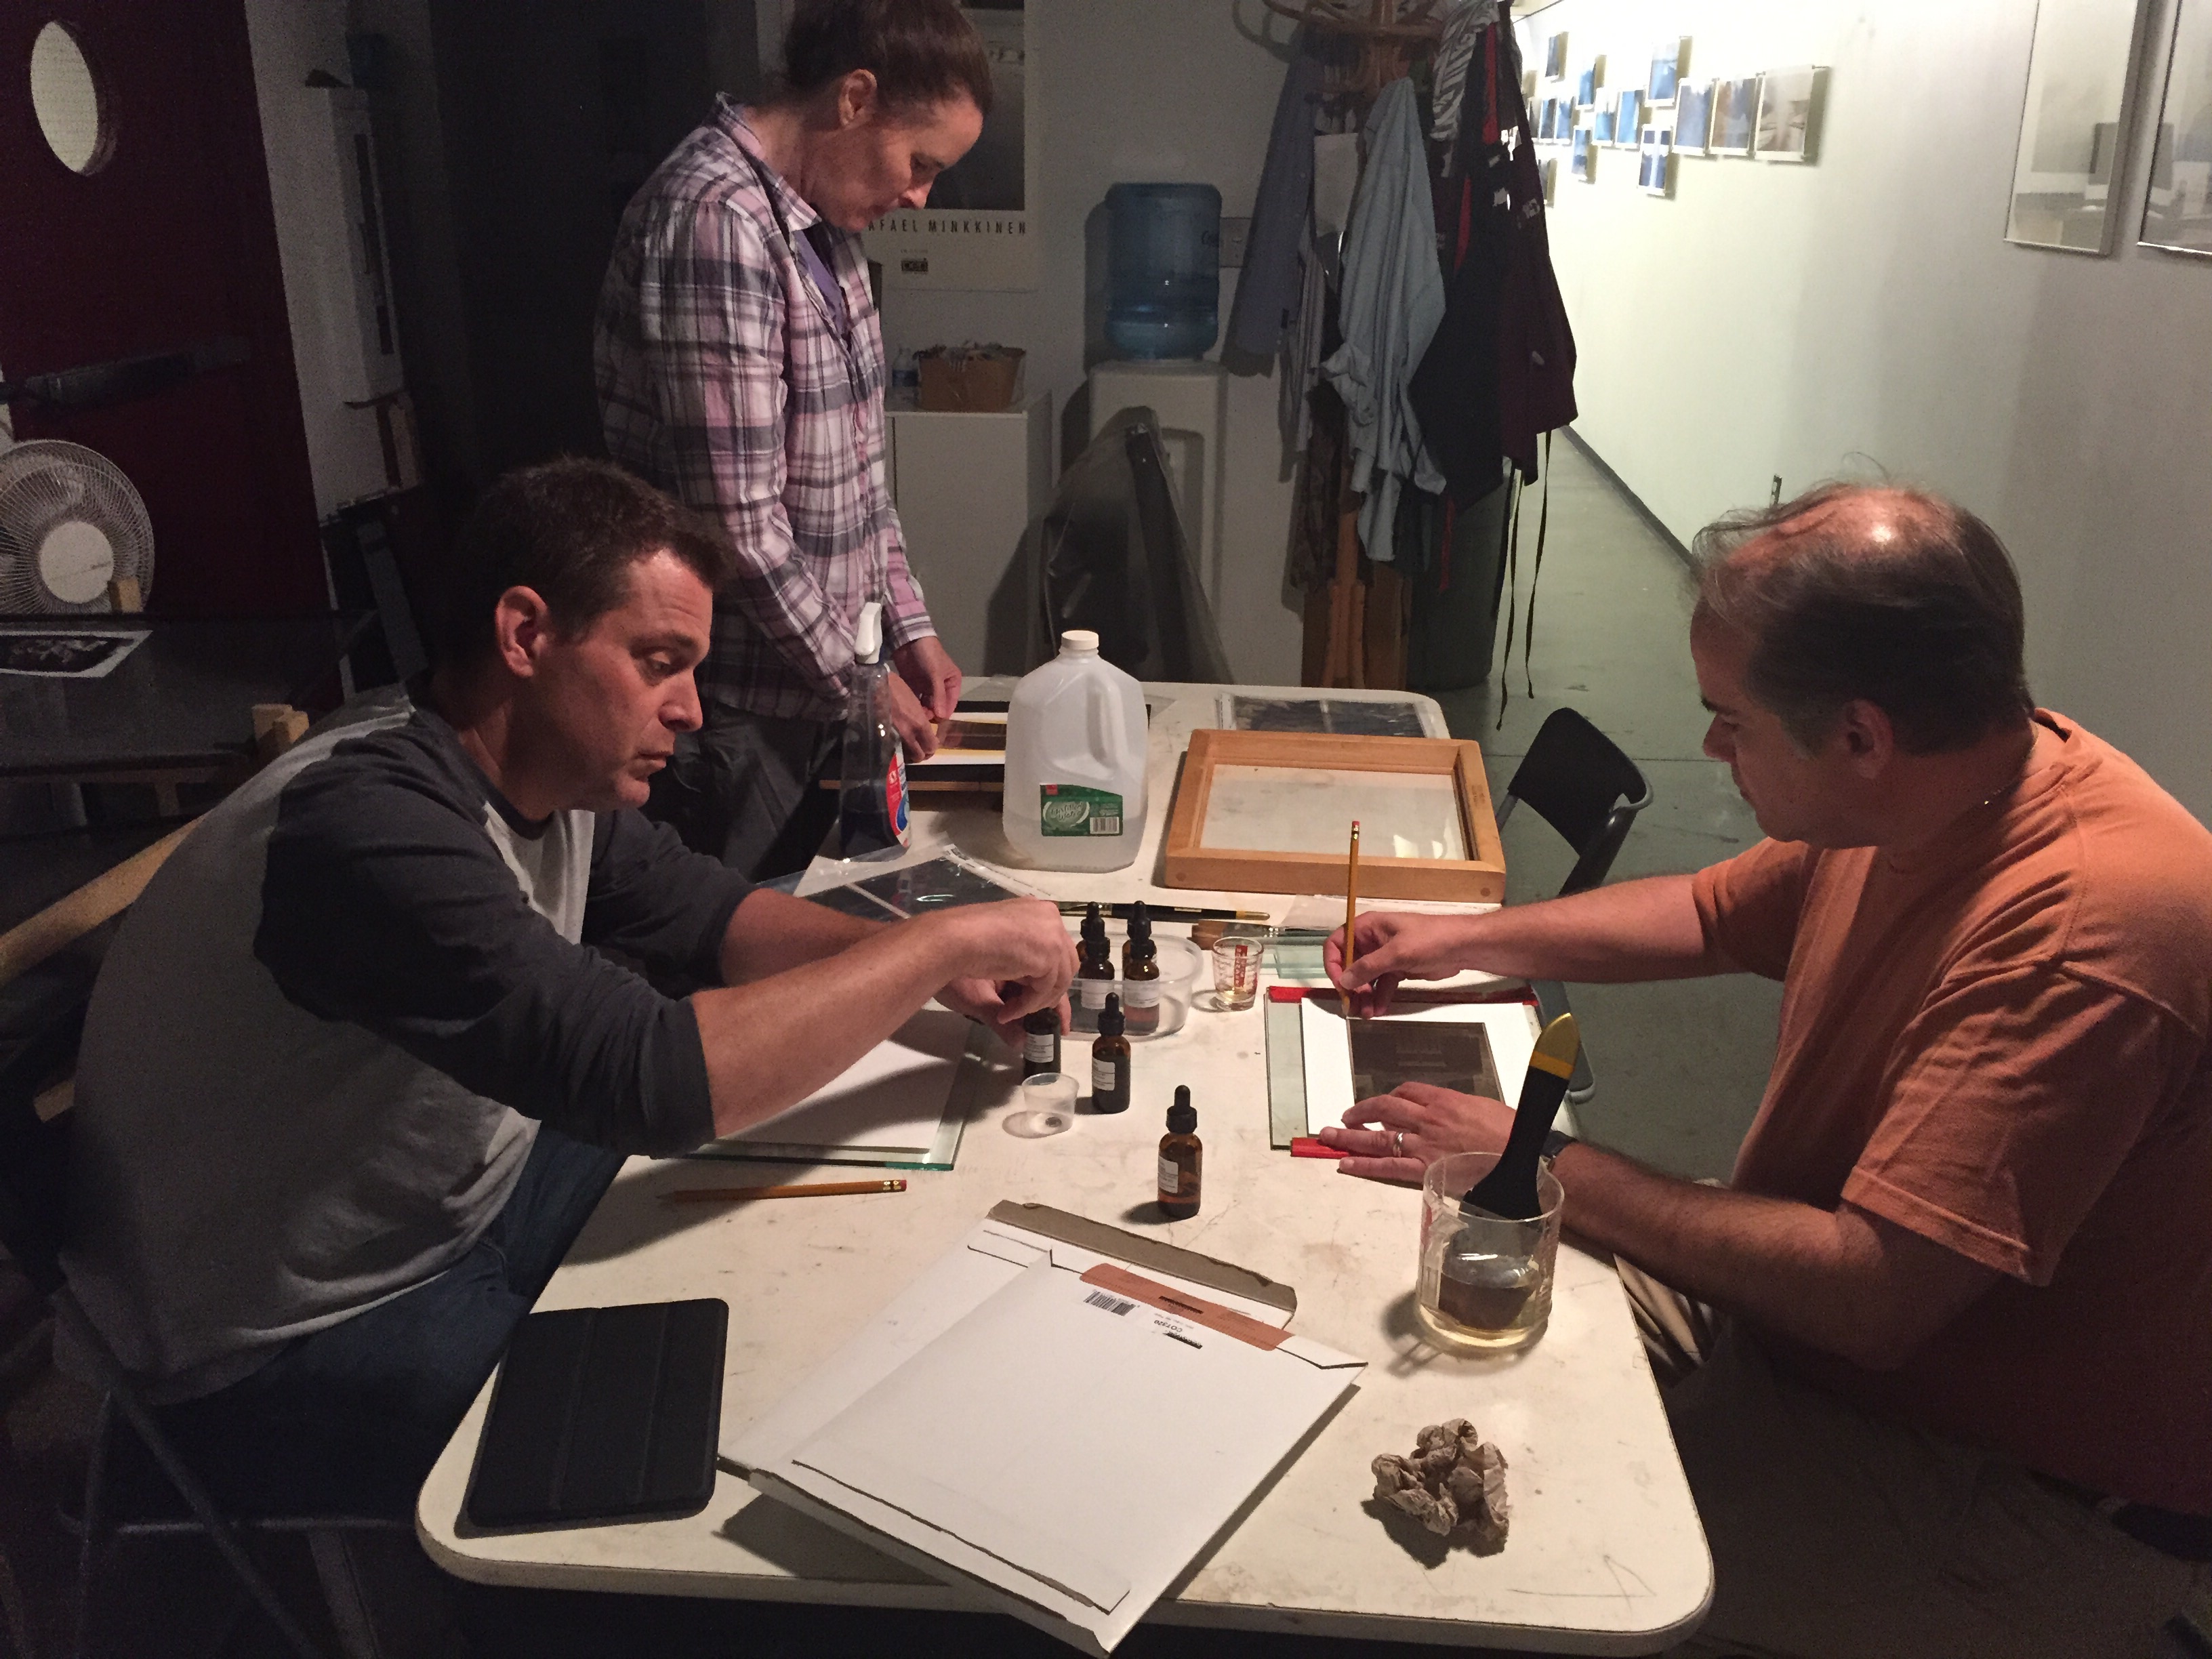
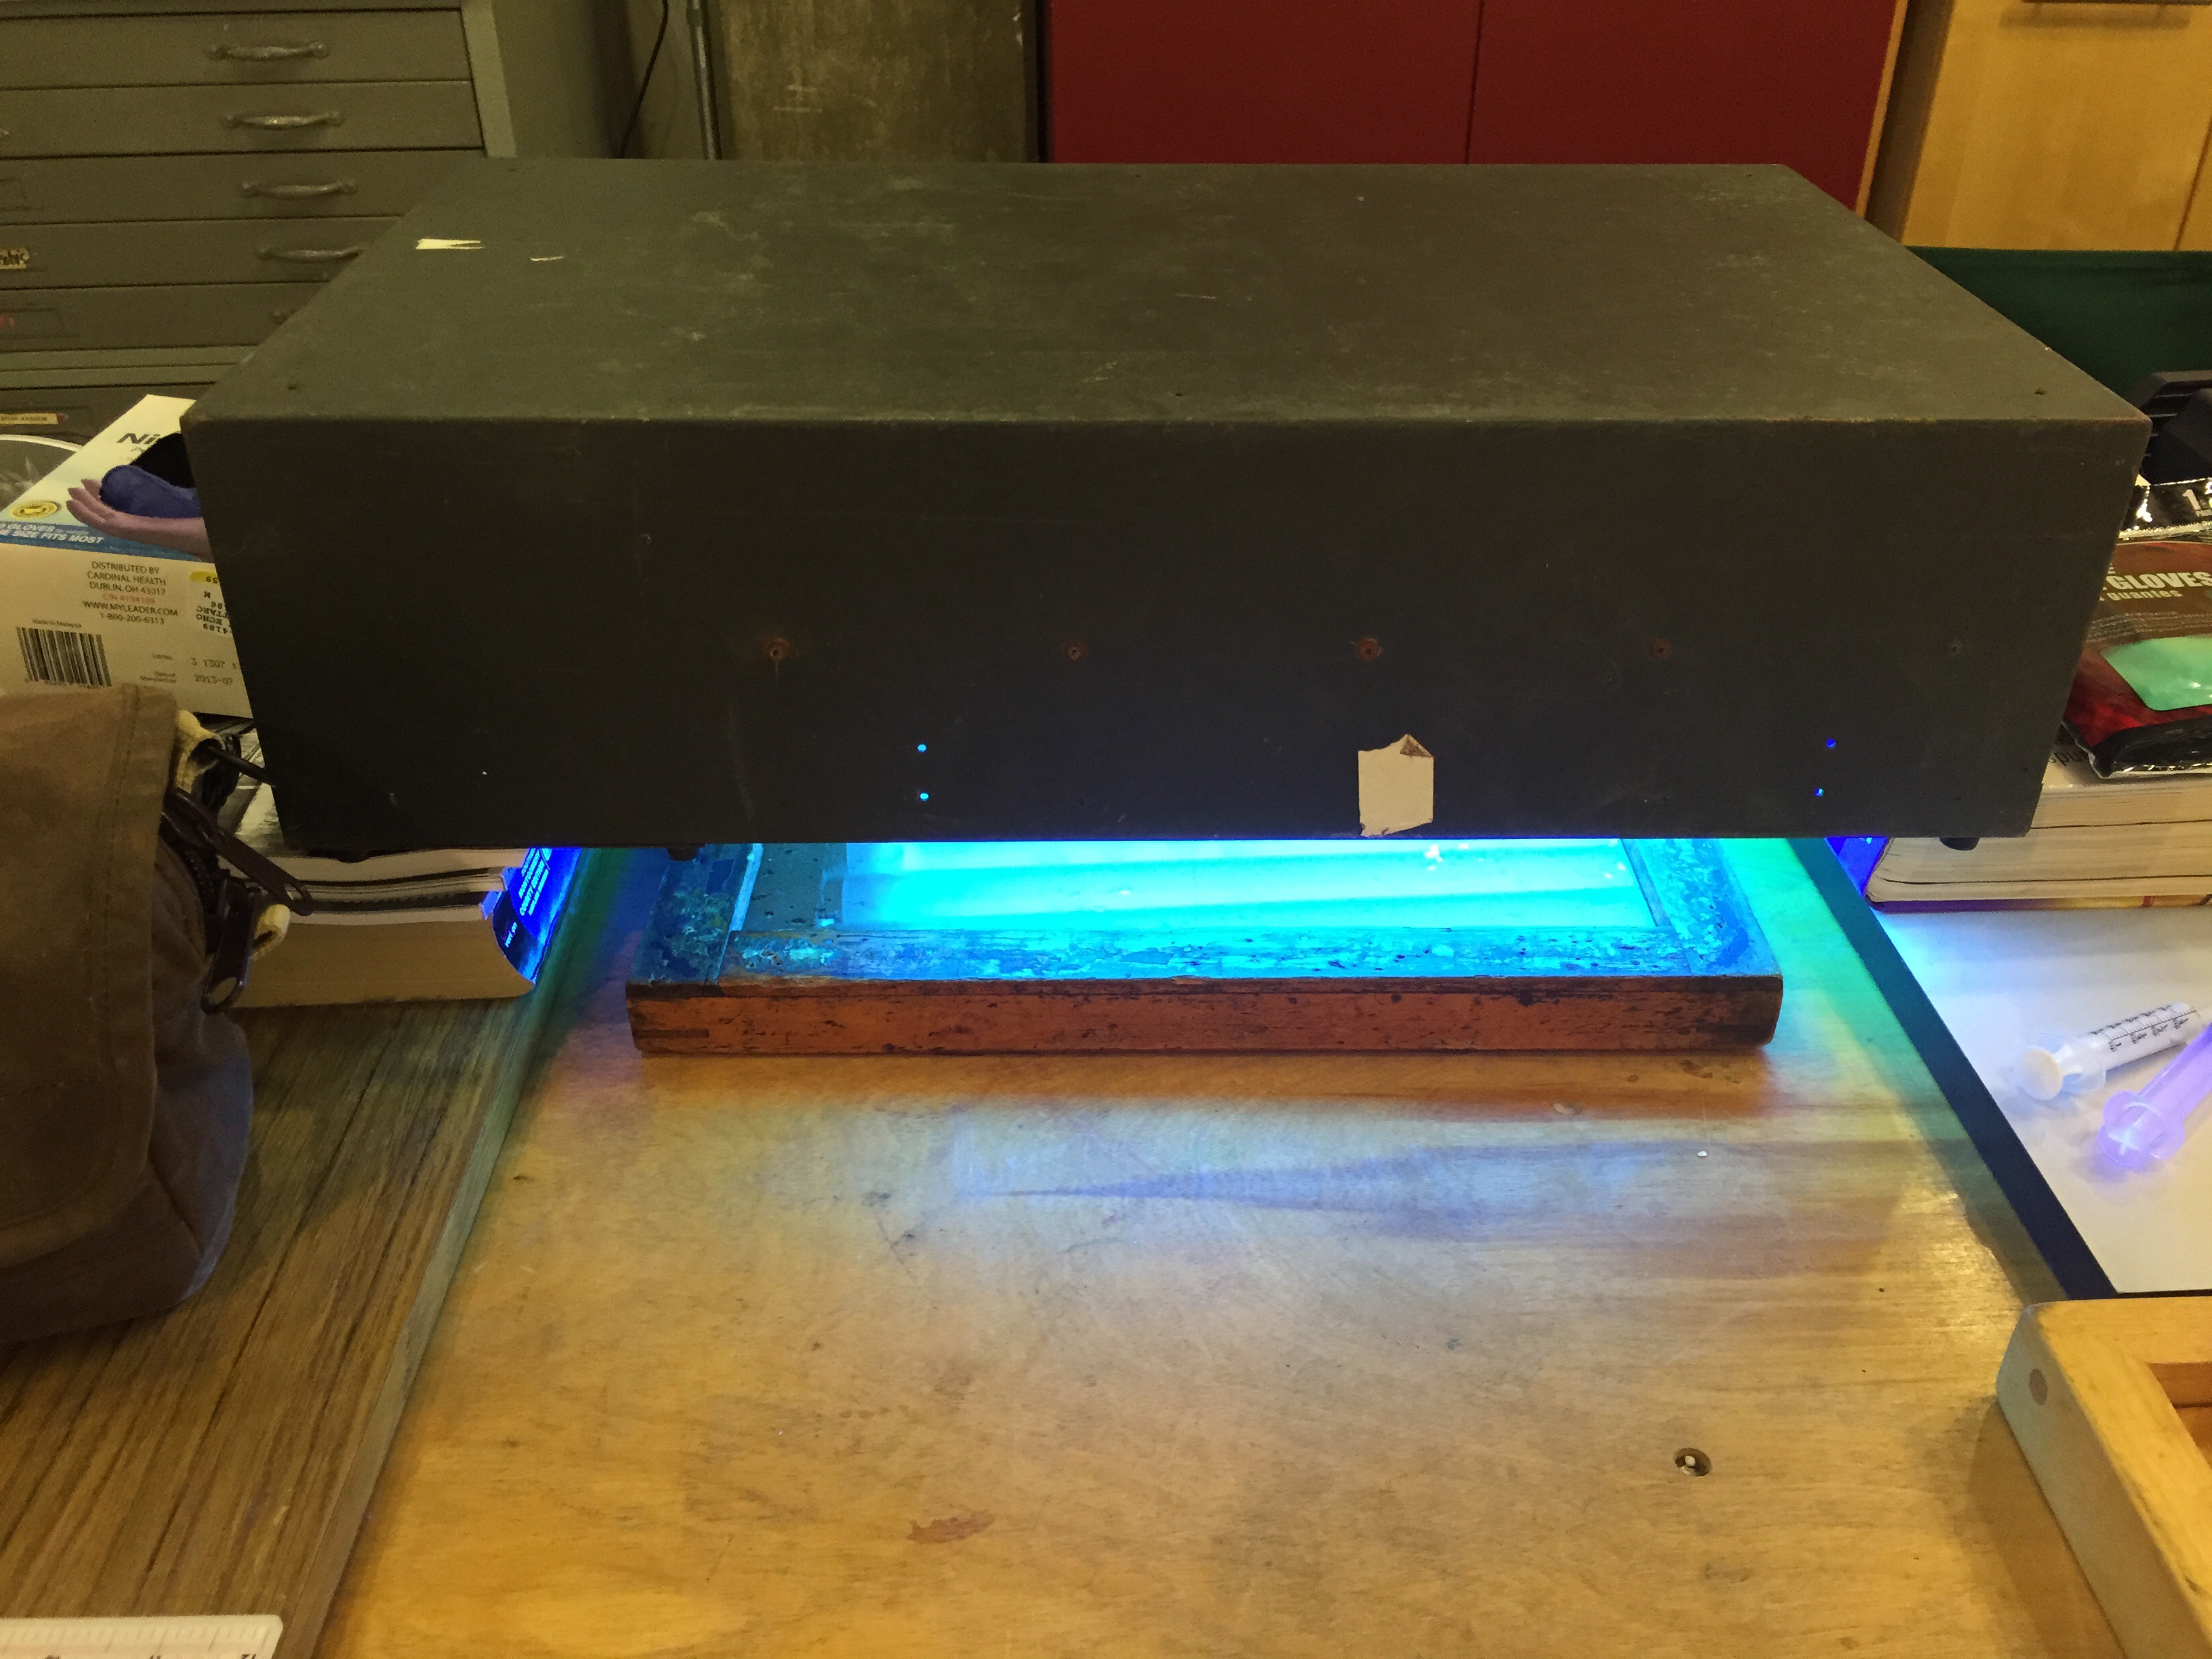
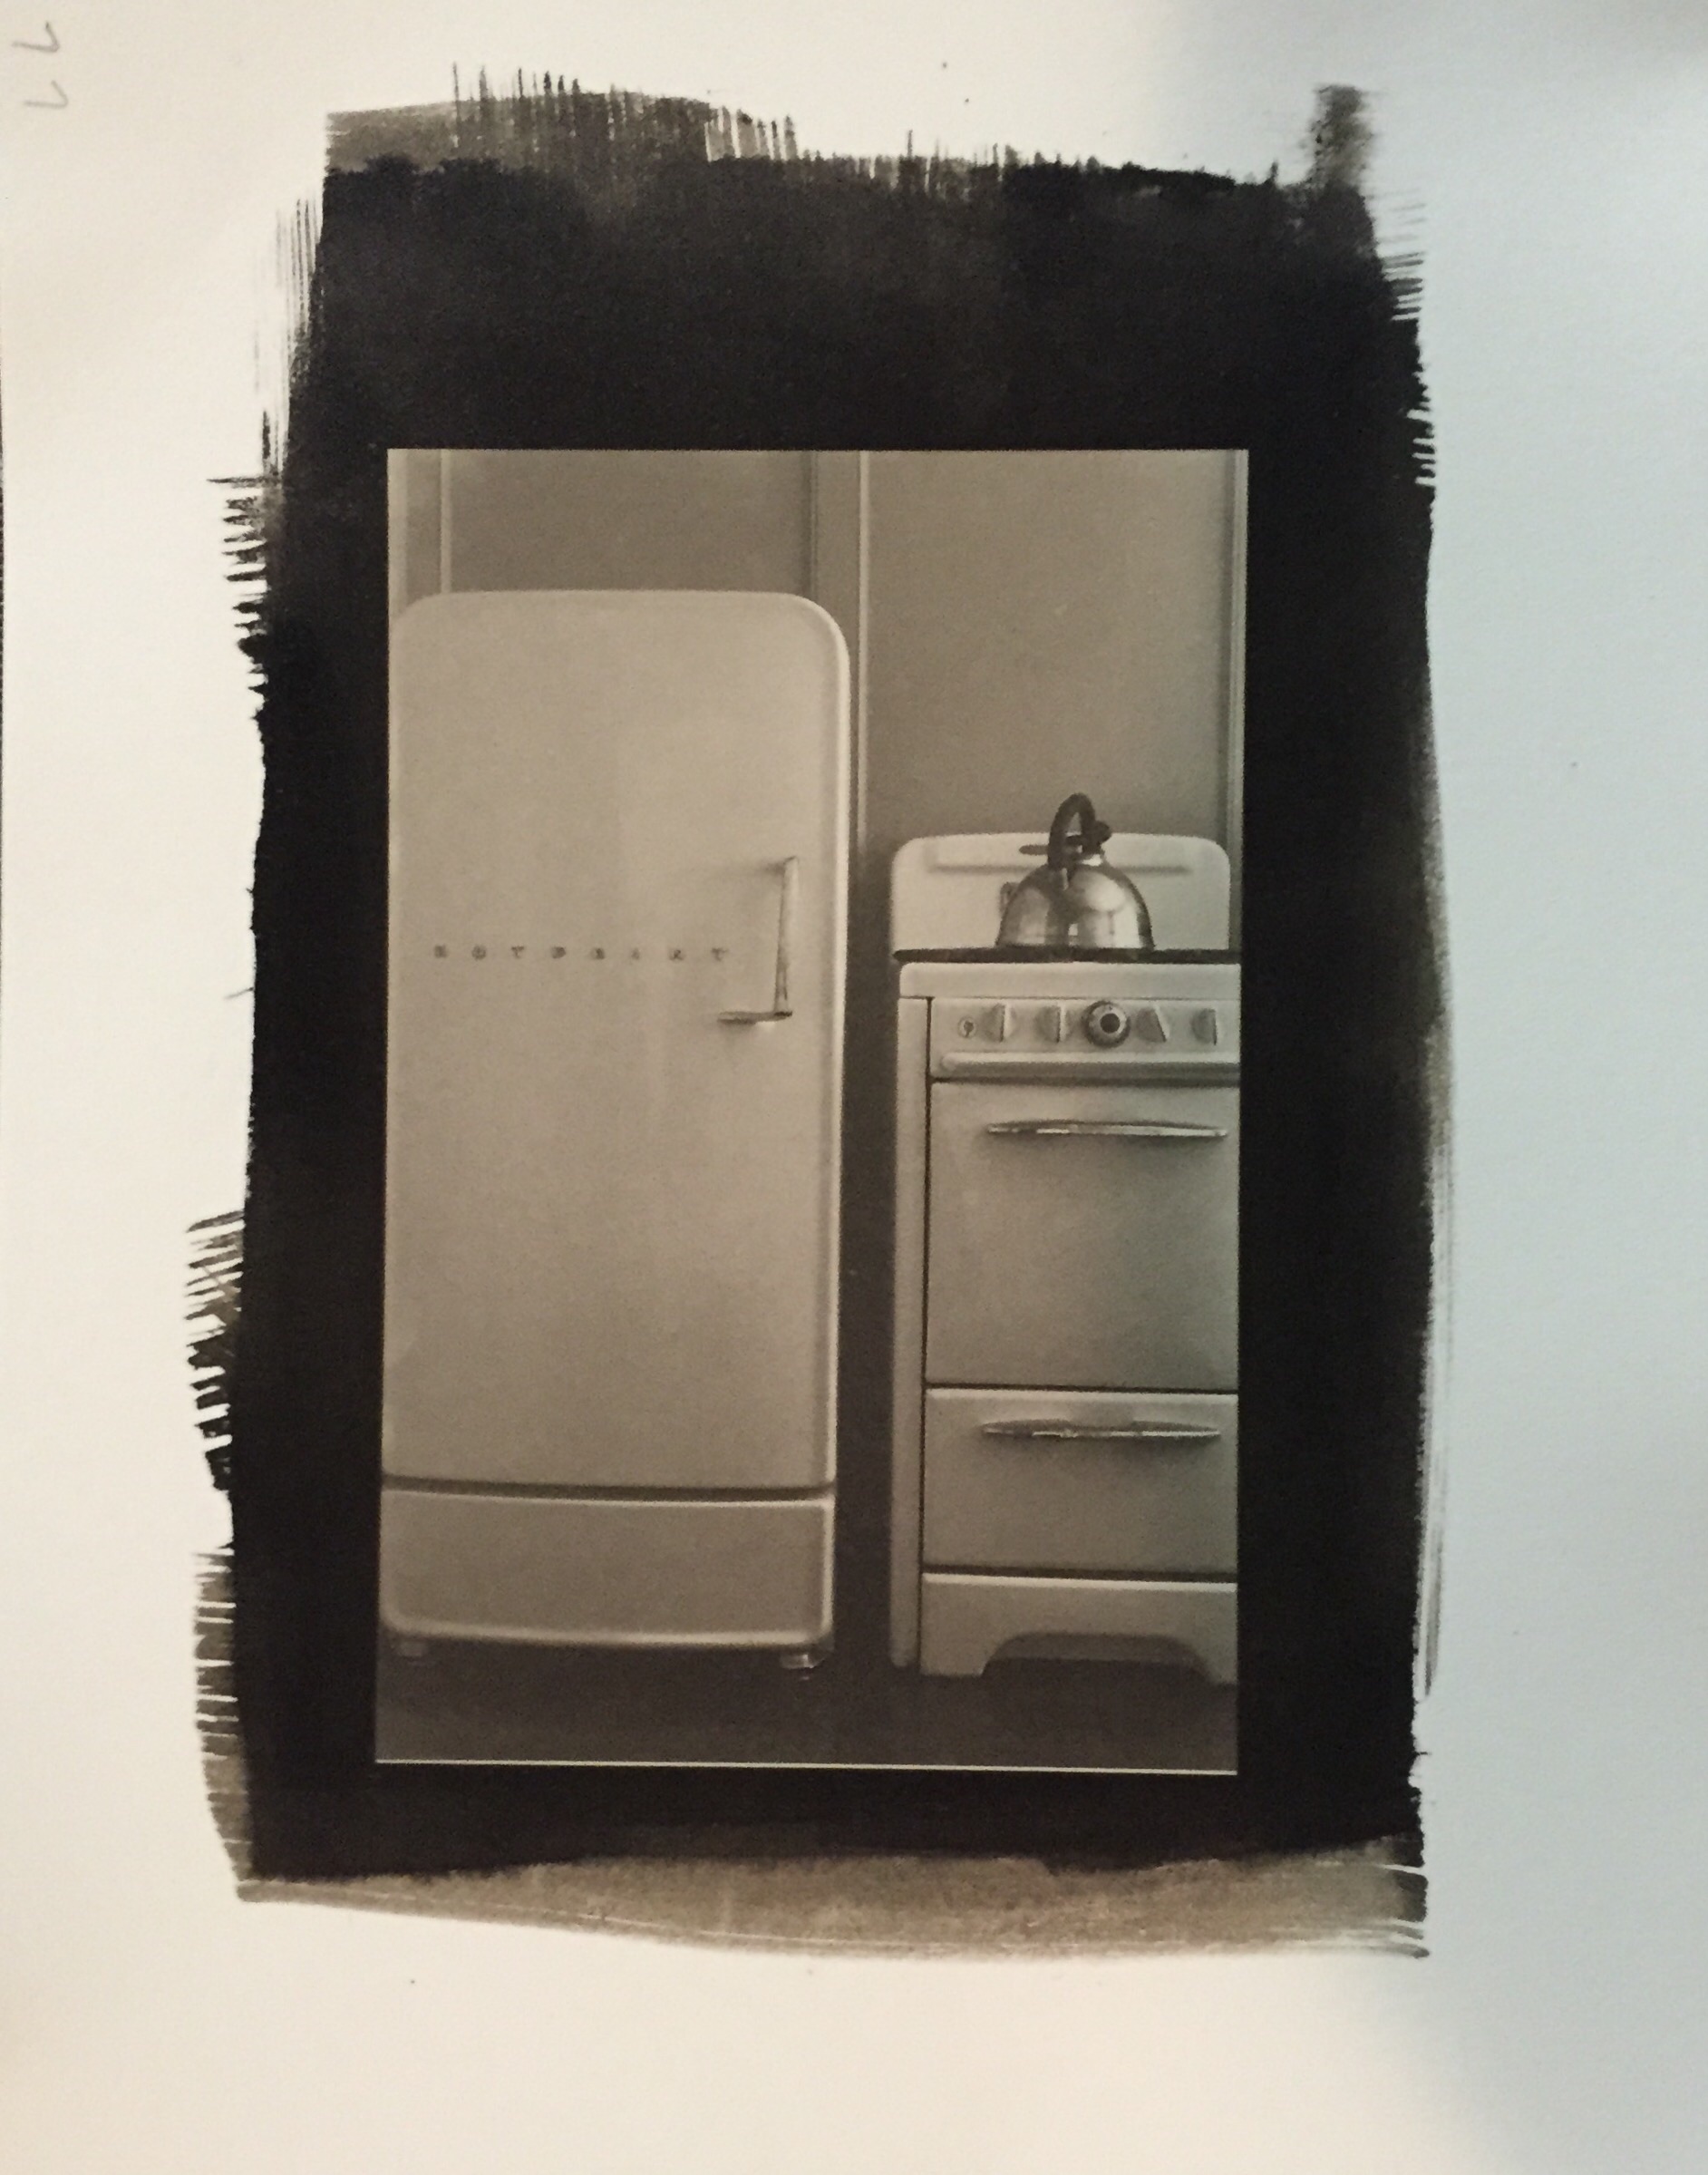
Introduction to Platinum/Palladium Printing – 11/8 – 11/9/2014 (Saturday/Sunday, 10am-4pm, two day intensive weekend workshop)

Platinum/Palladium is one of the most beautiful alternative processes. This course demystifies the process and teaches how to make good negatives, select papers, coat emulsions, and process prints for archival stability. $350, plus $100 materials fee, payable to the instructor.

One Camera, One Lens – Learning to See 1/15 – 3/7/2015 (Thursday 7-10pm)

Too often our gear keeps us from making better pictures. Photographers often fall into the trap of thinking that more gear is the solution to every problem, when in fact it can be a crutch or a burden. This course teaches how to simplify and focus our creative vision so the camera gets out of the way and becomes a tool not an obstacle. Students will use a camera of their choosing, and a single lens. They will select a project in the first class and follow through on that project, presenting images for critique each week. Students choosing to work with wet darkroom techniques will be expected to know how to process and print their own film; students working digitally are expected to have a working knowledge of their camera and digital image processing tools of their choosing. No changing lenses allowed! $350

The courses will be posted soon to the website, but in the meantime if you want to find out more about Photoworks, please check out their website and their Facebook page-

http://glenechophotoworks.org

https://www.facebook.com/glenechophotoworks

Photoworks is one of the few facilities with regularly scheduled open darkroom times, and at $8/hr for wet darkroom (bring your paper, we provide the rest!), it’s hard to beat!

Upcoming Fall Classes at Glen Echo Photoworks

I’m teaching more classes at Glen Echo Photoworks this fall and winter. I’ll be offering Advanced Topics in Platinum/Palladium, Intro to Platinum/Palladium, and a lecture/presentation on Identifying and Collecting Antique Photos.

Advanced Topics in Platinum/Palladium runs September 15-October 6 (Saturdays 9am-4pm), and covers advanced contrast control techniques, paper choices, troubleshooting techniques, and gum-over platinum. Although I did not have making digitally enlarged negatives in the original curriculum design, I’m going to make it an option at student’s request.

Intro to Platinum/Palladium will be held the weekend of October 20-21 from 9am-4pm each day. Topics covered include history, technical basics (chemistry, equipment, paper), major process controls (negatives, exposure, processing) and fine controls (contrast, process variations).

On the evening of Wednesday, November 17 from 7-9 pm, I’ll be teaching a mini-workshop on Identifying and Collecting Antique Photographs. The course will be a mini-photo history class from the Daguerreotype to silver-gelatin and color, and will be illustrated with examples from my personal collection. Which, if you’ve been following my blog for any length of time, you know is pretty cool.

Gum over Ziatype
Advanced Pt/Pd Topics
Monarch Novelties, 14th Street (palladium print) – Intro to Pt/Pd
Gentleman With Top Hat, dated October 15, 1849
Gentleman With Top Hat, 10/15/1849 – Intro to Collecting