Tag Archives: teaching

Intro to Platinum/Palladium Printing – class conclusion

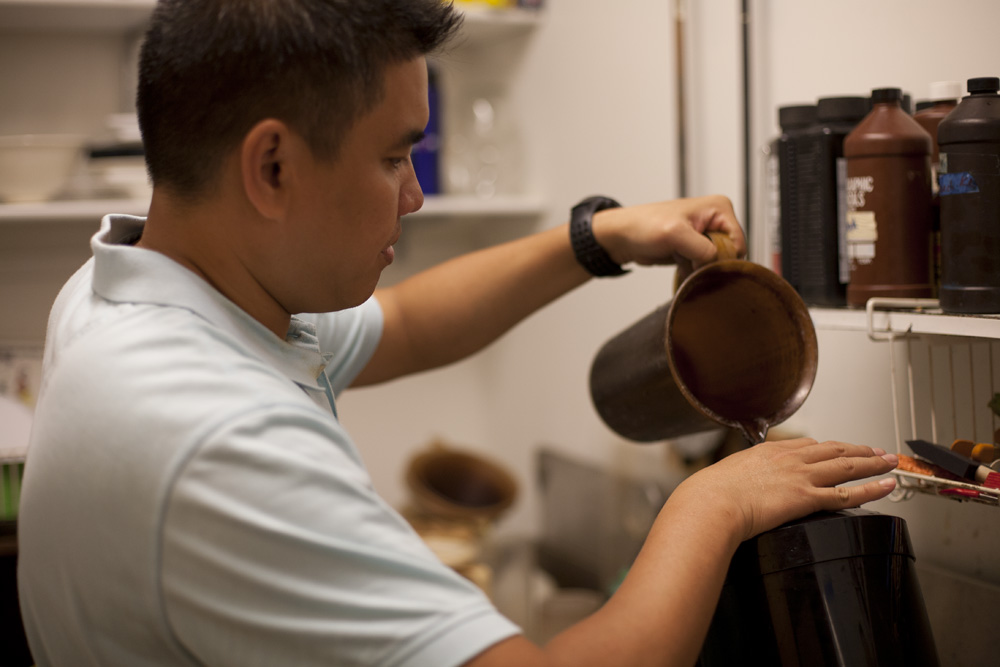
The last two weekends, I’ve been teaching an Intro to Platinum/Palladium Printing class. In the past, I’ve only taught it from film negatives, but this time I did it with a module on making digitally enlarged negatives as well. It was a rousing success- I had a great time teaching it, and I had some very enthusiastic students, all of whom were very seriously interested in continuing with the medium.

Last week, we started out learning basic coating technique, talked a bit about paper selection, and the importance of a good negative to work from. To expedite the process, I provided students with negatives that were already processed for platinum/palladium printing.

Prints from week 1 – in-camera film negatives
5×7 palladium print – steam locomotive 

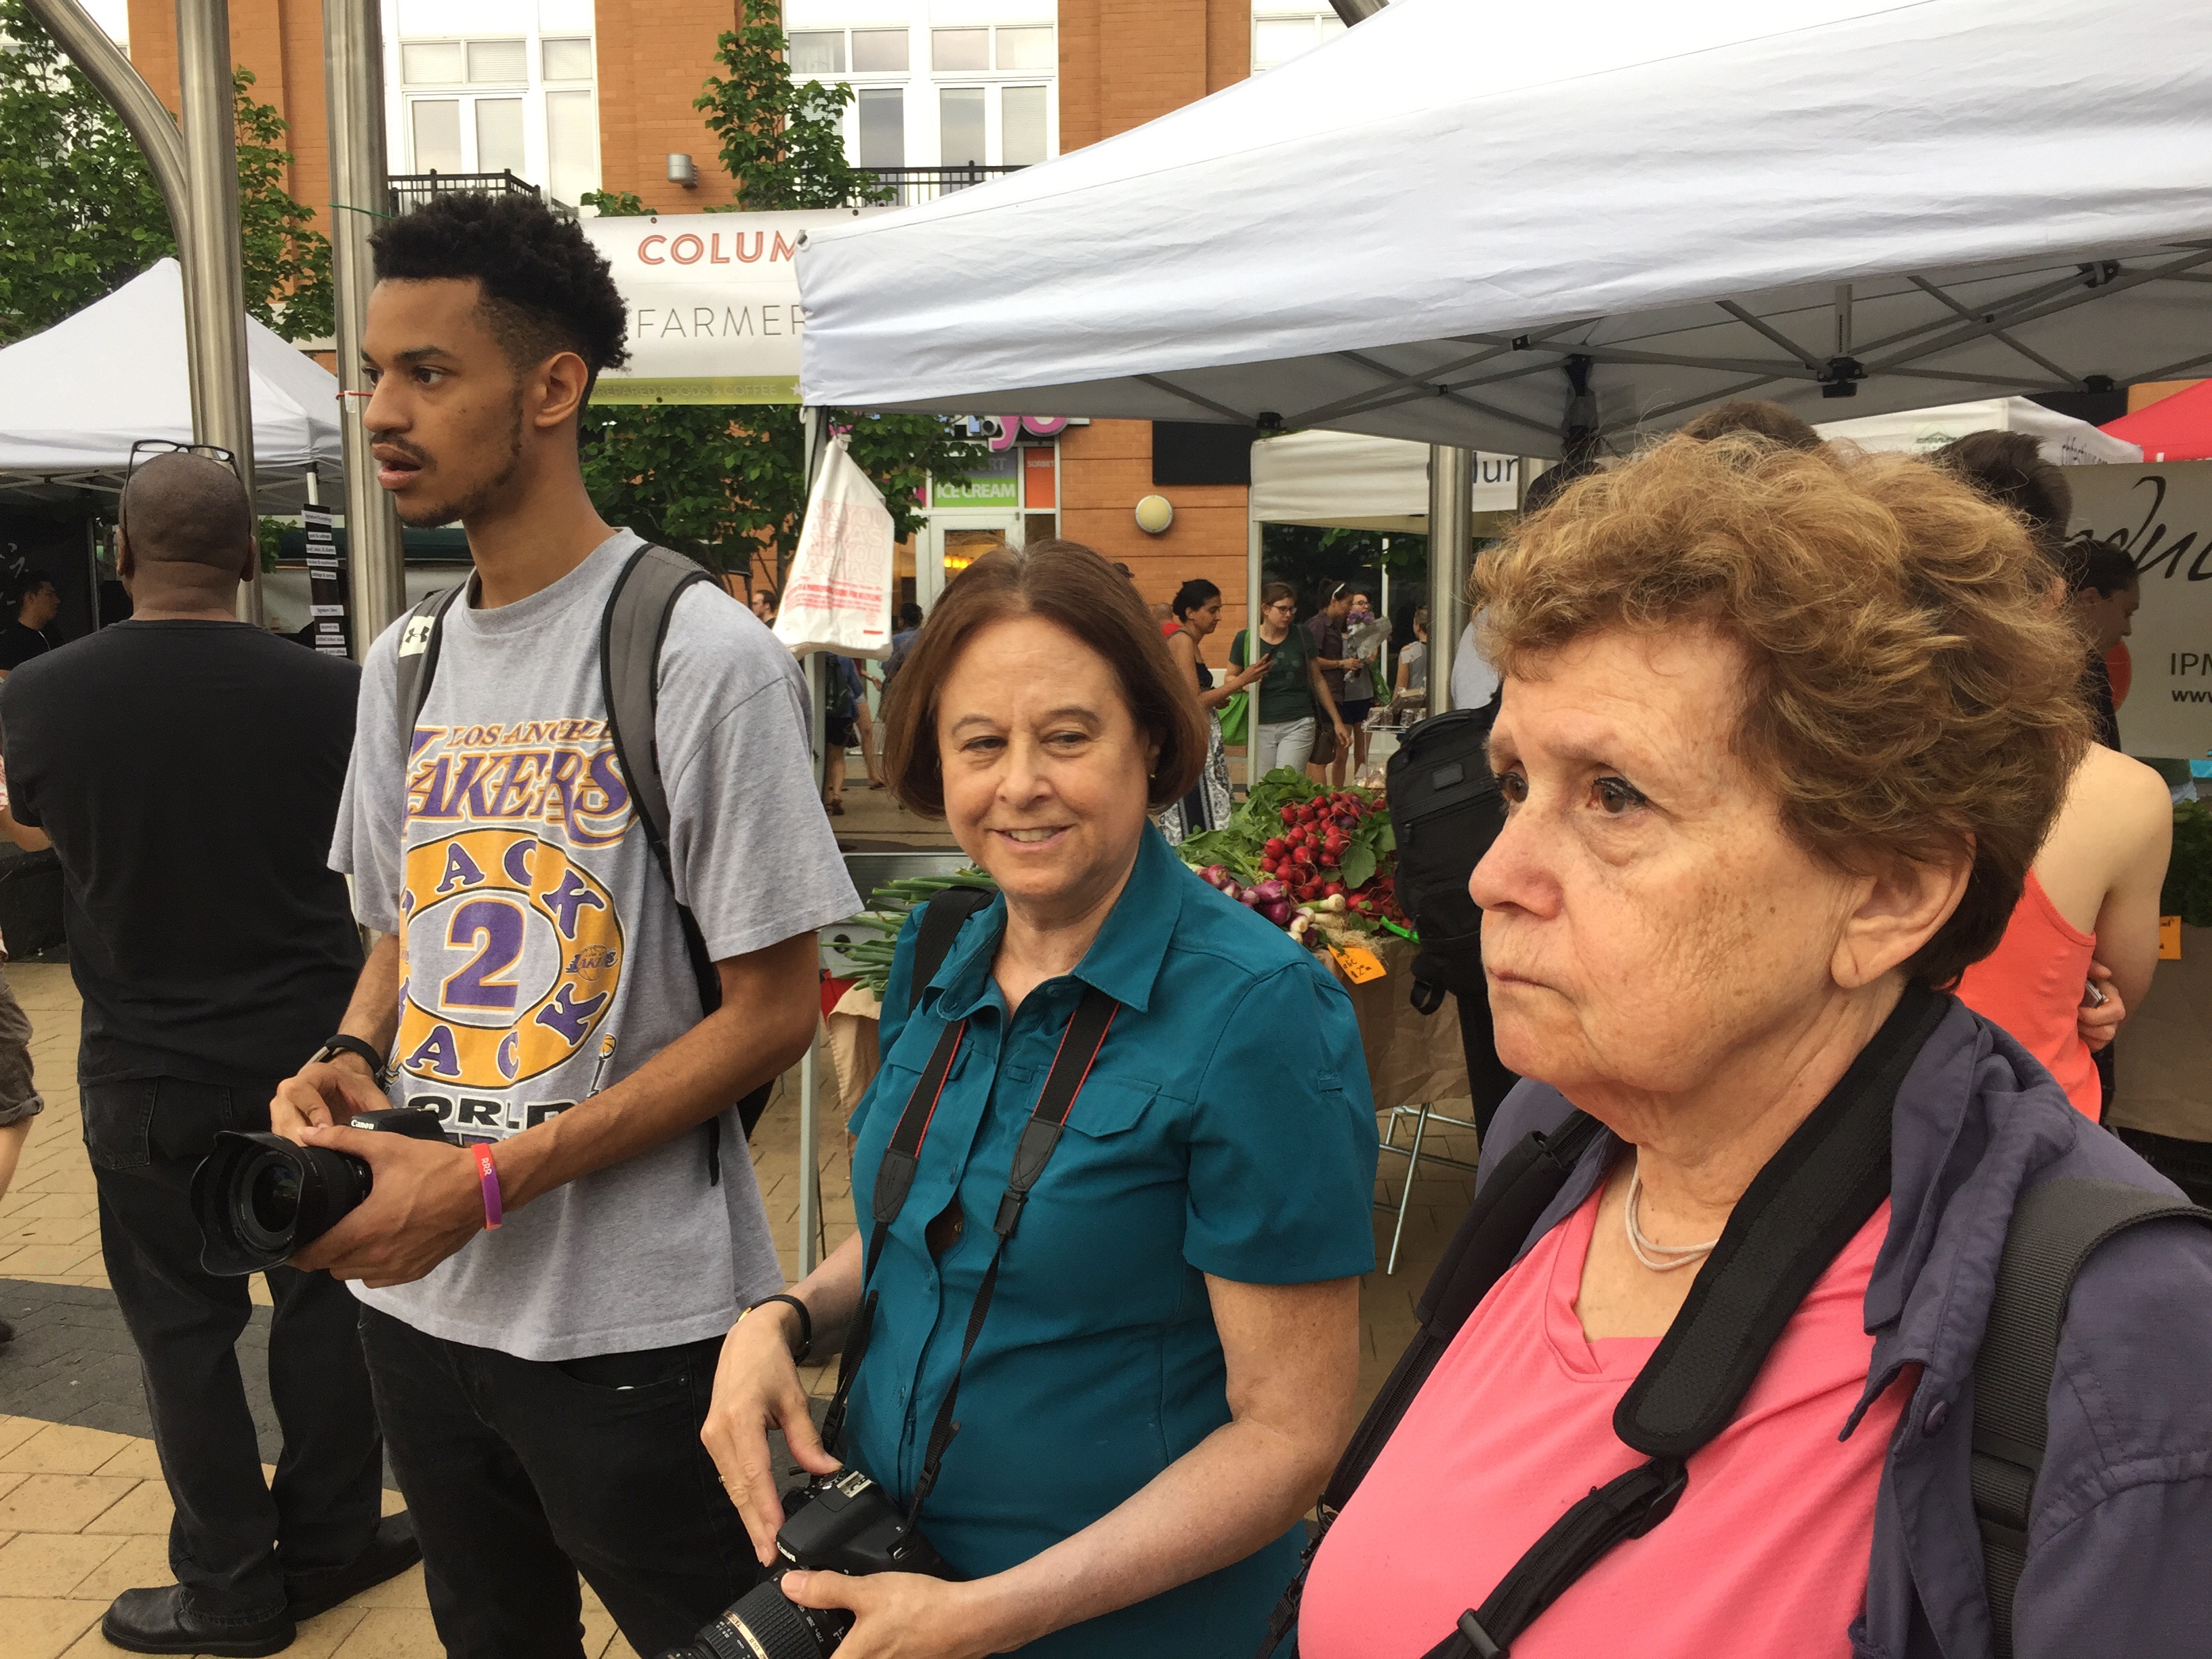
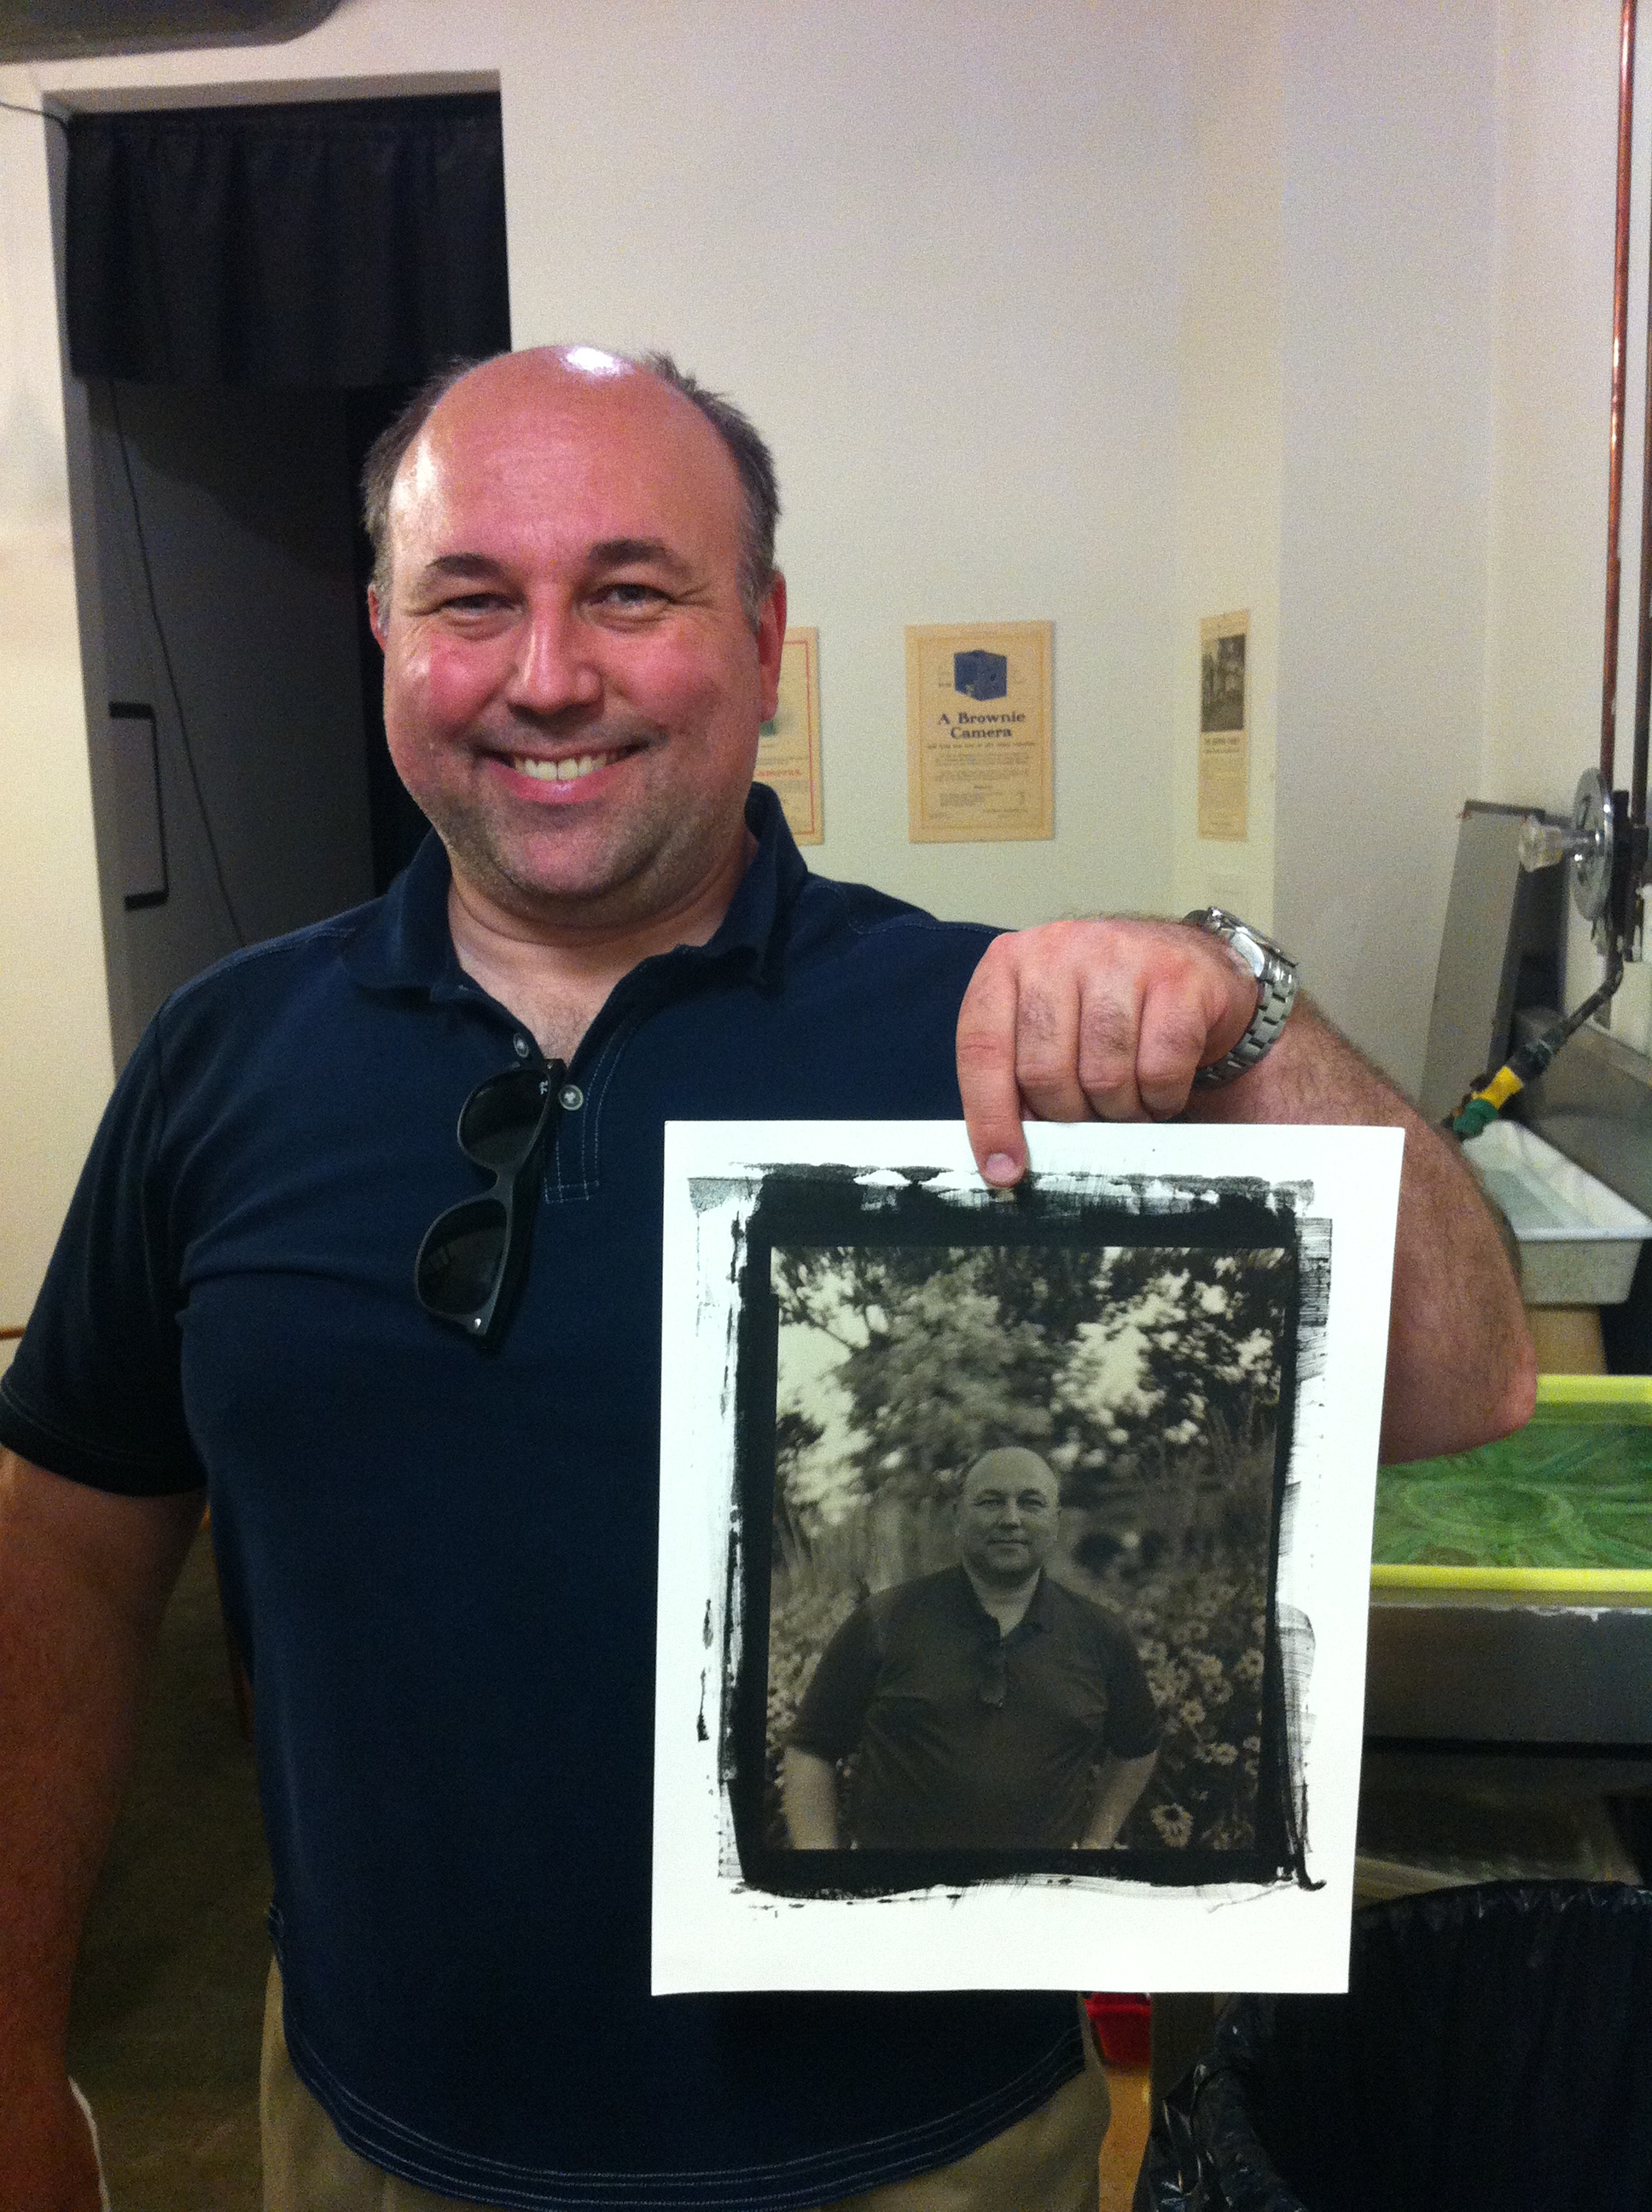
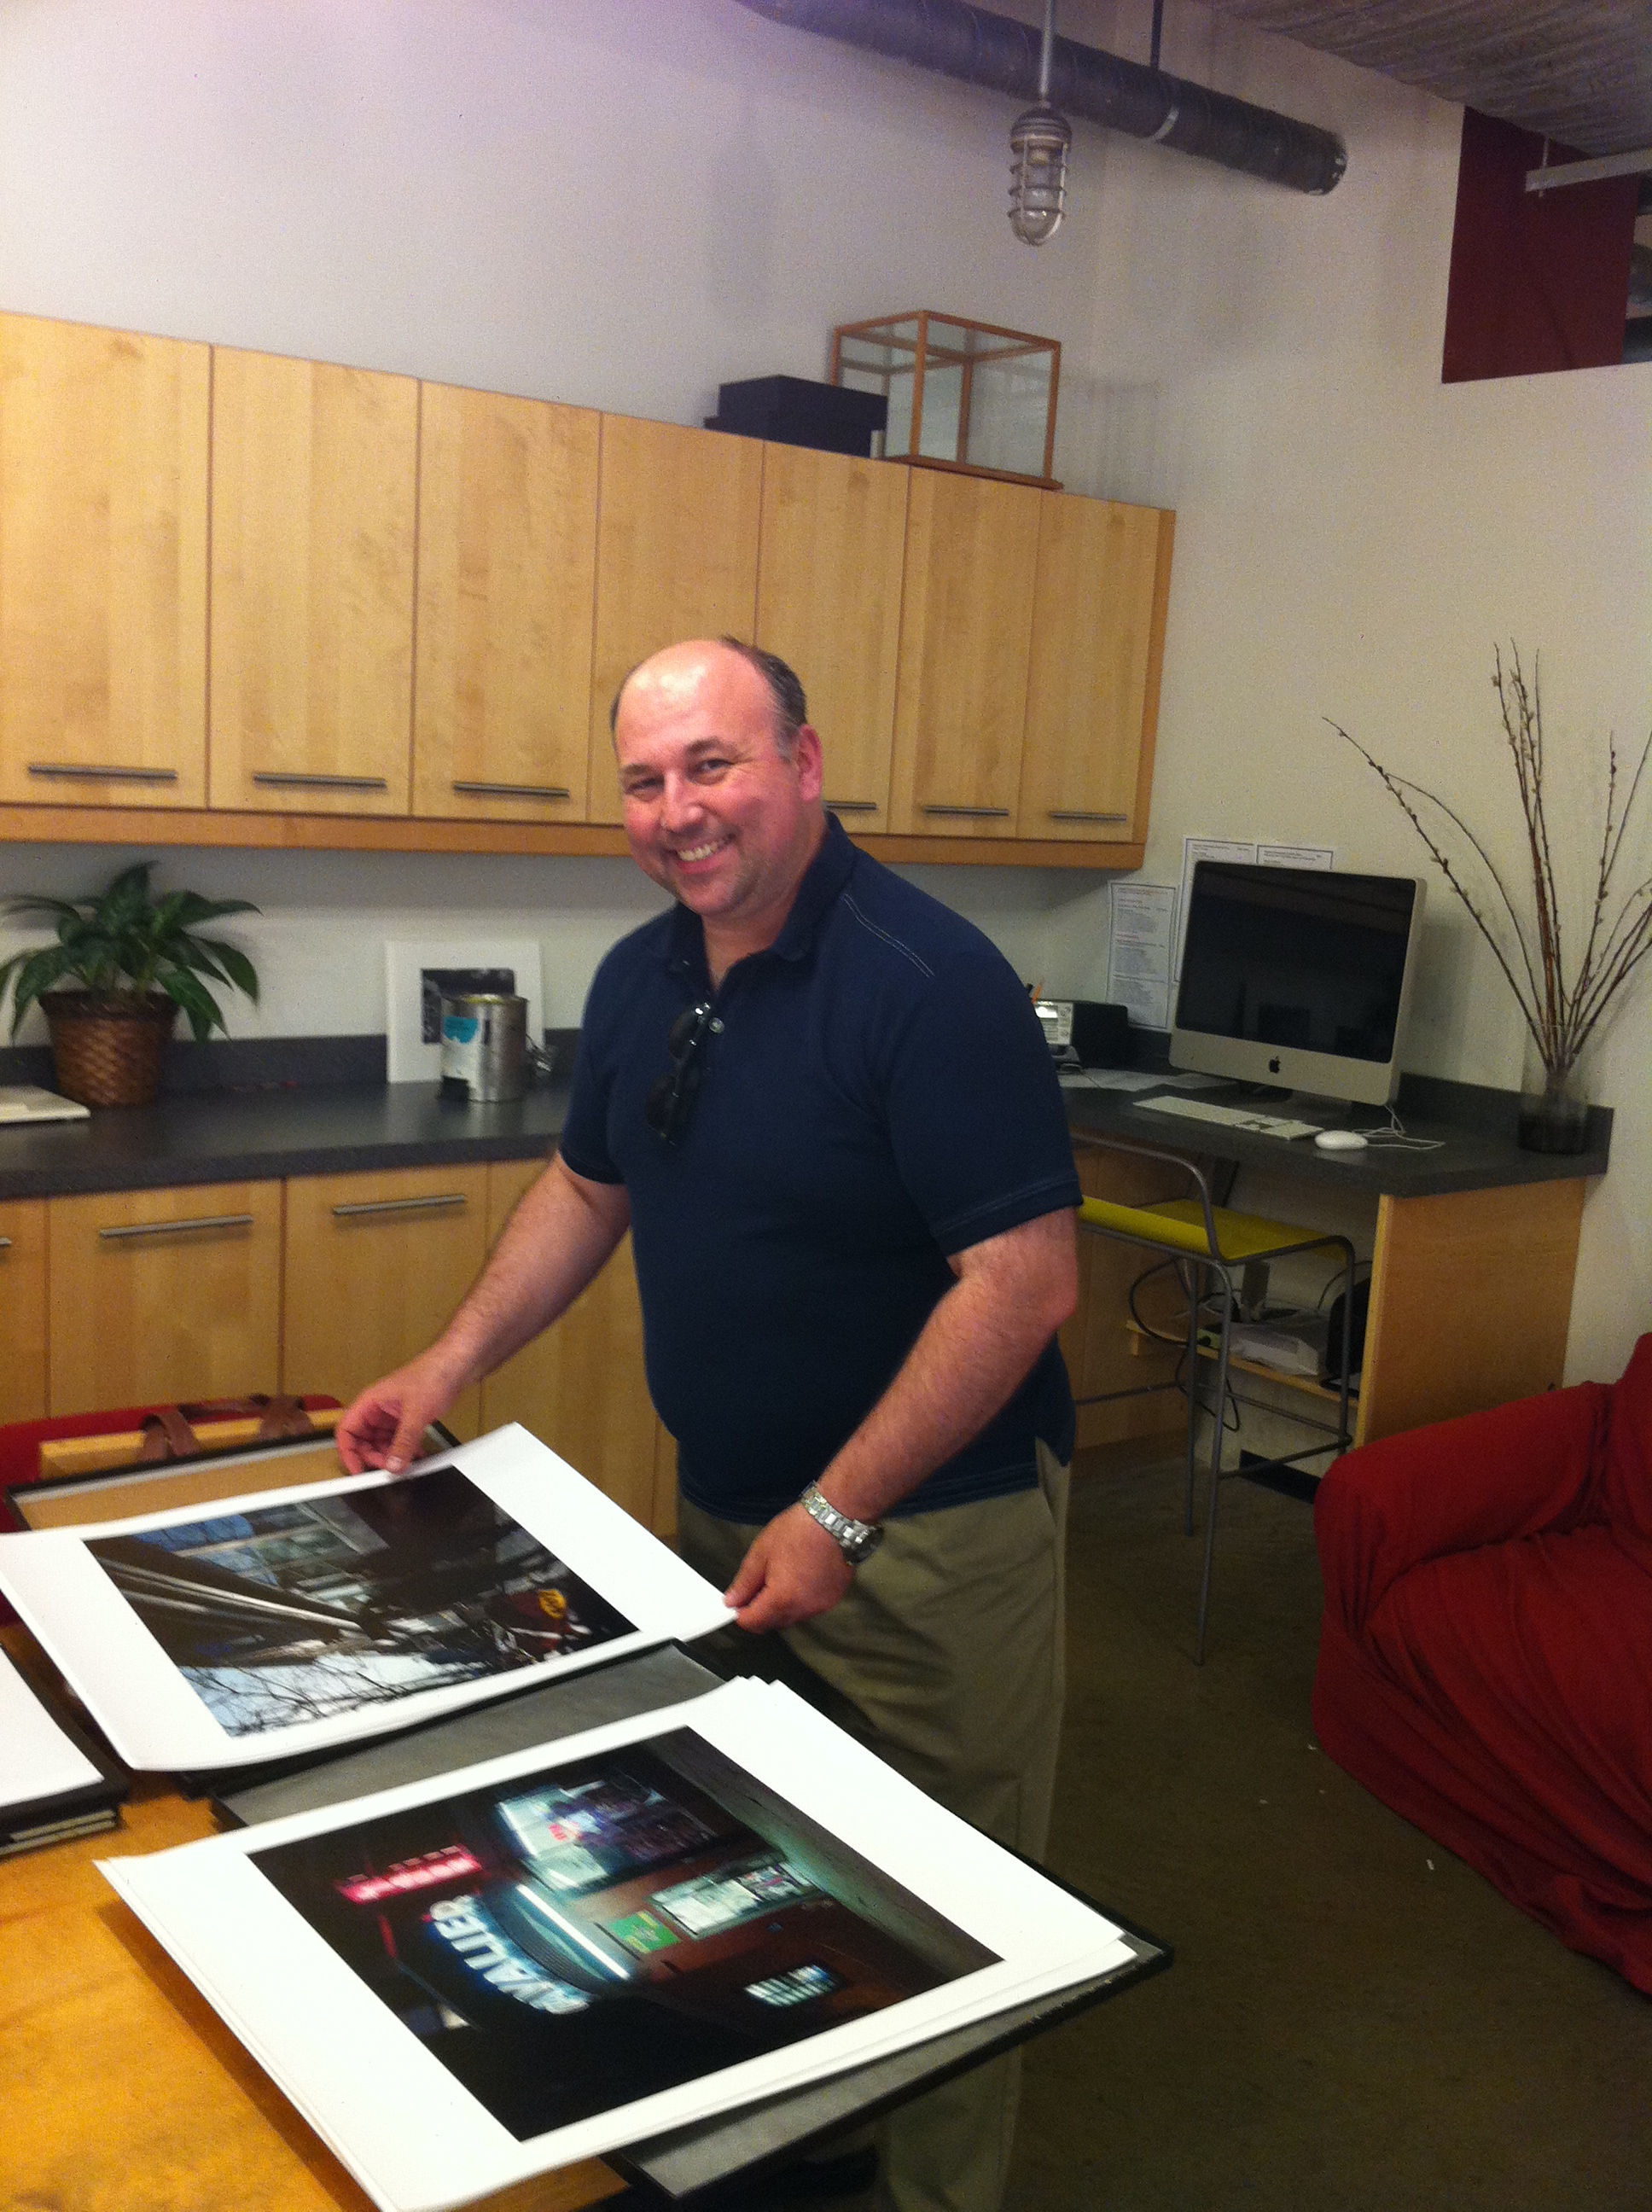
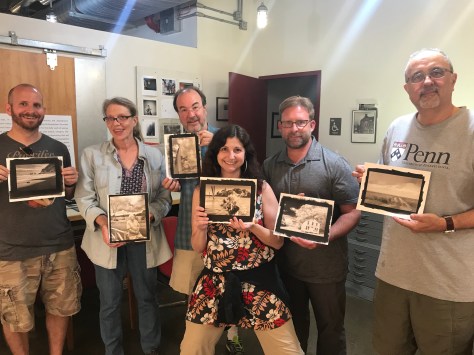
This week we covered making images from digitally enlarged negatives. I had students bring in a selection of images on thumb drives and we picked one or two to make negatives with. Here are my assembled students with finished prints from our digital negative printing session. The prints are much warmer in color in this photo than they are in real life because I took this on my iPhone in mixed lighting.


Students holding prints

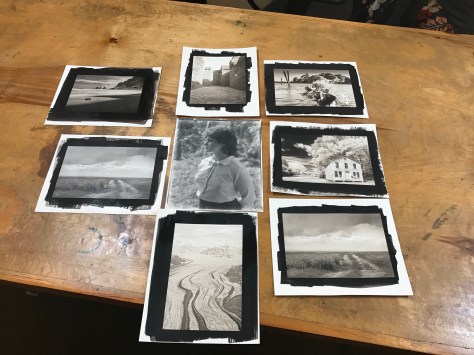
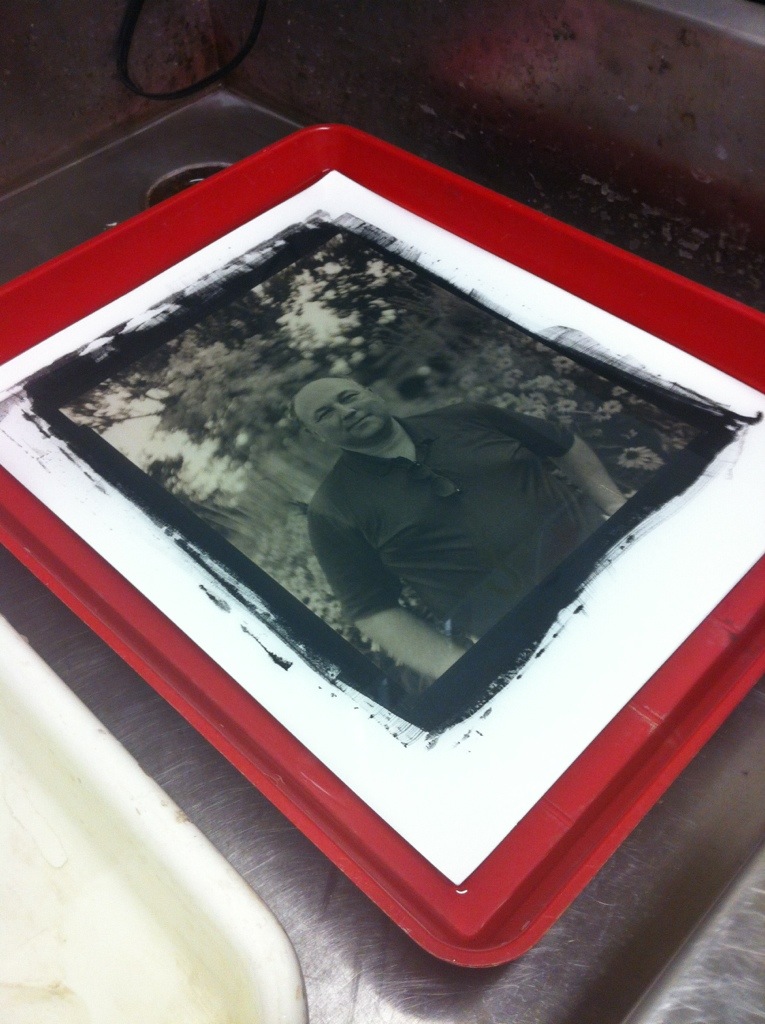
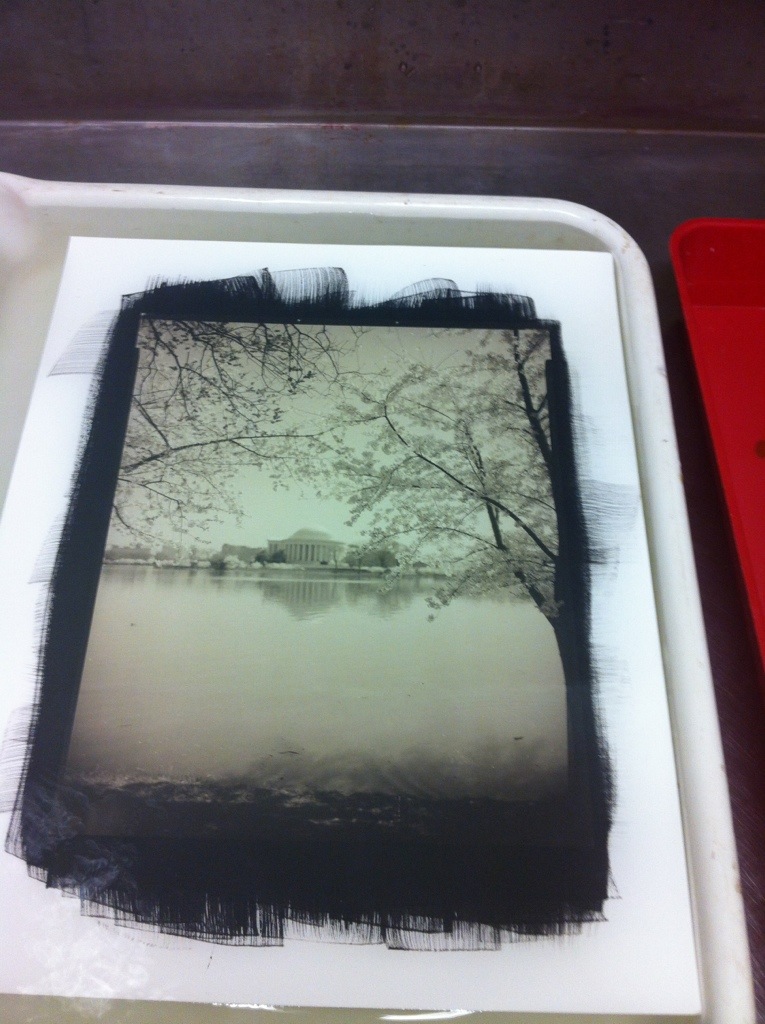
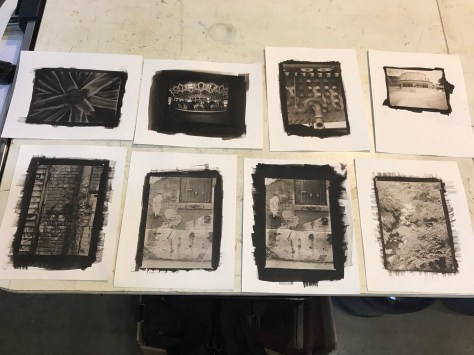
A better representation of some student prints. We also tried doing Ziatypes (a variation on palladium printing that is a printing-out process rather than a developing-out process, and by default has a much cooler, silvery tone to it than a pure palladium print does). The two images in the center row – left center and dead center – are Ziatype variations. The woman’s portrait was from a 40+ year old in-camera 8×10 negative not specifically developed for alt-process printing, but it worked quite well. The soft edges are from the fact that the negative was not processed archivally and is starting to silver out.

A selection of prints from digital negatives – the two left-center and center prints are Ziatypes, a variation on Palladium printing


Meet And Shoot – Columbia Heights

Today was my session of the “Meet & Shoot” class I co-teach with several other instructors at Photoworks. The class is a five or six session workshop on street photography where each instructor takes a group of students out for a guided photography excursion to a location of their choosing. Students can sign up for all sessions, or pick and choose which ones they want as their schedule and/or instructor preference dictates.

This time, I had three new students and three repeat students from the last time I taught this class. Due to some last-minute scheduling snafus, three of the students were unable to make it, so it was a very intimate walkabout, and I was able to teach as much as I was playing shepherd.

We met at the Columbia Heights Metro station, and once the crew was collected, we took a walk up to the little plaza in front of the Tivoli Theater where a saturday farmers market was in full swing. My three students, seen below (L to R: Matthew, Suzan and Bobbi) wandered around and took full advantage of my guidance for the session to use color as a foundational theme. The farmers market was a perfect opportunity, with all the fruit and vegetables on display.

Columbia Heights is an ethnically diverse neighborhood, with a strong Latin-American presence. This is very obvious in the colors and styles of signage on shops and restaurants, and makes for a great subject for a color-based exercise.

Here Bobbi, Suzan and Matthew are examining some signage on a Dominican restaurant on Park Road.

We continued along Park Road over to Mount Pleasant, another neighborhood in Washington DC that also has a significant Latino presence. I took the opportunity to discuss including graffiti and public sculpture in your work as a “street” photographer. If you’re going to include other peoples’ art in your photography, make sure that you have a solid reason for doing so- it’s fair game as documentary, or if your capture and interpretation is transformative (abstract/close-up, for example), but if you’re planning to exhibit and market photos of other peoples’ art, even if it is displayed in public, you’re at best in an ethical gray area, and potentially in a copyright violation scenario.

Street photography is very much about found images – you’re not setting out to intentionally create compositions, but rather responding and reacting to things you encounter, like this poster that fell into the street and got run over until the rough pavement surface pierced through turning the whole thing into an abstract composition.

We had a great morning of shooting, and wrapped up for a chat at a cafe on Columbia Road in Adams Morgan (another neighborhood bordering on Mount Pleasant and Columbia Heights). I’m very pleased with my students, and I’m looking forward to seeing their images from today at our recap class in three weeks.

From my Platinum/Palladium Master Class

If you’ve been following my blog long enough, you know I teach antique and historic processes at Glen Echo Photoworks. I have been teaching a one-on-one master class for the last several weeks. Last session we shot some negatives and processed them in Pyrocat HD, a staining developer. This week, we printed some of the negatives we shot, as well as an old negative Anh, my student, had in his portfolio.

My Portrait by Anh Tran
Jefferson Memorial, Cherry Blossoms

The Jefferson Memorial shot was his existing negative – in the silver gelatin print, the dome of the Jefferson was blended in to the sky at the brightest highlight. You can see even from this phone-cam snapshot that there is tonal separation between the dome and the sky, where the dome is actually the brighter highlight, but still retains detail. THAT is what printing in palladium is all about – that rich, delicate level of detail it is capable of recording in highlights and midtones. And the cherry blossoms have an extra delicacy about them too.

Me With Portrait
Me With Portrait

Here’s a shot he took of me holding the portrait he did last week. This could probably use just a little more contrast, but not bad for his say 5th ever palladium print 🙂

Me Showing my Portfolio for Colors of Night

I brought along my portfolio of the actual prints I’m putting in the Colors of Night show for him to take a peek at. Here I am showing the prints.

Platinum-Palladium Printing Master Class: Making Negatives

I should have been doing this all along through the class, but we’ve had bad luck with scheduling and are as of now still three weeks behind schedule because of holidays, work schedule conflicts and the like.

My student brought his 8×10 Deardorff to class, and we went out and shot a few frames around the park. Here he is with the ‘Dorff. Isn’t it a beautiful camera?

Shooting with the Deardorff

And here he is under the darkcloth. I don’t know why he used it white side in, but it’s his camera, he knows how to use it, so as long as he can focus, I’m not complaining.

Under the Darkcloth
Under the Darkcloth

Here he is pouring a water stop bath into the Jobo drum I brought. We used the Jobo free-standing and not on a processor or roller base – I just ran a water bath for it in a regular developing tray and rolled it by hand. This technique works, but it’s much easier on a proper roller system, and infinitely better on the Jobo processor.

Developing Film
Developing Film

Despite the challenges of processing the film with the Jobo tank by hand, we were able to produce some useable frames. Here he is holding one of the negatives, a portrait of me. Every year he goes back to Vietnam for vacation, and while there he does a fundraising project with photography for a charitable organization. This year, his project is to take portraits of the clients of a clinic that provides healthcare to people exposed to Agent Orange, and sell the prints to raise money for the clinic. It feels really good to me to know I’m having a small part in helping his project.

Finished Negative
Finished Negative