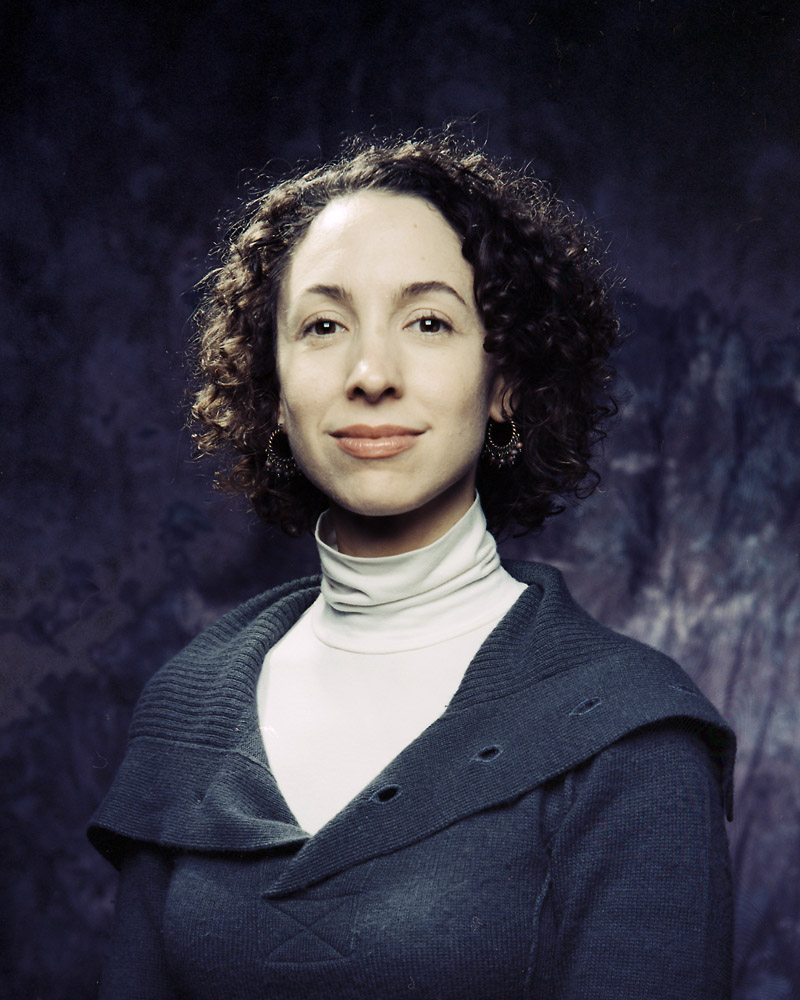
Could you tell me your name?
Leena Jayaswal
Where are you from?
Hard to answer this question. I was born in England, I am Indian, grew up in Ohio but have lived in the DC area for the past 26 years. I currently live in Silver Spring, MD
How did you get into photography as an art medium (as opposed to casual or professional use)?
Since I was in third grade I knew I wanted to have a career in photography. I do all kinds of photography minus commercial work. I am the director of the photography program at American University and one of the classes I have been teaching for the past decade or so has been Fine Art Photography. This class was transformative to me when I was a student and got me interested in alternative processes.
Which alternative processes do you practice?
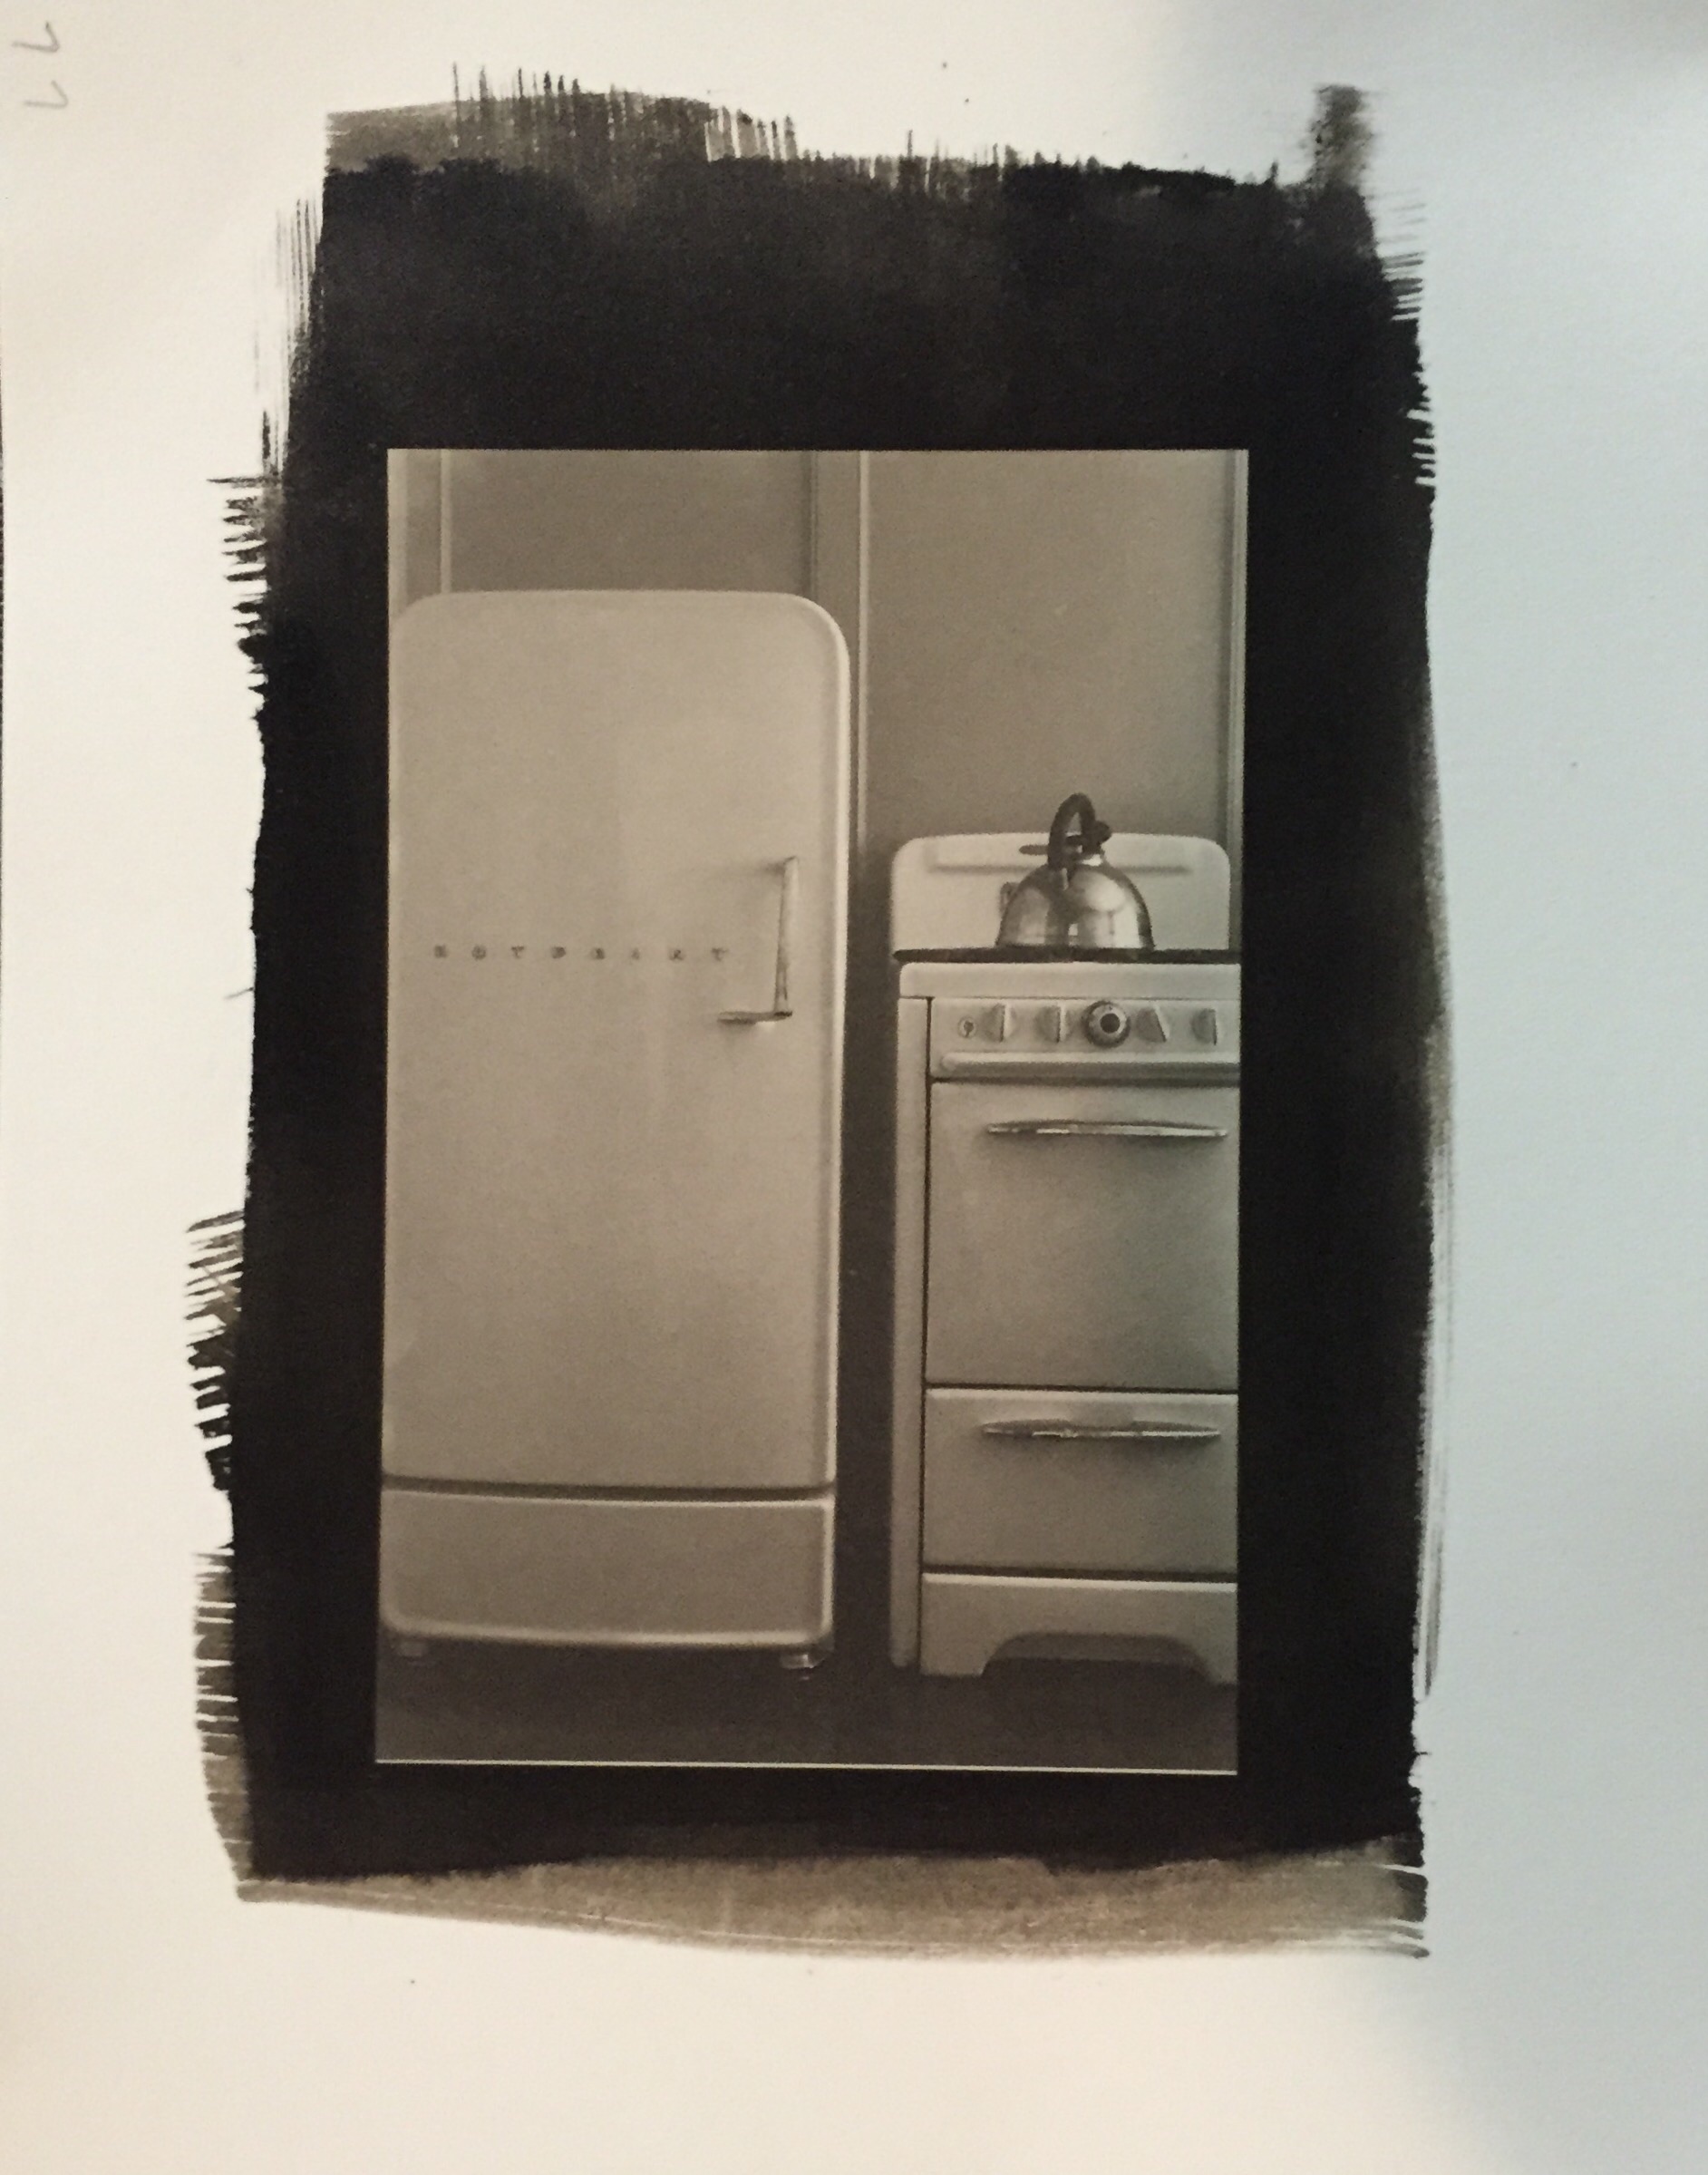
I work in many alternative processes, Polaroid Transfers/Fuji Transfers, Photograms, Lumen, Liquid Emulsion, Cyanotypes.
What attracted you to alternative processes in general?
It is the unknown that attracts me to these processes. Each piece is unique and the nature of small subtle changes from one exposure to another. You never know what you are going to get and I learn patience from these processes. It reminds me that even though photography is known for its reproducibility, alternative processes allow for diversions from an otherwise known outcome.
What drew you to the specific media you practice?
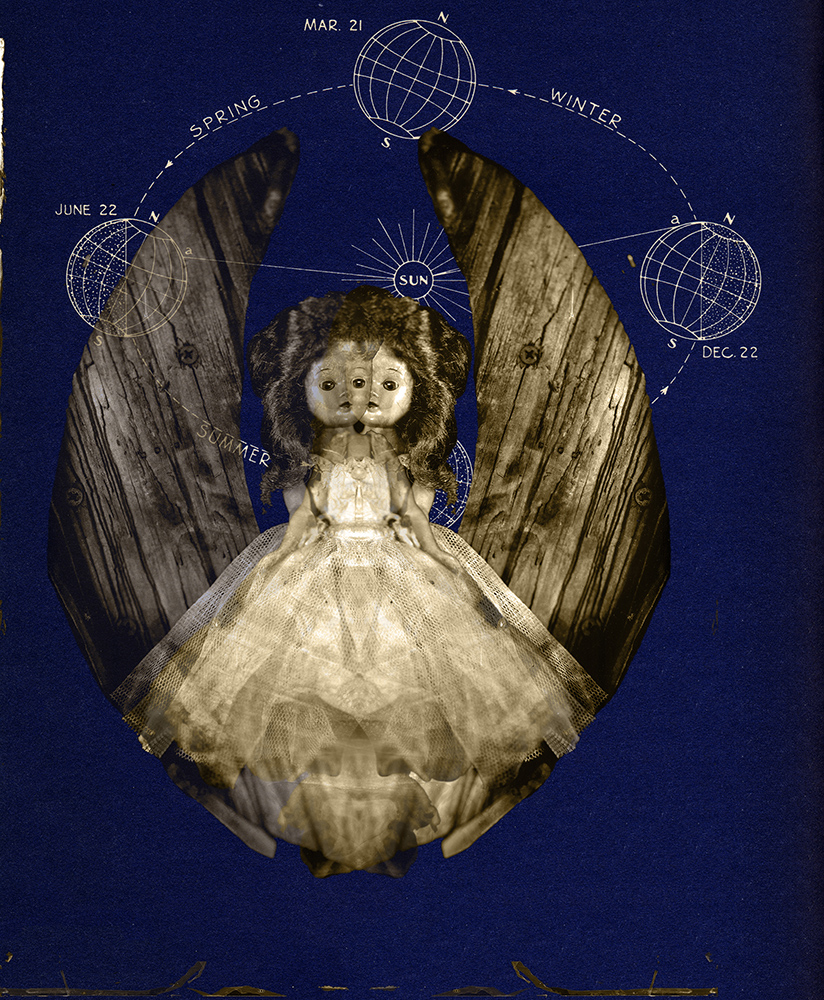
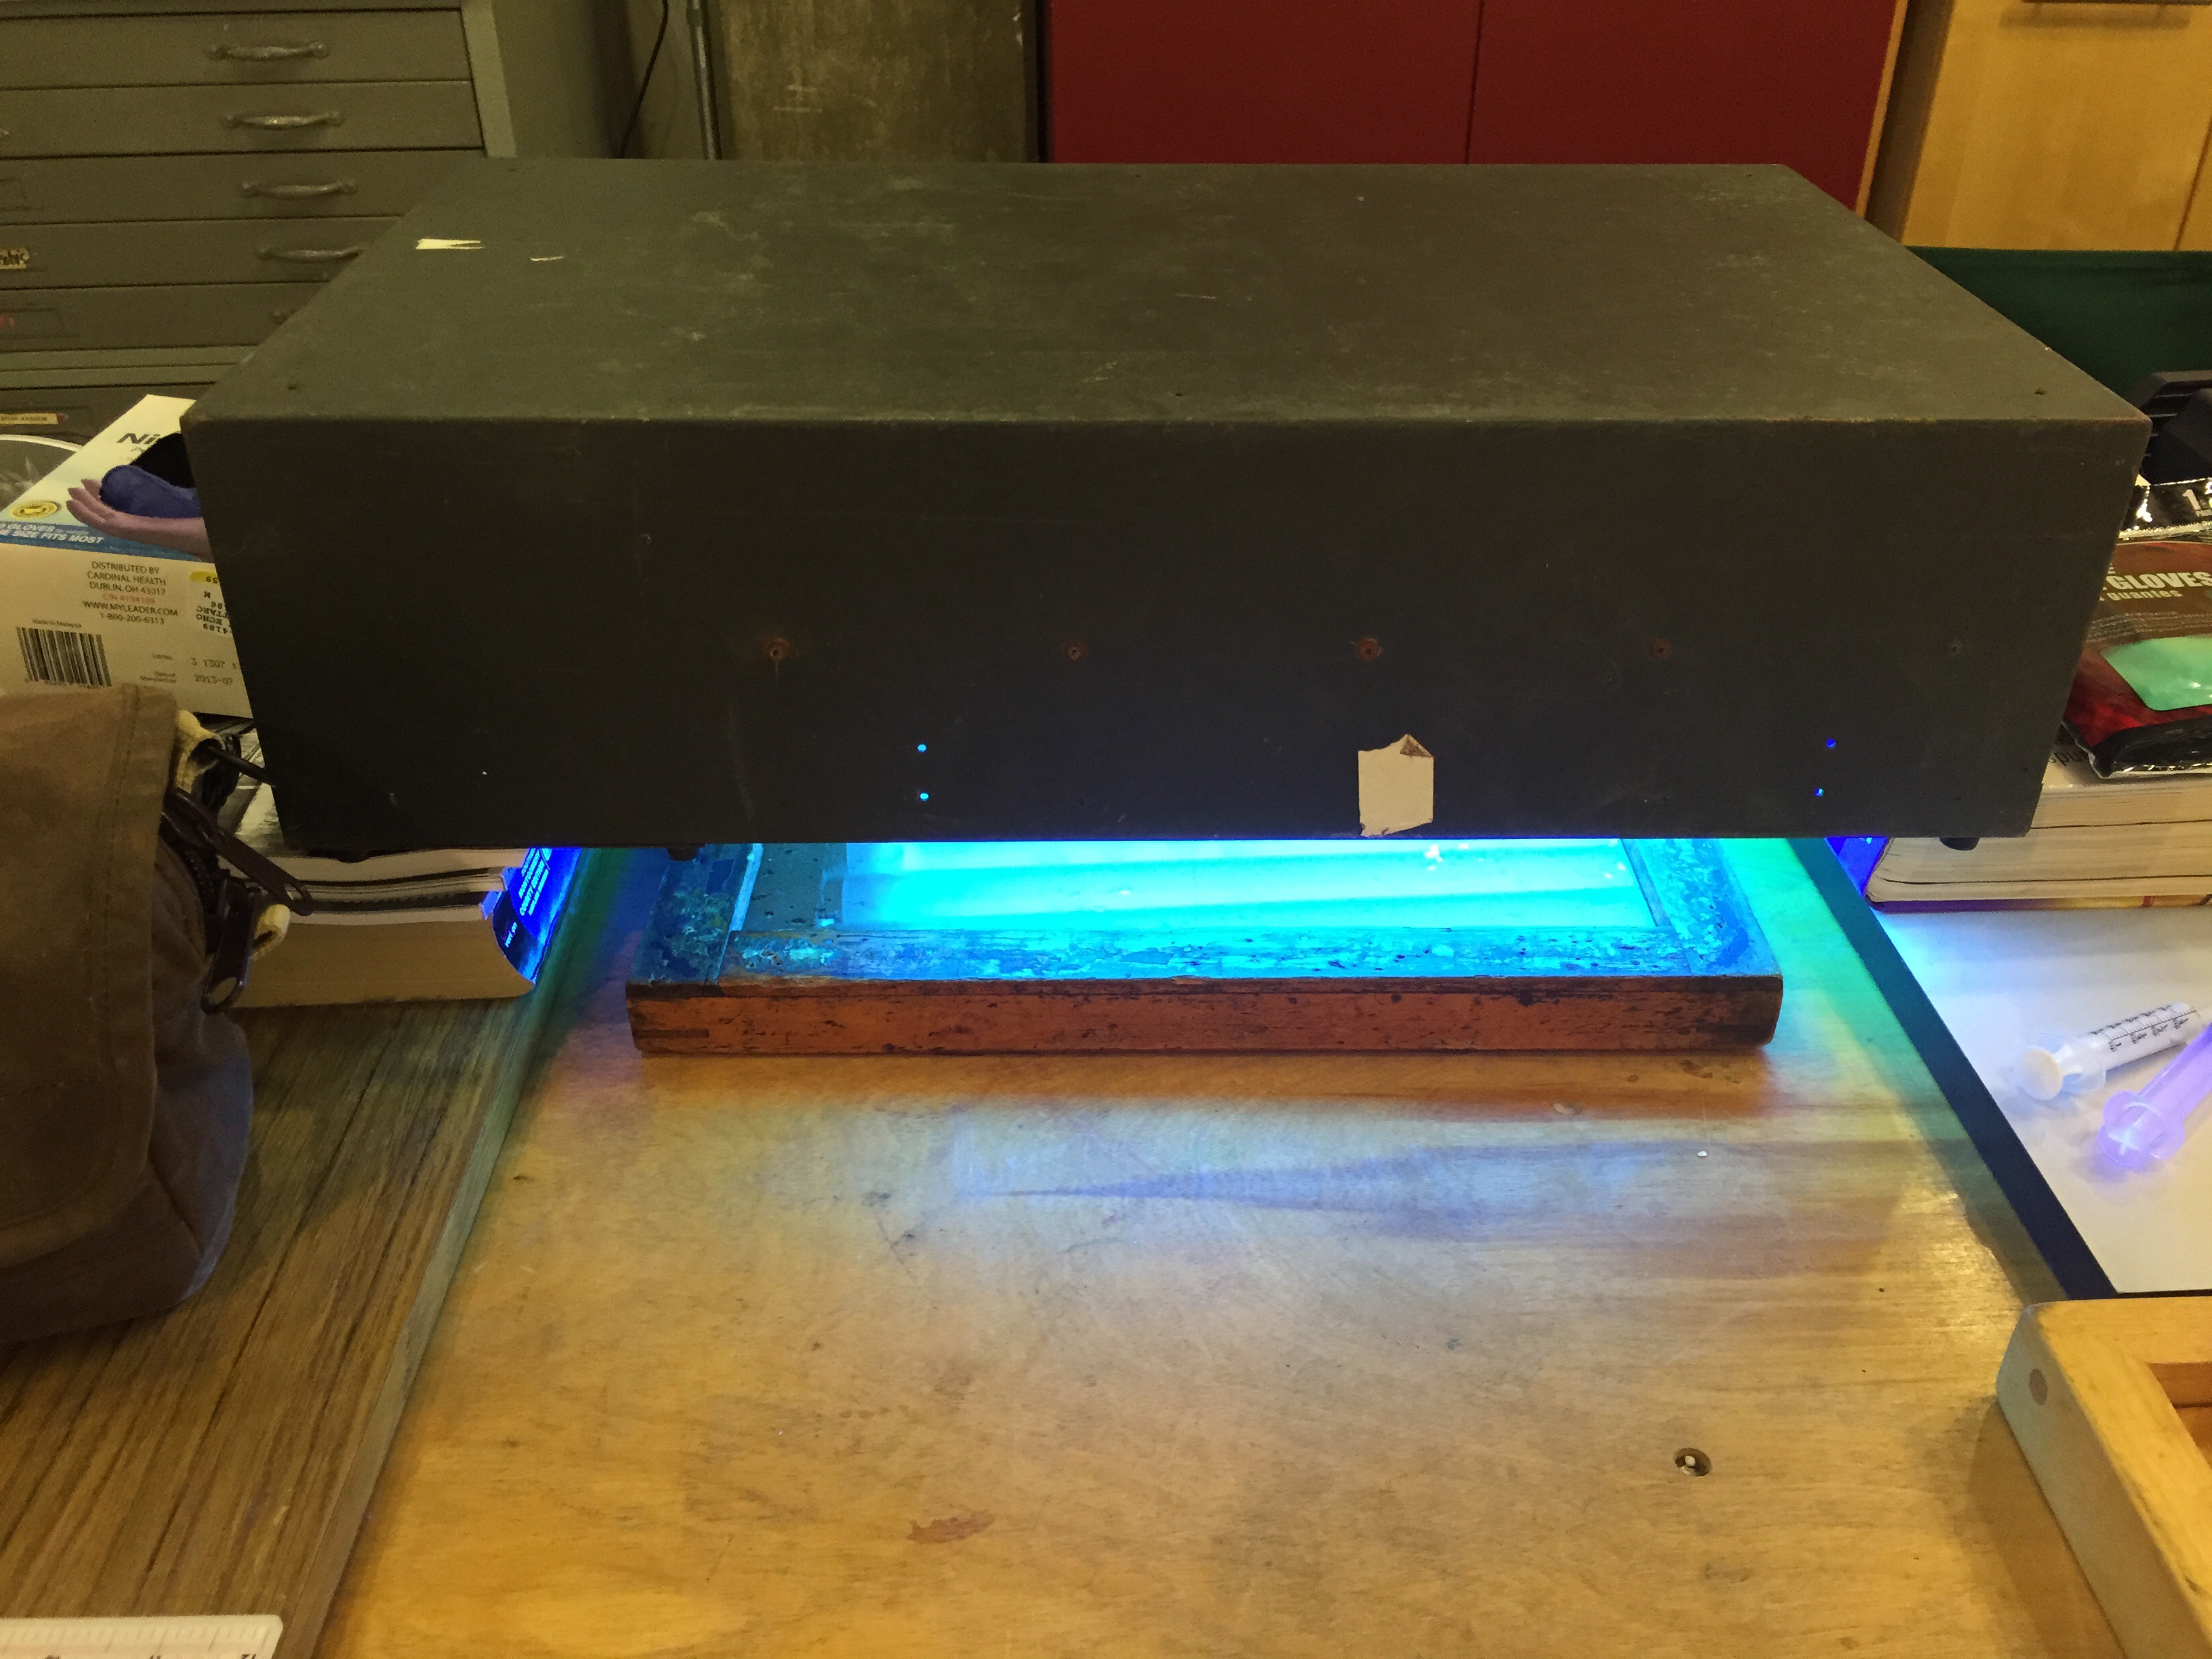
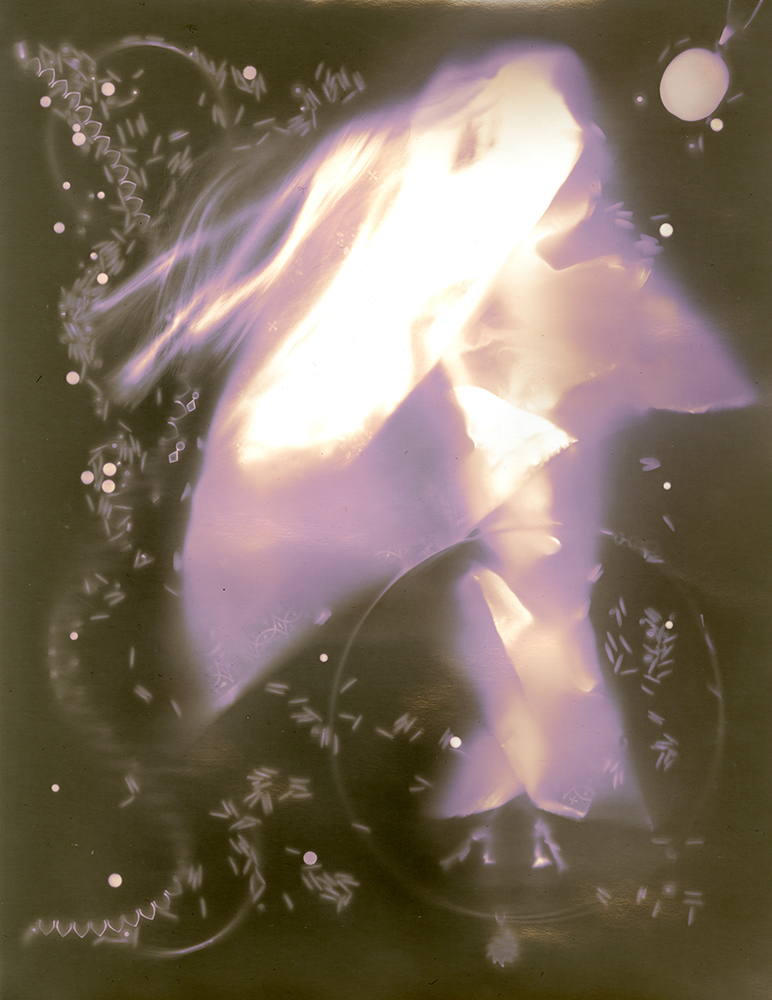
For this series, I tried using photograms and I wasn’t able to get the details on the Indian Barbie’s sari. While I didn’t want the image to be recognizable as a Barbie doll, that carried too much weight as an Icon, I did want the doll to be seen. I loved the colors that were produced with a six-hour exposure in the UV light box. These pastel pinks and purples are reminiscent of Indian wedding colors which are bright and vivid.
How does the choice of media influence your choice of subject matter (or vice versa)?
I often have an idea and will try many approaches or I will re-appropriate my own work into various mediums when a new theme comes into my head. Often I work with issues of race, identity, gender and diaspora, so the work I do can flow from one series to another, with changes.
In today’s mobile, electronic world of instant communication and virtual sharing of images, how important is it to you to create hand-made images?
Hand-made work is vital to my photography practice. While I do a lot of work on the computer, it is this work that seems more personal to me, BECAUSE it is done by my own hand. It becomes personal and when you are doing themes surrounding your identity, it seems to go hand in hand.
Is your choice to practice alternative, hand-made photography a reaction to, a complement to, or not influenced by the world of digital media?
To me the ideas come and I test them in a variety of ways. I’m not wedded to any process, I think the work warrants the process. So often I will test things out before I decide what is working. I often tell my students they need a viable reason for choosing the medium they work in. The image has to warrant the process or why do it that way.
Do you incorporate digital media into your alternative process work?
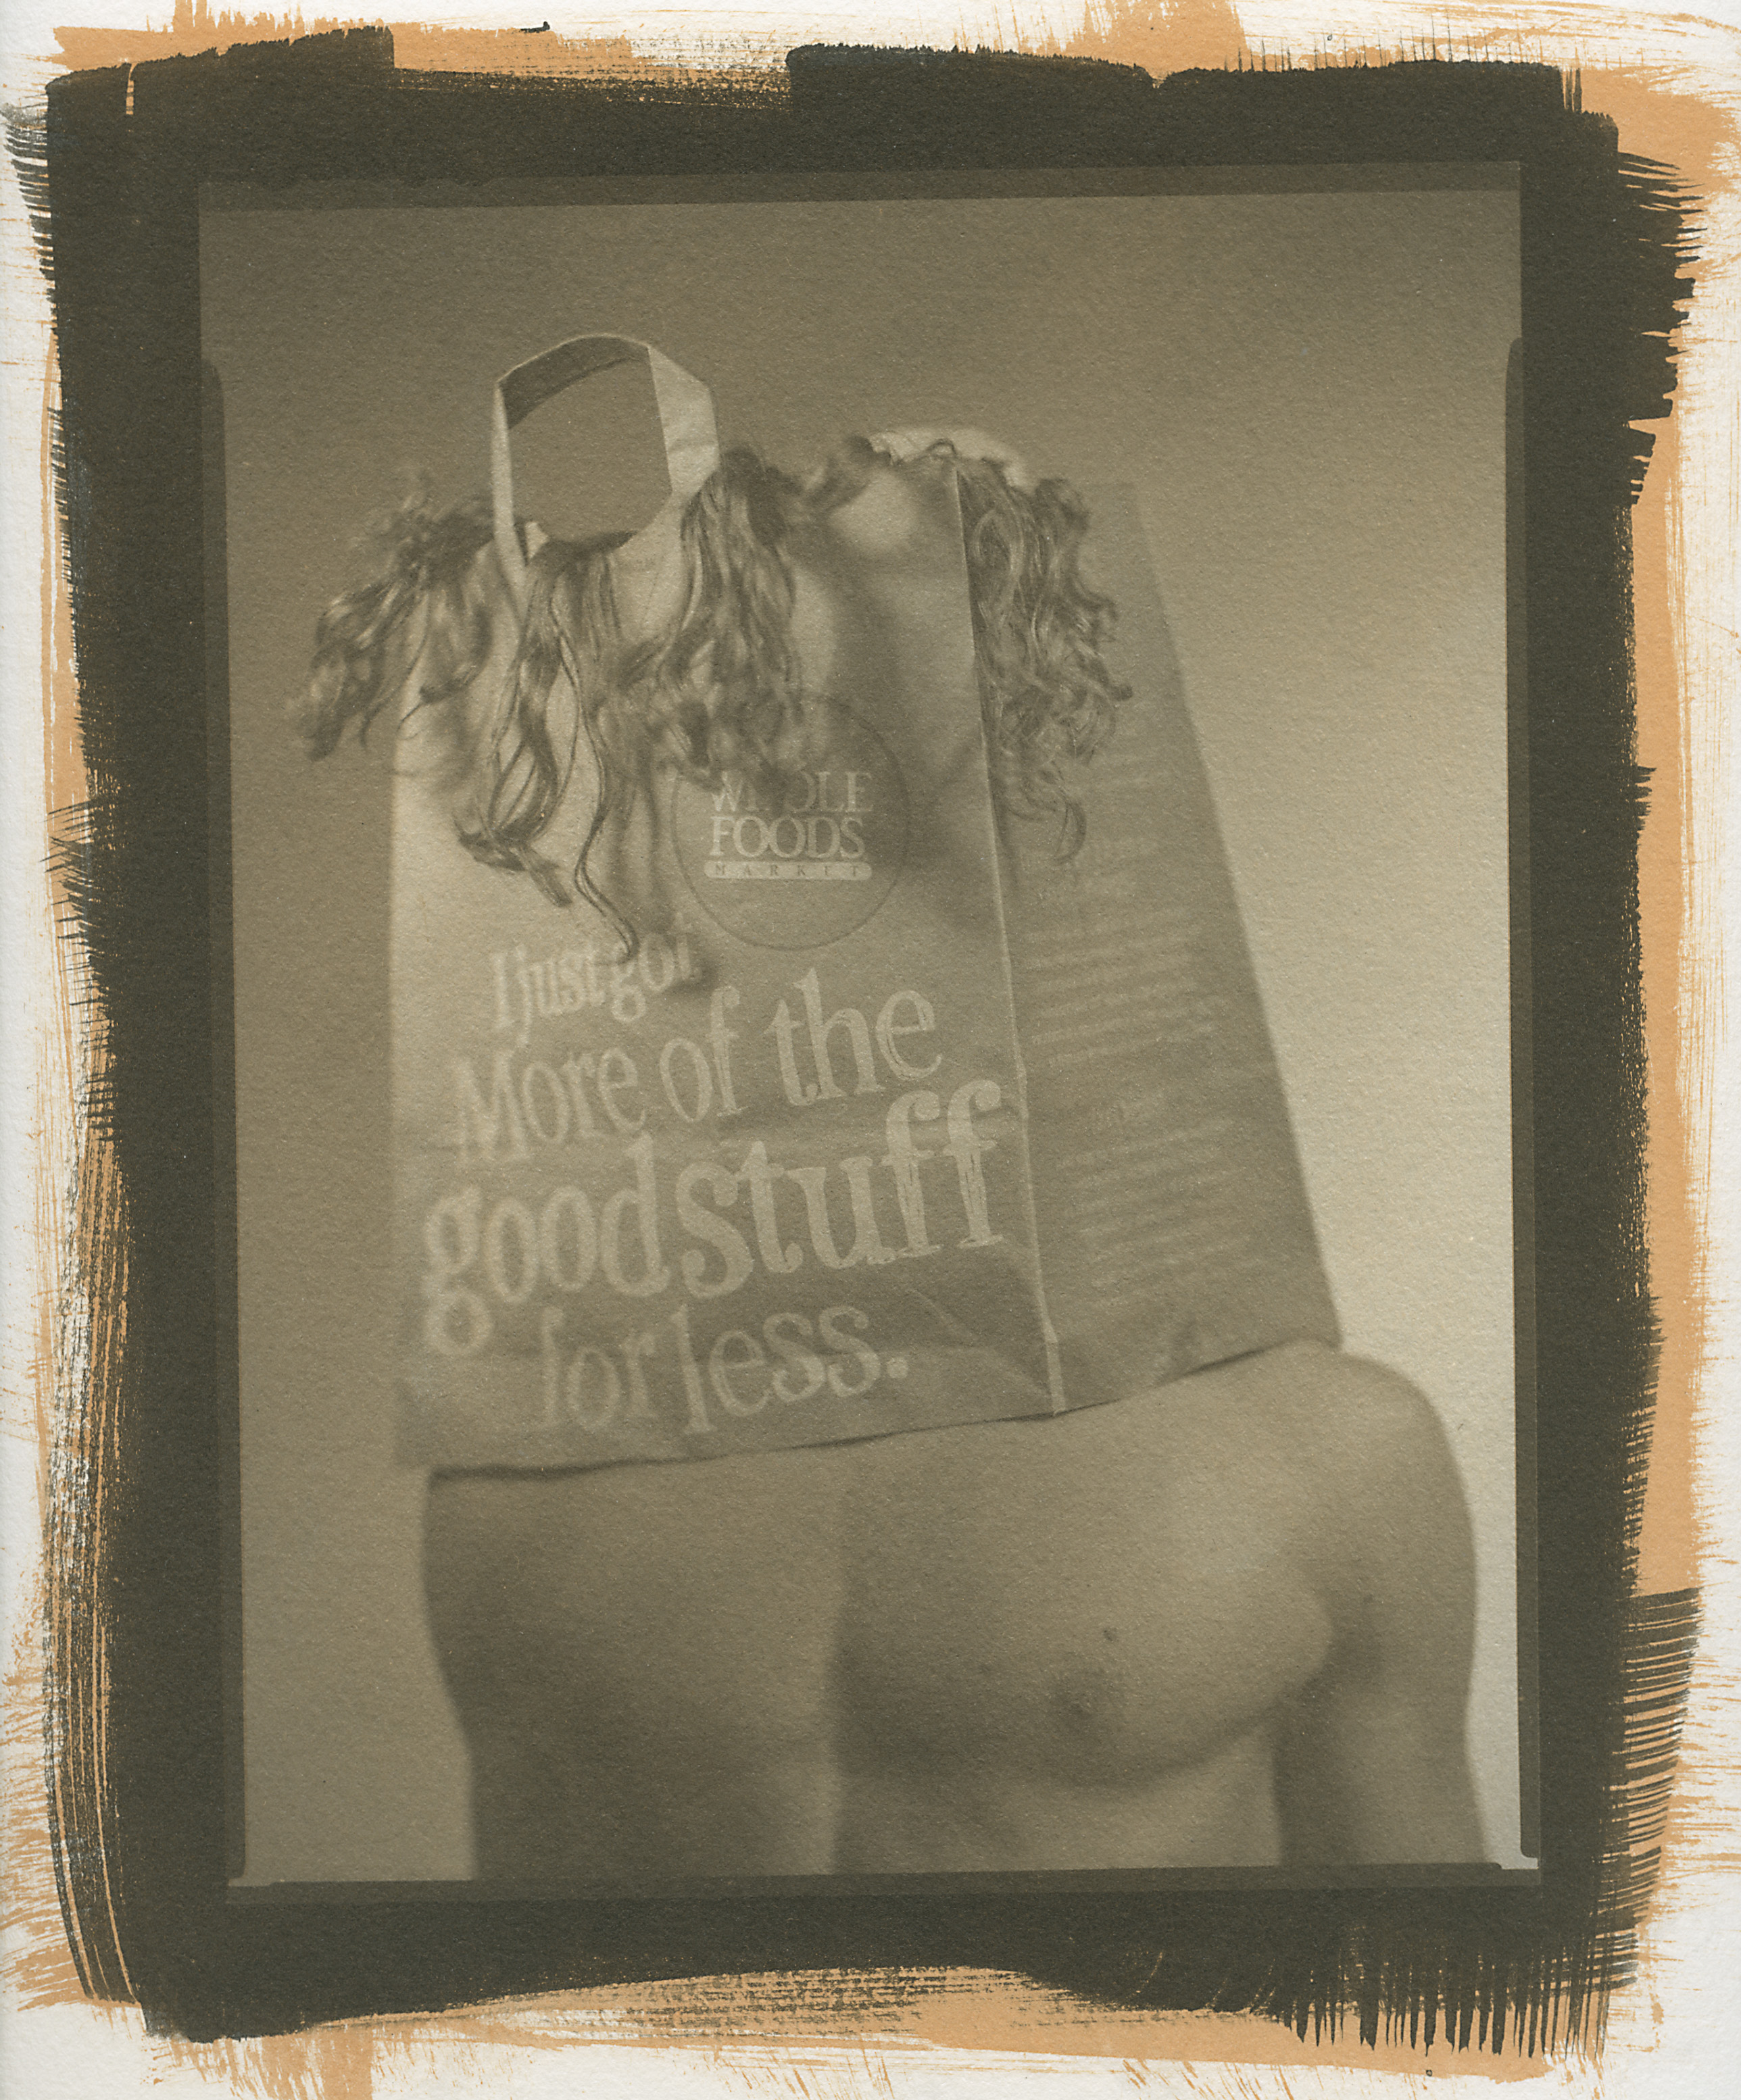
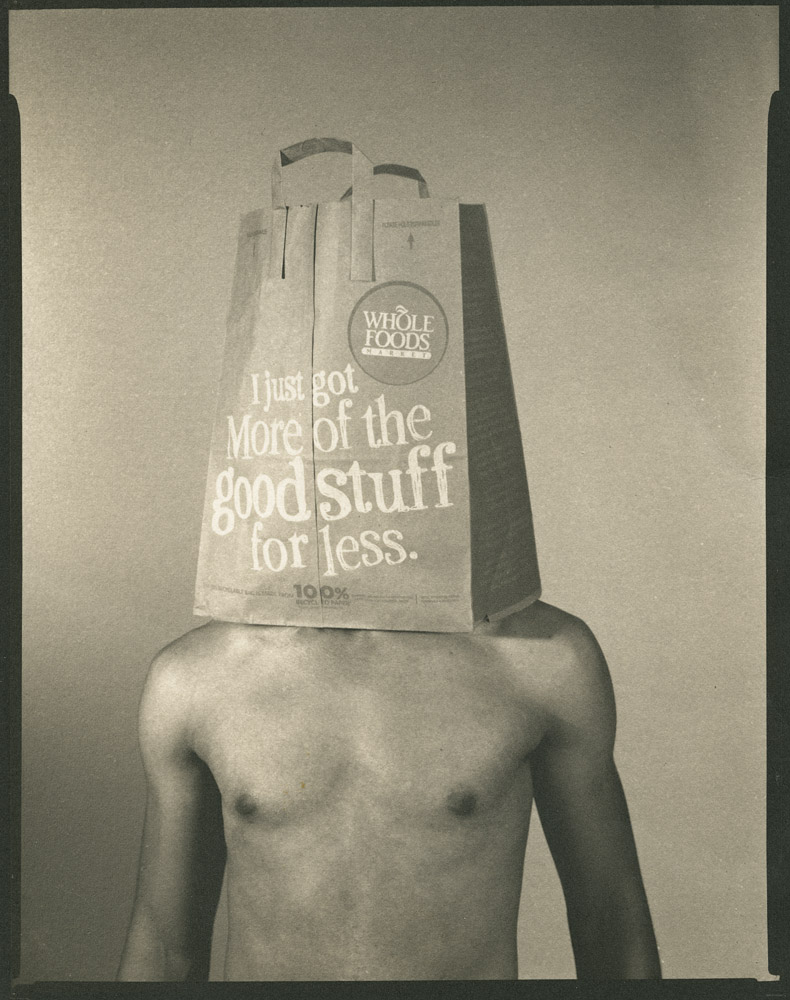
Yes, I have a series of Polaroid transfers that I have scanned and blown up to 40 x 50”. With Polaroid going under and the Impossible project not being able to take over creating pull apart film, digital is the only way to do this process now. As of last week Fuji announced they are no longer making their pull apart film, so unless some company takes over there will no longer any film that will allow for emulsion transfers or emulsion lifts.
If so, how do you incorporate it? Is it limited to mechanical reproduction technique, or does it inform/shape/influence the content of your work?
I use it to enhance the work and to reproduce it at larger sizes.
What role do you see for hand-made/alternative process work in the art world of today? Where do you see yourself in that world?
I feel that there will always be a place for alternative processes, and new ones will come up that will combine digital. I find it to be a great time to be making work because there are no rules on how to make work that is shown in galleries. I do see my students becoming more attracted to these older processes because of they are learning something new.