OK- well, the title is a tad misleading – my class WAS sold-out with a wait list. I added additional slots to accommodate the wait list, and there is ONE additional spot left. If you’re interested, now’s the time to grab it before it’s gone. I will NOT expand the wait list again for this session. The class is my perennially popular Introduction to Platinum/Palladium Printing class, this time with an expanded digital negative how-to session. Based on the response, I’m also planning a fall Platinum/Palladium Printing Extended Project course that will provide a six-to-eight week guided seminar in printing.
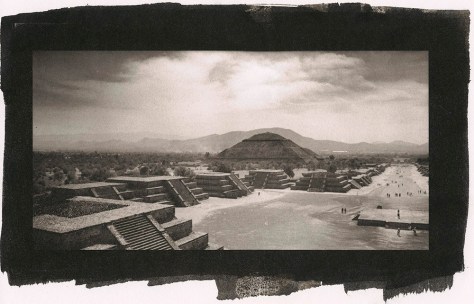
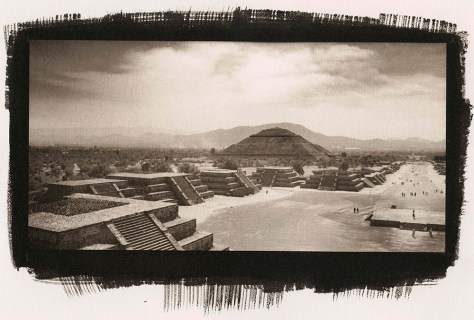
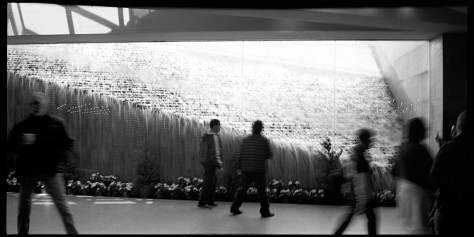
The pyramids at Teotihuacan in Mexico was originally shot on a 2 1/4 x 4 1/4 inch roll film negative from my Lomo Belair X/6-12, then scanned and printed on Pictorico Premium OHP to make a 4 x 8 inch print.

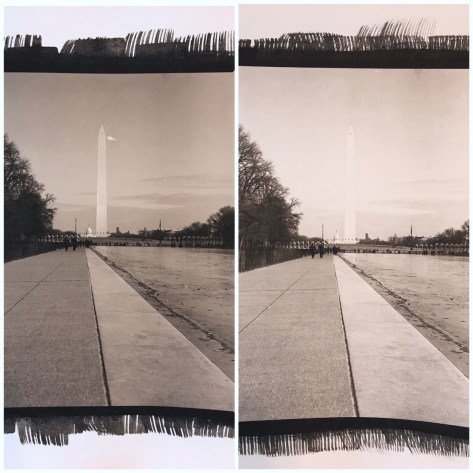
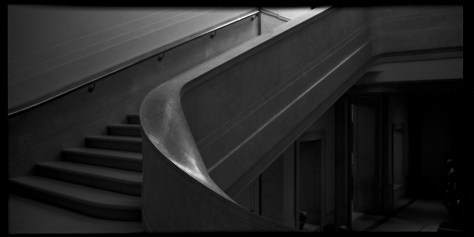
Ditto the above with this shot of the National Gallery of Art staircase in Washington DC.
Making a print is fun and easy.
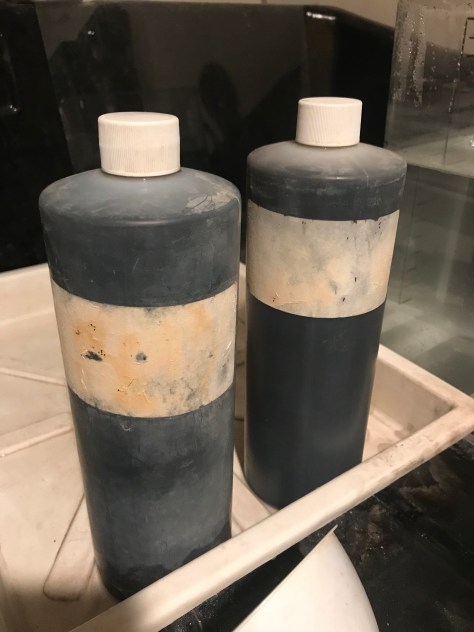
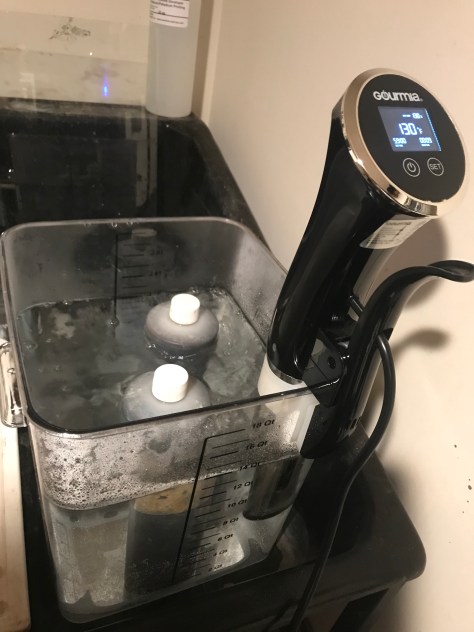
A frequently asked question: what about your developer chemistry? You mix up your Potassium Oxalate, replenish it as needed, and filter it periodically. But you keep on using the same batch of developer forever, unlike silver gelatin paper developers which have a finite lifespan, regardless of usage.
Here’s a digital negative printed on the Pictorico OHP transparency medium. Other printers will work, but the industry standard seems to be Epson Stylus Photo printers with Ultrachrome K3 inks (or newer). I’m using an Epson 3880 at the moment.
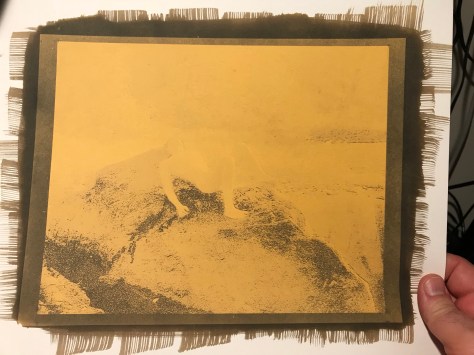
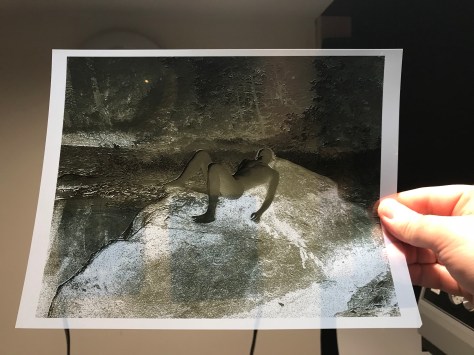
Here’s an exposed print from the negative shown above. An exposed but undeveloped print will show a “ghost image” of the finished print. The development process happens VERY fast, as you can see in the video below.
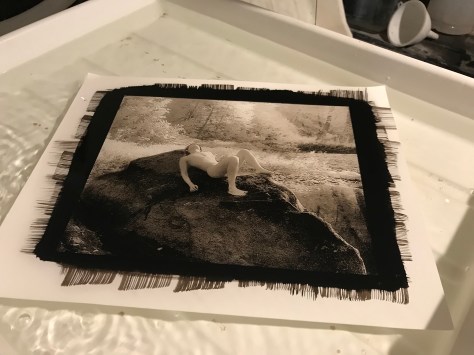
And the finished print, washing in the final wash.
To register, click here Intro to Pt/Pd May 5&12