With the ongoing pandemic, many people are turning to, or at least considering, still life as a genre to explore with their photography. This class is designed for those wishing to tackle still life in their own home. One of the great things about still life is that you don’t need a fancy studio with expensive and complicated lights to produce great images, and since your subjects are (usually) things, you can take all the time you need and your subjects won’t complain.

We will cover the basics of how to get set up and choose a space to shoot in, and how to manage your light. All that is required is a table that is within reach of a window, so if that’s all you have, that’s all you need. We will cover lighting options both low-cost and more complex should you not have access to a good window, or you want to be able to shoot regardless of the hour or the weather.

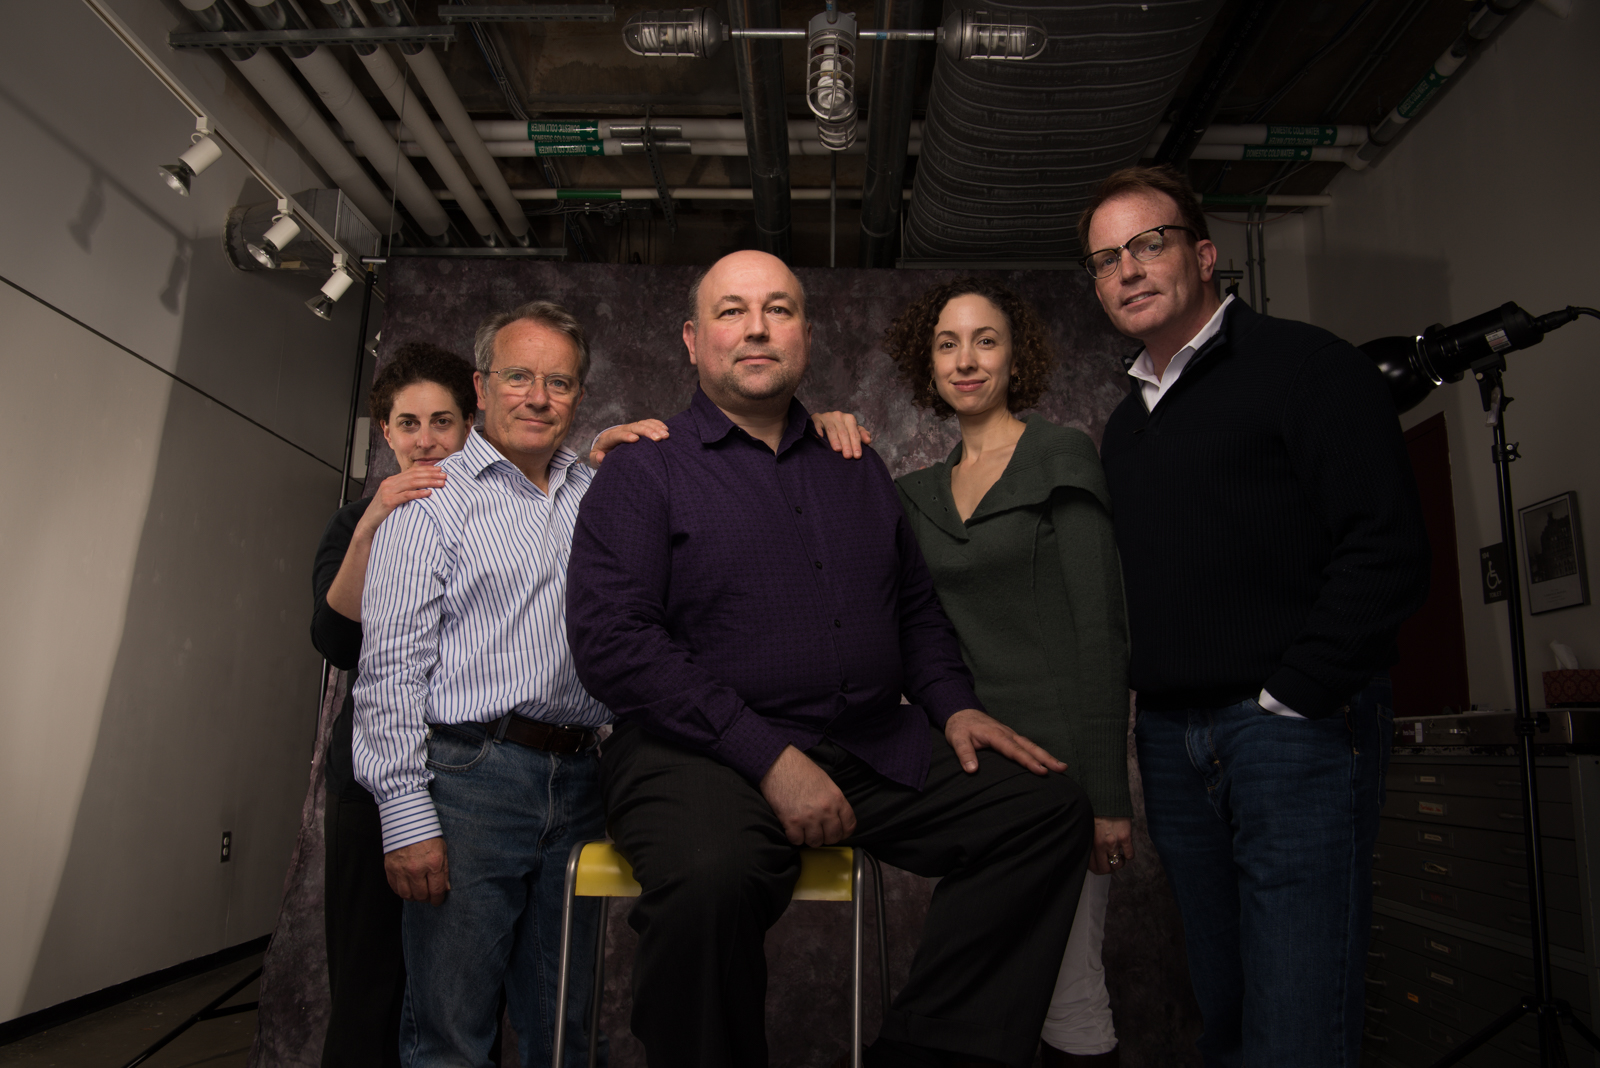
Beginning with single objects and growing from there, we will build complexity into multiple object setups. Most if not all the images used in this article were made with a single light – you can see that you don’t have to be a studio lighting pro to produce excellent results. We will touch on using reflectors and diffusers (very useful when working with natural light where you may not have as much control over the quality, direction and contrast as you do with studio lighting).T
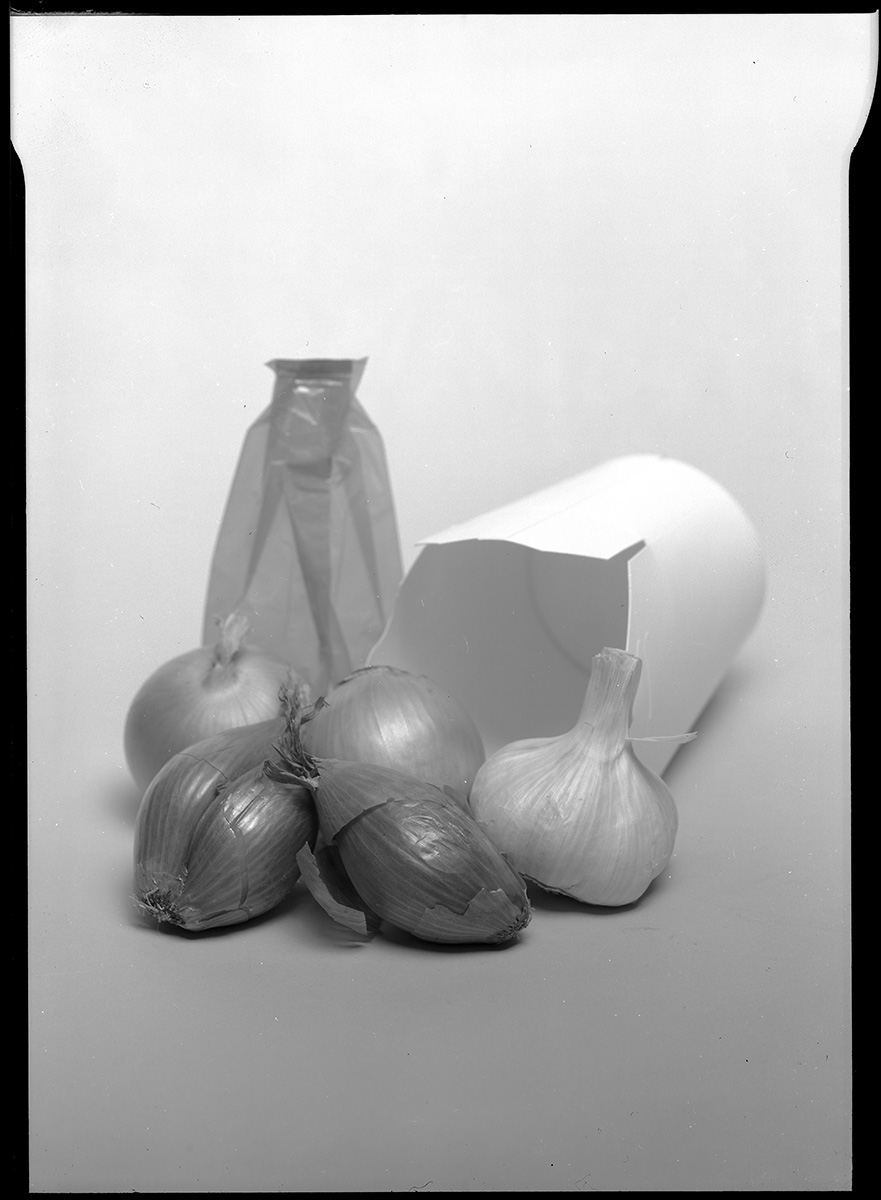
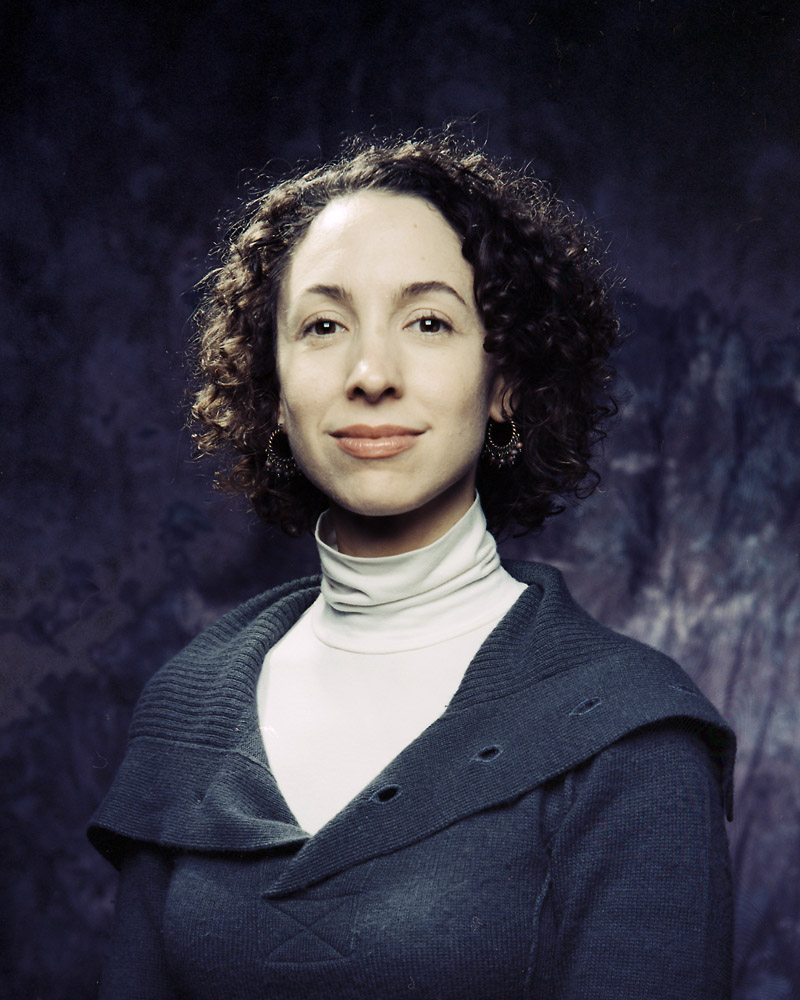
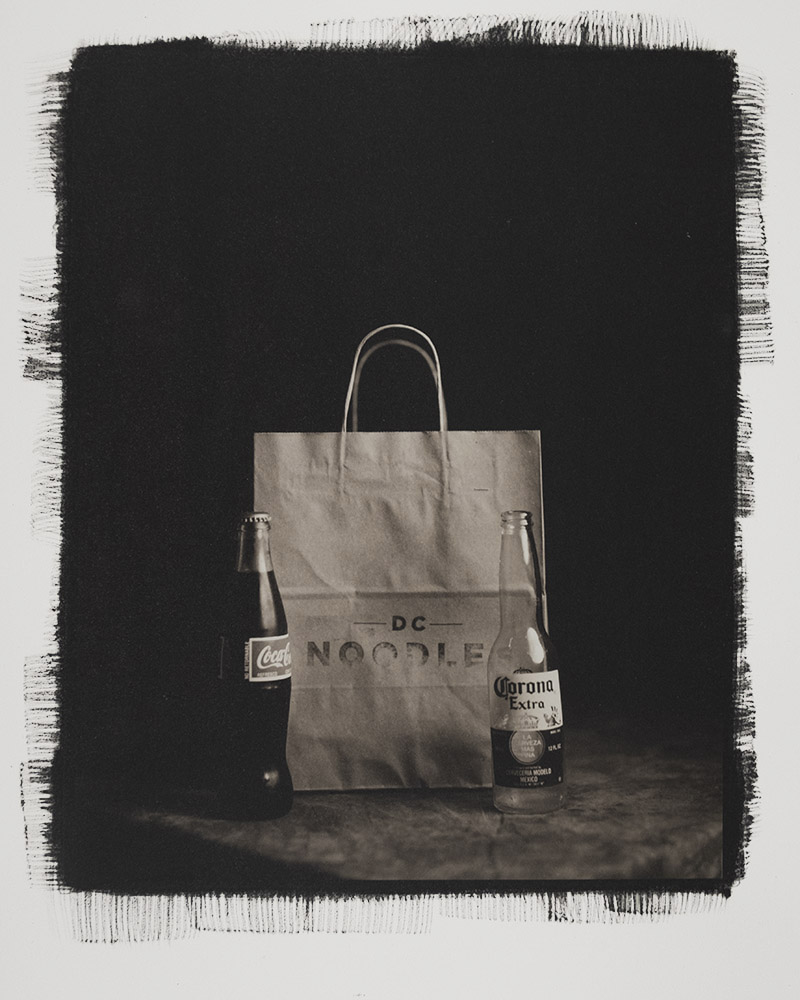
Still life can be more than just a bunch of fruit. It can tell a story, reflect the zeitgeist, or even be a portrait (of the thing pictured, or of a person).
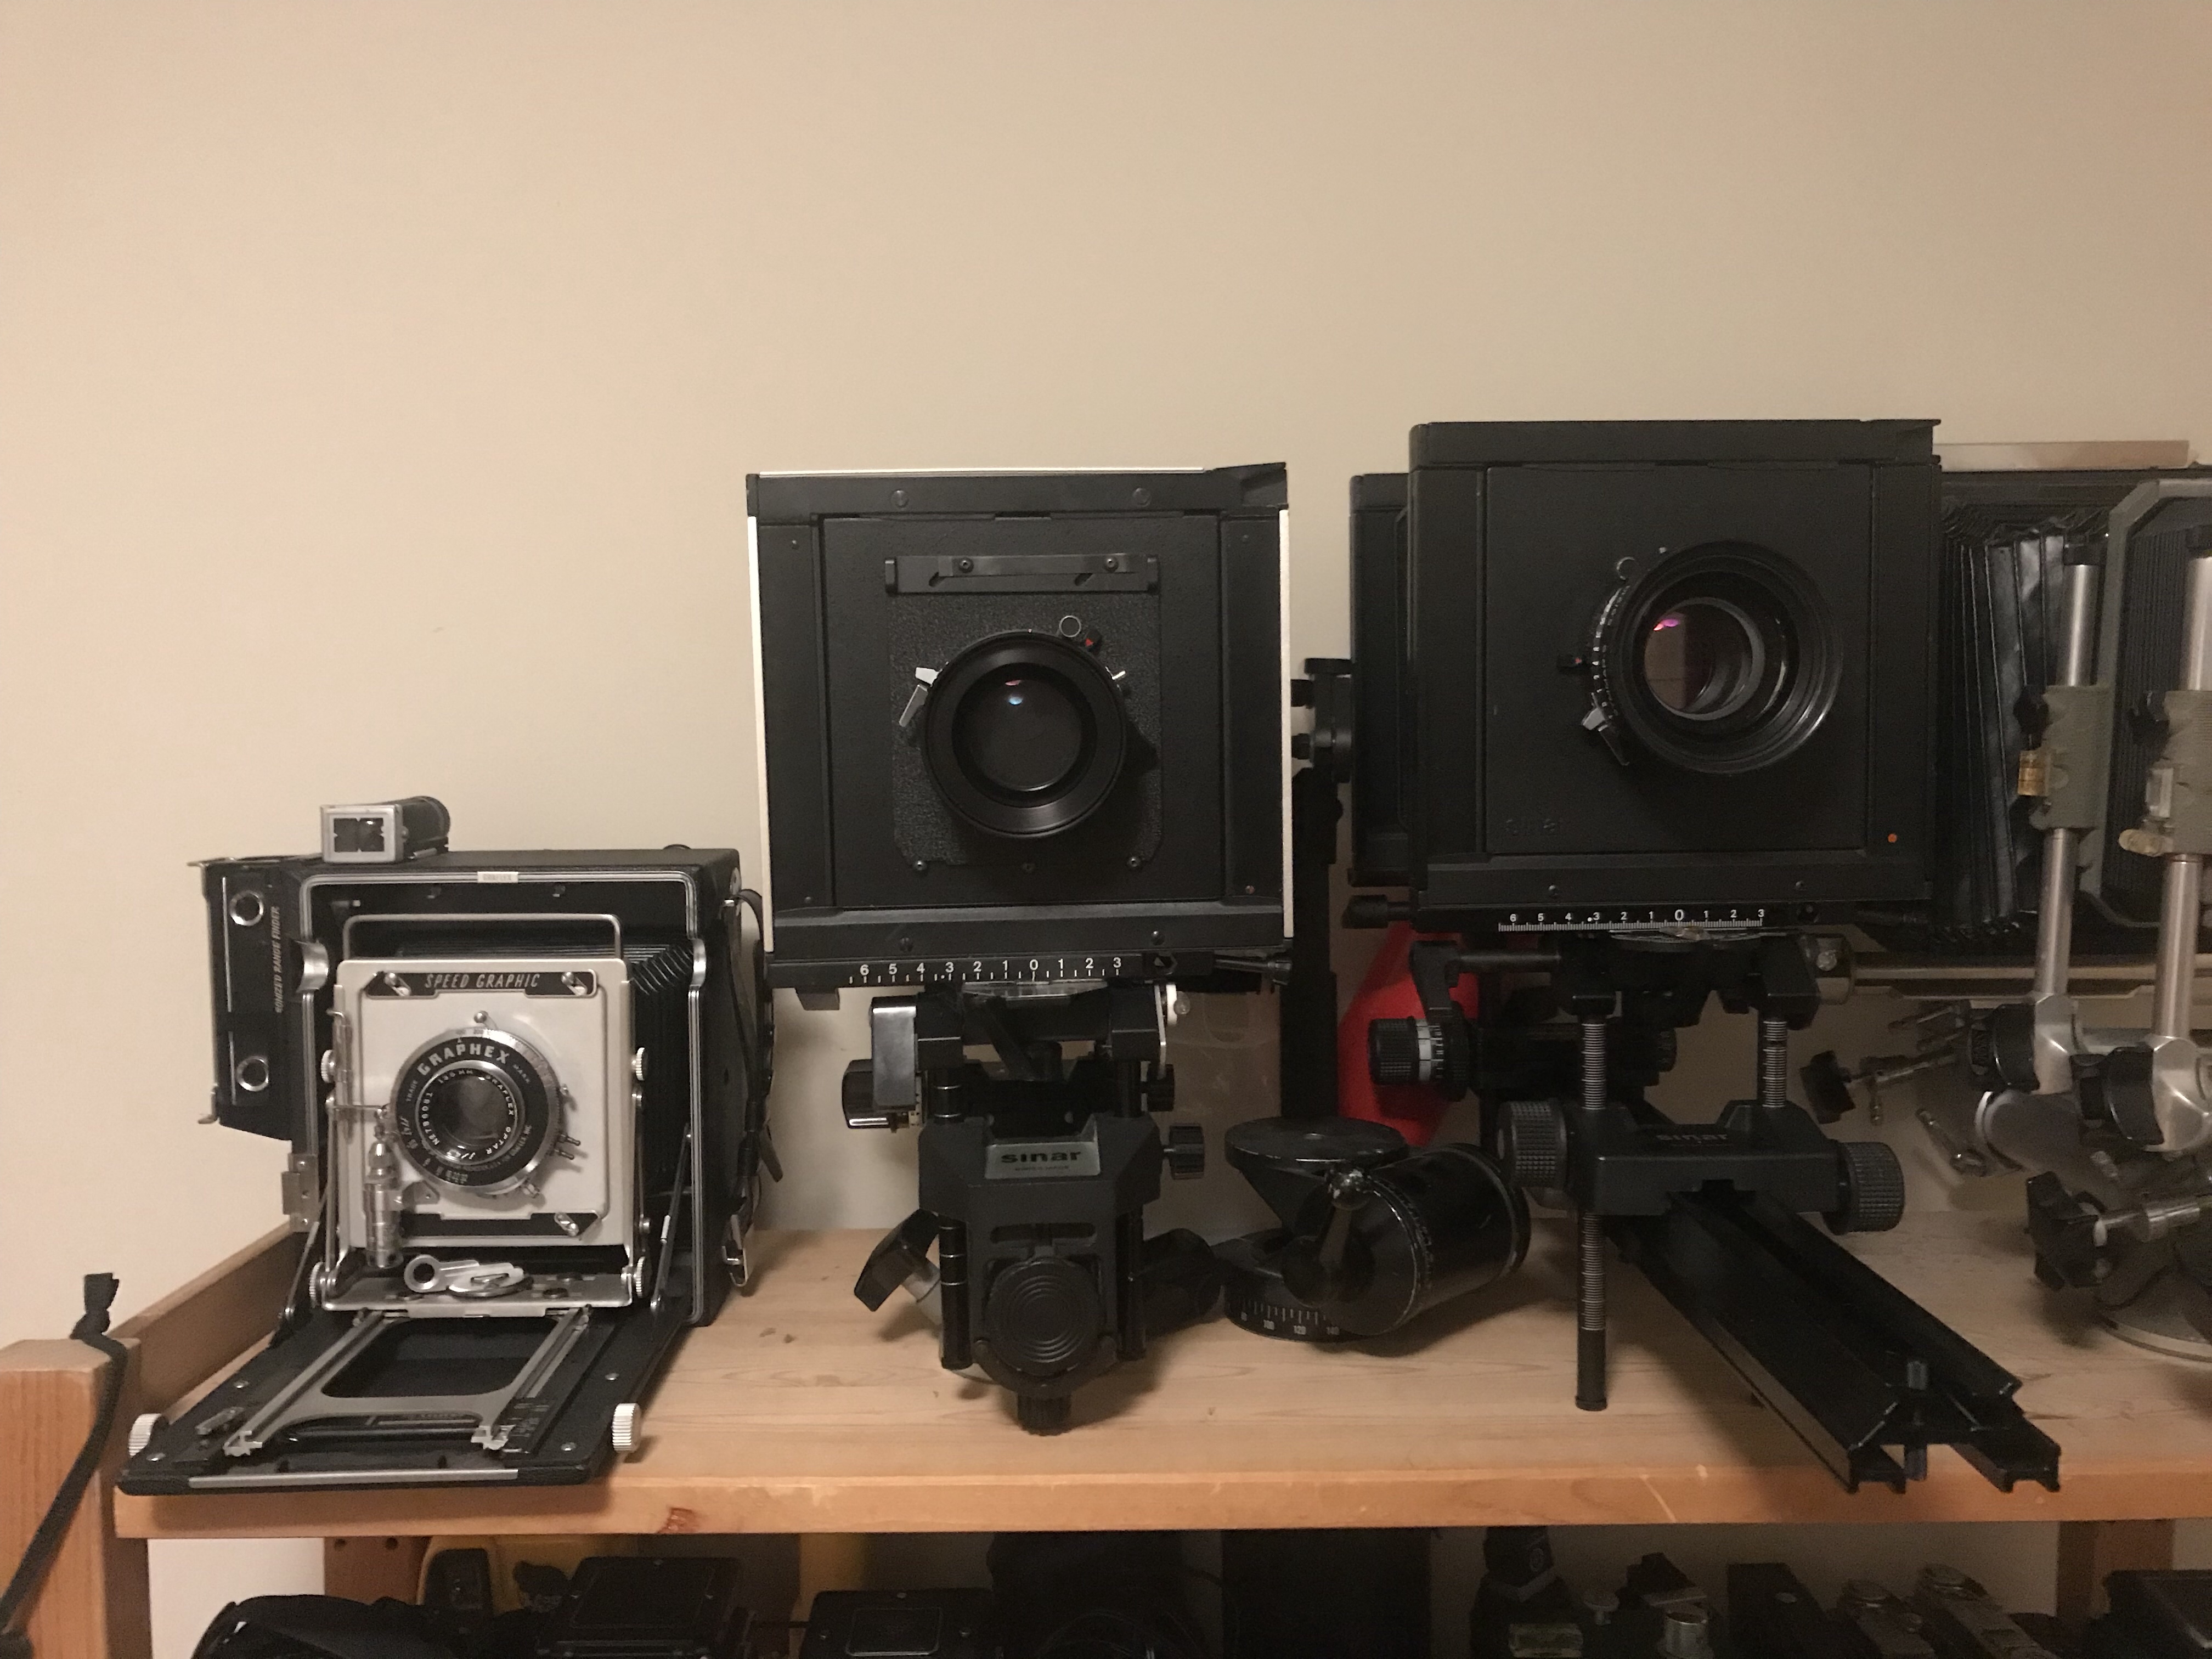
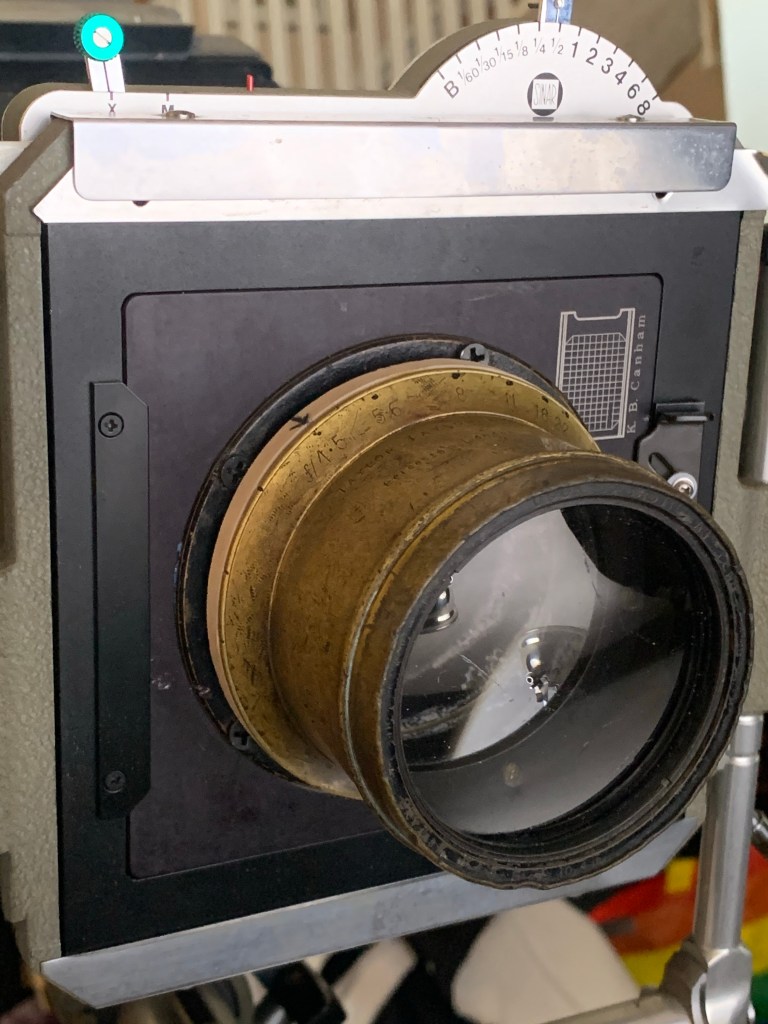
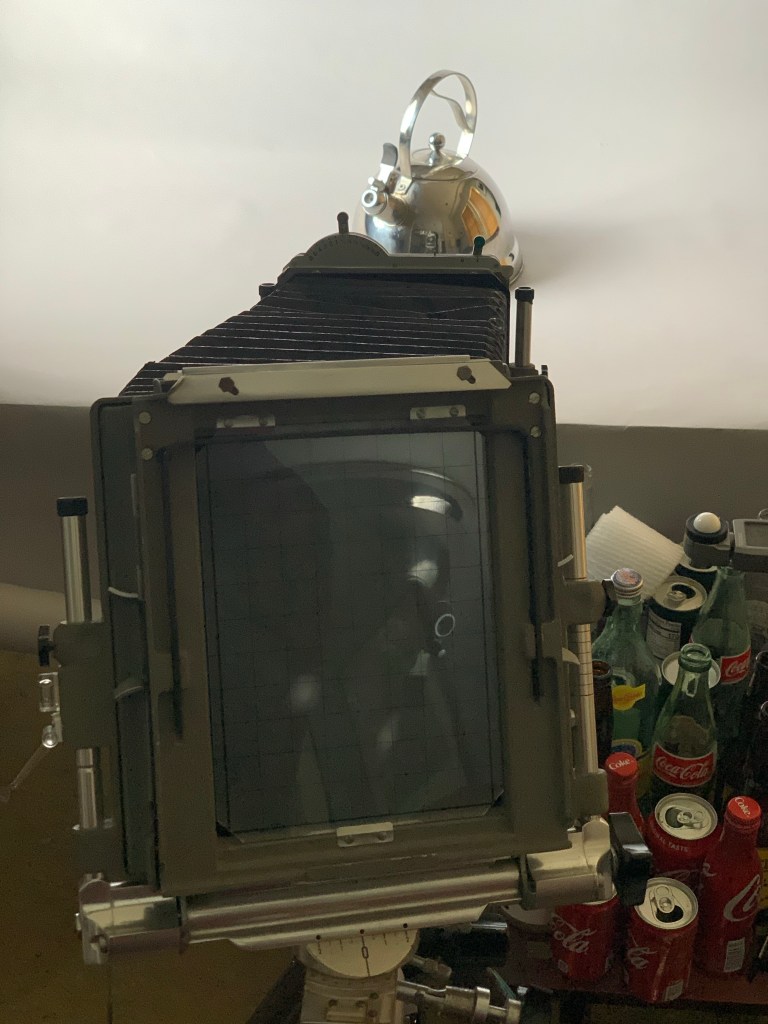
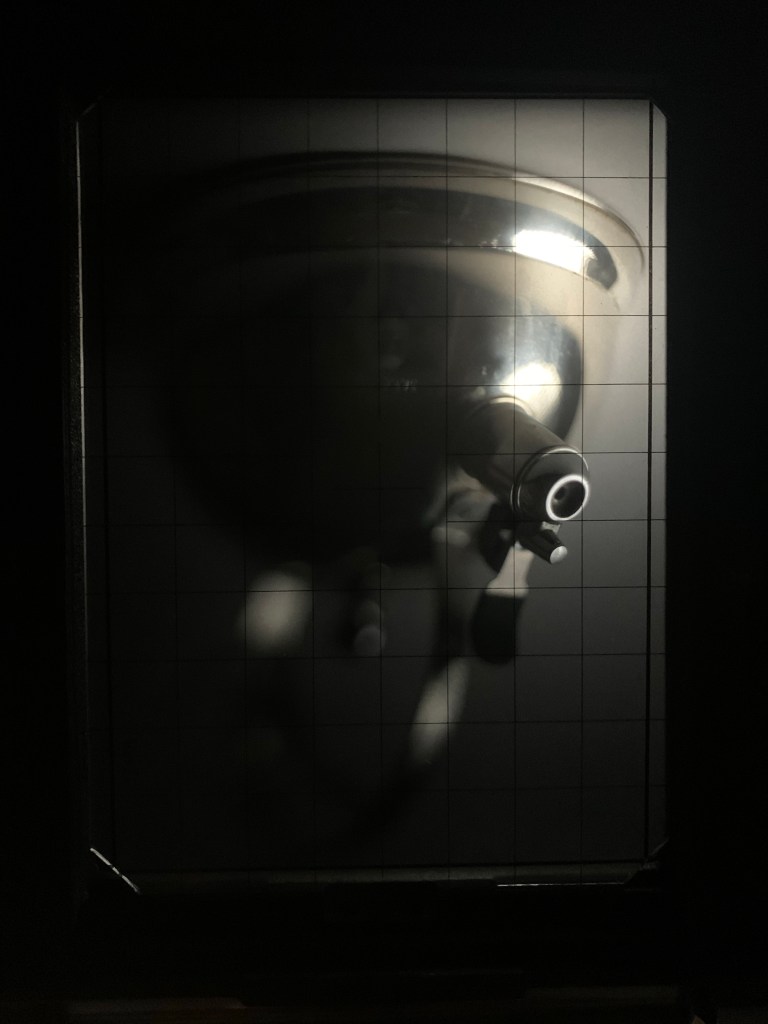
While in my own work, I do mostly large format film photography, because I like it and I like the results it produces. Between the antique lenses available that produce a unique look to the camera movements to control depth-of-field and plane of focus placement, there is really no better tool for still life.

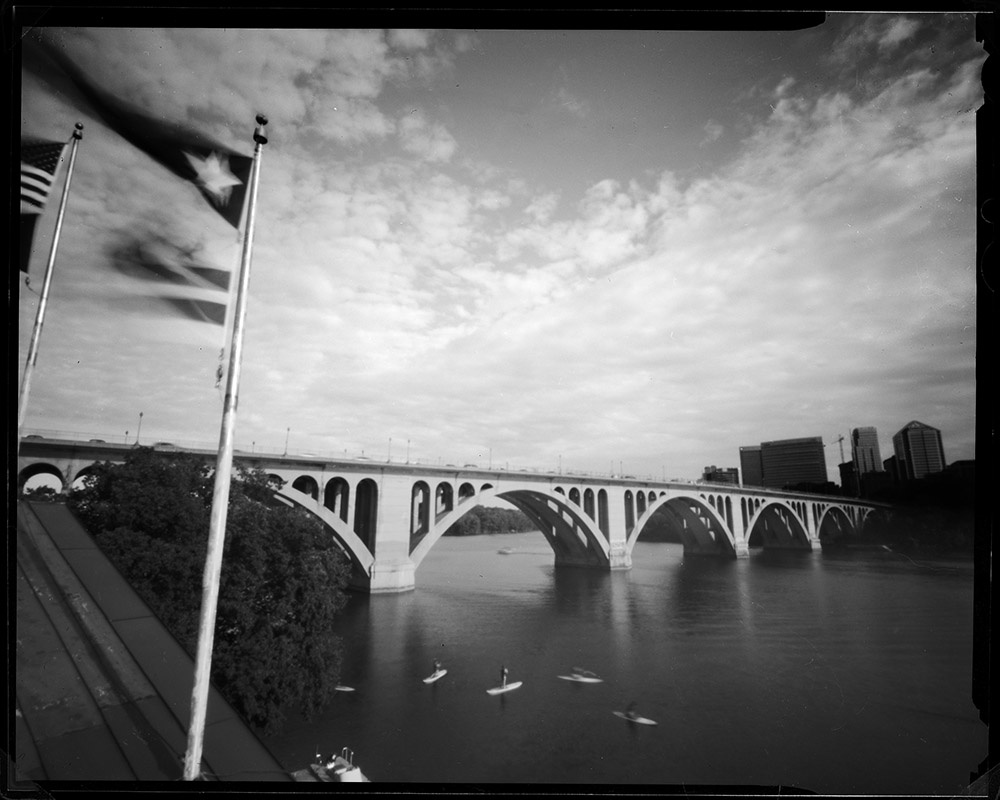
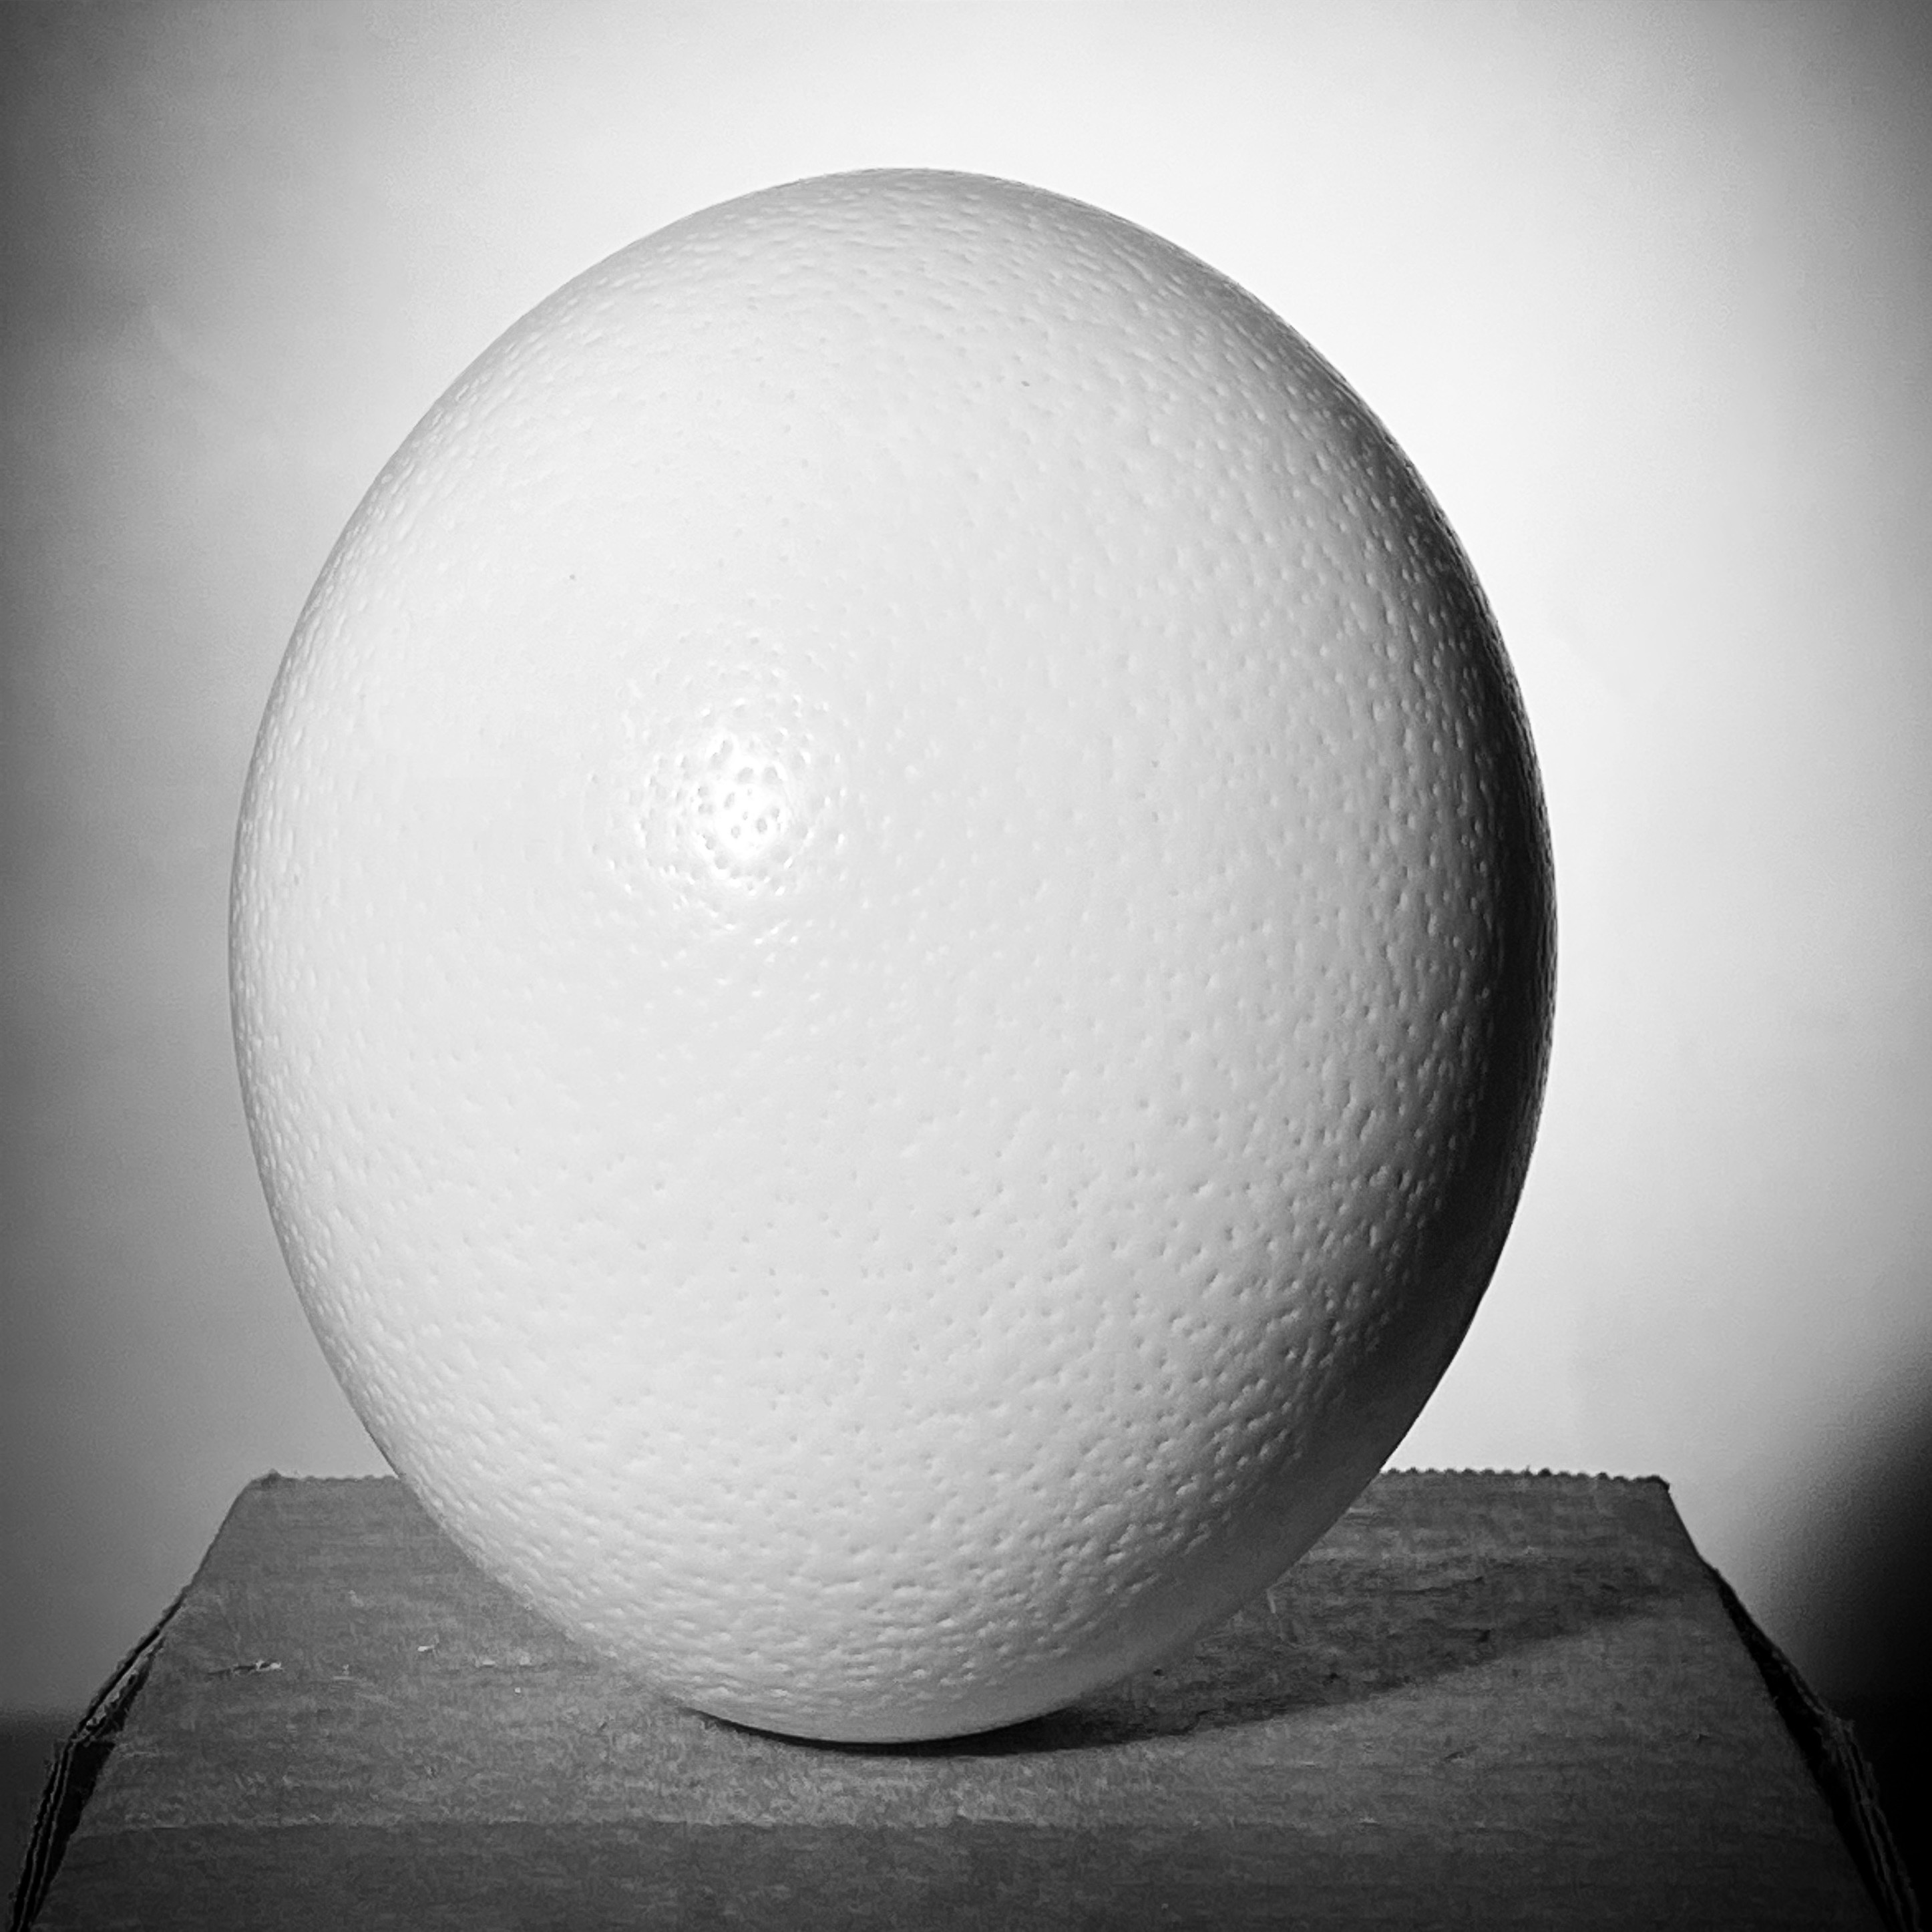
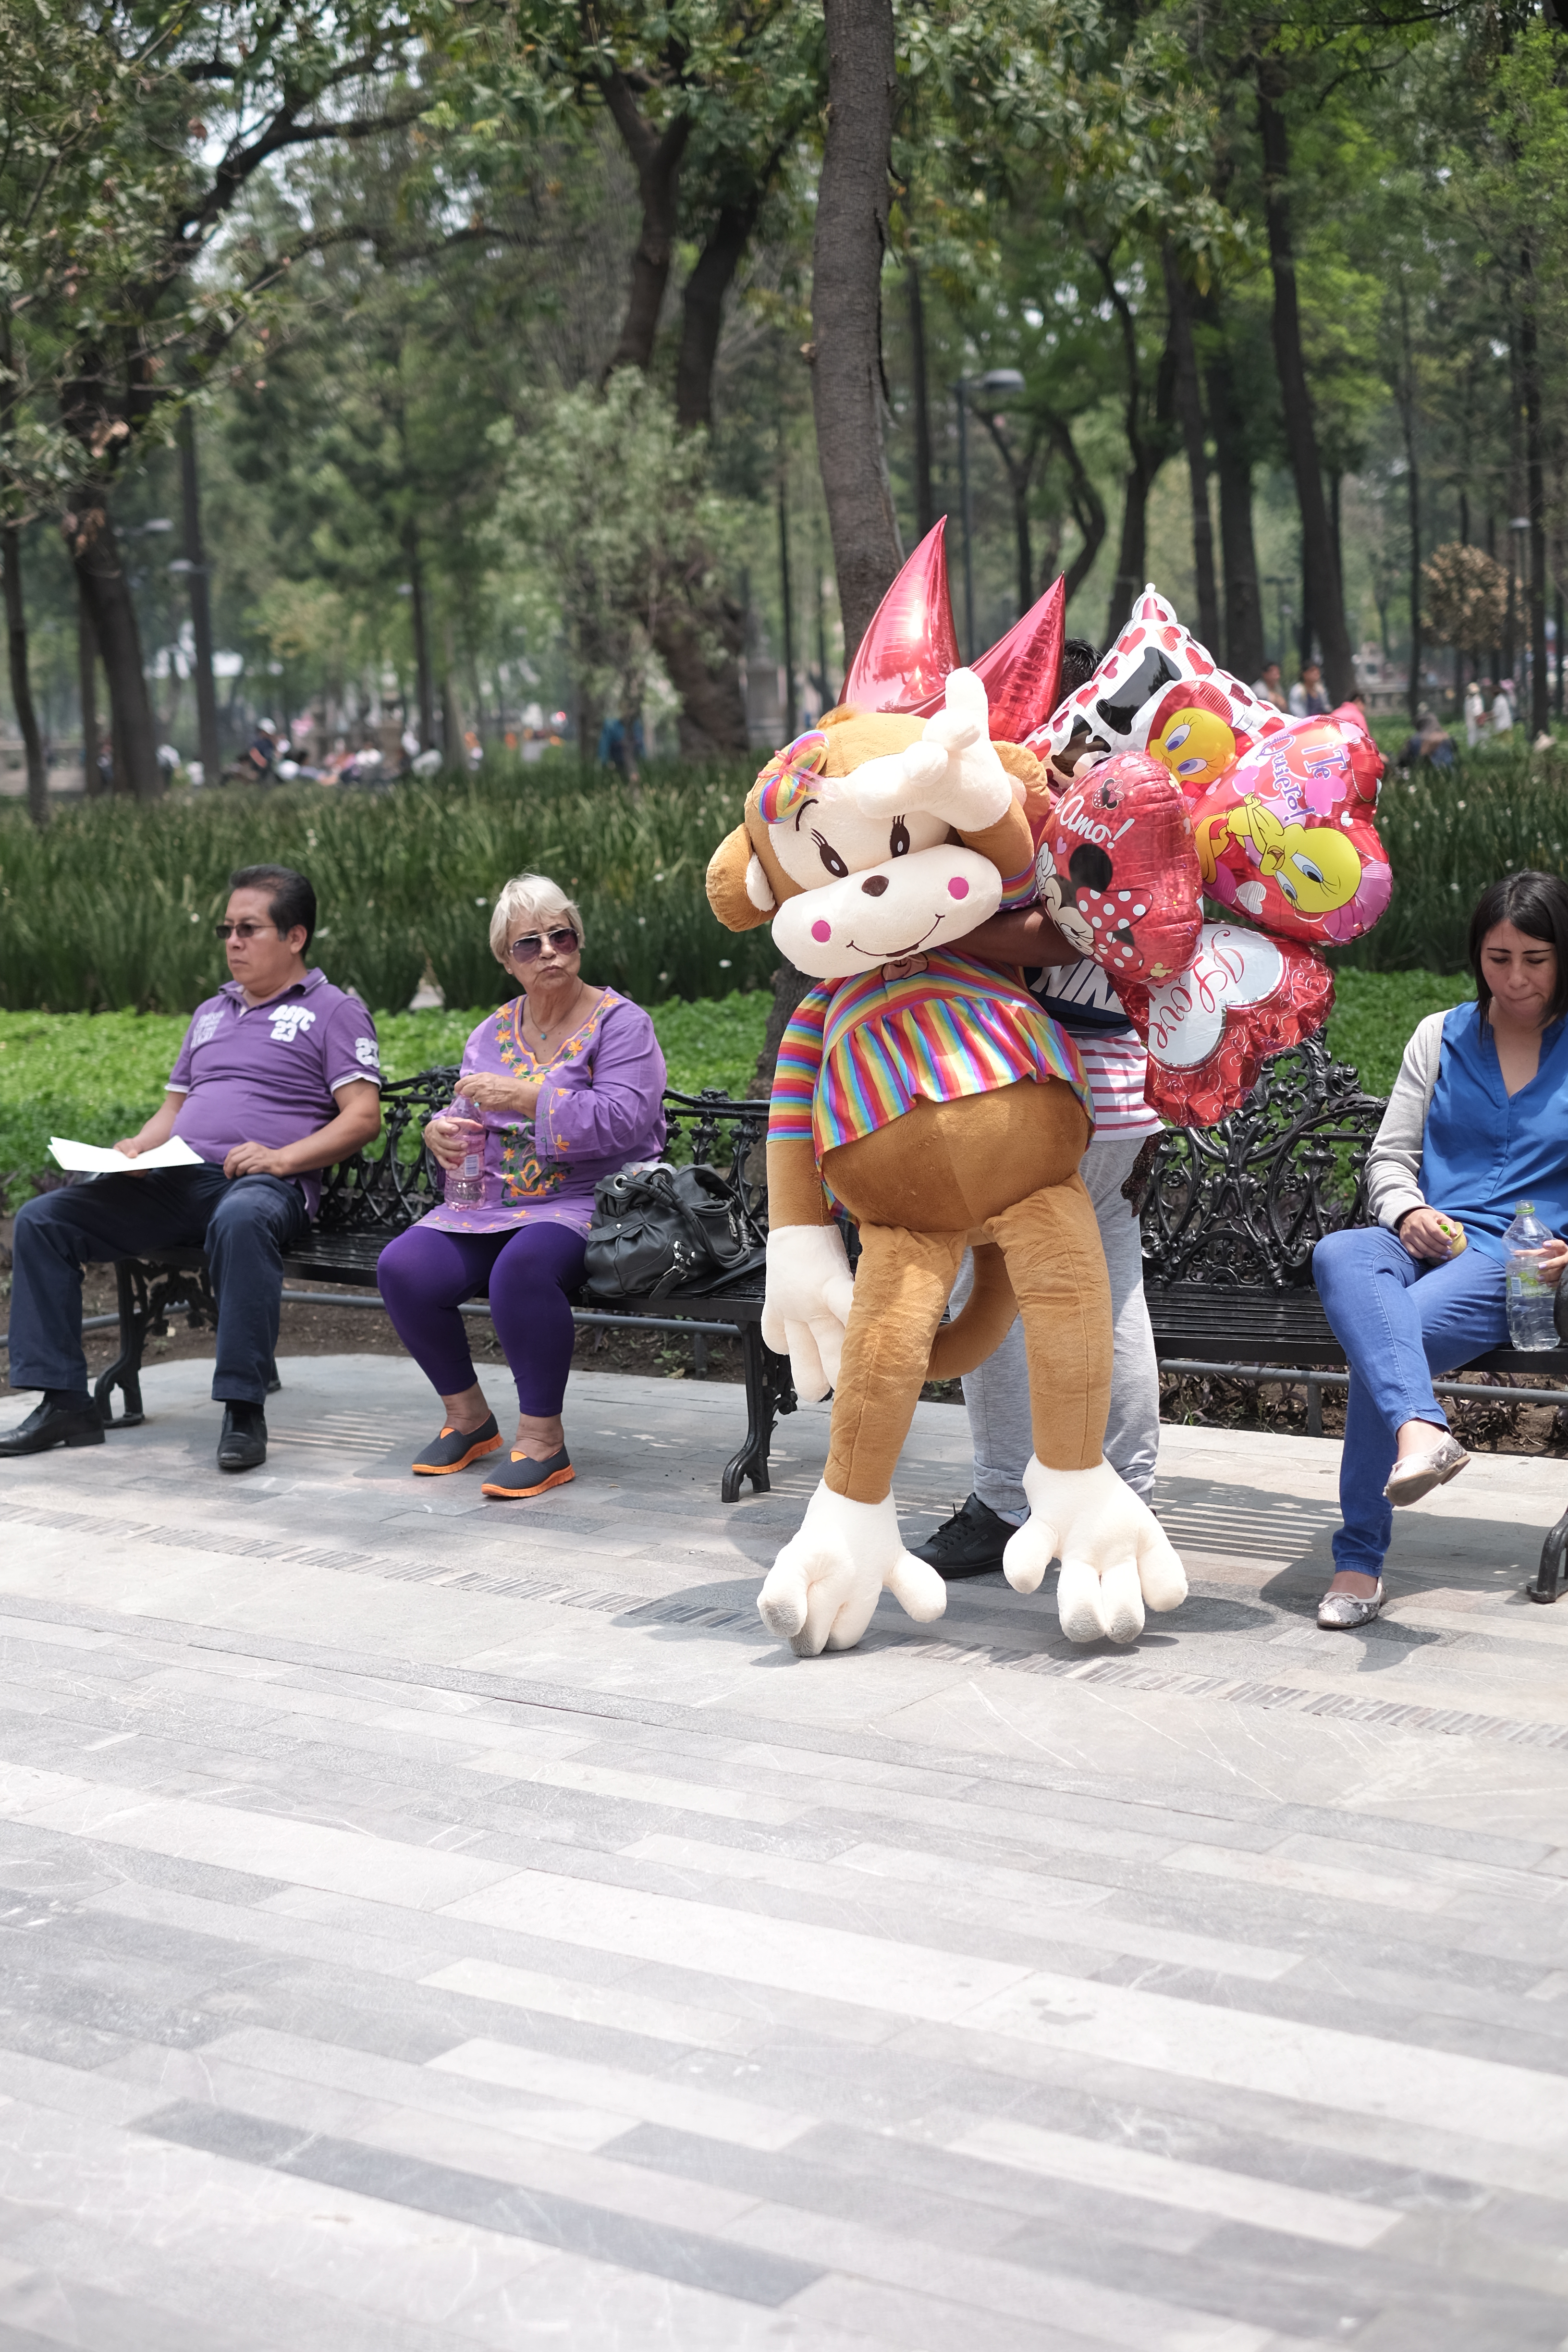
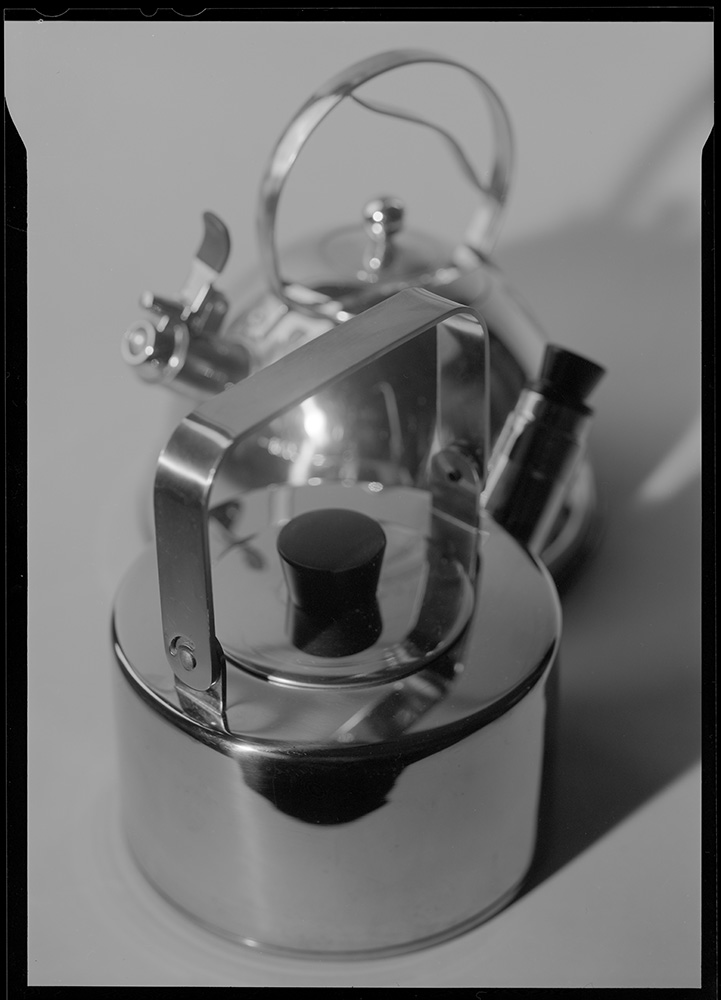
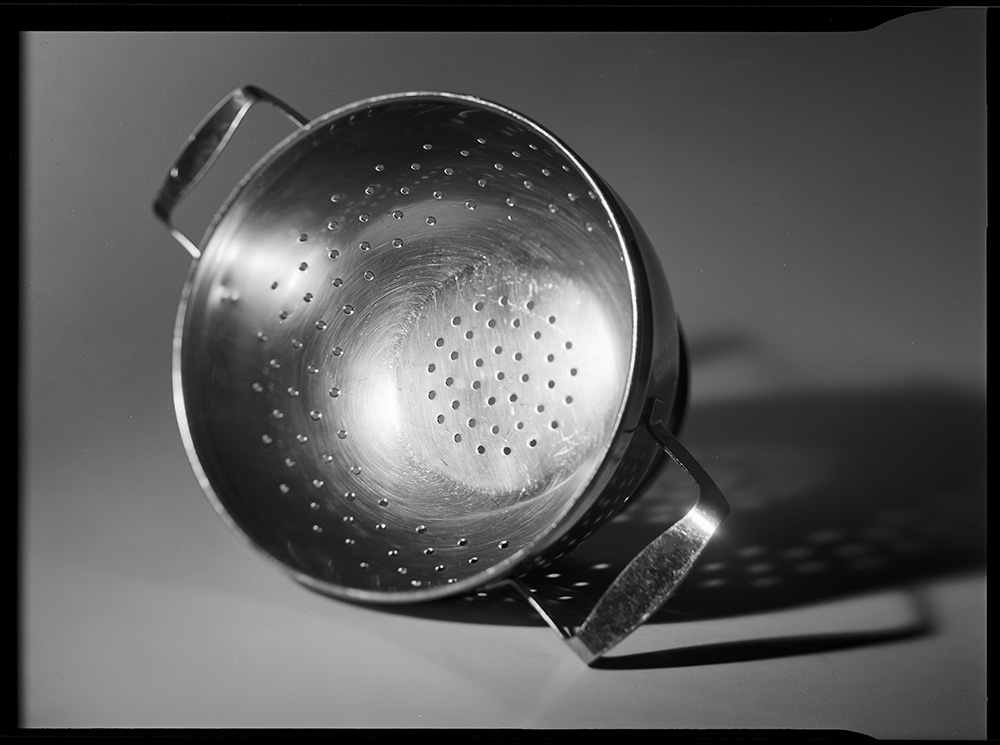
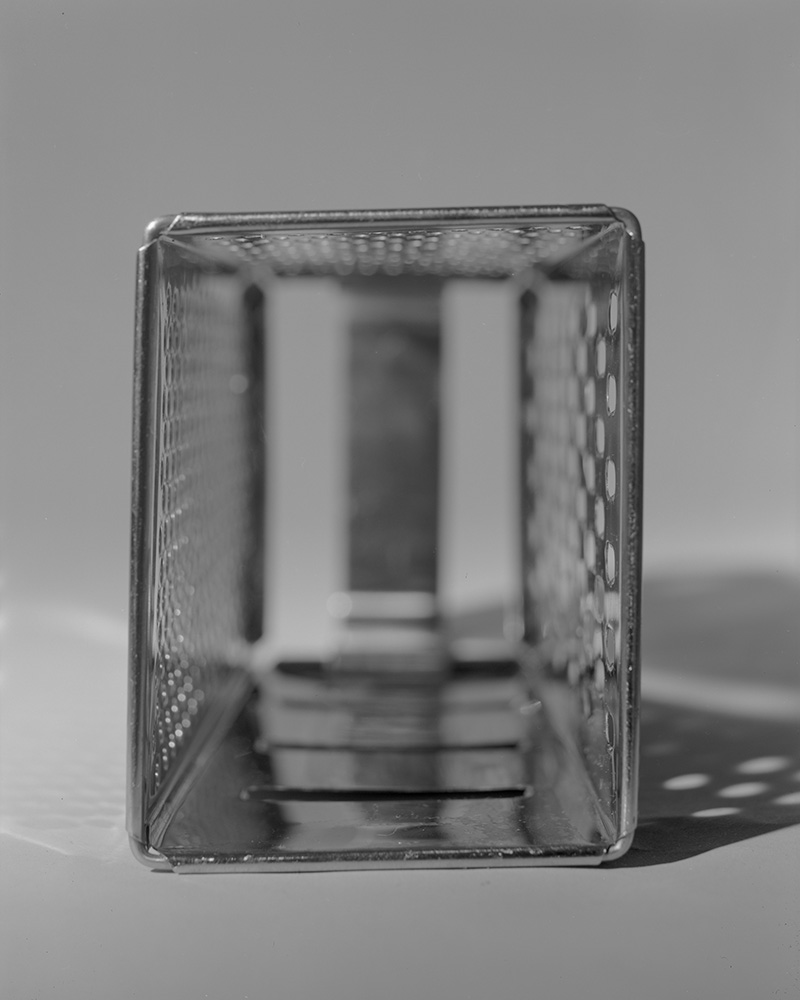
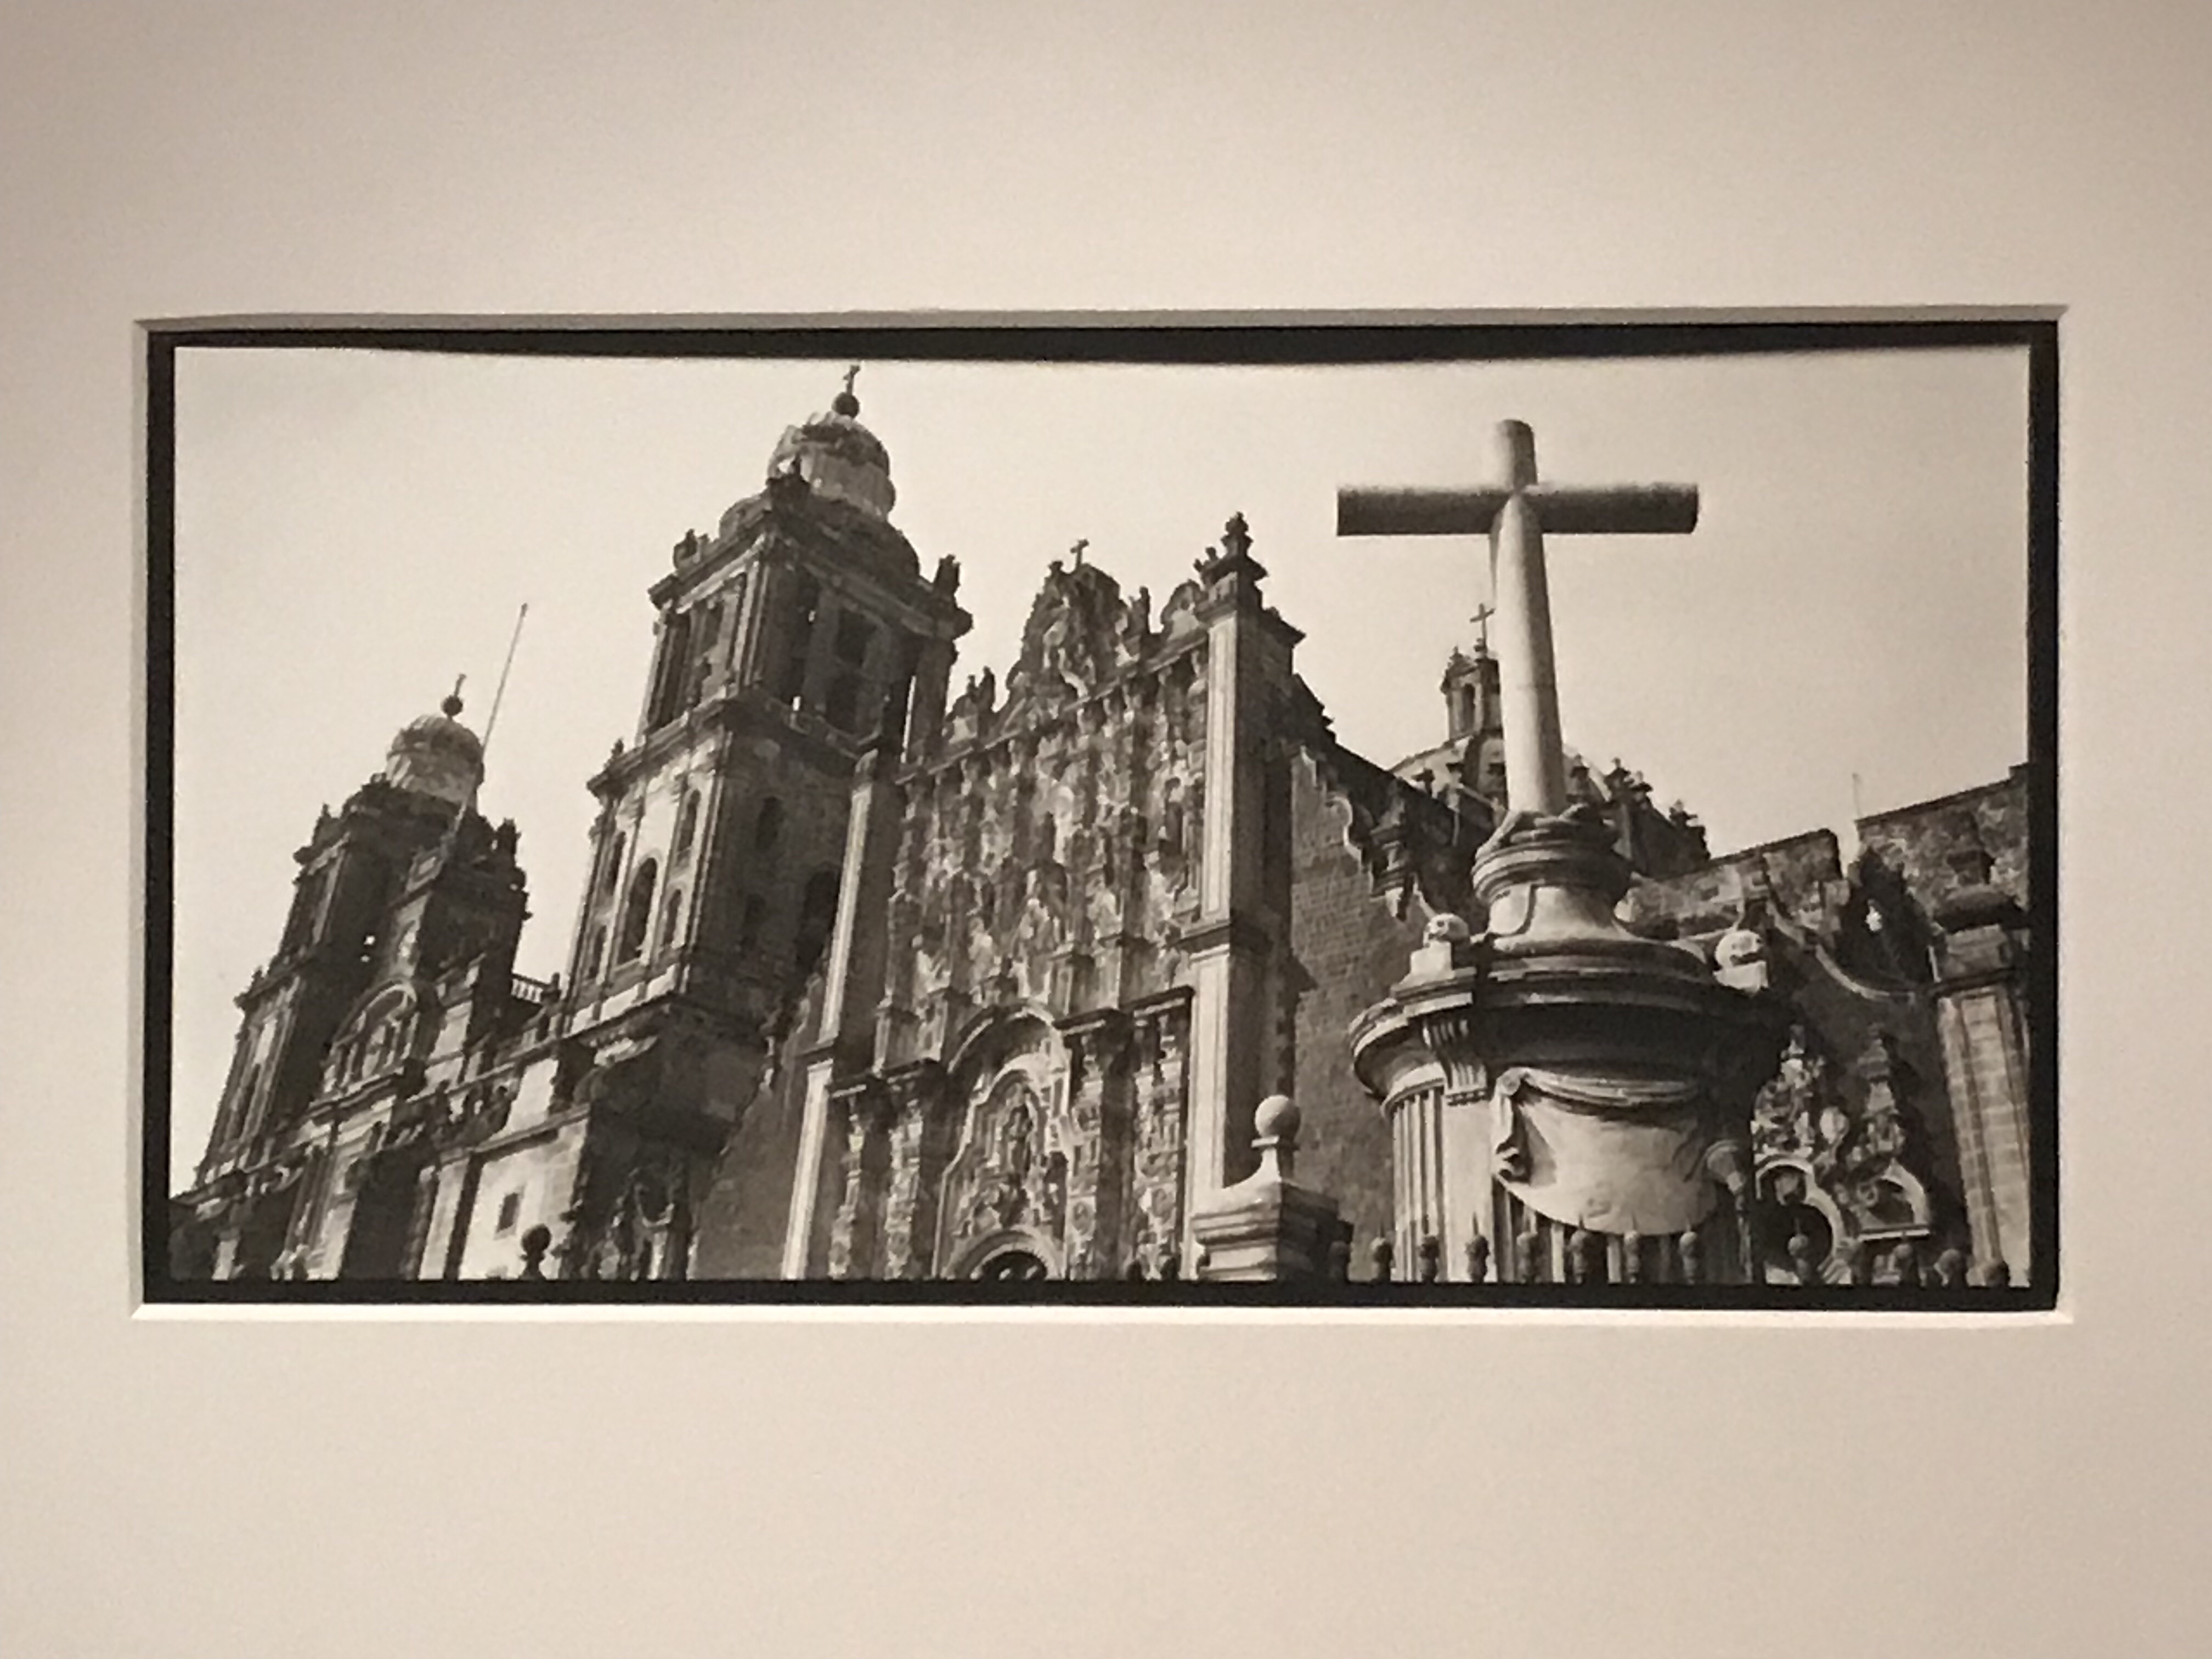
That said, you don’t have to use a view camera to produce excellent still life work. What counts is your creativity and understanding of the tool you’re using to produce the image you want to make. Anything in this class is acceptable, from a smartphone to a view camera. As proof of the pudding, the following are images I made on my iPhone:

The class starts on April 21 and runs for six weeks through May 26. Classes are held via Zoom, from 7:30 to 9:30 pm. The link to the class will be sent to enrolled students via email a few days before the class starts. Tuition is $300 for the six sessions.
To register click: https://www.ssreg.com/glenechopark/classes/classes.asp?courseid=39904&catid=4403


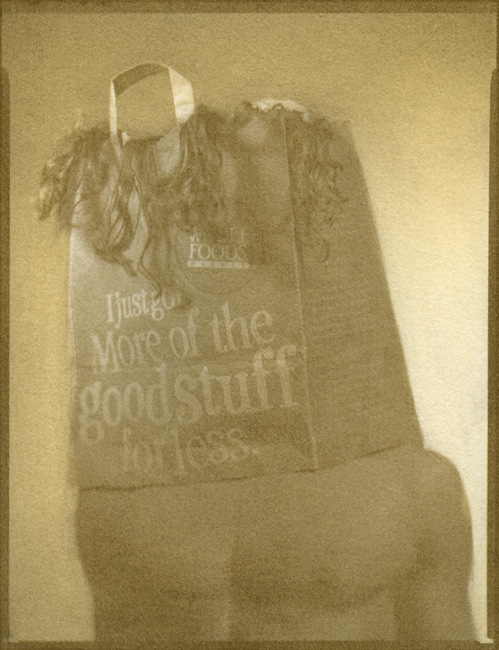
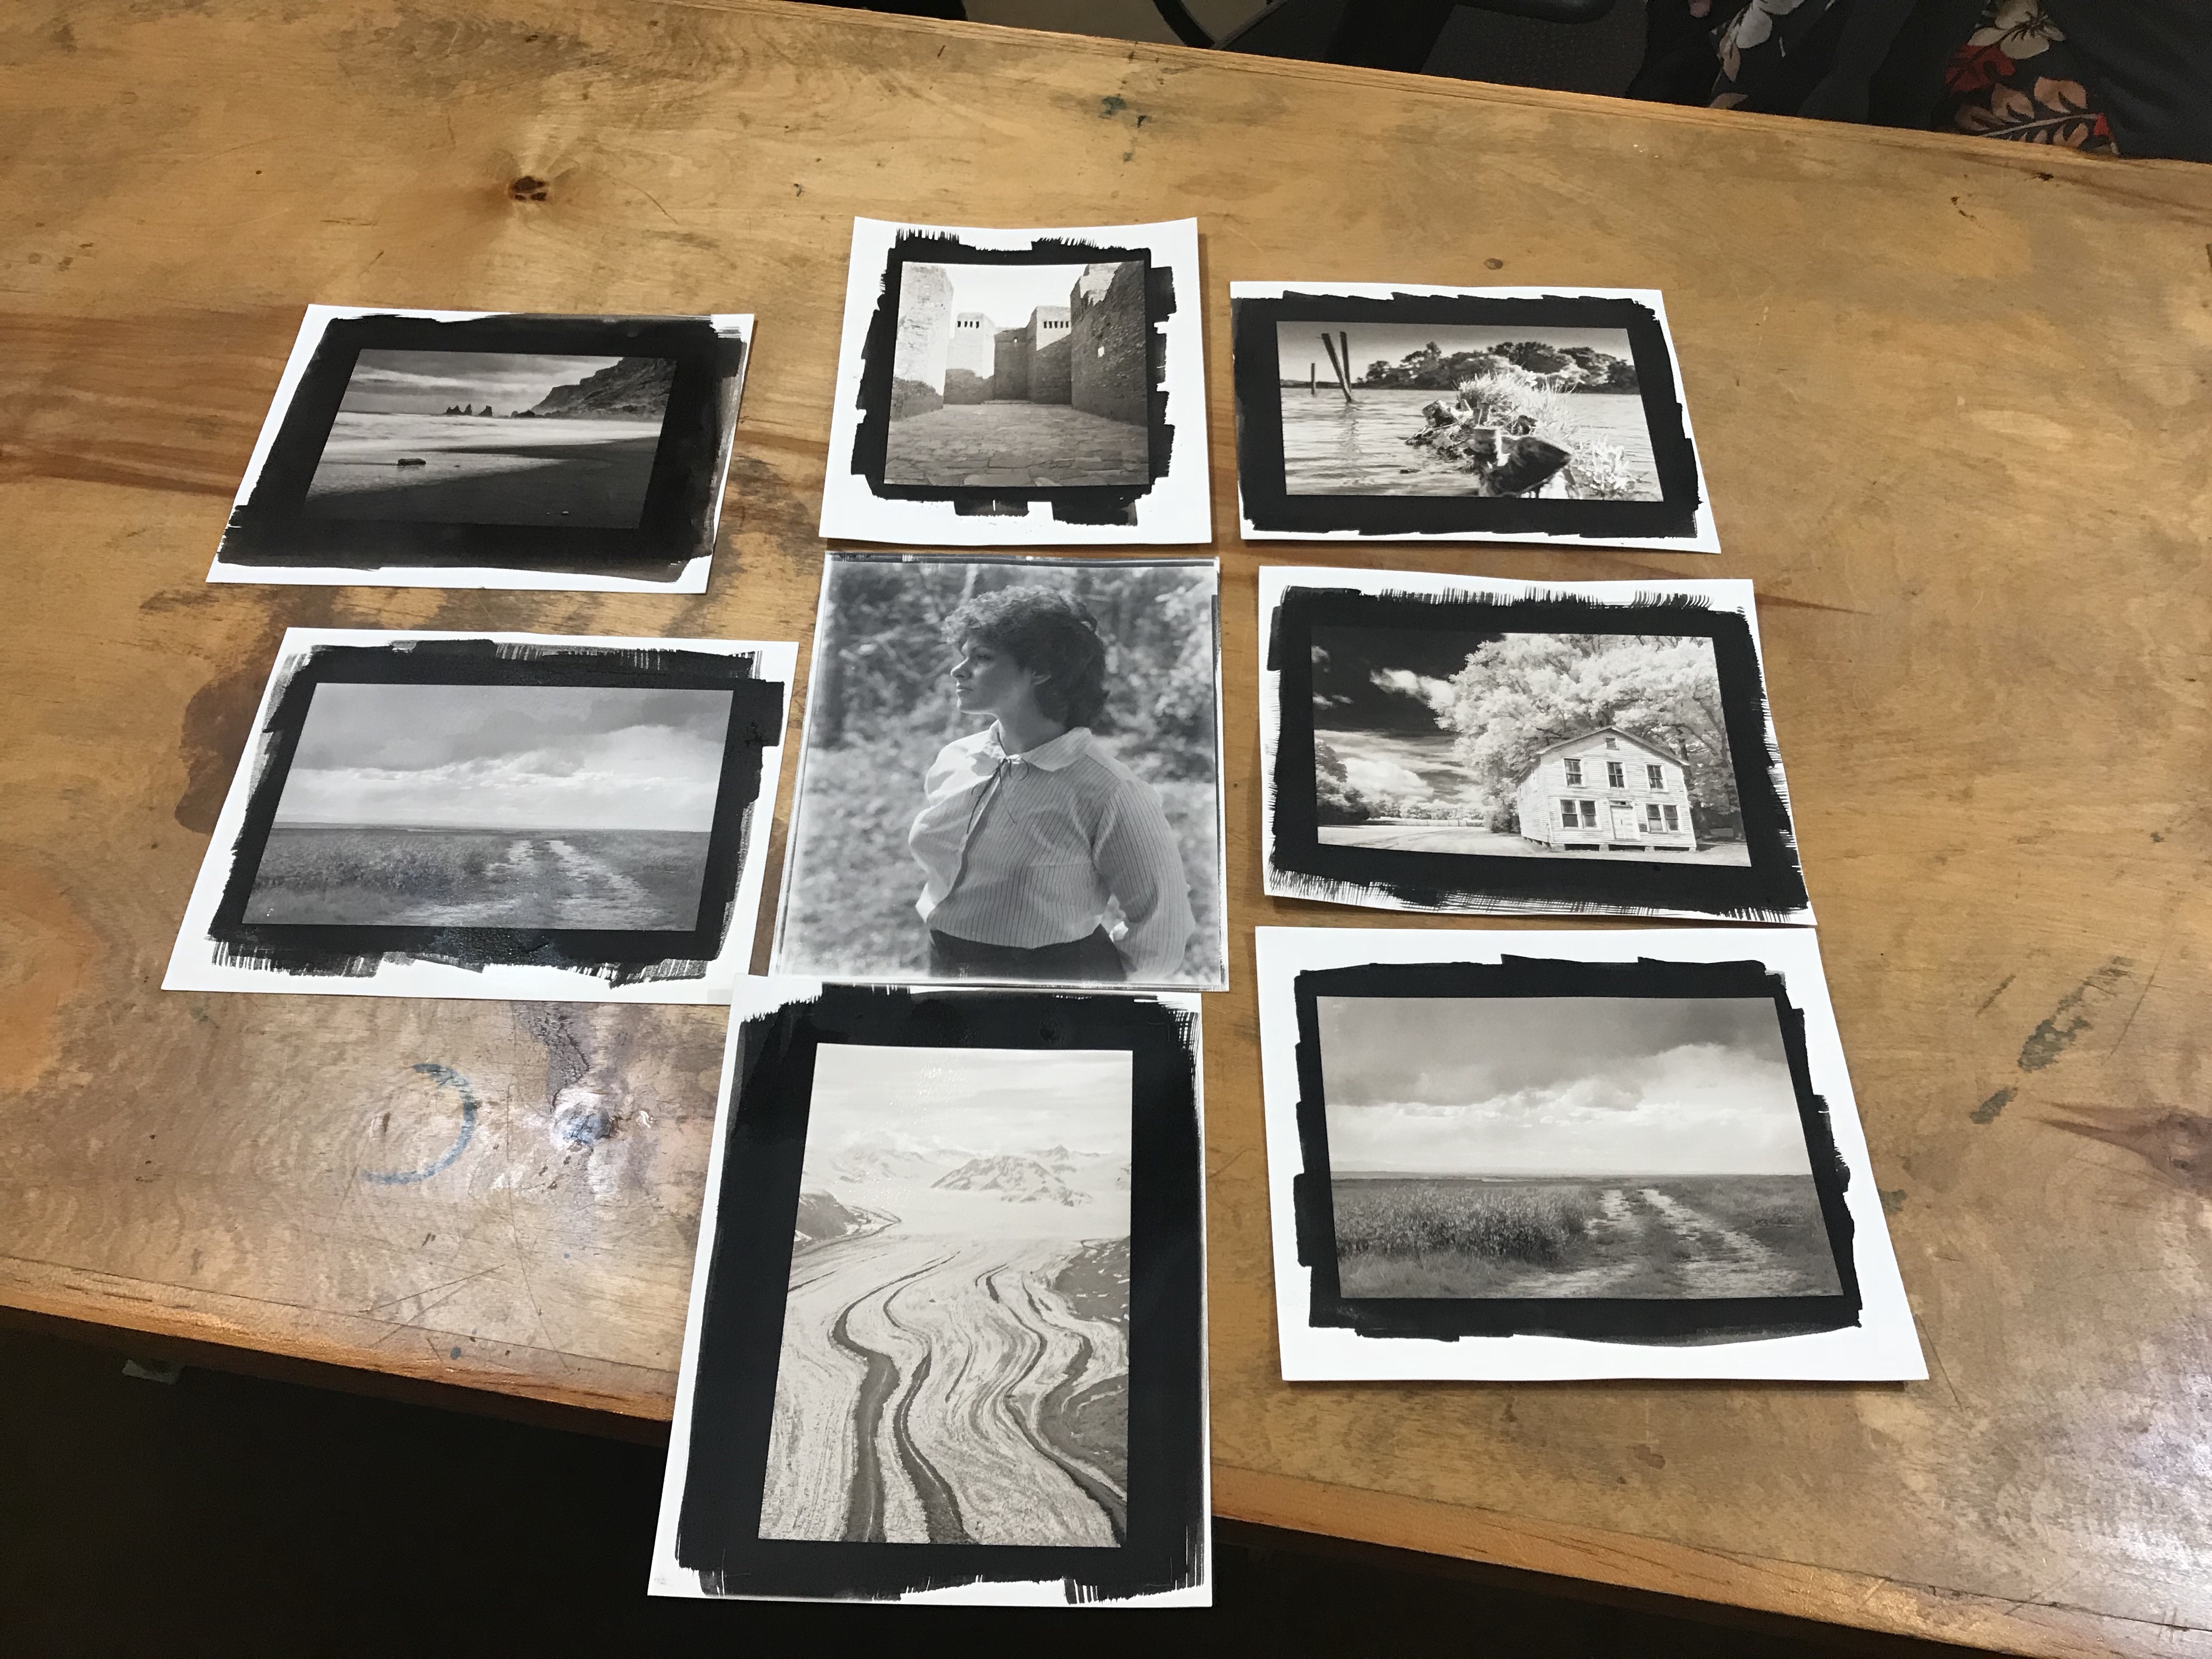
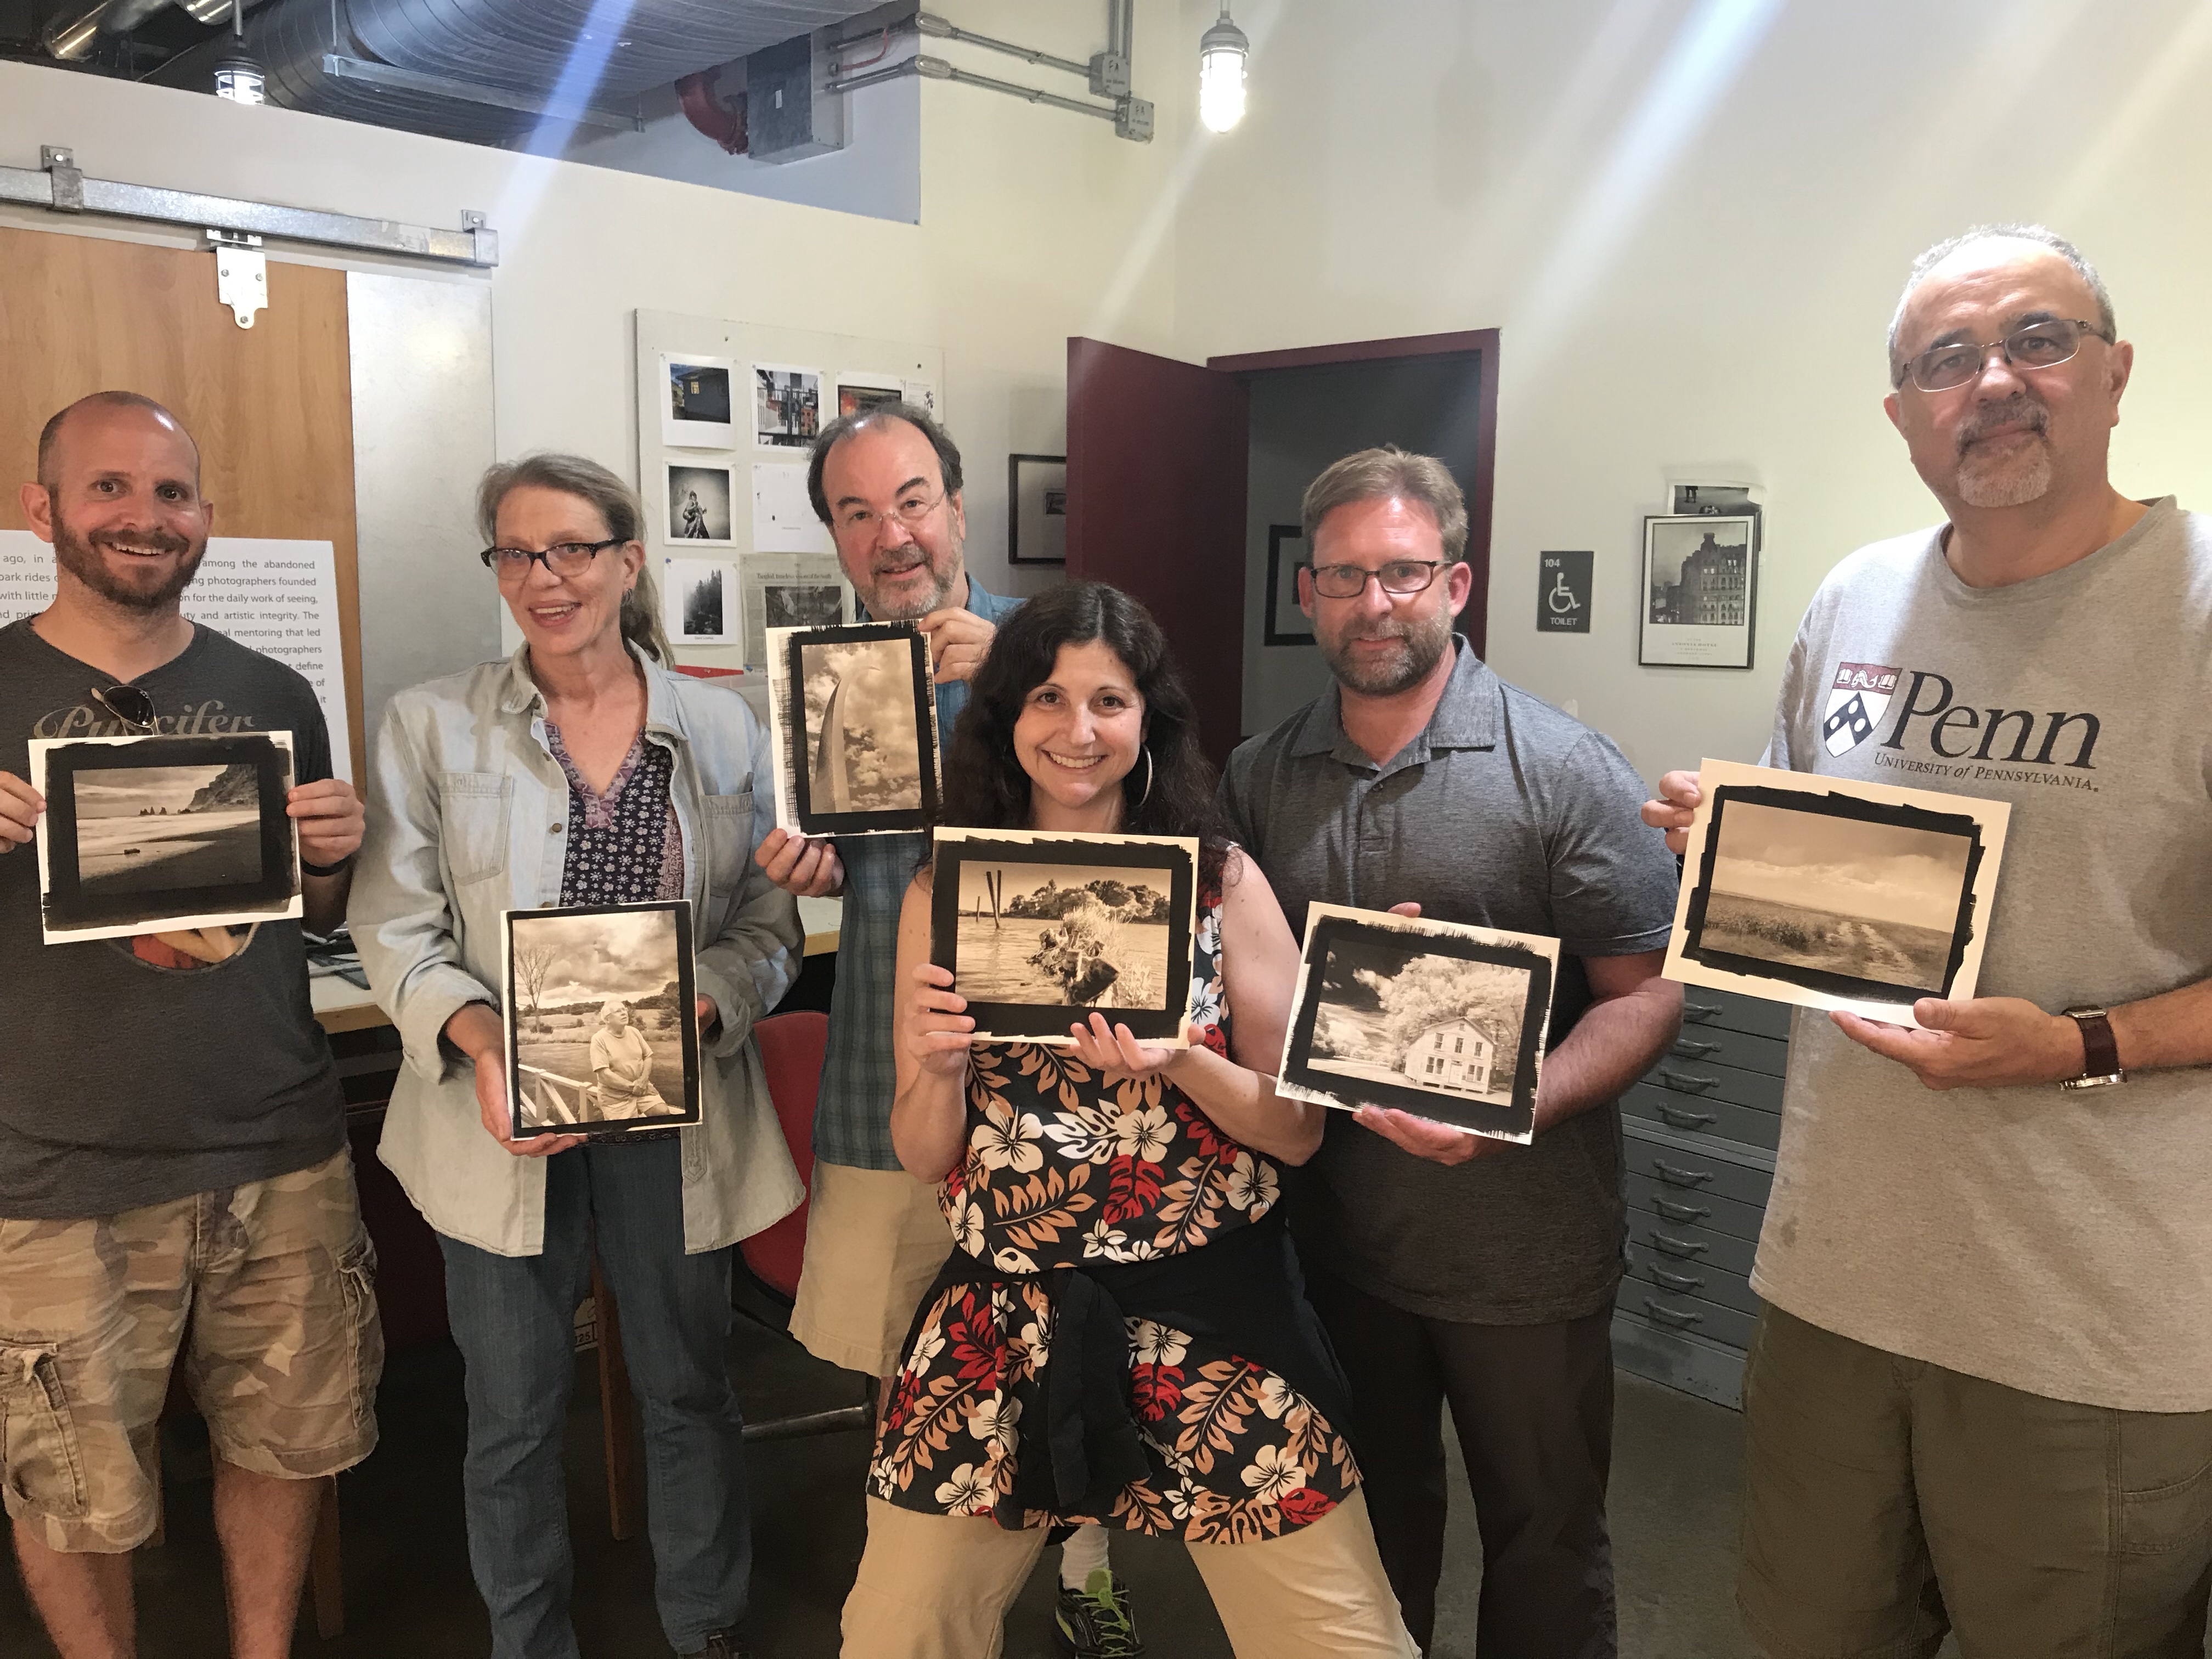
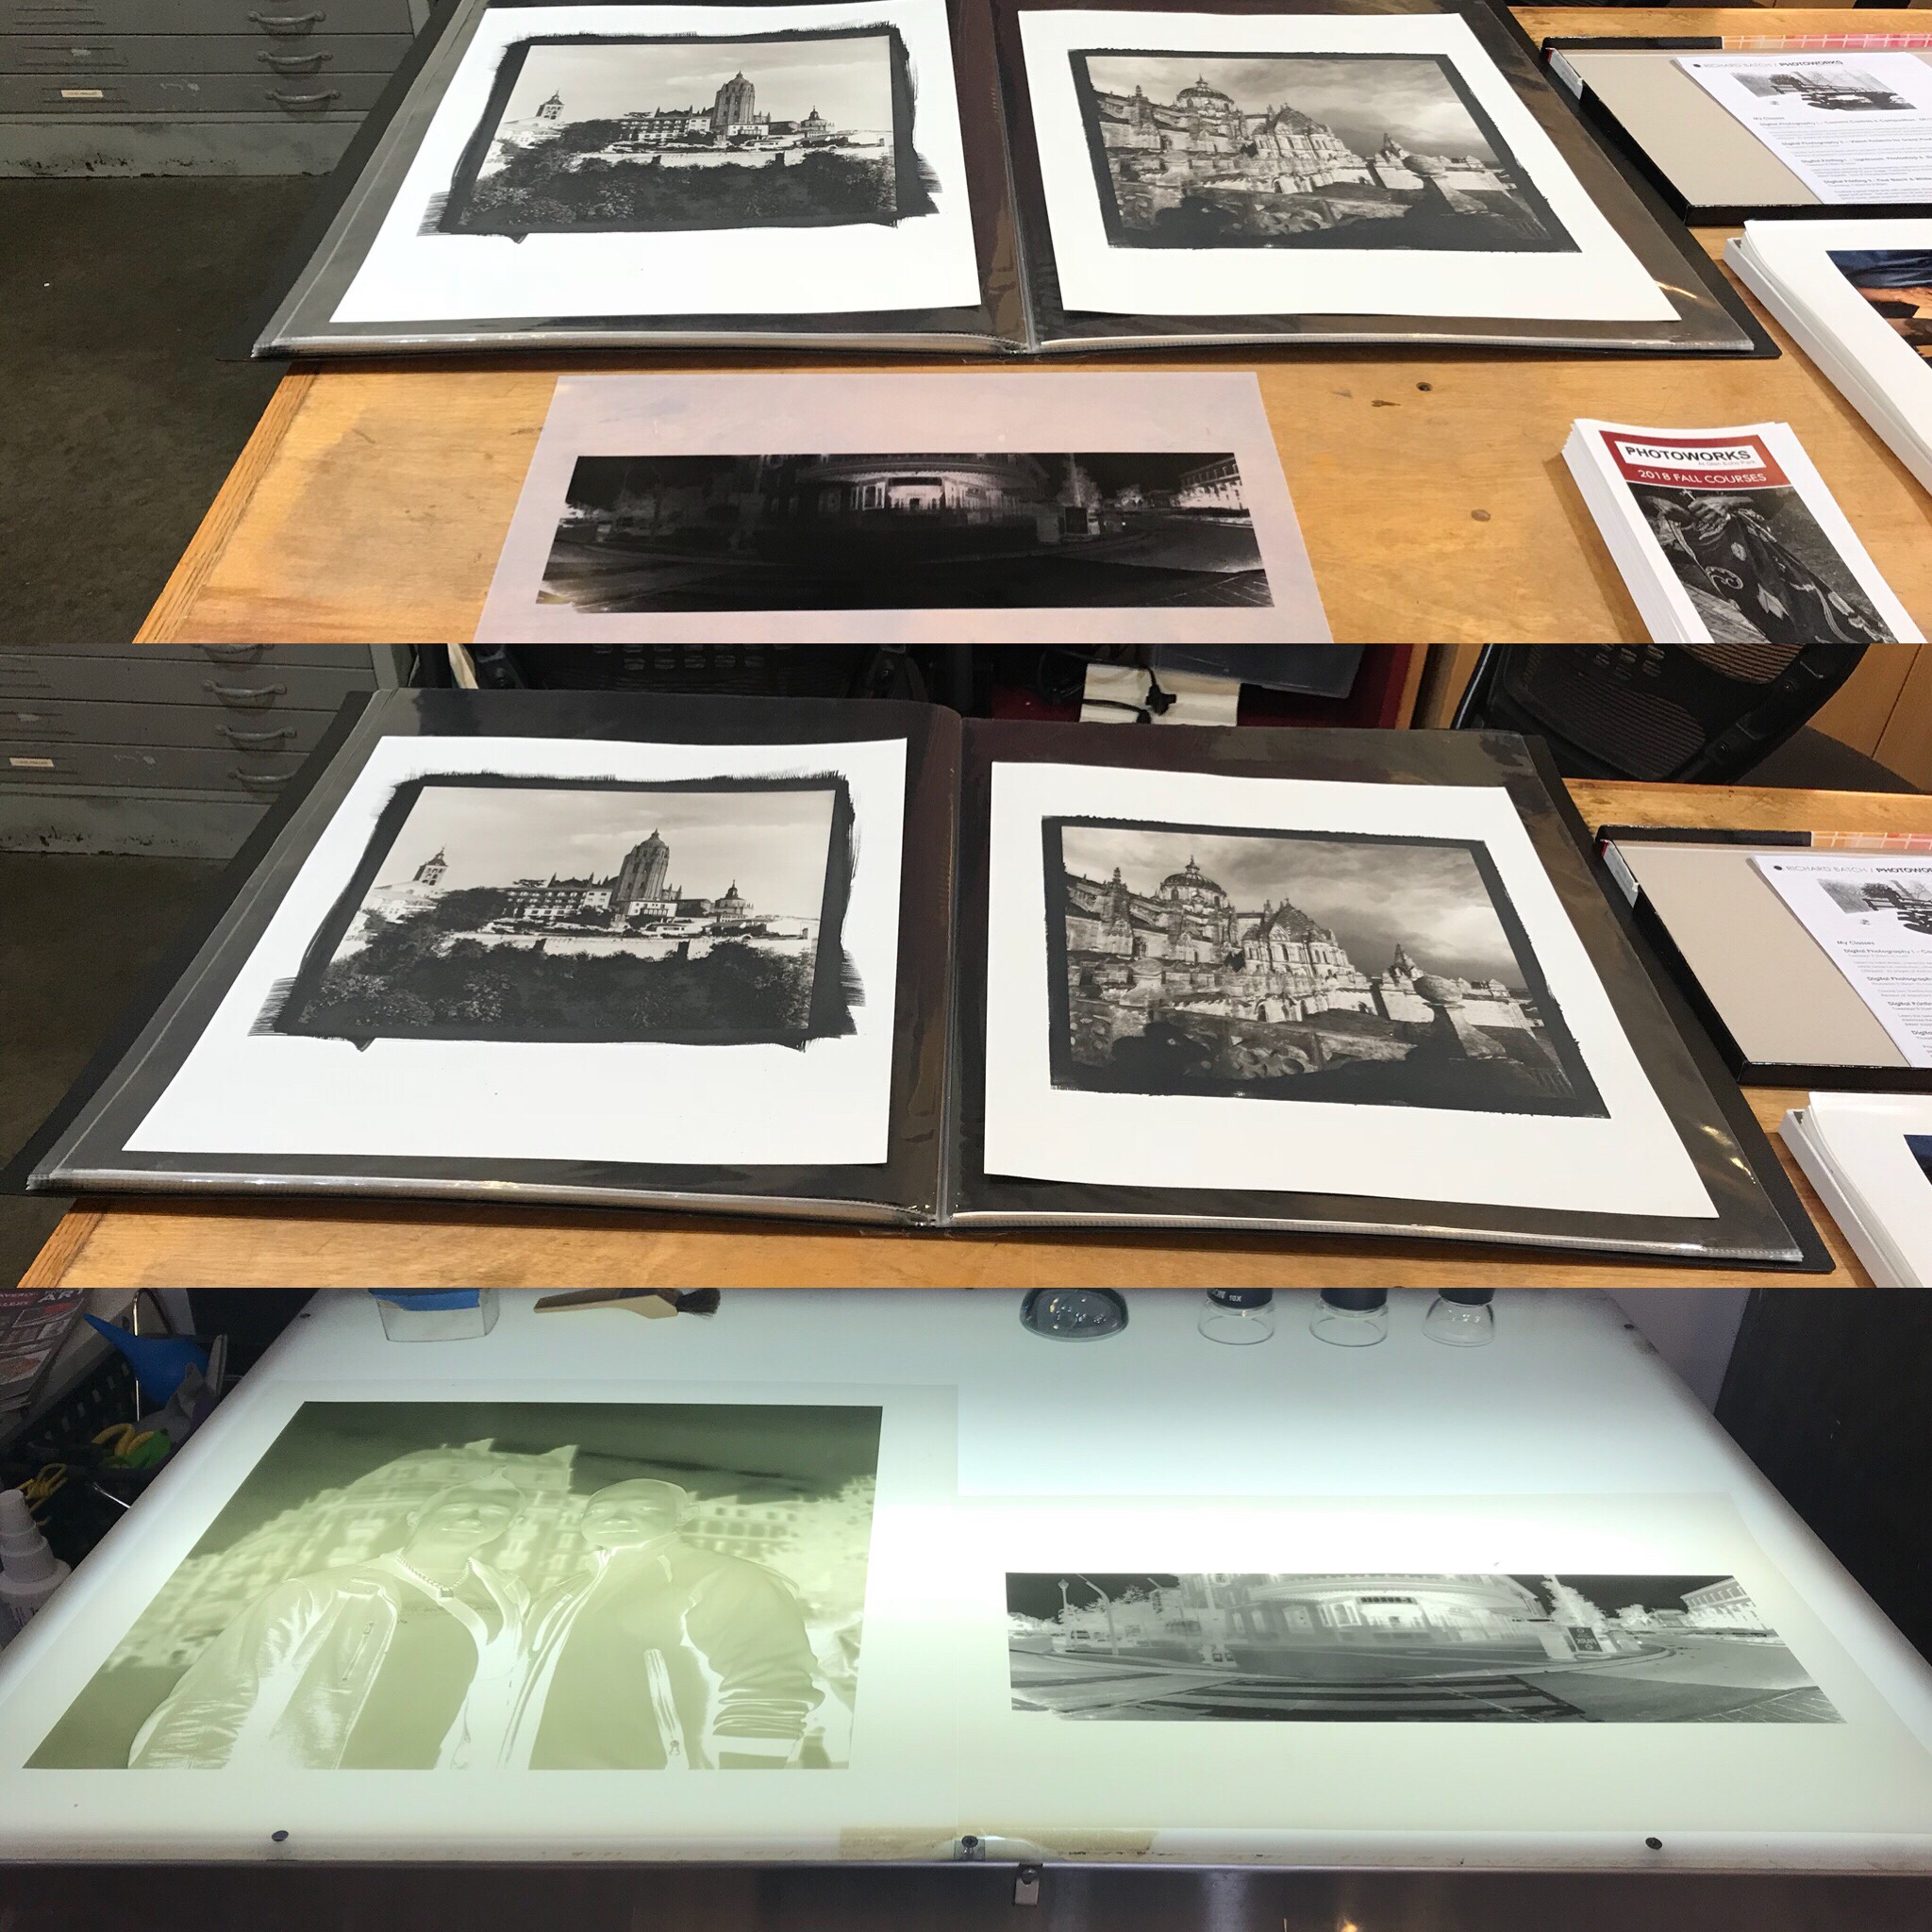
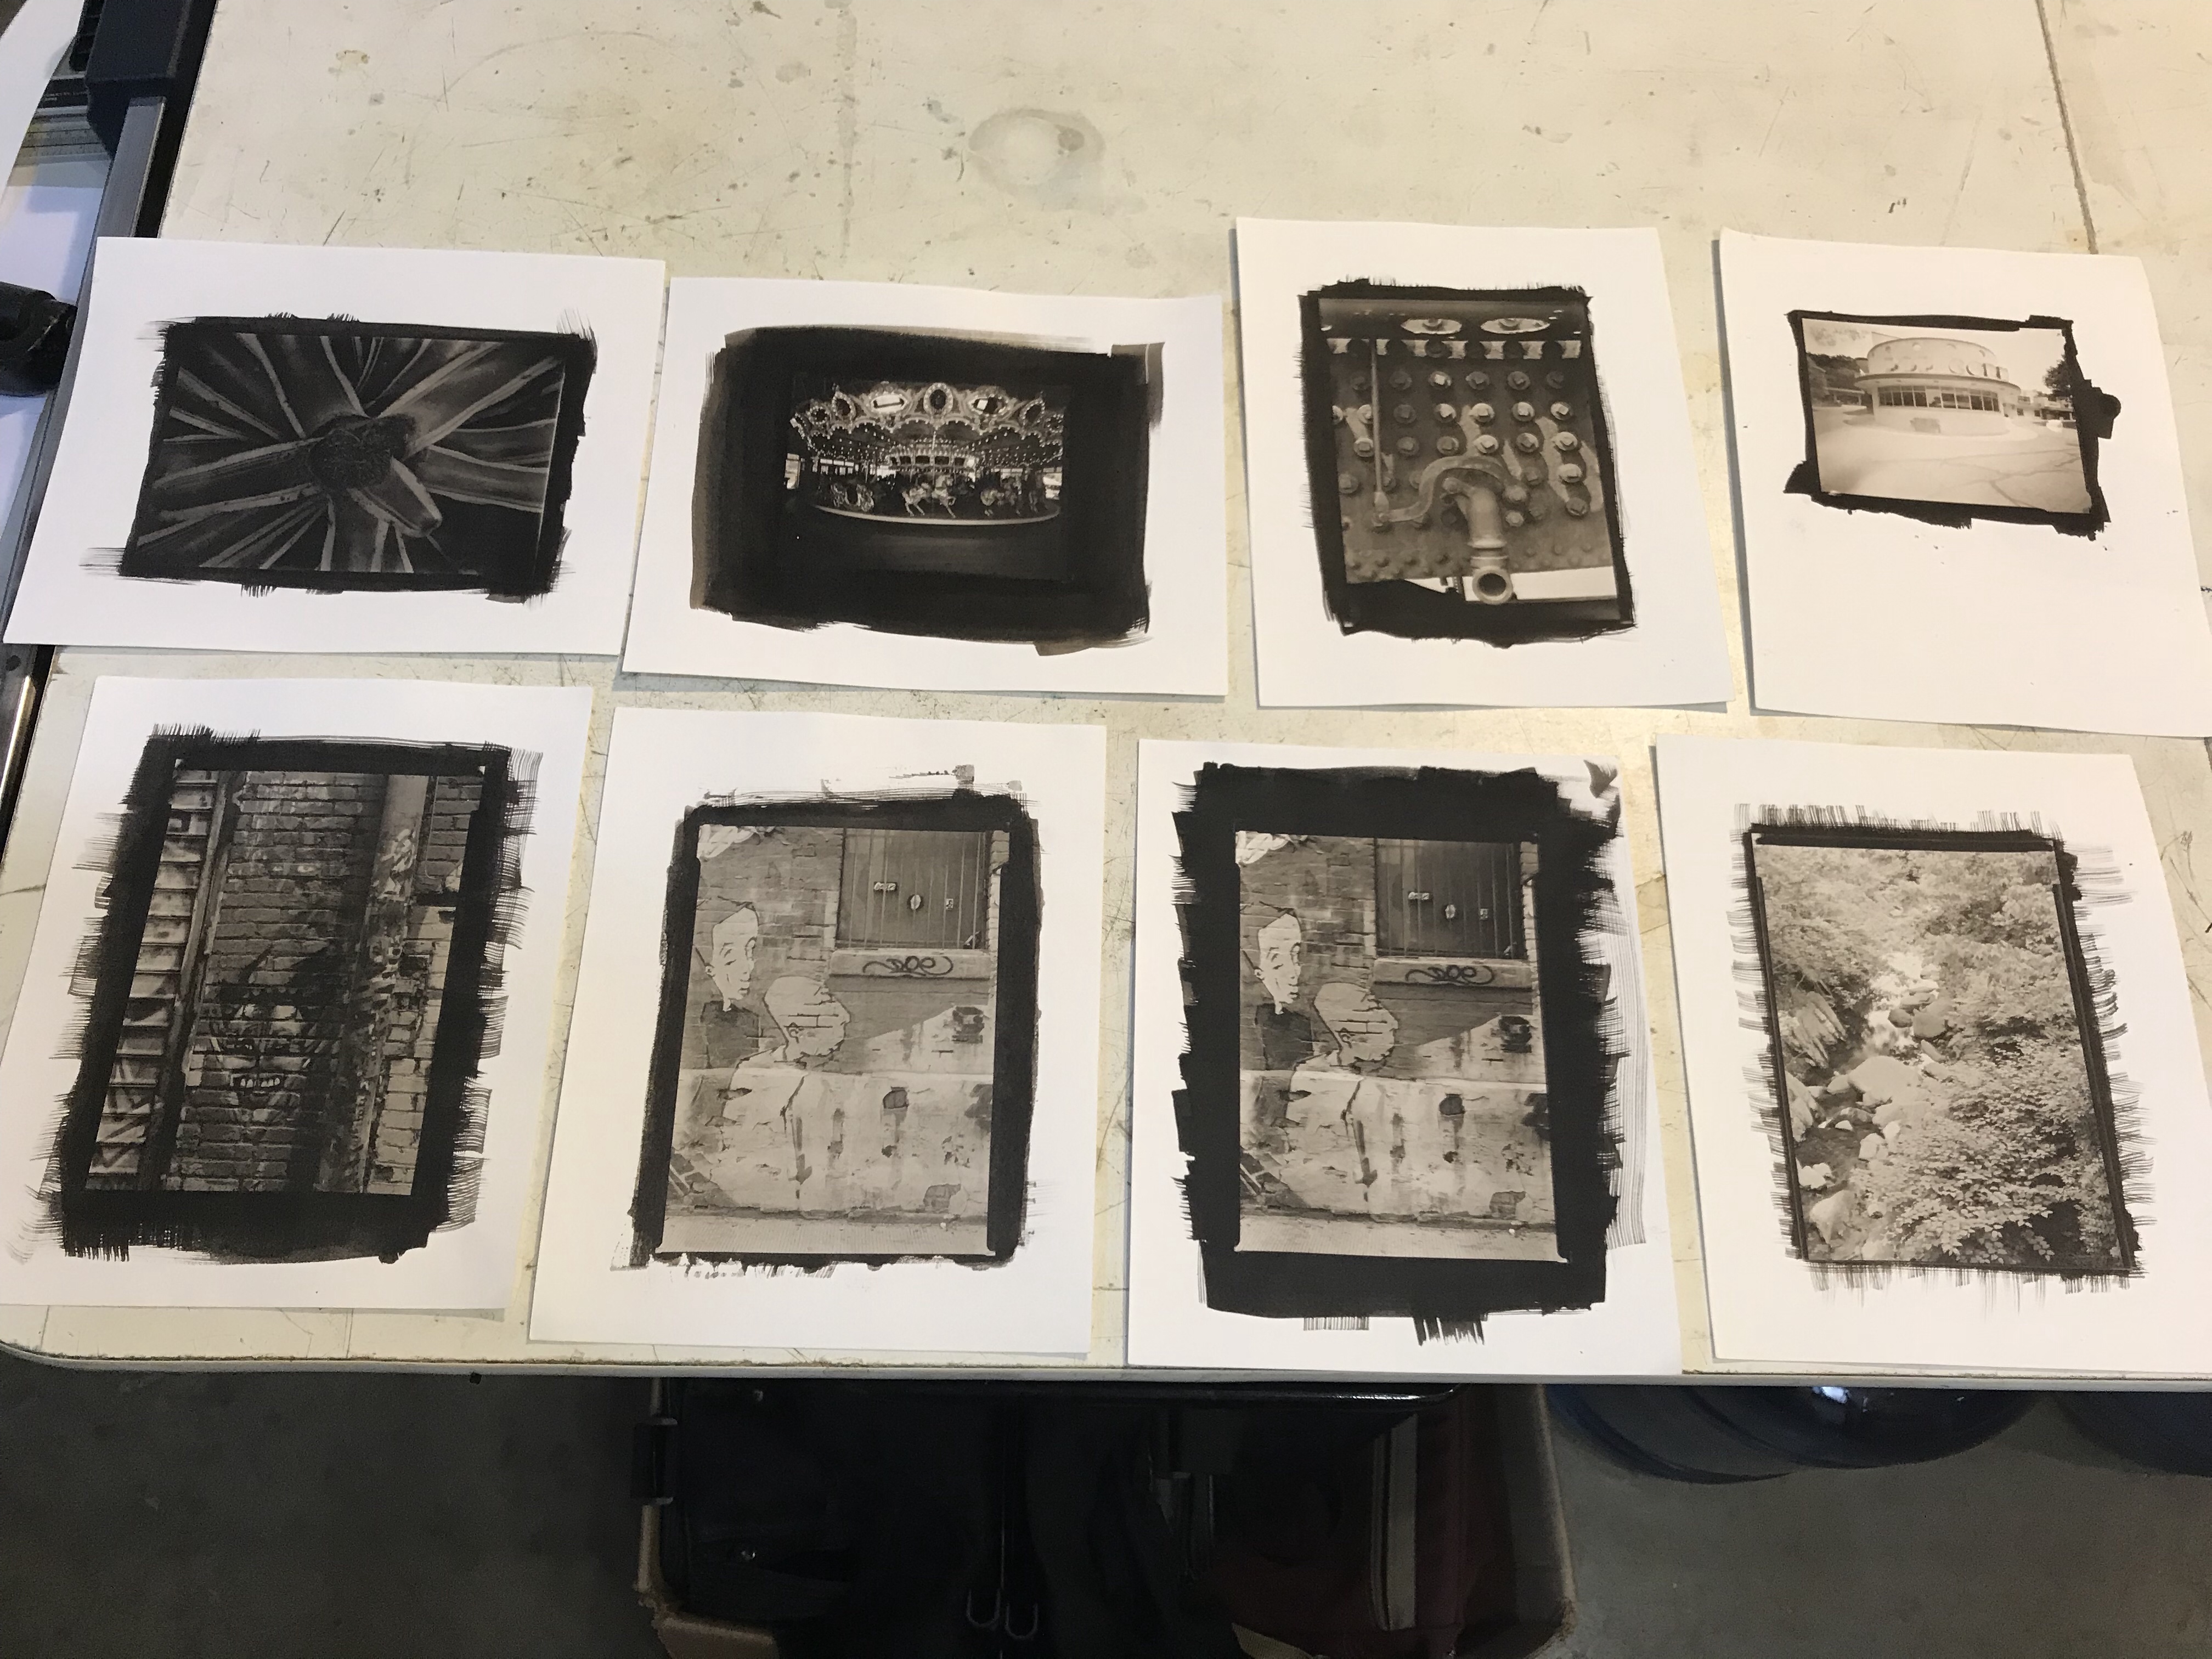
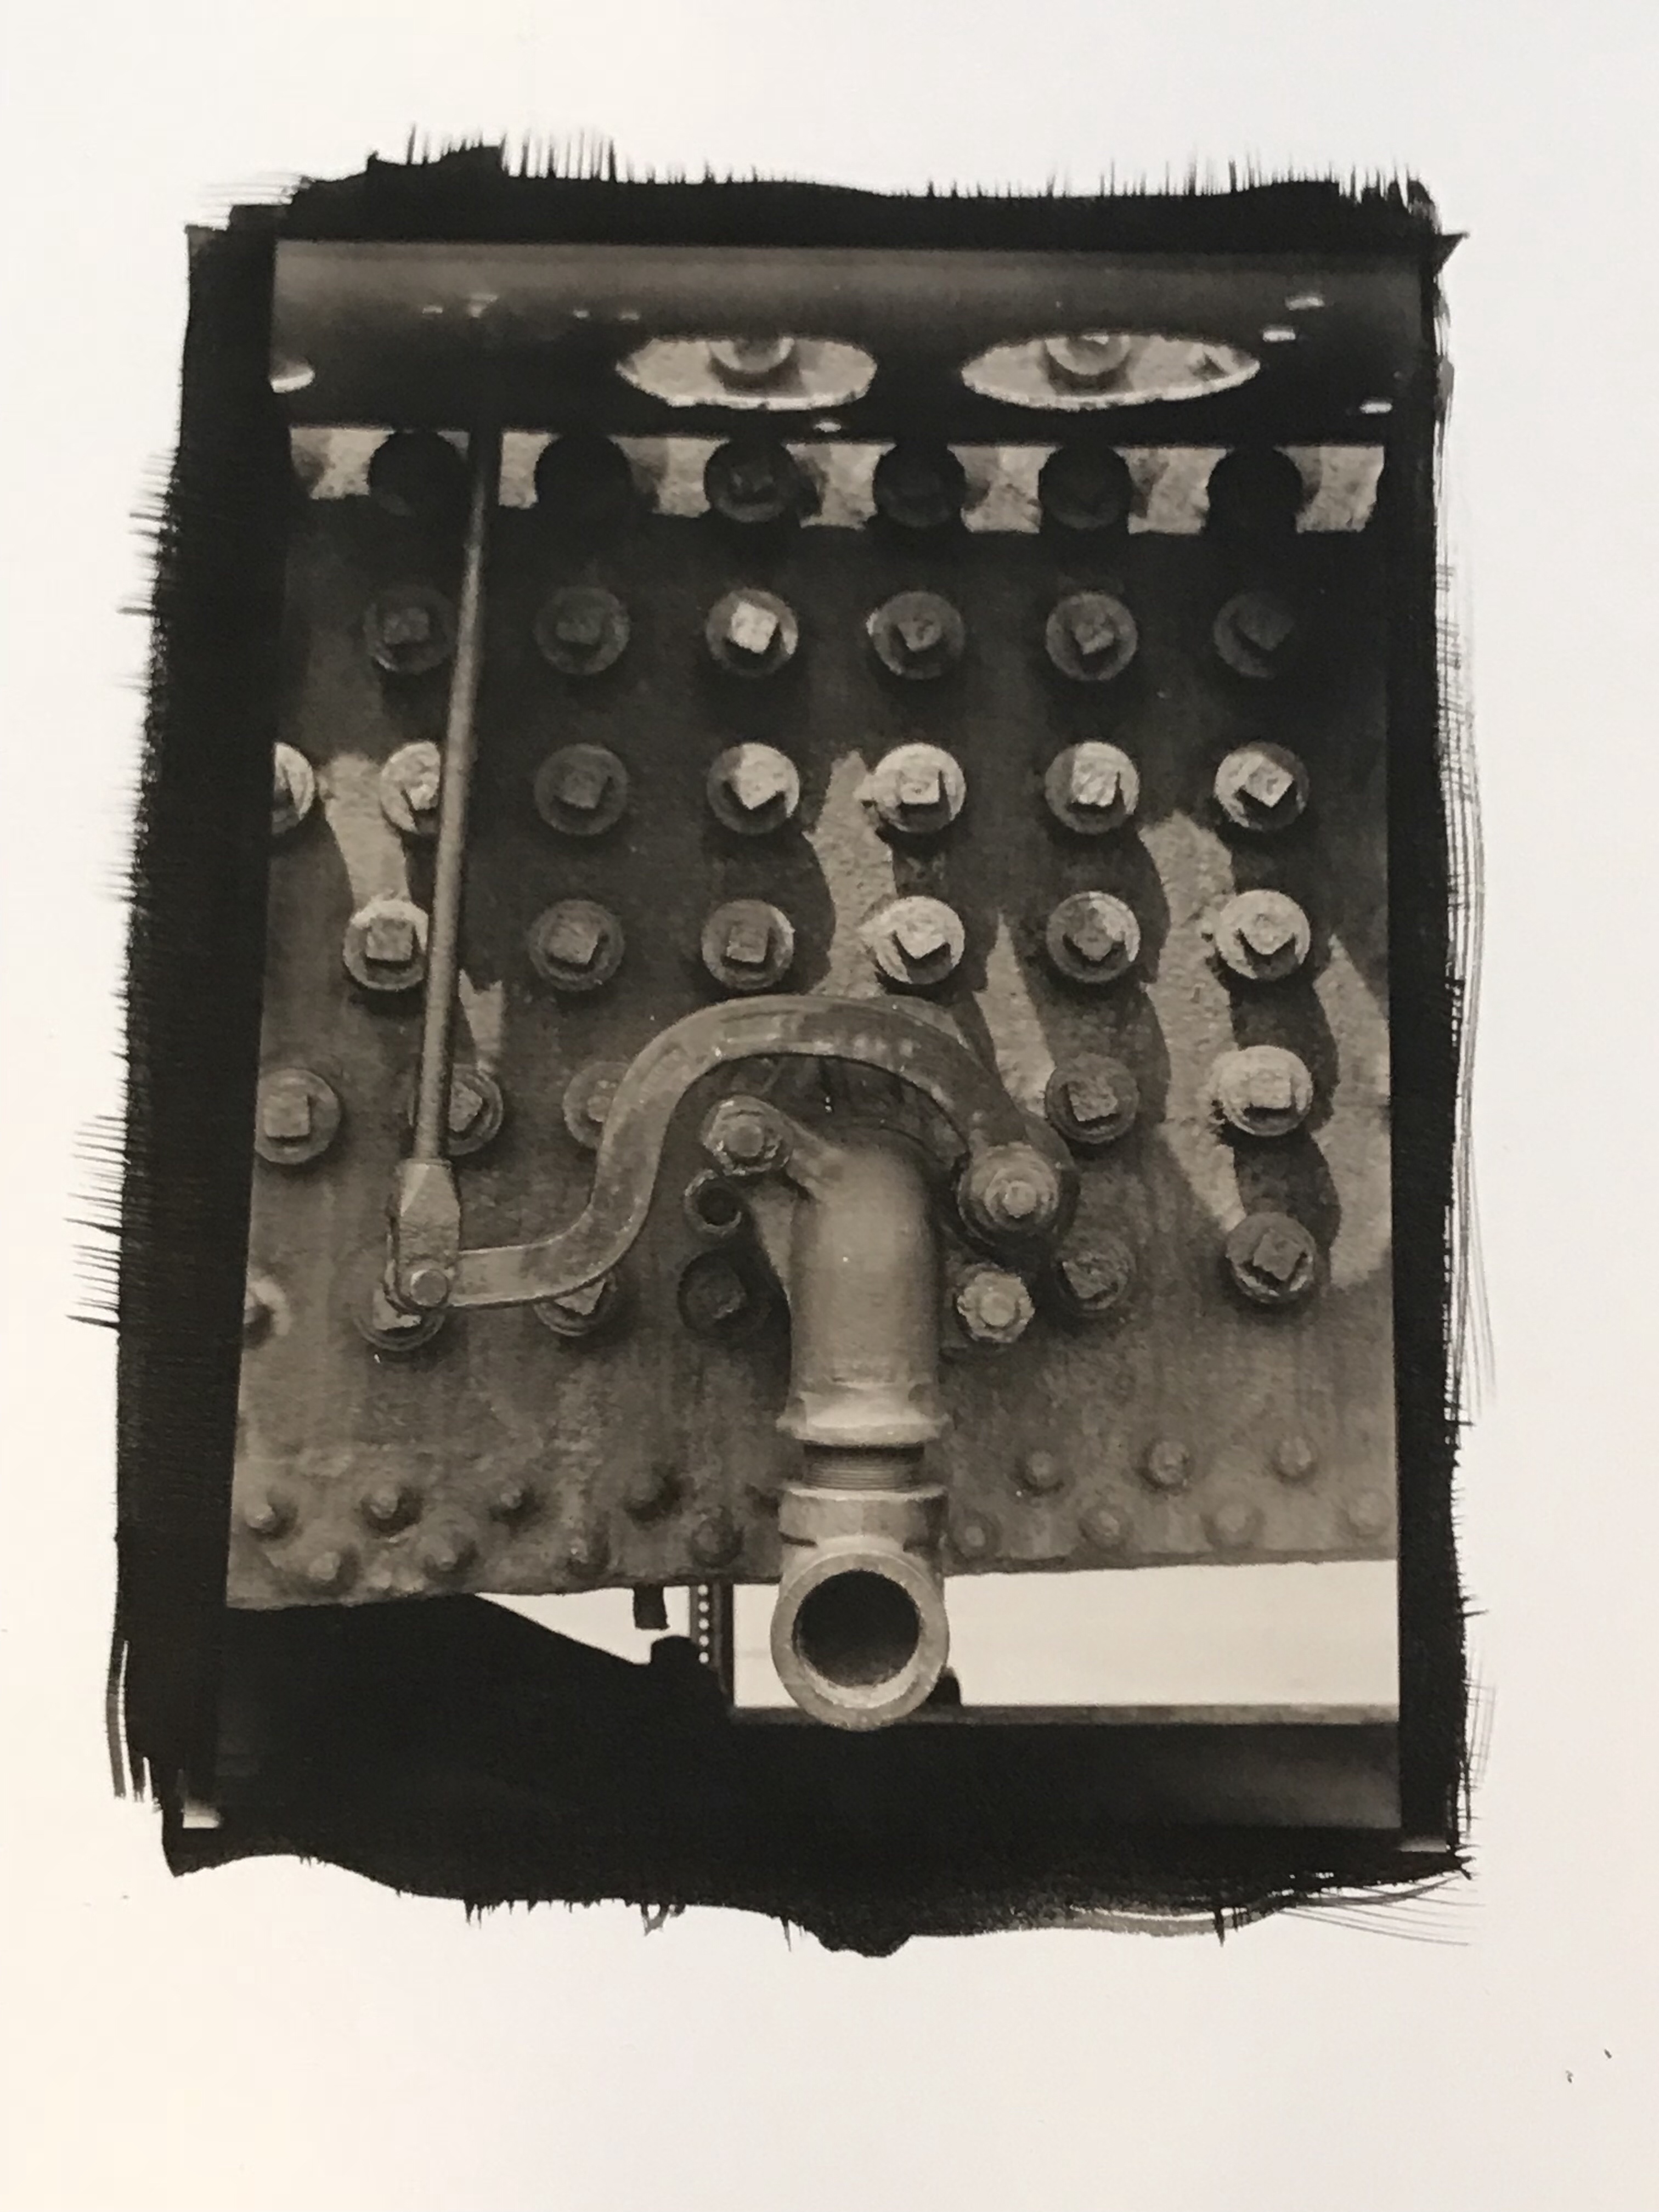
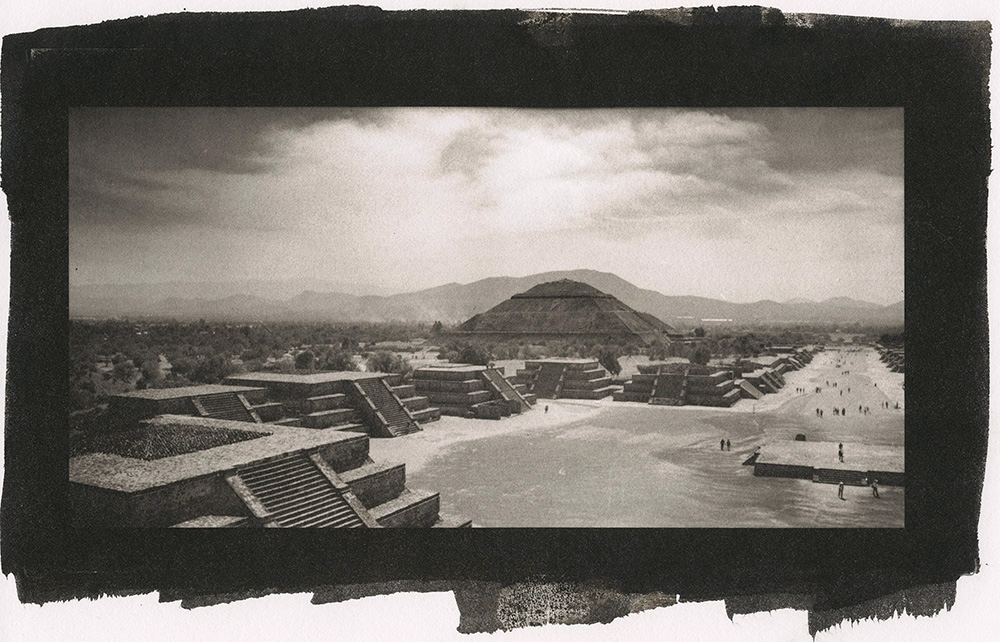
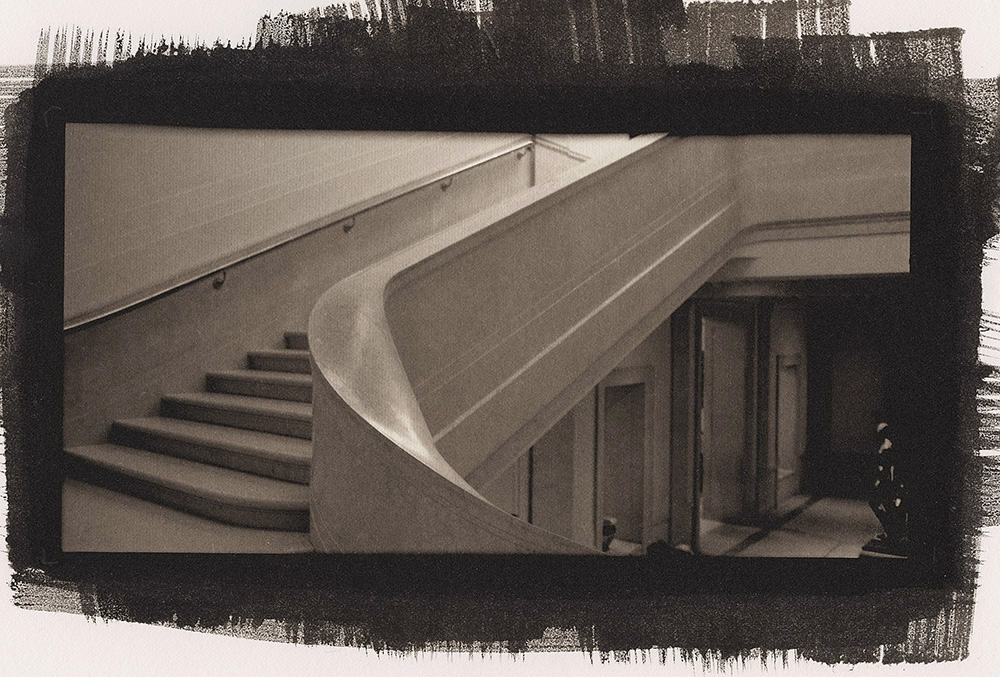
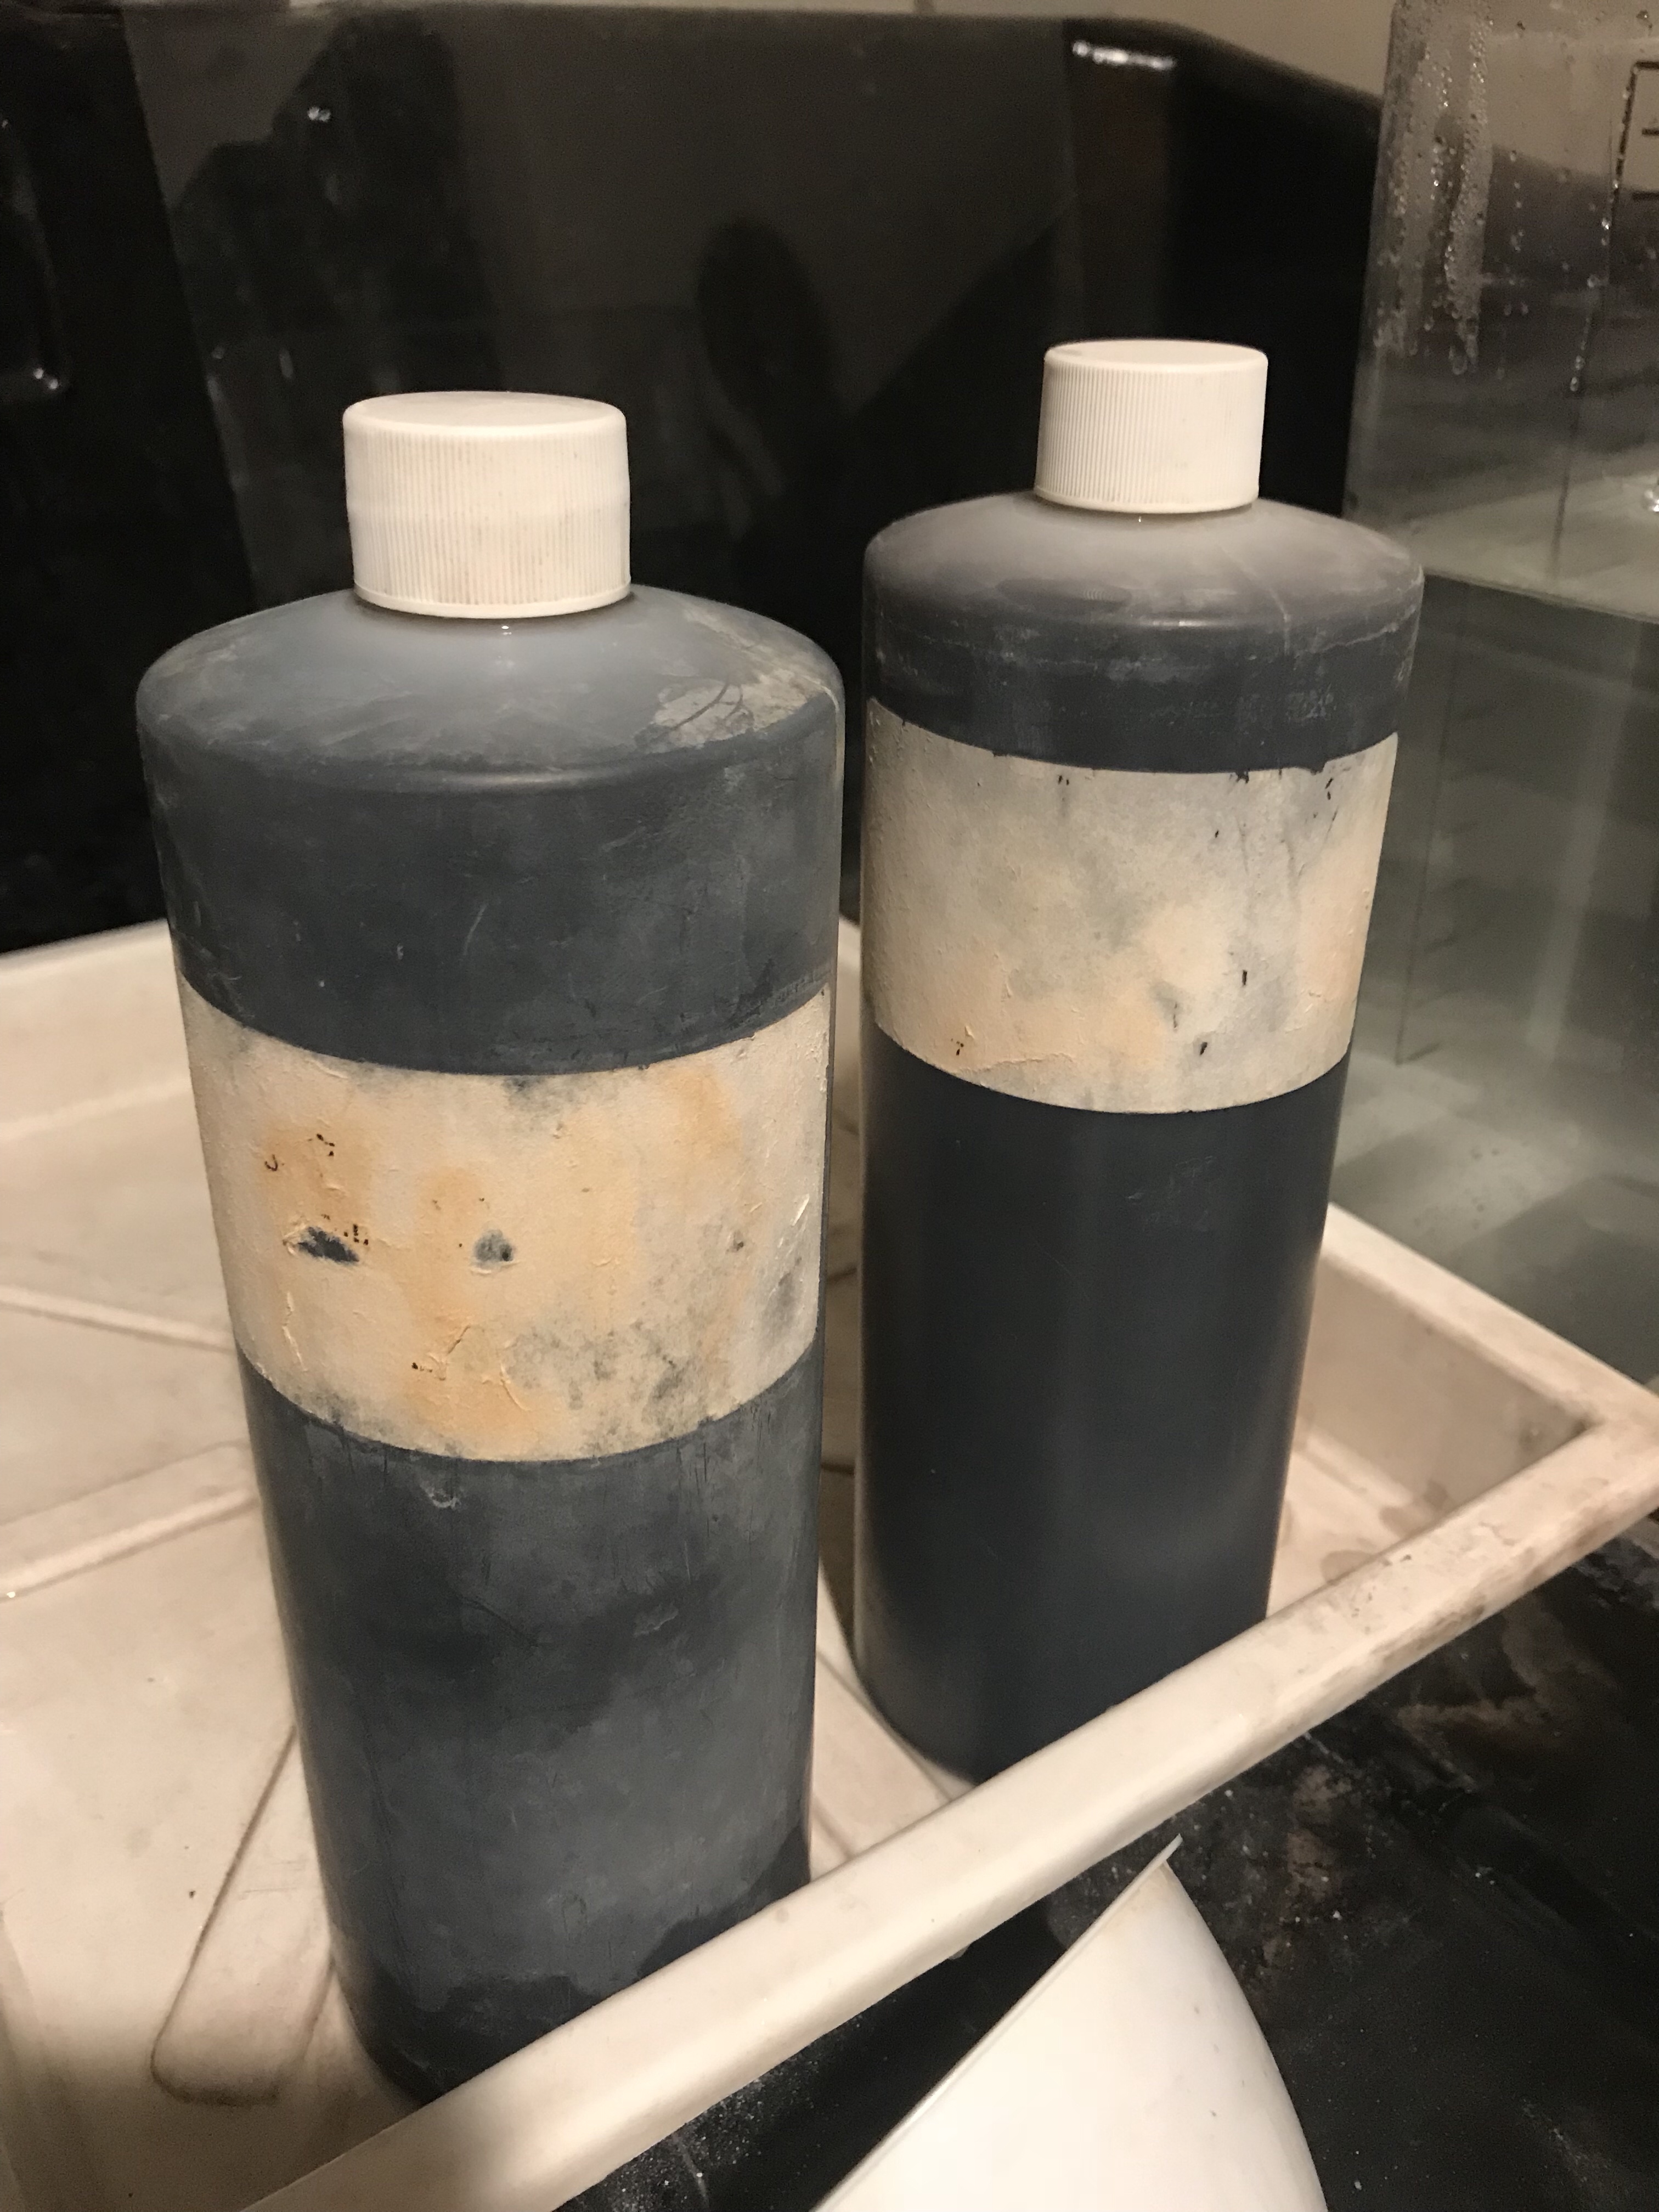
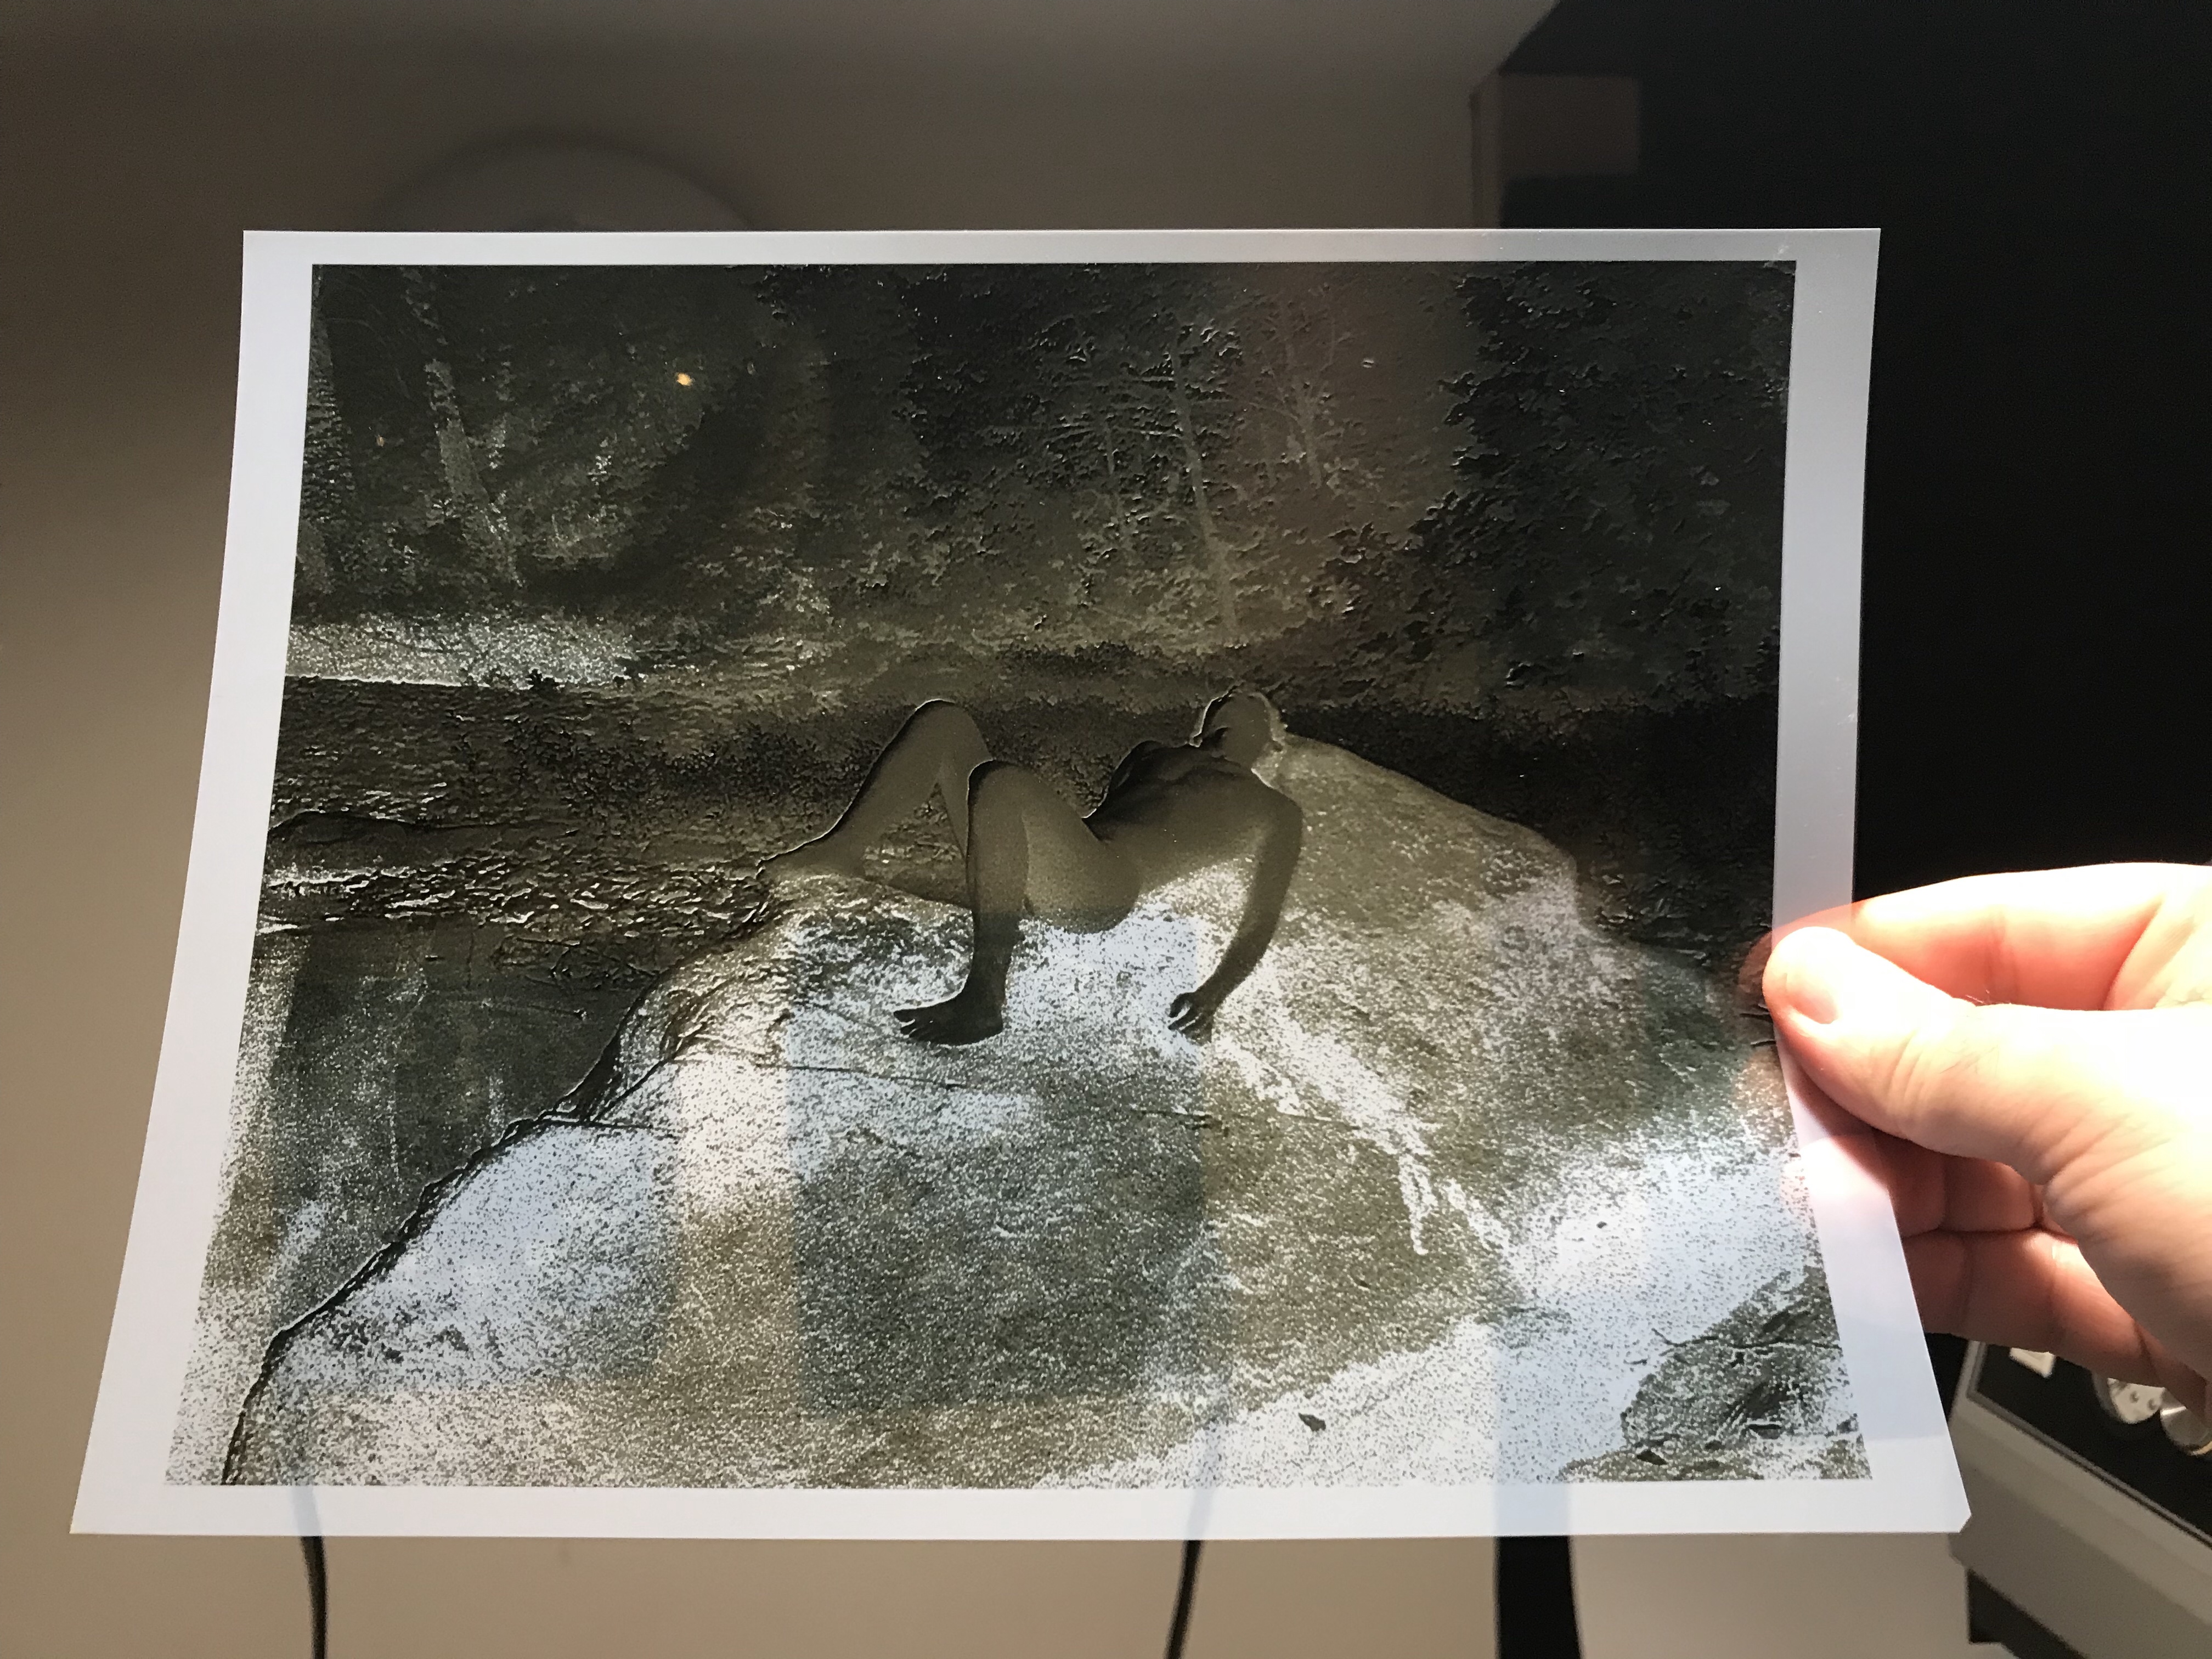
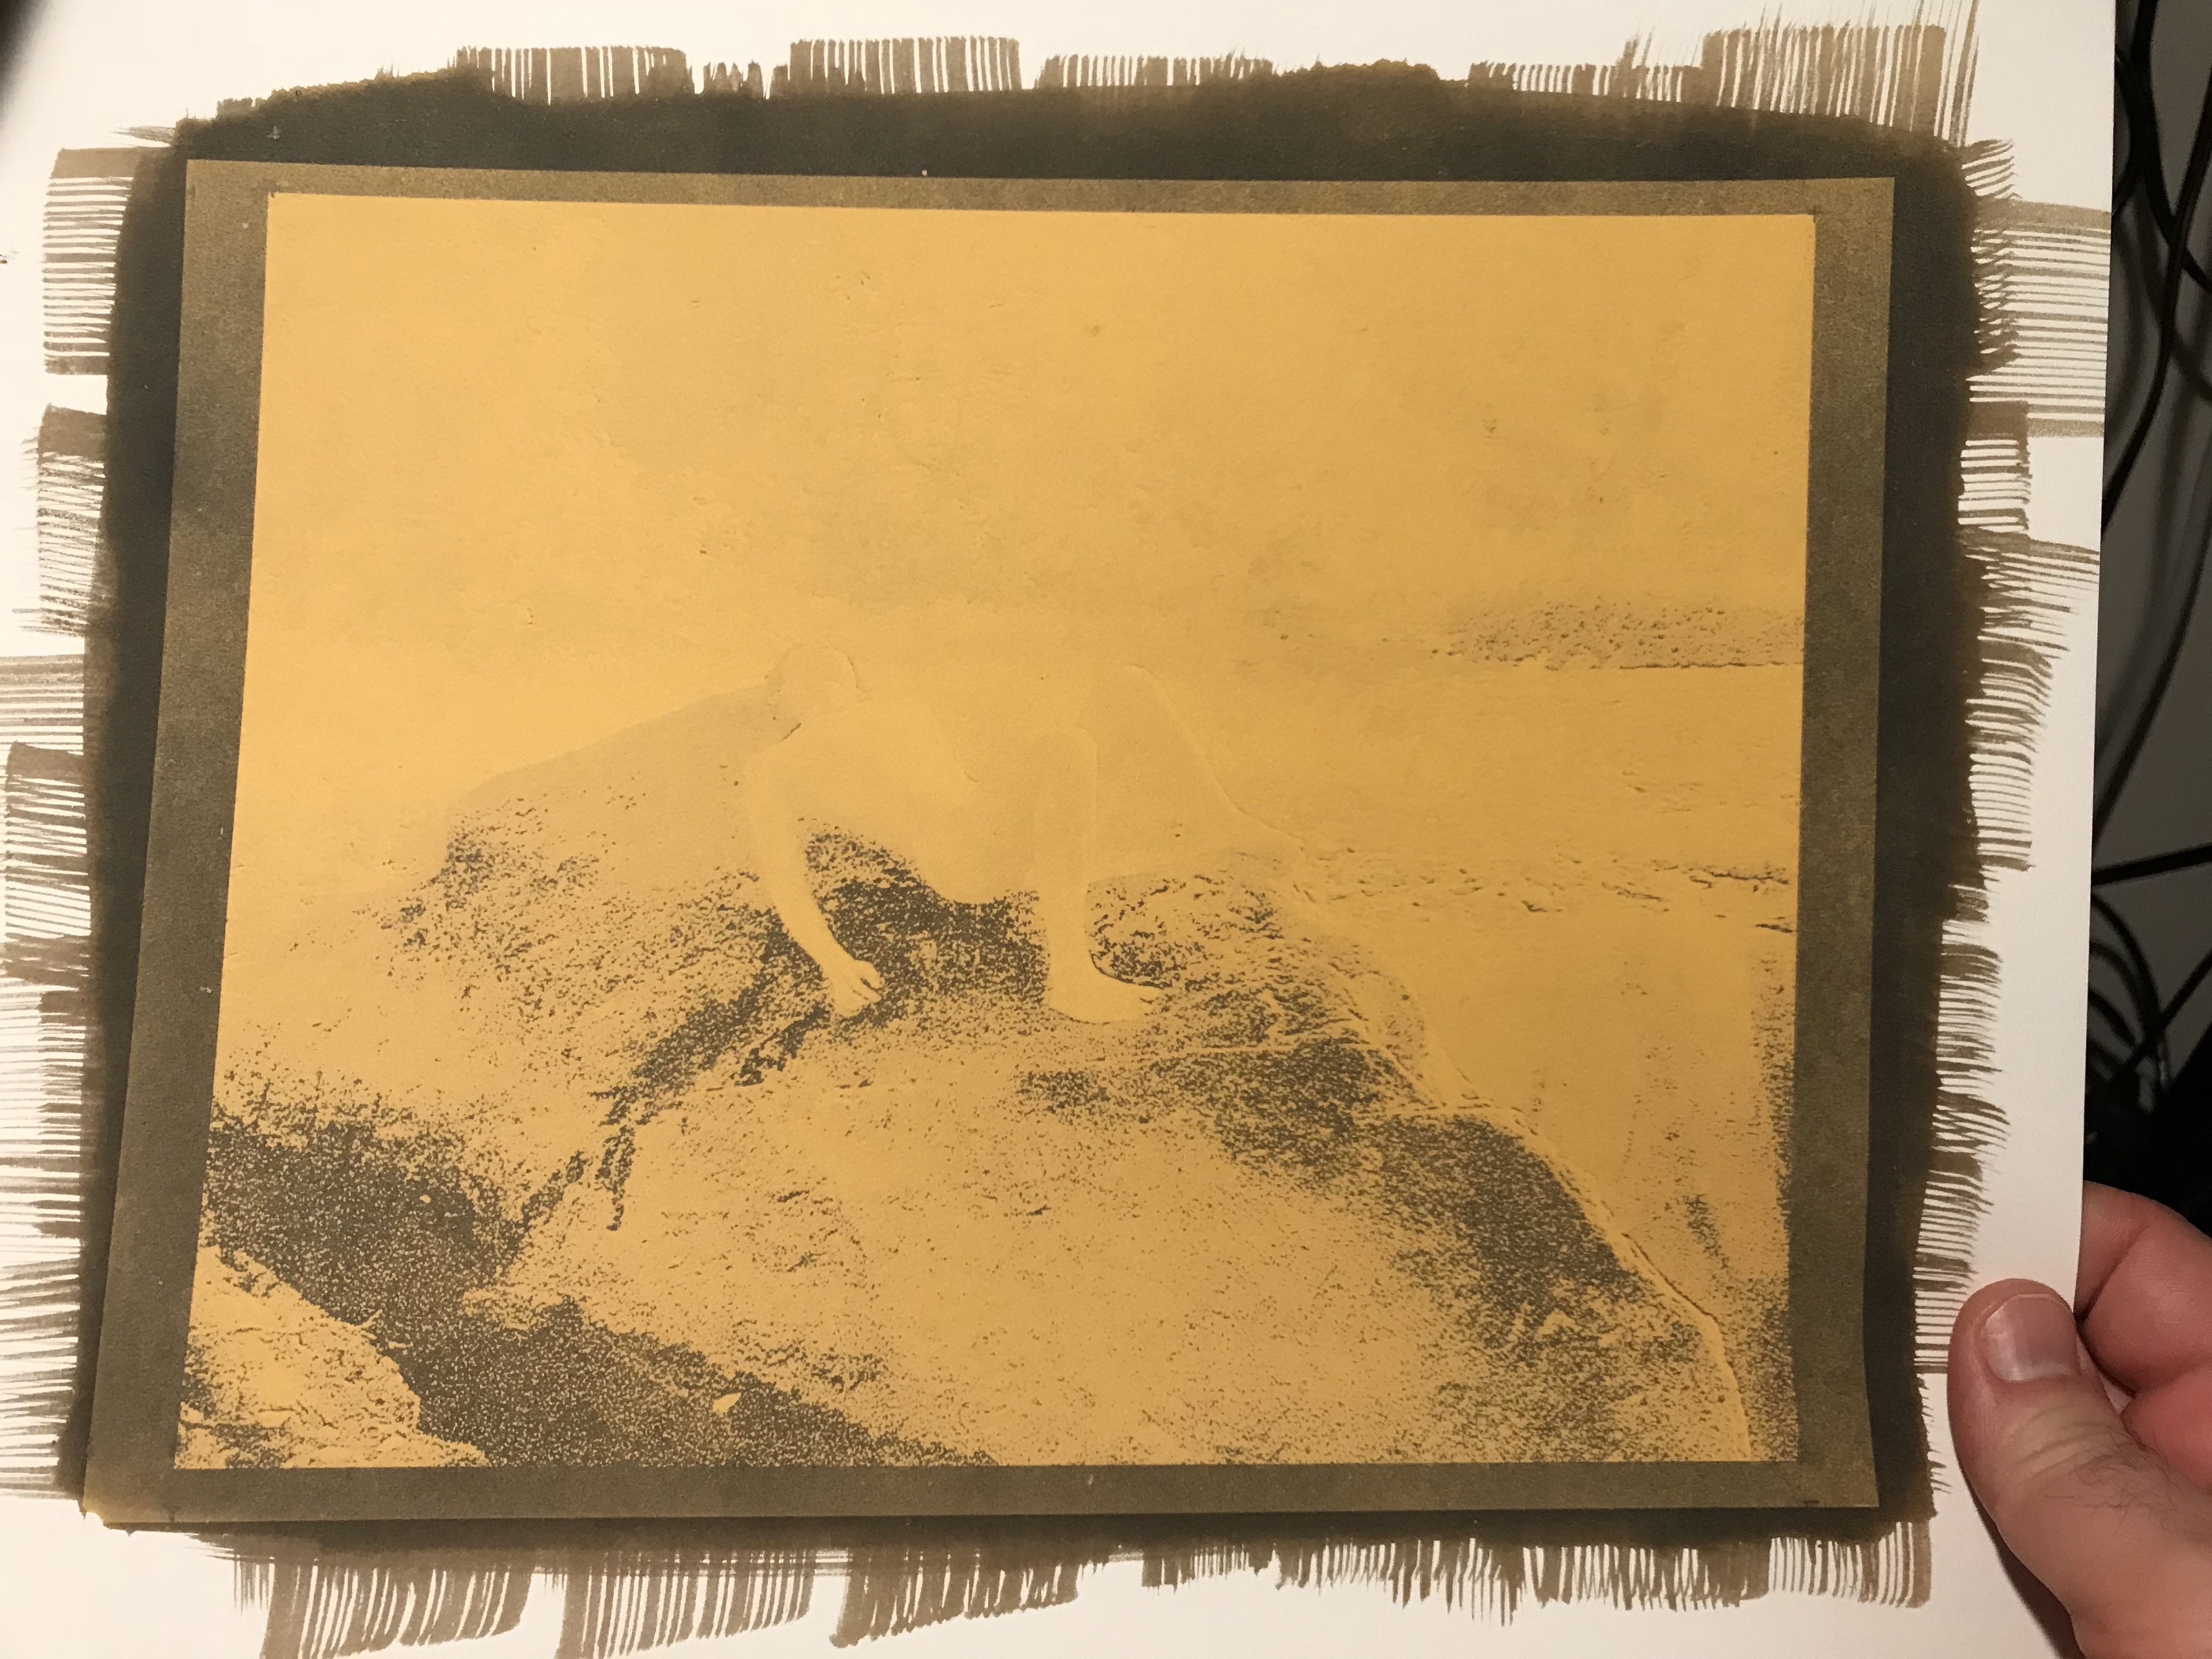
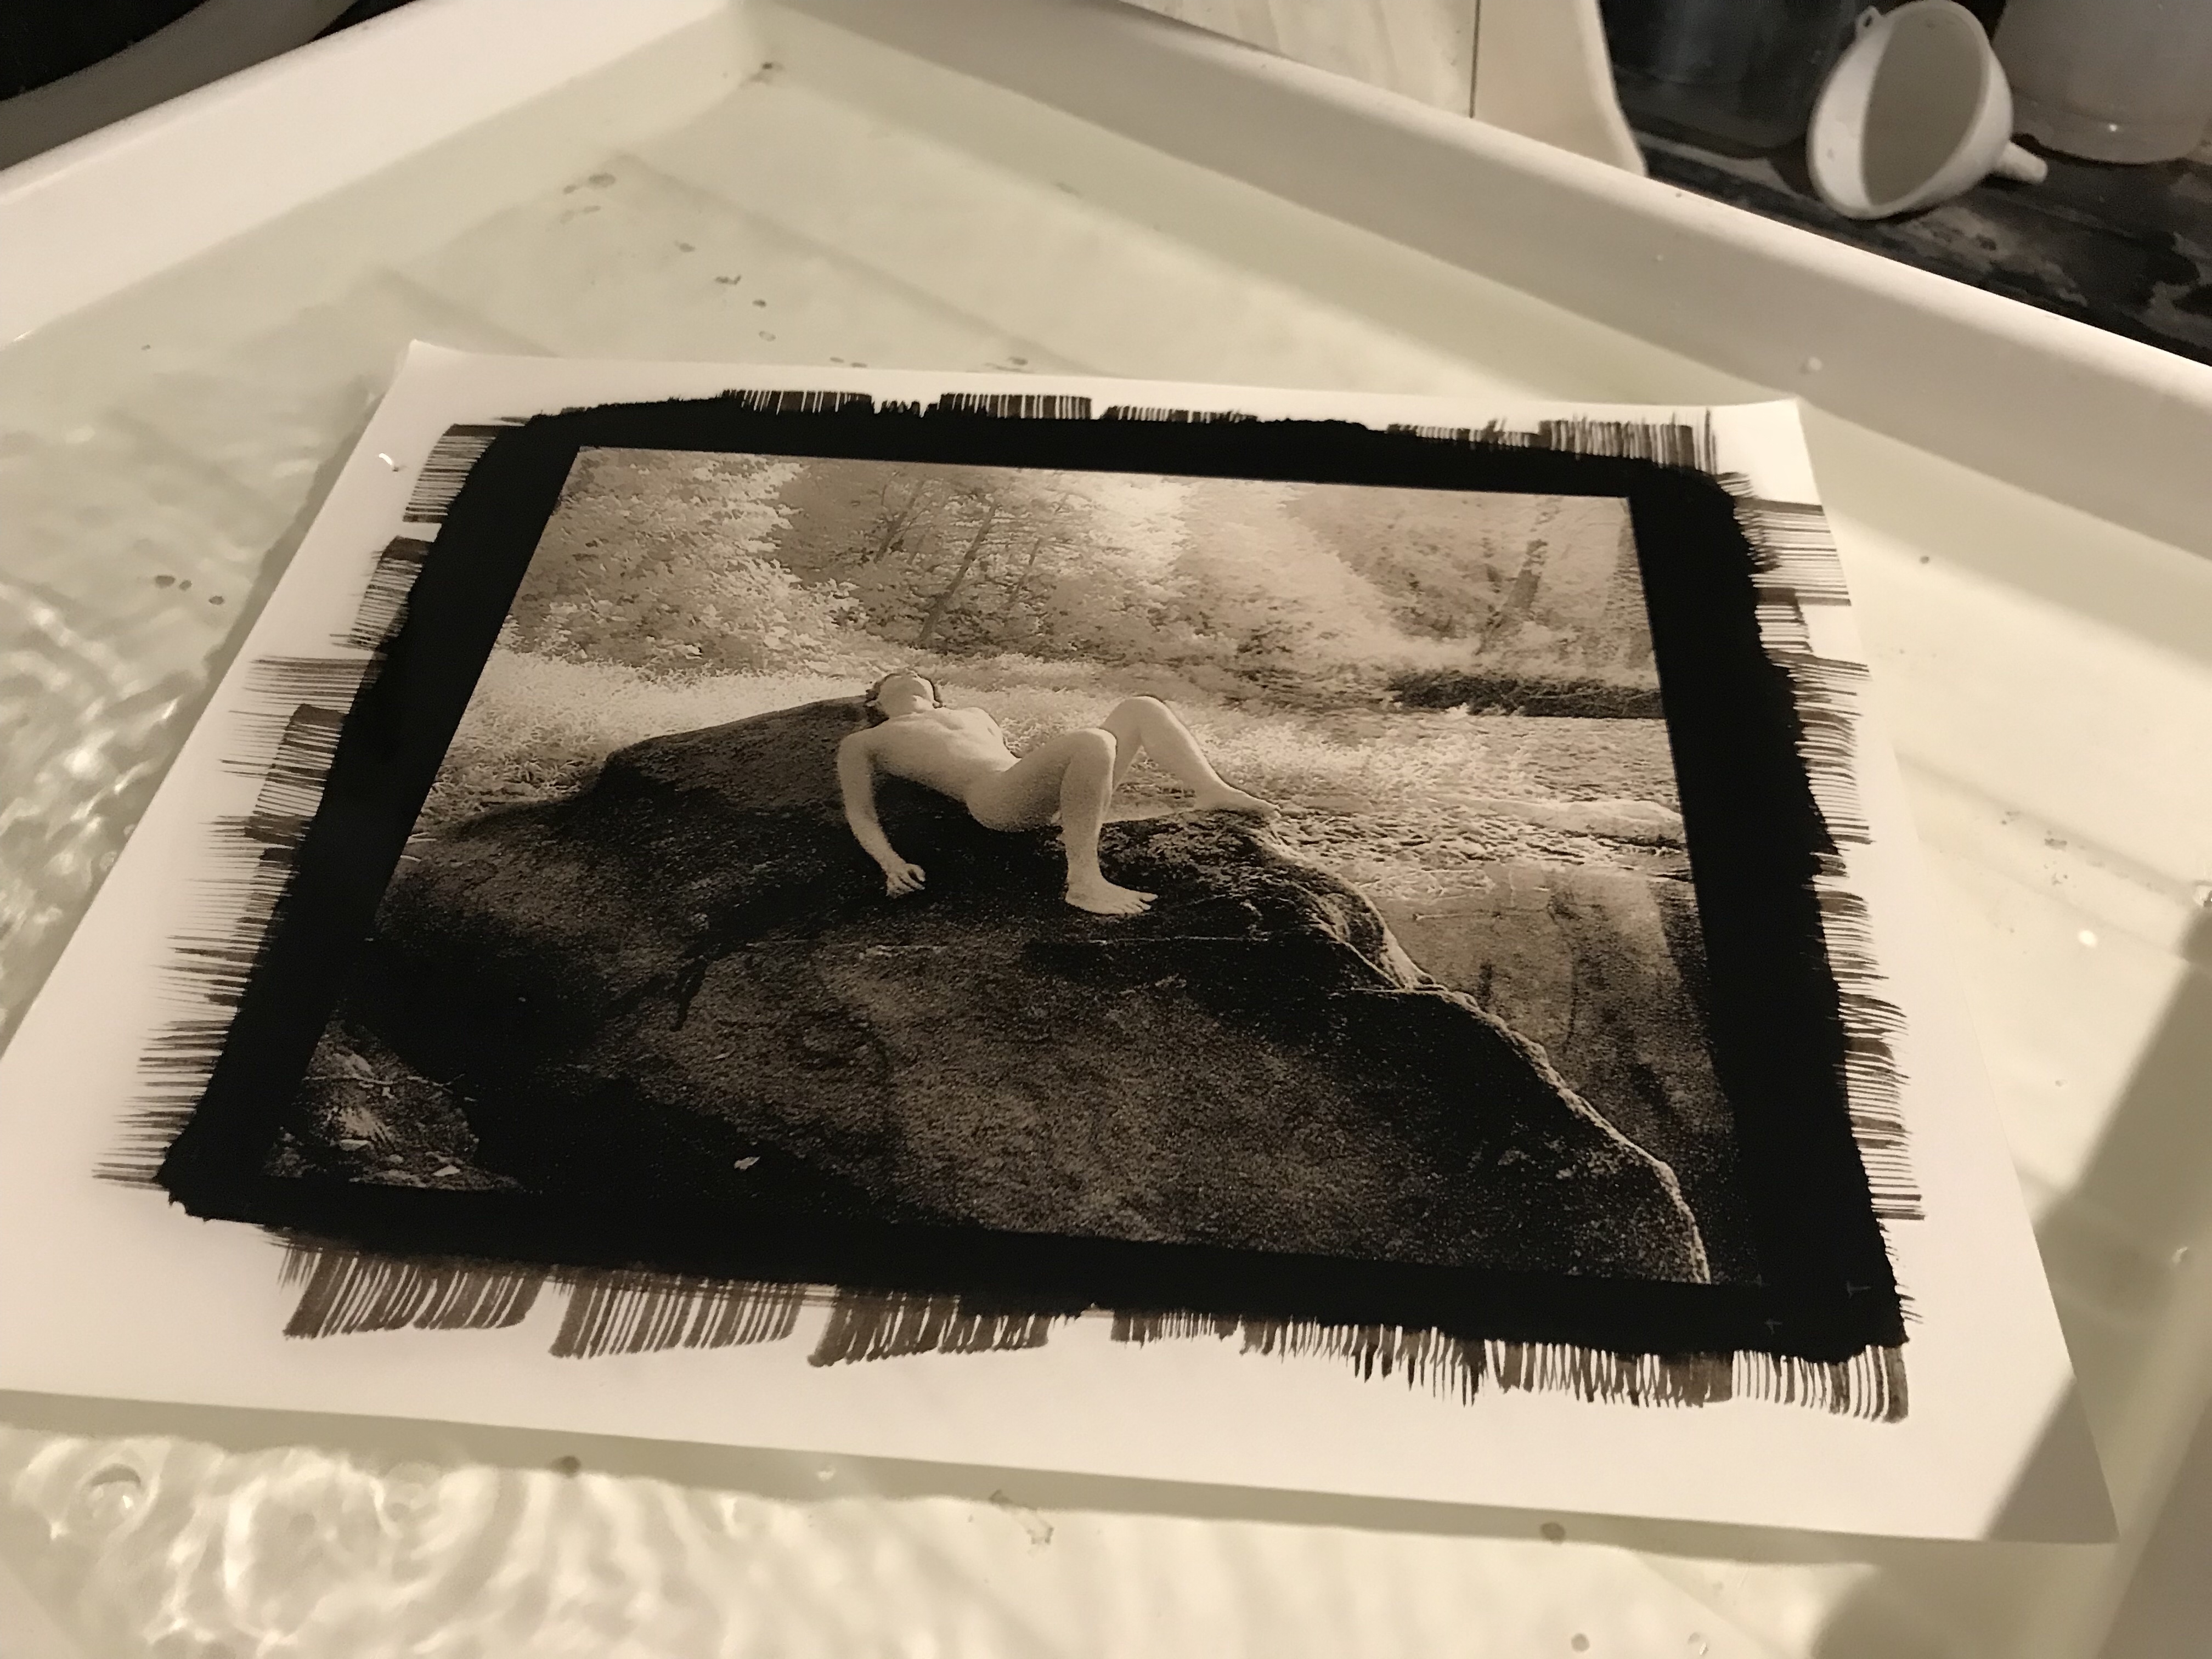
 I’ve got a class coming up soon – Thursday evenings starting September 27, co-taught with Mac Cosgrove-Davies. It’s an alternative process survey course, covering platinum/palladium, gum bichromate and cyanotype. We will be starting out by going through the process of making digital negatives for the platinum/palladium process, and then printing using platinum/palladium. I will be walking students through the process of how to create your own correction curve so that they will have the tools handy for making appropriate correction curves for their own personal environments and for whatever process(es) they want to work in. We will cover basic techniques, preferred materials and digital hardware.