Category Archives: Classes

Intro to Platinum/Palladium Printing, Day Two- First Printing Session

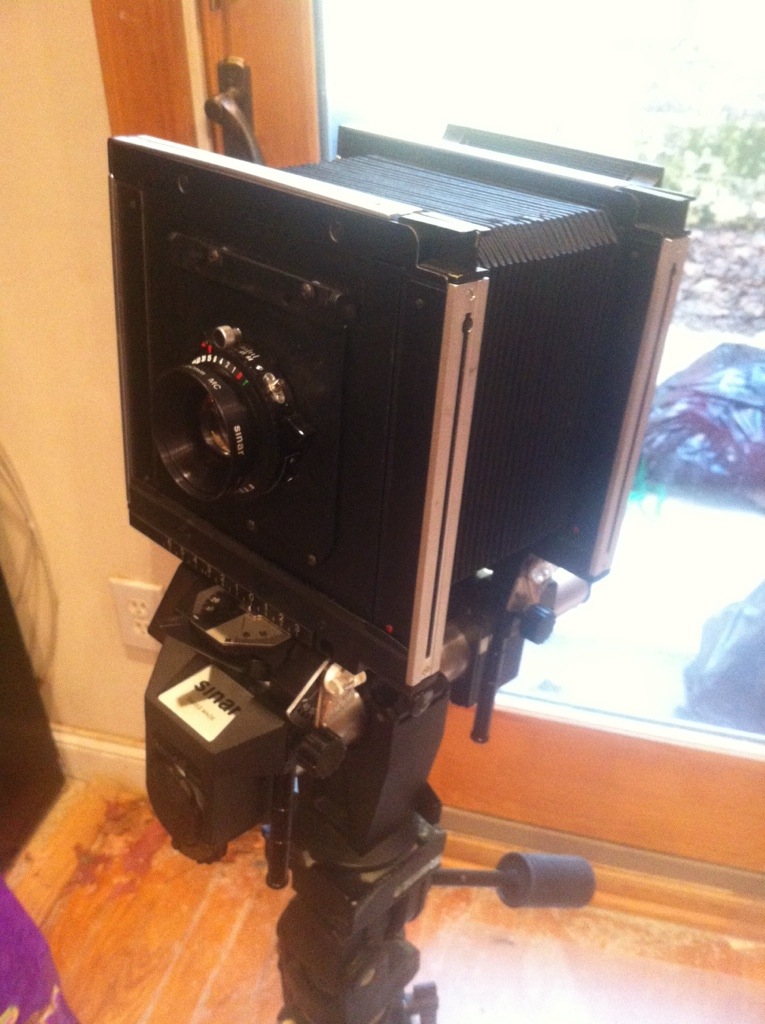
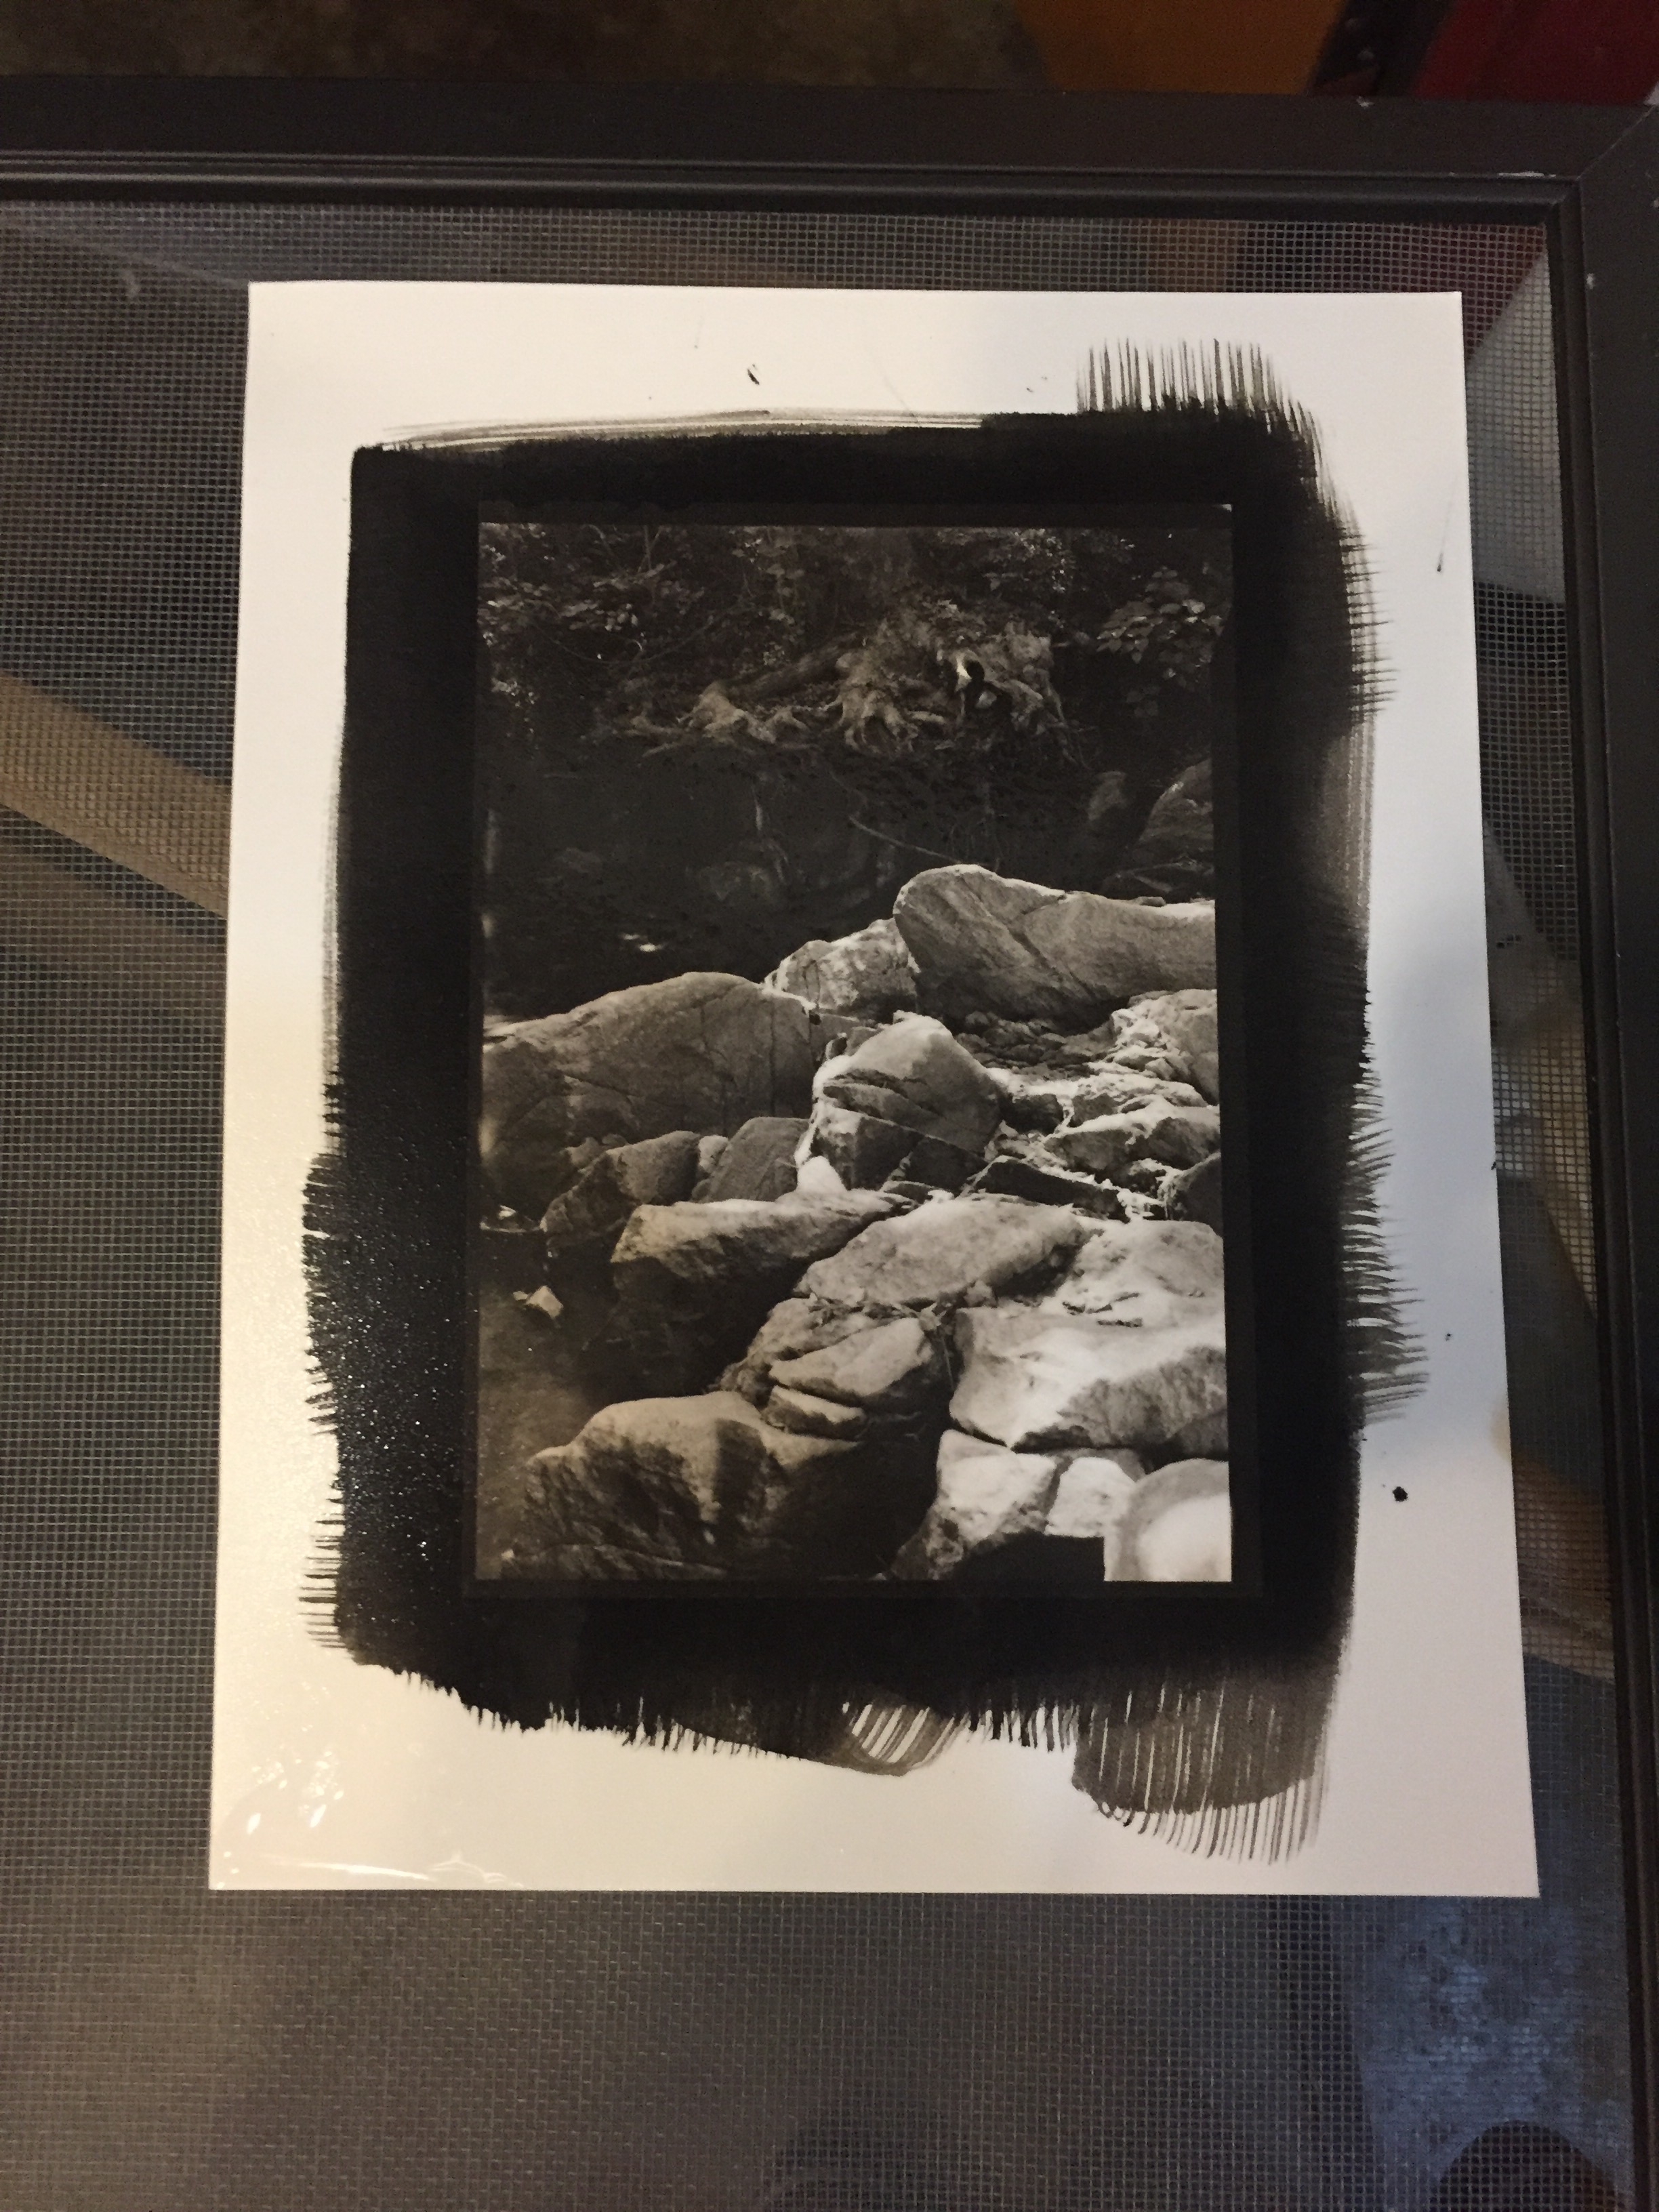
This weekend was module one of two in my revised Intro to Platinum/Palladium Printing class. Module One covered making images from in-camera film negatives. Yesterday we went out in the park at Glen Echo and shot some film with my 5×7. This first image is one of the student prints from that outing – the rocks and water in the stream that runs through the park.

Rocks, Stream, Glen Echo Park

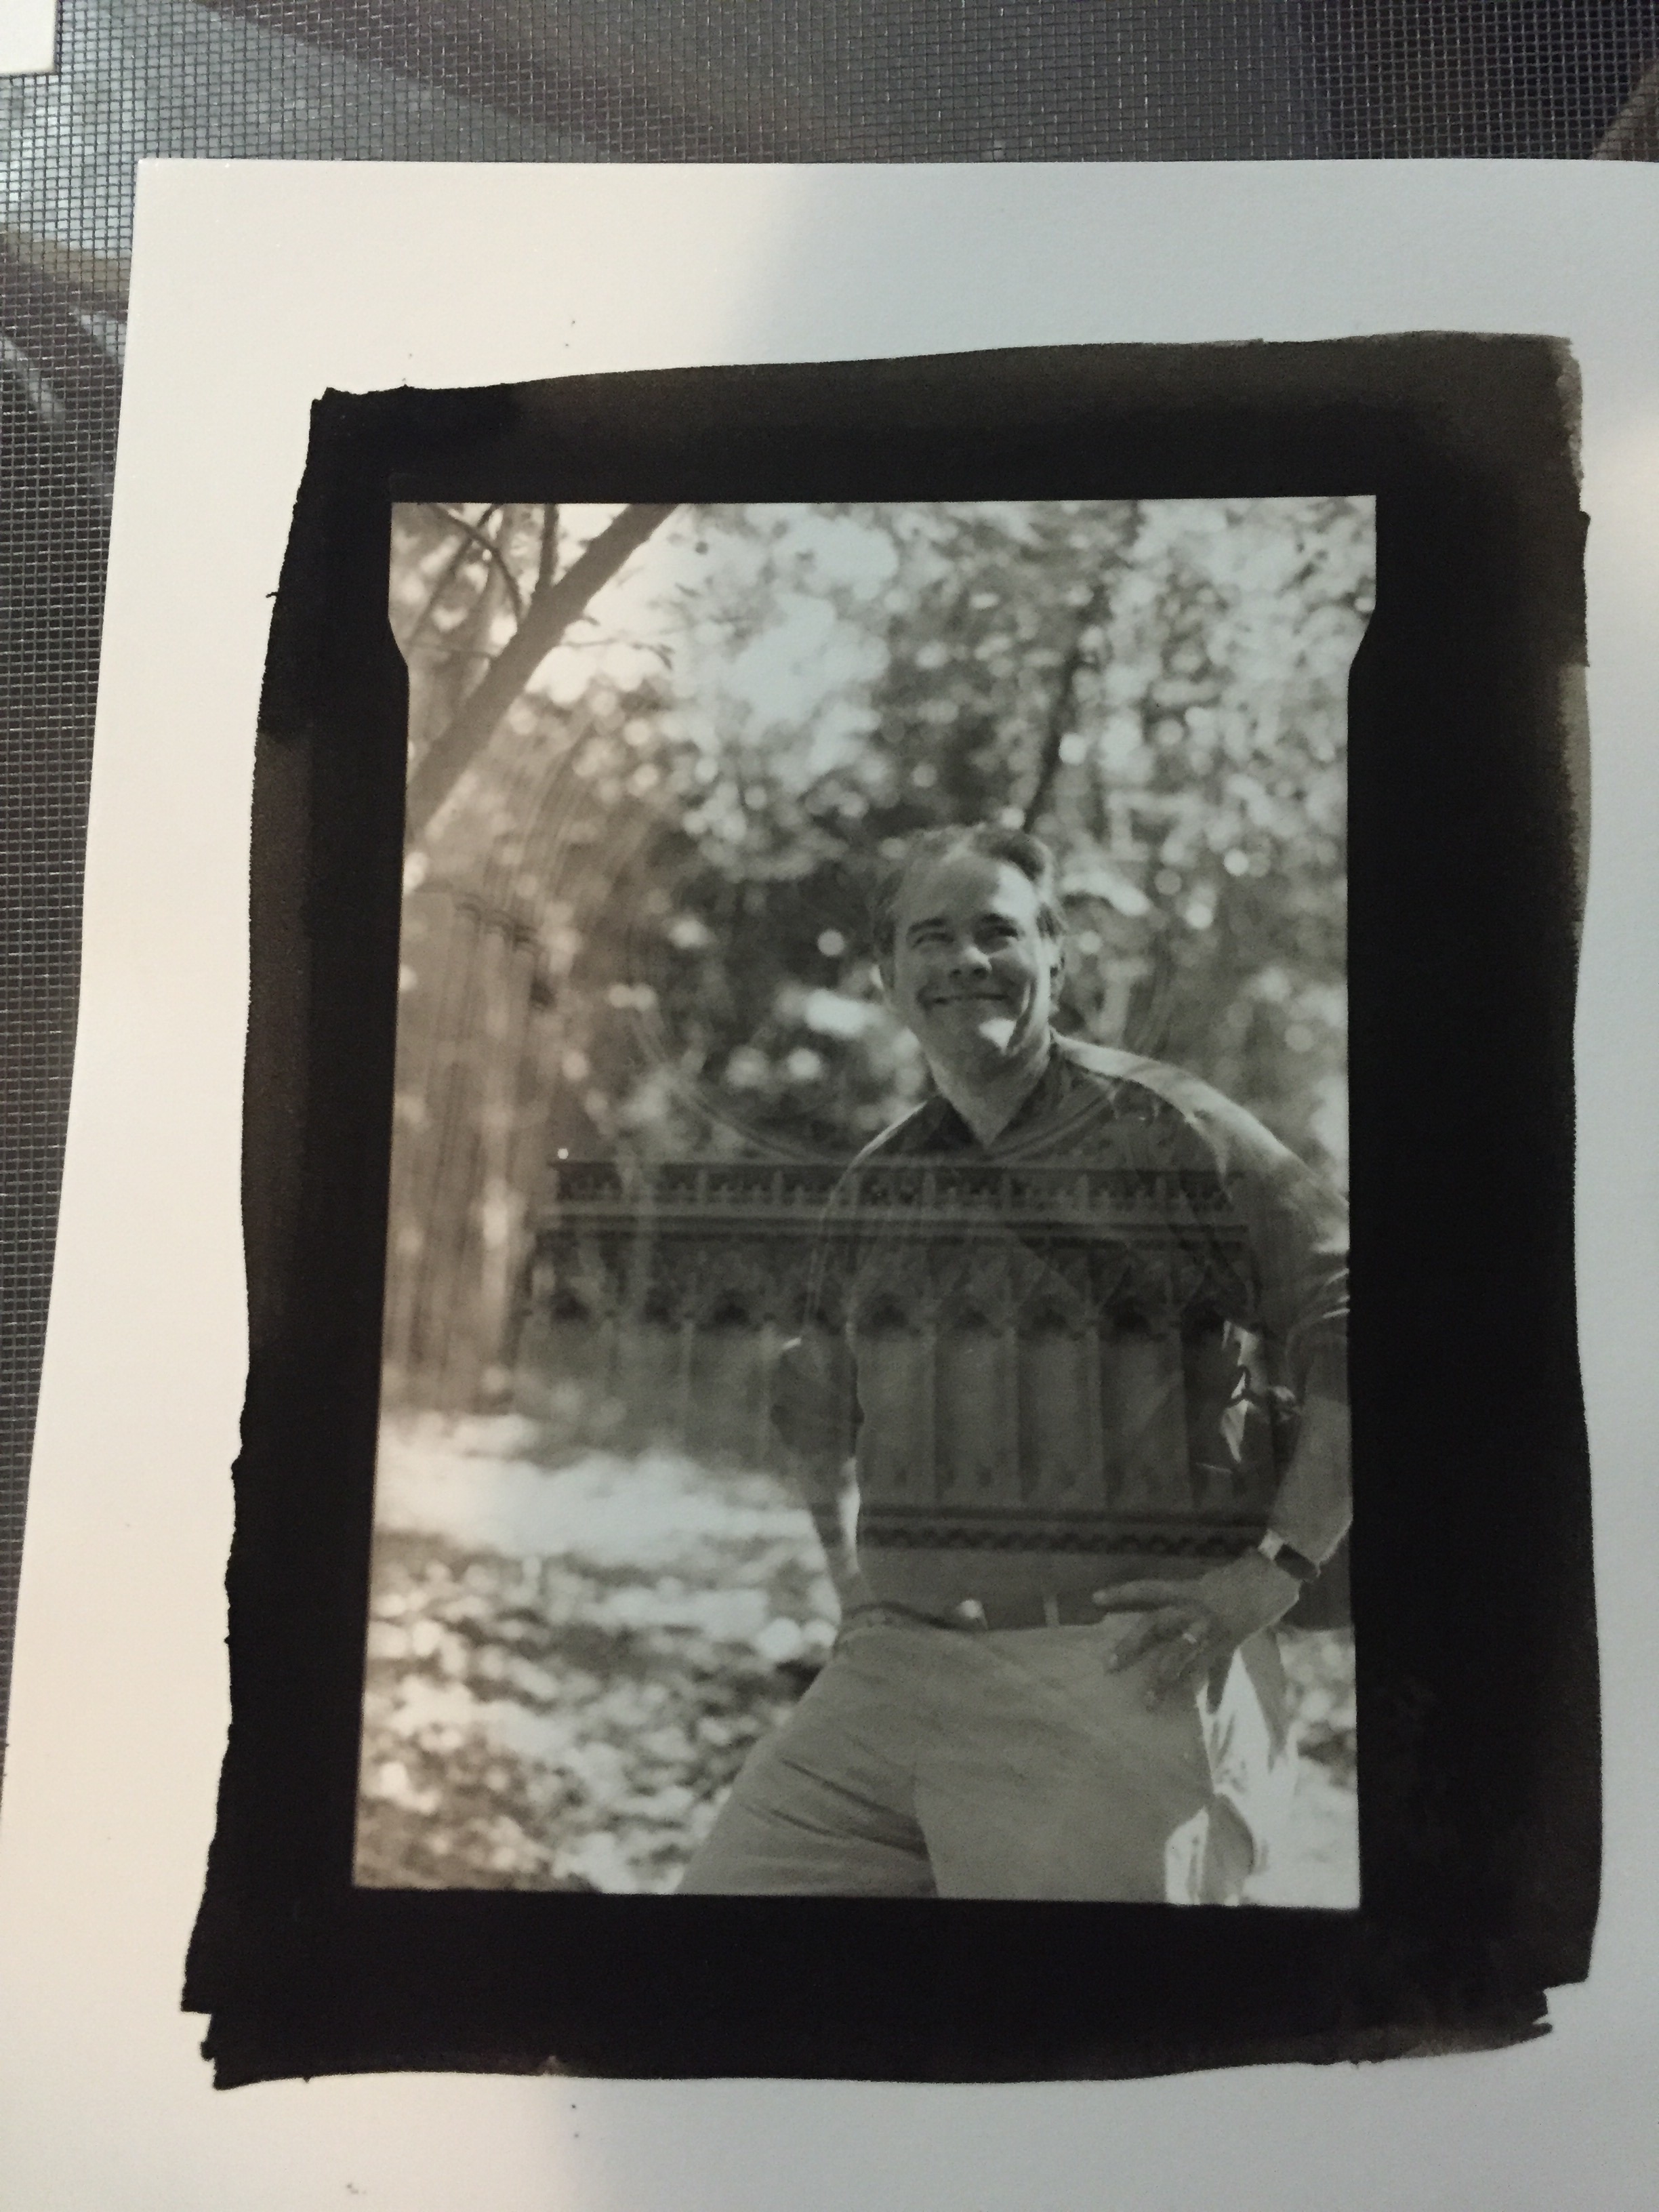
This second shot is a happy accident – one of my students wanted to do portraits, and shot this and another one (which we didn’t print) of two classmates. What we didn’t realize at the time, which was very much my fault, was that those two sheets had previously been exposed by me on an outing with my Intro to Large Format class to the National Cathedral, but not developed. So we had two negatives of students in the woods superimposed on the facade of the National Cathedral. In the other one, the student’s face was obscured by the rose window, but here it works well. We were joking that it would make a great political campaign photo.

Happy Accident - Double Exposure
Happy Accident – Double Exposure

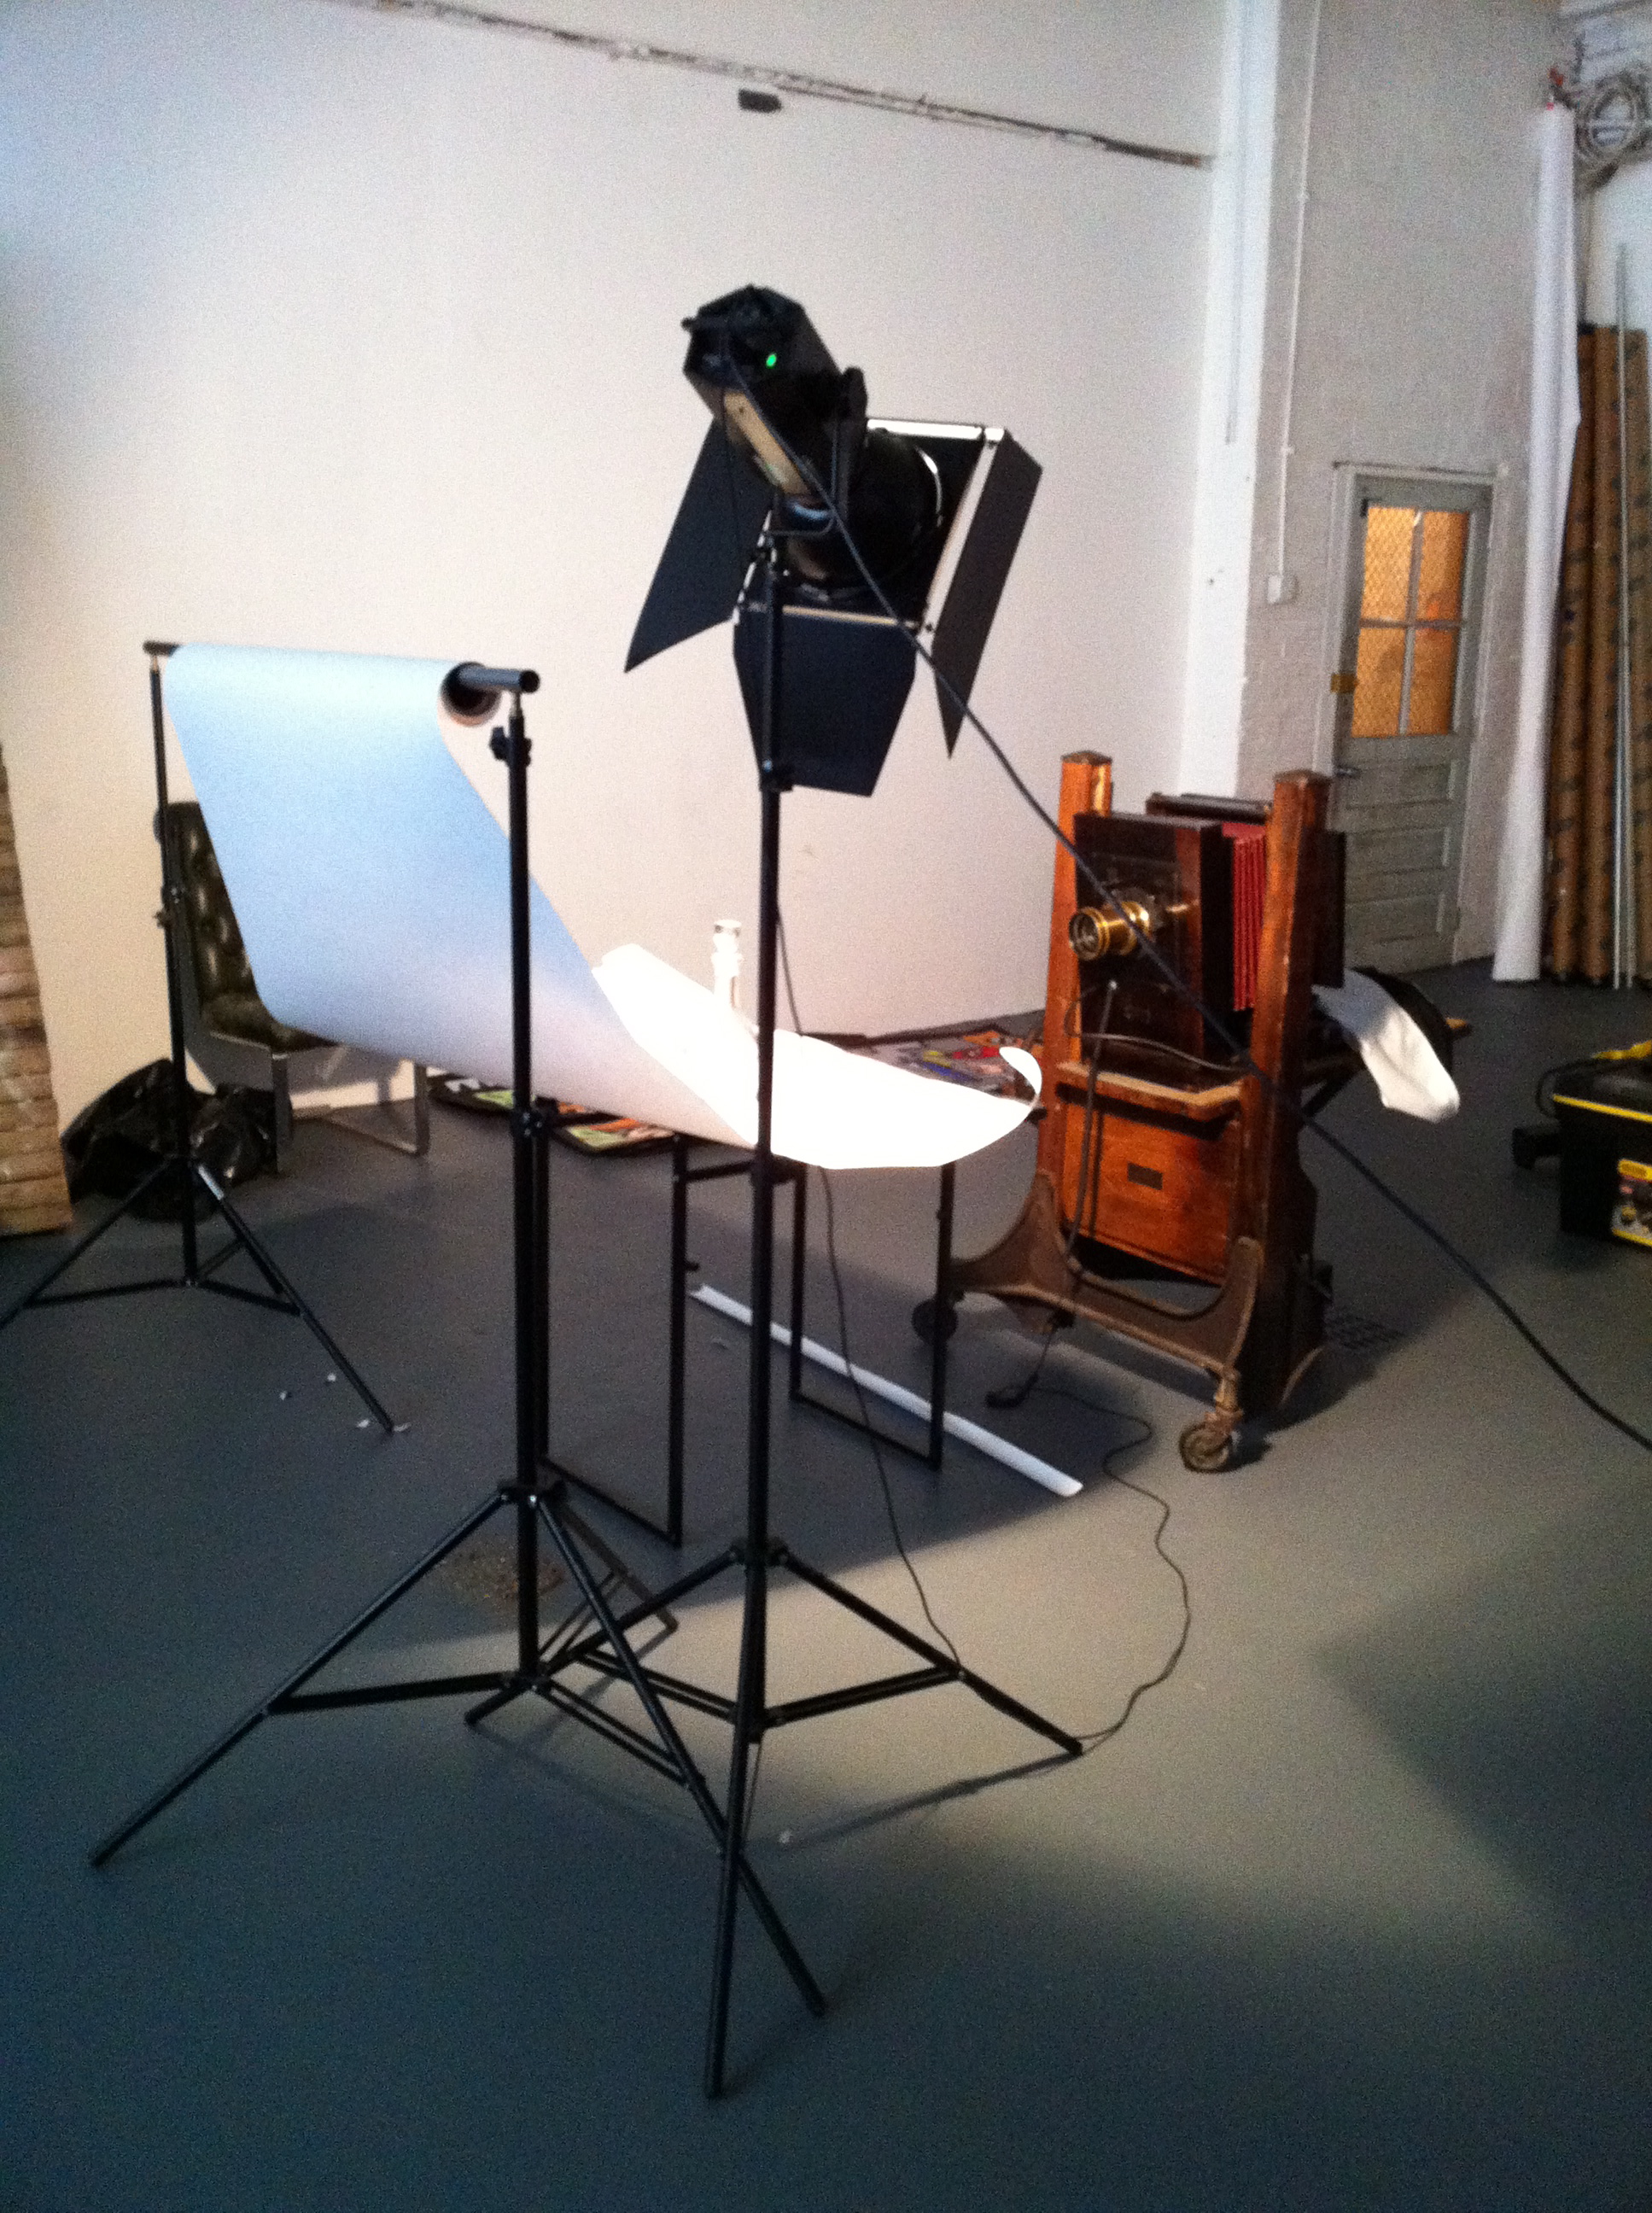
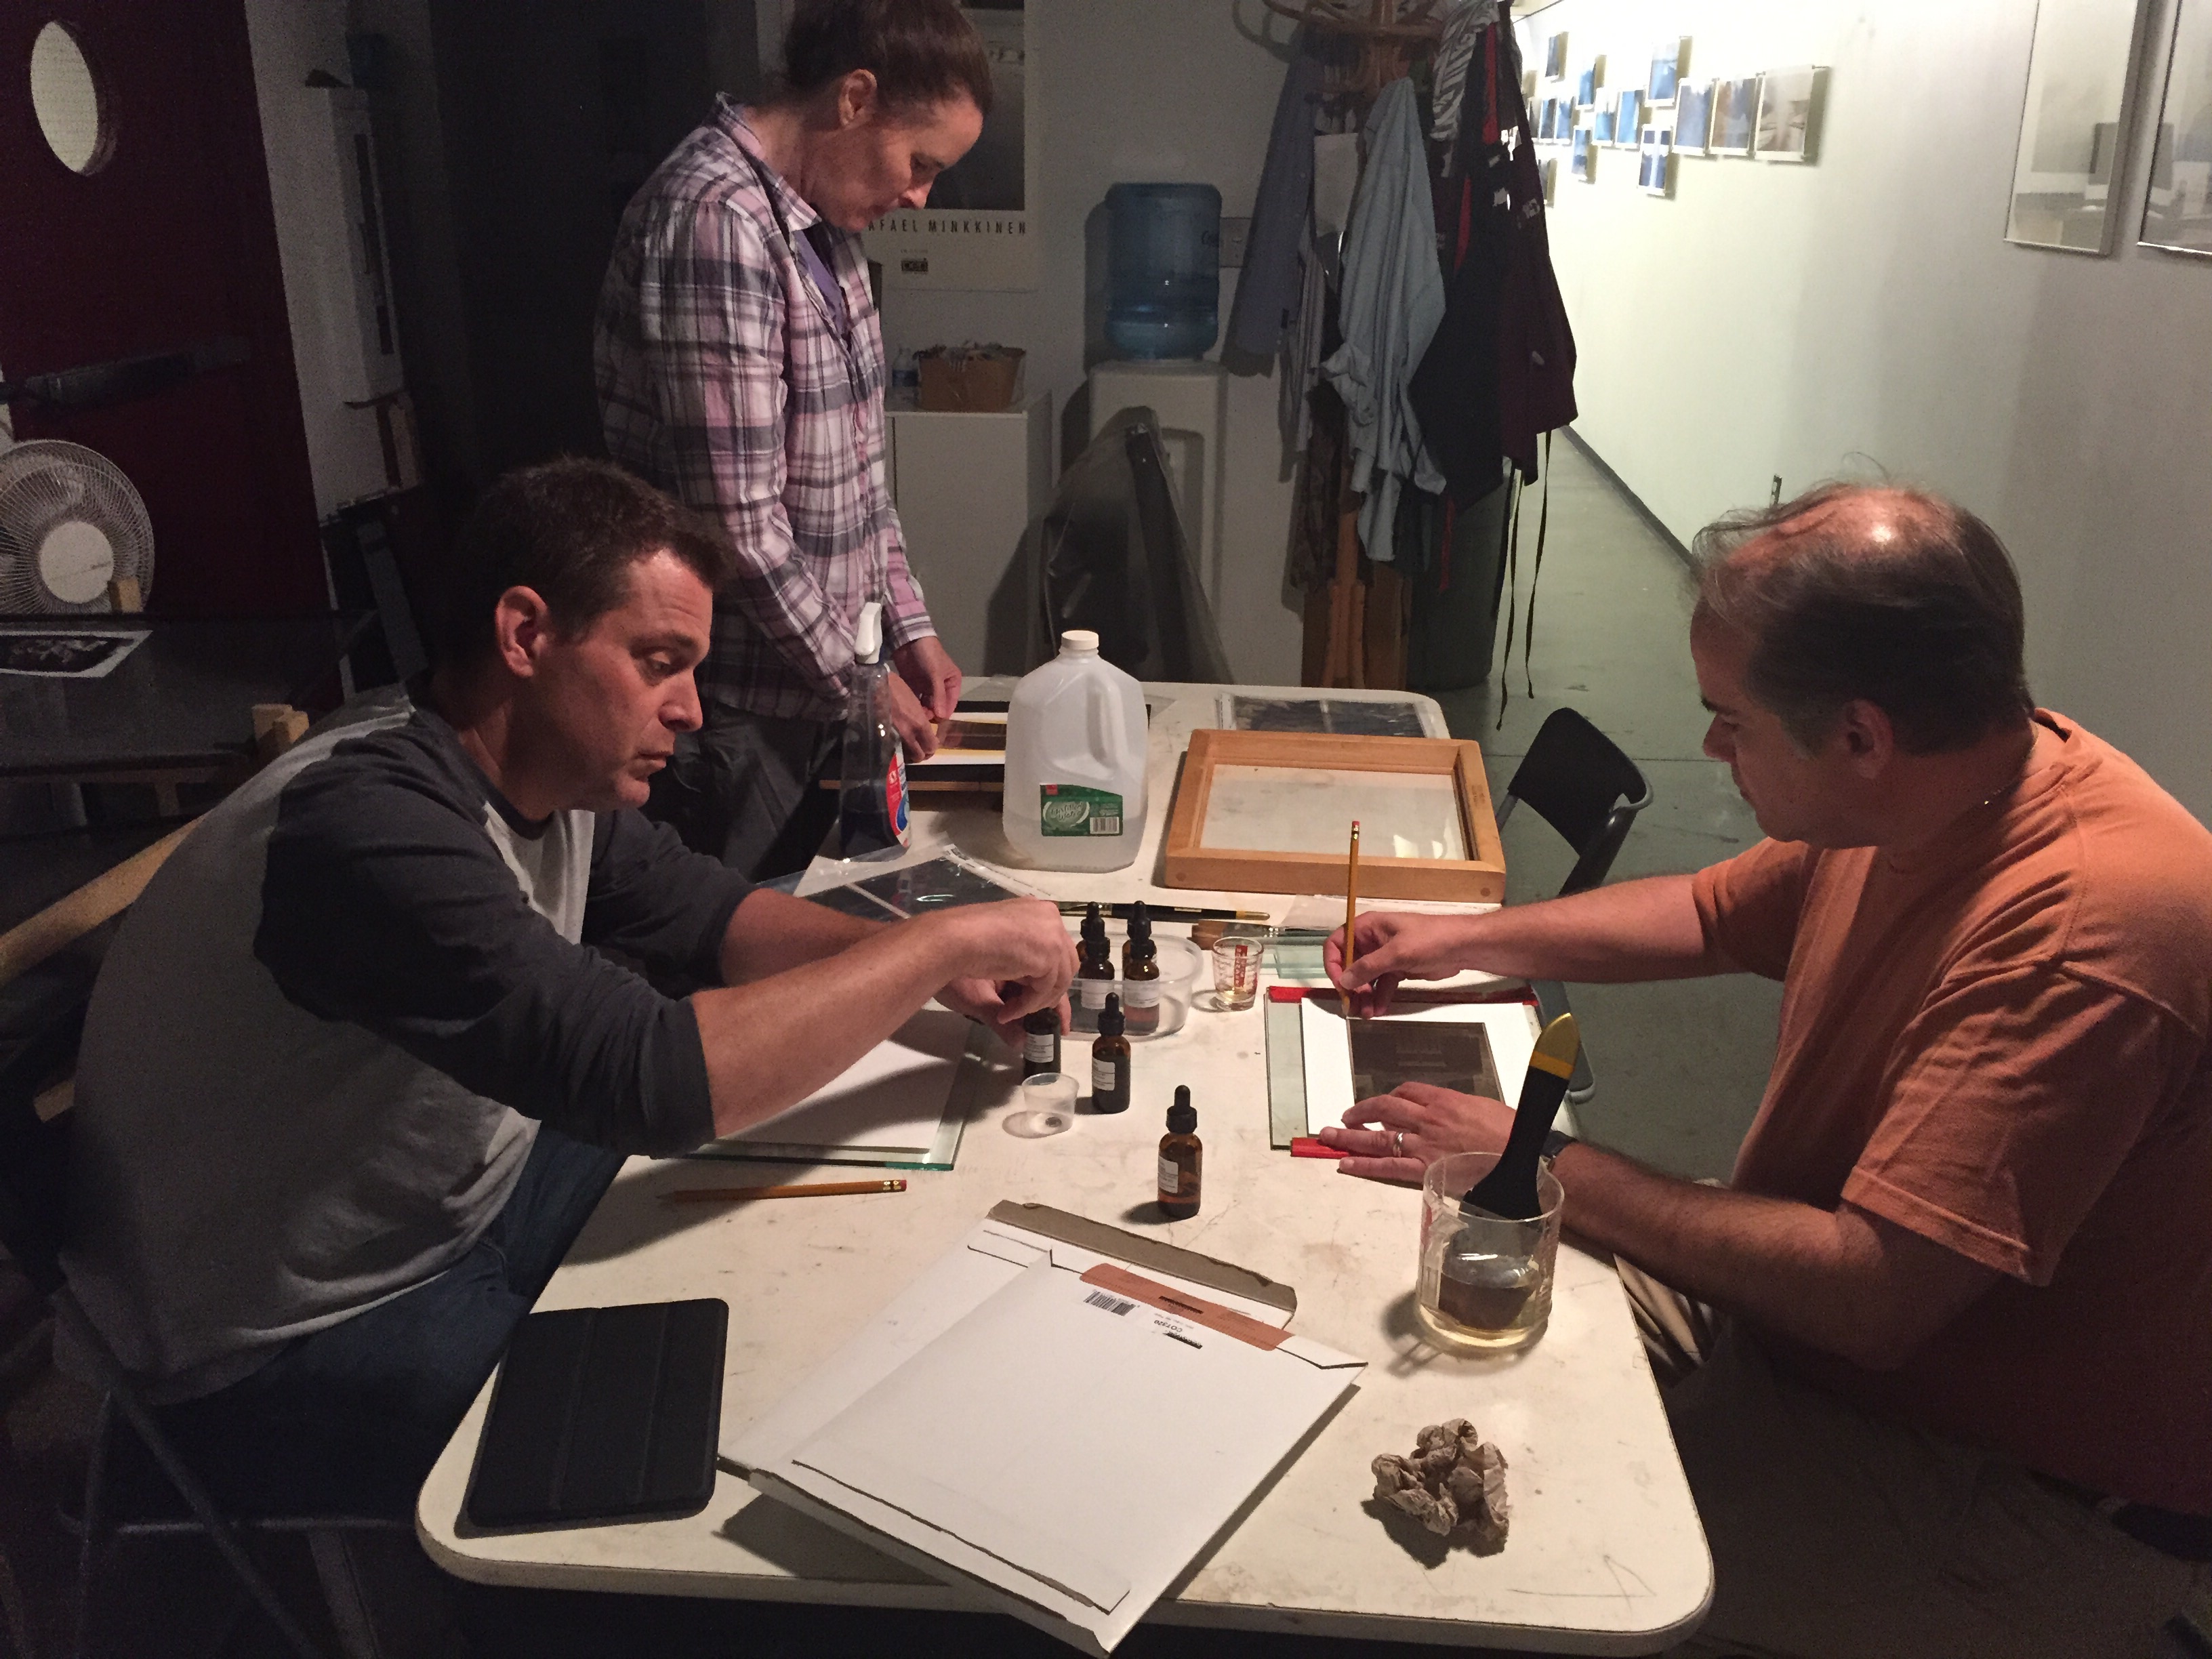
Here are my students busy coating paper and working hard.

Students Coating Prints

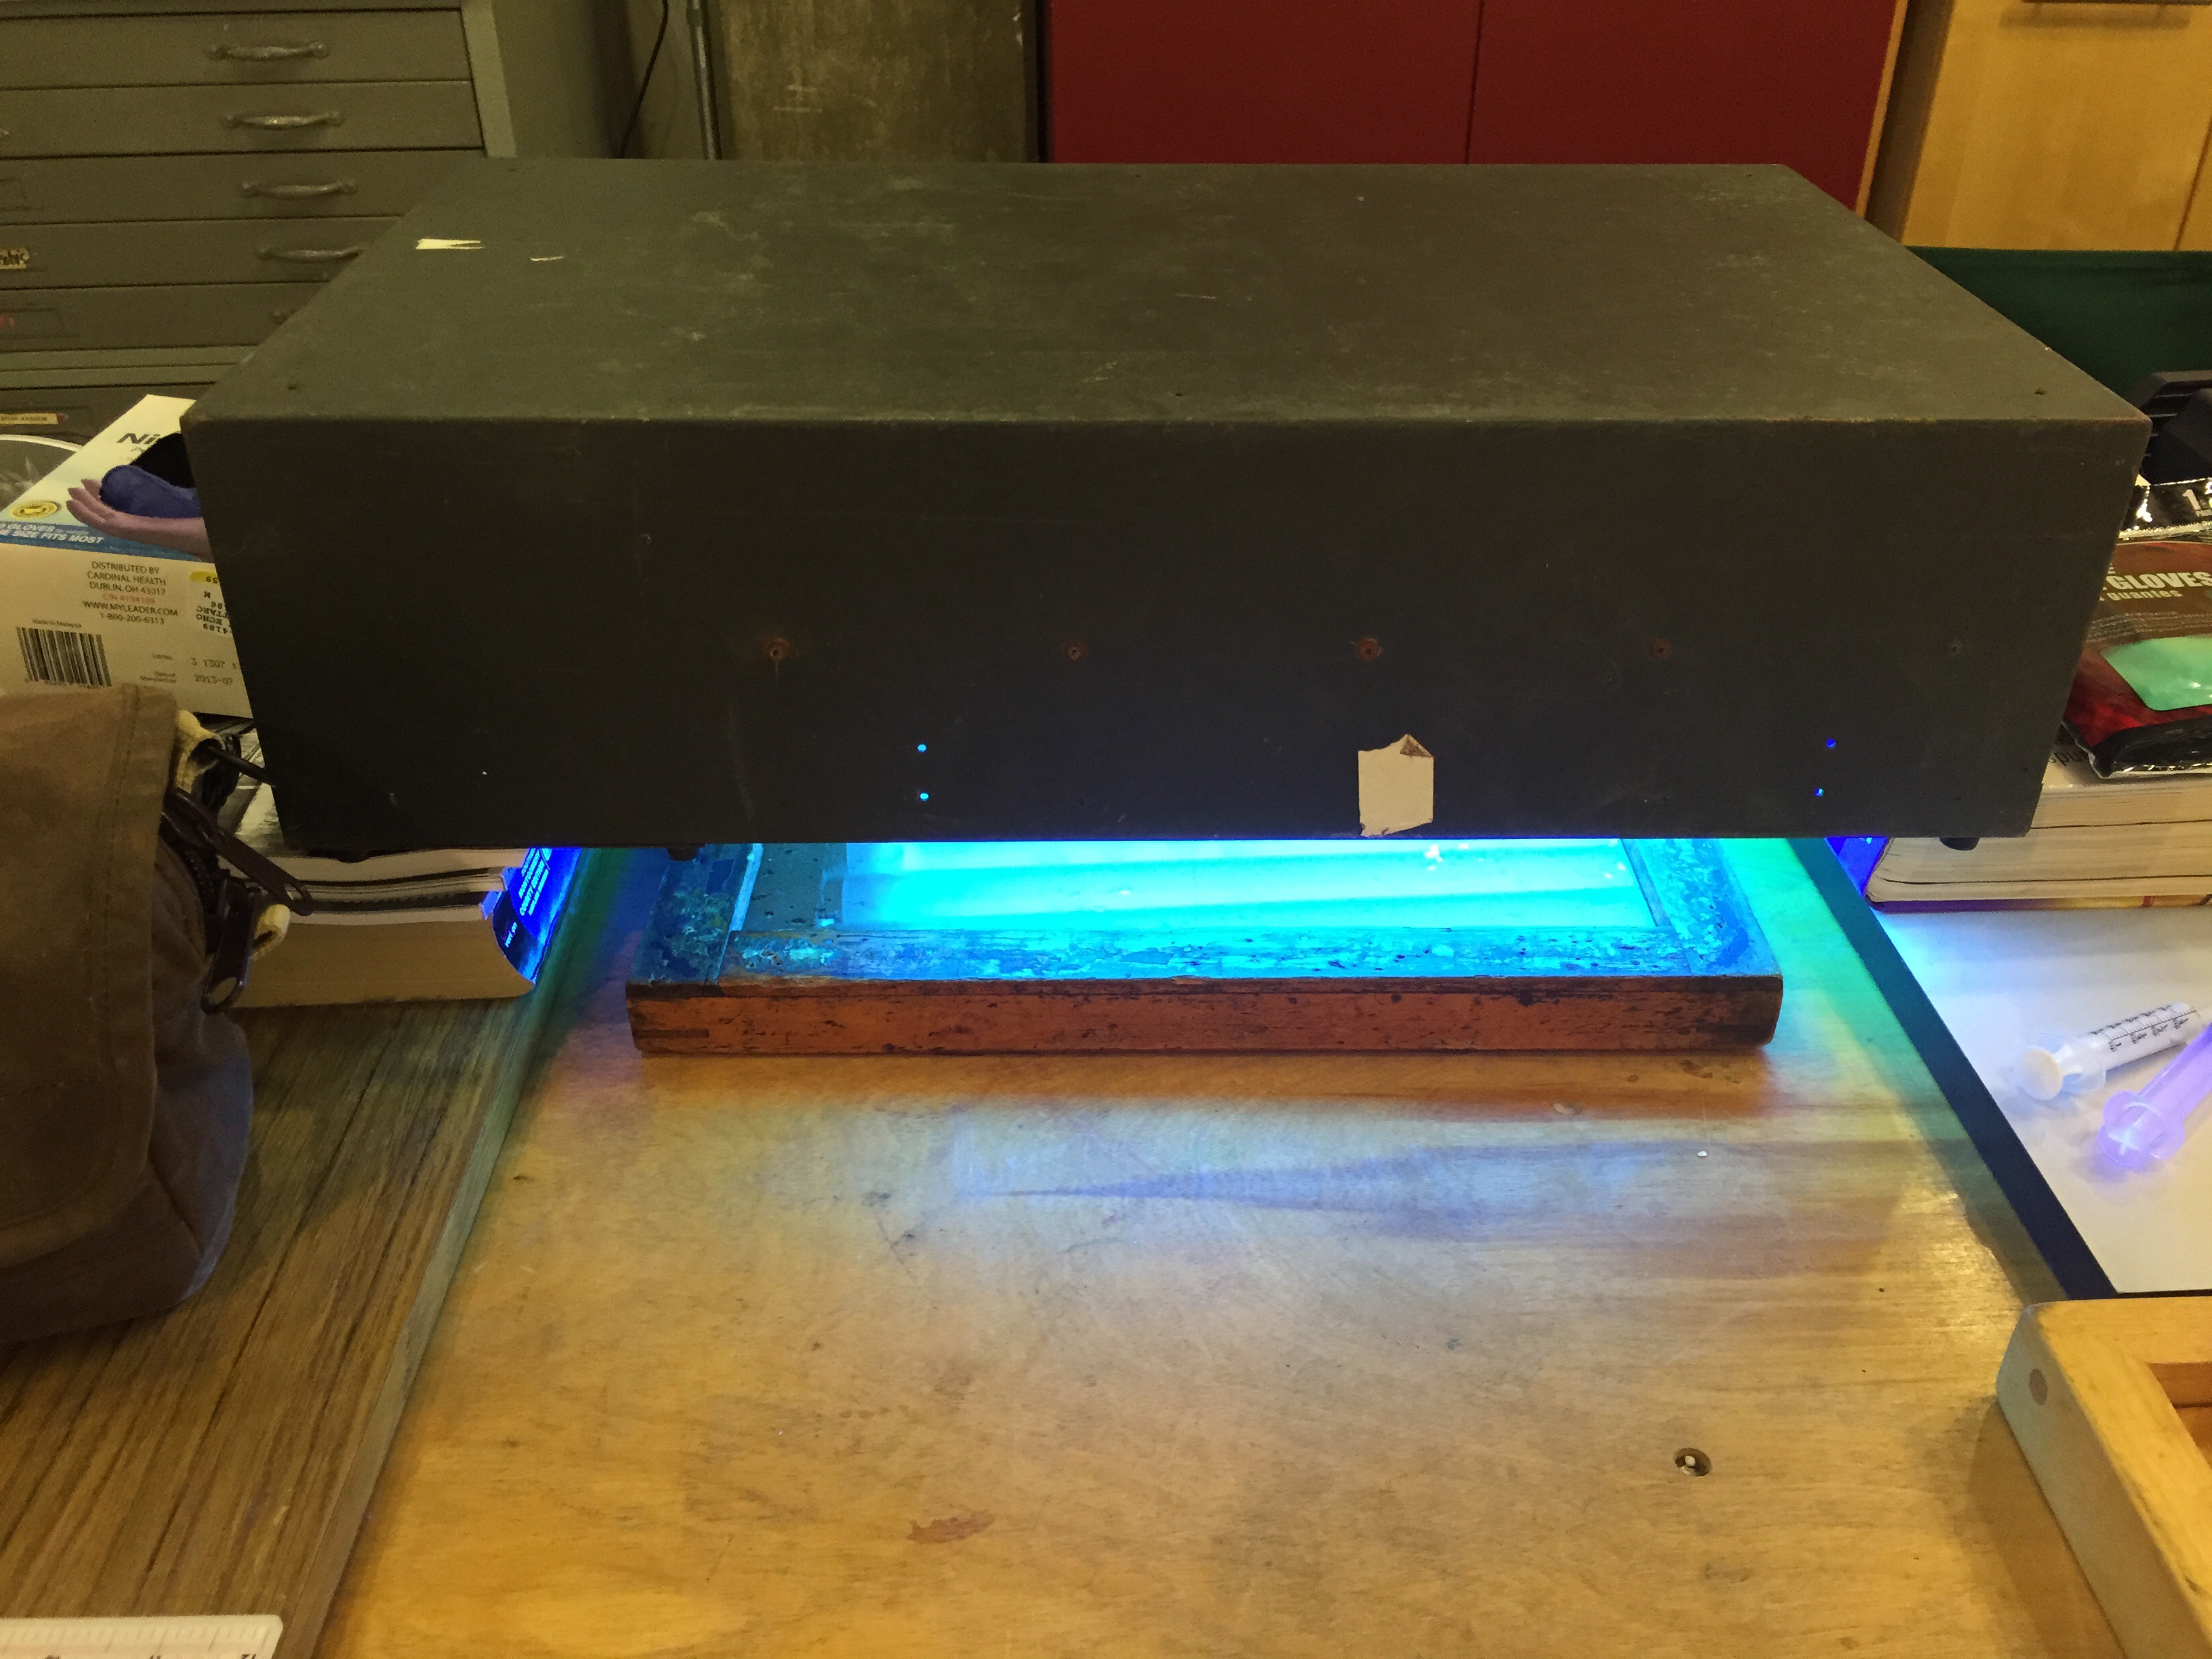
Another faculty member had been given this UV exposure unit by one of our long-time patrons, Grace Taylor. Grace is now retired from photography as she’s in her late 90s, and had given it to him when she stopped printing. At the time he passed it along to me, he said it might have an electrical issue and so may or may not work properly. I was leery therefore, but determined to give it a try. If it didn’t work, I would still have a fallback option of the blacklight compact fluorescent fixture I’ve used before. Fortunately, not only did it work, but it worked well. It gave us very fast exposure times (3 minutes was our base exposure, instead of the 6.5 I normally get with my own unit or the 7-9 we were getting with the CF fixture). So Grace, if you’re aware of this, a big thanks for your UV unit, it has found a new home and is once again being productive!

Grace Taylor's Old UV Unit in Action
Grace Taylor’s Old UV Unit in Action

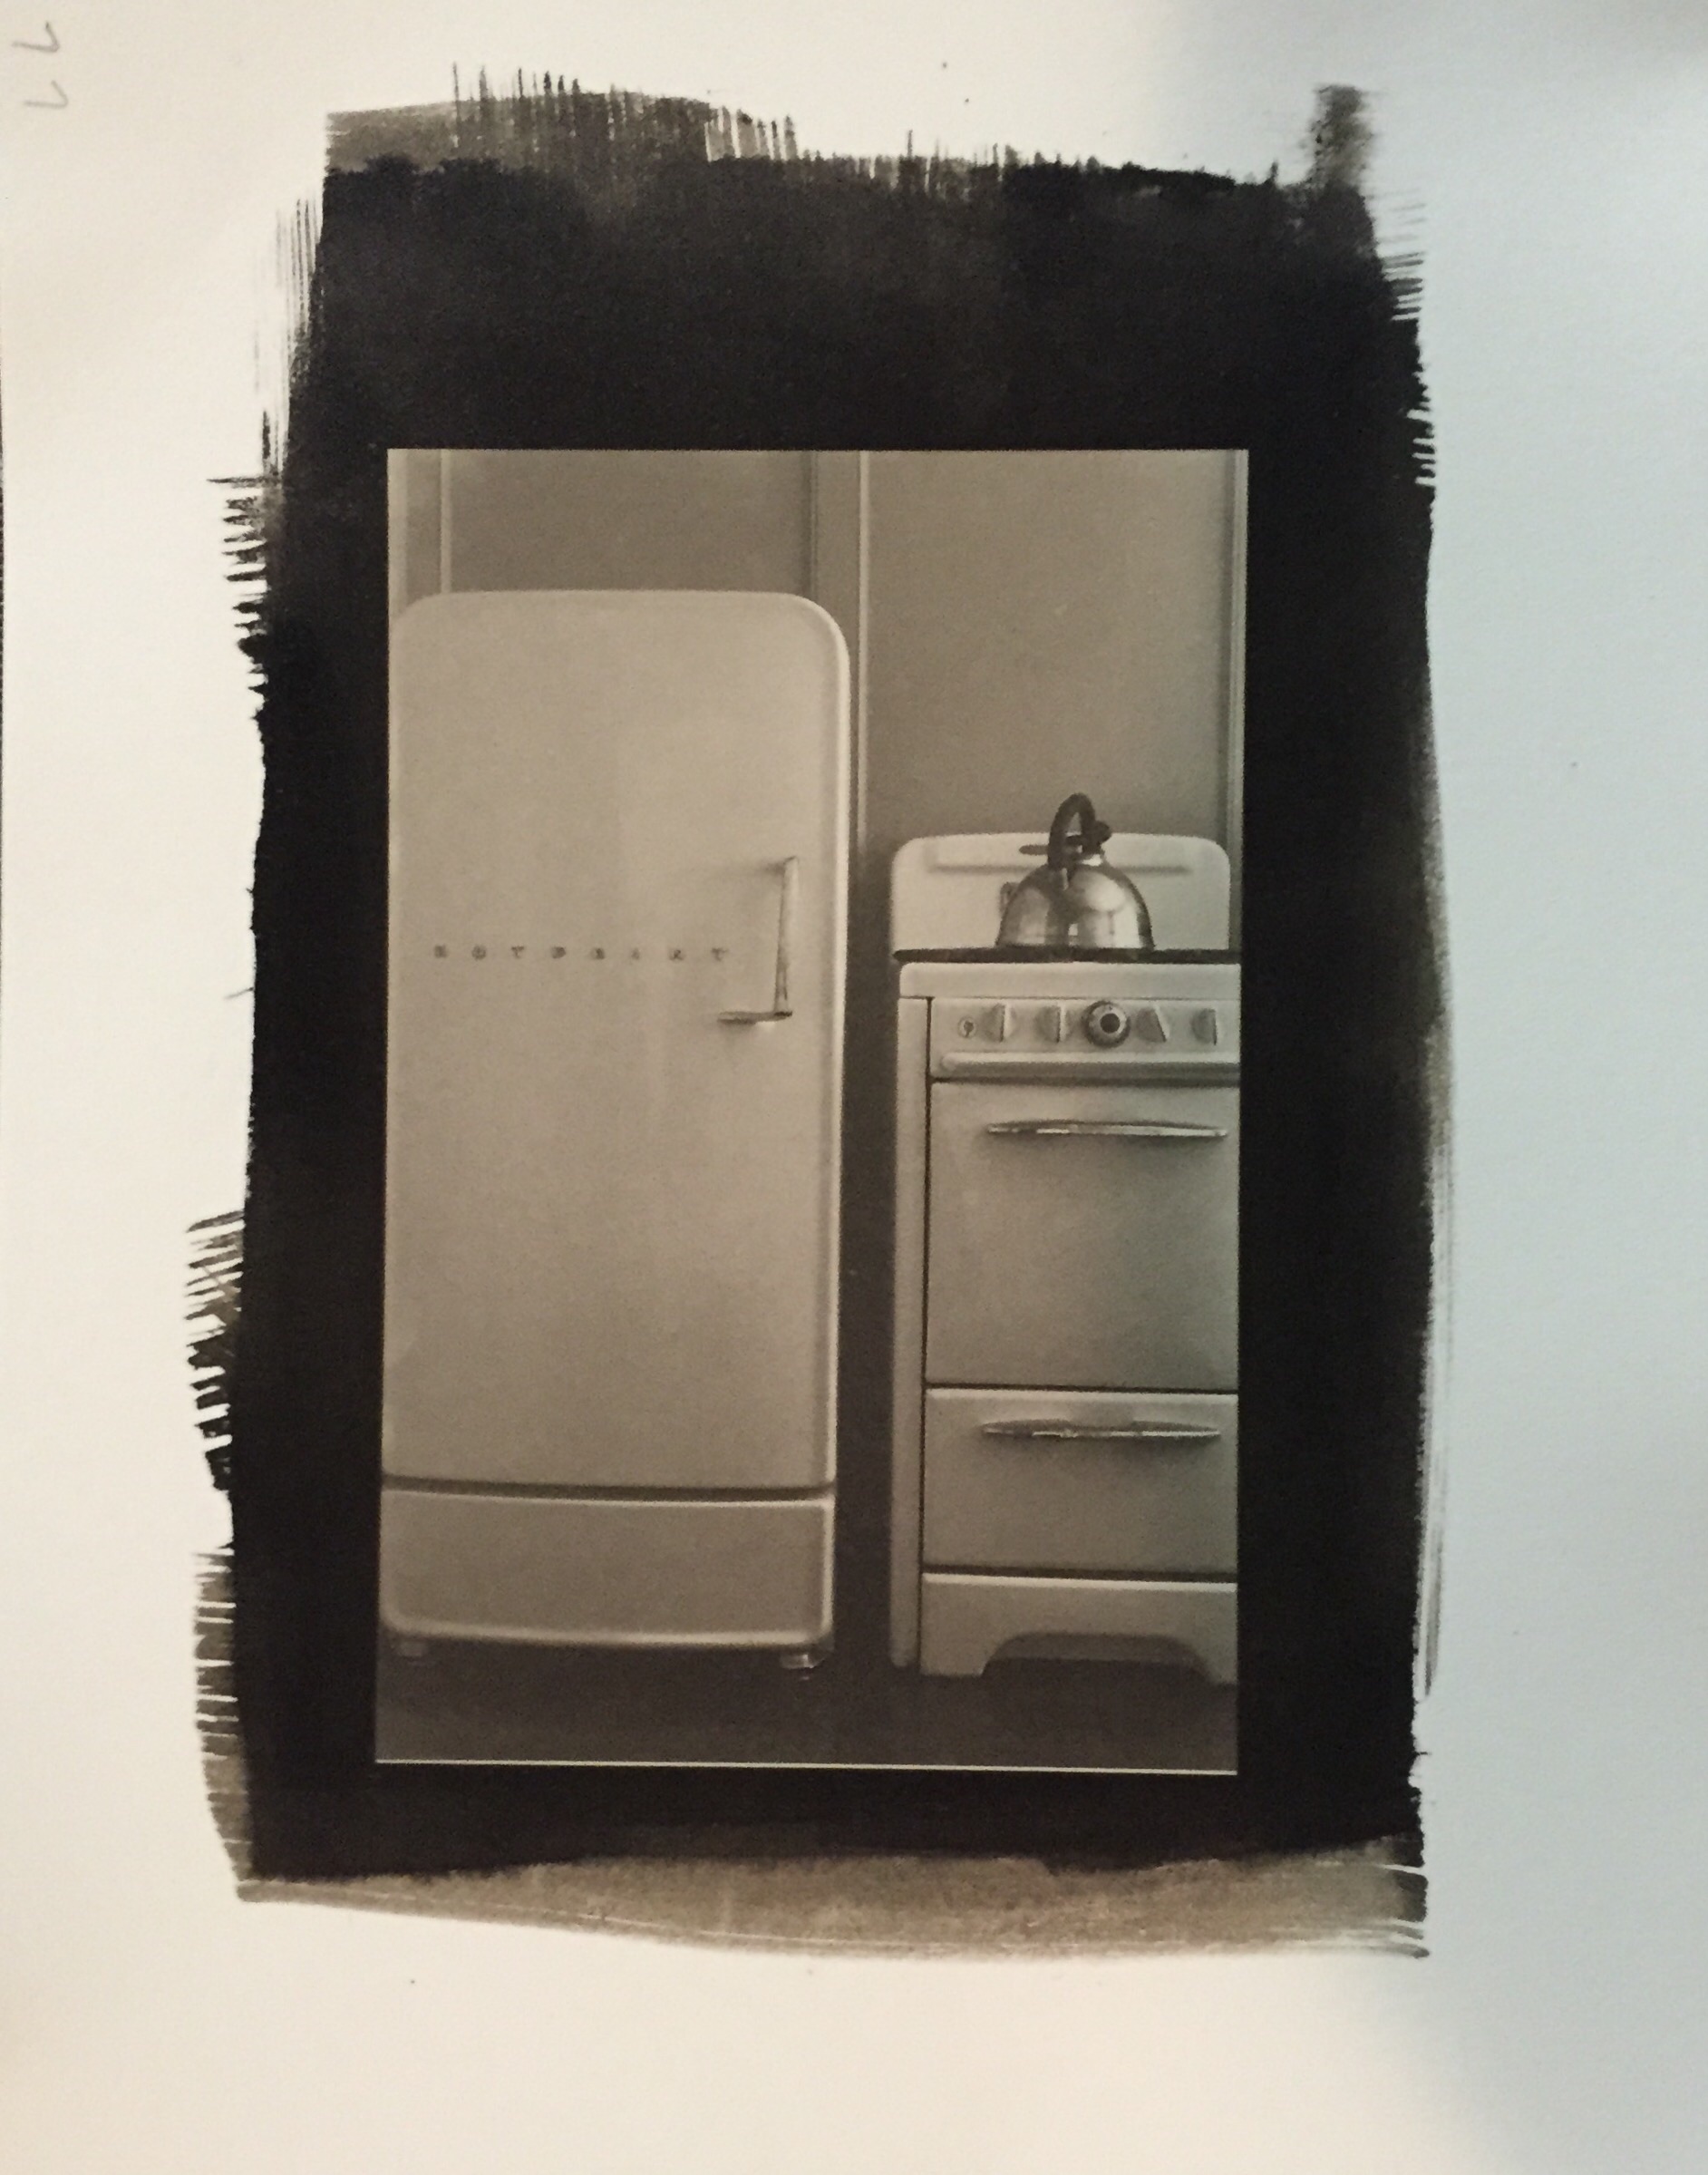
This was another student image, this time one that one of the students brought in, from a digital negative she had made herself. The shot is an interior of one of the hotel rooms at the Chateau Mormont in Los Angeles. This foreshadows next weekend’s module, making digitally enlarged negatives for alt process printing. She had made this negative using the Dan Burkholder method, including using the printer adjustment curve he supplied as a download. The curve he supplied is a good baseline starting point, but as we saw in several tweaks of the print through the day, using someone else’s curve is not a true substitute for making your own.

Chateau Mormont Interior - Digital Negative
Chateau Mormont Interior – Digital Negative

I’ll have the students work through making their own curves next Saturday, and then we’ll make some digital negatives of our own and print from them. I’m having them use Ron Reeder’s book, Digital Negatives for Palladium and other Alternative Processes as the textbook for the digital negative process, specifically focusing on creating adjustment curves rather than using QTR to interpret the adjustments needed to create the negative. Ron covers both techniques in his book, and going through the ordeal of making a QTR to adjust the printer output has the advantage of being non-destructive to your digital file (meaning that it doesn’t make any permanent changes, so you don’t have to create multiple files to print negatives for each alternative process you want to use), but for all but the computer-geekiest of folks, it’s way too intimidating.

I have a great crop of students this time (well, I almost always do!) and I think I’m having at least as much fun as they are!

Upcoming Classes at Glen Echo – Intro to Platinum/Palladium selling out!

Just wanted to put out a reminder about my upcoming classes at Glen Echo. My Intro to Platinum/Palladium class is almost sold out – five of six slots have been taken already.

Studio Theater, 14th Street, Night

This is a new formulation of this class for me – two weekends instead of one, and the second weekend is a module on making digitally enlarged negatives for platinum/palladium printing. The first weekend we will make in-camera negatives for platinum/palladium printing, and learn about what will make a good composition for the medium. We will process those negatives and print them the first weekend. The second weekend will be devoted to making digitally enlarged negatives. Students are advised to get the Ron Reeder book on making digitally enlarged negatives in advance so they will have it in hand in time for the digital negative module.

I am also running an intro to studio lighting class from October 28 to December 2. We will cover basics of light in the studio, from a single hot light (there is only one sun!) to a multiple light strobe environment. We’ll also cover light modifiers from basic reflectors to umbrellas, soft boxes to Fresnel lights.

Studio setup #2
Studio setup #2

One of the biggest challenges working in the studio, especially for folks coming in for the first time from shooting natural light, is that there is no light in the studio but what you put in it. You have total control, and therefore you also have total responsibility for what gets captured. This course will help you learn to see light and how it creates form and volume, and how to control it for contrast and texture.

To register for the Intro to Platinum/Palladium class, click here: Intro to Platinum/Palladium

To register for the Intro to Studio Lighting class, click here: Intro to Studio Lighting

Intro to Platinum/Palladium printing – now with Digital Negatives! September 19-20, 26-27

I’m going to be running my Intro to Platinum/Palladium Printing class again this fall, with an expansion into making digitally enlarged negatives. The new class will be a two-weekend course, September 19th & 20th, 26th & 27th. The 26th will be from 1-5 pm due to a morning scheduling conflict, but the rest of the sessions will be from 10 am – 4 pm.

Platinum/palladium is the catchall term for two chemically interchangeable but visually distinct printing processes first pioneered in the 1870s by William Willis. As the names imply, they use platinum and palladium as their primary metal salt in image formation. A platinum print will be more of a cool gray tone with higher contrast, and a palladium print will be more of a rich chocolate-brown tone with lower contrast. They are capable of producing very long tonal scales, rendering very fine gradations, therefore needing very little if any manipulation during printing. Platinum/Palladium are also among the most archivally stable printing processes – when properly processed and displayed, your prints will last as long as the paper underneath them.

More of the Good Stuff

I traditionally have limited the class to working from in-camera negatives because I want to give people the best possible opportunity to start by making successful prints. As a friend of mine, Ian Leake, puts it in the new edition of his book on Platinum/Palladium printing, “it is possible to make a successful print from a problematic in-camera negative, but it is extremely difficult to make an even marginally successful print from a problematic digital negative” (I’m paraphrasing here).

The addition of making digitally enlarged negatives opens up the process to a whole new range of photographers, as shooting large format is both an encumbrance and a cost that is not for everyone. We will still begin the class with a full weekend of making in-camera film negatives and printing from those negatives. For that class, I will supply the camera and the film. We’ll make our images in and around the park, process the film, and then spend the next day printing.

Glen Echo Midway
Glen Echo Midway

The second weekend will be devoted to making digitally enlarged negatives and printing from them. We will cover scanning, preparing your file, and printing the negative. I have a required text for the course, Ron Reeder’s “Digital Negatives for Palladium and Other Alternative Processes” which you can order on Amazon. Ron gives a very concise, clearly illustrated and explained step-by-step for how to produce a proper digitally enlarged negative, tailored to the process you want to print with. His technique is not limited to platinum/palladium, but once learned can be applied to any and all alternative processes.

To register for the class, click the link below.

Register for the class

Intro To Large Format Class – Portraiture Session

This weekend was the next-to-last session of the Intro to Large Format Photography class I’m teaching at Glen Echo. As a treat, I broke out some of the last remaining sheets of Polaroid Type 55 I have in my personal stash. We had a lot of fun setting up portraits and posing for each other. One of my students even brought along his 6×17 panoramic camera and took a couple frames of all of us in the studio together – a couple were serious, and one was very silly (I gave someone next to me bunny-ears).

Sean L.
Sean L.

We covered the fundamentals of not only how to use a view camera for portraiture (movements – not many – focusing, bellows extension factor, lens selection) but also basic studio lighting. Given that we were limited on time and had lesson objectives to cover, I dictated the lighting setup with just a main and a fill, driven off my Calumet Elite 2400 W/S unit. It’s a lot of power for just 4×5, but I wanted to give people a real studio experience (that and the moonlights I would have used that are at the school are at the moment buried in the storage closet under dozens of boxes from the exhibits currently hanging in the gallery space).

Dean M.
Dean M.

We rigged a softbox on the main light and an umbrella on the fill. The softbox was camera left, and the fill was beside the camera. I used a 240mm Docter Optics f9 Apo-Germinar as my lens because the focal length is a nice one for studio portraiture (not too long, but not too wide either), it’s mounted on a lens board to fit my Sinar (some of my other portrait lenses are on different lens boards), and the shutter has good working flash sync (some of my other portrait lenses are in archaic shutters that don’t have reliable flash syncs – and yes, I’ve had them overhauled but they still don’t work 100% of the time). f9 is a bit dim for a traditional portrait lens, but I think this one produced outstanding results (further confirmation that that lens was a phenomenal buy and well worth every penny).

Anthony R.
Anthony R.

Polaroid Type 55, for those who are unfamiliar, was an instant film that produced both a positive print and a re-useable negative. Artists have loved the negatives not only for the incredibly fine grain and sharp detail, but for the artifacts at the edges that the Polaroid process produced. It hasn’t been made since 2008, so any Type 55 anyone is using is old stock. There is hope on the horizon for a replacement as a group called “New55” is creating their own improved version. One of the challenges of the original Polaroid Type 55 was that the negative film and the print were not equally sensitive, so you had to decide if you wanted a good print or a good negative – a good print gave you an underexposed negative and a good negative gave you a washed-out print. New55 will have one advantage over the old stuff – the instant print and the negative will be speed-matched so you won’t have to expose for either a good print or a good negative.

Ari G.
Ari G.

I can tell from the negatives that my Type 55, which outdated in 2006, is starting to get a little long in the tooth, as they have begun to lose some contrast. I’ve tweaked it a fair bit in Photoshop to get these negative scans to look good. I’ll try printing them in the darkroom and see what I can do with them – they may print much better than they scan.

Glen Echo Intern
Glen Echo Intern

Here are some behind-the-scenes shots, taken by one of my students.

Dean M, Posing
Dean M, Posing
Sean L, Polaroid Print

Intro to Large Format Photography @ Glen Echo – Sold Out!

I have to toot my own horn a little today – my spring session of Introduction to Large Format Photography is sold out! I’m even adding three additional seats today to accommodate the folks who contacted me yesterday about registering. The class will cover the basics of how to use a large format camera. We’ll get an understanding of the camera itself – the various types of large format camera, the components of the camera, how to use it, and especially in this digital day and age, WHY to use it. To paraphrase Edward Weston’s comment about color photography: “There are things you can say in large format that you can’t say in anything smaller”. We’ll have specific lessons on film handling and processing for large format, portraiture, studio/tabletop photography, and architecture.

Glen Echo Midway
Glen Echo Midway

I teach at Photoworks Glen Echo, a non-profit photography education center in Glen Echo Park, which is operated by the National Park Service. Glen Echo Park is a former amusement park a few miles away from downtown DC in Glen Echo, Maryland on the banks of the Potomac River. Originally envisioned as a suburban housing development for the elite of Washington at the end of the 19th century, the only resident to ever build and take up residence was Clara Barton. It became a Chataqua meeting center, and then in the early years of the 20th century, an amusement park. It rose to its peak by being at the terminus of a street car line running out from Georgetown (a neighborhood in DC and formerly a separate incorporated city in itself). The park endured changing demographics and evolving tastes, but closed up shop in 1970. The US Park Service took over and converted it into a community art center where people can come to learn pottery, glassblowing, cast and fused glass, stone carving, photography, painting. There is a children’s dance theater and puppet theater, and the 1902 Spanish Ballroom has square, contra, ballroom, and swing dancing events practically every night of the week. The centerpiece of the park is now and has been since its installation in the 1920s, the Dentzel Carousel which is freshly restored and fully operational. The carousel offers rides daily from May to October.

Dentzel Carousel, Glen Echo, Sunset

Photoworks is the photography center, located in the Main Arcade building. This year marks their 40th anniversary. They offer a full range of classes from introductory photography for children and teens to advanced classes on topics such as The Long-Term Photo Project, iPhone Fun (getting the most of mobile device photography), Photographic Editing and Presentation, and Platinum/Palladium Printing. Photoworks has a full wet darkroom for film processing and black-and-white printing up to 16×20 inches, a fully equipped digital darkroom with Macintosh workstations, Epson flatbed scanner and Nikon 35mm dedicated film scanner, and Epson printers for up to 24″ wide prints.

Quick takes from today’s Intro to Platinum/Palladium class

I’m running a quick impromptu by-the-seat-of-the-pants version of my Intro to Platinum/Palladium printing class this weekend. It’s a bit of a hash because we had scheduling conflicts of varying types to deal with, but we did manage to meet today. My normal plan with students is to take them out into Glen Echo park and have them shoot a bunch of negatives with my 5×7, then come back and process them. WELL… today, the daytime high was still below freezing, so we scratched that idea. Instead, we shot some self-portraits indoors using my Hermagis Eidoscope soft-focus portrait lens, a 1000-watt hot light (a VERY welcome hot light given the weather today!) and an improvised guillotine shutter composed of a pair of dark slides, held in a V-formation. The “shutter” starts with the lower dark slide completely covering the lens, and to allow exposure to happen, the pair are swung past the lens so that the gap between them briefly allows light to strike the film. Exposures can be a little variable, but these are forgiving media.

Here is one shot of one of my students:

Barbara, Hermagis #1

and here are two of me:

Scott, Hermagis #2
Scott, Hermagis #2
Scott, Hermagis #1
Scott, Hermagis #1

I brought the Hermagis to class to give the students a little something special to play around with, since they both had past experience in working with large format, and I think the soft-focus lens fits very well with the alternative process print look.

Of the two of me, which do you all prefer? I know which one I like better, but I’ll wait to get some feedback before I offer my opinion. All three of these are scans from the negatives, not from prints. We will be meeting again tomorrow to do the actual printing.

Upcoming Course – The Narrative and the Male Figure

An introductory video discussion about my upcoming class at Glen Echo Photoworks. The course runs on Fridays, from September 19 to November 7, from 7-10pm. The concept of the course is to introduce students to the use of the human figure in narrative photography – telling a story with pictures whether it is a single image, a diptych or triptych, or a series. We will cover the historical use of male figures in narrative photography, from Hippolyte Bayard’s nude self-portrait as a drowned man in protest of having withheld his announcement of the photographic process he invented so that Daguerre could go first (and get all the credit and financial rewards that came from being first) to modern photographers like John Dugdale, Arthur Tress, and Duane Michals. We will also look at the use of the male figure in relation to questions of gender, sexuality, and identity. To register for the course, click here – The Narrative and the Male Figure

Upcoming classes at Glen Echo Photoworks, Glen Echo, Maryland

I’m offering three classes coming up this fall/winter at Glen Echo Photoworks, a center for creative photography and photographic education at Glen Echo Park in Glen Echo, Maryland, just outside Washington DC.

The Male Figure in Narrative Photography 9/19 – 11/7/2014 Fridays, 7-10pm

Go beyond standard figure studies. Research historical context and learn to use the male nude form to tell a story in a series or just a single frame through posing, lighting, using props and capturing emotions. What is “narrative photography”? Narrative tells a story either in a series, or a single image. From the earliest days, photographers have been using the male figure to tell a story in their work, be it as a stand-in for himself (Hippolyte Bayard) to express his response to criticism, to confronting eroticism and gender confusion in the world of Latin American bullfighting (Reuven Afanador) or a tool to process inner personal anxieties (Connie Imboden). This course will examine the use of the male nude in narrative photography. We will use examples from historical and contemporary photographers as a background to inform and inspire our own work. Students will be encouraged to create both single image and serial narratives to take their work beyond mere figure studies. We will also discuss issues relating to gender and sexuality with regards to the use of the male nude. We will cover understanding of the male form, posing, basic lighting, the use of props, and basic nude model etiquette. Students will be expected to know how to use their cameras, light meters, and how to process and present their own images. Weekly research topics will be assigned. There will be three shoots with one or more models, plus classroom instruction and discussion sessions. $350, plus $150 model fee.

Introduction to Platinum/Palladium Printing – 11/8 – 11/9/2014 (Saturday/Sunday, 10am-4pm, two day intensive weekend workshop)

Platinum/Palladium is one of the most beautiful alternative processes. This course demystifies the process and teaches how to make good negatives, select papers, coat emulsions, and process prints for archival stability. $350, plus $100 materials fee, payable to the instructor.

One Camera, One Lens – Learning to See 1/15 – 3/7/2015 (Thursday 7-10pm)

Too often our gear keeps us from making better pictures. Photographers often fall into the trap of thinking that more gear is the solution to every problem, when in fact it can be a crutch or a burden. This course teaches how to simplify and focus our creative vision so the camera gets out of the way and becomes a tool not an obstacle. Students will use a camera of their choosing, and a single lens. They will select a project in the first class and follow through on that project, presenting images for critique each week. Students choosing to work with wet darkroom techniques will be expected to know how to process and print their own film; students working digitally are expected to have a working knowledge of their camera and digital image processing tools of their choosing. No changing lenses allowed! $350

The courses will be posted soon to the website, but in the meantime if you want to find out more about Photoworks, please check out their website and their Facebook page-

http://glenechophotoworks.org

https://www.facebook.com/glenechophotoworks

Photoworks is one of the few facilities with regularly scheduled open darkroom times, and at $8/hr for wet darkroom (bring your paper, we provide the rest!), it’s hard to beat!

New teaching tool, and upcoming class

I got my new teaching tool for my Introduction to Large Format photography class. It’s a Sinar F 4×5. Sinar cameras were the first modular large format system with standardized components that would let you build 4×5, 5×7 and 8×10 cameras on a common architecture. While the F has certain limitations (base tilts, friction driven movements), its a fantastic entry-level camera and very light-weight for a studio monorail camera (about 7lbs).

20140323-184708.jpg

I’m running the course starting April 5 through May 10. The course covers camera handling, film loading and processing, using movements for perspective and depth-of-field control. Individual modules will include landscape, portraiture, architecture and tabletop shooting. For more information check out the Glen Echo website –

Photoworks Course Listings

to register, click –Register Here

I got the camera at KEH Camera online. They have a very limited selection in inventory at any one moment, but their prices are excellent. The Sinar F is a good starter camera and one I highly recommend for students looking to get started in large format. There are lots of other good cameras, of course, and it all depends on what you need from your camera – for some people, a field camera may be a better solution. My primary large format camera is a Canham field camera because I like to travel with it, but it has it’s own limitations (fixed bellows length, limited movements). I’ll cover all the quirks of large format cameras in the class, so to learn more, sign up!

Website Editing, and Vickie Lewis Marketing Seminar

Ok – it was overdue for a variety of reasons, so I went in last night and did a major edit of my personal website, the “static” online gallery I have at www.theflyingcamera.com. I trimmed the categories down, got rid of some images that were old/weak, and generally aimed to make the site look and feel more professional. I’m getting ready to launch my portrait business, and pending some research into good site hosting services that will let me customize my page, this will have to do as an online presence. I would love some feedback from my readership as to what you think of the overall look and feel, and the image flow and selection.

Part of what spurred the interest in this overhaul was attending a photography business marketing seminar taught by Vickie Lewis, a Washington DC based photographer who is a certified business coach in addition to being a past president of the regional chapter of the ASMP (American Society of Media Photographers), a Pulitzer Prize winner and currently represented by National Geographic. She teaches small group seminars on the business of photography – how to market yourself as a service, how to sell your artwork. She also teaches technique classes. Her website is: http://www.vickielewis.com if you’d like to read more about this terrific woman and her work. She gave me a lot of fantastic ideas on how to market myself and the work that I do.

As a result, I’ve overhauled my photographic mission statement and my elevator pitch:

The typical portrait photographer produces workmanlike images that function as documentation. My goal is to use my creativity and vision to produce images that go beyond to become iconic representations of your spirit and character. You do not have your portrait taken by me; rather you make your portrait with me. I use antique techniques and processes in a contemporary style to create not mere photographs but tangible art objects you will be proud to display in your home and pass on to future generations.

My new “About the Artist” blurb:

Scott Davis is a Resident Photographer at Washington School of Photography and an Instructor at Glen Echo Photoworks where he teaches antique and historic processes. When not teaching or shooting for private clients, he exhibits his personal projects around the Washington DC area. His publication credits include Metropolitan Home, Metalsmith, Creative Image Maker, Rice Paper and Rangefinder. He counts Stephen John Philips and John Dugdale as mentors and influences.

That sounds like a pretty good set of credentials, doesn’t it? And it has the added benefit of being accurate. It’s something that she told me about how to put these things together in a short bullet point concept. I knew all this stuff about me but I had never put it in a concise, condensed thought so I wasn’t able to articulate it.

And my inspirational quote – the reason I love photography and the reason you should want me as your photographer:

I fell in love with the magic of photography when I made my first darkroom print. My original goal was to just learn enough to use photographs as subject matter for painting and drawing. But when that first print emerged in the developer under the red glow of the safelight, I was hooked and I knew right then the camera would be my companion for the rest of my life.